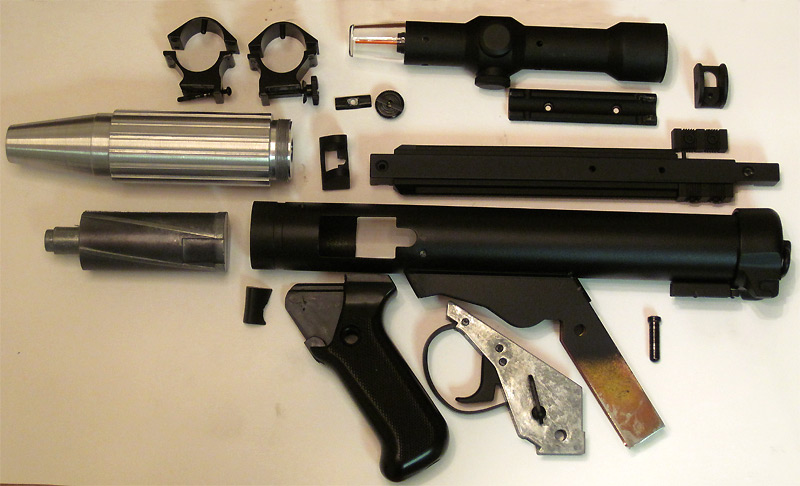
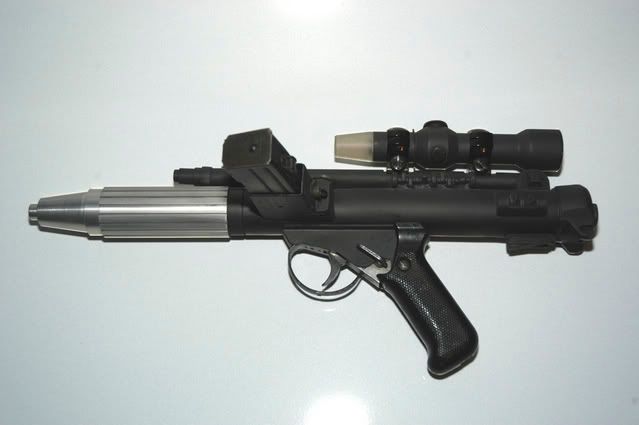
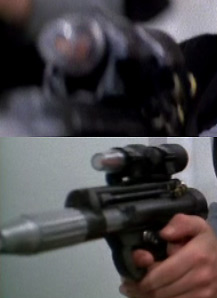
Here are the steps involved in cracking open a Master Replicas Rebel Blaster. These photos are post-repaint/redo.
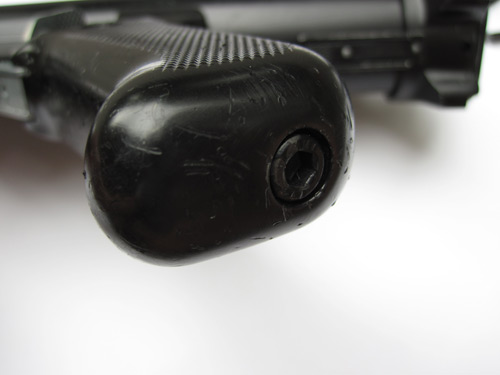
First take out the large hex bolt in the grip.
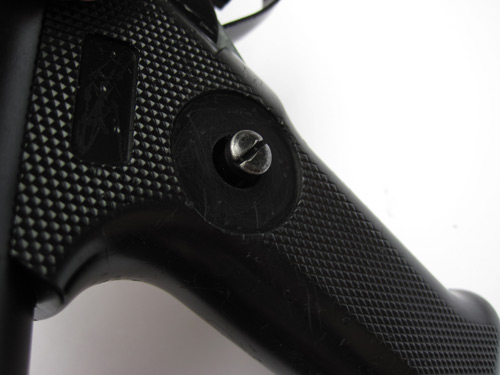
Then you will need to knock this bolt out from the un-slotted side. Mine just falls out now.
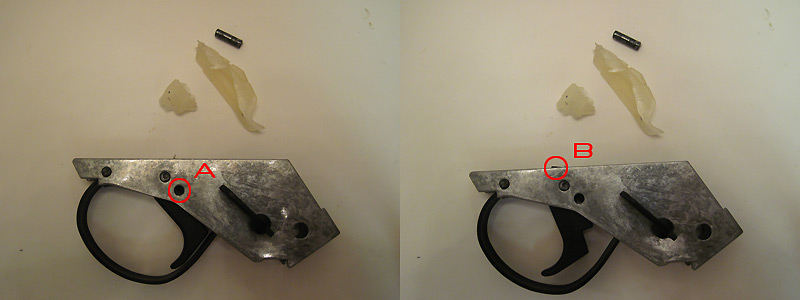
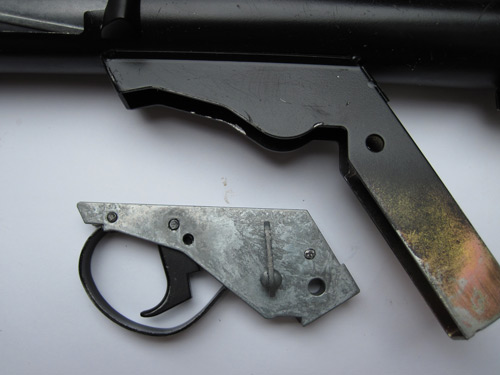
Take the grip off and the trigger assembly should slide out. Remove the silicone inside. Knock out the pin holding the trigger in place and drill a hole further back for it.
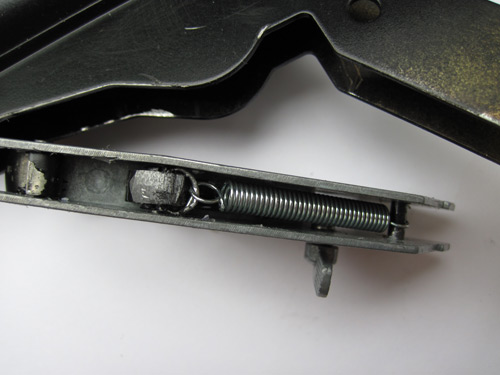
Grind the edges of the top of the trigger off and drill a hole in the top back. Loop a paperclip through the hole and attach a spring. Attach the other end of the spring to the pin you just removed.
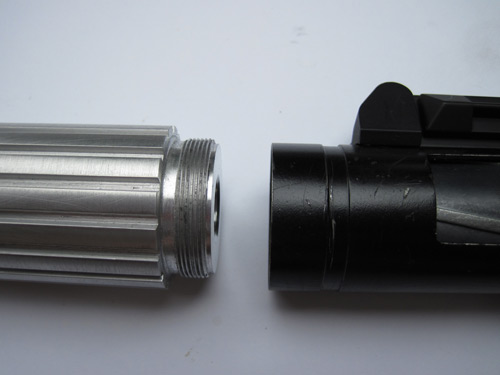
Unscrew the aluminum barrel from the receiver. To remove the orange cap in the barrel, drill into it and pull it out like a cork.
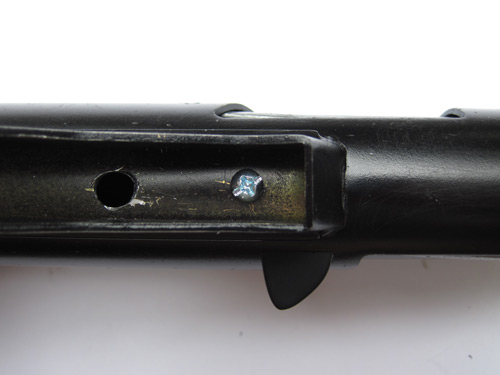
Unscrew the screw holding the bolt in place and it should slide out the front. Note this is a replacement screw I used. The original is smaller.
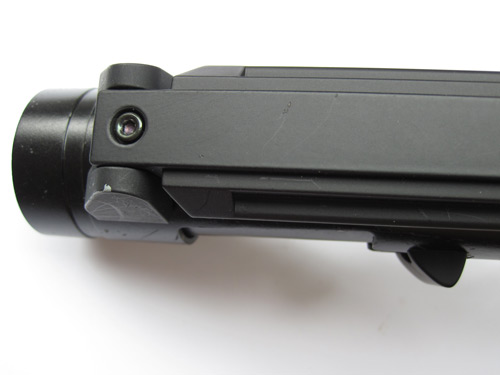
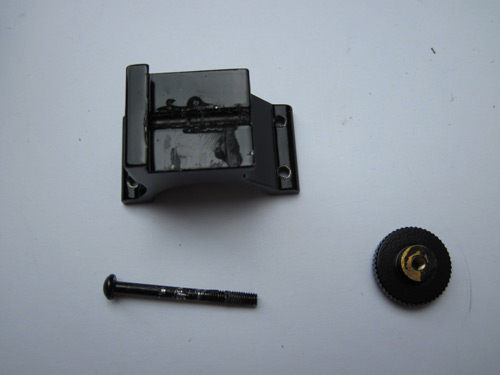
This plastic piece is screwed on from the inside of the receiver. There is a pin as well that is either glued or melted you will have to break free.
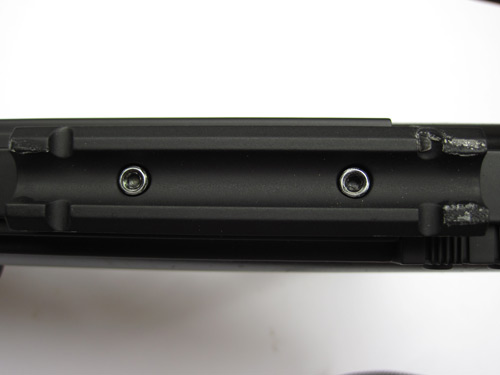
After removing the scope rings, unscrew the scope rail.
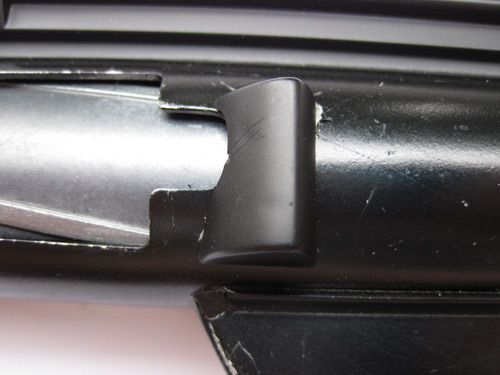
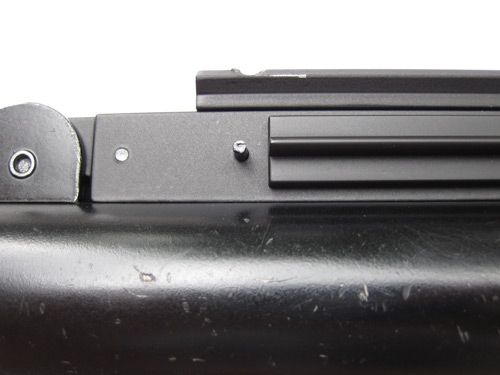
Unscrew the larger scope rail. The front 'sight' has pins in it, but is not glued to the receiver. It should fall off.
The rear sights are glued, but they are easy to snap off if you so desire.
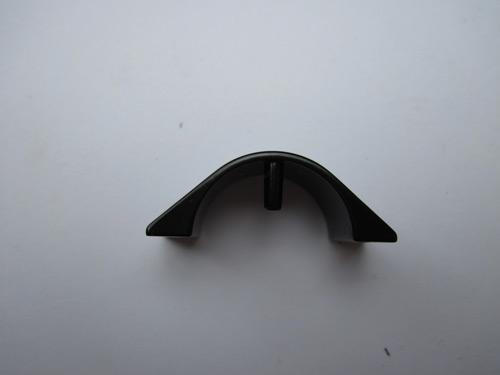
These plastic bits should pop off. Be careful, they are fragile.
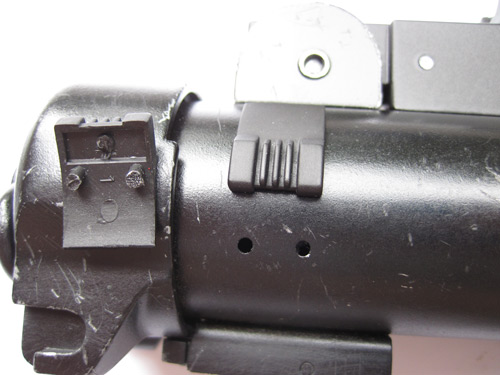
The greeblies on the scope rail are pinned to it and the pins are melted from the inside. This is what happened when I tried to pop one off.
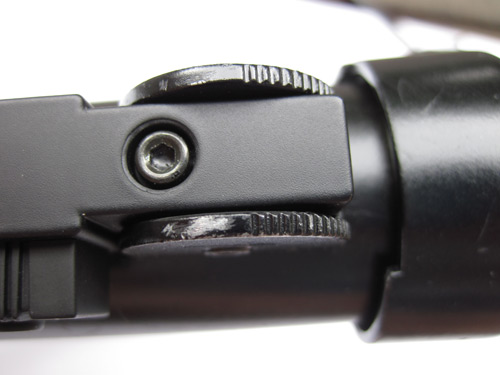
The scope rings are wonky. The pins are glued to the lower ring half and the thumbscrews are screwed in, but glued as well. You will have to use some force to unscrew them.
The upper ring halves have a big pin in them to keep the scope from rotating. I plan on grinding these off.
First take out the large hex bolt in the grip.
Then you will need to knock this bolt out from the un-slotted side. Mine just falls out now.
Take the grip off and the trigger assembly should slide out. Remove the silicone inside. Knock out the pin holding the trigger in place and drill a hole further back for it.
Grind the edges of the top of the trigger off and drill a hole in the top back. Loop a paperclip through the hole and attach a spring. Attach the other end of the spring to the pin you just removed.
Unscrew the aluminum barrel from the receiver. To remove the orange cap in the barrel, drill into it and pull it out like a cork.
Unscrew the screw holding the bolt in place and it should slide out the front. Note this is a replacement screw I used. The original is smaller.
This plastic piece is screwed on from the inside of the receiver. There is a pin as well that is either glued or melted you will have to break free.
After removing the scope rings, unscrew the scope rail.
Unscrew the larger scope rail. The front 'sight' has pins in it, but is not glued to the receiver. It should fall off.
The rear sights are glued, but they are easy to snap off if you so desire.
These plastic bits should pop off. Be careful, they are fragile.
The greeblies on the scope rail are pinned to it and the pins are melted from the inside. This is what happened when I tried to pop one off.
The scope rings are wonky. The pins are glued to the lower ring half and the thumbscrews are screwed in, but glued as well. You will have to use some force to unscrew them.
The upper ring halves have a big pin in them to keep the scope from rotating. I plan on grinding these off.
Last edited:
")