ED-209 rebuild (FINISHED PICS PAGE 6)

Re: ED-209 rebuild

I'm almost done removing the original paint from all the parts and priming them.
Everything is looking really clean.

Keith.
 
Re: ED-209 rebuild

I never really paid much attention to Robocop before, but just thought I'd take a look here...your project is great, nice one!

If you ever do a replacement canopy part made available to others, definitely contact the guys over at the Sideshow Freaks Forum, as they are just crying over the deteriation of this part on their ED209's.

-SJ
 
Re: ED-209 rebuild

I'm almost done removing the original paint from all the parts and priming them.
Everything is looking really clean.

Keith.
What are you stripping the parts with? I may need it for my own piece, so any pointers would be highly appreciated, as I now know why I can't take things as easily apart - simply because they are fused together by the black paint.
 
Re: ED-209 rebuild

I'm using very fin wet and dry paper and just sanding all the paint off. Its taking ages to remove the paint from the small parts though. Thats why i've not posted any updates for a while. I could just leave the original paint and just give it a quick sanding, but i want to remove as much paint as possible really, i'm just fussy like that.

So far i have the following parts primed with tamiya fine surface primer:

All parts for the head other than the two flaps that go above the arms.
All the parts for one full leg.
Pelvis.
Side toes.
Bottom/main leg section of the other leg.

All silver parts from side of head and the arms are finished and painted silver.
All the resin parts i have made to replace the rubber and the guns i've made are finished and painted black.

As soon as i have finished sanding and priming the rest of the parts, the fun work starts with the final colour and putting ed back together again.

I recommend using Tamiya fine surface primer to anyone, its just fantastic stuff. Let the can stand in hot water for a few minutes first and the finish on the model will be 100% perfect. Its got a really smooth finish. If it was just a shade darker, i would use it as my primer and final base coat. I was very tempted. Its expensive stuff though. So far i have spent £28 GBP on primer alone. Tamiya bare metal silver is great also. Its the first silver i've used thats hard wearing without a clear coat. It won't dull or scratch even if you try and scratch it with your fingernail.

Keith.
 
Re: ED-209 rebuild

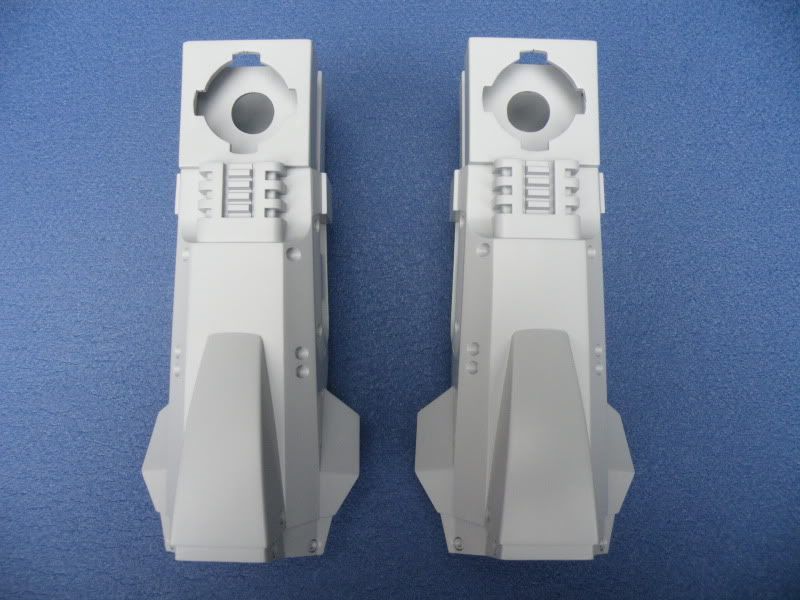
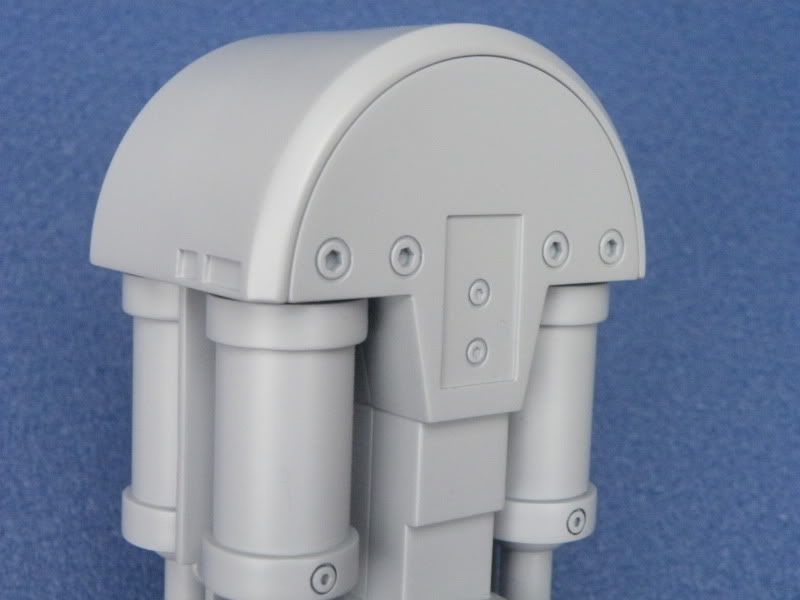
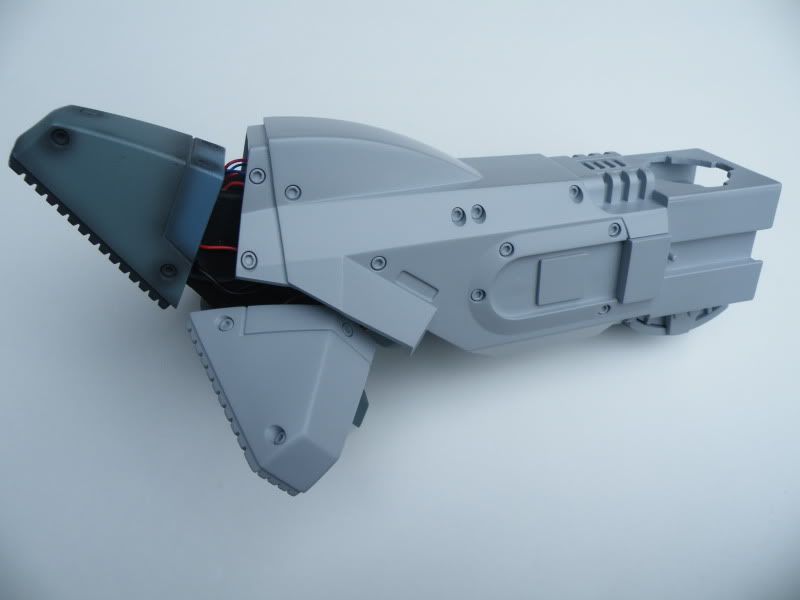
Here are the main leg sections in primer:
DSCF3373.jpg

DSCF3374.jpg


Note the magnet inside to hold the silver things on to the side of the legs:
DSCF3375.jpg


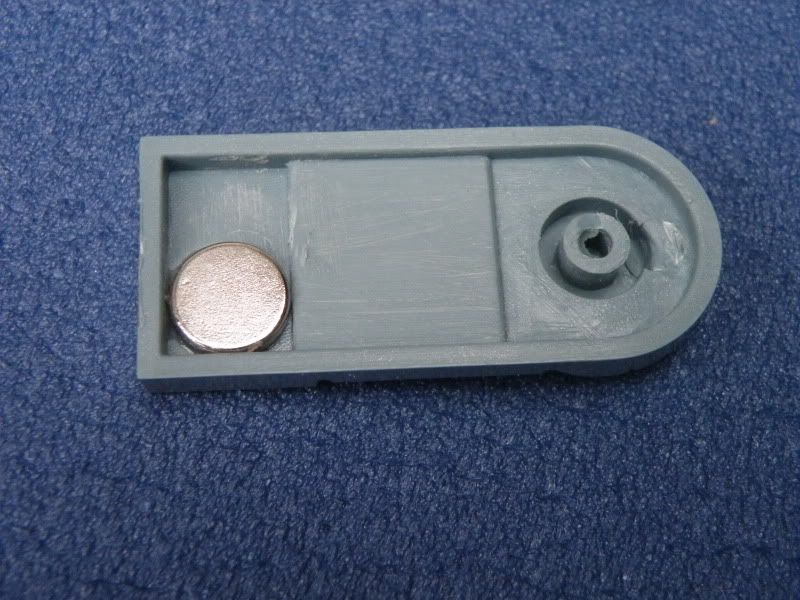
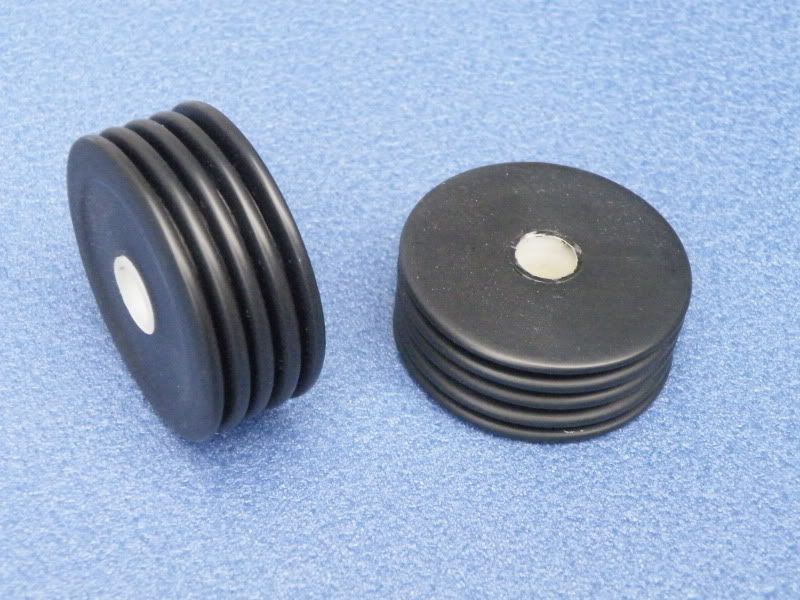
Here is one of the silver things (i don't know what to call them) with a magnet inside:
DSCF3376.jpg


I glued the plastic squares onto the leg so the silver things fit in the correct position with an even gap around them:
DSCF3377.jpg


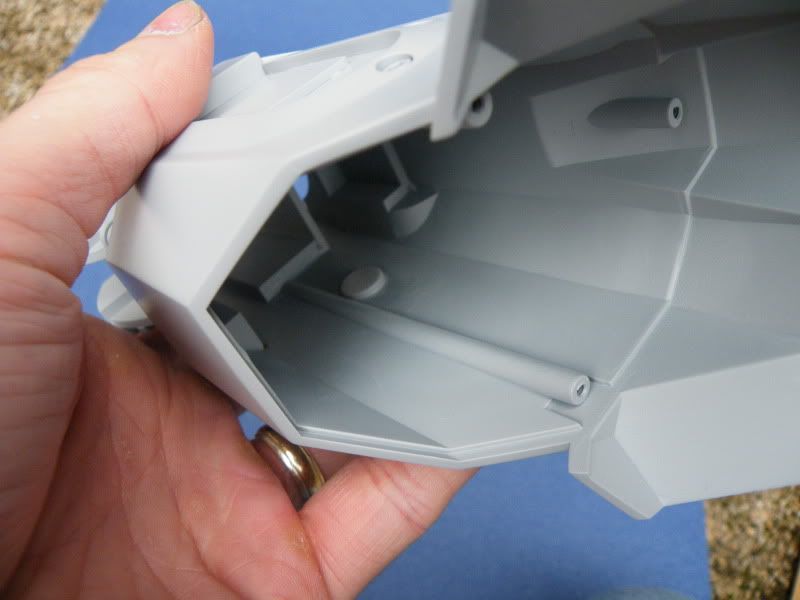
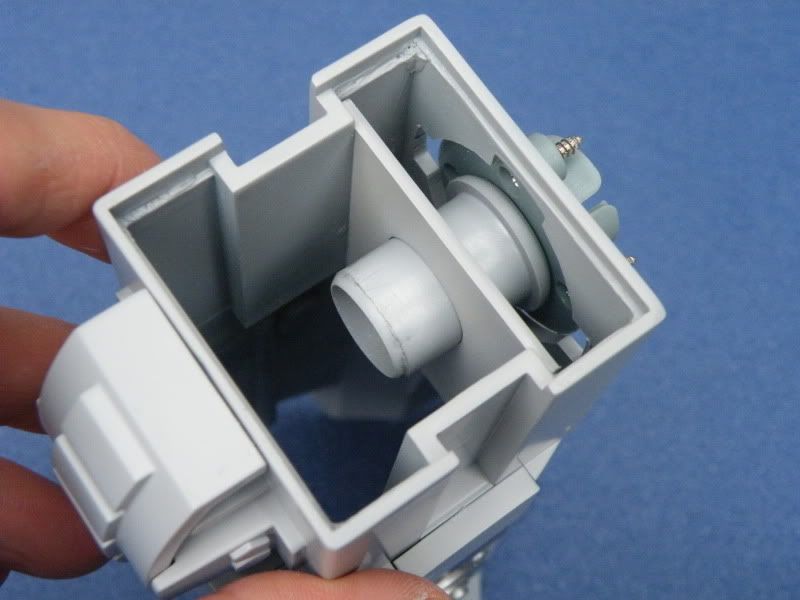
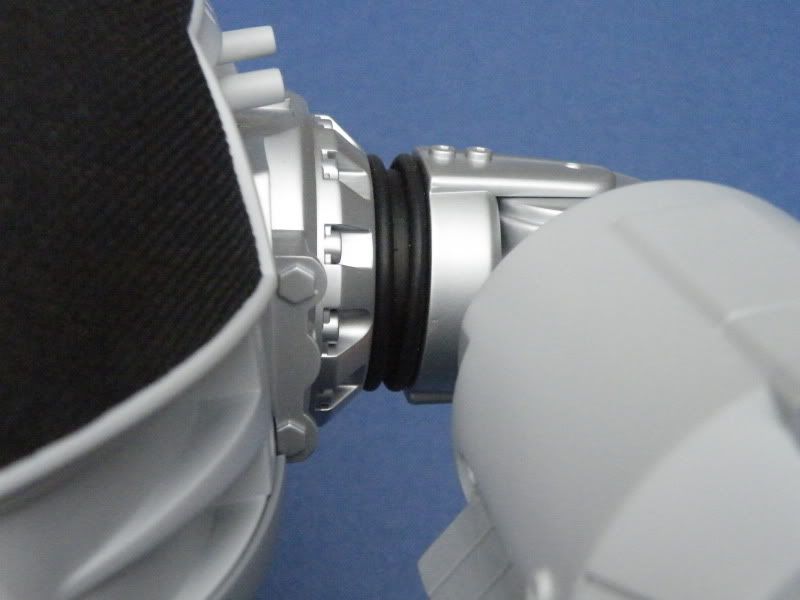
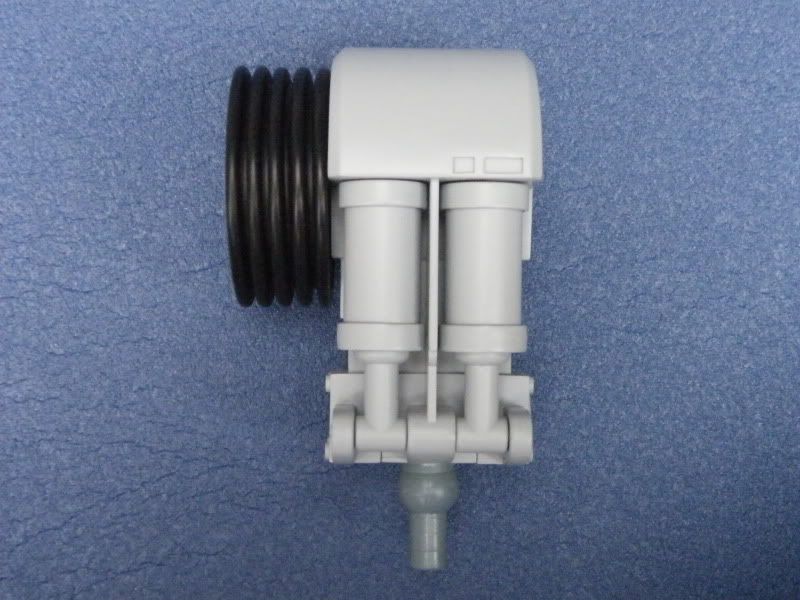
I added the grey plastic tube to the fitting for the upper leg section and added some thick plastic sheet with a hole in it inside of the upper leg. It just gives some extra support to the legs and spreads the load out rather than it all being at the front face of the upper leg:
DSCF3379.jpg


The leg tops just push into place and are a nice tight fit:
DSCF3380.jpg


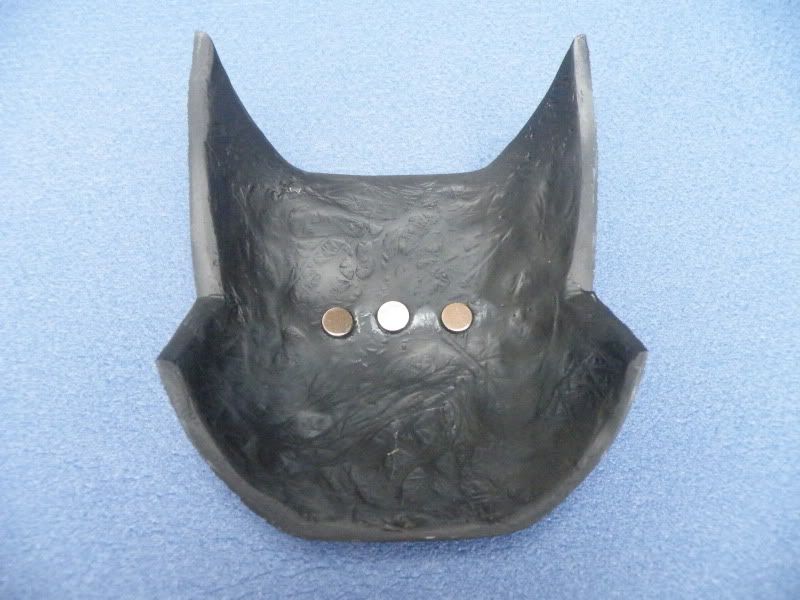
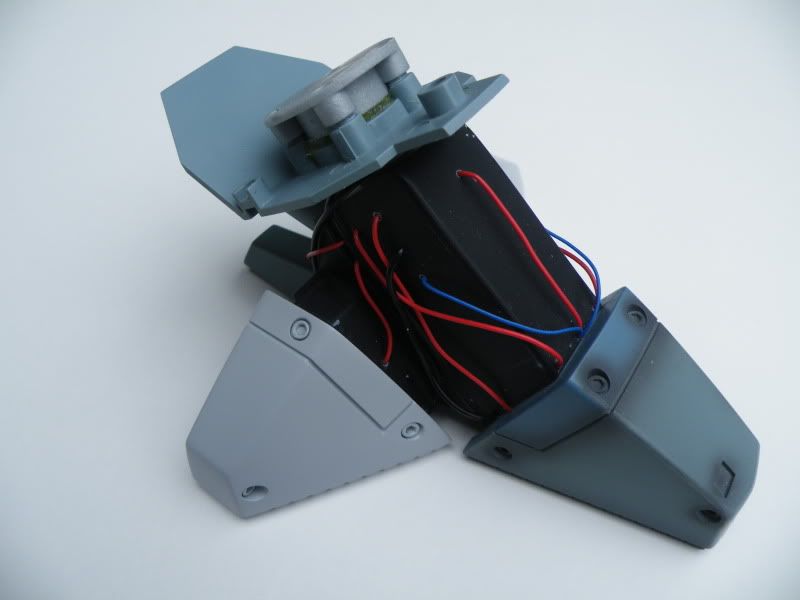
Here is the canopy with magnets fitted:
DSCF3382.jpg


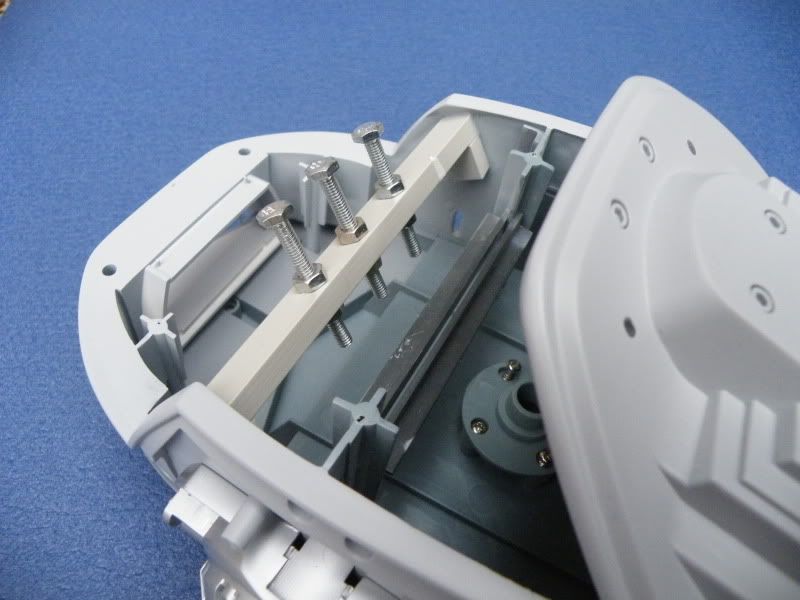
Here you can see the bolts that the magnets in the canopy stick to:
DSCF3381.jpg


DSCF3383.jpg


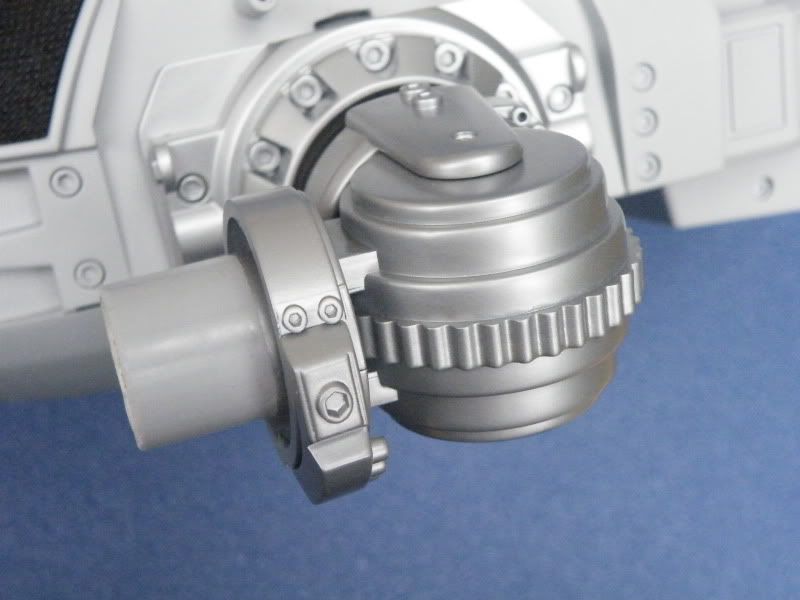
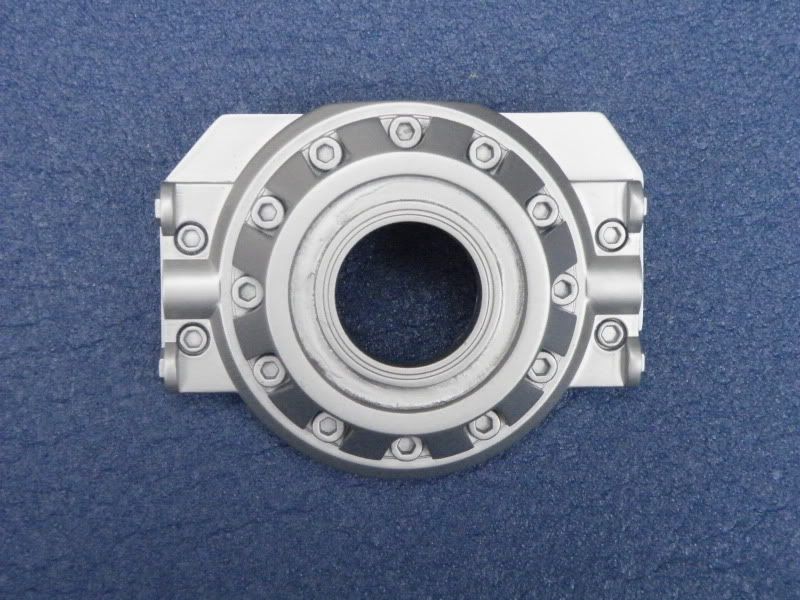
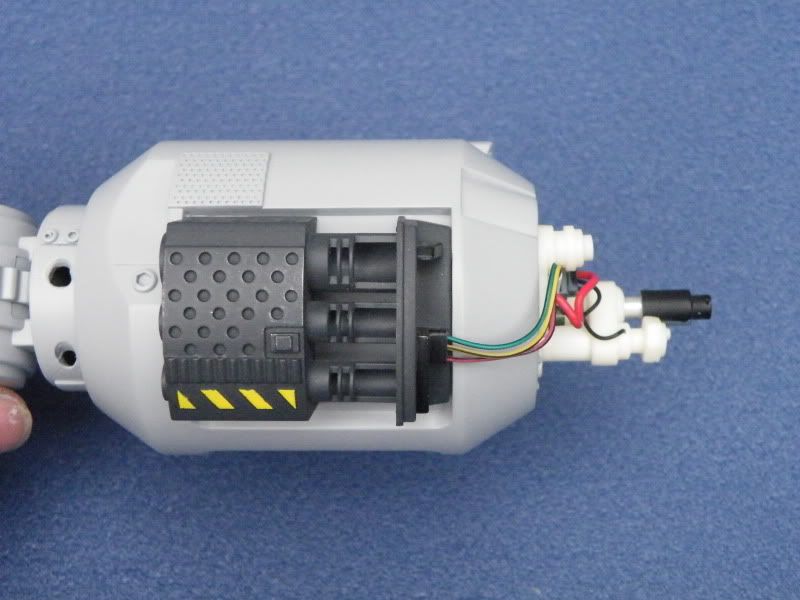
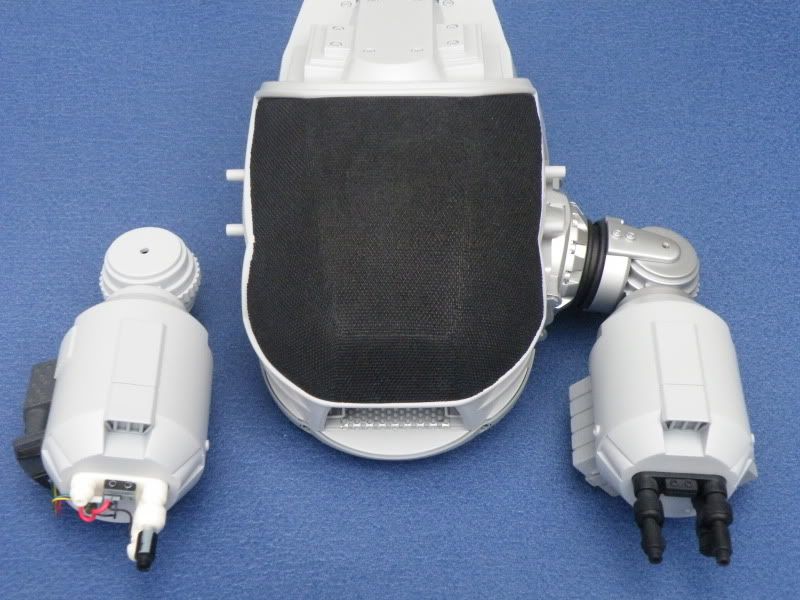
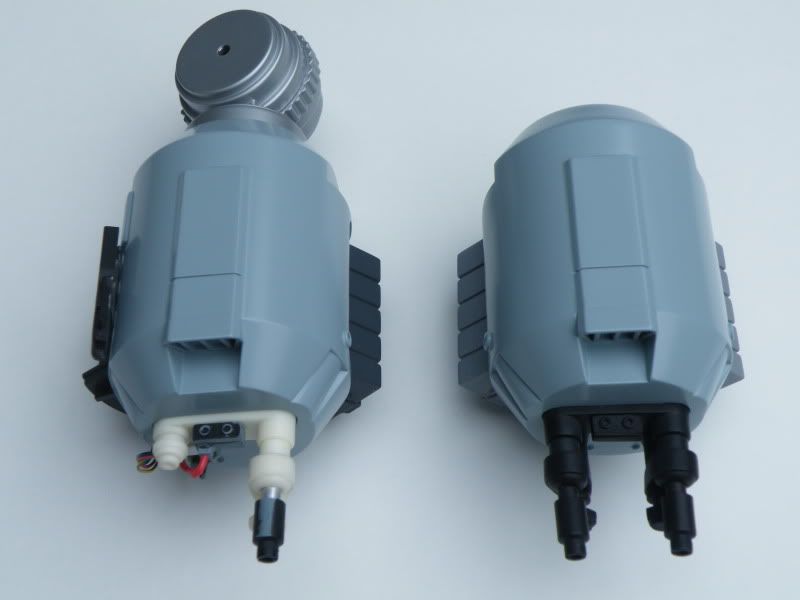
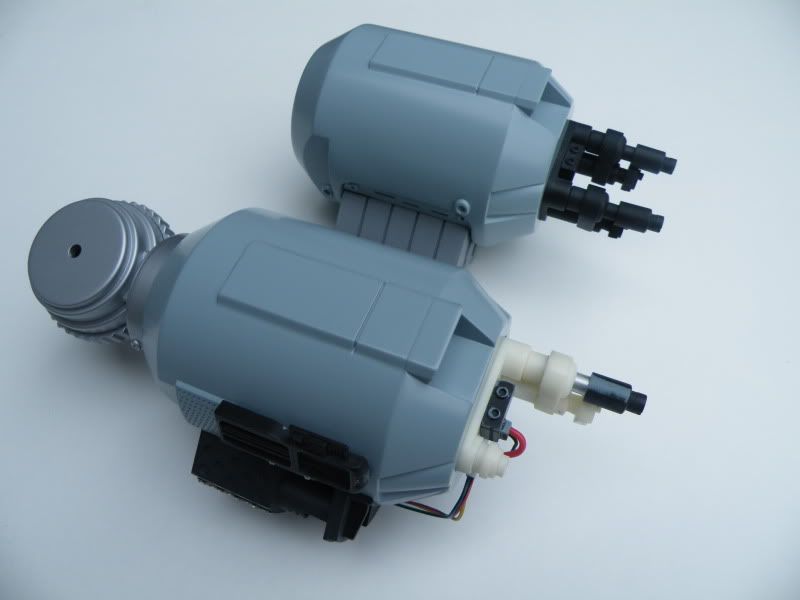
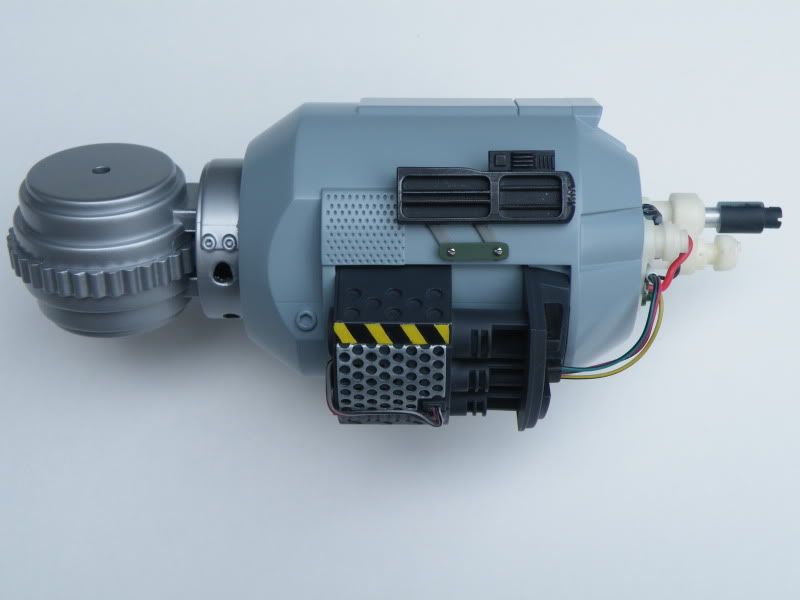
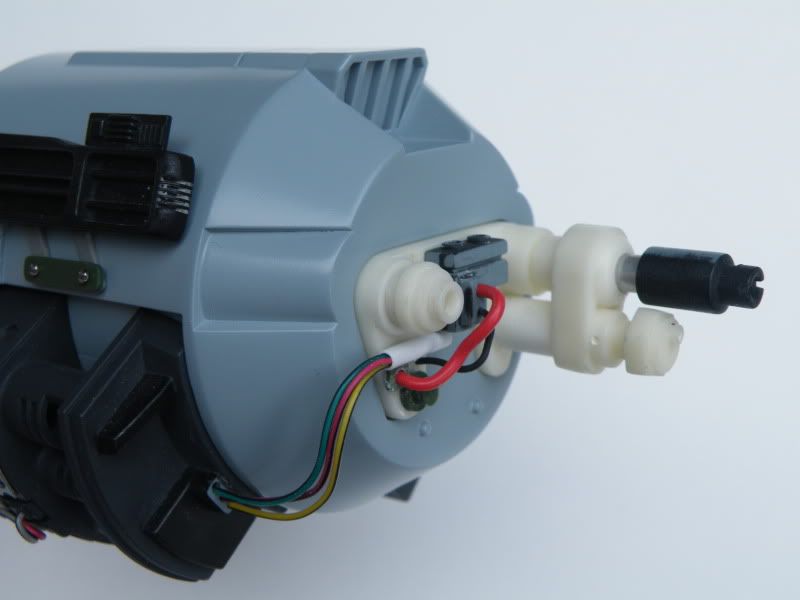
Some parts painted in that nice tamiya silver i was talking about before. Note the tube that the new pod fits on to:
DSCF3384.jpg

DSCF3391.jpg


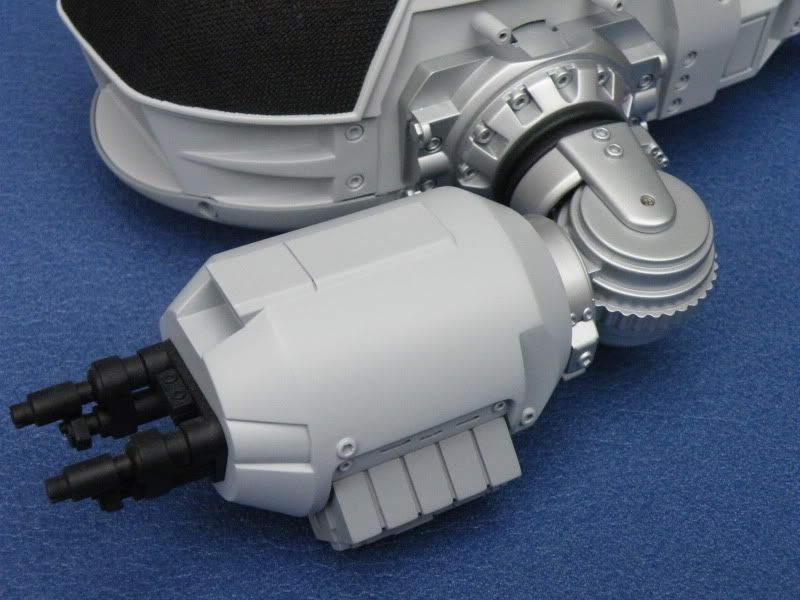
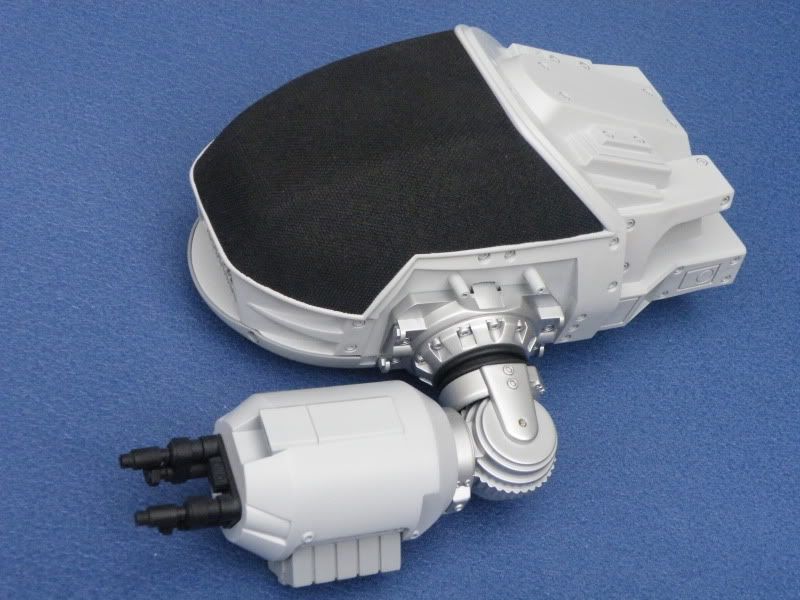
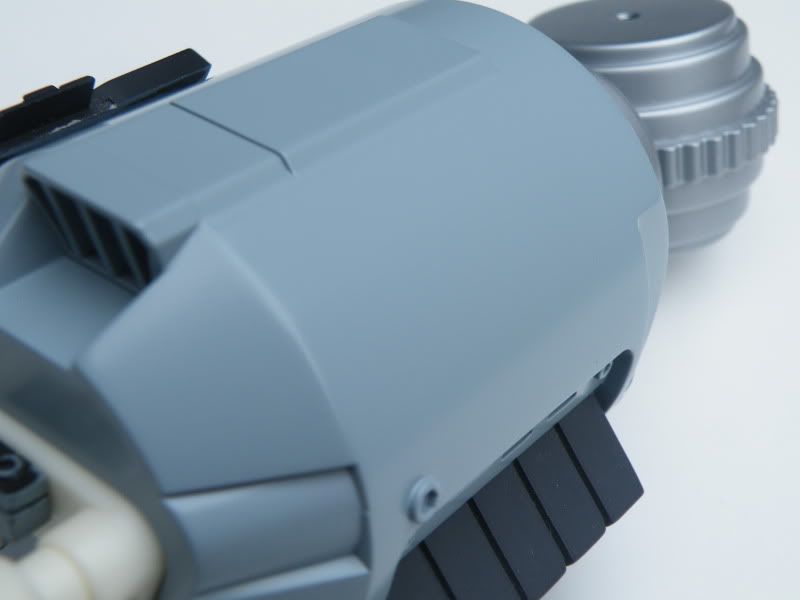
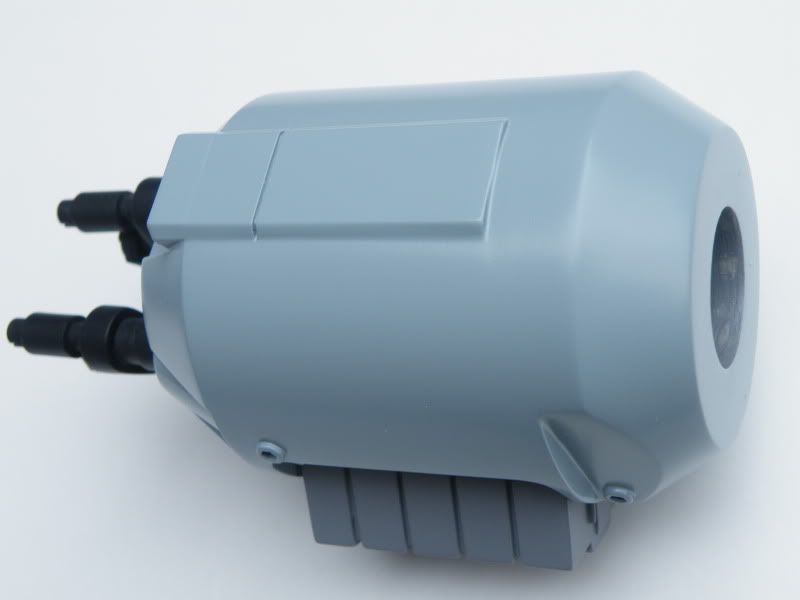
The new pod push fits in place:
DSCF3385.jpg

DSCF3388.jpg


Here you can see the resin arm joint i made to replace the rubber (the black part):
DSCF3386.jpg


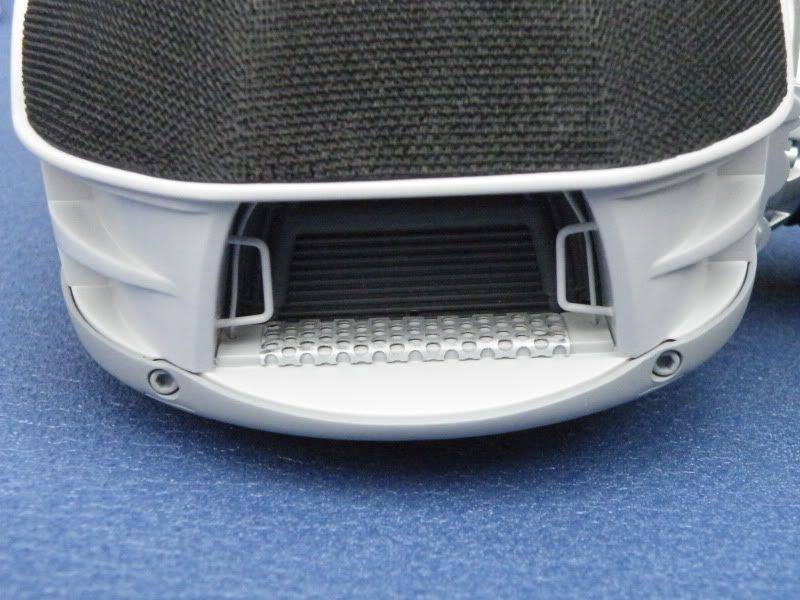
The deeper more detailed mouth:
DSCF3387.jpg


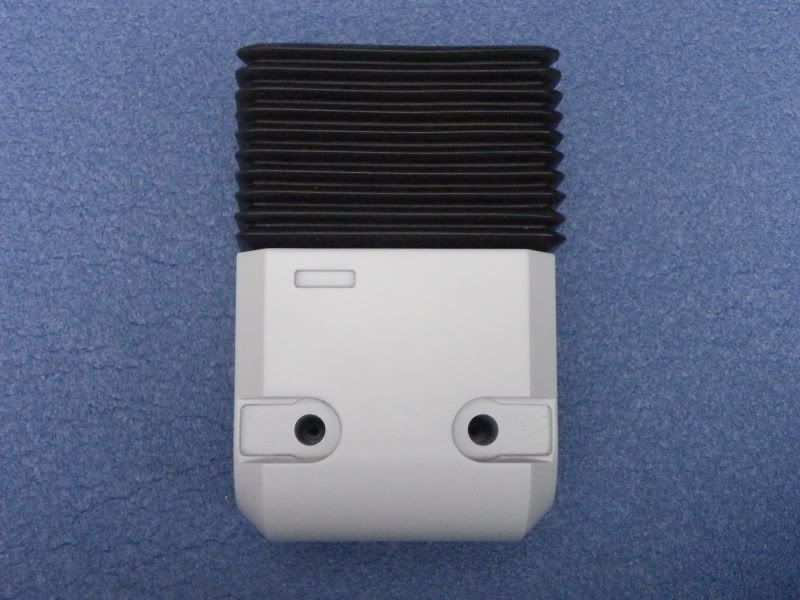
The new resin neck painted black:
DSCF3389.jpg

DSCF3390.jpg


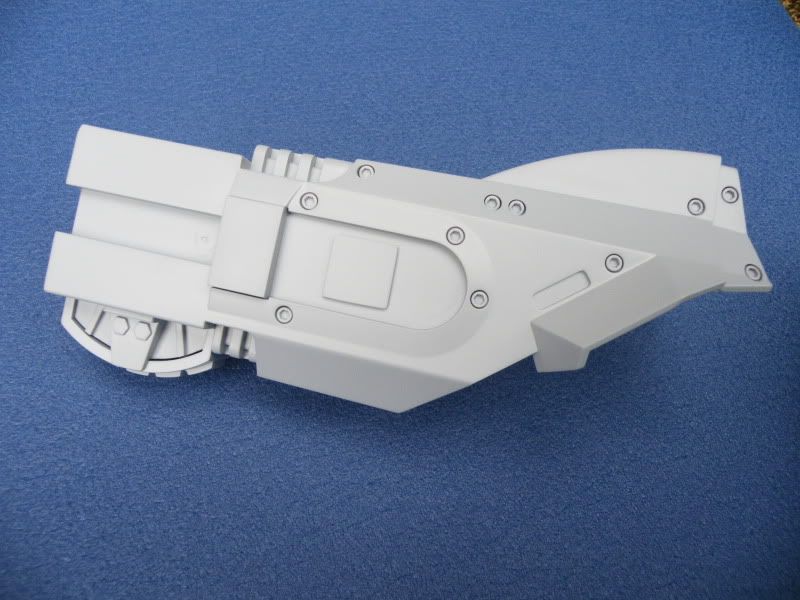
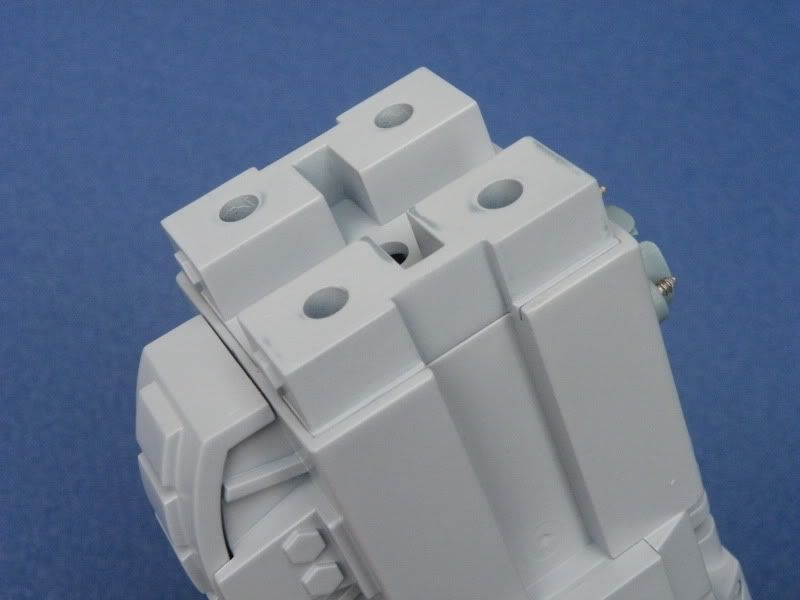
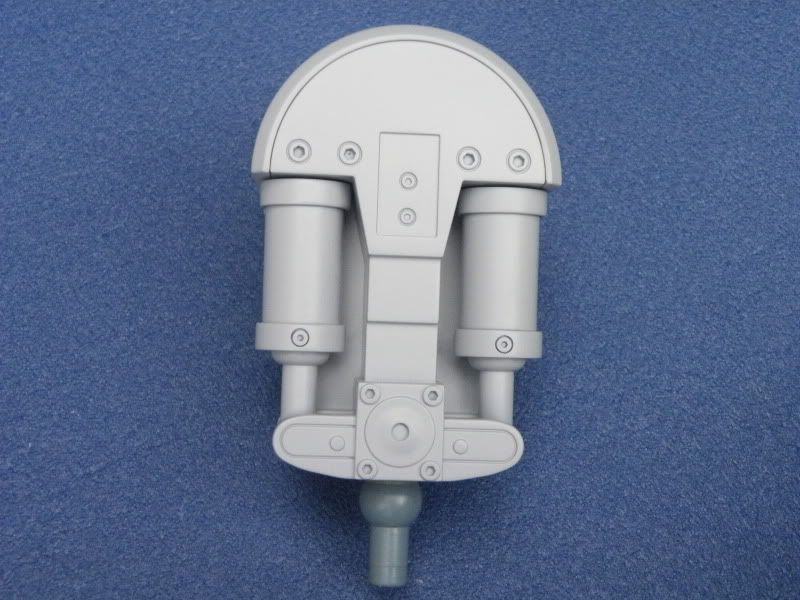
Upper leg section in primer. There are 8 parts to each upper leg section and every part was primed separately. Its just been push fitted together here for the photos:
DSCF3393.jpg

DSCF3394.jpg


The new resin hip joints in final black paint:
DSCF3401.jpg

DSCF3392.jpg


Some toes:
DSCF3395.jpg


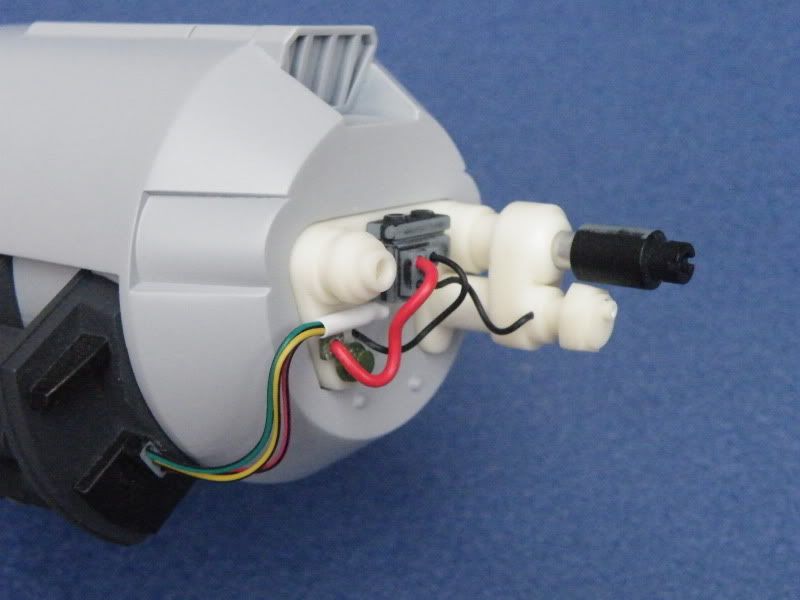
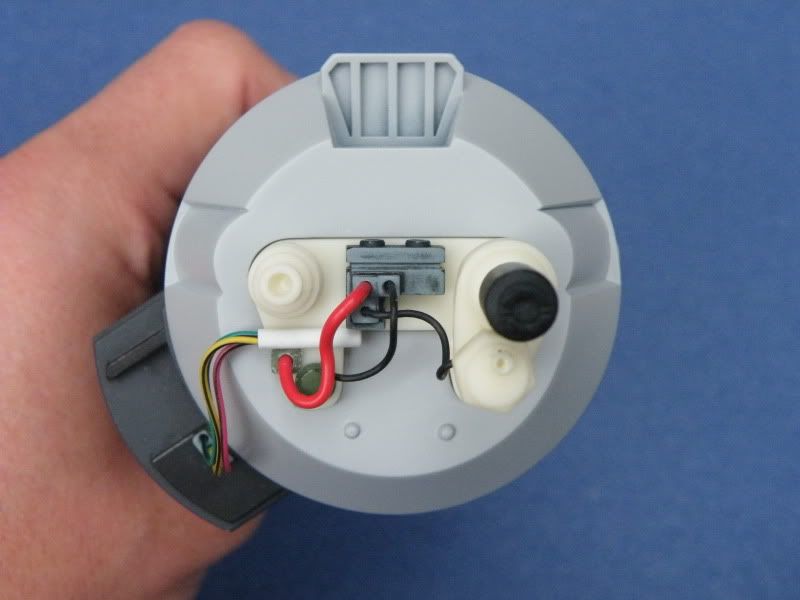
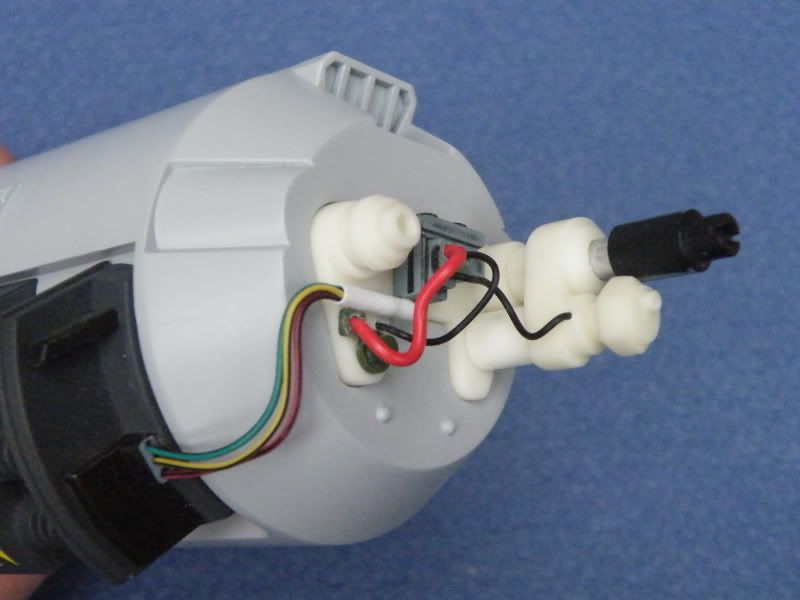
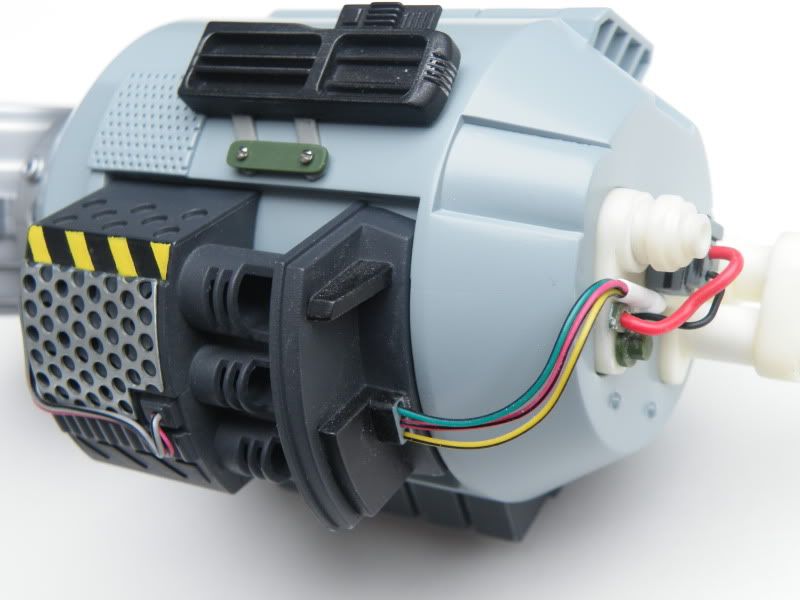
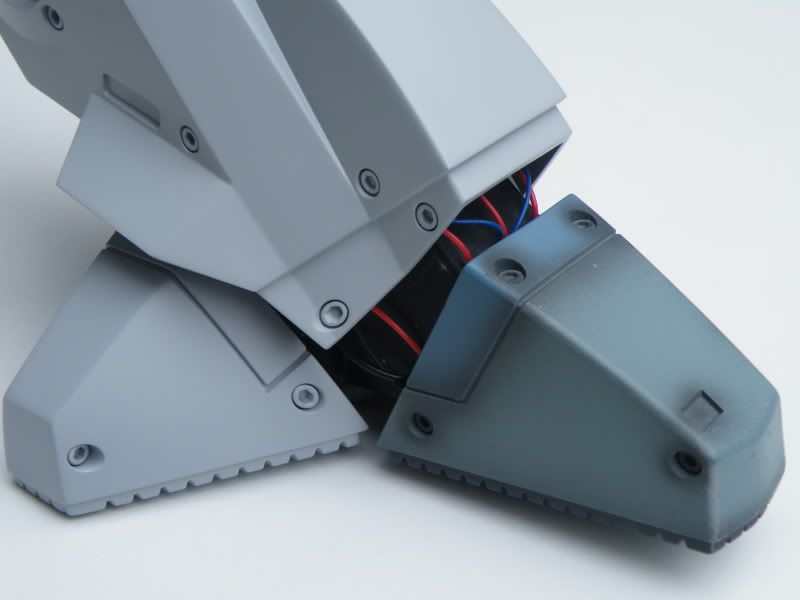
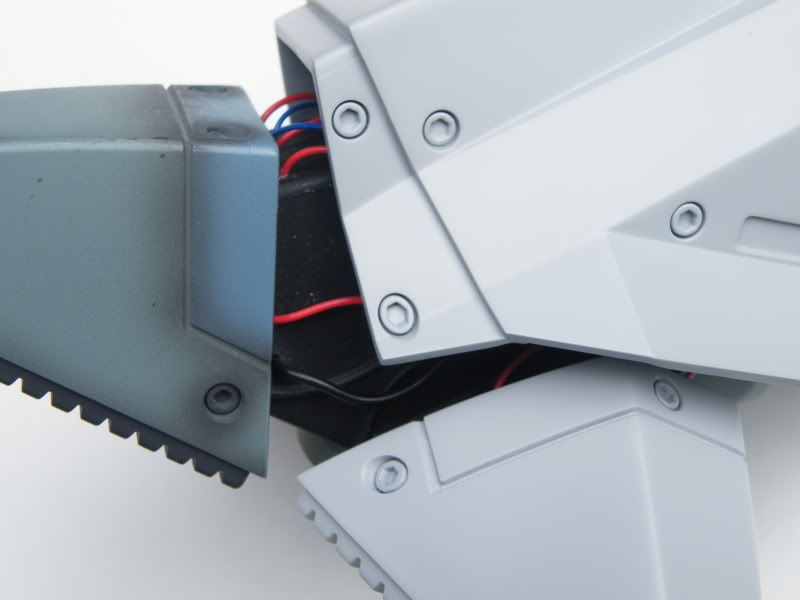
Some test fitting of the wires on the right pod. The red wire is still a little too long here:
DSCF3396.jpg

DSCF3397.jpg

DSCF3398.jpg

DSCF3399.jpg


DSCF3400.jpg


Keith.
 
Last edited:
Re: ED-209 rebuild

holy crap that is looking amazing! watching this all come together is so enjoyable and inspiring Keith!

gunna be the best 209 out there i reckon.
 
Re: ED-209 rebuild

hey Keith, that is awe inspiring

one question

the sheet metal that you used for the detail on the inside of the mouth
where did you get that from (I ask because I was looking for something similiar for a project, and couldn't find anything, wound up hand drilling a bazillion holes in sheet styrene instead...)
 
Re: ED-209 rebuild

Thanks everyone.

I don't know where the metal with the holes comes from. I've had it for years as i used to use it for the eye lens on my predator helmets. I think a friend of mine from the boards may have sent it to me. Robosteve maybe?

I received the final colour today which is Tamiya Light Ghost Grey. I only ordered one can to test it, but its a perfect colour IMO, so i am going to order 7 more cans.
Both pods and the pelvis are now painted in the final colour, but thats as far as one 100ml can goes.

Does anyone know where to get a good deal on the Tamiya spray cans? I've been buying them off ebay, but its $7 shipping for the first can and $3.50 for every additional can.

Keith.
 
Re: ED-209 rebuild

I will have had enough of working on ED-209 by the time this is finished. I'm a bit worn out, but i'm really looking forward to the final assembly and seeing how it looks, so thats keeping me going.

Keith.
 
Re: ED-209 rebuild

Here is the rocket launcher after some work:
Picture279.jpg


The gun pods are now in the final base colour:
Picture542.jpg

Picture544.jpg

Picture539.jpg

Picture284.jpg

Picture540.jpg

Note the added rivets to match the original:
Picture541.jpg


The rocket launcher targeting thingy has been reworked and screws onto the pod with two tiny screws, so it can be removed. It still needs to be painted:
Picture283.jpg

Picture285.jpg

Picture282.jpg


Keith.
 
This thread is more than 9 years old.

Your message may be considered spam for the following reasons:

  1. This thread hasn't been active in some time. A new post in this thread might not contribute constructively to this discussion after so long.
If you wish to reply despite these issues, check the box below before replying.
Be aware that malicious compliance may result in more severe penalties.
Back
Top