el loco
Well-Known Member
Re: Y oh Y oh Y
Hey Guy, hey Daniel,
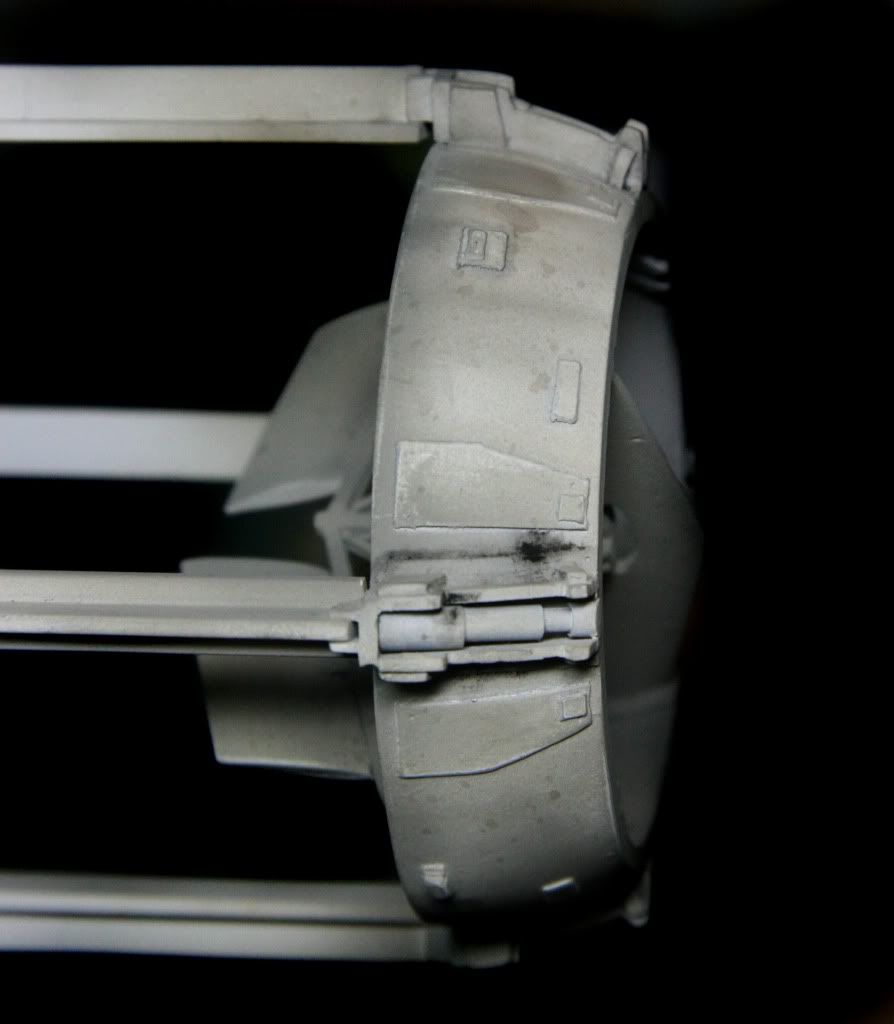
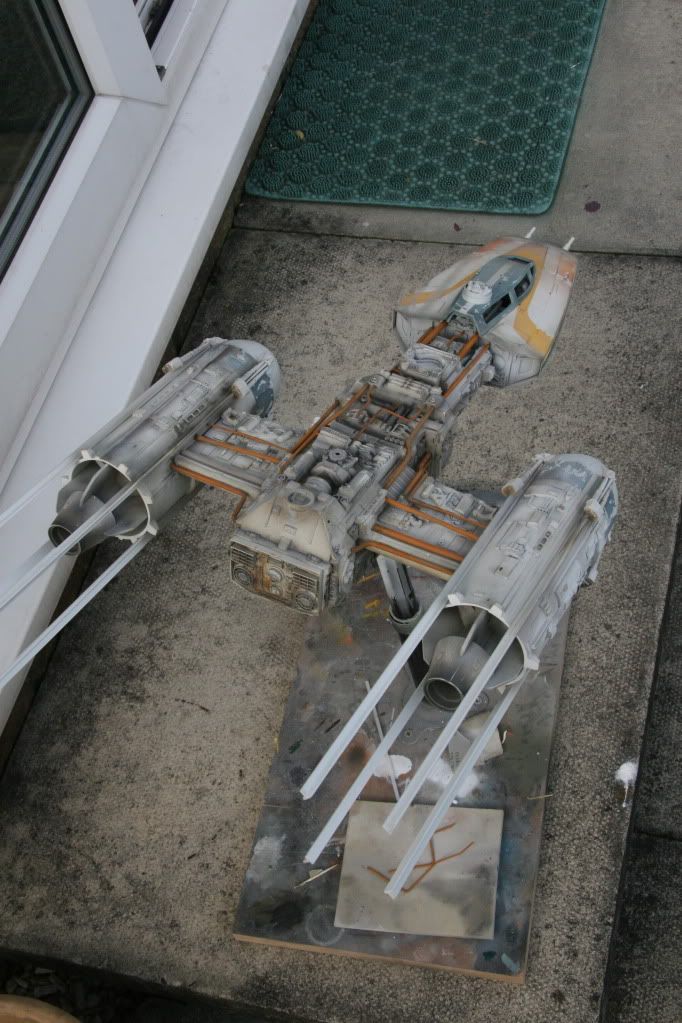
yes, in the Neissen Kit they are 31-33 mm,
but i guess it's too small (compared to the org. studio Y's)
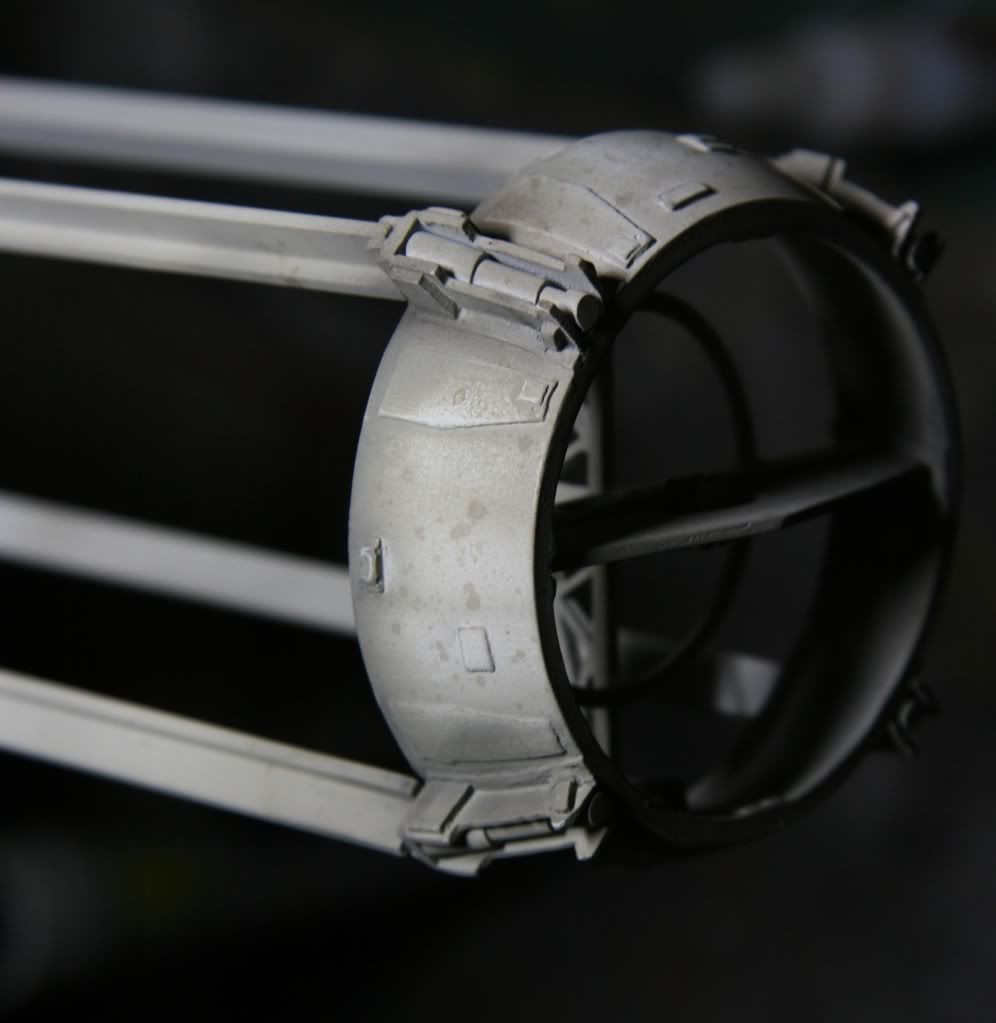
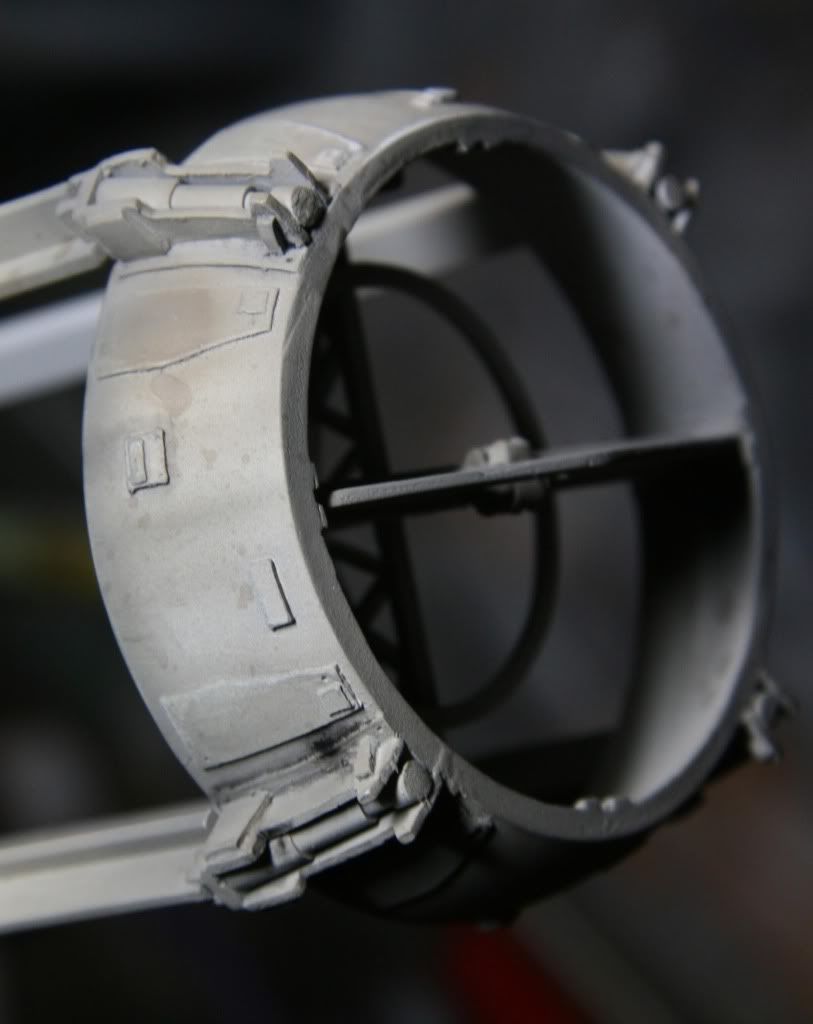
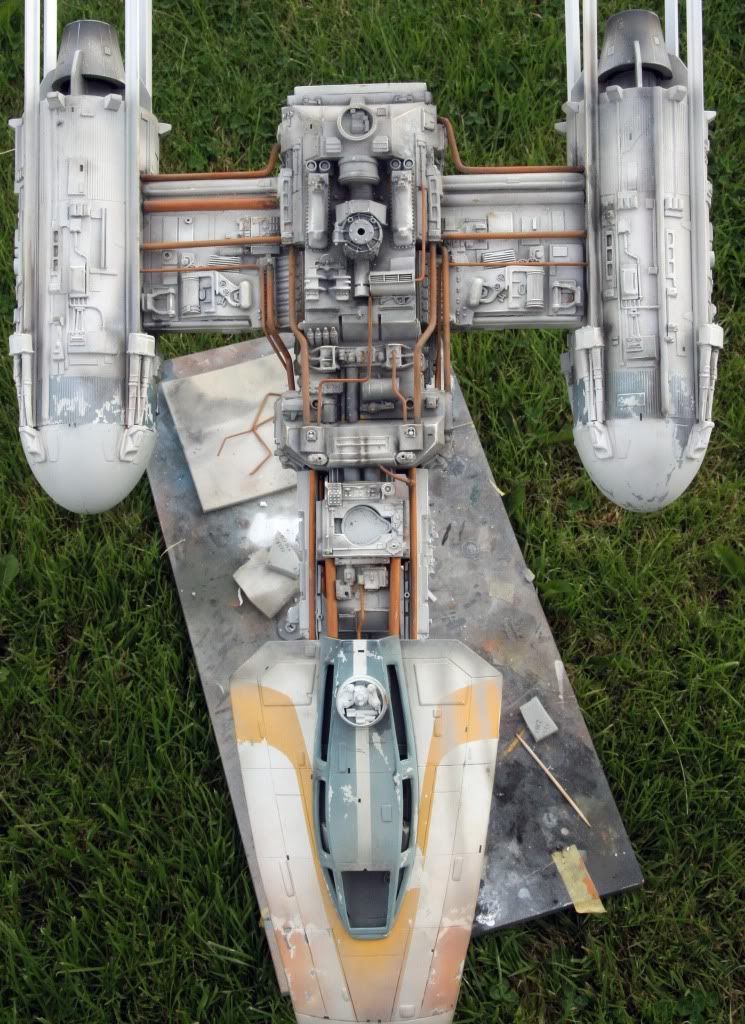
I think the rings are around 40 mm (2 mm) on the org. Models.
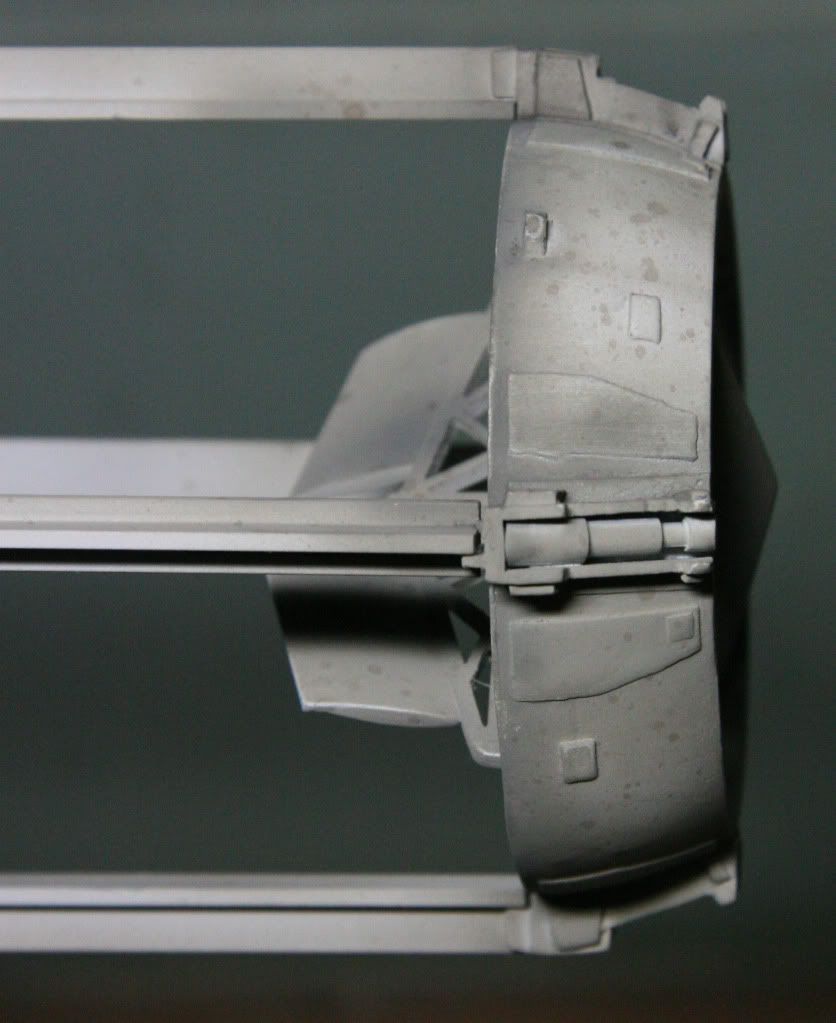
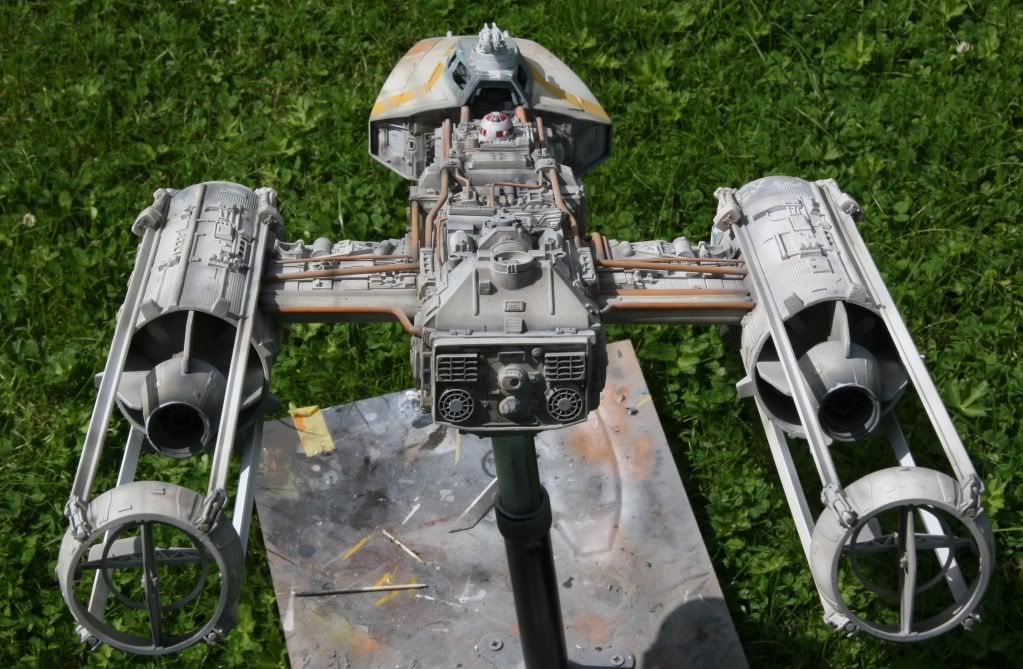
I use 40 mm pipe for the rings in my new tail units.

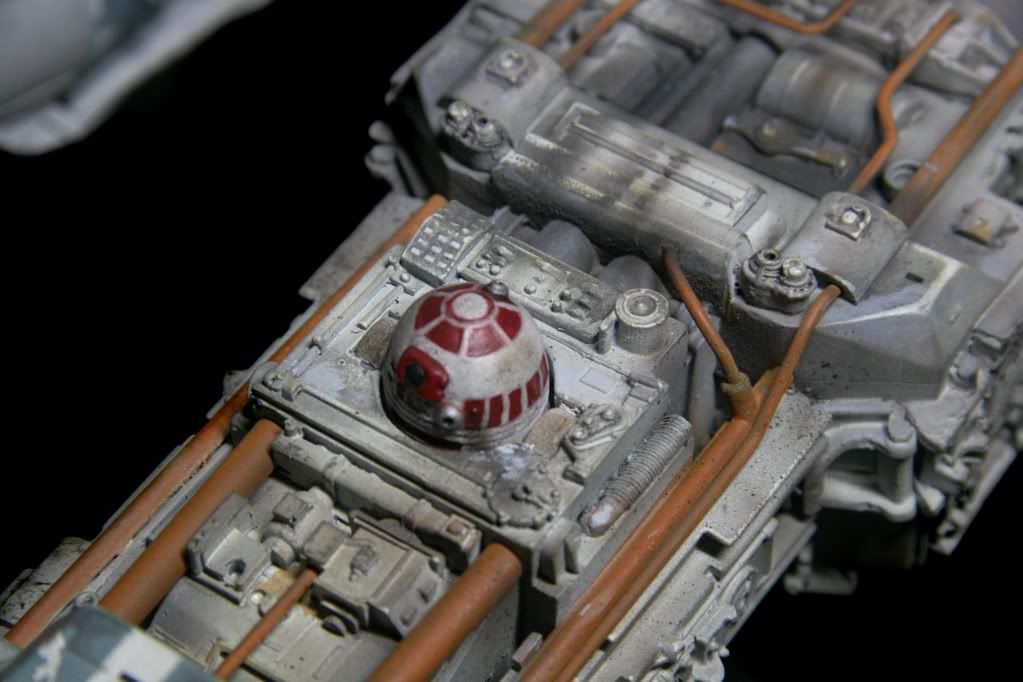
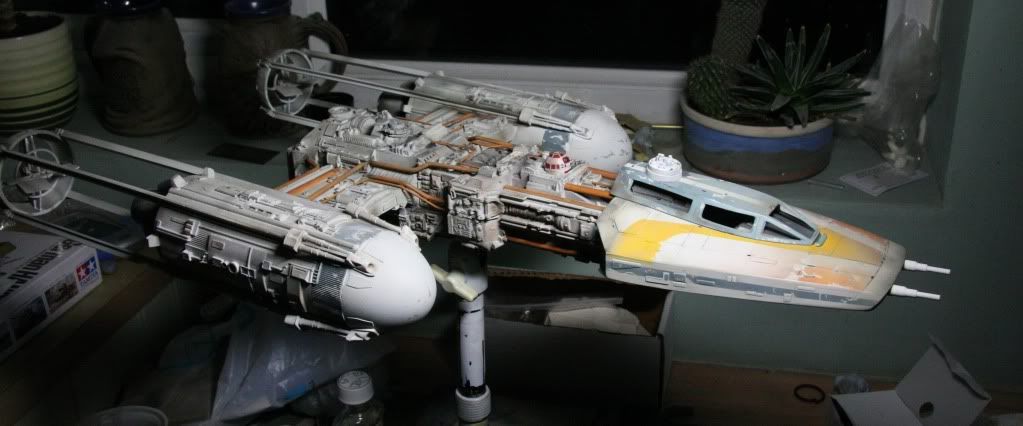
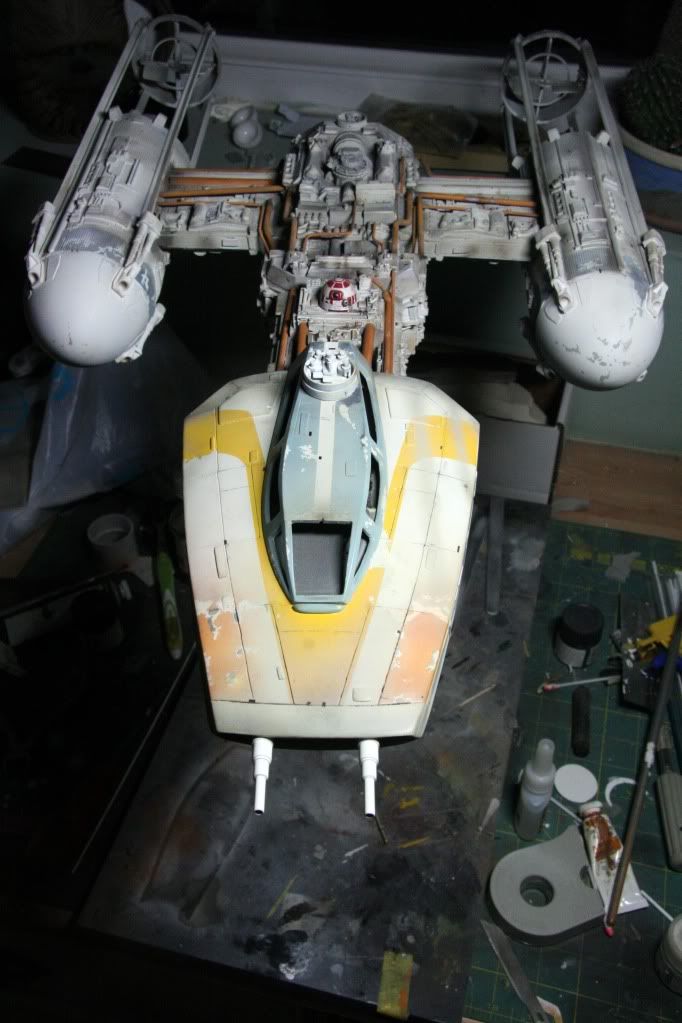
Guy, again your paintjob is excellent :thumbsup
Hey Guy, hey Daniel,
yes, in the Neissen Kit they are 31-33 mm,
but i guess it's too small (compared to the org. studio Y's)
I think the rings are around 40 mm (2 mm) on the org. Models.
I use 40 mm pipe for the rings in my new tail units.
Guy, again your paintjob is excellent :thumbsup
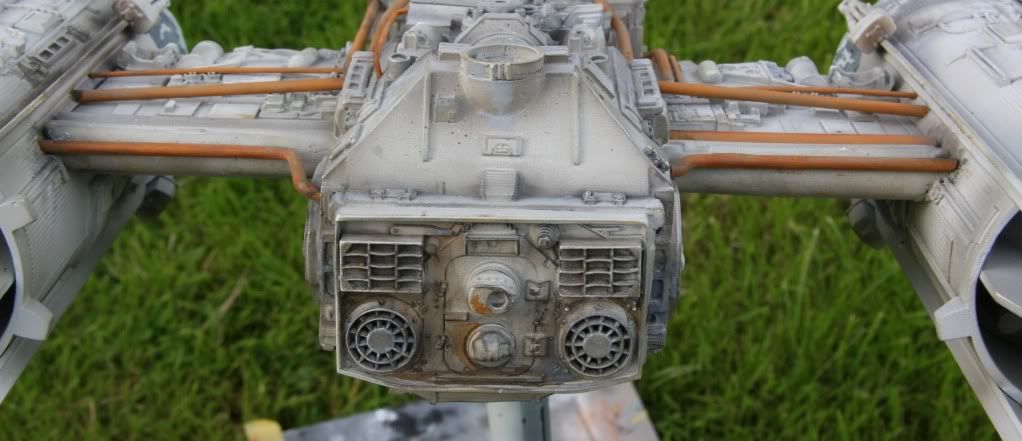
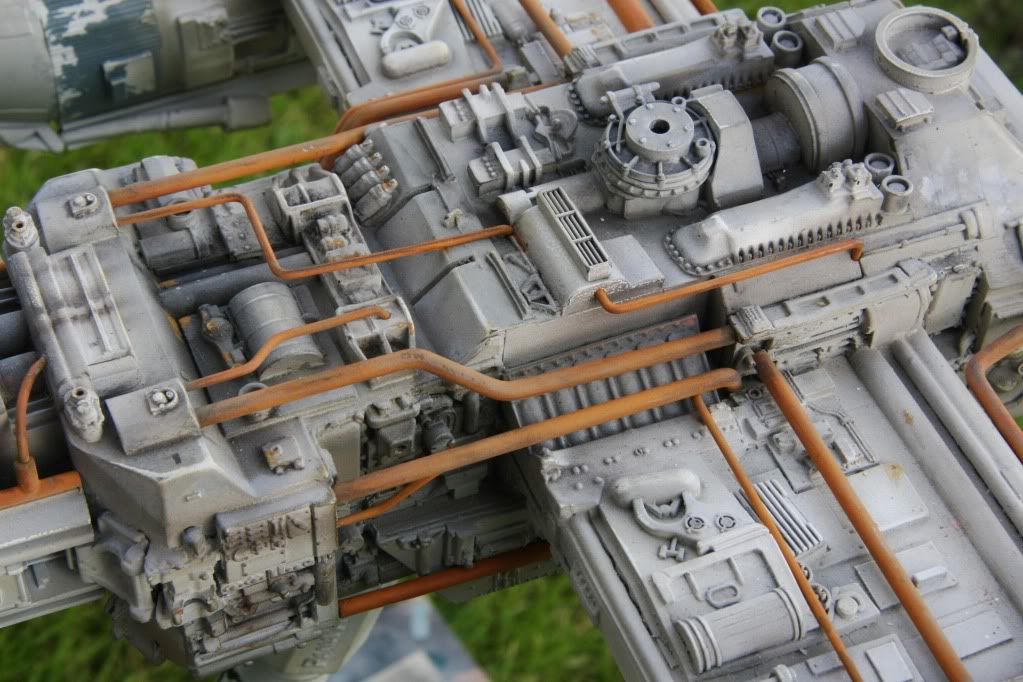
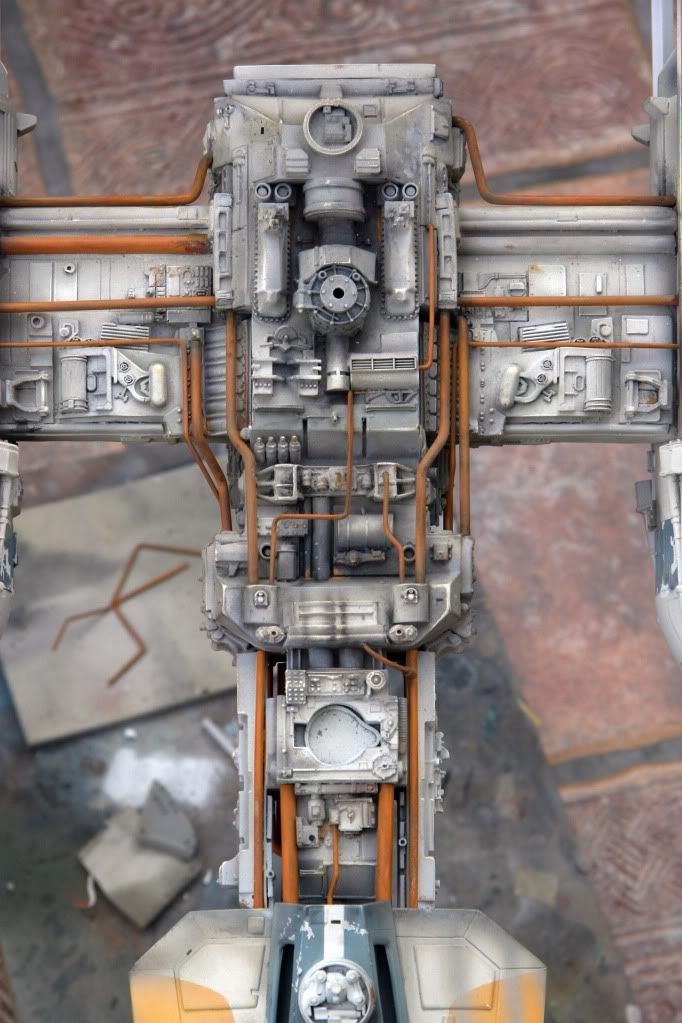
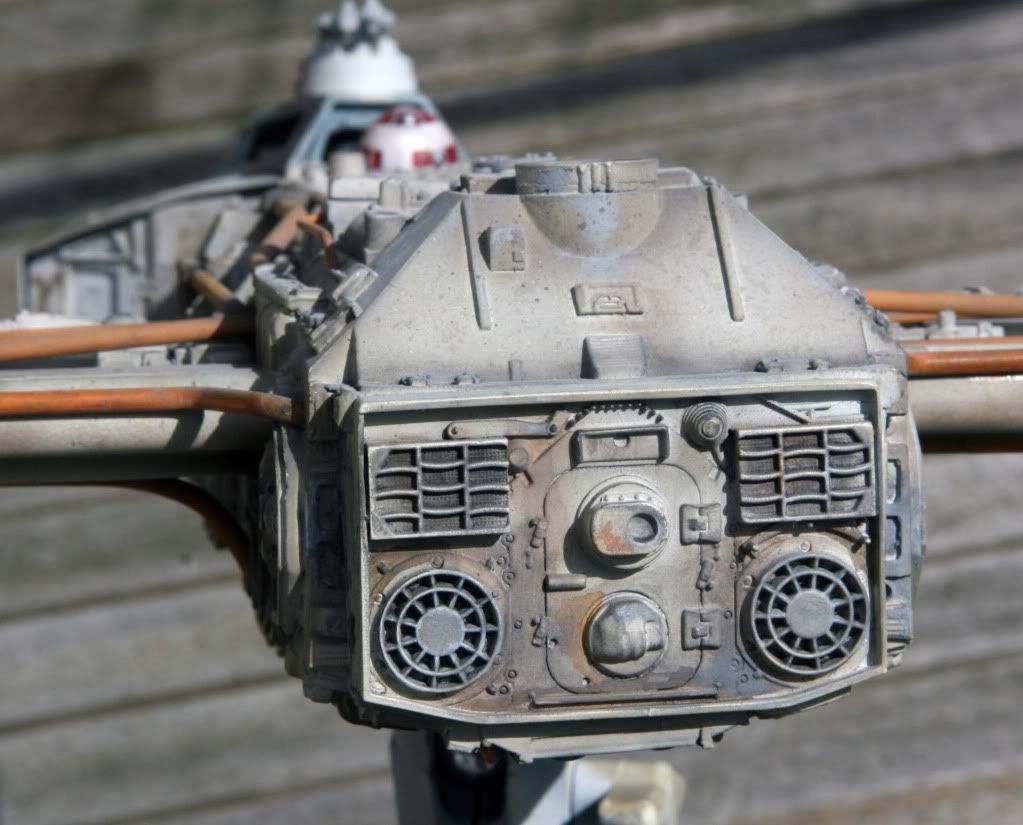
") Piping color looks spot on.
Piping color looks spot on.