salemsfguy
New Member
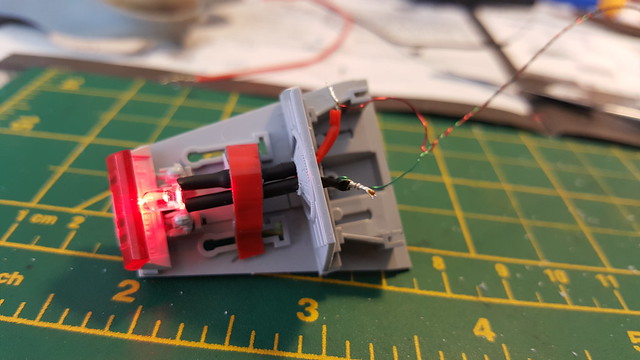
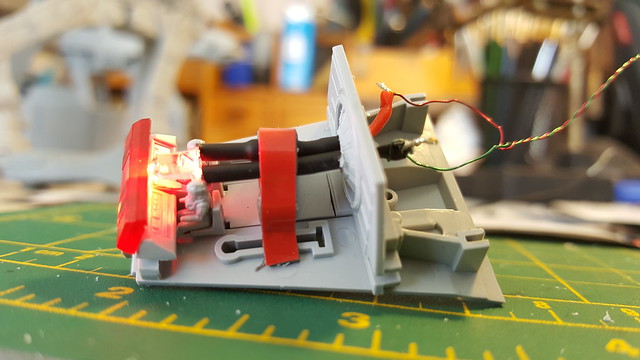
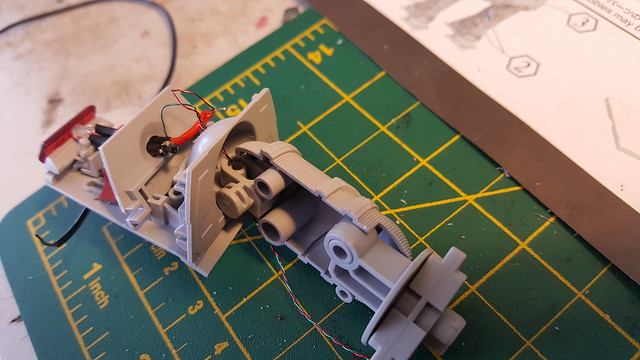
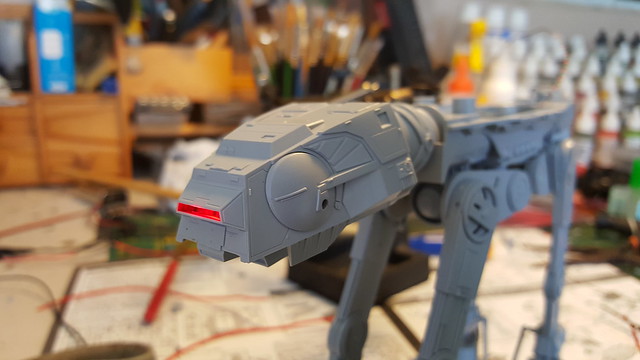
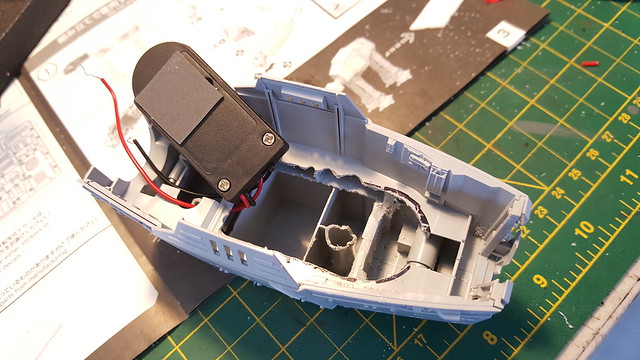
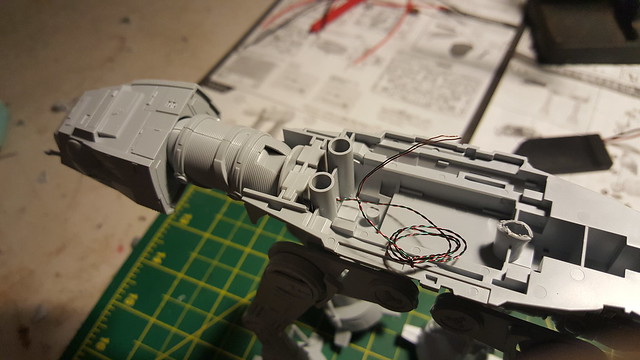
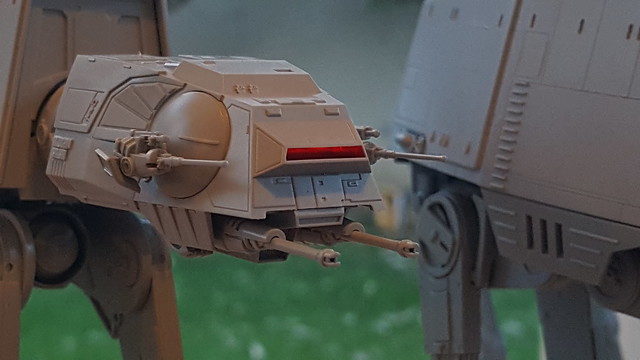
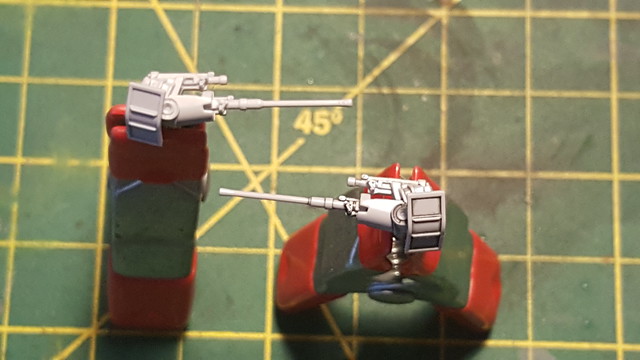
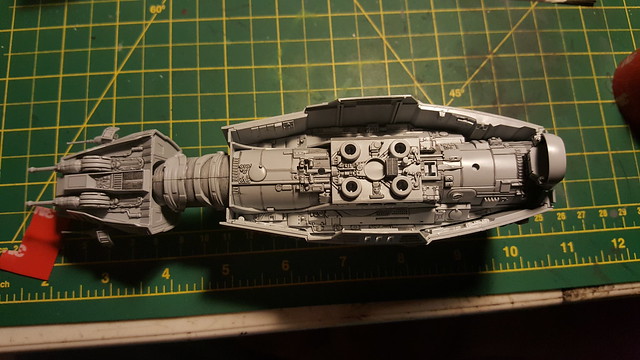
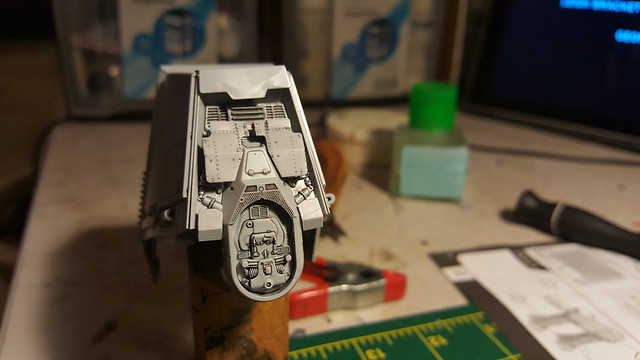
Thats a red LED behind the red colored lens.
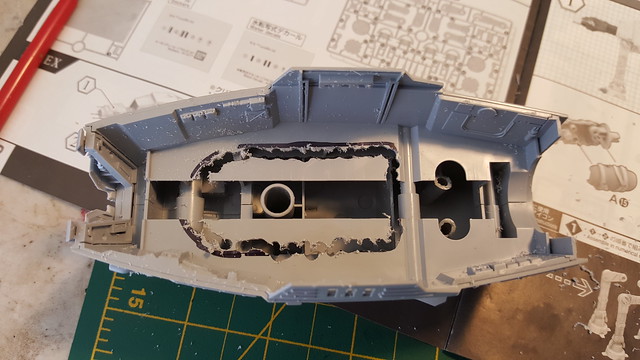
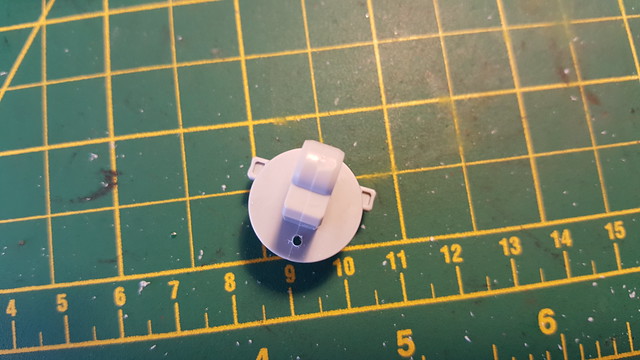
Nice work! I have to ask... I've been playing with lighting mine as well and I discovered that part A2 has a pair of terrible ejection pin marks. And when I stuck an LED in the head (I'm using a 3MM Red LED as well) all I could see were those @#$% marks! So I ended up sanding the inside until they were gone, but now you can't see anything inside (of course you really couldn't see anything before).
Did you have that problem? It's a shame to waste that detail, but the "glass" is pretty thick anyways.
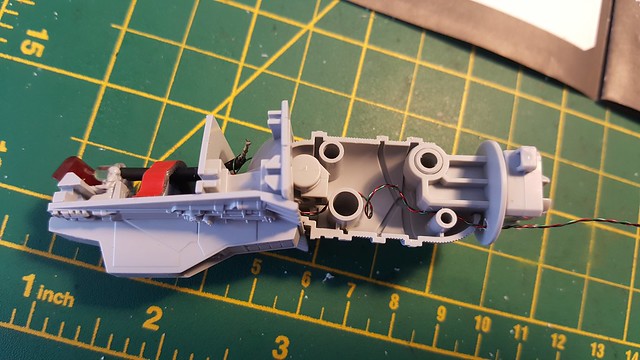
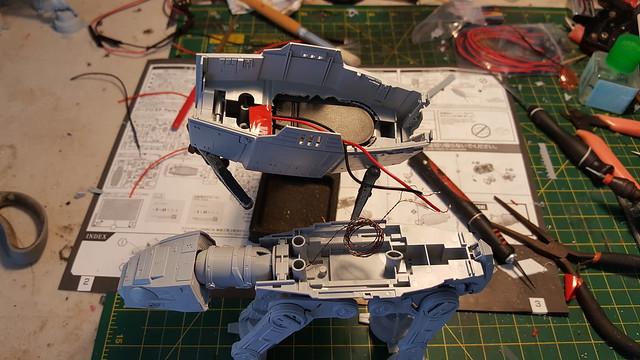
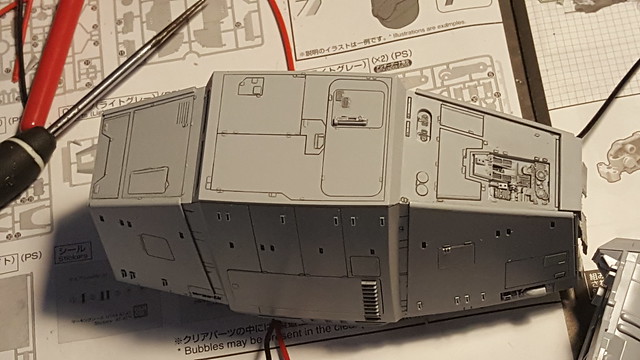
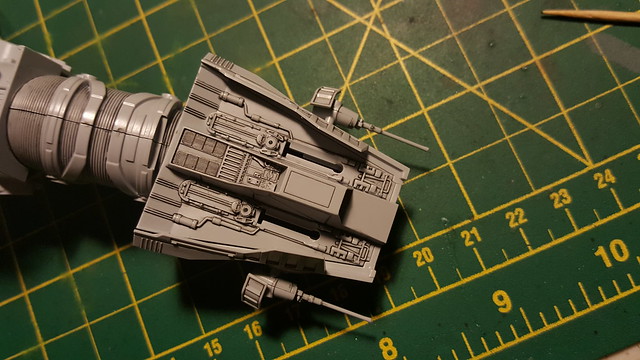
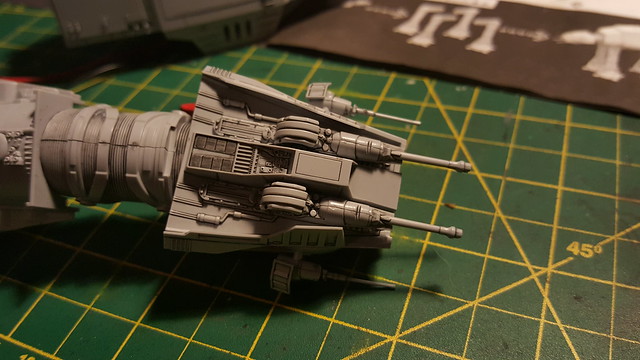
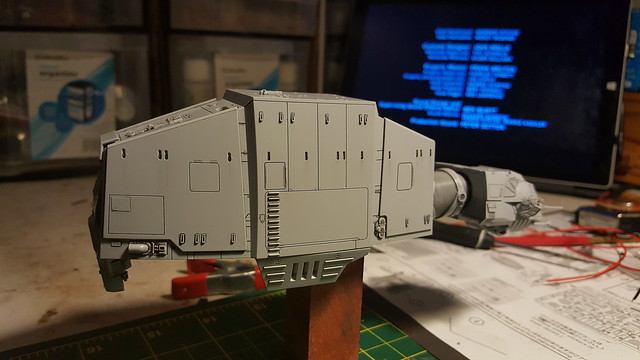
Upper body goes over it and fitment is perfect with minor surgery required.
Can I ask you to elaborate here? Are you talking about trimming those tabs on B1 and B2 on the back of each side? I did that and it seemed to allow the top to be removed but it's still a bit tight and fiddly. Is there another change that should be made?
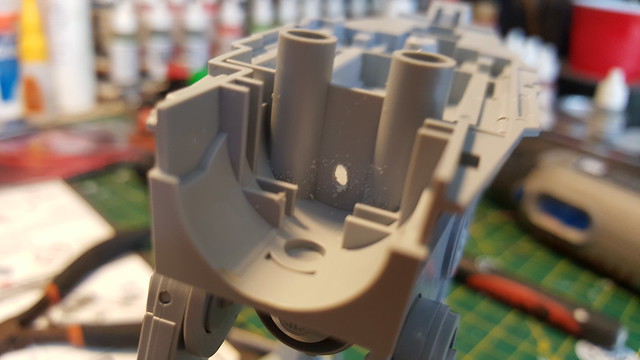
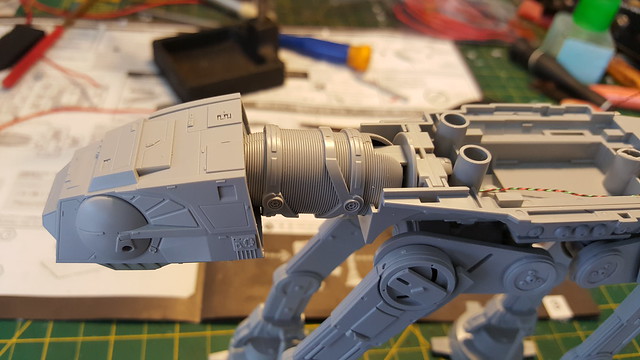
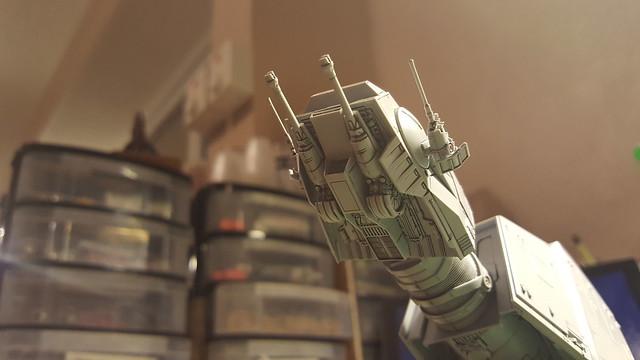
Man the parts fit is so tight on this thing - I ended up breaking the mounting peg for part A6 just trying to dry fit and then disassemble the head.
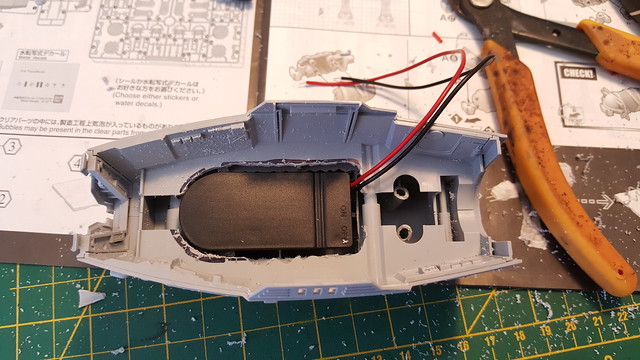
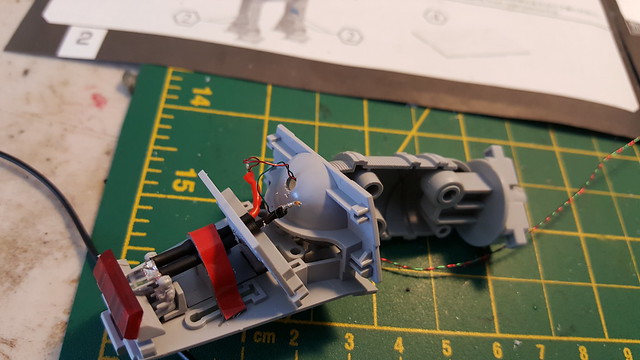
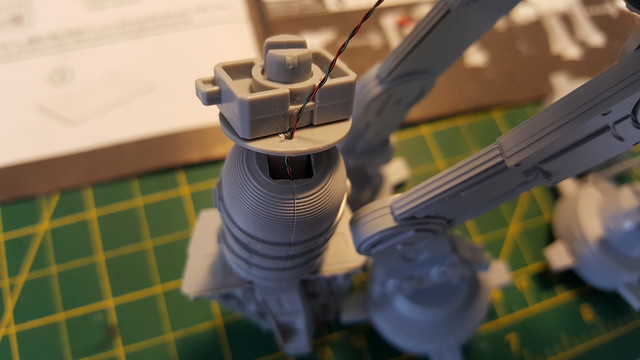
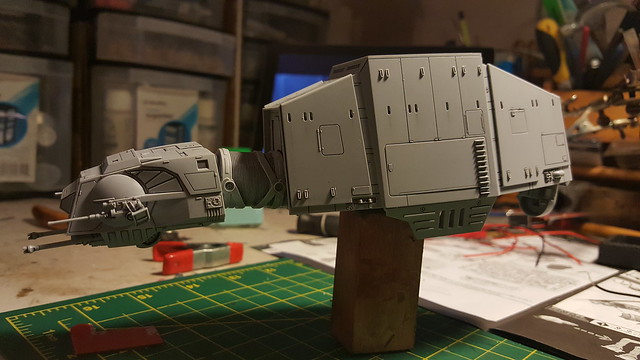
Do you have any comments about routing wire from the head to the body? I'm looking at drilling a hole in A25 plus a bit of hacking to A14/A15 to pass the wires, with a hole in A6 (which is possibly a mistake?).
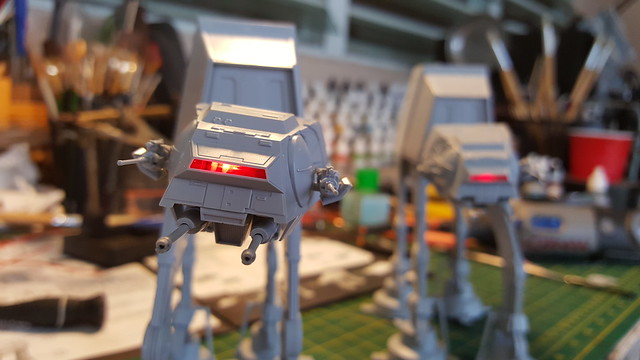
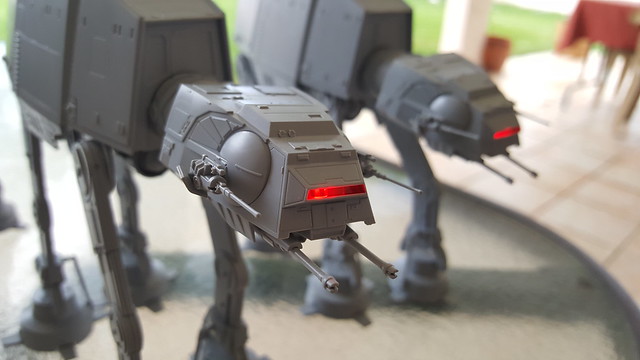
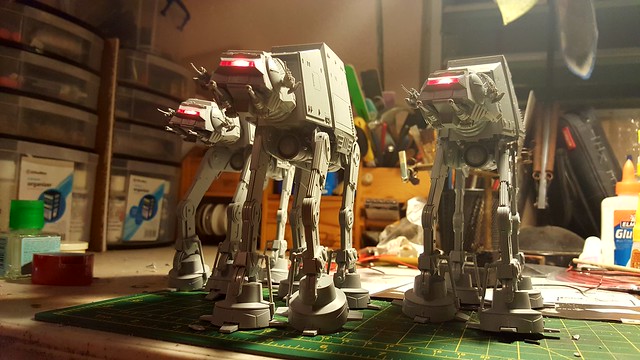
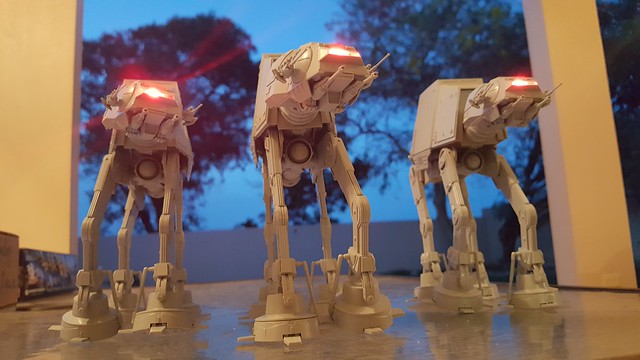
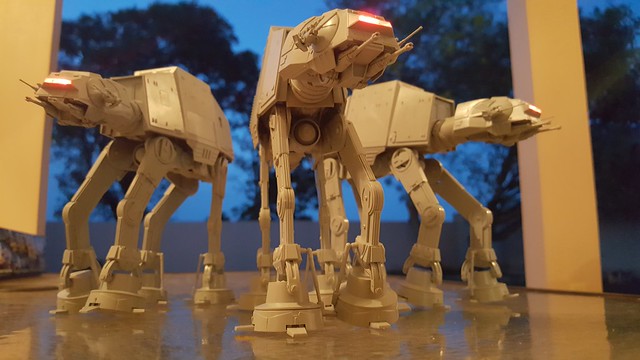
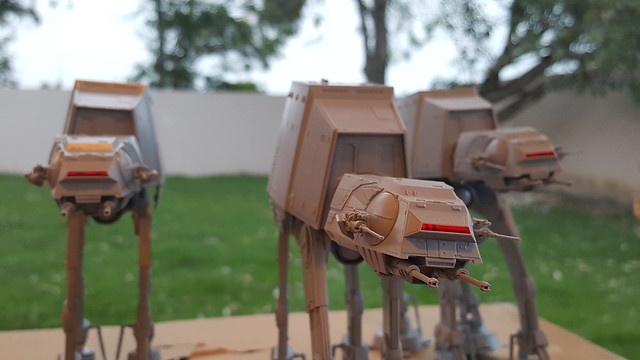
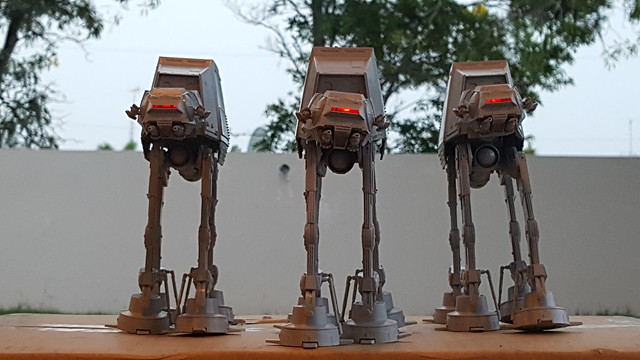
I'Im also considering building all these three AT-ATs into a diorama. One of them would be down with two still standing walkers flanking it. What would have been a simple build is getting a tad complicated.
Nice! I'm really impressed with this kit. I've got a pair (well, one kit has a broken A6 and needs some attention) and I'm thinking of adding a third to display with my pair of AT-ST's.
Looking forward to seeing more progress.
Regards,
Brad.