1/6 Scale X-wing Cockpit Only

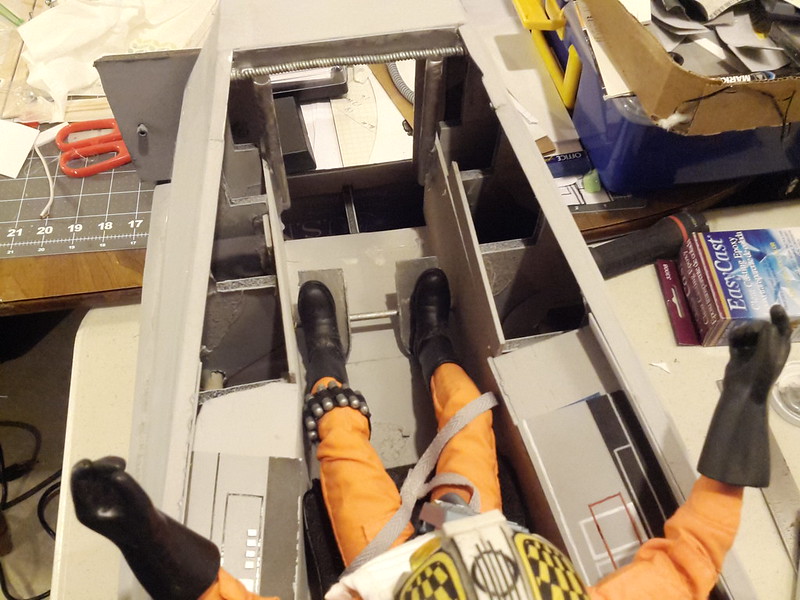
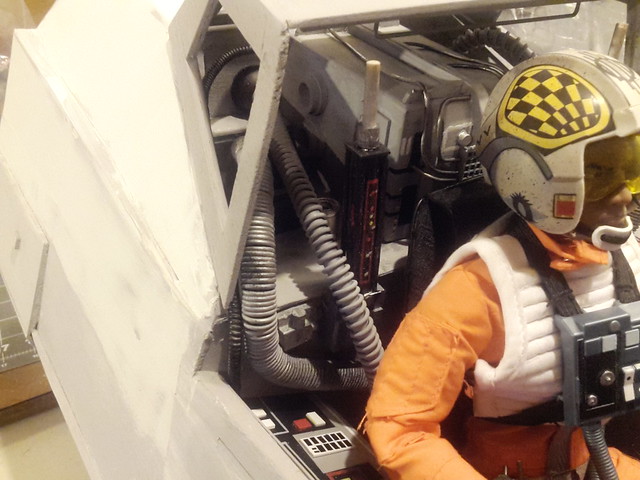
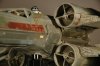
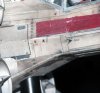
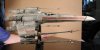
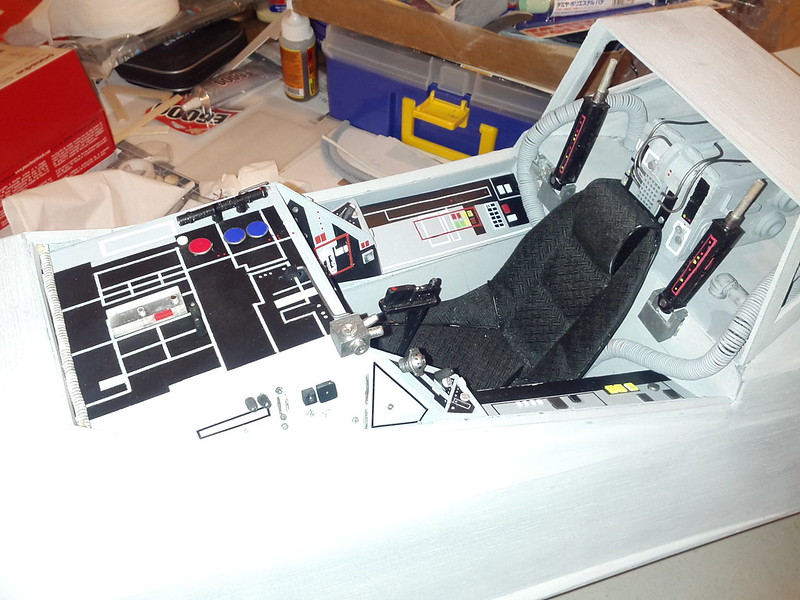
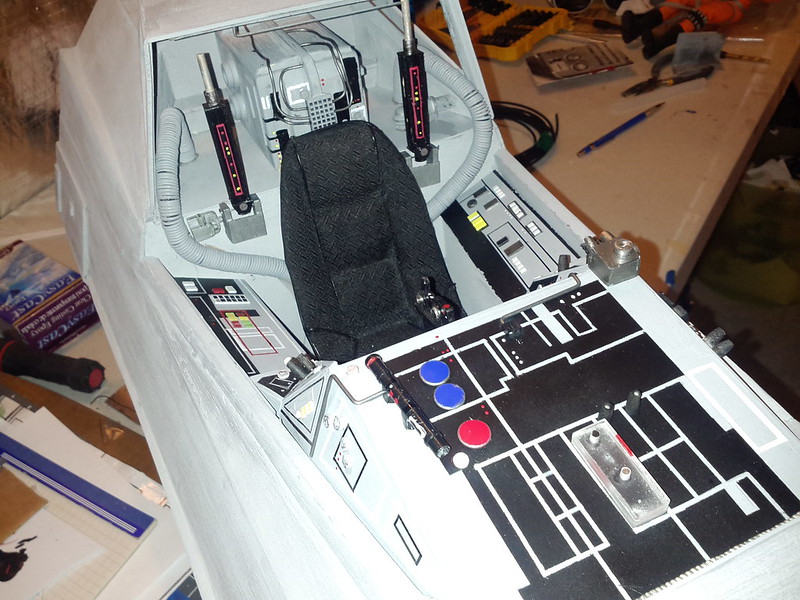
I was able to do a little more work on the cockpit. I can say that I'm almost done adding the details to the front of the cockpit. Still have a few more hoses to add to the rear, finish glazing and painting the exterior, some weathering on the inside, some lighting and a 12 button relay for sound. Here are a few more shots with some more added details. :)

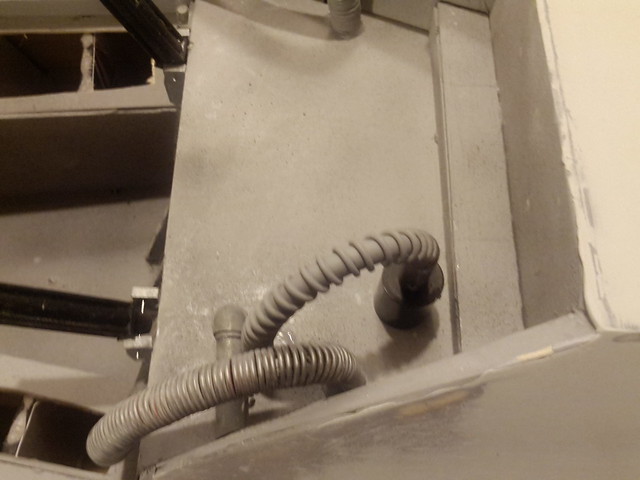
Left side of Cockpit; some of the pin striping got washed out with the flash.
IMG_20150401_145300 by i_melendez45, on Flickr

IMG_20150401_145347 by i_melendez45, on Flickr
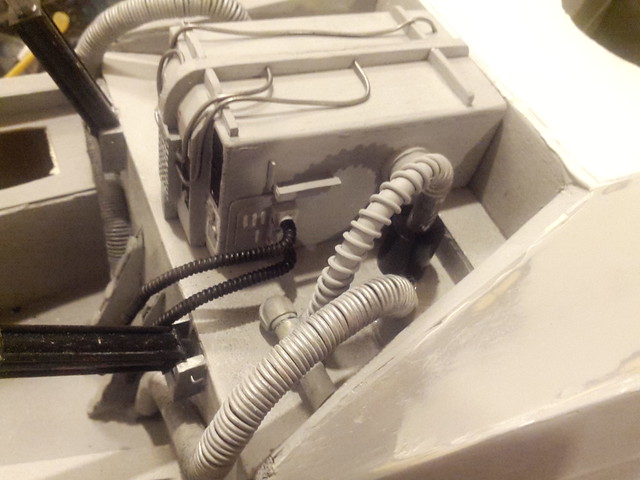
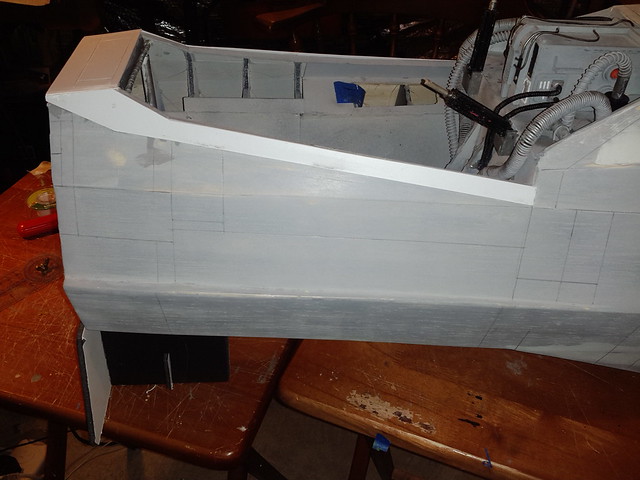
Right side:
IMG_20150401_145408 by i_melendez45, on Flickr

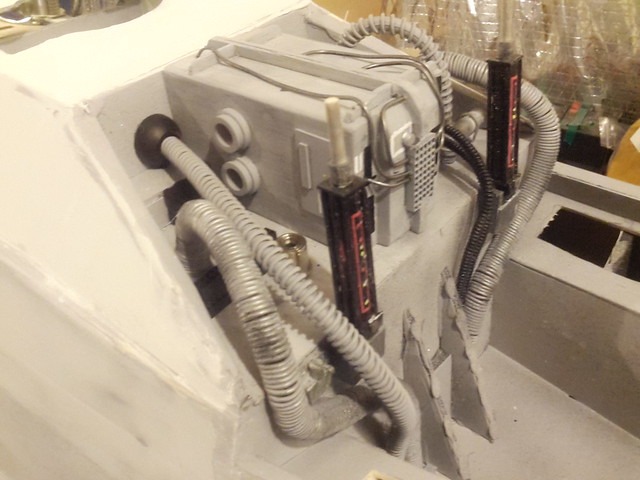
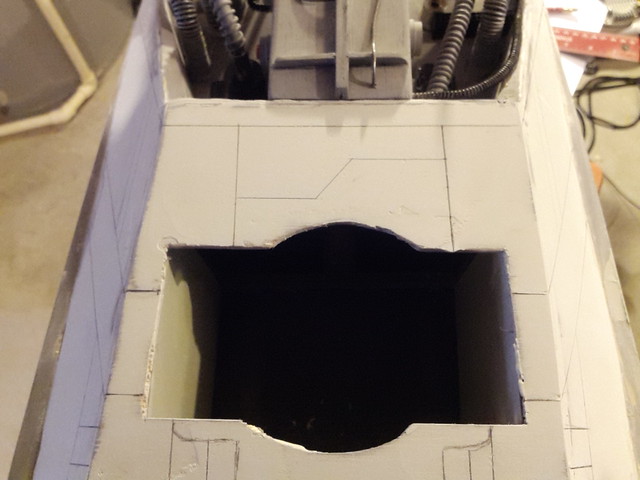
Center cockpit view:
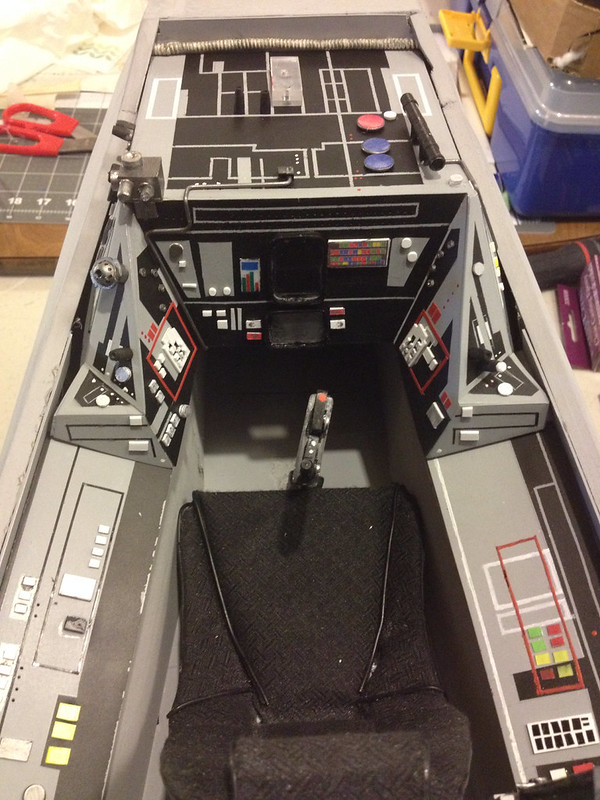
Front display by i_melendez45, on Flickr

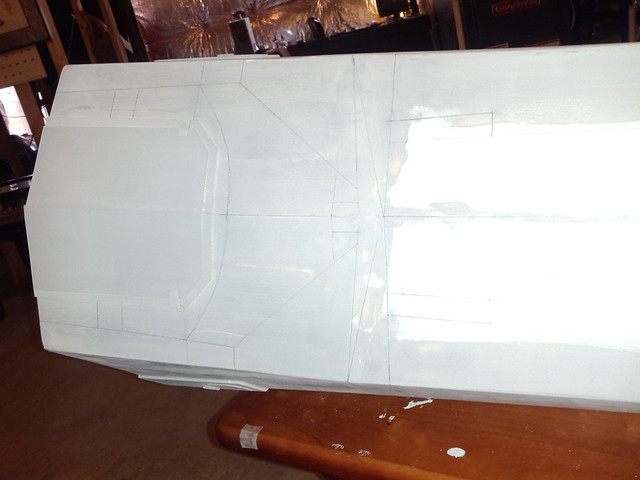
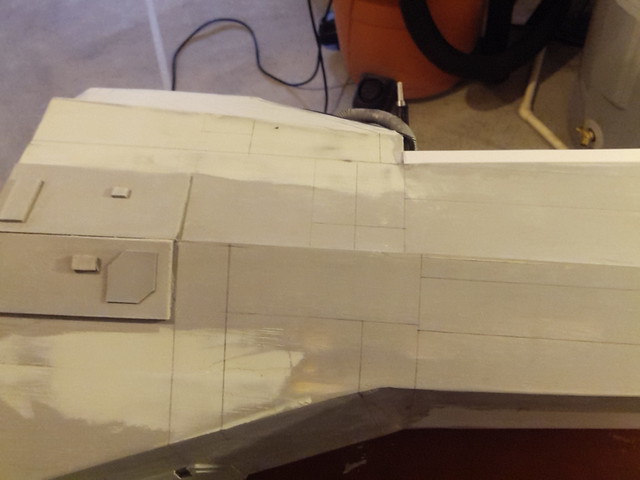
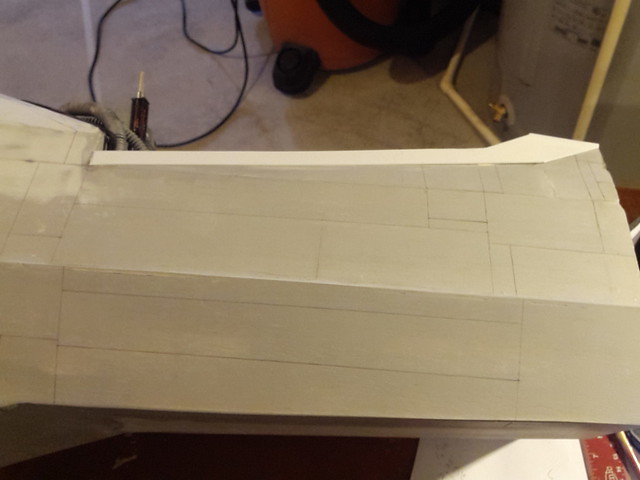
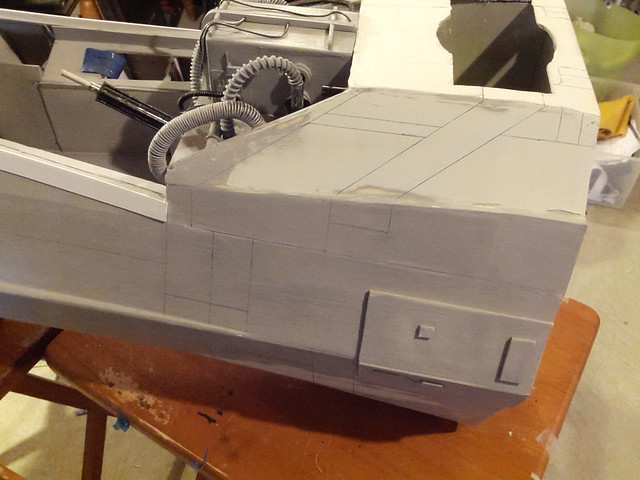
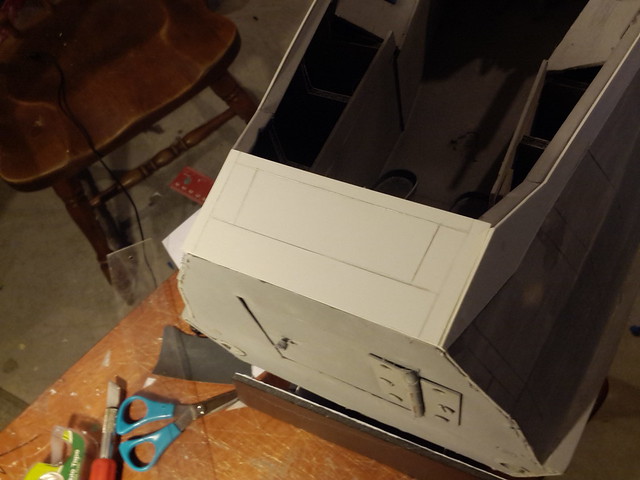
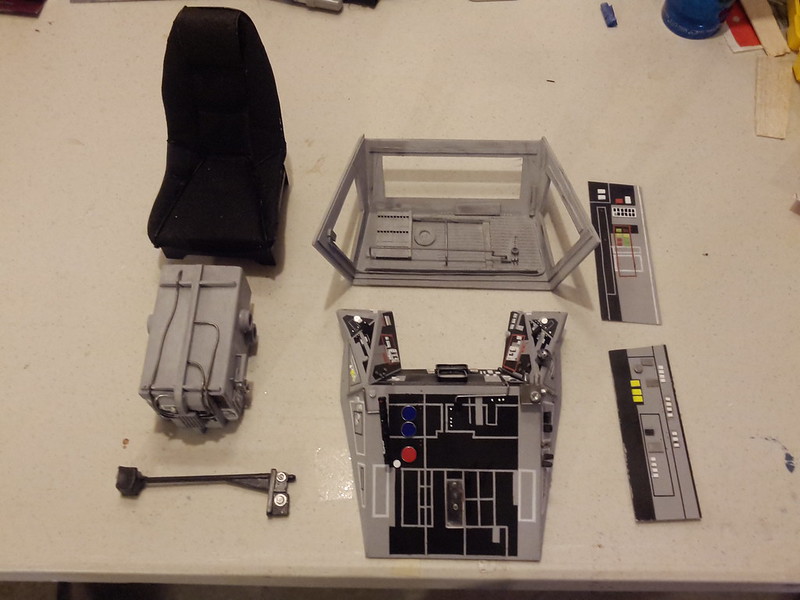
Here are a few pics of it in parts:
IMG_20150401_145722 by i_melendez45, on Flickr

IMG_20150401_145741 by i_melendez45, on Flickr

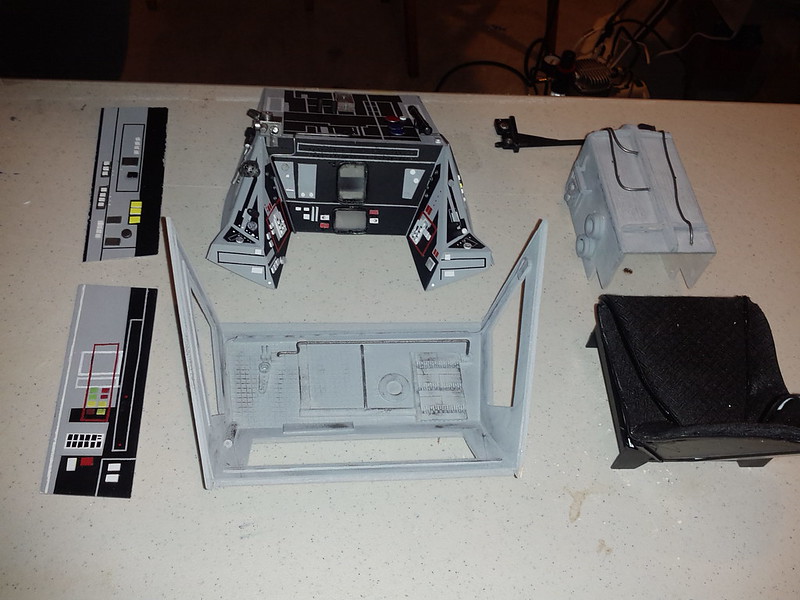
IMG_20150401_145807 by i_melendez45, on Flickr

I also made quick youtube vid. Sorry the bad audio. Maybe one day I'll figure out how edit these with music or something.

https://www.youtube.com/watch?v=3gSp25gtpa8

Here is the same vid as above but I added the star wars theme song, so you don't hear me breathing. :)
https://www.youtube.com/watch?v=3usJkKswDhs
 
Last edited:
Have you thought about adding maybe some kind of pedals (not bicycle stuff--stuff like in an airplane) or detailing down in the section where his legs go?
 
added some more detail to the back of the canopy today: :)

IMG_20150410_140957 by i_melendez45, on Flickr

IMG_20150410_141017 by i_melendez45, on Flickr

IMG_20150410_143816 by i_melendez45, on Flickr

Had to take some liberties with some of the details in back. Not enough information or clear pics for the back canopy:
IMG_20150410_143918 by i_melendez45, on Flickr

did my best:

IMG_20150410_144002 by i_melendez45, on Flickr

IMG_20150410_162936 by i_melendez45, on Flickr

IMG_20150410_162946 by i_melendez45, on Flickr

Got some LED's in today, along with the digital photo key chain. I'll see how they work and let you know if it works.
 
Got some progress done today. I began marking the panels for the outer skin. Trying to get a feel for what to do. I decided to cover the outer skin with 1mm styrene panels, but 1st I had to mark the panels. :)

Bottom panels:

IMG_20150413_164045 by i_melendez45, on Flickr

right side panels:
IMG_20150413_164111 by i_melendez45, on Flickr

IMG_20150413_164116 by i_melendez45, on Flickr

R2 Top side:
IMG_20150413_164140 by i_melendez45, on Flickr

IMG_20150413_164147 by i_melendez45, on Flickr

Left Side:

IMG_20150413_164203 by i_melendez45, on Flickr

IMG_20150413_164157 by i_melendez45, on Flickr

Front with styrene plates:
IMG_20150413_164214 by i_melendez45, on Flickr

As usual A shot with everything coming together:

IMG_20150413_193549 by i_melendez45, on Flickr
 
Not sure what bird this is going to be, but some of the X-wings had beveled corners on those side panels. And wiring sockets.

:)
 

Attachments

  • kg-lucasfilm_archived-red3-reference-171.jpeg
    kg-lucasfilm_archived-red3-reference-171.jpeg
    721.3 KB · Views: 165
  • red-2-wiring-sockets.jpg
    red-2-wiring-sockets.jpg
    48.2 KB · Views: 171
  • kg-lucasfilm_archived-red3-reference-005.jpg
    kg-lucasfilm_archived-red3-reference-005.jpg
    461.1 KB · Views: 164
  • kg-lucasfilm_archived-red3-reference-009.jpg
    kg-lucasfilm_archived-red3-reference-009.jpg
    378.2 KB · Views: 157
  • Red 12 on Bottom Left Red 3 on Top Right.jpg
    Red 12 on Bottom Left Red 3 on Top Right.jpg
    436 KB · Views: 149
Not sure what bird this is going to be, but some of the X-wings had beveled corners on those side panels. And wiring sockets.

:)

Thanks for the pics. I'm pretty partial to red 3 or red 5. I'm using oldmans swing PDF files for ref so I'm not sure what he used. :)
 
WOW! She's really coming along! Have you considered any working electronics?

After taking a closer look... it's almost worth building the four engine intakes! Come on.... you know you wanna! ;)
 
Thanks guys.

SofaKing I have some fiber optic bars coming in. Also, have two sets of different LED kits. Still trying to figure out how to run the lines. Think I may add sound effects for it as well. Not enough room on the shelf for engines.:cry
 
Hi Izz,

I'm totally oblivious when it comes to electronics. That's why I hand all that neat stuff to our sound and lighting guys - but I am slowly learning.

I wasn't saying to create the entire engines, just the large intakes. Maybe a cutout to see the size? ;)

Keep up the great work.
 
This thread is more than 7 years old.

Your message may be considered spam for the following reasons:

  1. This thread hasn't been active in some time. A new post in this thread might not contribute constructively to this discussion after so long.
If you wish to reply despite these issues, check the box below before replying.
Be aware that malicious compliance may result in more severe penalties.
Back
Top