Tutorial: Quick and dirty claws & teeth for dummies (like me)

The Schlitzie

Sr Member
RPF PREMIUM MEMBER


I've gotten a few requests on how to make dragon/monster claws and teeth so here's a tutorial that will show you guys that anyone can do this stuff cheaply.

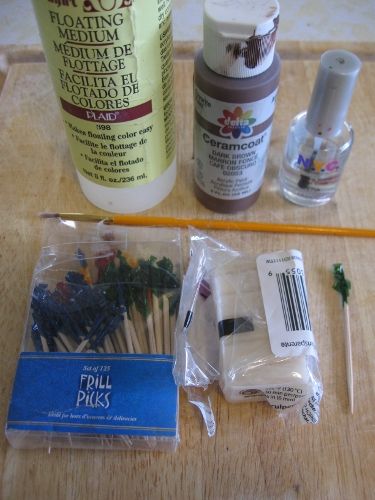
For this one I'm going to make a claw. First you'll need a few suppplies (I tried to make this out of things you can find at most stores):
-Premo! Translucent Sculpey
-Mixing medium(if you suck at washes like I do)
-A baby poop shade of brown paint
-Clear gloss nail polish (make sure the wife doesn't see you use it)
-A toothpick and or needle/nail
-A brush


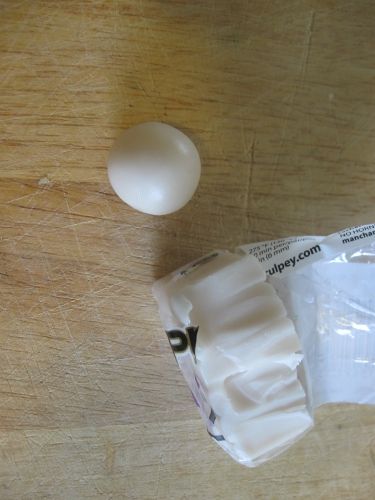
First off you're going to want to do is preheat your oven (because this doesn't take very long) then knead up a nice little bit of sculpey into a little ball

Then start pinching one end into a point, or the desired shape of the claw/tooth (you don't need to be too precise at this point)
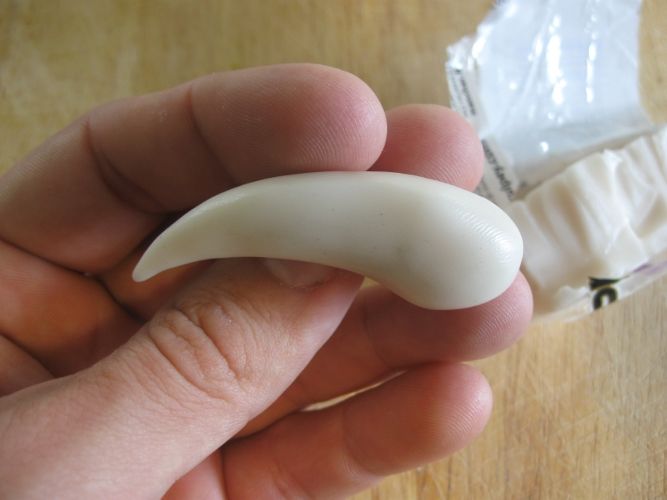

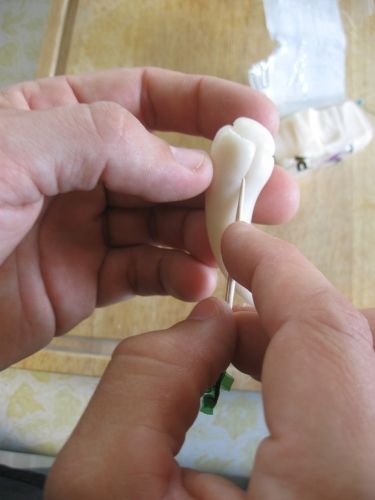
Then if you want you can start out with your toothpick and sculpt the base of the claw/tooth.
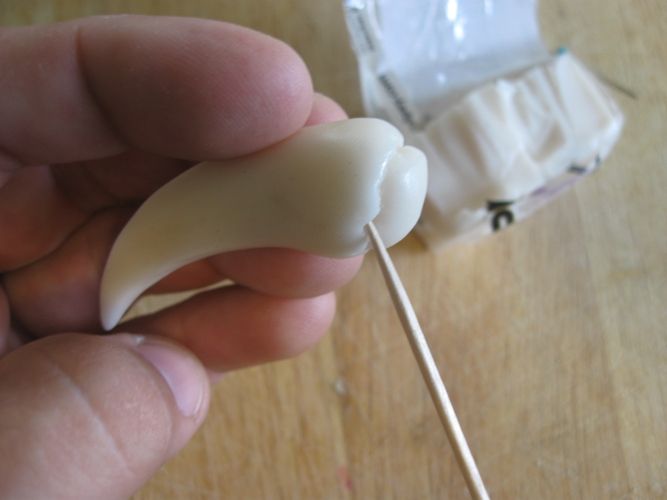


At this point you can go in with a needle or sharp nail and dig out the base a bit and sharpen lines and add a marrow texture to the base
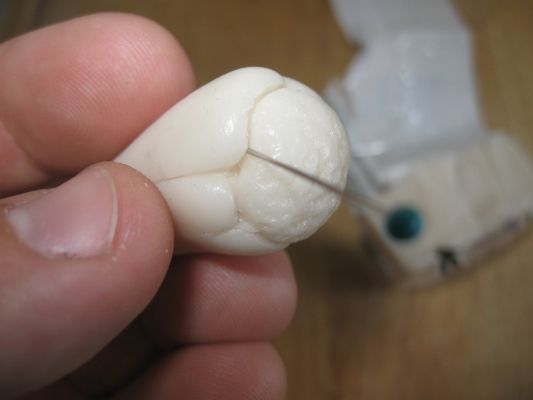

Then when you're satisfied with the look of the roots,go back and finish shaping the business end and then throw it in the oven. I recommend putting it on tinfoil so that no toxins get on your cooking sheets. Also I have a little toaster oven just for cooking things that aren't food,but you can also cover up the sculpey if you want.

After it's done cooking,let it cool off and mix some brown into your mixing medium.
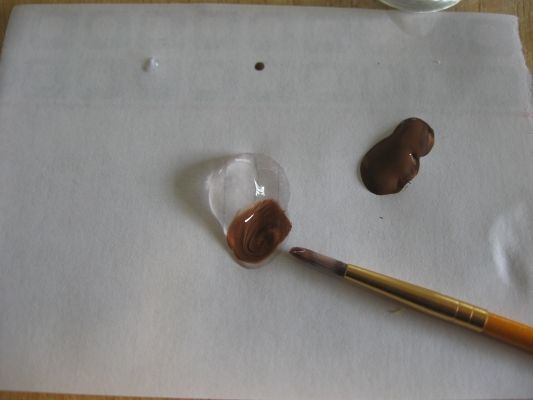

Then apply thin layers of the mix over the claw until you have it dark enough to your own desired look. This stage is only limited to your own imagination (apparently I don't have much) and don't forget to get extra into the roots.
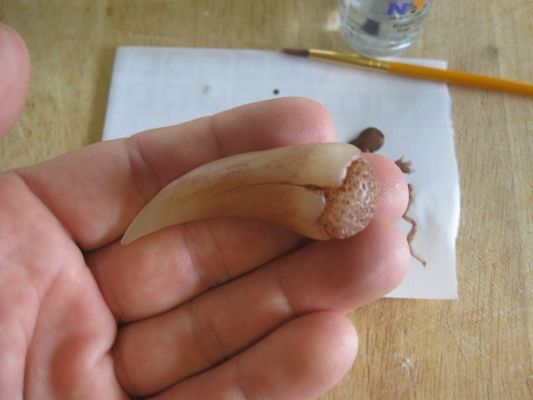

At this point it's up to your own preference,you can either apply a couple coats of nail polish to it (not the base) or put some ground up chalk/pastel on it to make it look old.
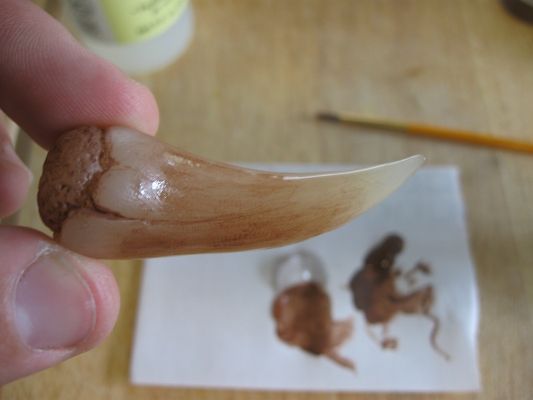

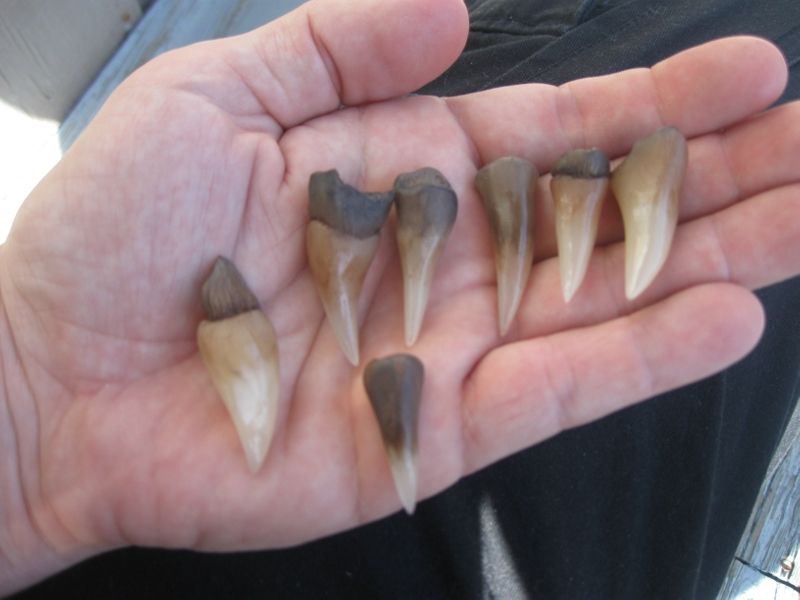
Here's mine all done:
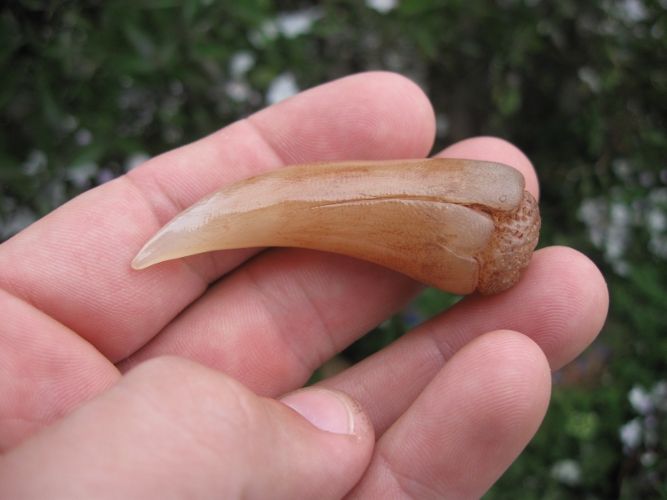

Hope this tutorial helps,and have fun! -Ben
 
Last edited:
Thanks Slipknot, the sculpey route works well for ones that will be handled.It has a little give and they can be dropped without being damaged (great for costume,and cheap,and if they get messed up at a Con,you're not out anything!) Strangely enough if you put a gloss coat or two over them,they become MUCH more translucent.
 
Finally got around to doing this. I needed some prosthetic fangs for a project, went with the Sculpey Premo transluscent clay and all I can say is WOW. I didn't add any of the weathering, since these were needed for 'healthy' teeth, and they are almost spot-on for the color and transluscence. I also sprung for the Sculpey satin glaze, just to seal up the surface, although I'm sure nail polish would have been fine too. Thanks for this tutorial, for a little over ten bucks I got great results and plenty of extra material to monkey around with.
 
Awesome! I'm glad I could contribute something to the community.

Finally got around to doing this. I needed some prosthetic fangs for a project, went with the Sculpey Premo transluscent clay and all I can say is WOW. I didn't add any of the weathering, since these were needed for 'healthy' teeth, and they are almost spot-on for the color and transluscence. I also sprung for the Sculpey satin glaze, just to seal up the surface, although I'm sure nail polish would have been fine too. Thanks for this tutorial, for a little over ten bucks I got great results and plenty of extra material to monkey around with.

Thanks for the kind words guys! I'll be sure to post up more quick and dirty tutorials when I have the time.
 
Wow, found this at just the right time as I'm just planning on making some fangs in the next couple of weeks. Can really get my teeth into it now! (ye gods, heaven help me!)

Thanks so much Schlitzie.
 
Just an FYI for anybody that tries this too, be sure that you don't put your Sculpey on a metal pan when you bake it. It seems to burn at the contact points to the pan, ruining the piece. I couldn't figure out what I was doing wrong until I researched a little bit more and found out it was the metal. Incidentally I just put mine on a piece of cardboard while baking it- only had to bake at 275 fahrenheit, so I didn't burn anything up (or down) :D
 
It's been exactly a year since the last post, and here I am still using this method to make some quick and dirty werewolf claws.

Bump to the top for all the noobies, this is a MUST SEE thread!
 
Hey, pics or it didn't happen! :lol

I'm glad I could contribute something useful to the community. :thumbsup

It's been exactly a year since the last post, and here I am still using this method to make some quick and dirty werewolf claws.

Bump to the top for all the noobies, this is a MUST SEE thread!
 
Can't believe I never saw this thread before. Those results are totally awesome.

Ima use this tutorial to make a basilisk tooth to display alongside my Tom Riddle diary. :thumbsup
 
This thread is more than 9 years old.

Your message may be considered spam for the following reasons:

  1. This thread hasn't been active in some time. A new post in this thread might not contribute constructively to this discussion after so long.
If you wish to reply despite these issues, check the box below before replying.
Be aware that malicious compliance may result in more severe penalties.
Back
Top