I was approached on my Facebook page to help with a Fan Film that was in development in new york. I Along with a few other prop and costume builders were asked to create various pieces from the world of tamriel. I was tasked with the opportunity to make the iron sword. I was pretty excited about this as I had previously sculpted the ancient nord helmet and am currently (still) working on the rest of the armor.
I started off the build with a vector blueprint of the sword made in Inkscape. Its a freeware program alot like adobe illustrator. Perfect for simple line drawings.

Next was to transfer the printed blueprints on to my mdf frame. Using some various pvc fittings, a wooden dowel, and some good ol apoxie sculpt I had a rough base modeled out.
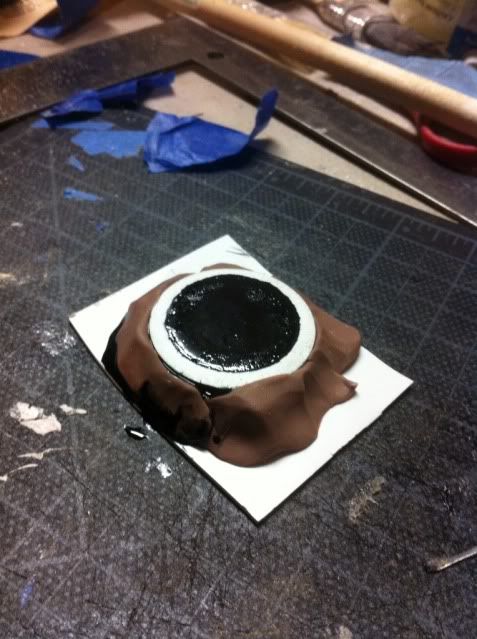
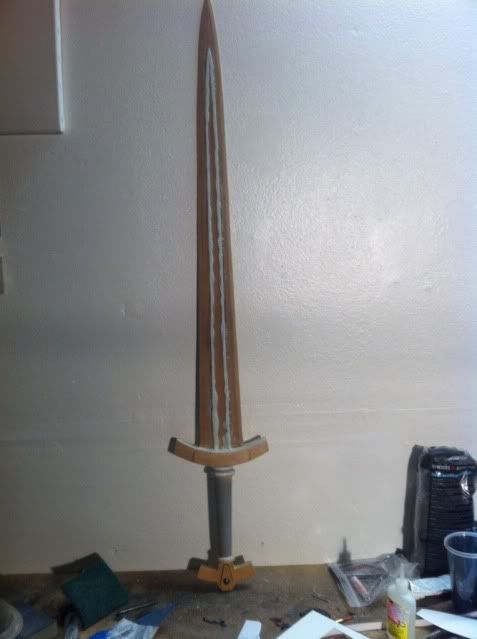
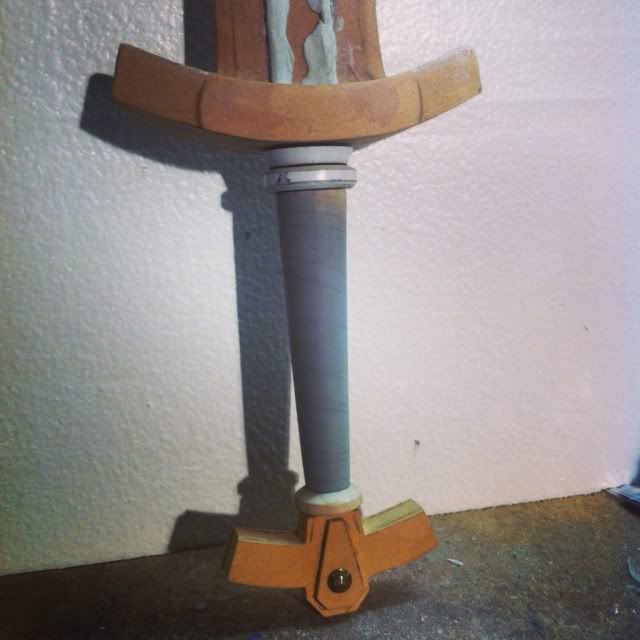
After the main body was assembled, I used a 1/4" dowel to run from the base of the hilt through to the middle of the hand guard. Next up is to coat the entire piece with apoxie sculpt. This was a multi layered phase, I needed to let the sculpt cure before the next section was added on. After the Apoxie is cured and the piece was totally covered I used the Jarmanprops dremel hammer method of creating the texture in the material.
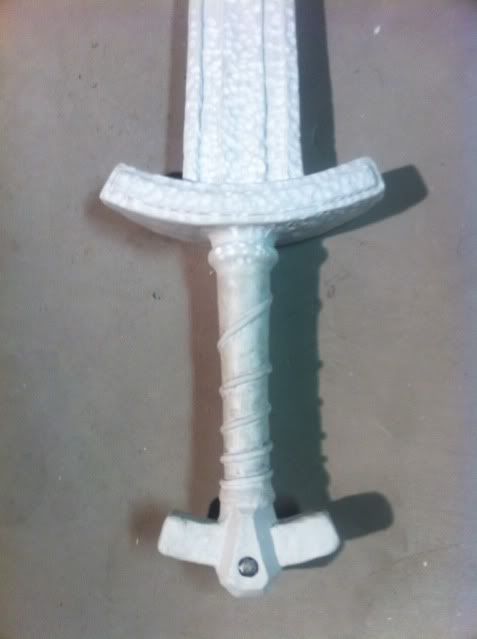
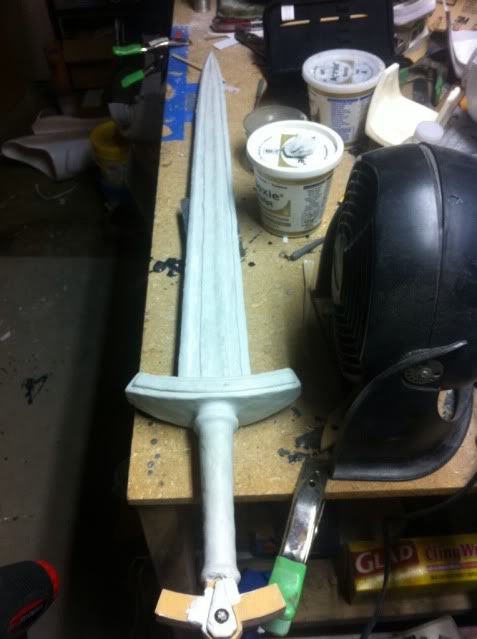
after the long arm killing portion of that was finished. A quick pass of the sanding sponge is used to knock down the harder edges and leave you with a great texture that resembles the look of hammered iron.
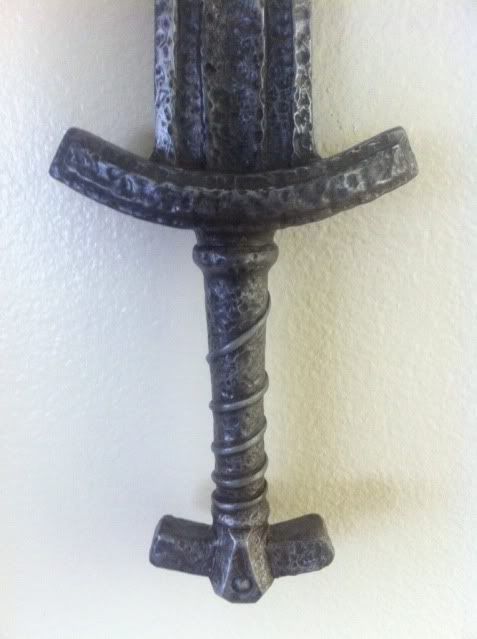
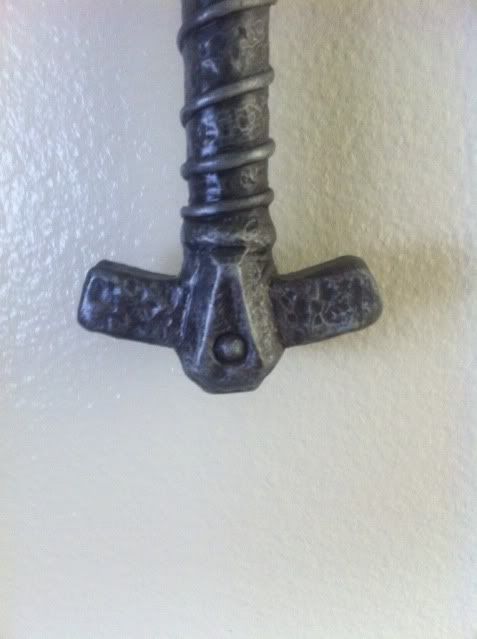
The final step was of course the paint. I used a smoke gray for the base then used a multi layered mix of acrylic paints and rub n buff to the the exact color and texture i was after. The entire sword was then coated with a satin clear to lock in the work.
Behold the finished Iron sword.
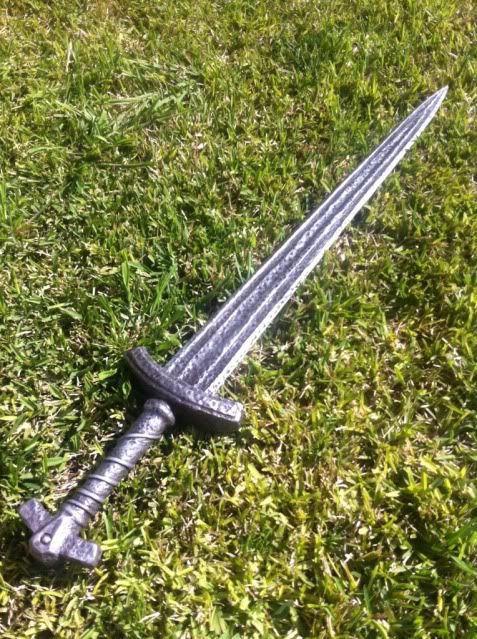
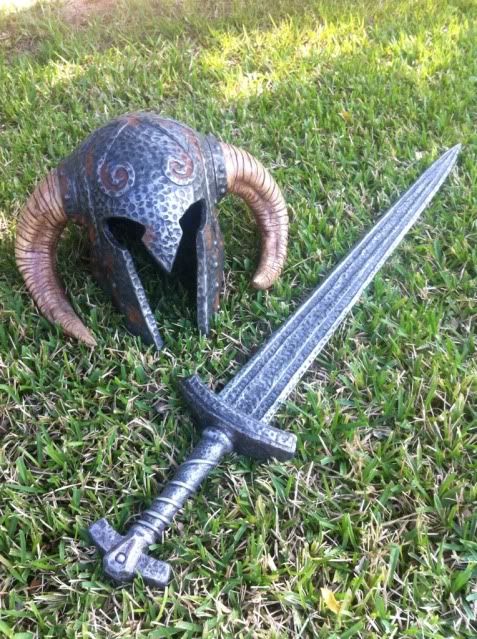
It was a super fun build and I'm super excited to see it in action.
Thanks for looking guys!
I started off the build with a vector blueprint of the sword made in Inkscape. Its a freeware program alot like adobe illustrator. Perfect for simple line drawings.
Next was to transfer the printed blueprints on to my mdf frame. Using some various pvc fittings, a wooden dowel, and some good ol apoxie sculpt I had a rough base modeled out.
After the main body was assembled, I used a 1/4" dowel to run from the base of the hilt through to the middle of the hand guard. Next up is to coat the entire piece with apoxie sculpt. This was a multi layered phase, I needed to let the sculpt cure before the next section was added on. After the Apoxie is cured and the piece was totally covered I used the Jarmanprops dremel hammer method of creating the texture in the material.
after the long arm killing portion of that was finished. A quick pass of the sanding sponge is used to knock down the harder edges and leave you with a great texture that resembles the look of hammered iron.
The final step was of course the paint. I used a smoke gray for the base then used a multi layered mix of acrylic paints and rub n buff to the the exact color and texture i was after. The entire sword was then coated with a satin clear to lock in the work.
Behold the finished Iron sword.
It was a super fun build and I'm super excited to see it in action.
Thanks for looking guys!
")