Amancue
New Member
Re: Sylgian's 40K Space Marine [WIP]
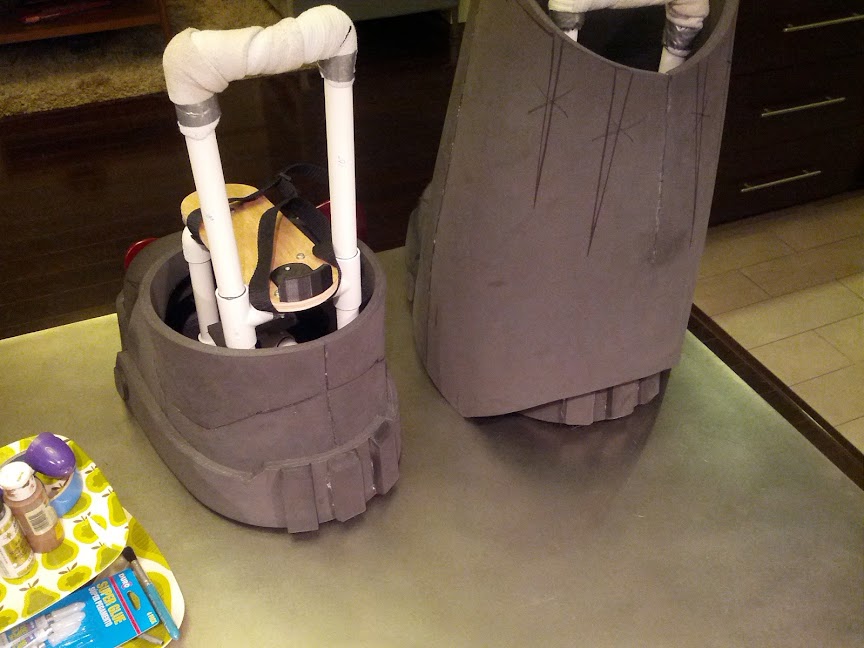
one thing I've been wondering which I cant find out from anyone else's stilted builds is how you get it on,,.. w/ one piece shins how do you strap on the stilts then get the shin and boot on,.. figuring out that is whats been delaying me from building the bottom half of my armor
one thing I've been wondering which I cant find out from anyone else's stilted builds is how you get it on,,.. w/ one piece shins how do you strap on the stilts then get the shin and boot on,.. figuring out that is whats been delaying me from building the bottom half of my armor


") Looking forward to more
Looking forward to more