Okay...back on this after almost a year. Working almost every day for the past year has really cramped my building! LOL!! And I had to get knee surgery just to get some time to get back on this! Actually, I have been working very little on this since my last post, but it really hasn't been much to post. But being home these past 3 weeks HAS afforded me some time to get things accomplished.
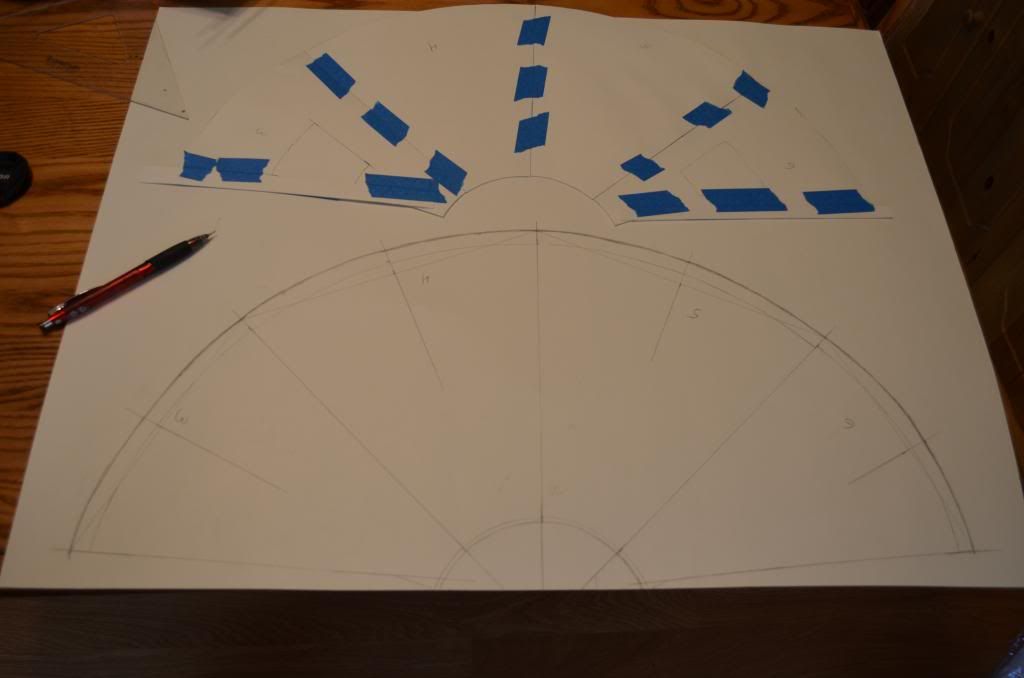
First some pics of work from the past year. Among a few other things, I made a poster board template for my hull skins. I added to them here and there while trying to figure out the individual shapes and sizes.
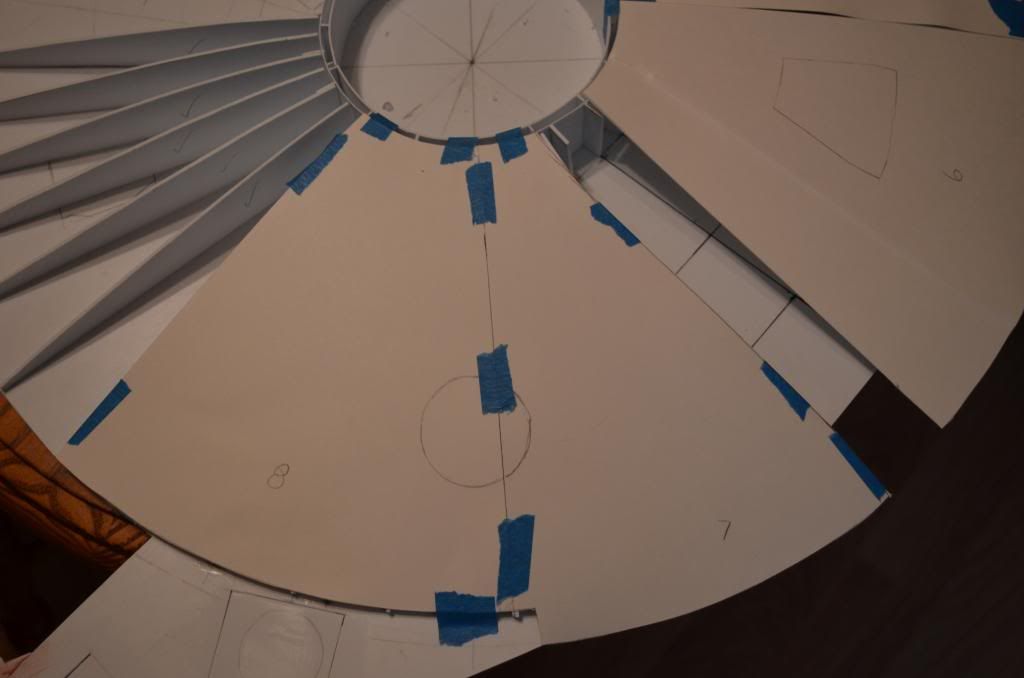
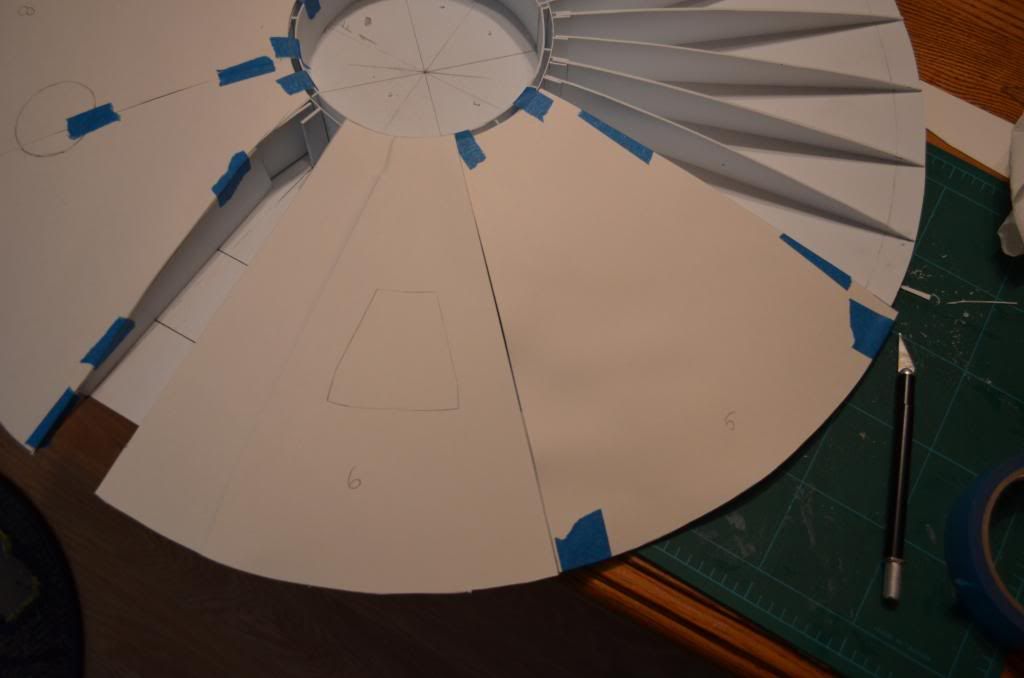
Here are the finished temp-templates on the hull.
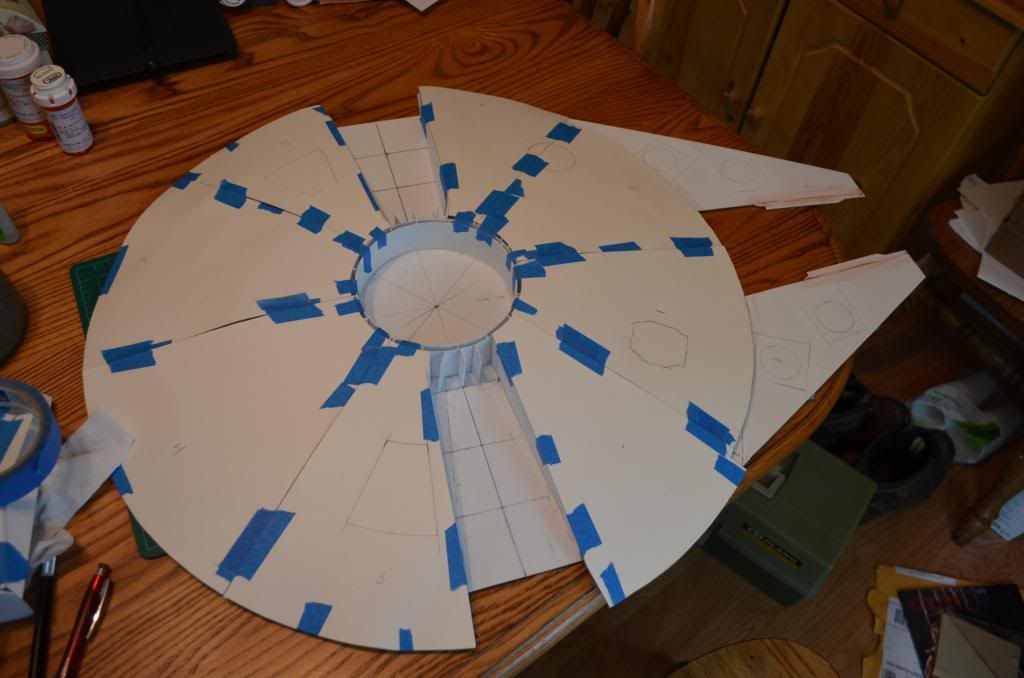
And with the docking tunnels added.
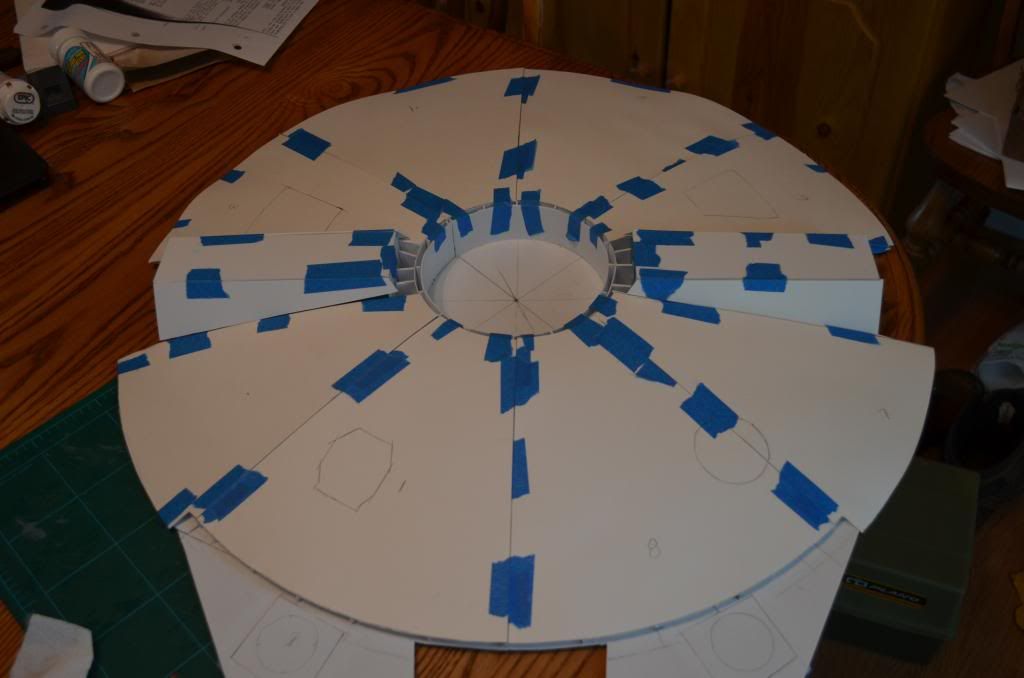
And the templates with my "hopefully" master hull templates again in poster board.
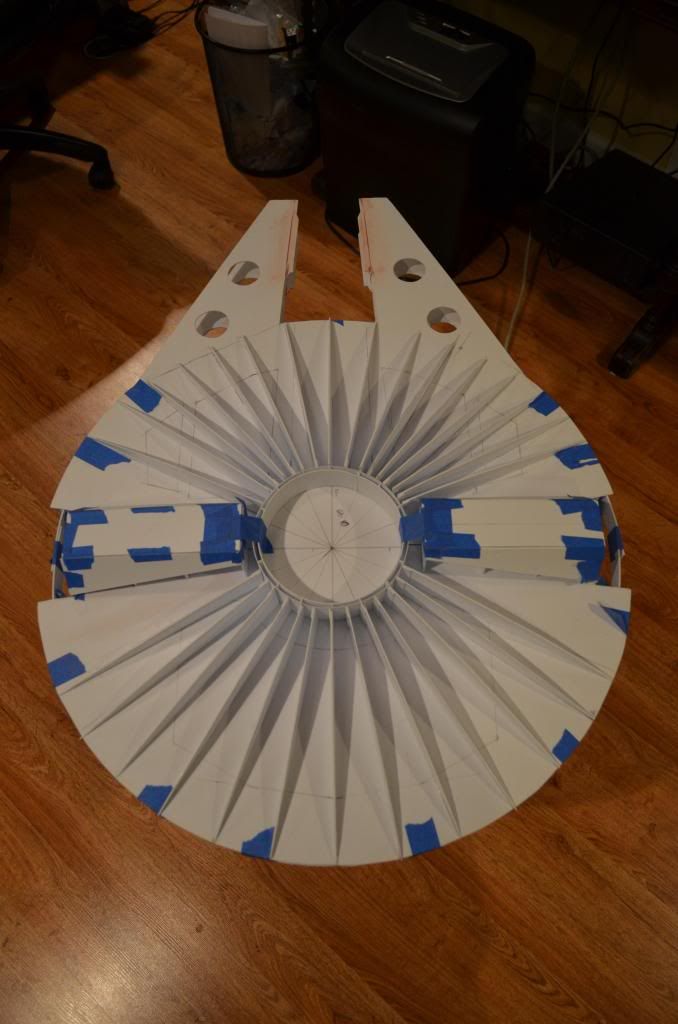
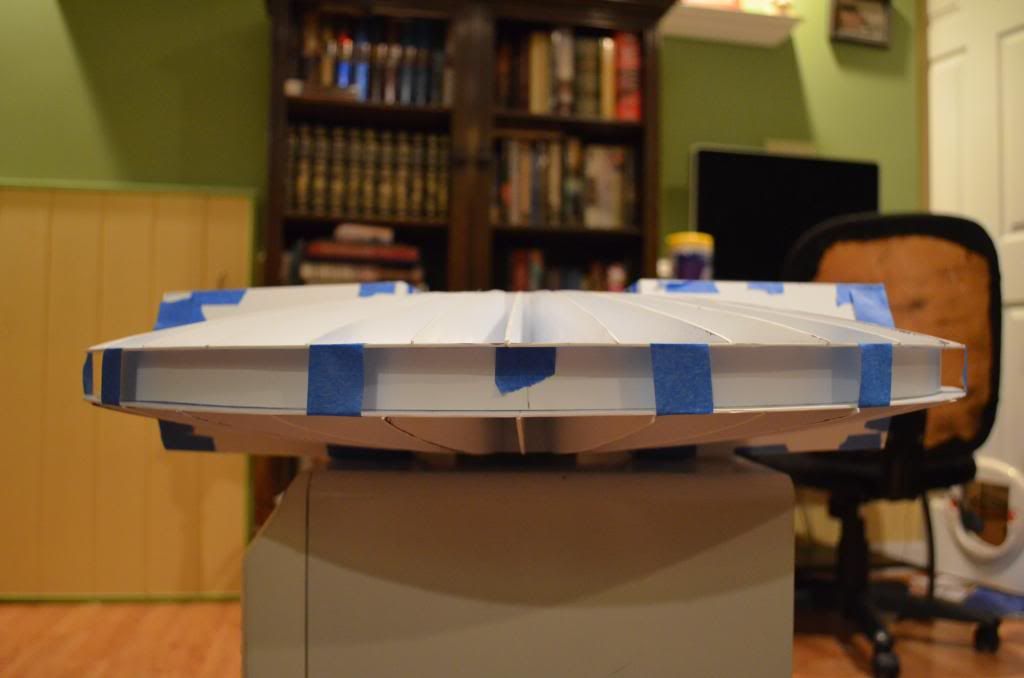
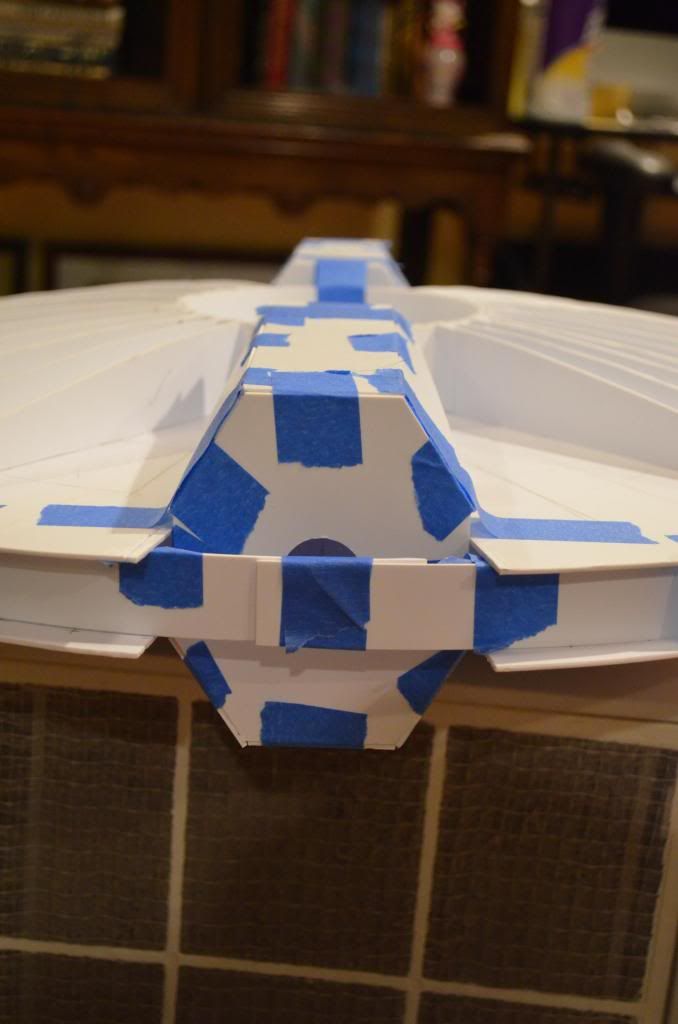
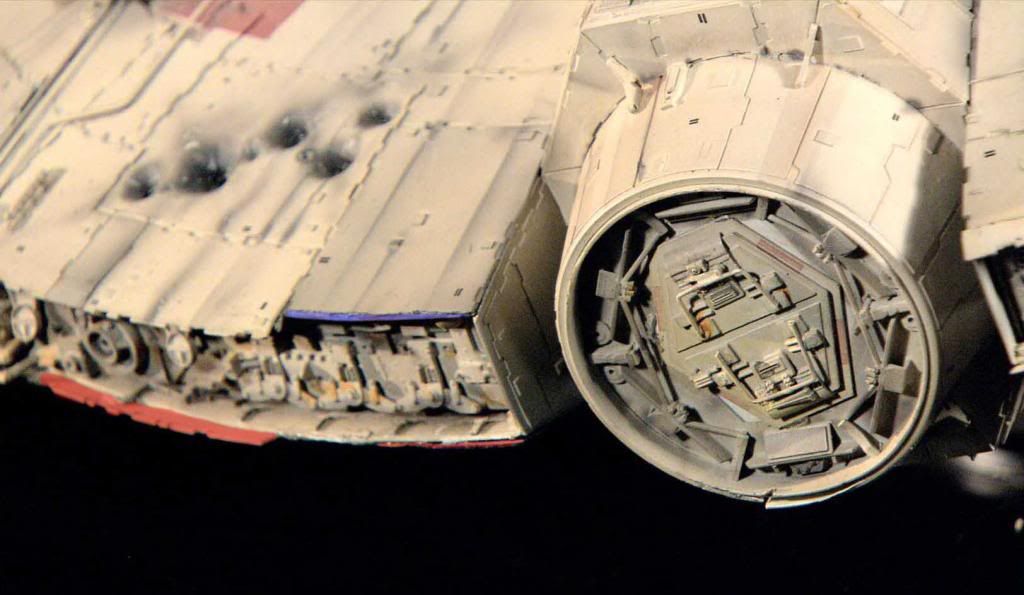
And now the most recent work...I've temped in my sidewalls and some of my support structure. You'll see that I'm back on the 1/2" inset of the hull sidewalls. Since my last posts, I've done a lot of looking at reference photos...photos that I didn't have earlier, and I'm thoroughly convinced that the original SS model had the sidewalls inset. There are a couple of Chronicles photos that I was able to enhance that I'm convinced show the inset on the model being built before the hull plating was put on. Additionally, some of the reference photos that I've been able to look at have convinced me that this is the case. So...whether I'm right or wrong, this is what I've decided to go with. Am I 100% convinced? Nope. But I AM 99.5% convinced. So that extra .5% hanging out there is why you see all of the blue painters tape! :lol
BTW...the book on the table is not mine. It's my 13-year old daughter's. REALLY!!
")
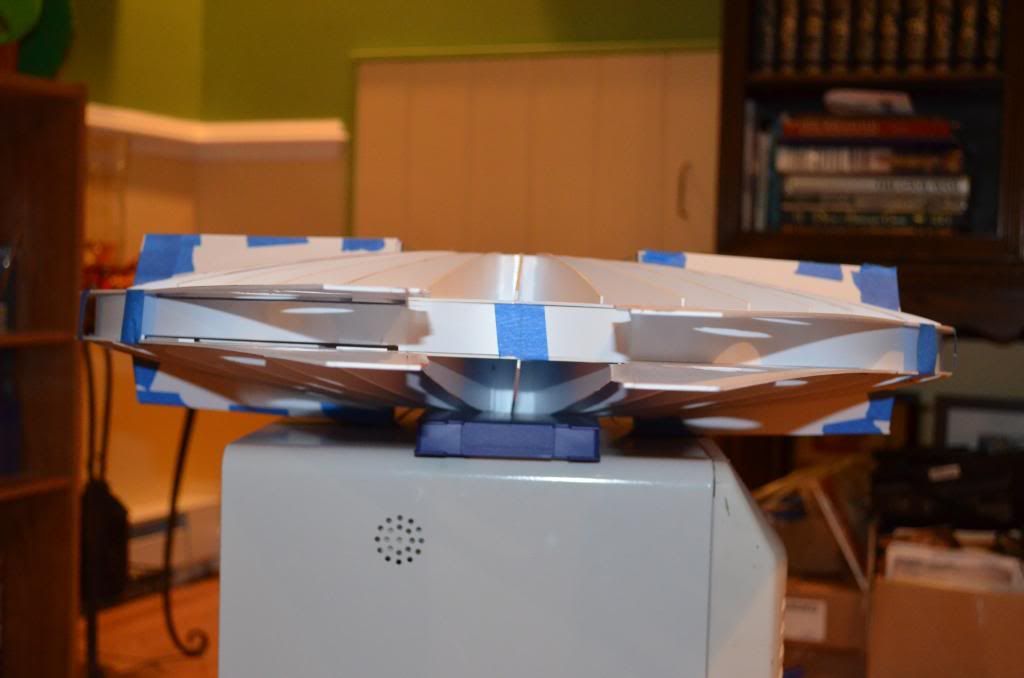
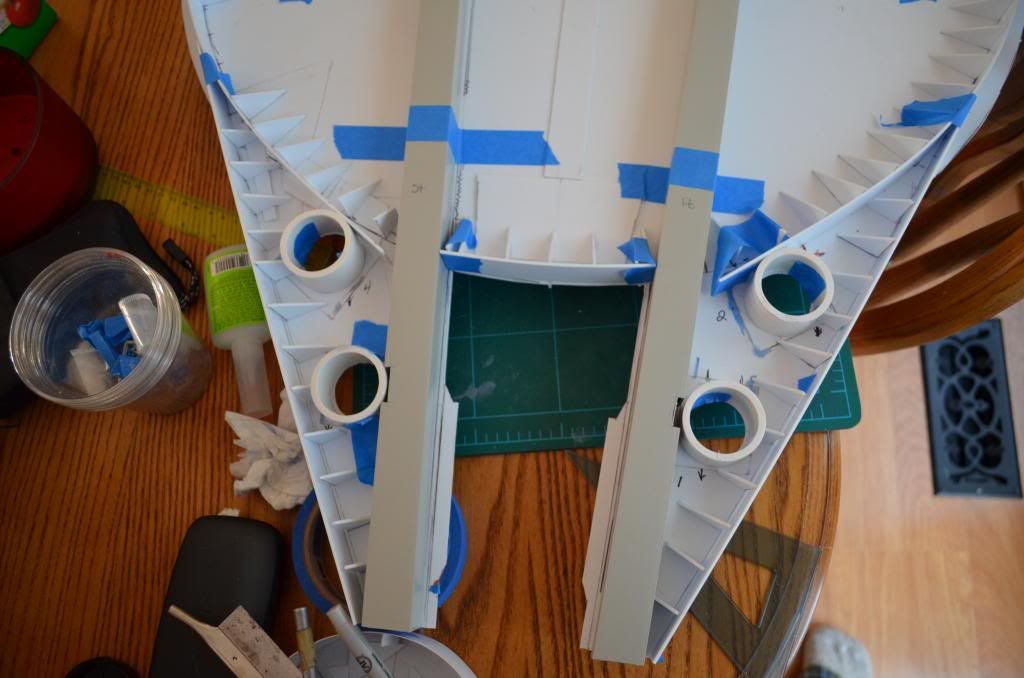
I decided to go with square tubing for the inner bracing for a number of reasons. First, it has more surface area to cement to the flat hull halves which should give me better stability. The tubing is exactly 1" as well, so I've decided to use them also for my inner mandible walls. If it doesn't work, then I'll just attach my kit parts to a very thin sheet of styrene and attach that. I'll use some metal corner brackets at the joints to firm them up since they're the weakest part. Also, I'm not going to mount this like ILM did for filming...I'm going to build some landing gear for display.

For those wondering...yes, I'm building this on my kitchen table. It sucks, but I have no other place.
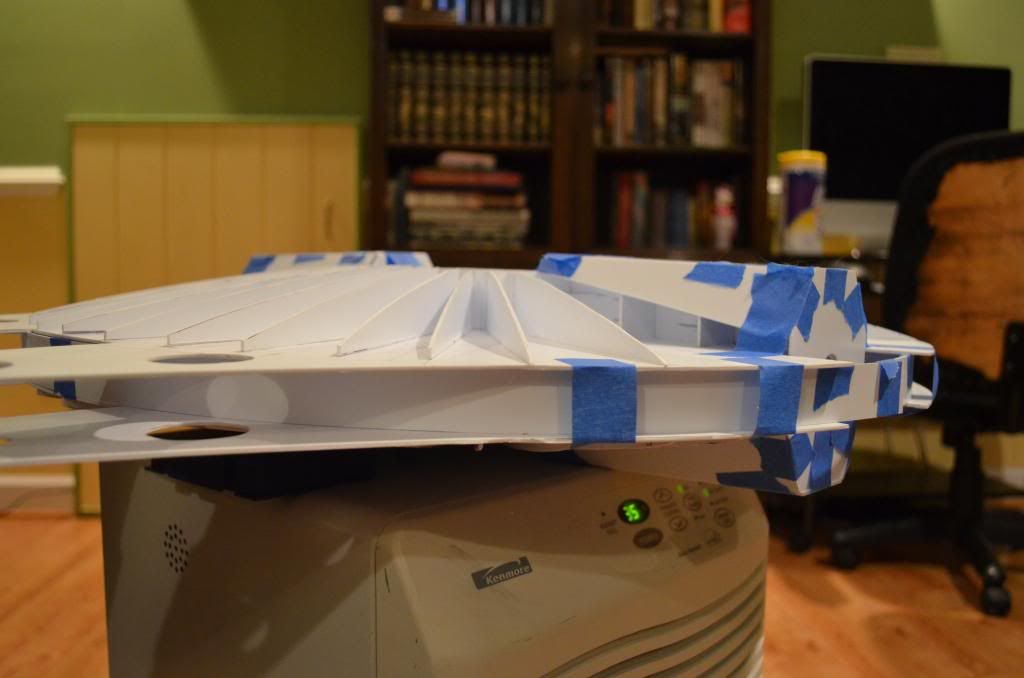
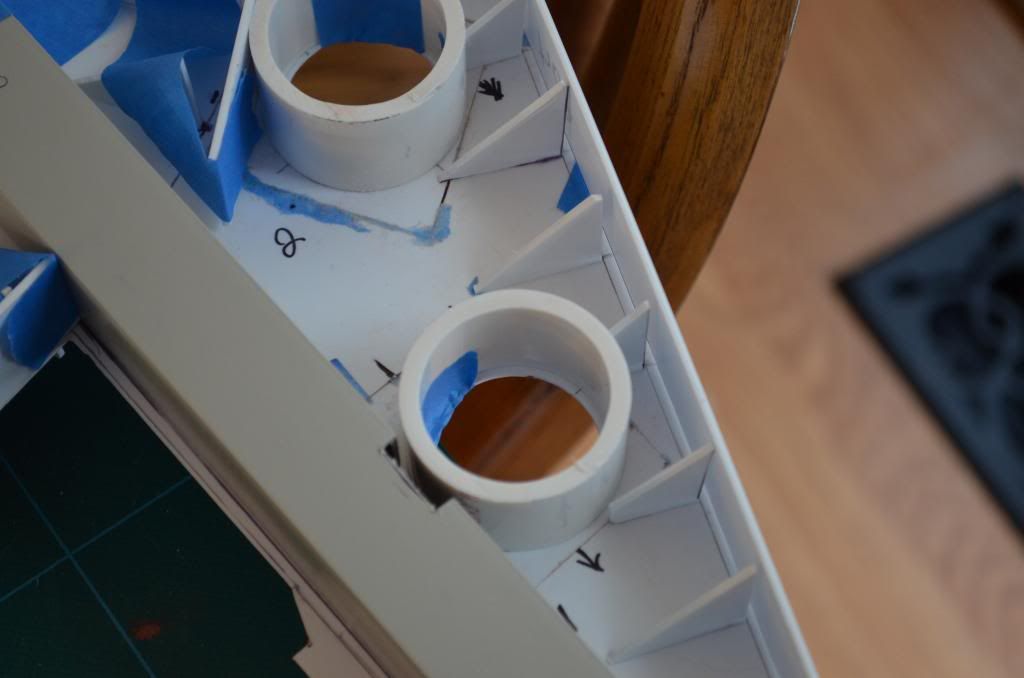
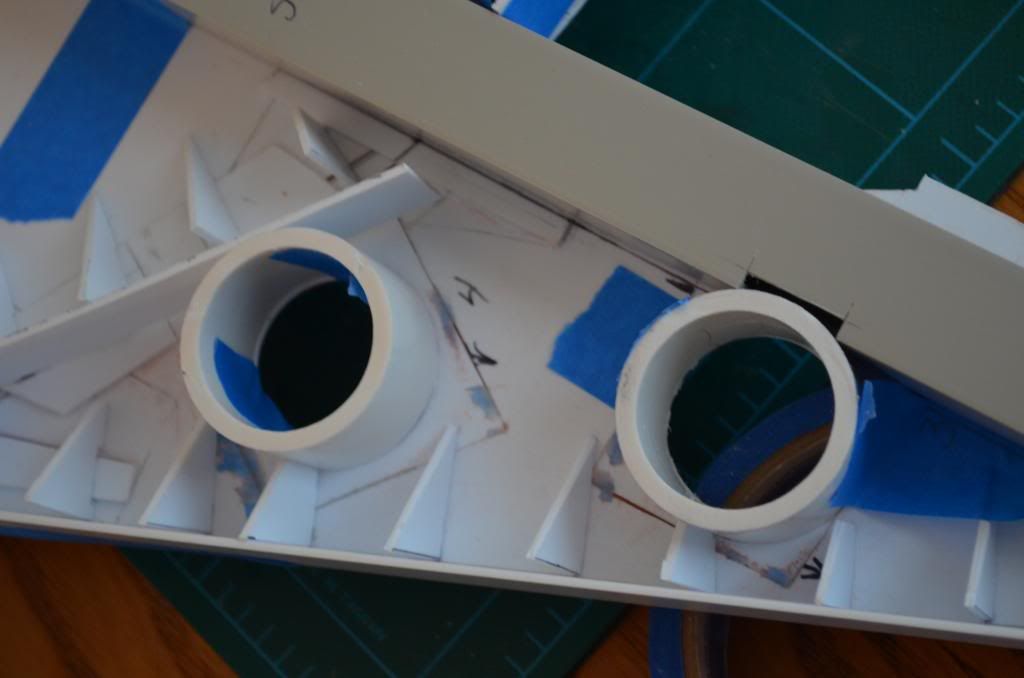
Here are some close ups of what I've done with the mandibles. The mandible well walls are 1.25" PVC pipe. They fit very snugly between the sidewalls and the square tubing, but I decided to give them a little wiggle room just in case, hence the small areas cut out of the square tubes.
And that's about where I am as of today. Still a lot of stuff to do. I think I'm going to try and tackle the cockpit tube next. Anyone have any tips/suggestions for cutting that? I've got most of my kit parts cut and those that are large enough will get molded. I'm just waiting for some clay to show up to start making my molds and casting the resin copies. Being on crutches and not able to just get up and drive somewhere to get the right clay is beyond frustrating. Tried to have my wife get it, but...:lol
As always, thanks for looking...I'm going to try my best to keep the updates coming regularly from now on!
-Dave