Another great update
I always set up a new layer too with just the bounding box the size of the material in the cutter and set the laser / etch ticks to off. That way, when the cut is downloaded, and the test button is hit, it sends the cutting head around the area of the box.
I'm not sure re-installing the software will change the home position, that's usually set (to the top right) by the object loaded into the machines memory (hence why I use a bounding box). We both have the same software FYI (I could tell by the screenshots you've shown). I found the design software limited and use Illustrator to do the designing, export as a DXF and then an import into the cutting software, a lot more efficient. The scaling issue then becomes a non-issue as the bounding box is a known size, and then all the elements in the cutting software can be scaled and dialled into the software directly by entering the size of the bounding box.
Have you tried turning the honeycomb upside down?
The cutter is pretty dumb (or the one I use is) and most of the settings are controlled through the software. We never change the laser power or speed on the machine, always in the software.
As a last resort, you can always do a point test to see how the collimation of the beam is. I'll offer any help I can to solve problems.
Hope that helps and keep up the fantastic work.
Hi R,
I've been using the bounding box as well. As I mentioned, when a cut is downloaded and we hit start, the laser defaults back to the upper right corner and then begins cutting. It didn't do this in the beginning. So, we've been forced to reposition the image around the grid in the software hoping to find the correct position - it's been HORRIBLY frustrating! IMO, something was changed in the S/W or there is a glitch?
We all use different apps for designing the laser cuts. The Makers Local uses Ink Scape which exports DXF files. But it all depends on the user and what they're comfy with using.
Glad to see we have the same S/W. If there is ANYTHING you can tell us, please please please! Are there any patches or updates for this laser cutter?
Daniel checked out the laser cutter and mentioned changing out the bearings or at least oiling them for now. I'm not as knowledgeable as he is so I trust his judgment. I will chat him about turning the grid over. I'm not sure when the last time the mirrors were cleaned either... so I think she's due for a cleaning / maintenance.
Again, any help would be appreciated! Thanks again!
")
- - - Updated - - -
I think it might be time to change the batteries in that watch of yours! LOLOL
3 words... Solar Power
- - - Updated - - -
Great stuff Sofa!! Always enjoying BS&T (Blood, Sweat & Tears
Hey Jo,
You said it! Makes a great combo for success!
- - - Updated - - -
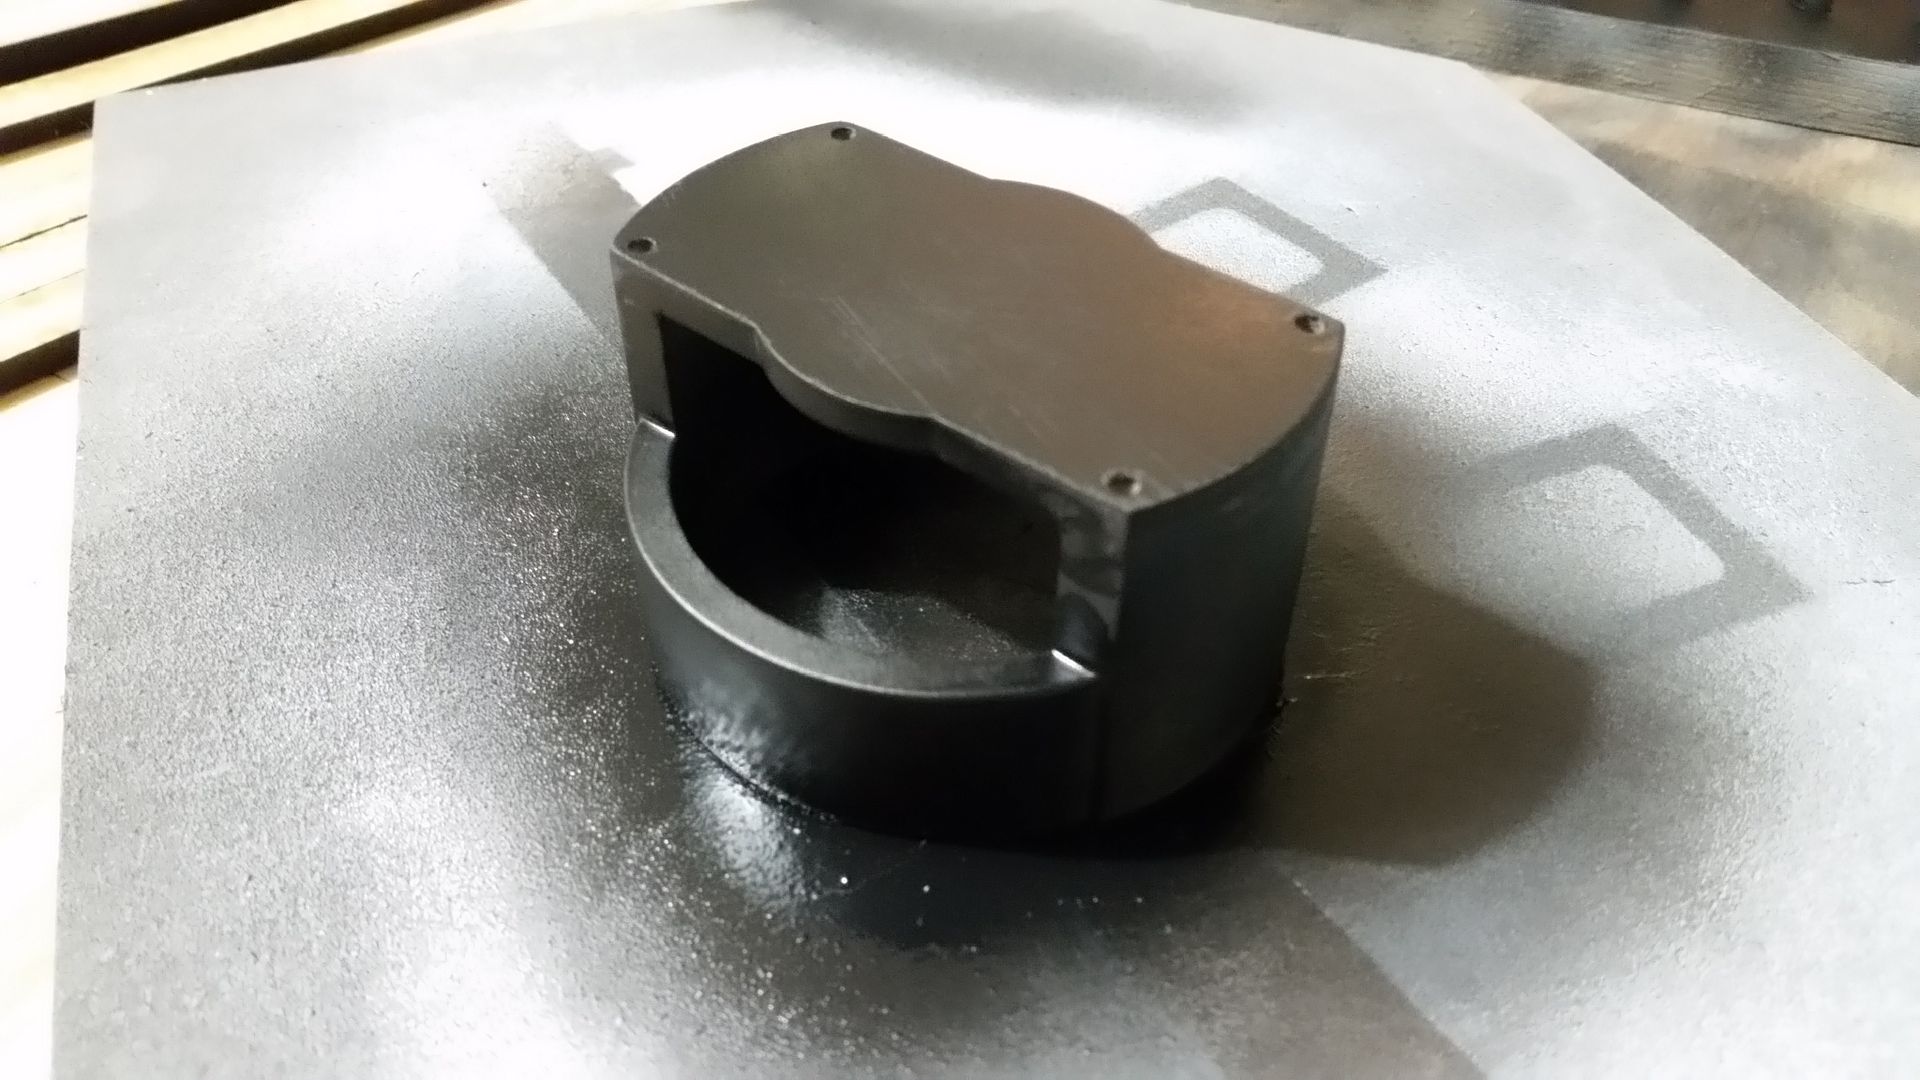
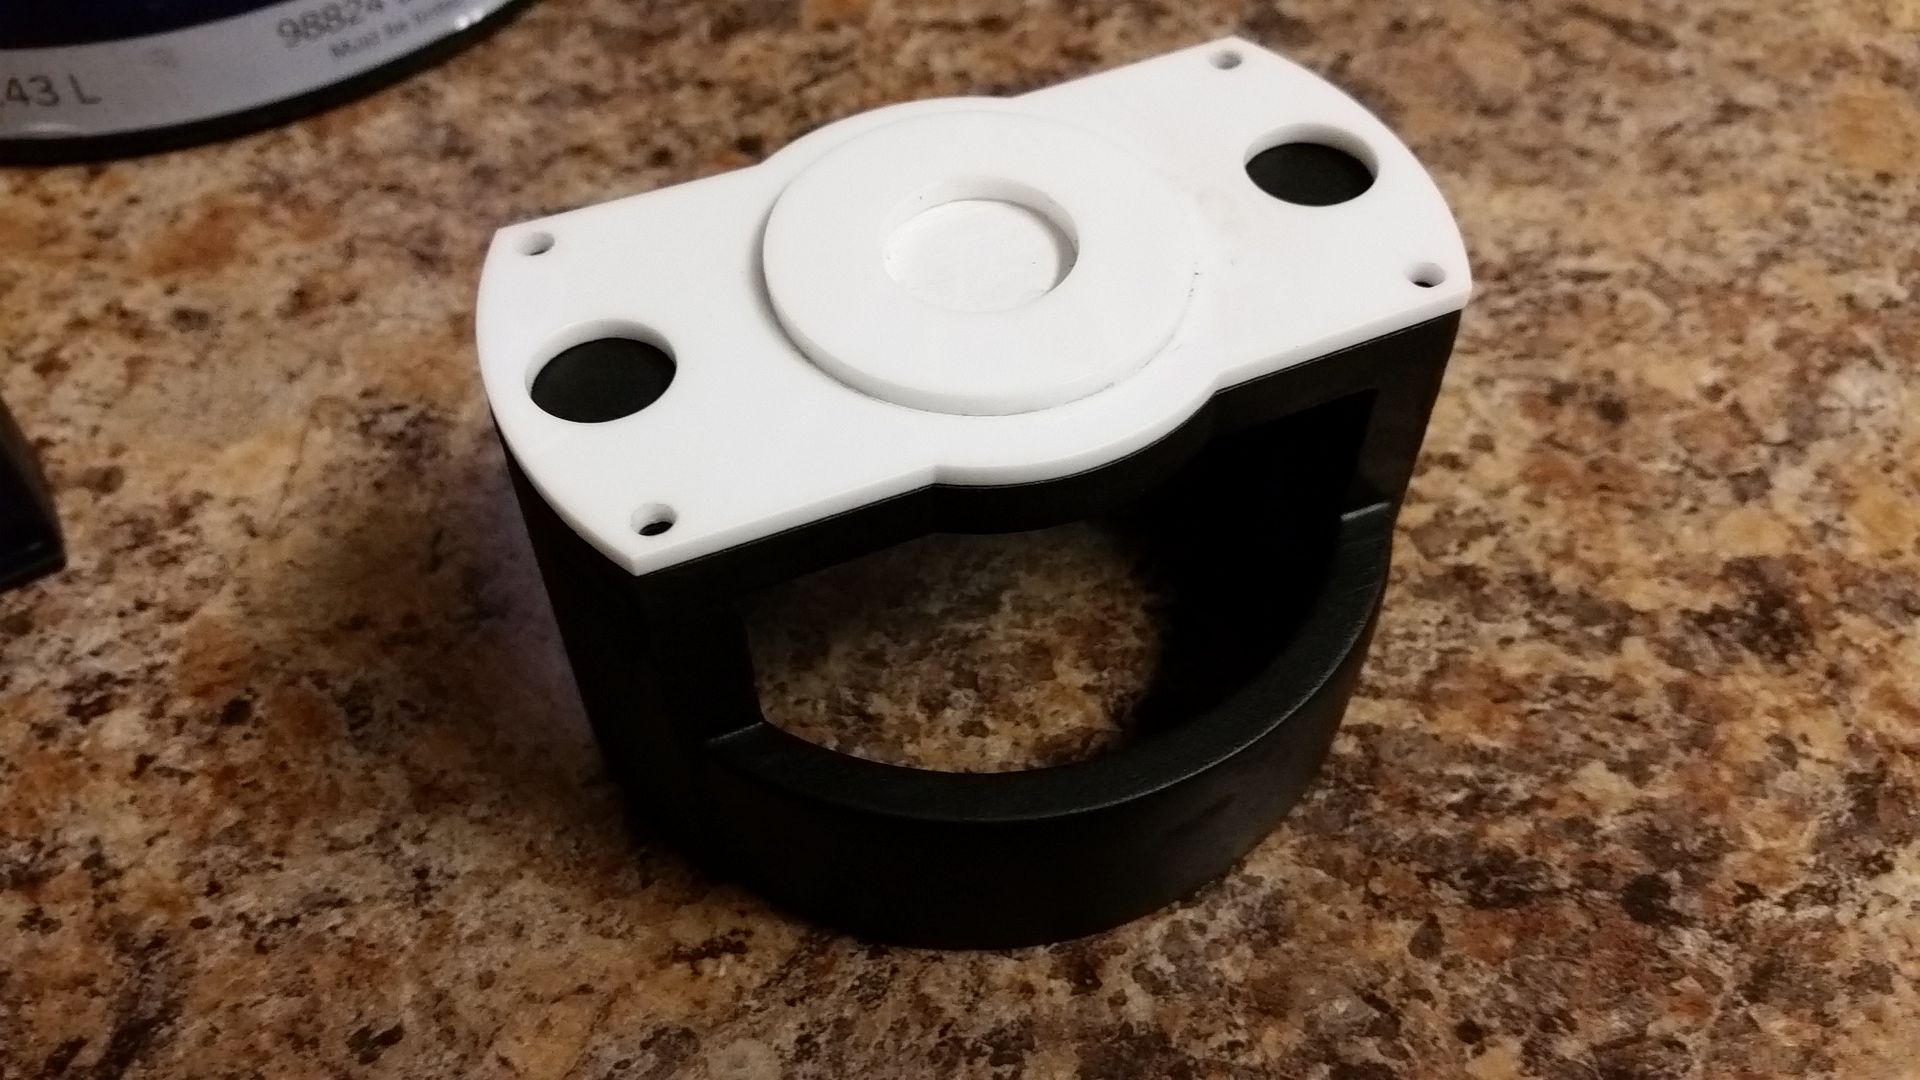
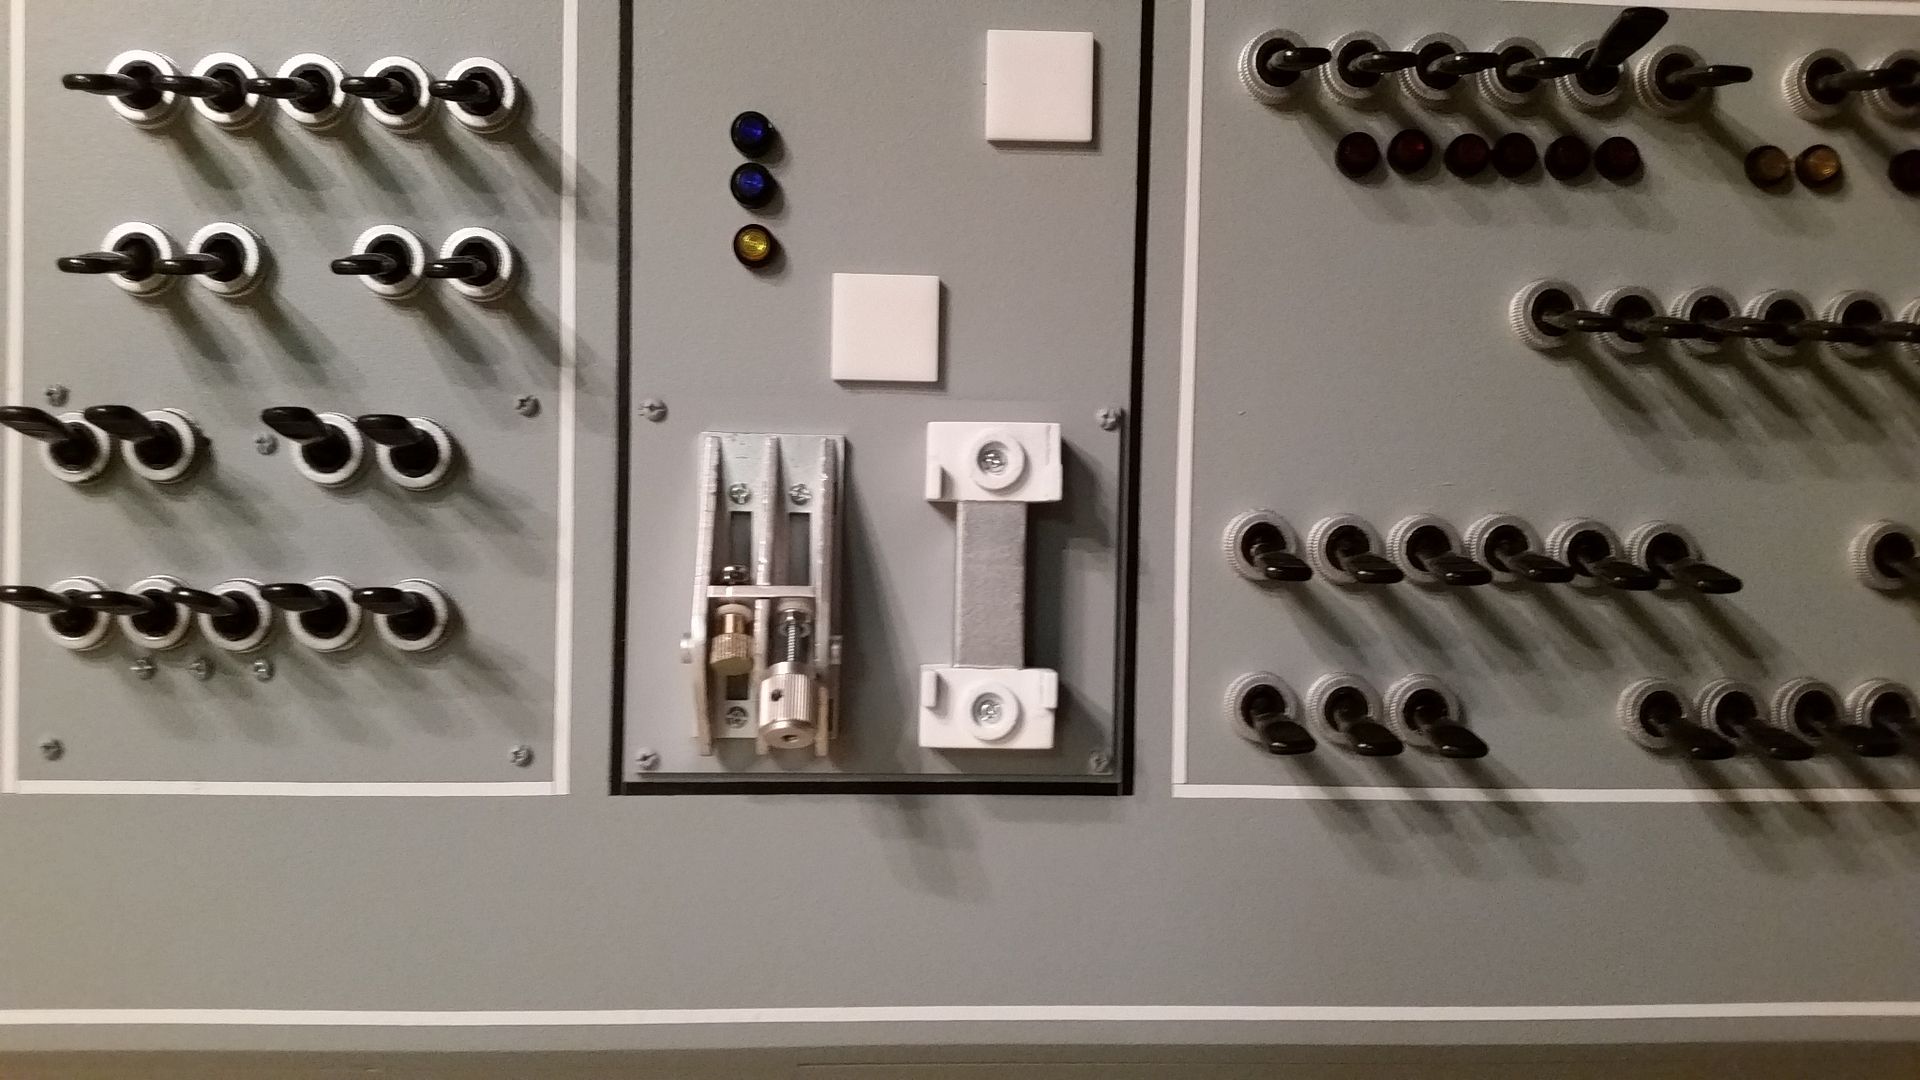
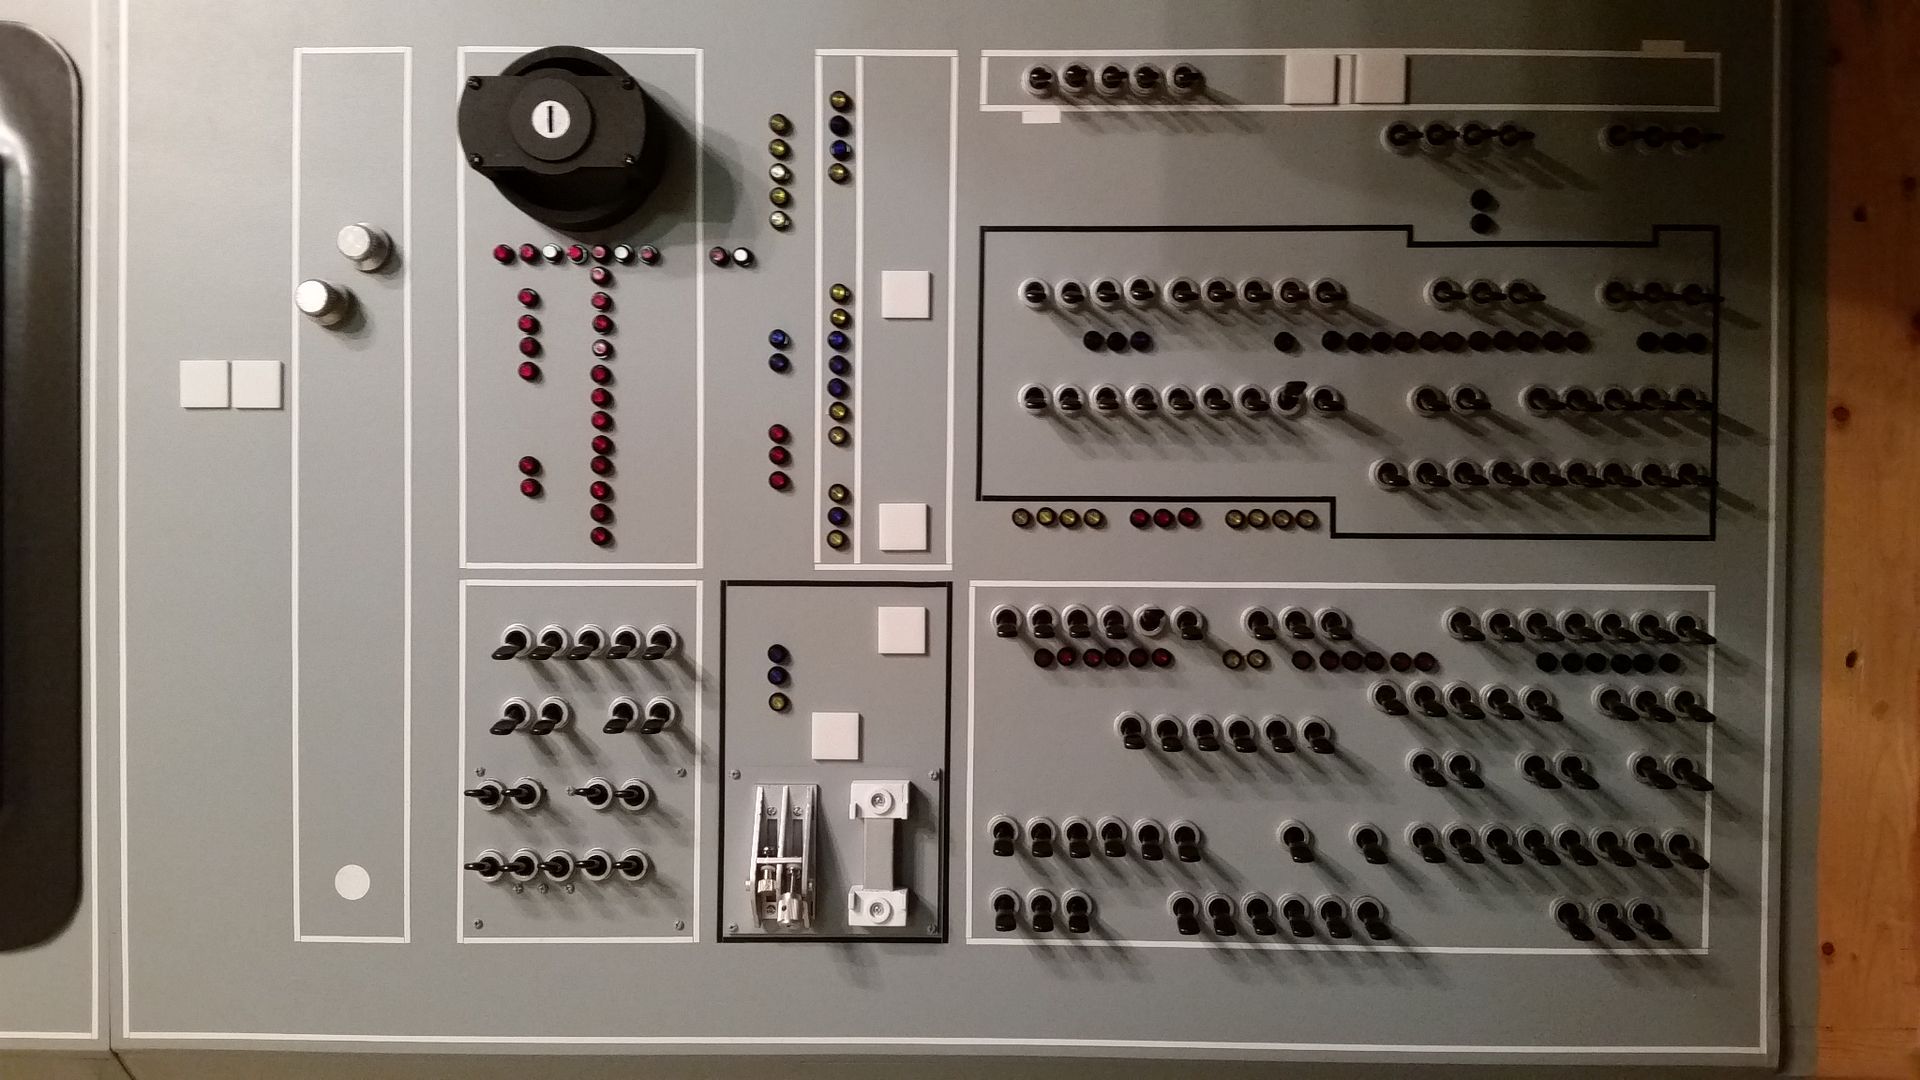
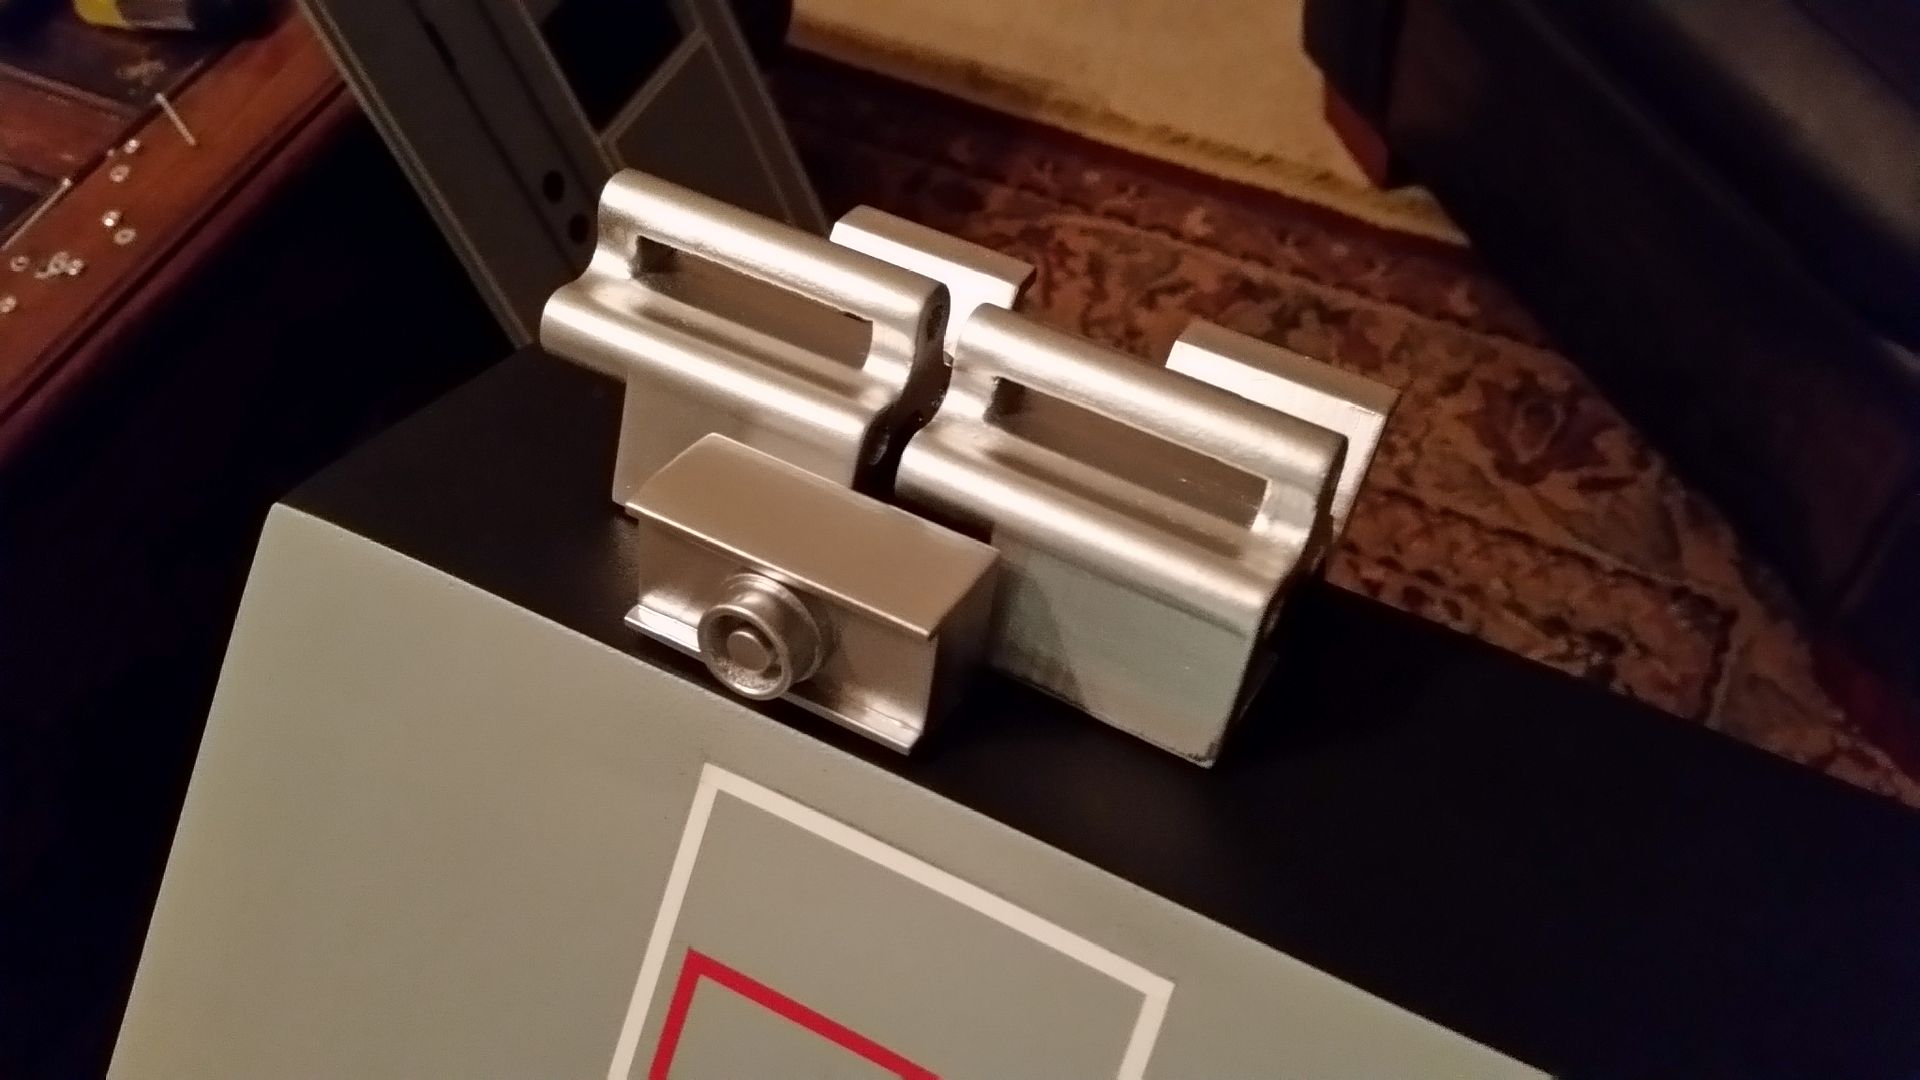
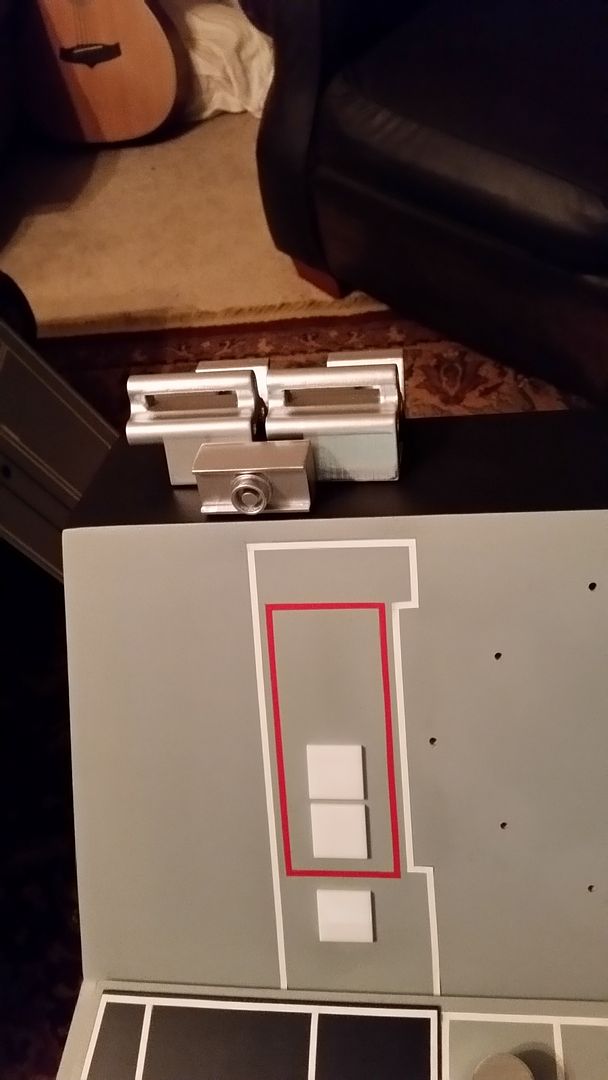
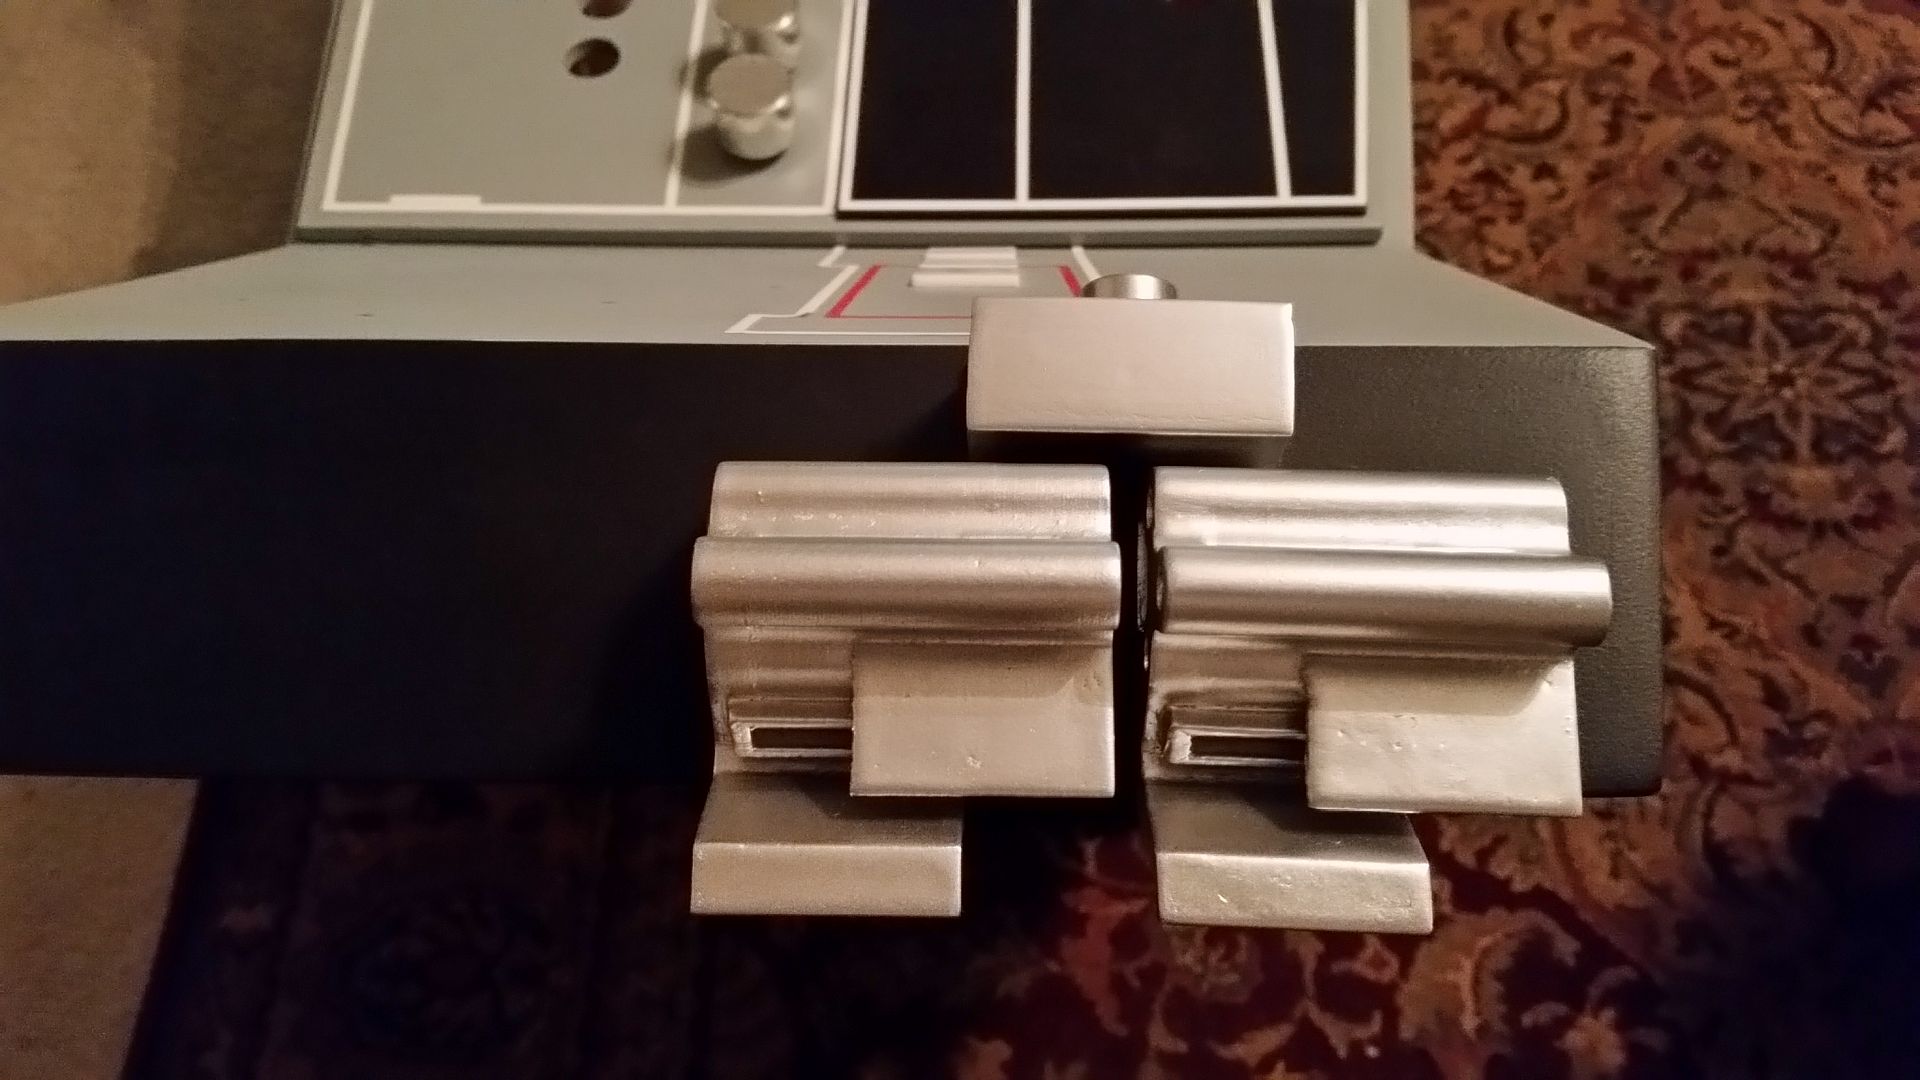
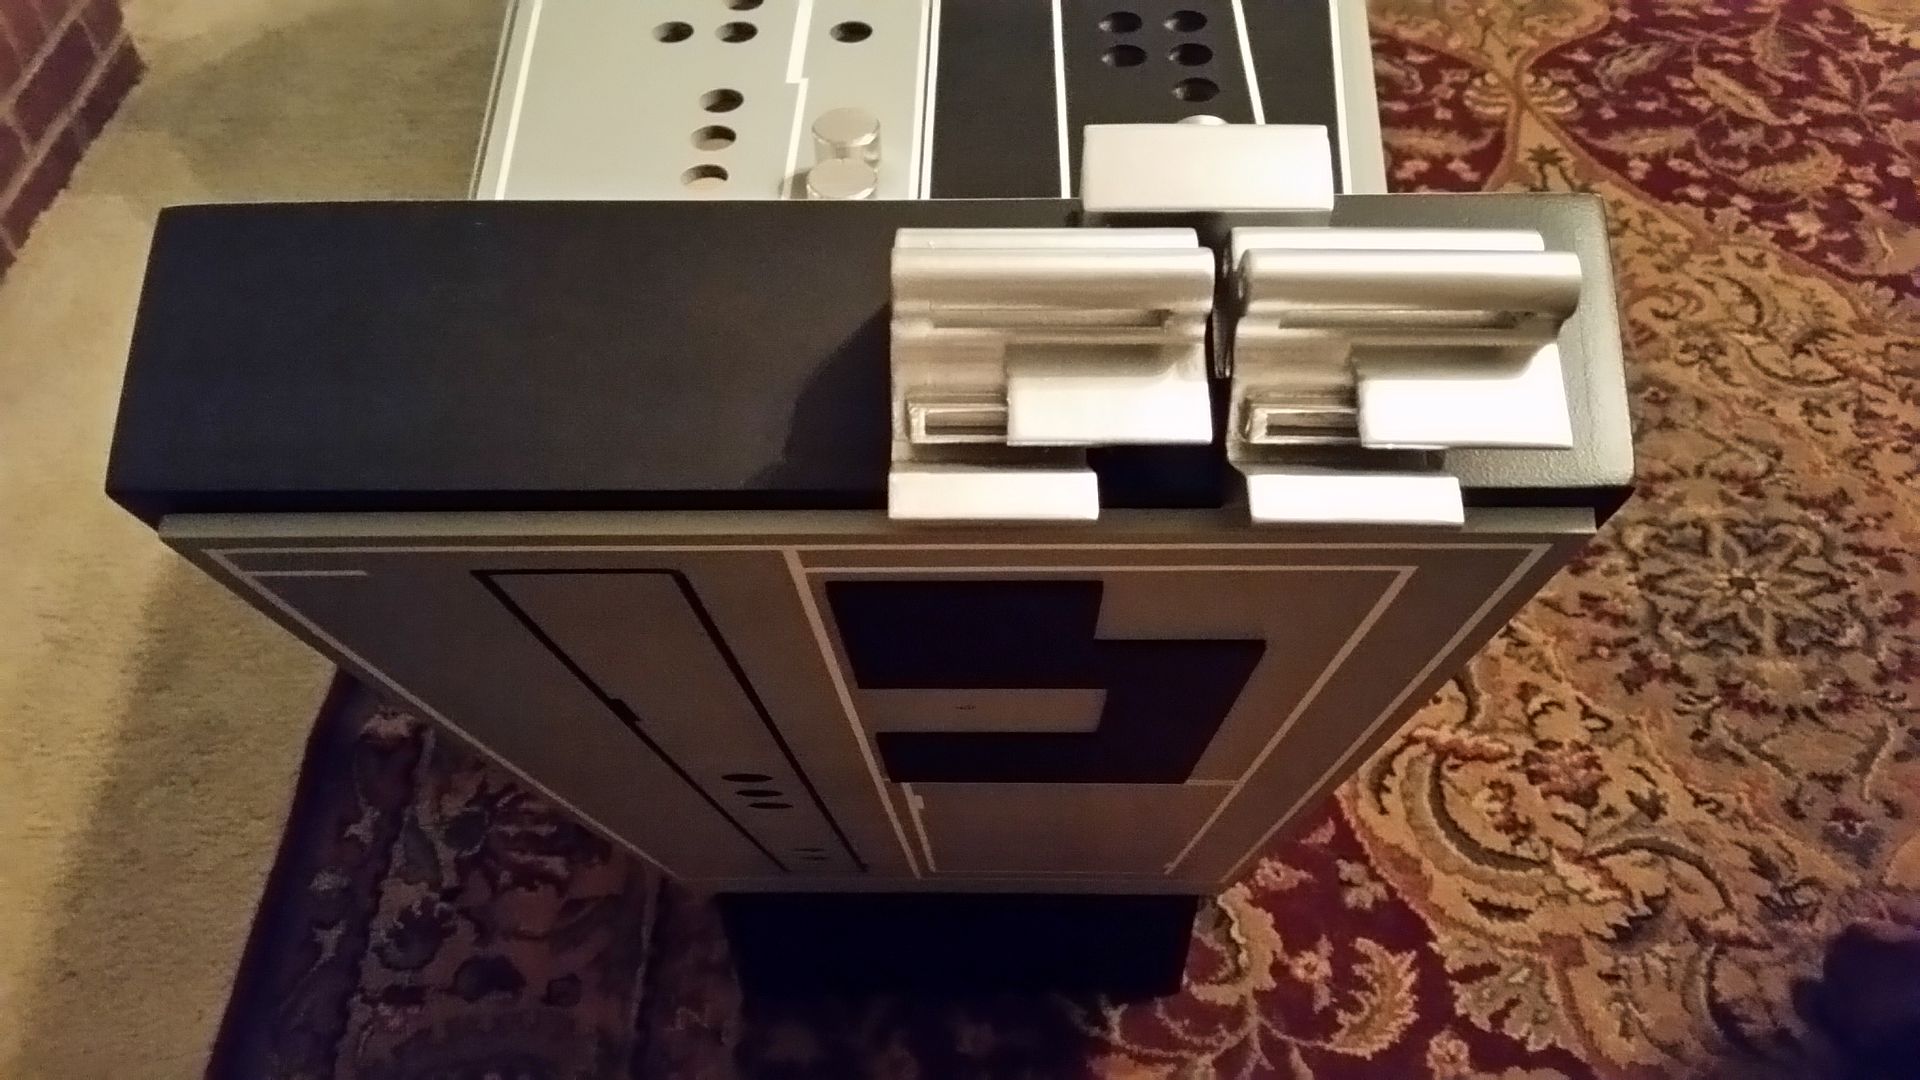
Love how the Canister lights up. Looks spot on. Great work SofaKing01. :thumbsup I was wondering how you were going to secure the rear console greeblies.
Hey Iz,
Thanks! That was a simple LED flashlight. As you know, the actual on screen canister interior is blue (at least we think it is). I'm thinking about blue Christmas tinsel or loose spider webbing with blue LEDs in the center. As always, a work in progress.
- - - Updated - - -
Where did you get good reference for the canister? Looks amazing!
Hi F,
Thanks so much! There were several video images of the cockpit that were shown during the "Force for Change" contest video. The winner, DC Barns, was given an exclusive tour of MF sound stage where he got to sit in the cockpit, tour the hull, etc. Several of us were able to grab a bunch of screen shots and work forward from there.
Here's the link:
http://www.therpf.com/showthread.php?t=147319&page=249&p=3616841&viewfull=1#post3616841
The moment I saw it, I had to recreate it! LOL