Re: Mass Effect 2/3 M96 Mattock Heavy Rifle Build V2
It's not over yet!
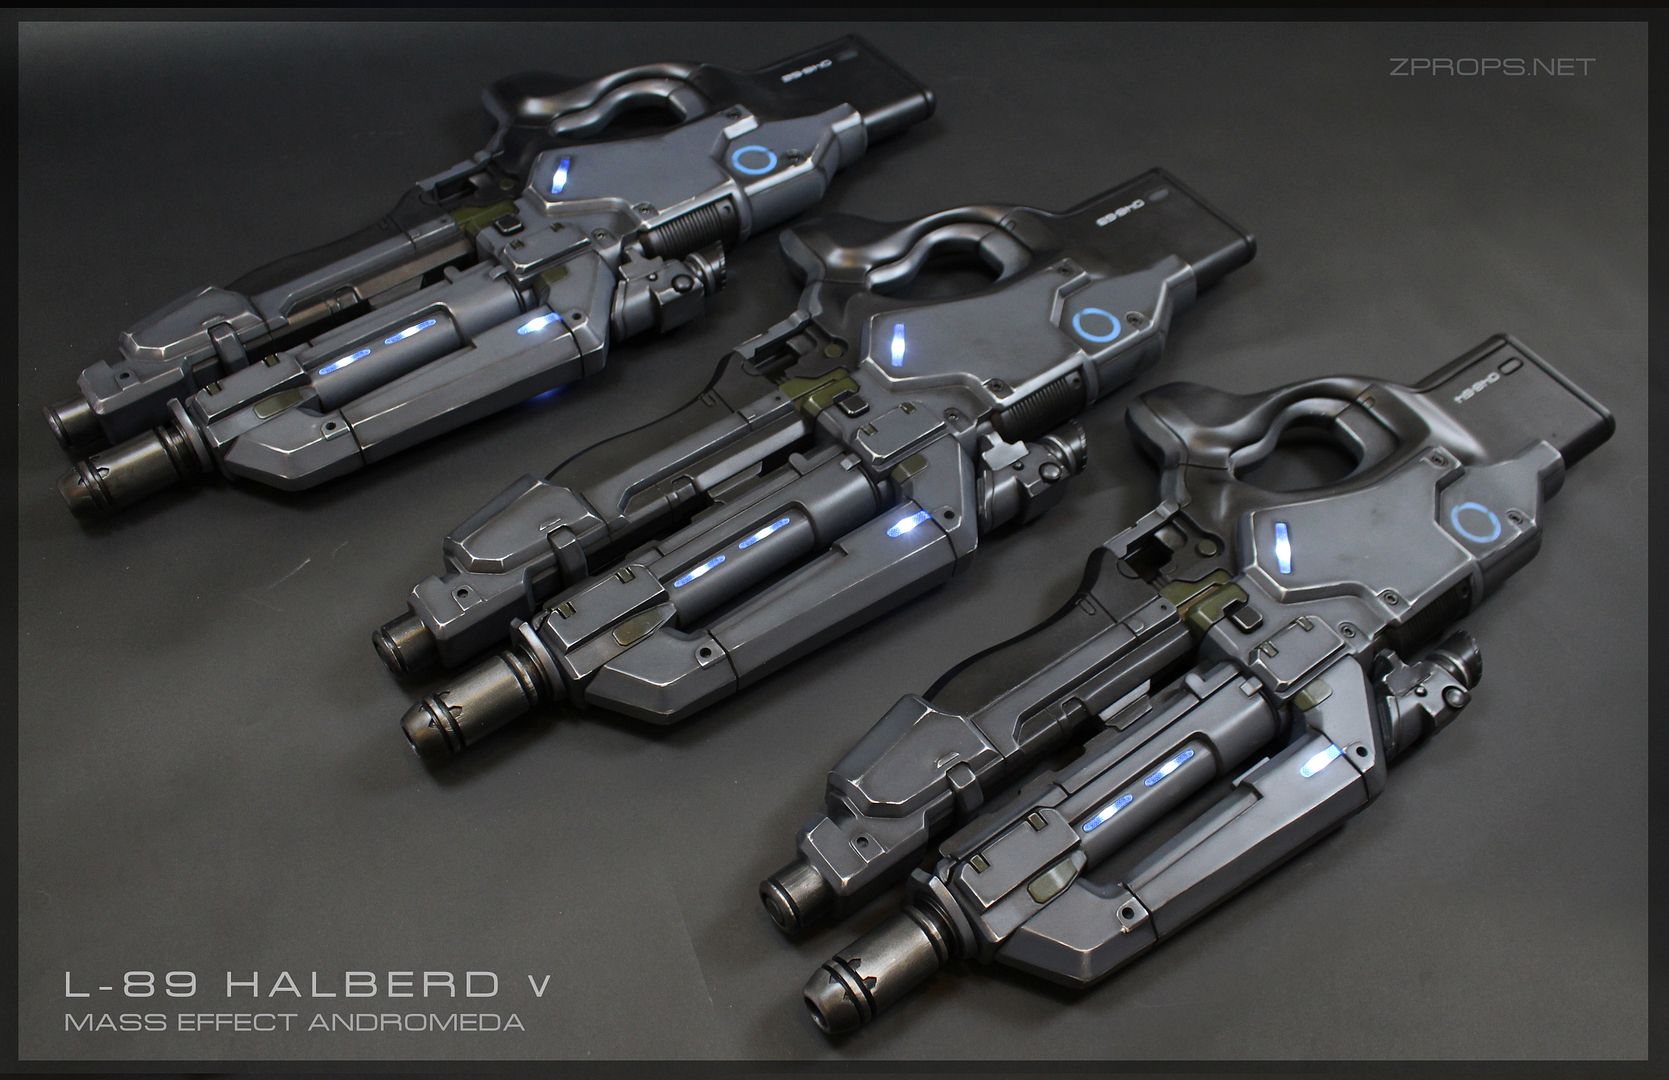
The Mattock got a makeover for Mass Effect Andromeda. This version is called the Halberd V. So far, anyways. It can be seen very briefly in the exploration trailer.
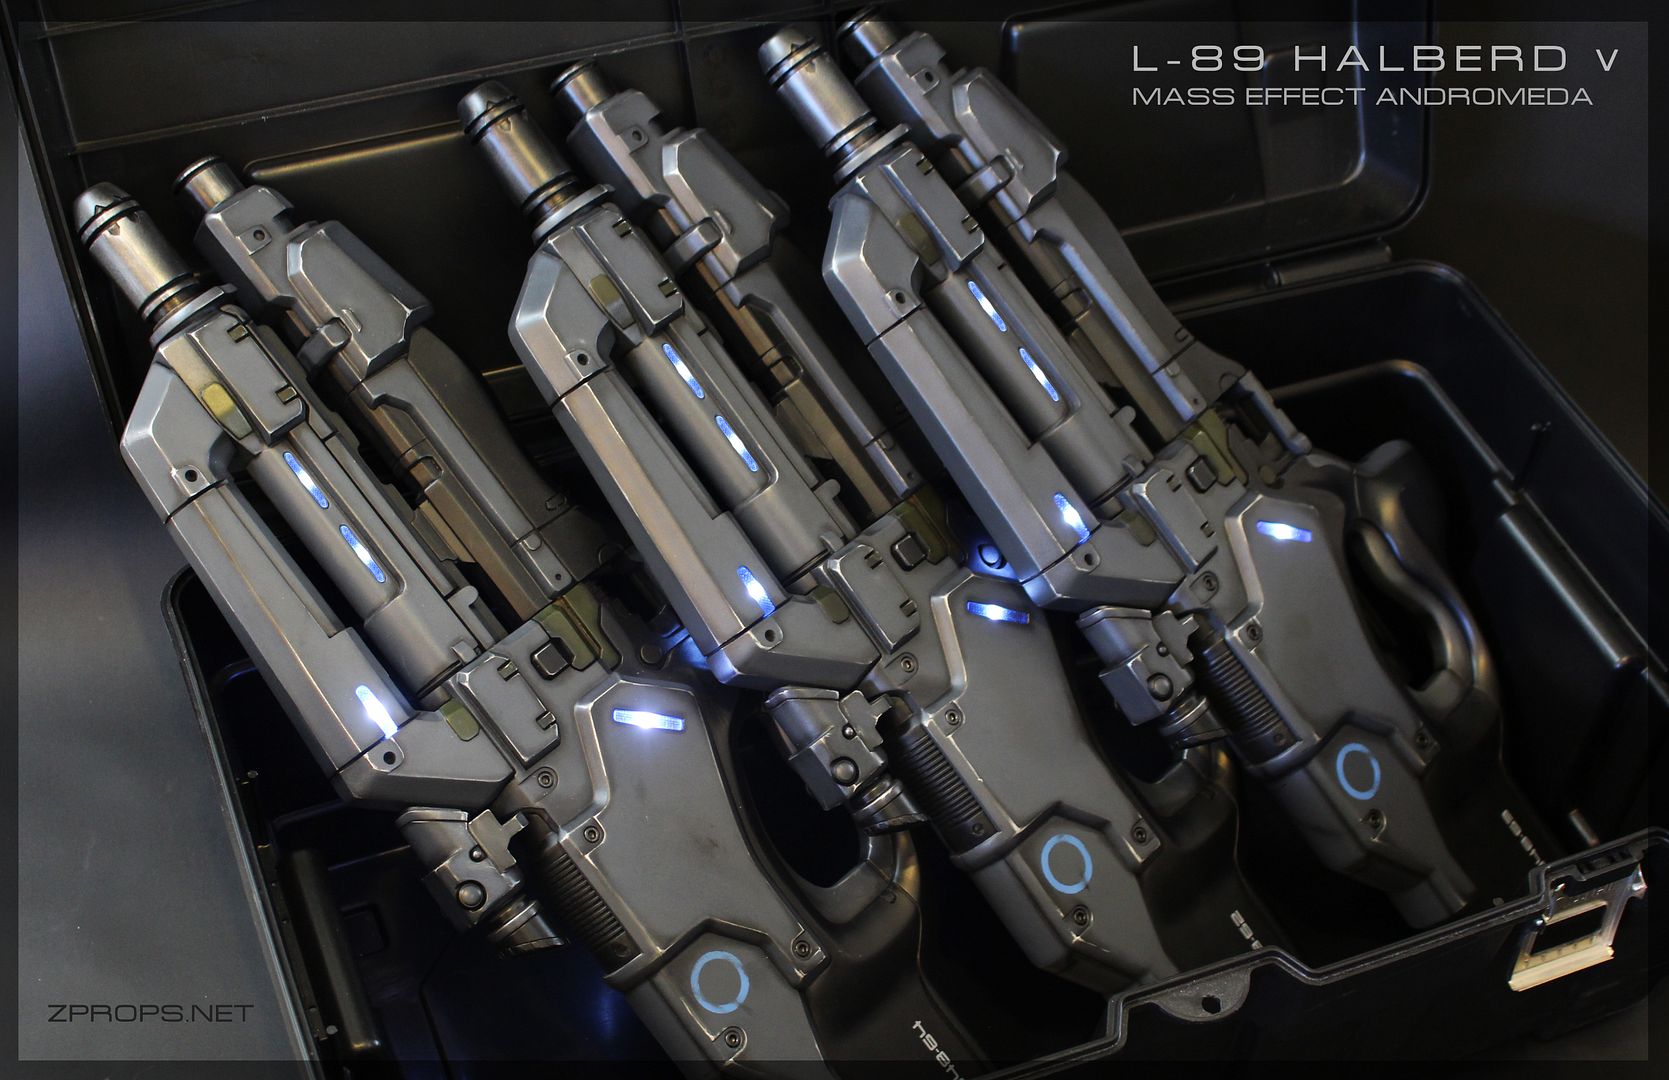
Logitech G approached me and wanted three of their special kin variants done for Pax East 2017. With only about 15 working days, I got to work.
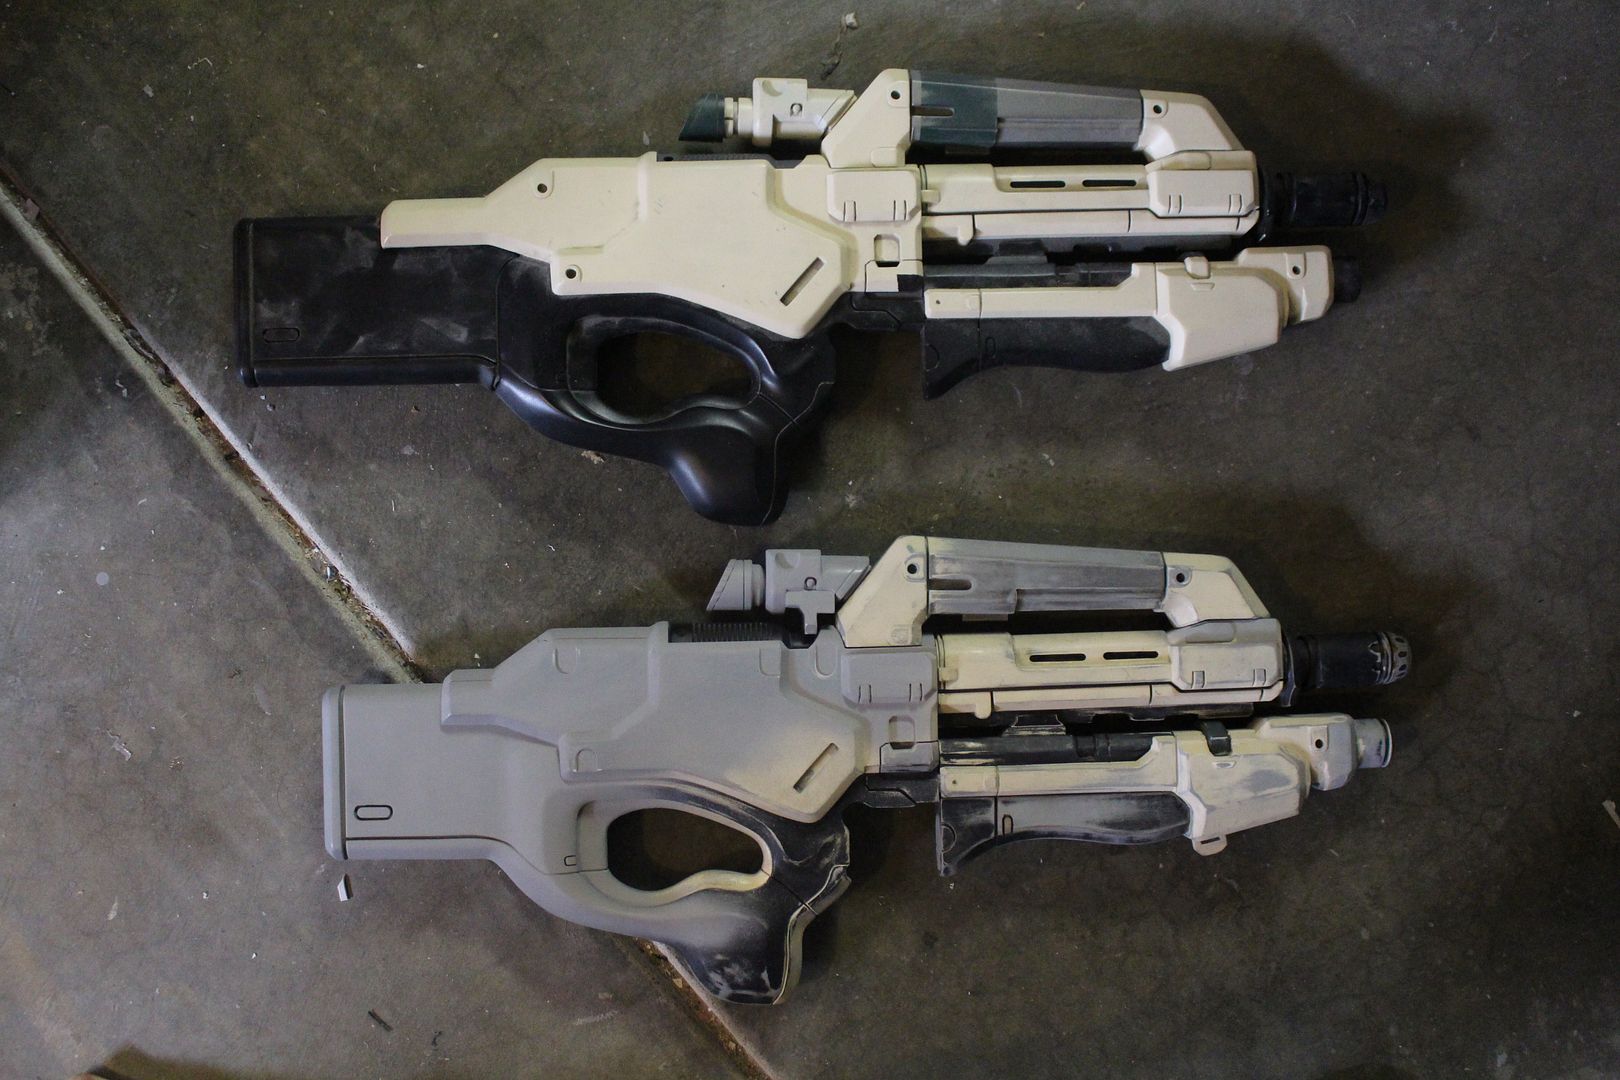
The receiver got the biggest change. The stock is almost three inches shorter. I dug up the old master from 2012 and got to hacking!
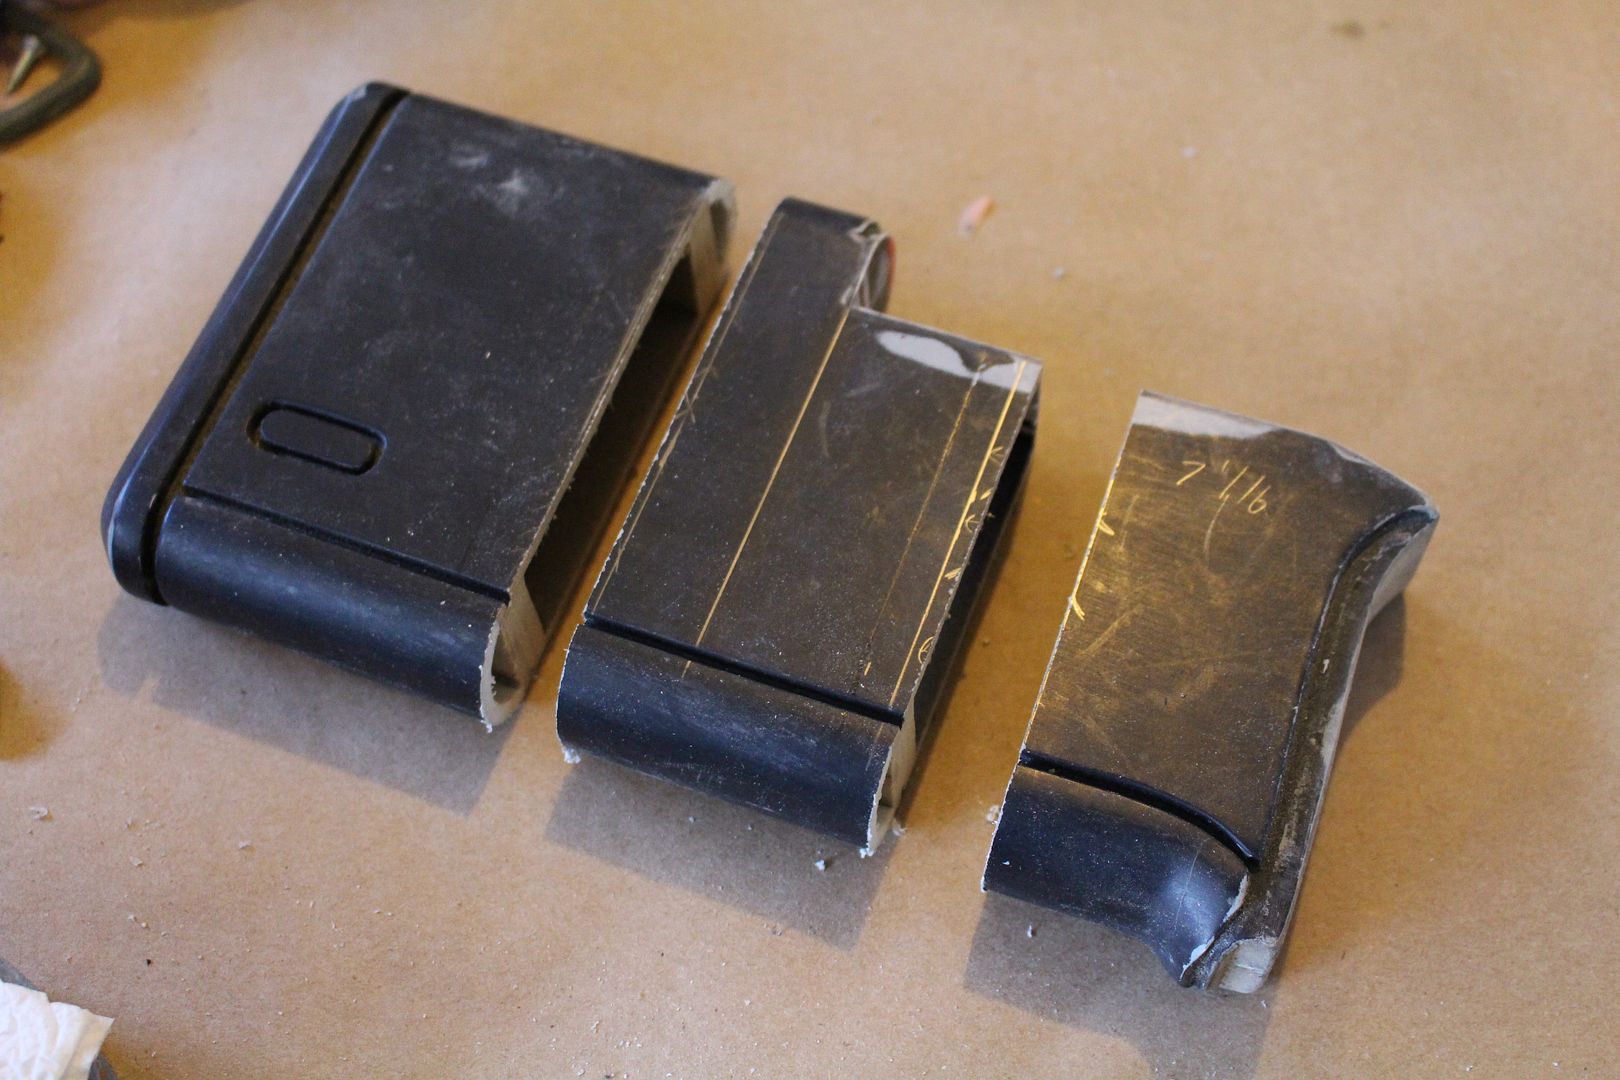
The "tail" is also shorter, so I had to hack that and make a new cap.

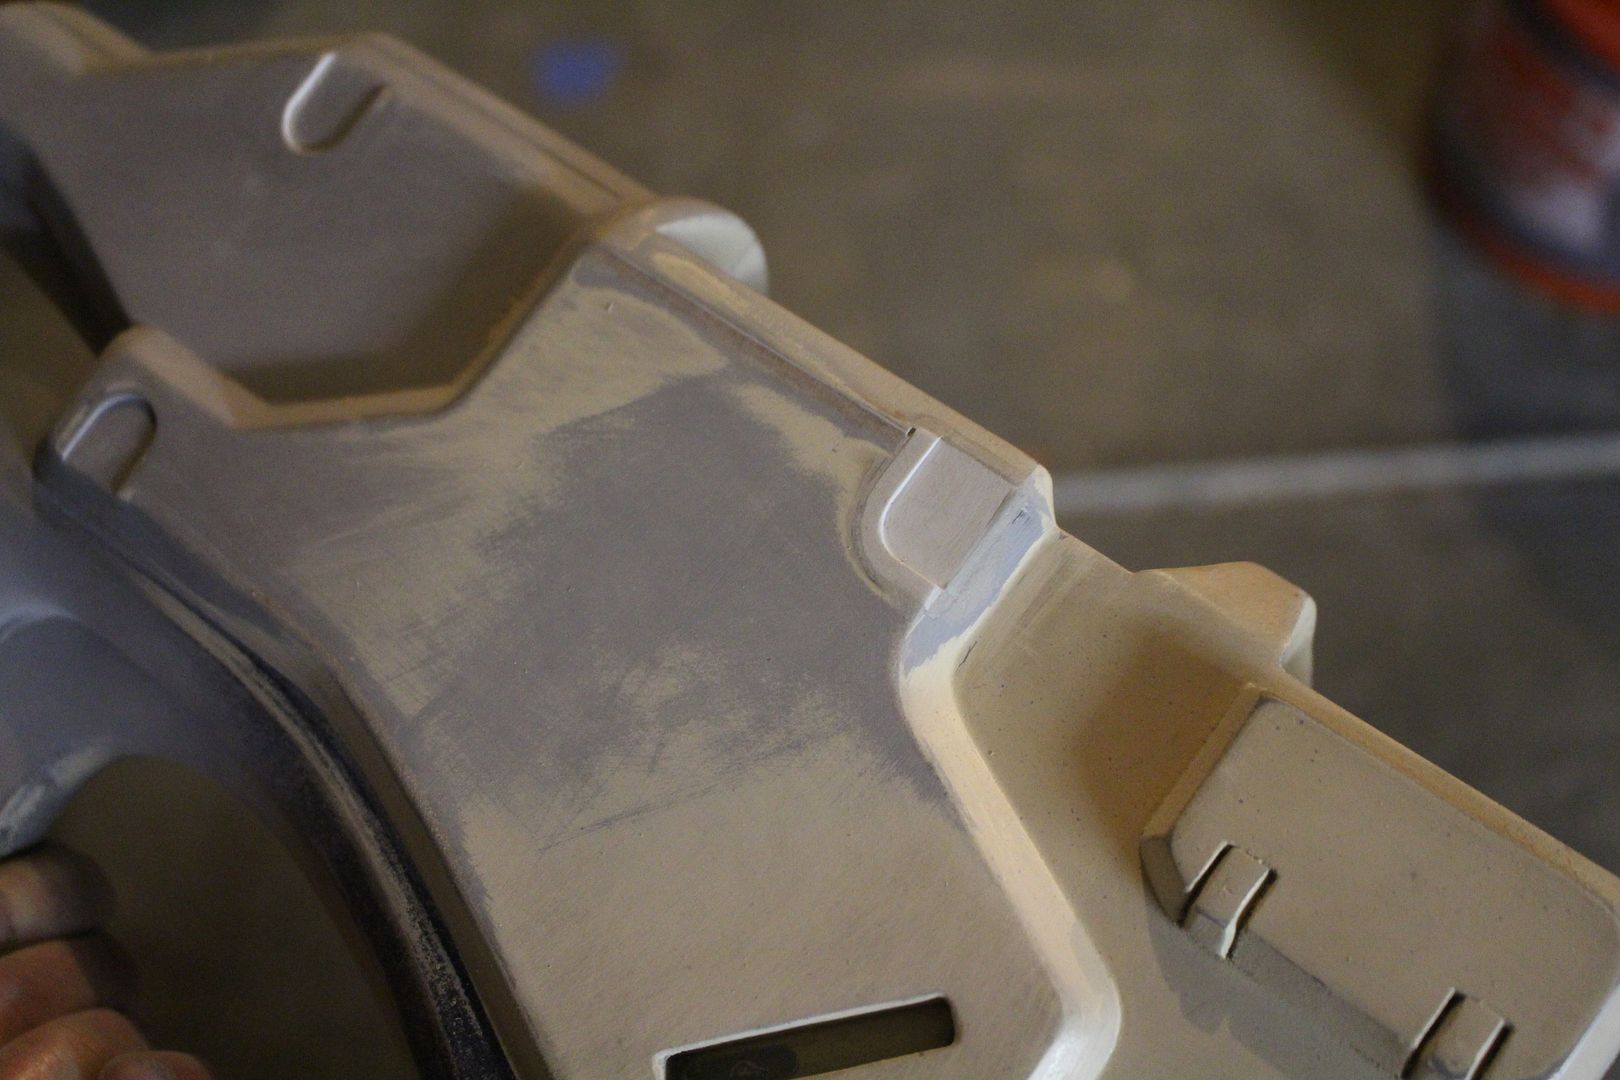
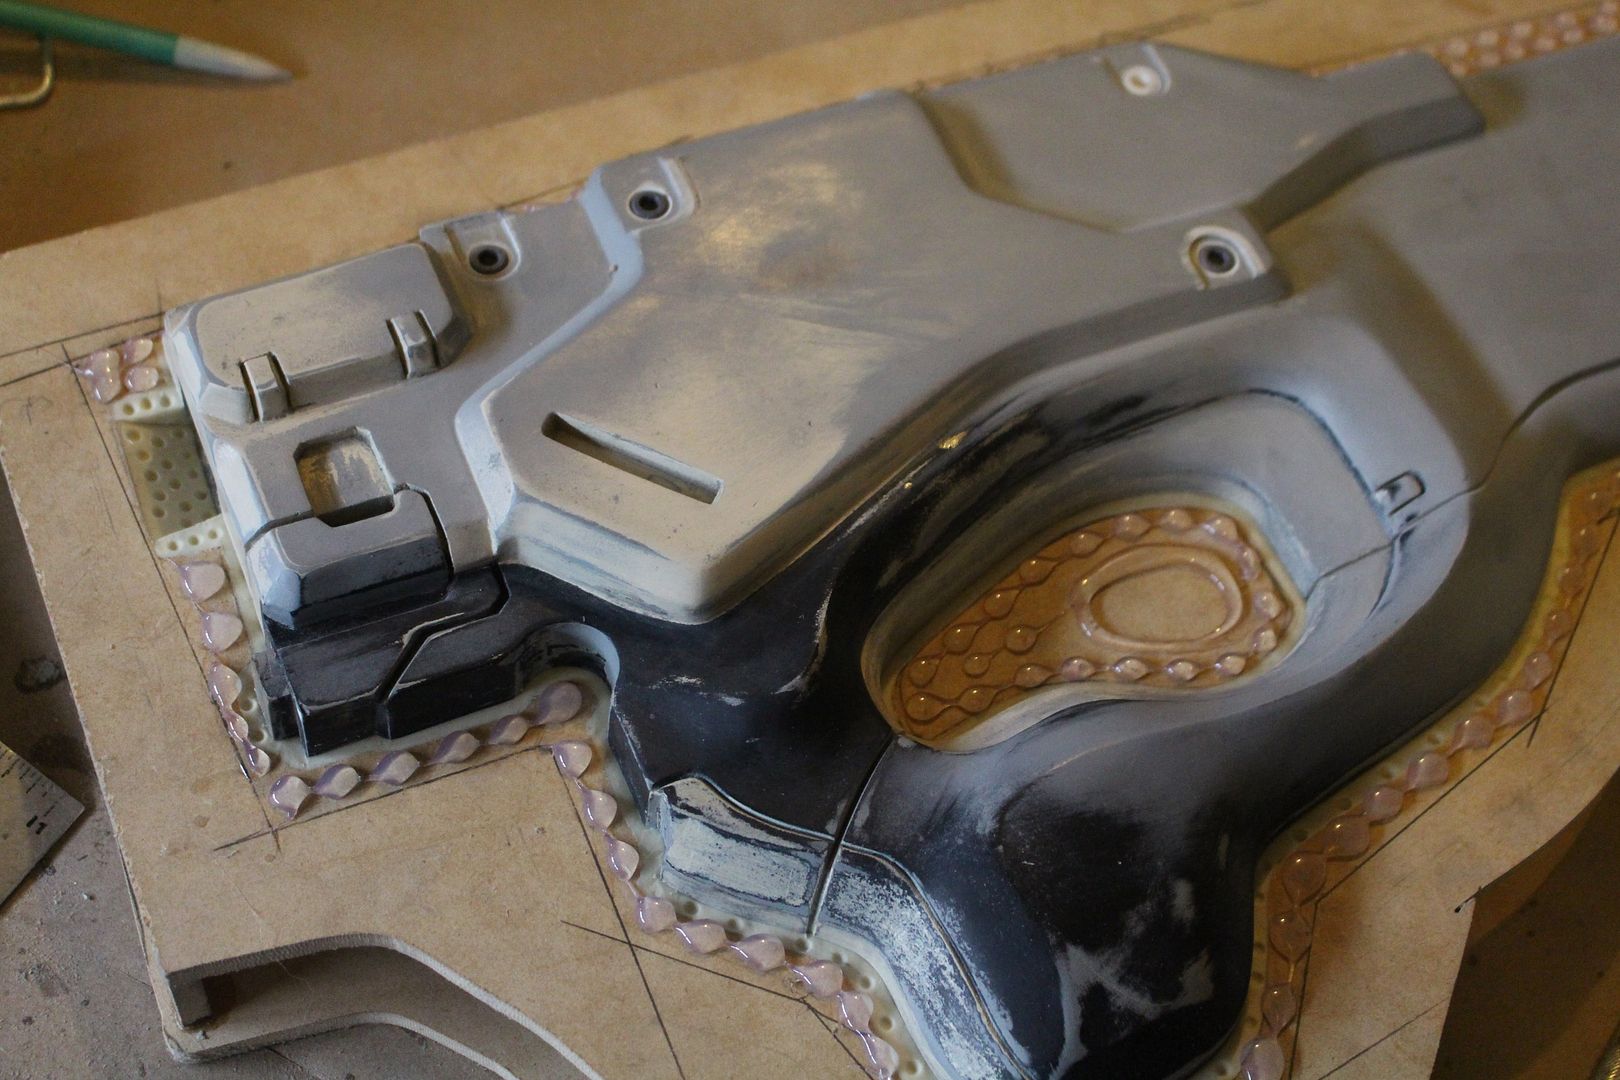
There are new panel lines and details for this design. It had to be re-molded anyways, so I figured now s the time.
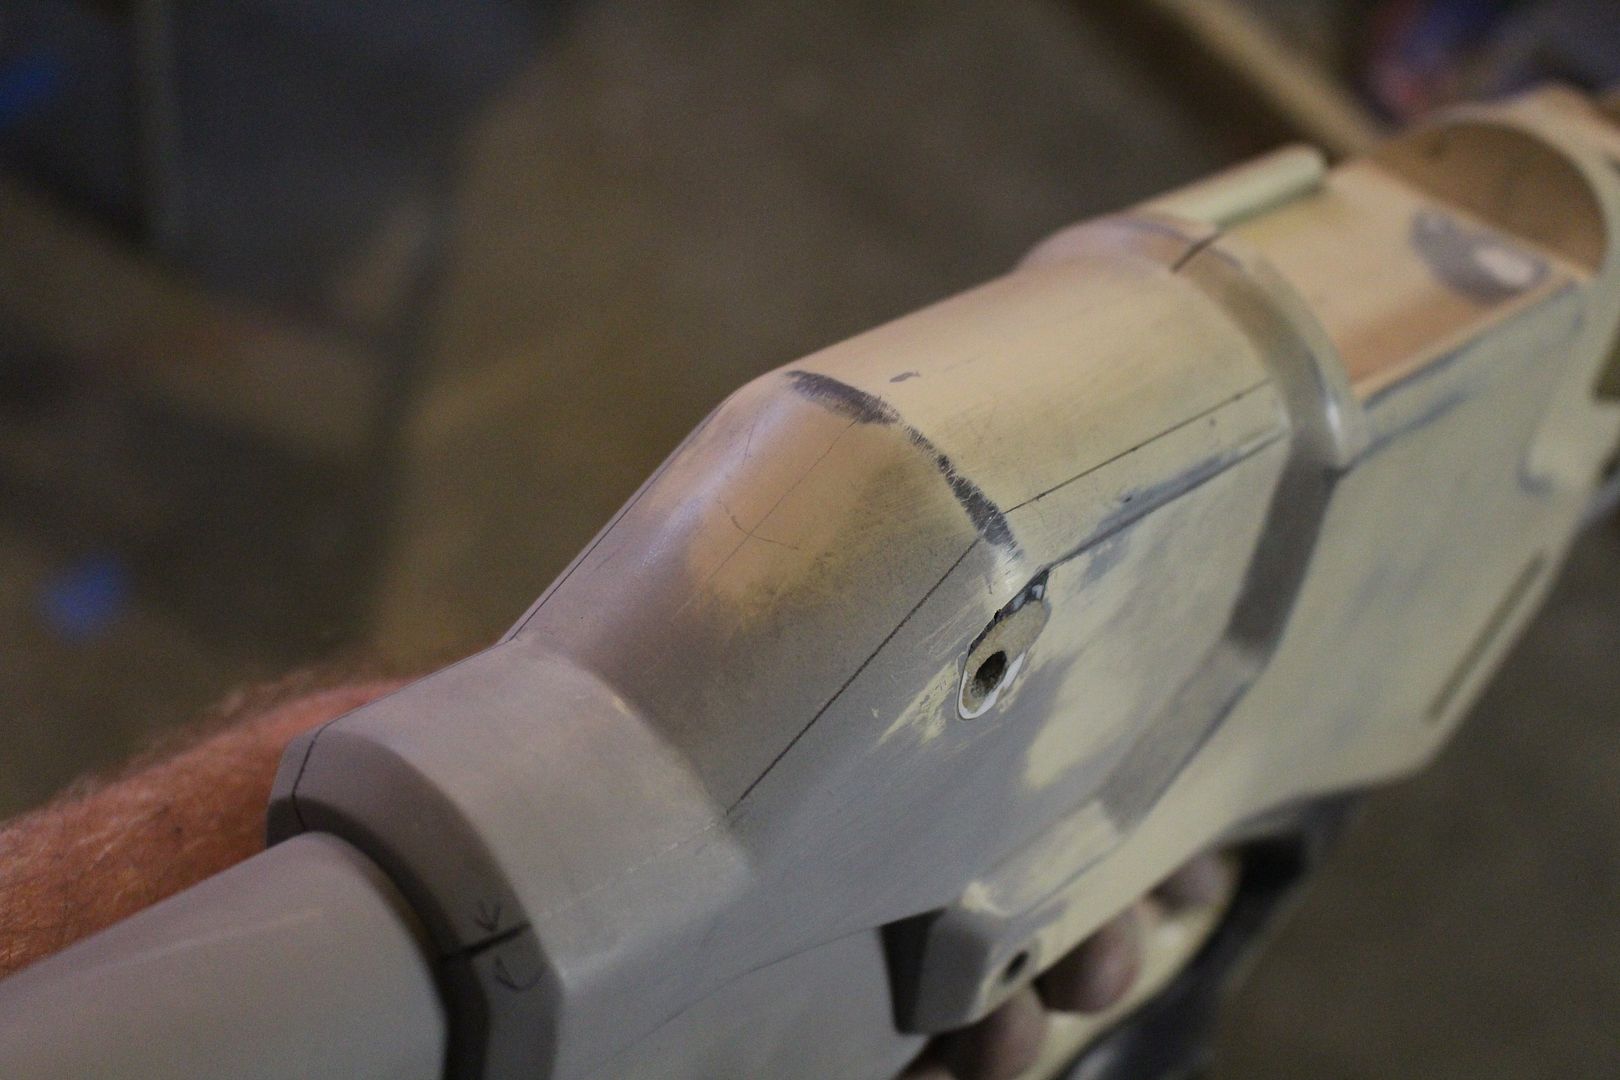

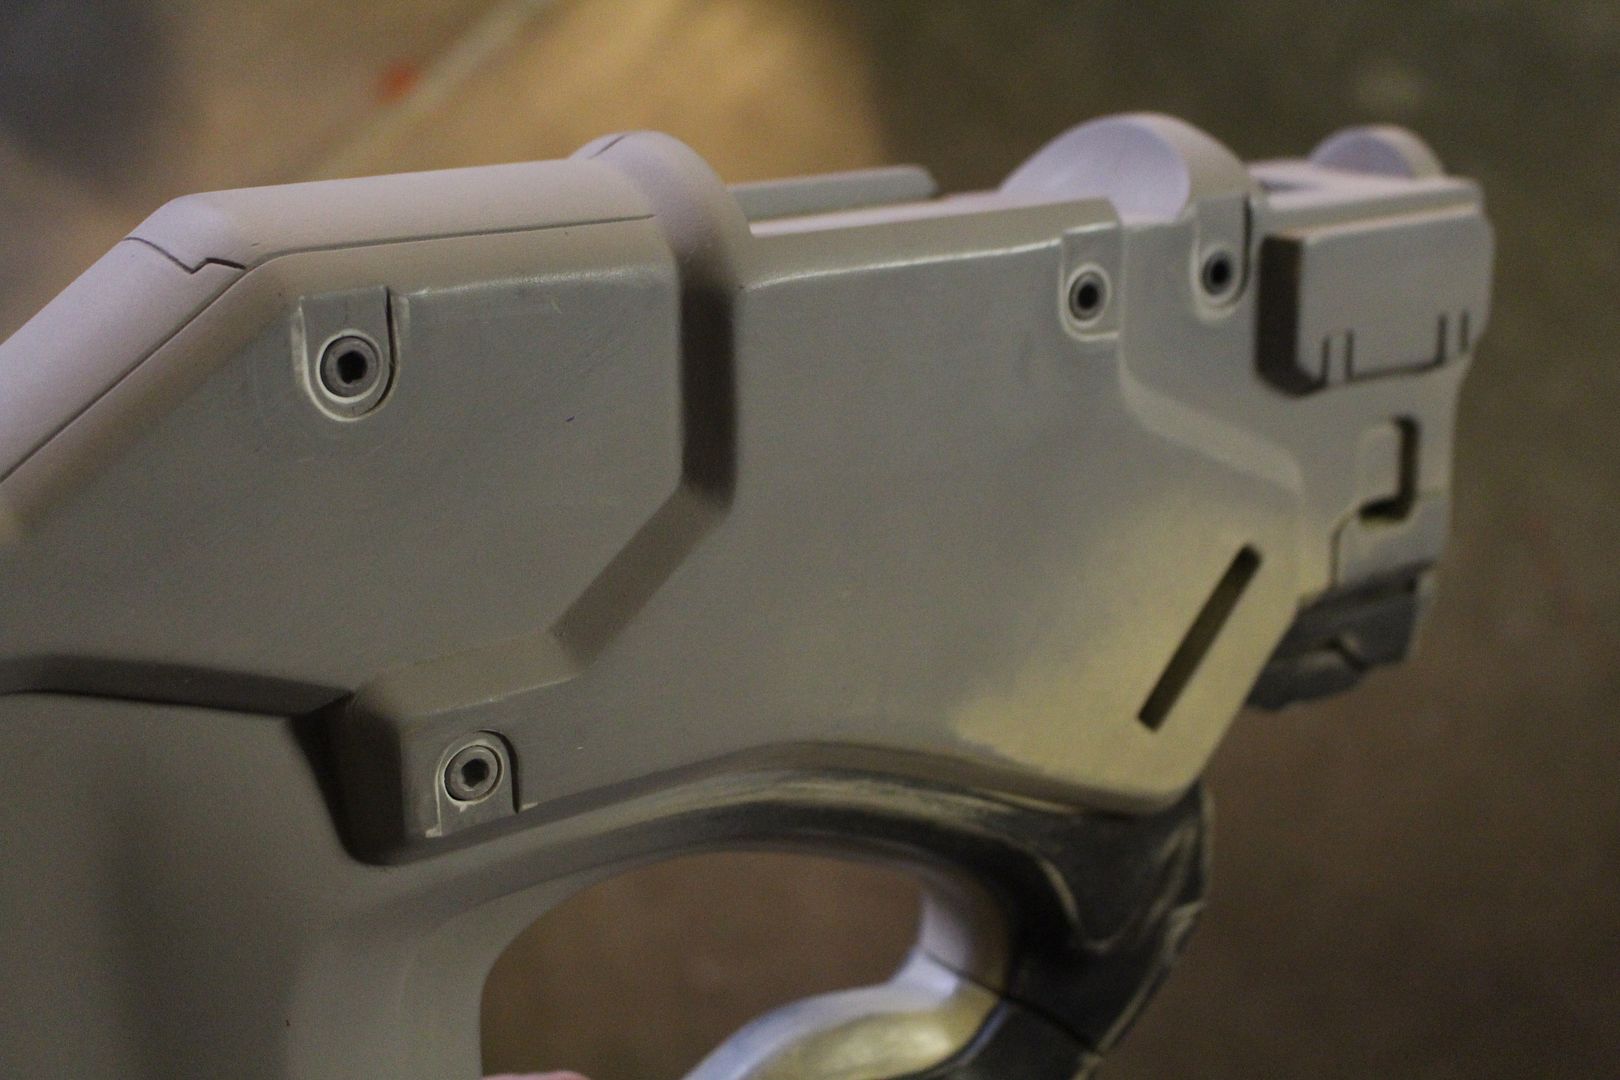
The screw insets I did as protrusions the first time around. This time, I wanted proper recessed details with the larger hex socket screws. I went around and did all 8 locations over by carefully dremeling out some MDF and insetting styrene.
Screw holes carefully drilled out and tapped
Things really started picking up from here. I didn't have time to re-do the screw locations on the front of the gun. Instead, I spent the time on the scope and photo documentation started lacking. You can see the proportion differences here, and the scope now has a support , is also shorter, and has more details.
Molding!

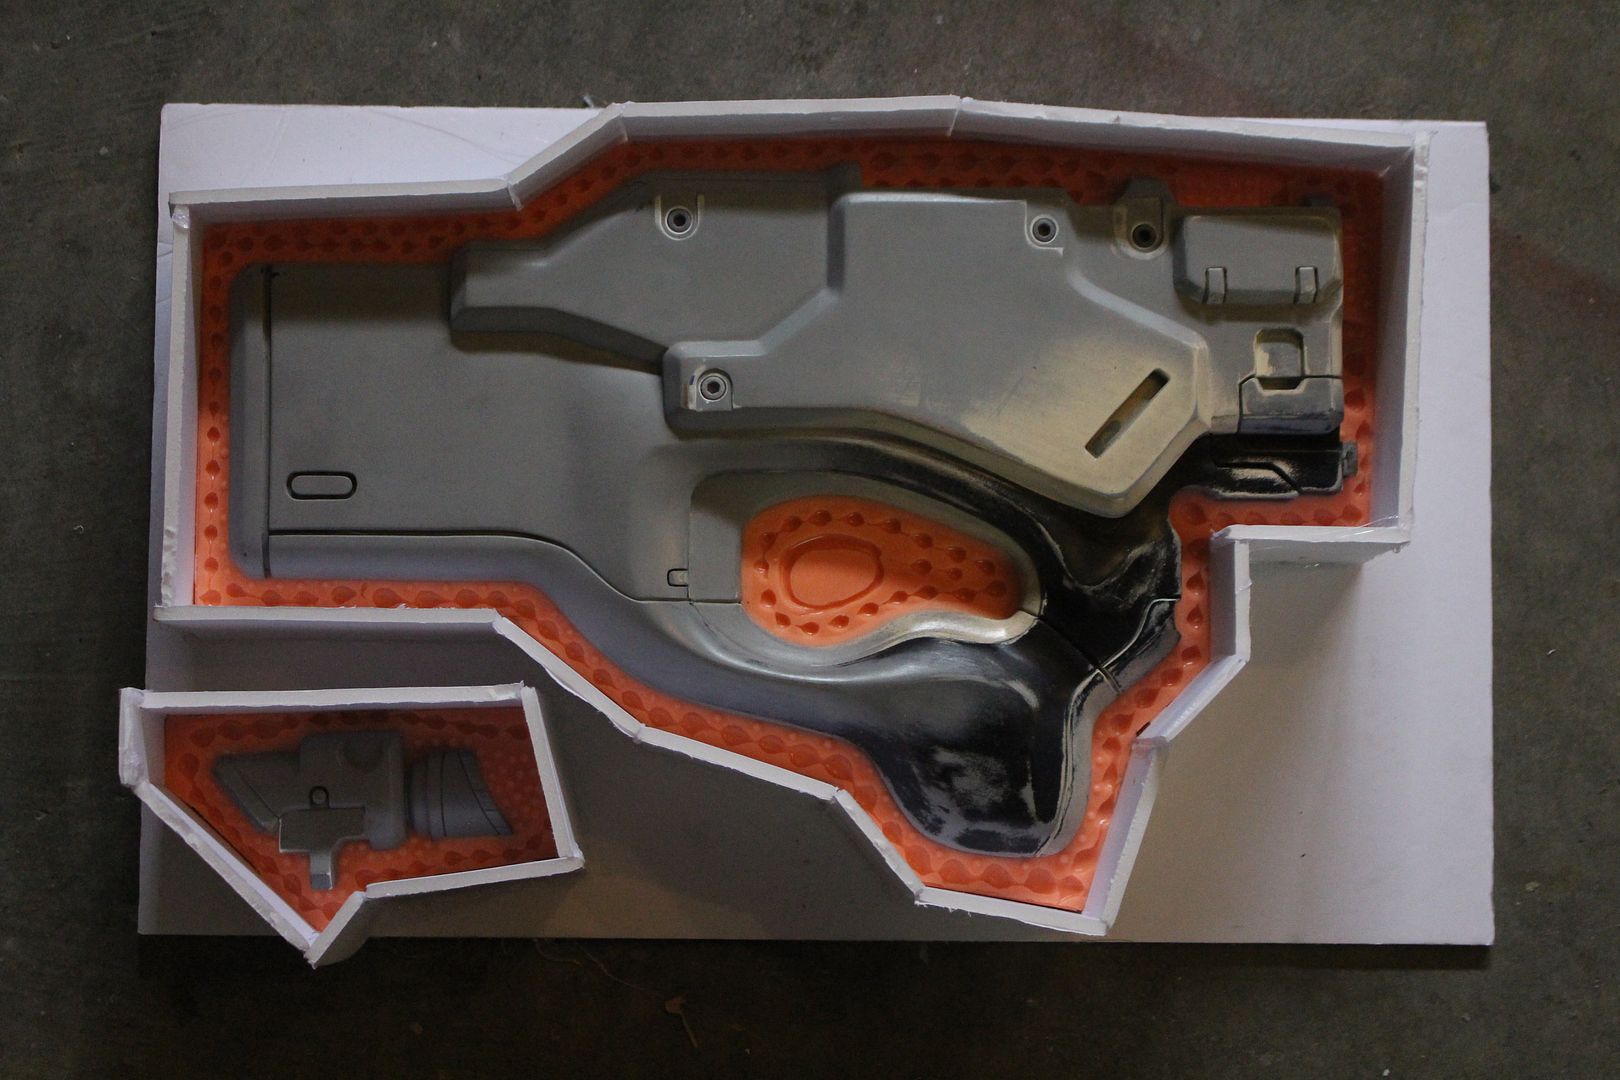
I pulled a set of 3 casts, all in smooth-on anyx fast resin. The thinking here that I could leave the black parts black to slightly save time on painting and so that when the gun wears, since they will be handled a lot, it will scratch black instead of white or light grey. On theory, the grips , barrel tips, etc will never be needed to be touched up.
All of the LED holding parts got sanded and routed for wiring before assembly. I ran some spare wiring through the gun and tied it off. I did this for all 8 LED locations.
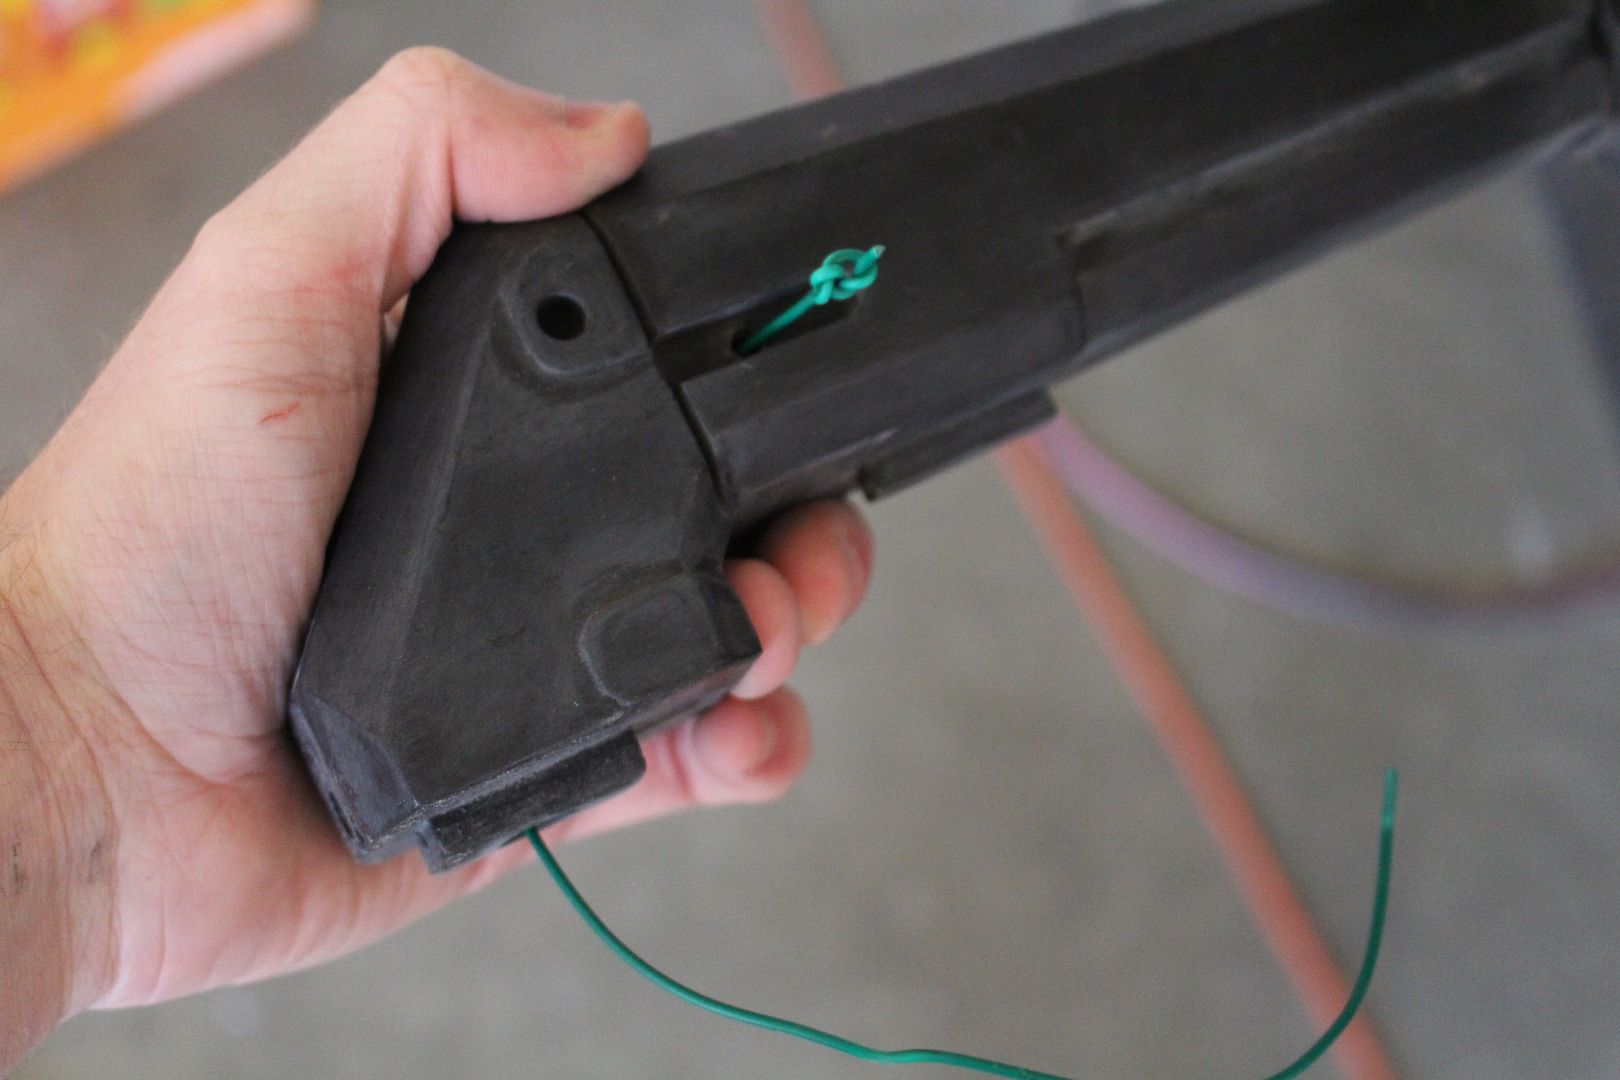
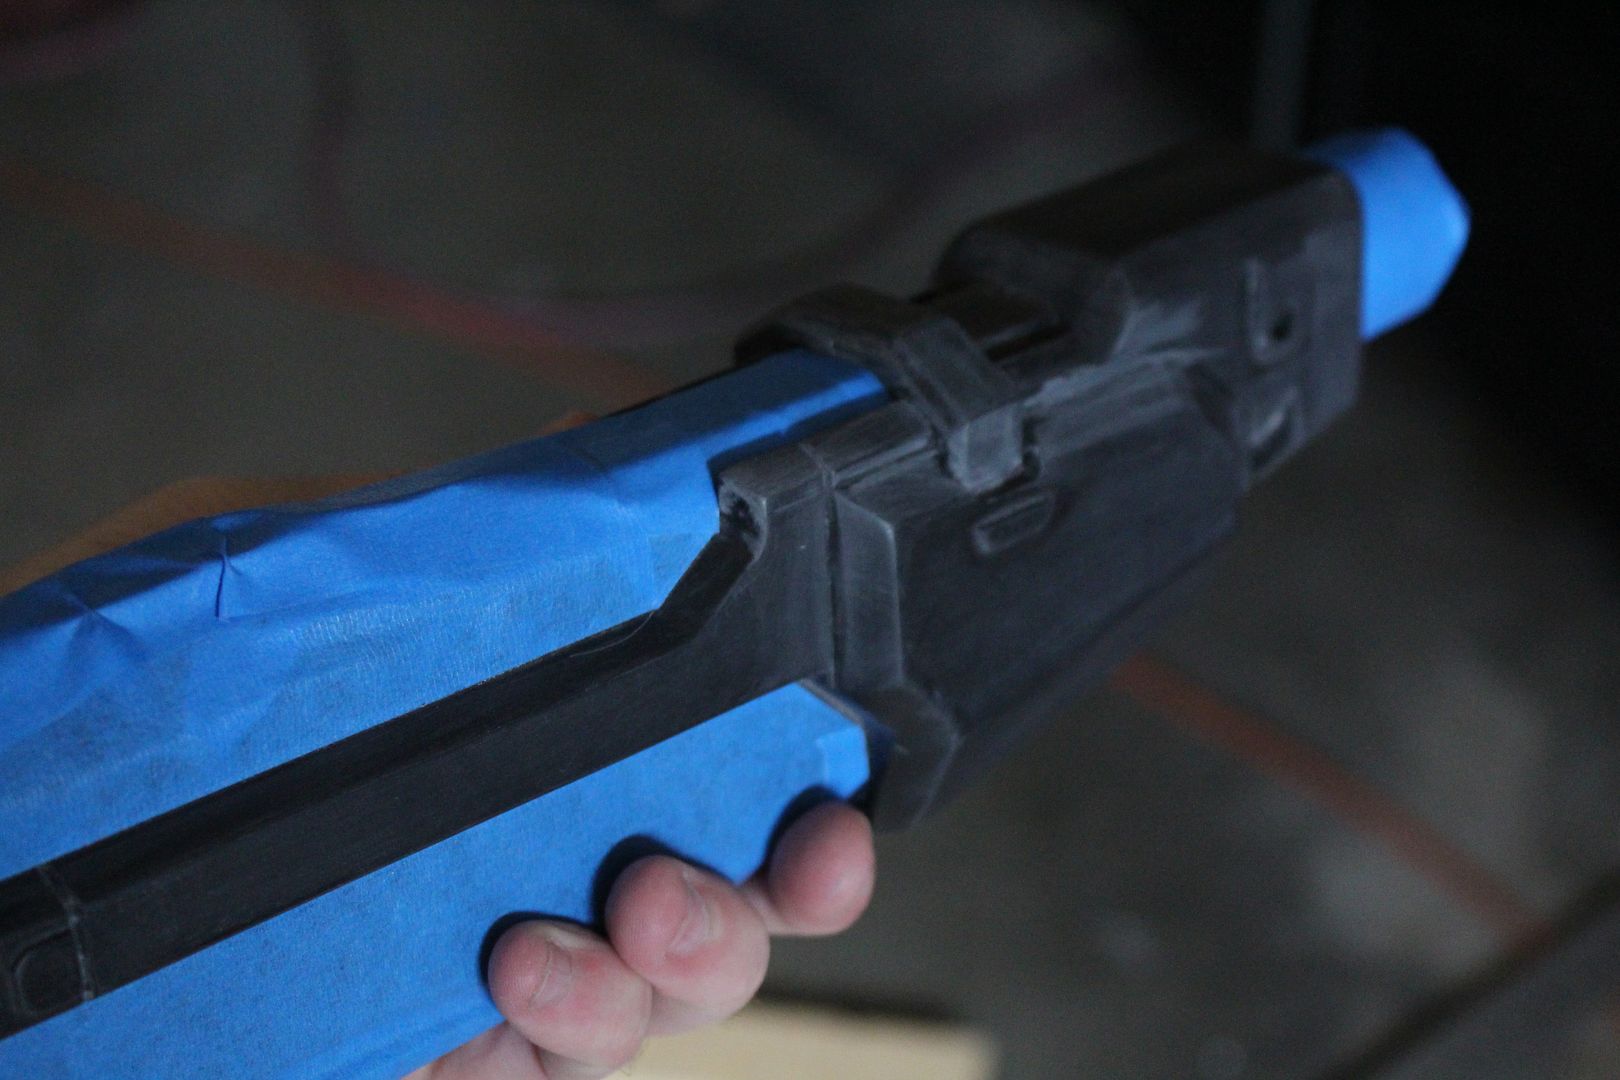
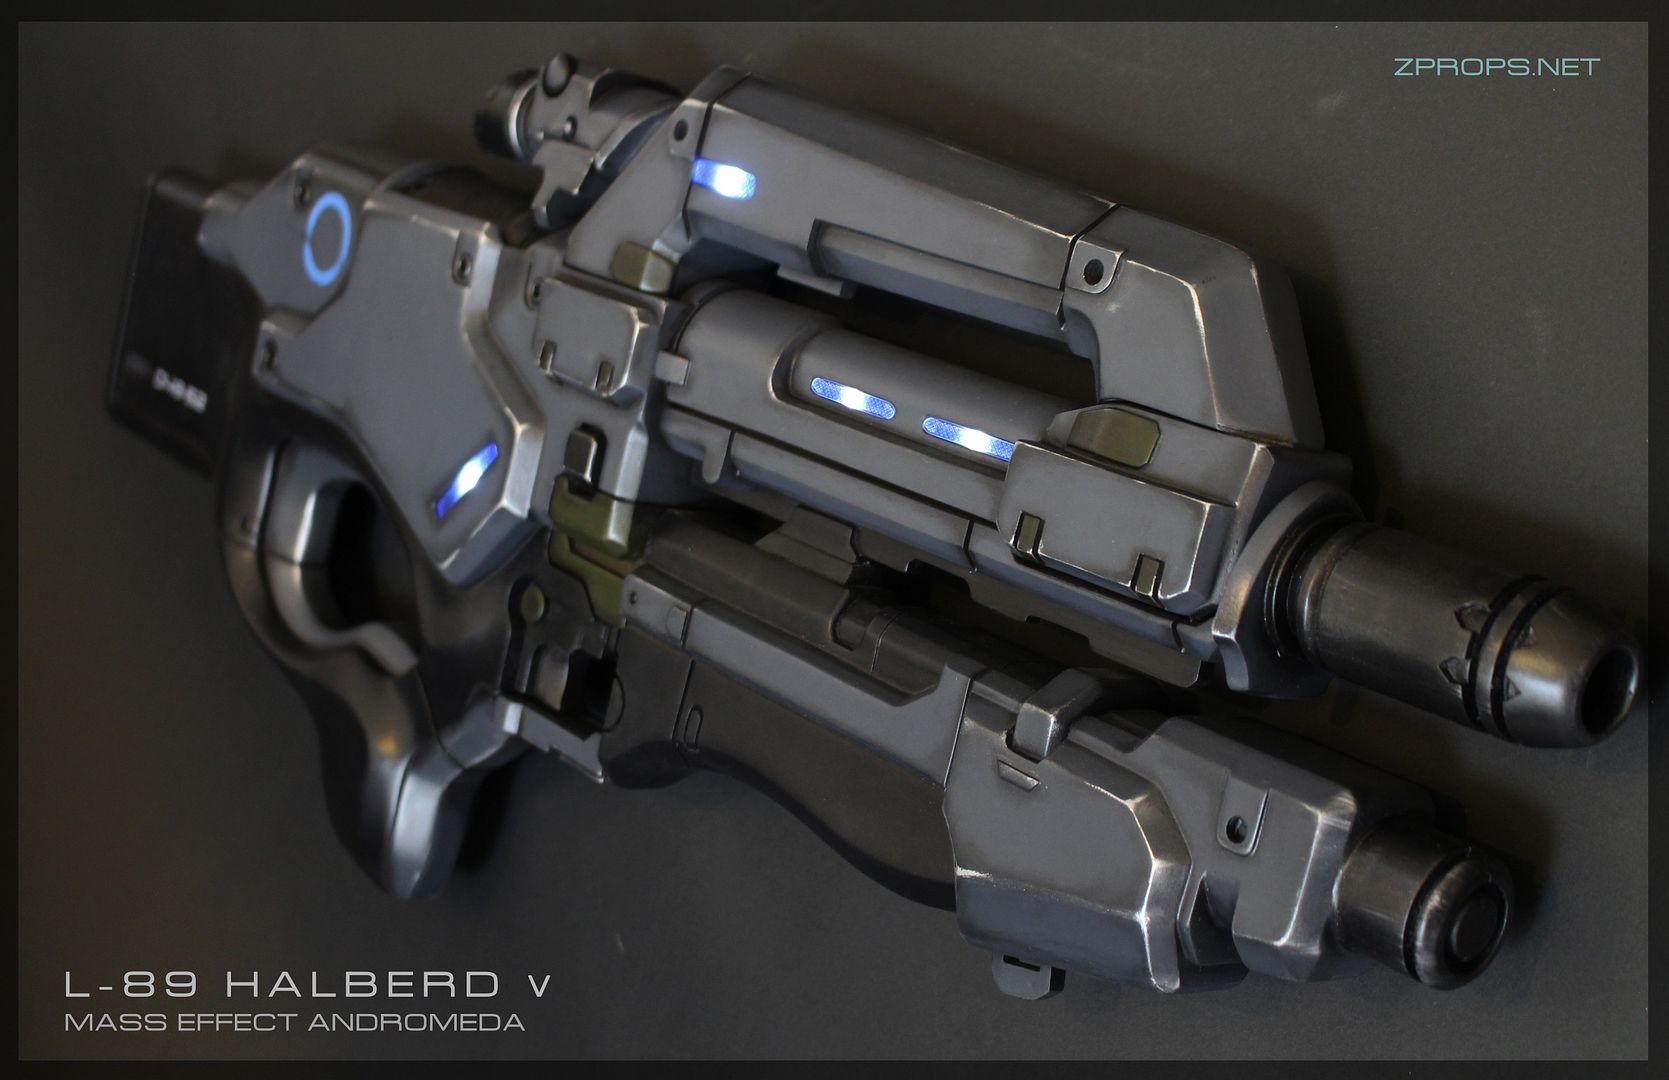
The in game paint scheme called for a very very dark charcoal grey. So dark that you can barely see the contrast with the flat black grips. My contact at Logitech felt the gun had more of a dark blue base, so I settled for this grey which is lighter and has some blue tinge to it. Since it was lighter, I could do my trademark pigment weathering all over the place.
I also decided to go with a matte/satin finish, as it shows off the surface geometry a little better in the light, especially the grip/stock area. Anyways, this is before final weathering touches and metallics. You can see all of the wire ends tied in their locations for lighting.

The lights themselves had little clear inserts, with a teeny tiny hatch texture to them. In one of the stranger feats I've accomplished, I sanded the back of a screen window section and spray glued it to some sealed MDF. Then I made a mold of this panel, and cast it in some standard fast resin.

I cut out the resin panel into some custom shapes perfectly sized for the recesses.
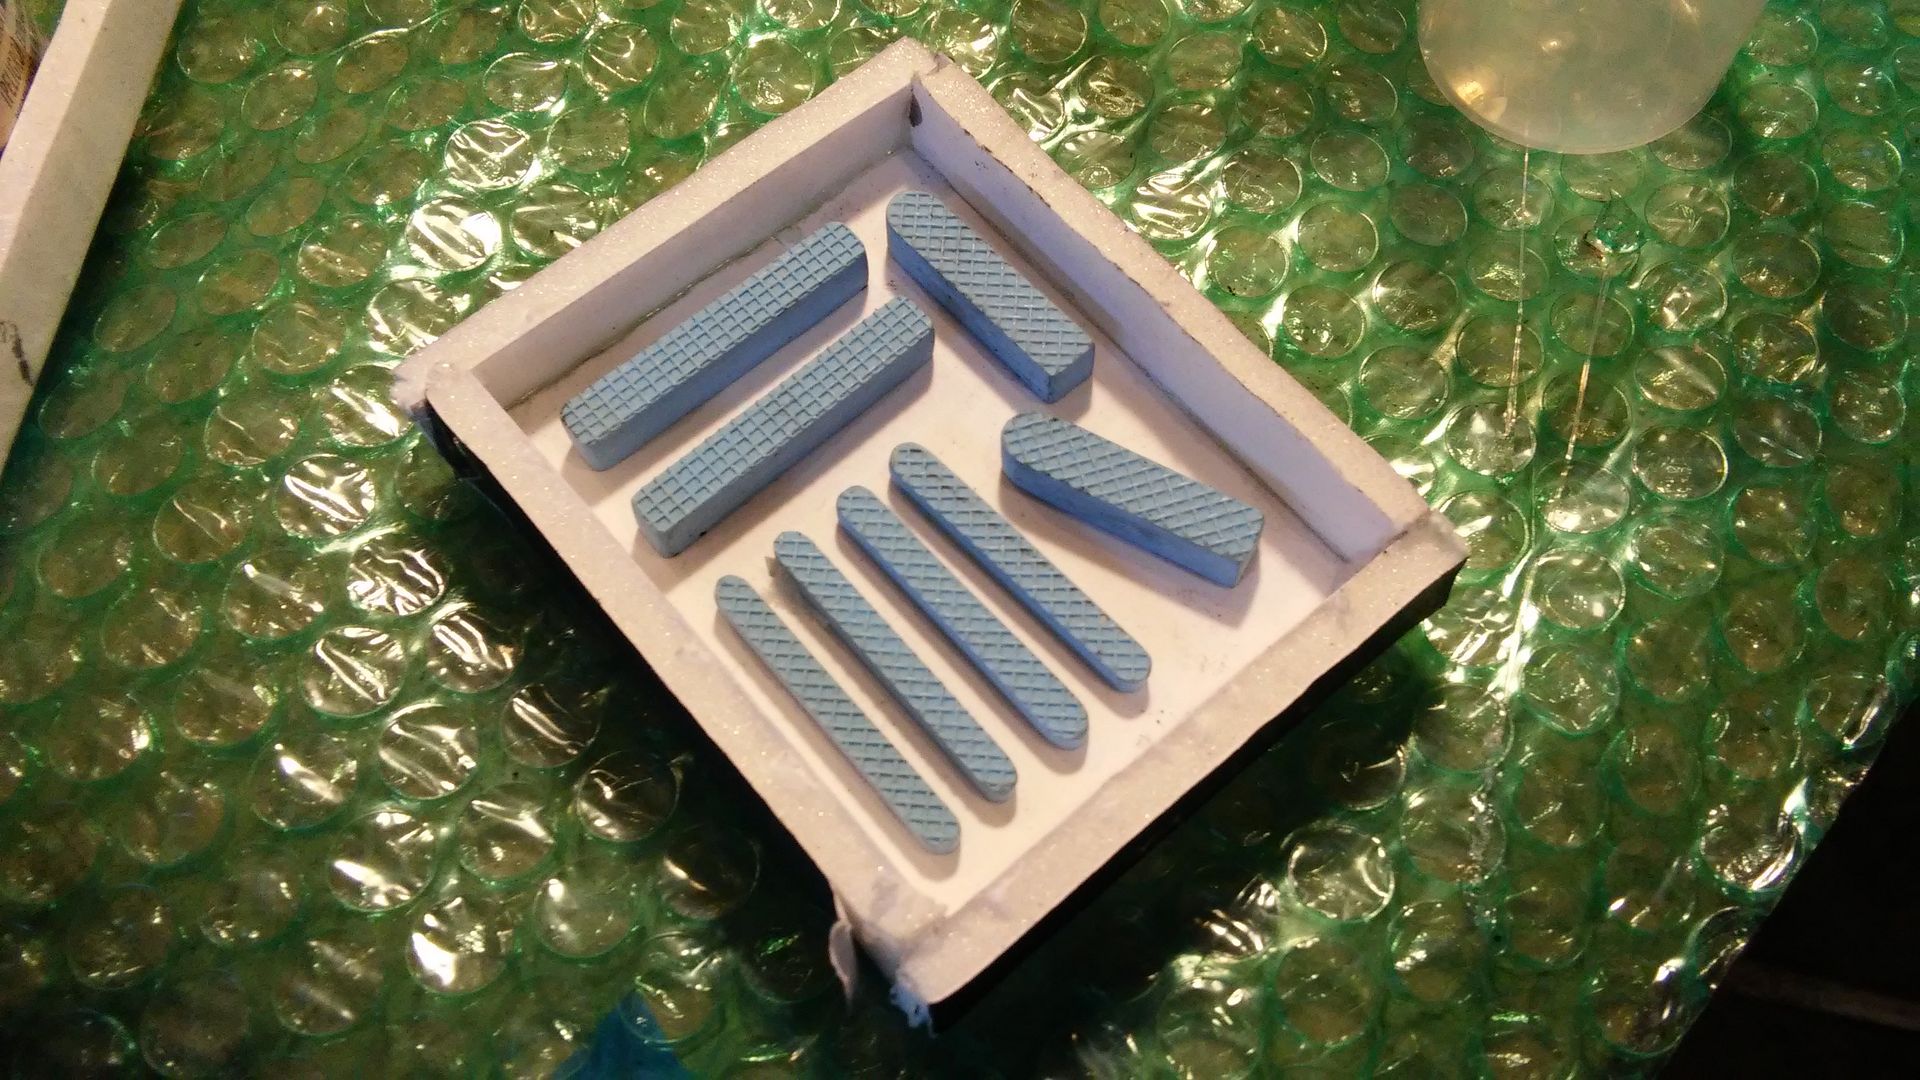
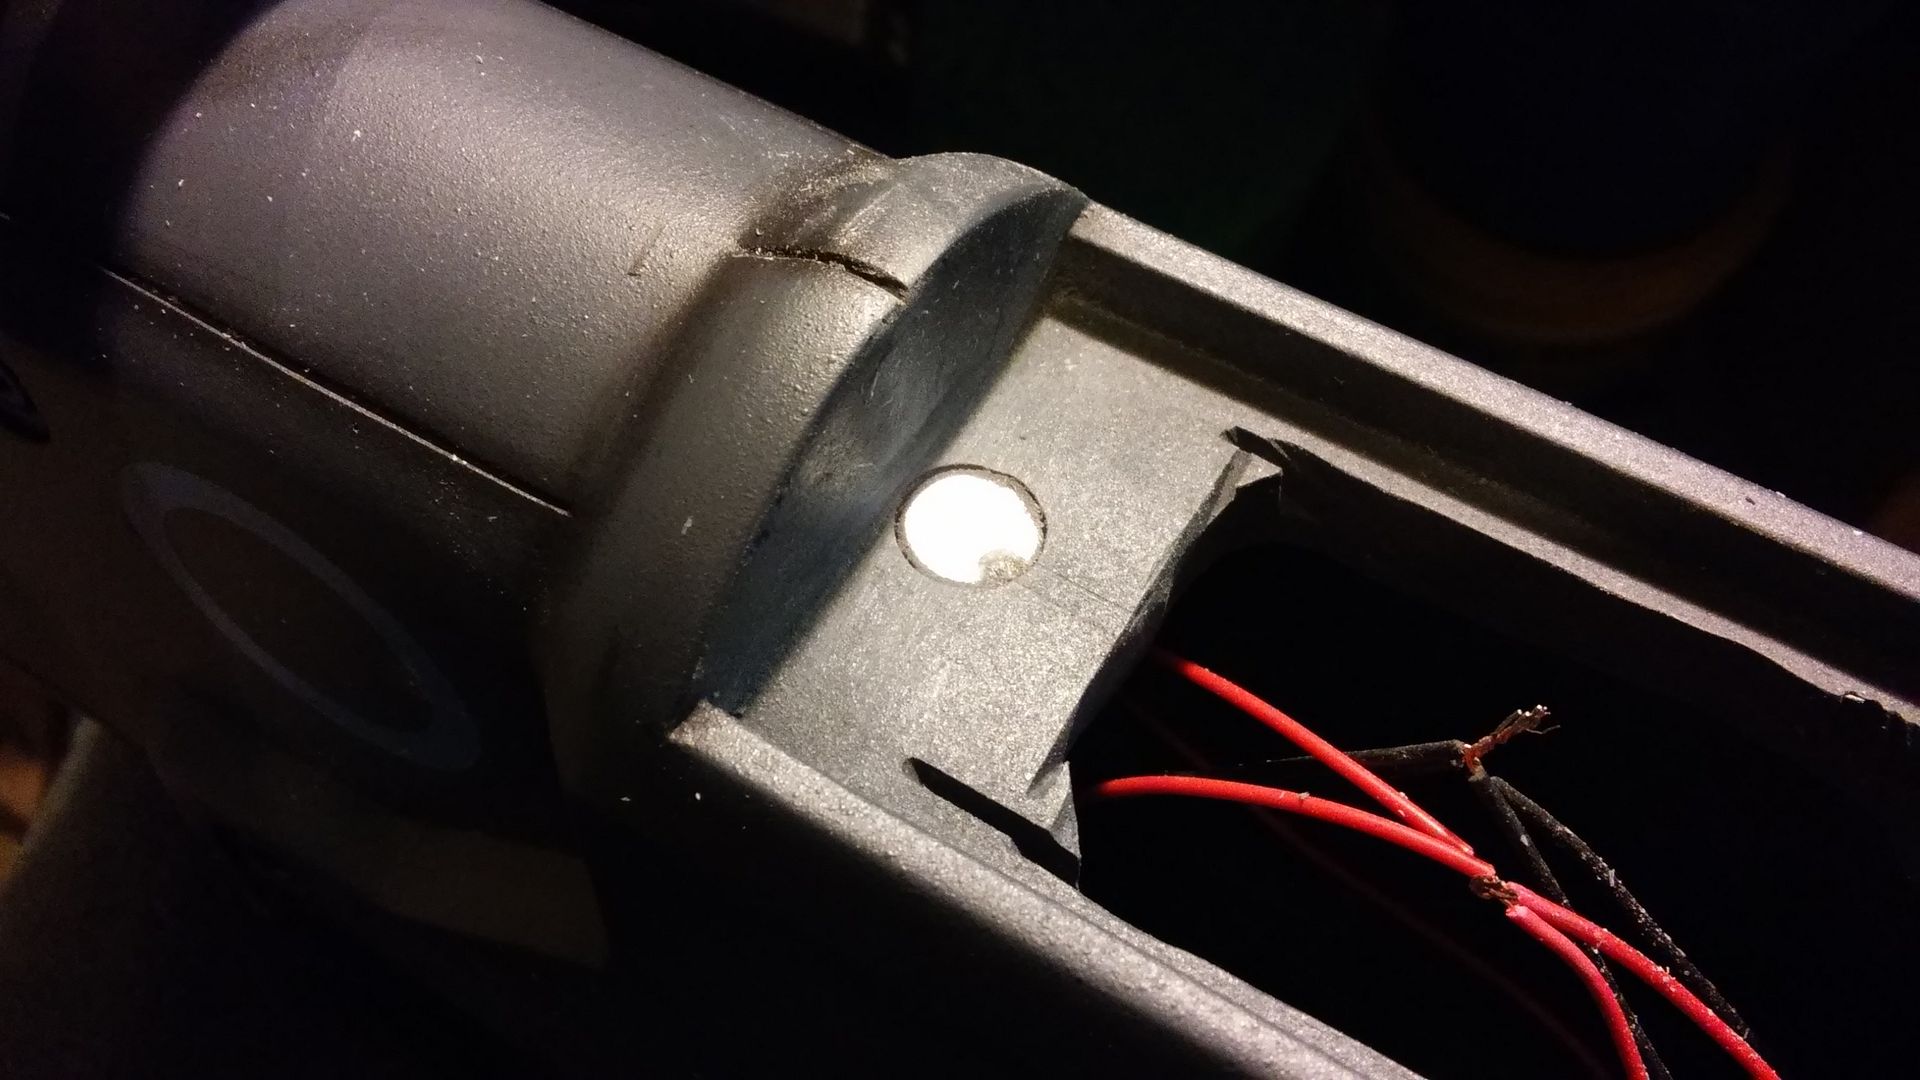
Then, I made a few molds of those, and poured some epoxacast clear resin with just a hair of blue tint. Once cured, I drilled out a hole behind the gems for some tiny 12v 3mm white LEDS. The wire routing I did earlier made this task drastically easier. The first however, was just too skinny. by having the LEDs face out for maximum brightness, they cant fit. the tail ends of the LEDS poke each other out of the gun sides. The only other way to light the front would be to hack off the front section like I did on the
Harrier, make a custom light box, and re-seal and repaint the area on all three guns. This was a fast project, and just wasn't possible with the time and budget so the front lights had to be skipped.
The guns got magnets to hold the top half round detail in place, which was pinned through the scope as well. To change the battery or access the curcuit, all one has to do is pop off the scope/top panel with some light force.
The guns have individual serial numbers, too!


I'd like to thank Ryan Wells, Abby carter, Dani Yuan, Eric Jarman, Matt Munson, Eric Newgard, Michelle Chiang, and Harrison Krix for the help and/or advice on any of the versions of this gun since this gun's inception in 2012.


