wow, the blaster came out great!
You are using an out of date browser. It may not display this or other websites correctly.
You should upgrade or use an alternative browser.
You should upgrade or use an alternative browser.
Rey Blaster High Detail scratch build
- Thread starter JUSTINIAN
- Start date
Tatooinetako
Member
Great work!
Sent from my iPhone using Tapatalk
Sent from my iPhone using Tapatalk
Im not sure what to think now ive seen these parts from the " actual parts". It would seem to me that there is a lot of detail missing from the parts, or the reference images we have are a little out. I thought there were 4 holes at each end of the front end plate, one centered at each end for the Tape guide detail and barrel, and three more equidistant around these holes for the screws. Maybe im wrong, or we are all in a world of Disney, multiple versions. Also on screen I am convinced there are only 7 holes in the flash hider. I would believe that the version seen in conventions and the star wars hardware references is not the one used on screen. Anyhow that's what I think, and im not good at thinking")
Loving the work though.
Loving the work though.
Good reason for the delay. I was able to get my hands on some extra parts from the ones made for the film. The grips were 3d printed, but everything else was machined aluminum.
http://i1201.photobucket.com/albums/bb351/JustinBranfuhr/Guns/FullSizeRender 2_zps5p7kebve.jpg
Based off of these parts, the actual screen used gun is 11 inches long. That is exactly what I had mine scaled to. I'll be working to get this project finished soon.
JJ Griffin
Sr Member
Im not sure what to think now ive seen these parts from the " actual parts". It would seem to me that there is a lot of detail missing from the parts, or the reference images we have are a little out. I thought there were 4 holes at each end of the front end plate, one centered at each end for the Tape guide detail and barrel, and three more equidistant around these holes for the screws. Maybe im wrong, or we are all in a world of Disney, multiple versions. Also on screen I am convinced there are only 7 holes in the flash hider. I would believe that the version seen in conventions and the star wars hardware references is not the one used on screen. Anyhow that's what I think, and im not good at thinking
Loving the work though.
Keep in mind when it comes to acquiring production-made pieces from a film as tightly-guarded as Star Wars, you take what you can get... The real importance of these pieces lies in finally helping us determine the actual size/scale of the pistol and it's various parts (something which has been a point of contention for months now). Things like screw hole placement can easily be replicated from screencaps/promotional photos.
It's also very likely these pieces aren't finished
I thought there were 4 holes at each end of the front end plate, one centered at each end for the Tape guide detail and barrel, and three more equidistant around these holes for the screws.
The two missing screw holes on the front plate that you're talking about vary in location between the movie blaster and the Launch Bay versions (along with the front plate being in one or two pieces). They're both shifted upwards in the Launch Bay replicas. The absence of those features from the unfinished parts Justinian has obtained is not inconsistent with the parts being authentic -- whether his were production scrap or leftover LB parts (those two options could be the same as the LB props could be made from production scrap too). After all many other details were not added yet to those parts when they were abandoned.

These parts are definitely not finished. The surfaces have lots of scratches. The actual prop went through a few different revisions before they setteled on a final design. This could definitely explain why there are differences with screw placement ect.
The important thing to take away from these parts is that this is the correct size. Once the Blu Ray comes out in a few weeks, we can look at all of the high res photos we want, and determine what the one in the movie actually looks like.
The important thing to take away from these parts is that this is the correct size. Once the Blu Ray comes out in a few weeks, we can look at all of the high res photos we want, and determine what the one in the movie actually looks like.
I love the way all the references are different to each other, makes for a lot of debate and searching. Fab job on the blaster. I think this NN-14 could become the new DL-44, after the next film comes out it will probably have changed a little again.
Keep up the cracking work dude.
Keep up the cracking work dude.
11" EXACTLY or close to? What are the grip dimensions? Were they modeled from the Han hfc? Same size?
this looks great! I've been struggling with scale and really want to nail it.
this looks great! I've been struggling with scale and really want to nail it.
Good reason for the delay. I was able to get my hands on some extra parts from the ones made for the film. The grips were 3d printed, but everything else was machined aluminum.
http://i1201.photobucket.com/albums/bb351/JustinBranfuhr/Guns/FullSizeRender 2_zps5p7kebve.jpg
Based off of these parts, the actual screen used gun is 11 inches long. That is exactly what I had mine scaled to. I'll be working to get this project finished soon.
So I wasn't completely happy with the round parts that I made before. I decided to make them the proper way, so I bought this.
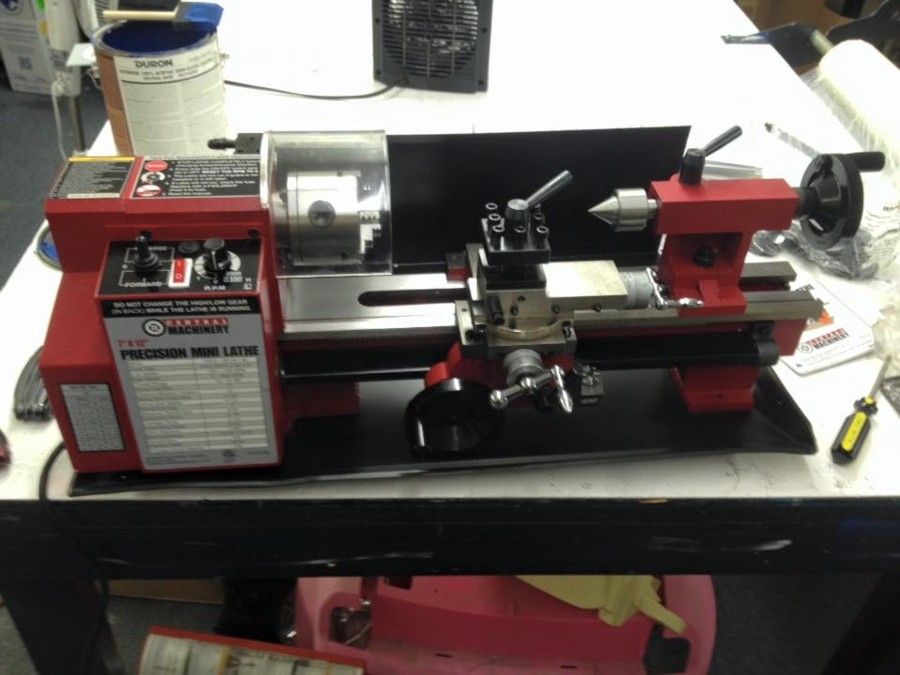
It's the 7x12 mini lathe from Harbor Freight. This one is better than my wood lathe, because it has the chuck and the mounted cross slide. This allows me to machine things much more accurately than before. I used the same process as before with filling the paper towel roll with resin, and then tooling it on the lathe. I'll let the picture speak for itself.
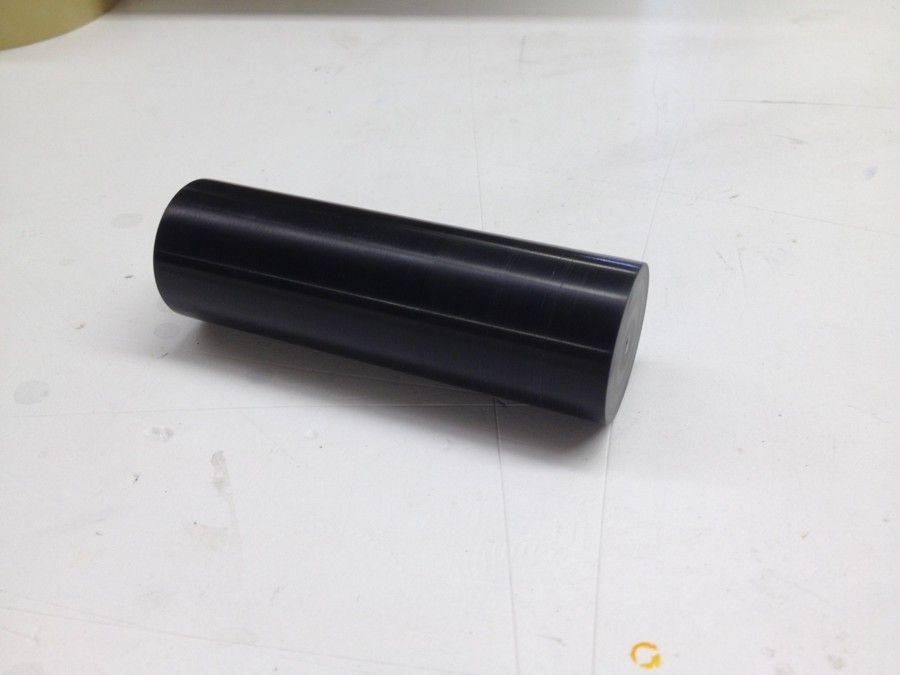
After getting the right diameter I ran some polishing compound over it, just to bring out the shine and see if there were any imperfections. There weren't any.
Next was to cut the grooves. I took one of the cheap cheap cutting bits that I would never use, and ground it down the the exact width that I needed. 1/32"
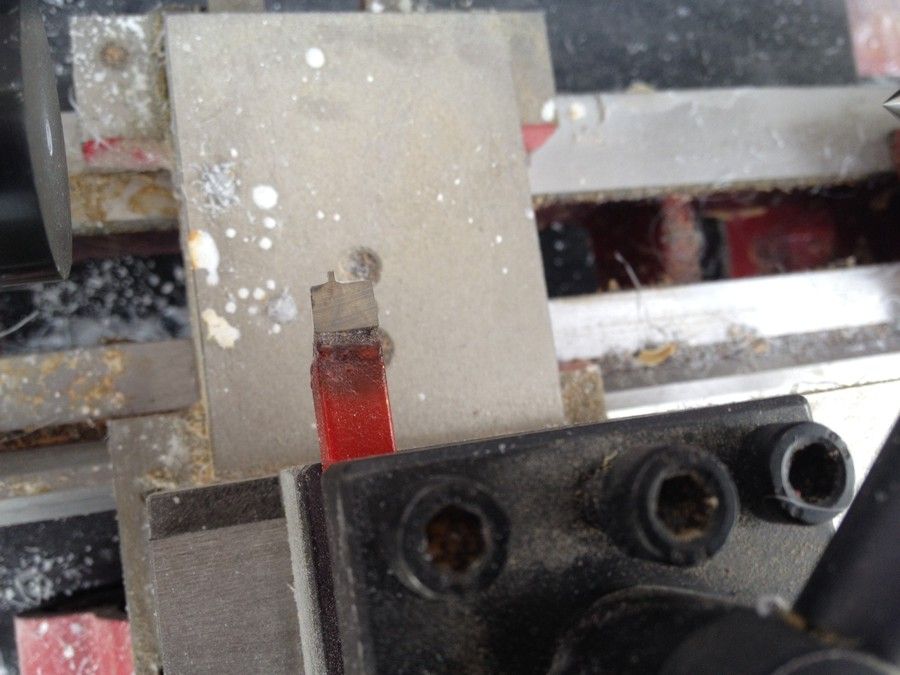
And then cut the grooves. I ran some polishing compound over it, just so that the grooves would be visible.

I'm loving this new lathe. It took a few weeks to get the hang of it, but the end results are amazing. I also have some aluminum on order. Once I get that in, I want to try to do a full metal one. More updates soon.
It's the 7x12 mini lathe from Harbor Freight. This one is better than my wood lathe, because it has the chuck and the mounted cross slide. This allows me to machine things much more accurately than before. I used the same process as before with filling the paper towel roll with resin, and then tooling it on the lathe. I'll let the picture speak for itself.
After getting the right diameter I ran some polishing compound over it, just to bring out the shine and see if there were any imperfections. There weren't any.
Next was to cut the grooves. I took one of the cheap cheap cutting bits that I would never use, and ground it down the the exact width that I needed. 1/32"
And then cut the grooves. I ran some polishing compound over it, just so that the grooves would be visible.
I'm loving this new lathe. It took a few weeks to get the hang of it, but the end results are amazing. I also have some aluminum on order. Once I get that in, I want to try to do a full metal one. More updates soon.
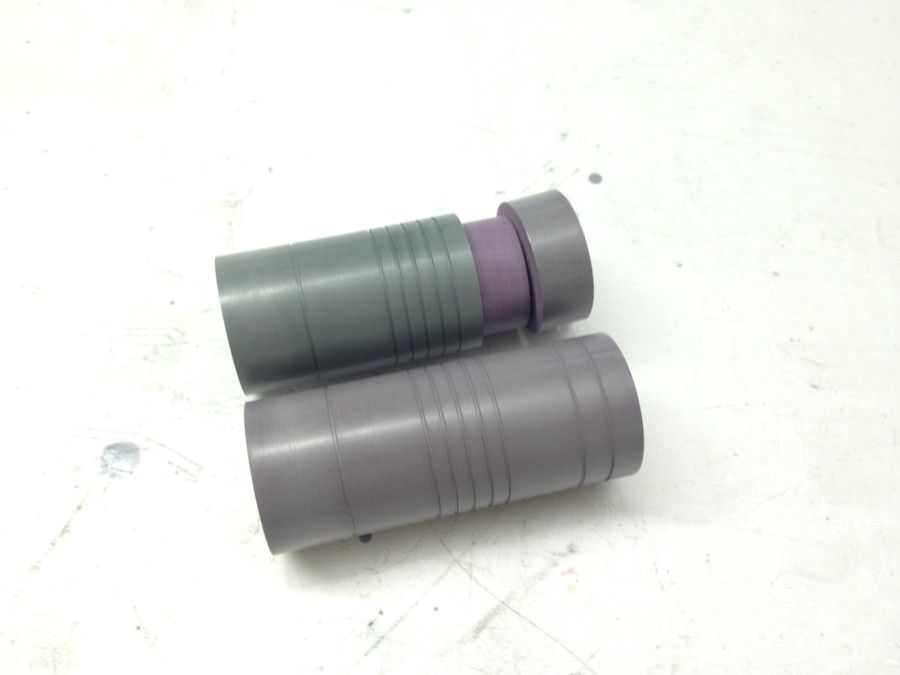
I went ahead and molded that last round part, so that I could make identical copies.
The top round parts had the recessed area, so I made the adjustments on the lathe.
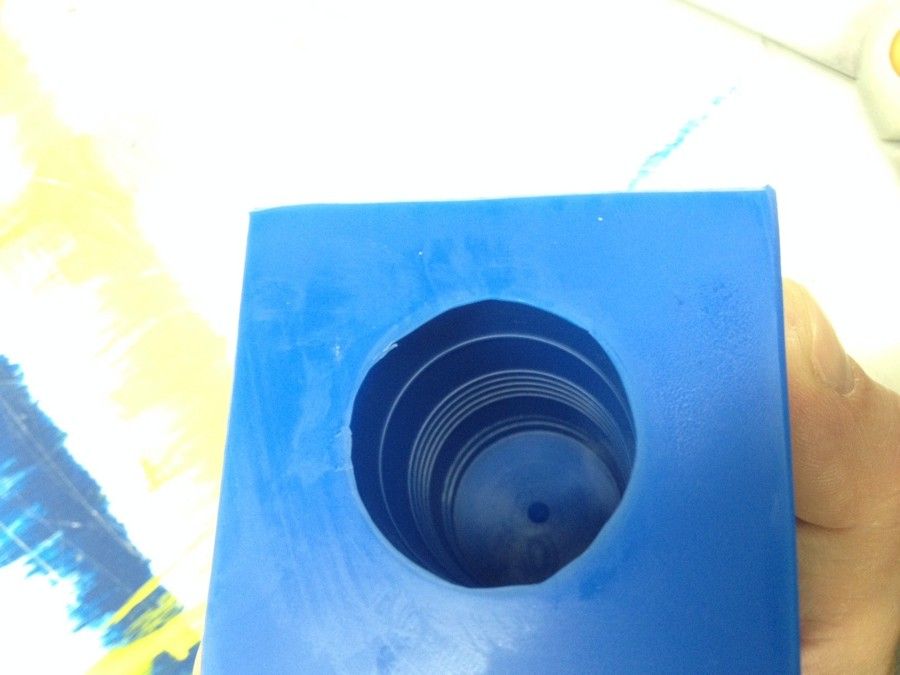
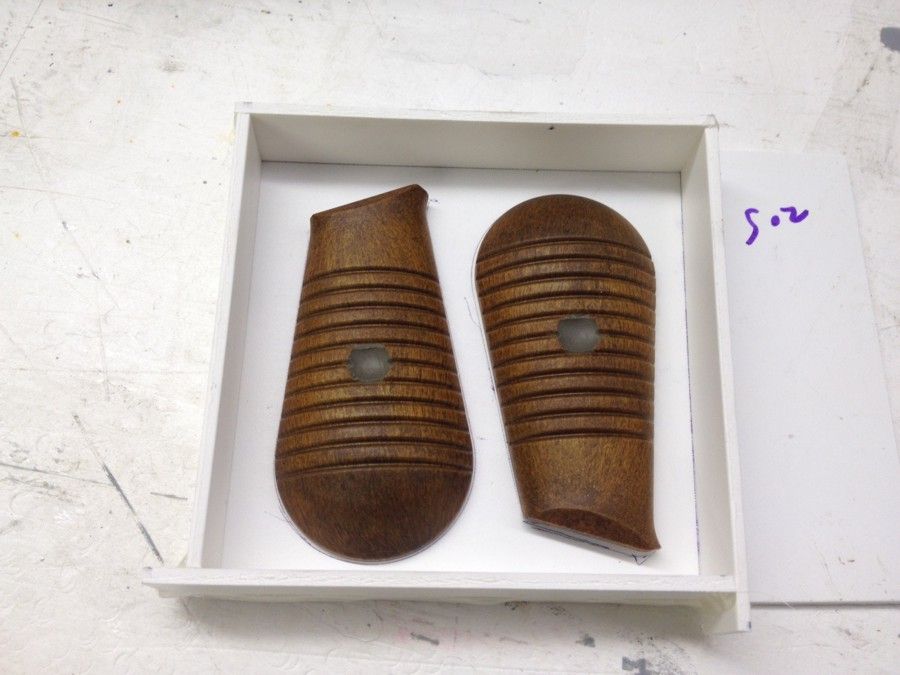
Next up was the grips. I'll be working off of the HFC Mauser grips. I filled the holes with clay, and made a mold box.
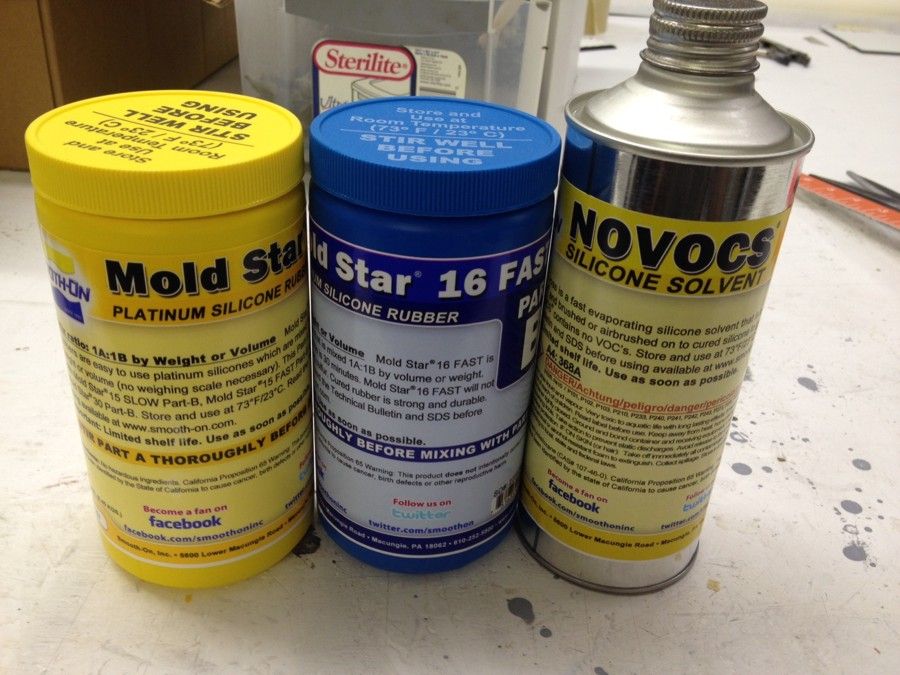
The HFC grips are too big, so I will be shrinking the mold, to get the size that I need. To shrink a mold I will use Mold Star 16 and NOVOCS silicone solvent. The mix is 1:1:2.
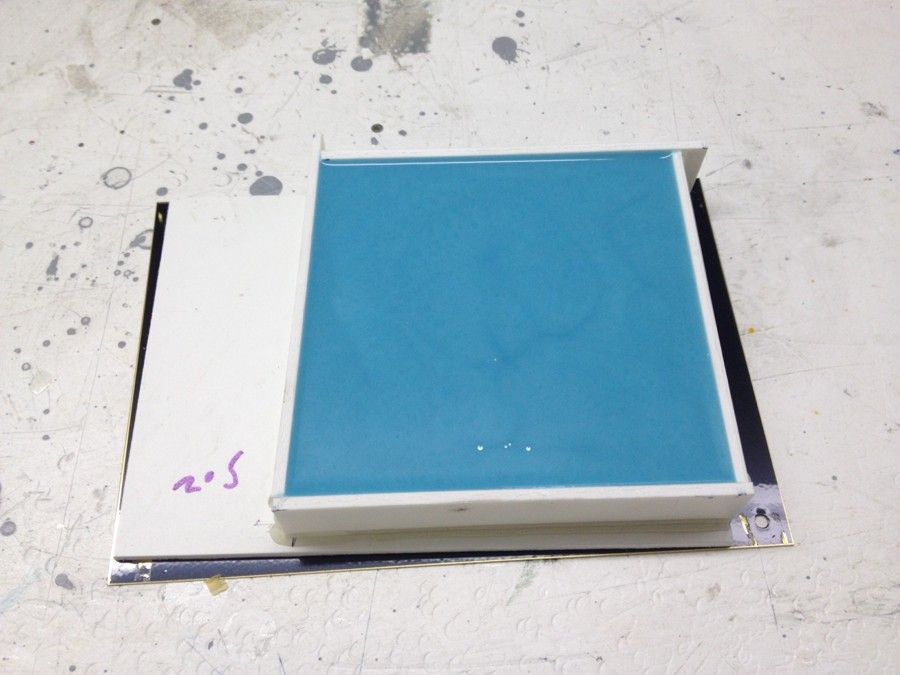
The process is pretty much the same as normal. Mix up the silicone and solvent, and pour it in the box. But over the course of a few days, the solvent evaporates, and it causes it to shrink. This is my first time doing this, so hopefully it goes well.
The top round parts had the recessed area, so I made the adjustments on the lathe.
Next up was the grips. I'll be working off of the HFC Mauser grips. I filled the holes with clay, and made a mold box.
The HFC grips are too big, so I will be shrinking the mold, to get the size that I need. To shrink a mold I will use Mold Star 16 and NOVOCS silicone solvent. The mix is 1:1:2.
The process is pretty much the same as normal. Mix up the silicone and solvent, and pour it in the box. But over the course of a few days, the solvent evaporates, and it causes it to shrink. This is my first time doing this, so hopefully it goes well.
Similar threads
- Replies
- 1
- Views
- 600
- Replies
- 3
- Views
- 272
- Replies
- 7
- Views
- 360