Jaitea
Master Member
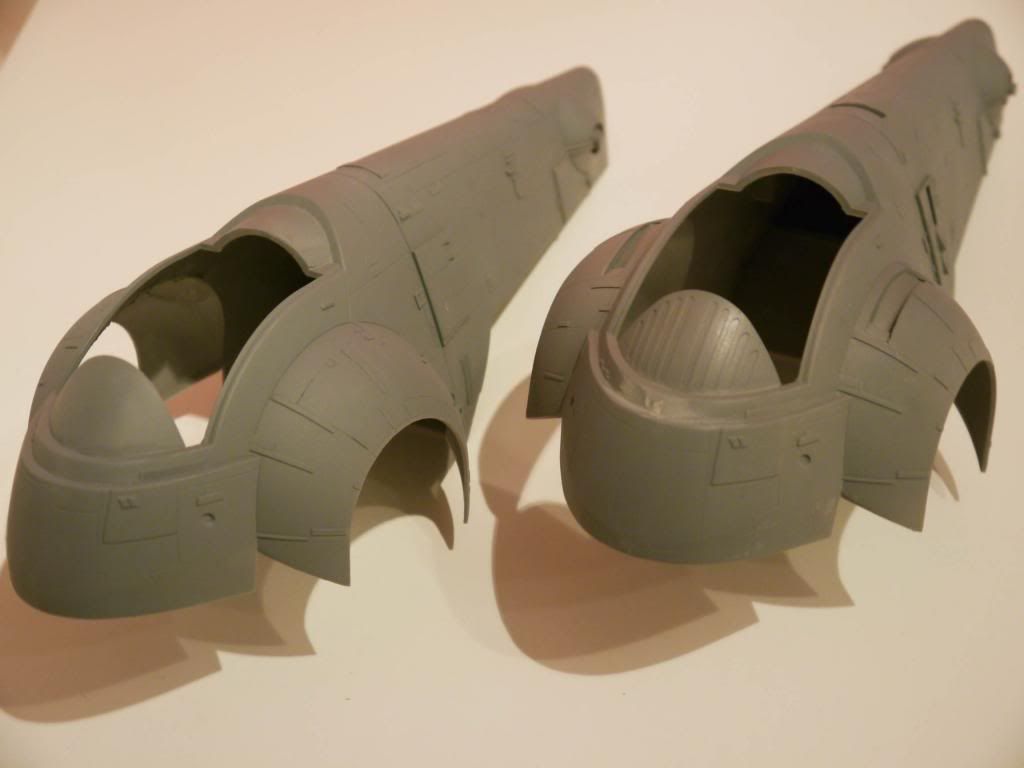
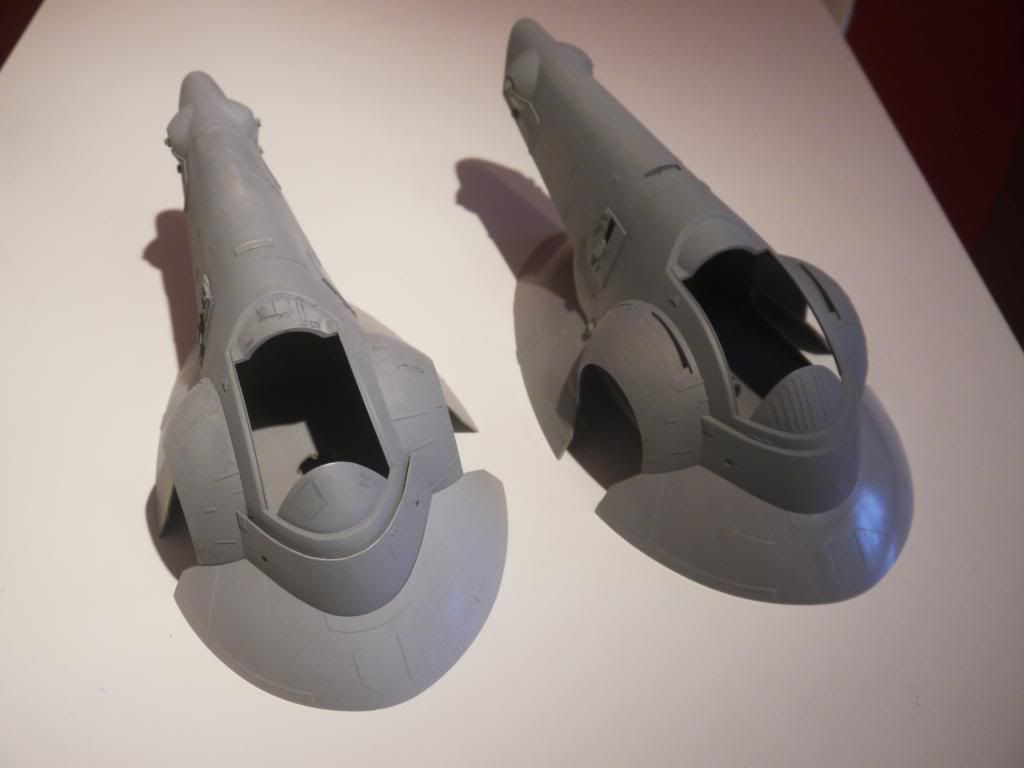
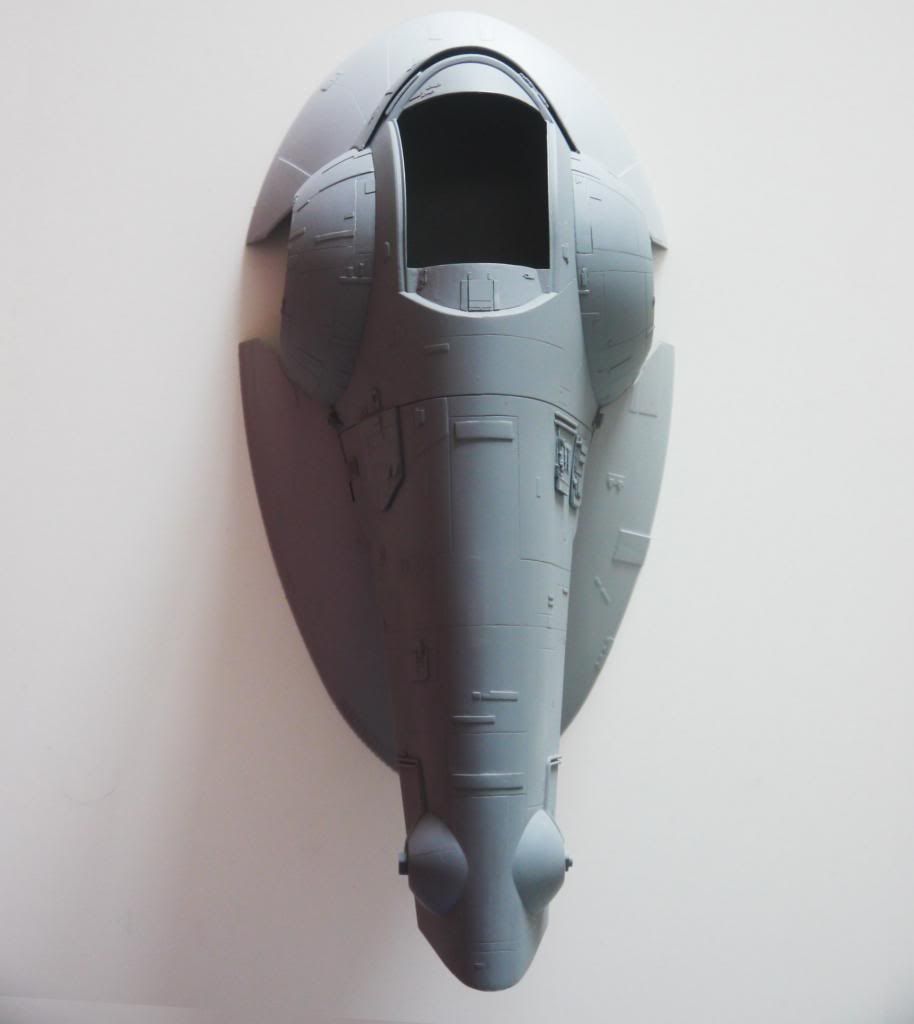
I bought a couple of Jango Fett Slave 1's at a ridiculously low price on ebay a few years ago, my plan was to paint one of them as Boba's.....I soon discovered that the 2 ships had slight differences besides the paintwork.....mainly the cockpit.

L: Boba R: Jango
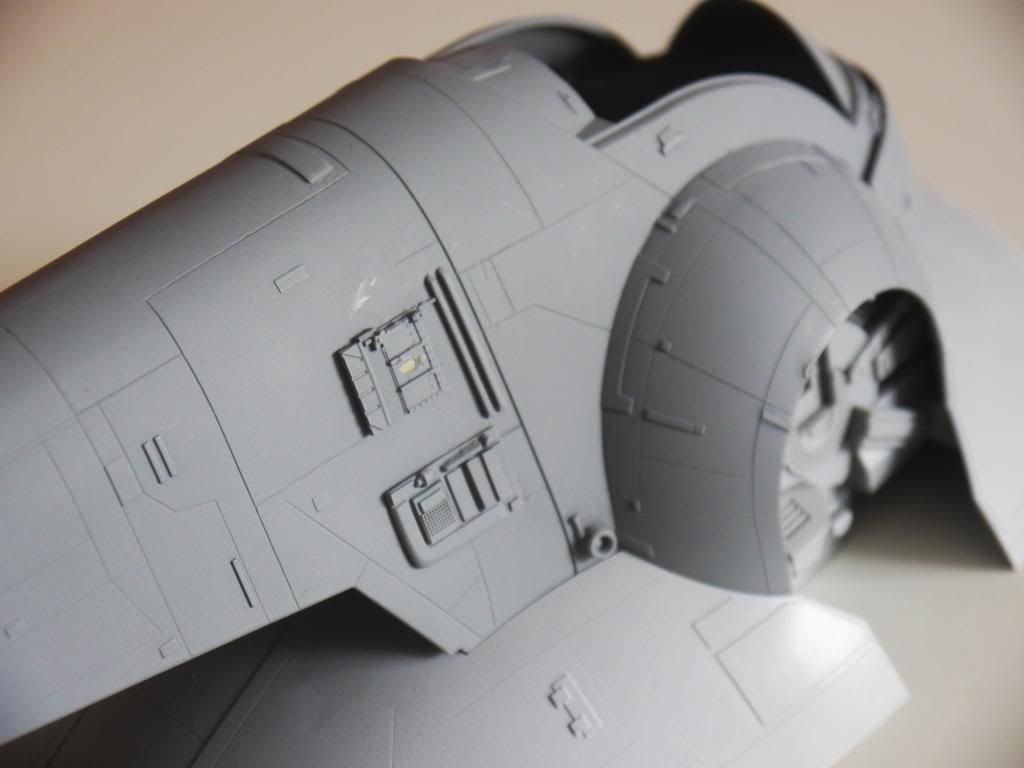
The two main modifications I made were to fill in the open slots on the shoulders & scratch new details on one side of the ship.
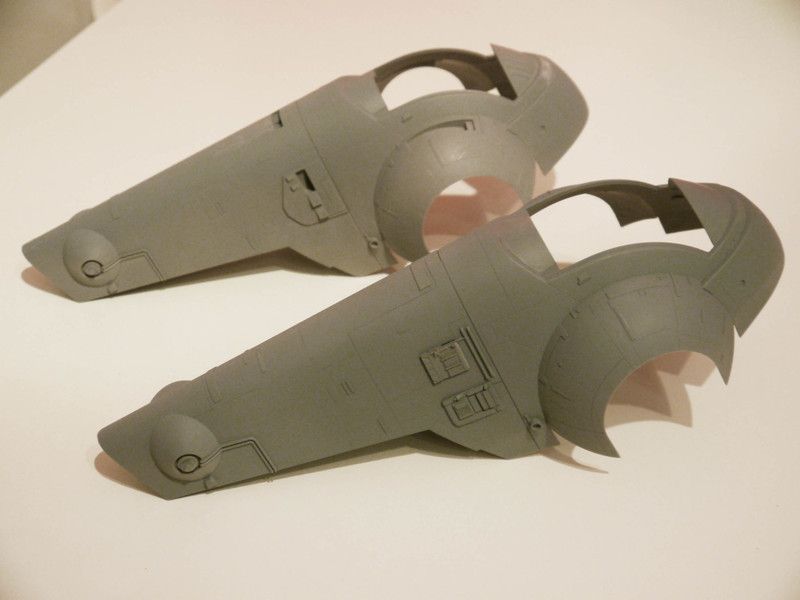
The filling in of the shoulder slots were done by pulling tight thin PVC electrical tape over the slots on the exterior side,....then filling in the gap by pasting model filler on the inside of the shoulders:

The tape was carefully removed after a few days, naturally there was sinking of the filler but that was re-filled, being very careful not to destroy any panel lines.
The filled area was sanded smooth, again paying attention to the fine details by the manufacturer.
When I was happy that the filled area was polished to a surface similar to the rest of the model I used tape to plan out where to scribe new panel lines. I used tape that I bought for The Falcon, it's a flexible PVC tape but it's magnetic....so it's thicker than most & very flexible, so it will follow a curve.
I scribed the lines with a scalpel blade (I need to refine the lines I've done...still looks a bit rough)
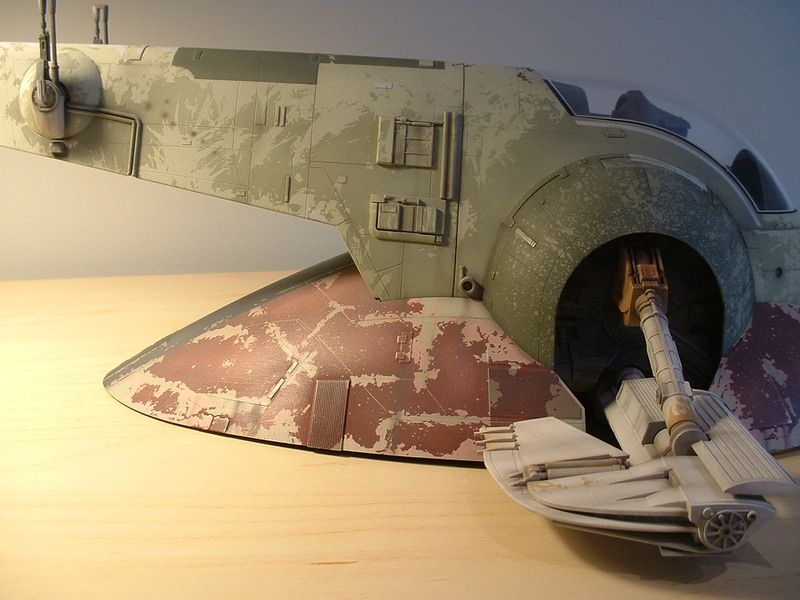
This is an image of the FM Boba Slave 1 kit with its side details,.....(don't know who made this model.....beautiful paint job)
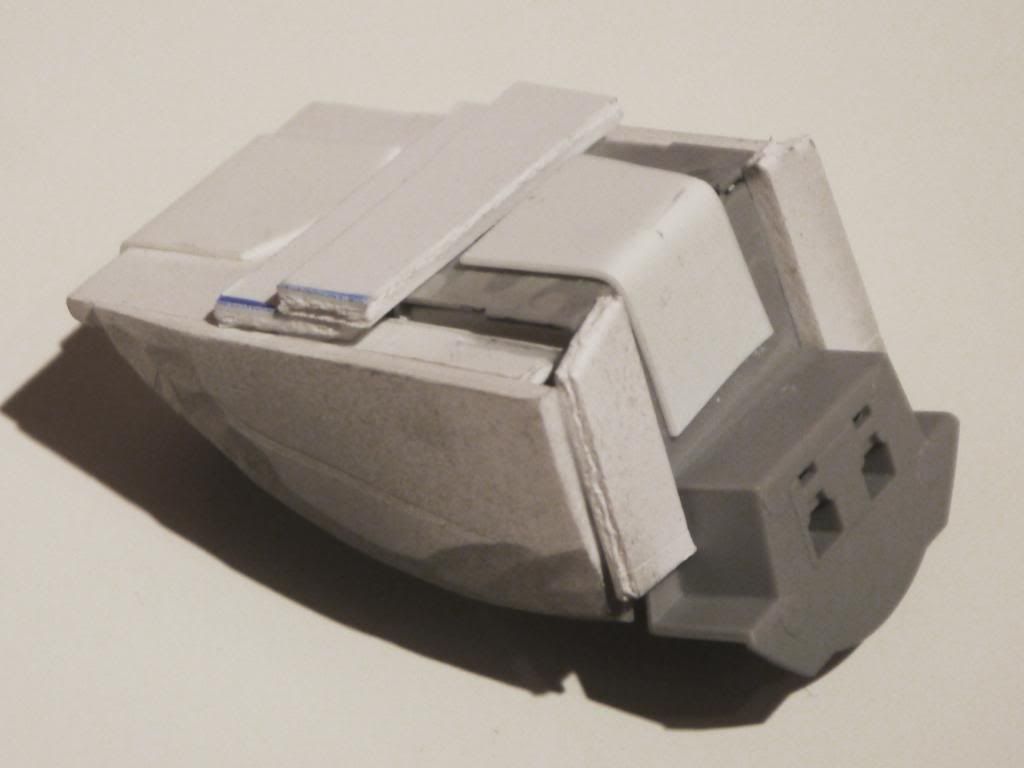
My scratched details were made of card & bits of kits:
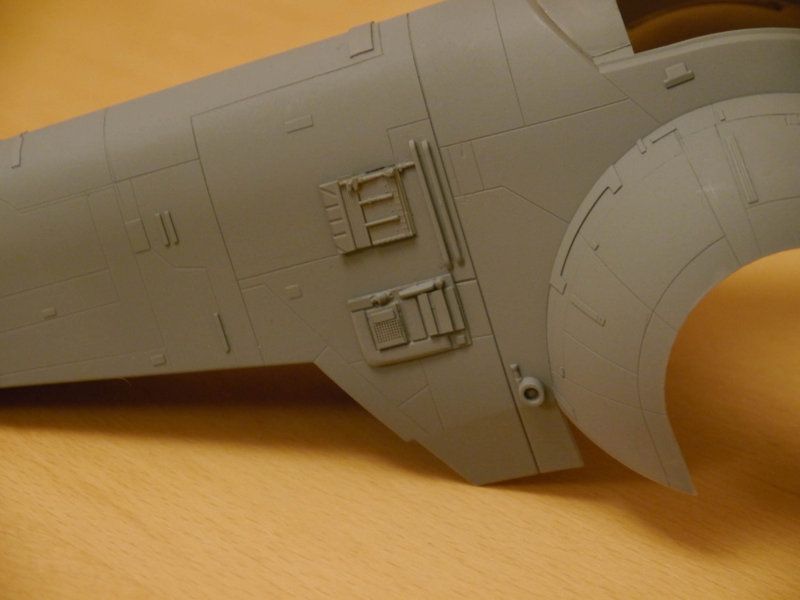
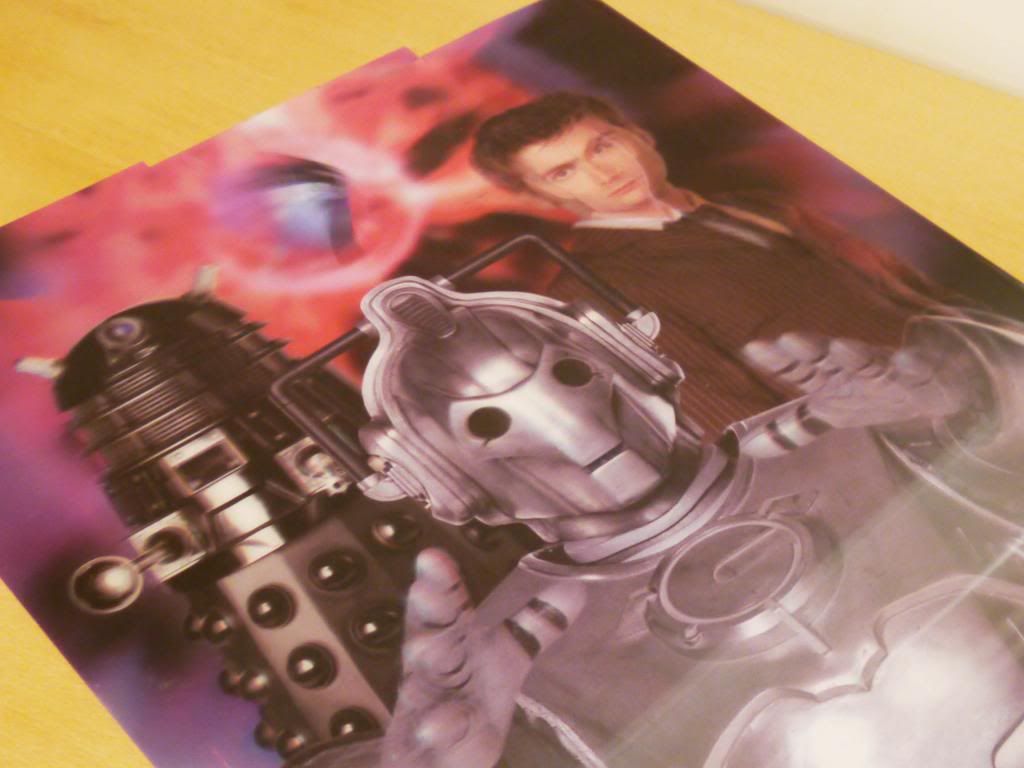
One part of the scratched part is made out of the material used on 3D posters (donated by my teenage son)
The grooves adds fine detail
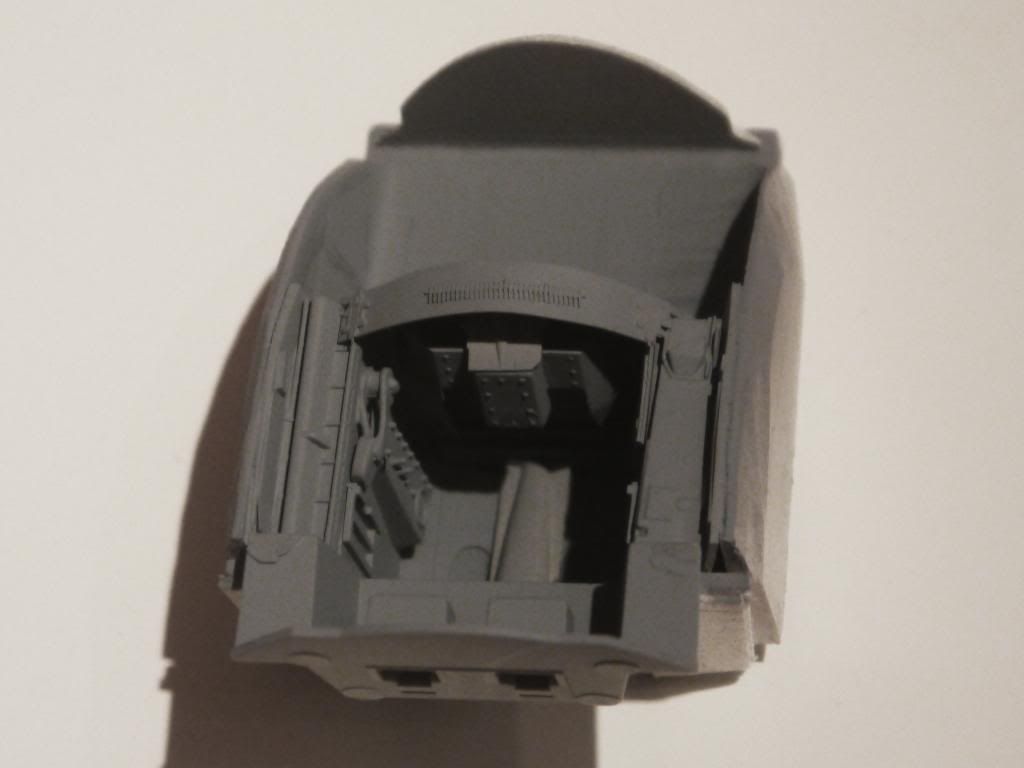
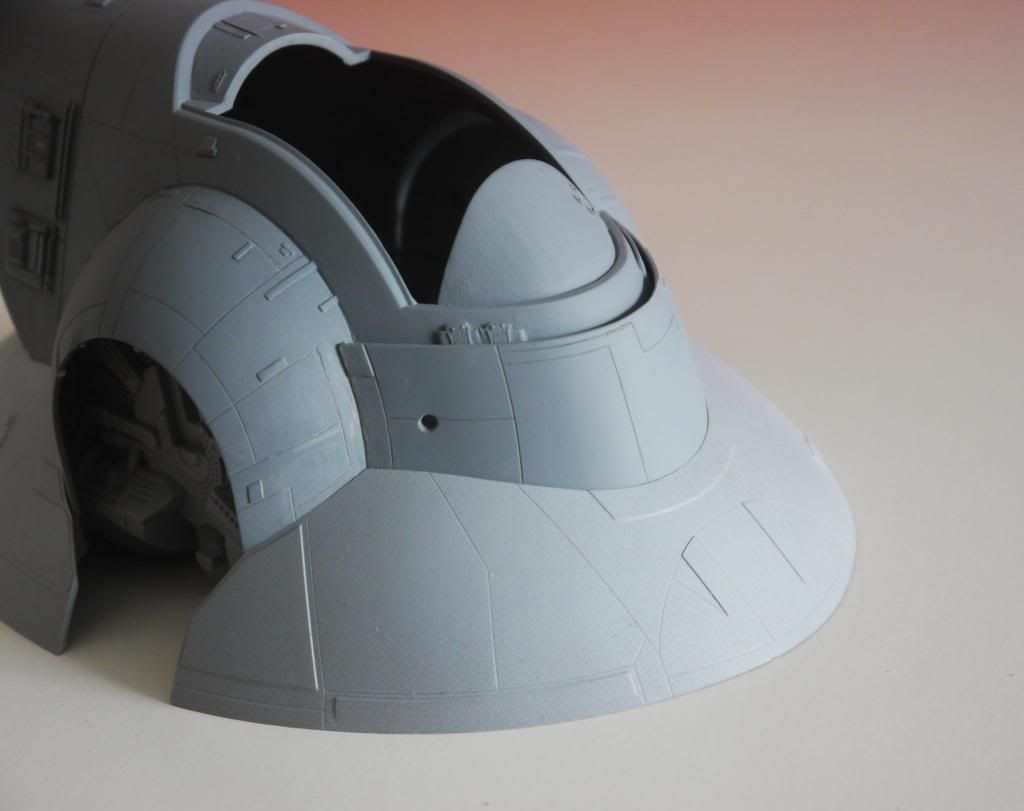
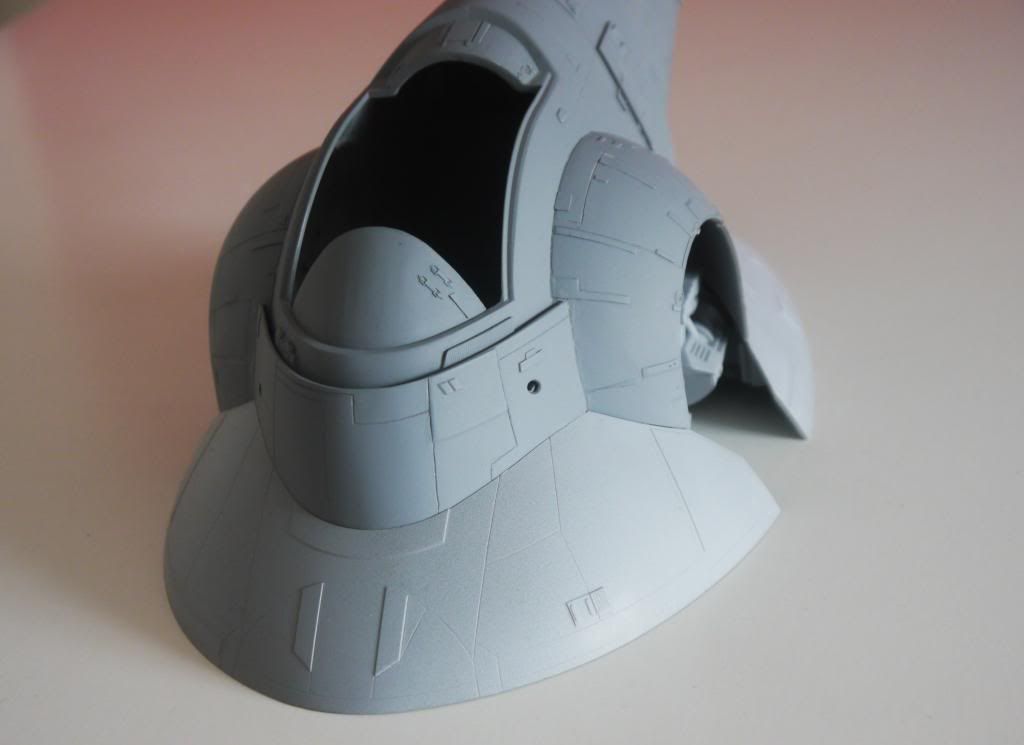
I spotted a wee diffrence in some reference photos of the studio model and the FineMolds kit(s) of Slave 1:
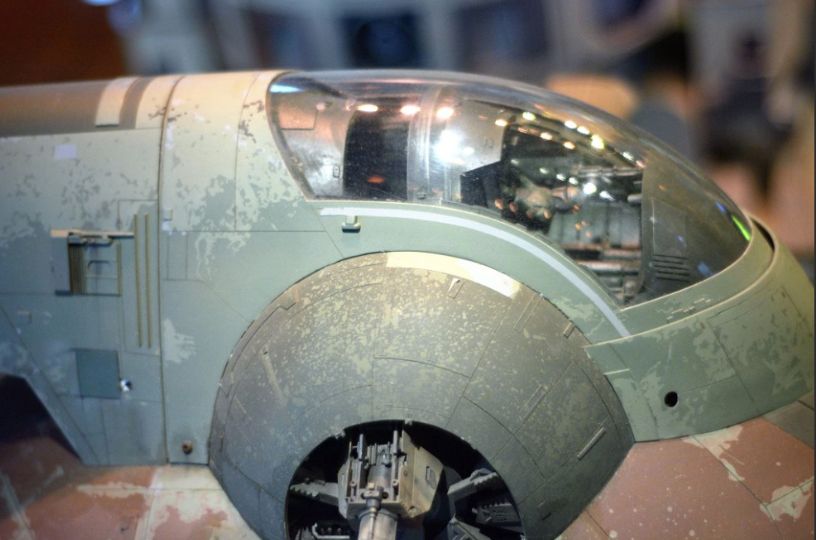
Around the cockpit there is a gap where the FM has moulded solid:
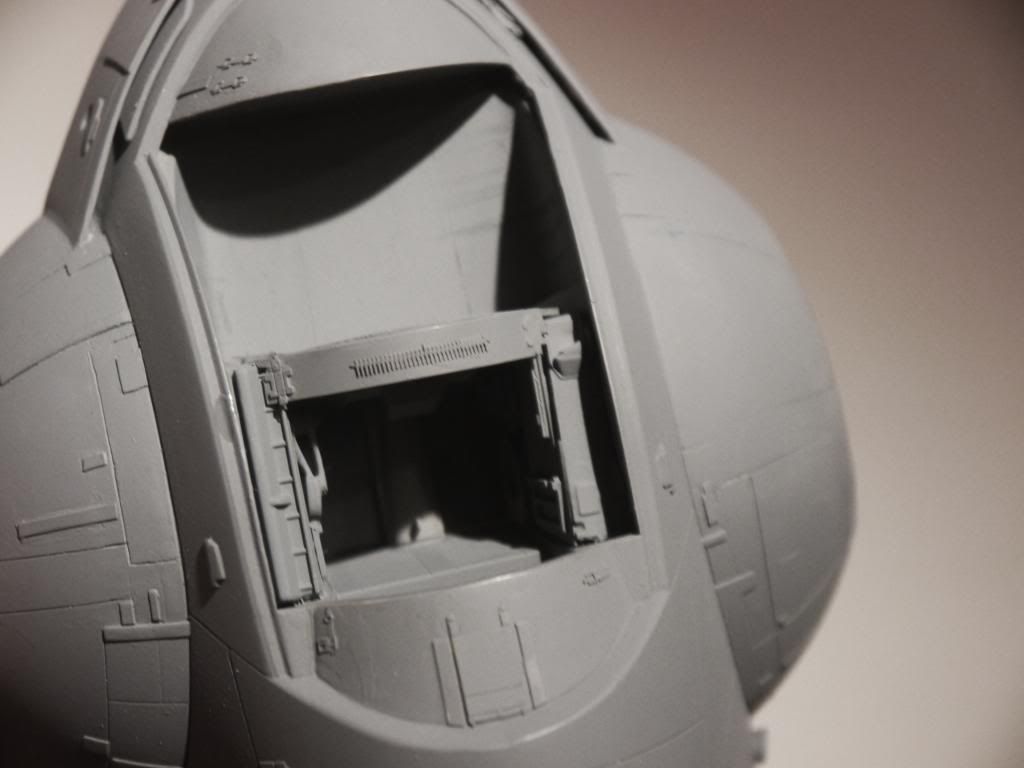
I cut away the piece
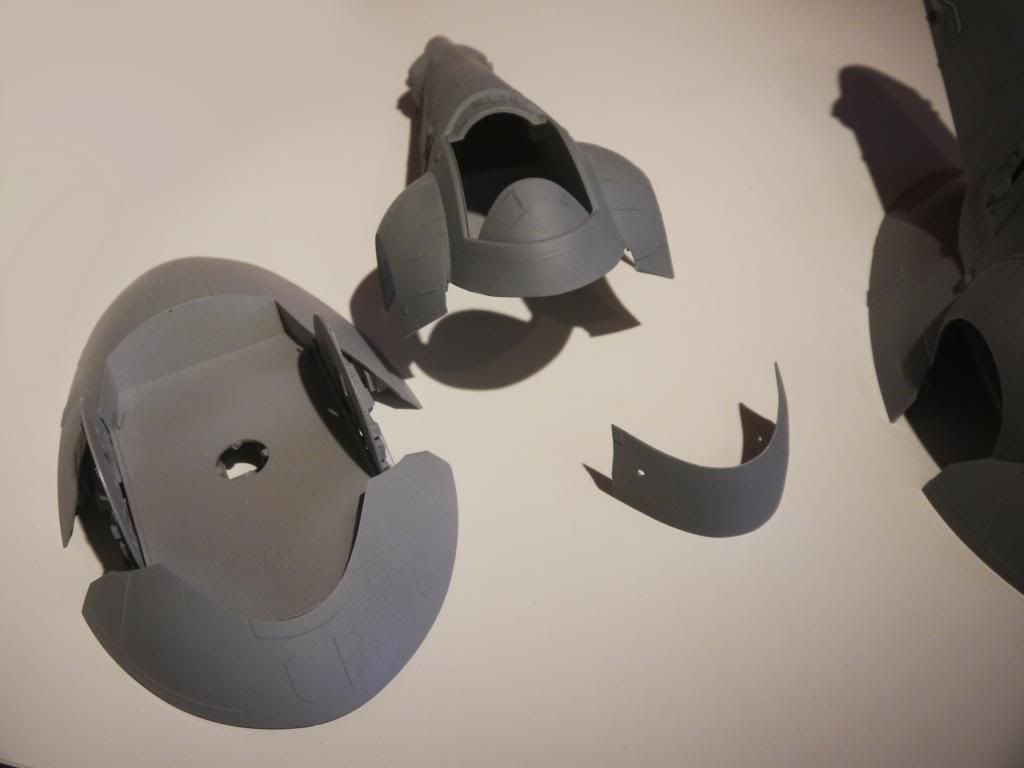
Dry fit:

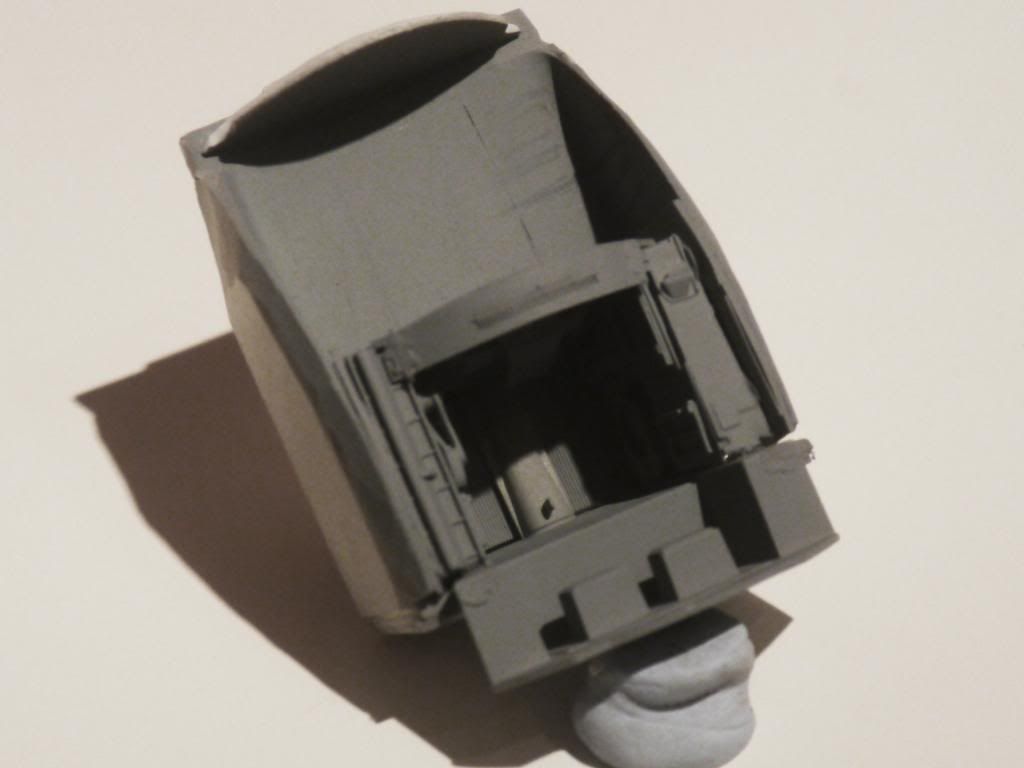
I remade new details for behind this part
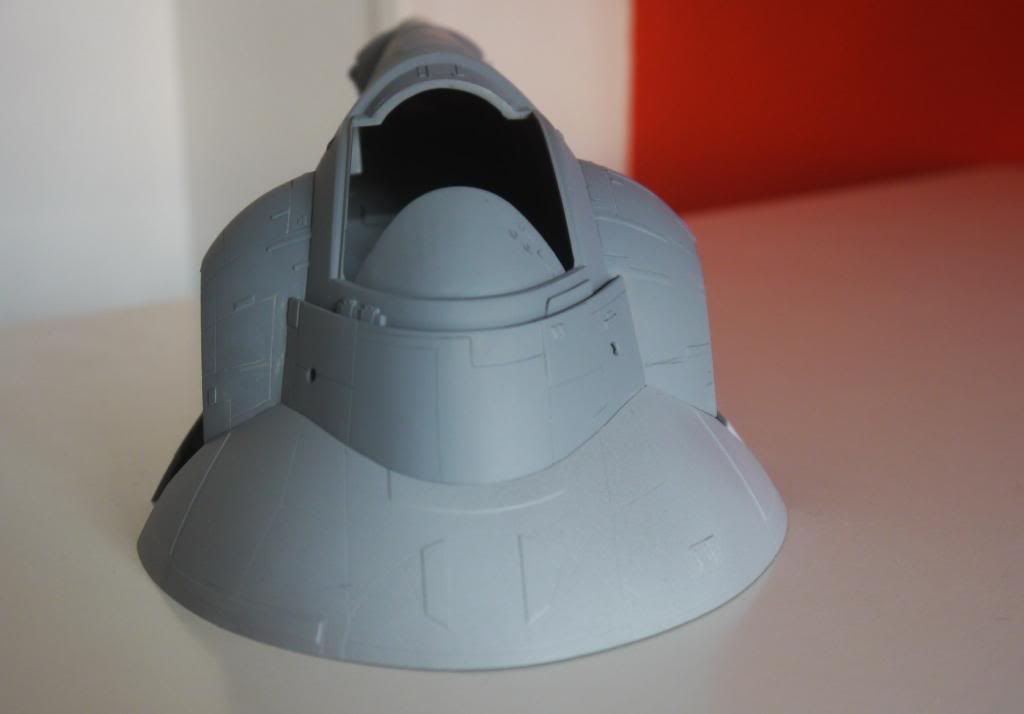
Thats where I'm at at the minute,.....still some panel lines to fix etc......moving on to the scratch cockpit
Thanks for looking
John
L: Boba R: Jango
The two main modifications I made were to fill in the open slots on the shoulders & scratch new details on one side of the ship.
The filling in of the shoulder slots were done by pulling tight thin PVC electrical tape over the slots on the exterior side,....then filling in the gap by pasting model filler on the inside of the shoulders:
The tape was carefully removed after a few days, naturally there was sinking of the filler but that was re-filled, being very careful not to destroy any panel lines.
The filled area was sanded smooth, again paying attention to the fine details by the manufacturer.
When I was happy that the filled area was polished to a surface similar to the rest of the model I used tape to plan out where to scribe new panel lines. I used tape that I bought for The Falcon, it's a flexible PVC tape but it's magnetic....so it's thicker than most & very flexible, so it will follow a curve.
I scribed the lines with a scalpel blade (I need to refine the lines I've done...still looks a bit rough)
This is an image of the FM Boba Slave 1 kit with its side details,.....(don't know who made this model.....beautiful paint job)
My scratched details were made of card & bits of kits:
One part of the scratched part is made out of the material used on 3D posters (donated by my teenage son)
The grooves adds fine detail
I spotted a wee diffrence in some reference photos of the studio model and the FineMolds kit(s) of Slave 1:
Around the cockpit there is a gap where the FM has moulded solid:
I cut away the piece
Dry fit:
I remade new details for behind this part
Thats where I'm at at the minute,.....still some panel lines to fix etc......moving on to the scratch cockpit
Thanks for looking
John