Alright...I guess it's time for me to get my thread going.
My apologies for all of the pics at the start. I've been working on this for a few months now.
To start off, I gotta thank joewhite for his cutting plans and for all of the help and insight he's given me thus far. Also a huge thanks to J. Maruska, the drawings he did are fantastic reference to this build.
Both sets of plans (Joe's & Maruska's) were designed for laser cutting and I have to say, I REALLY wish I had access to one of those. I'm cutting everything by hand and have had a lot of trial & error. However, things have worked out pretty well. Well, so far at least. The "human factor" in cutting has caused some issues that I've had to fix and still need to fix in some places.
Okay, now for the build.
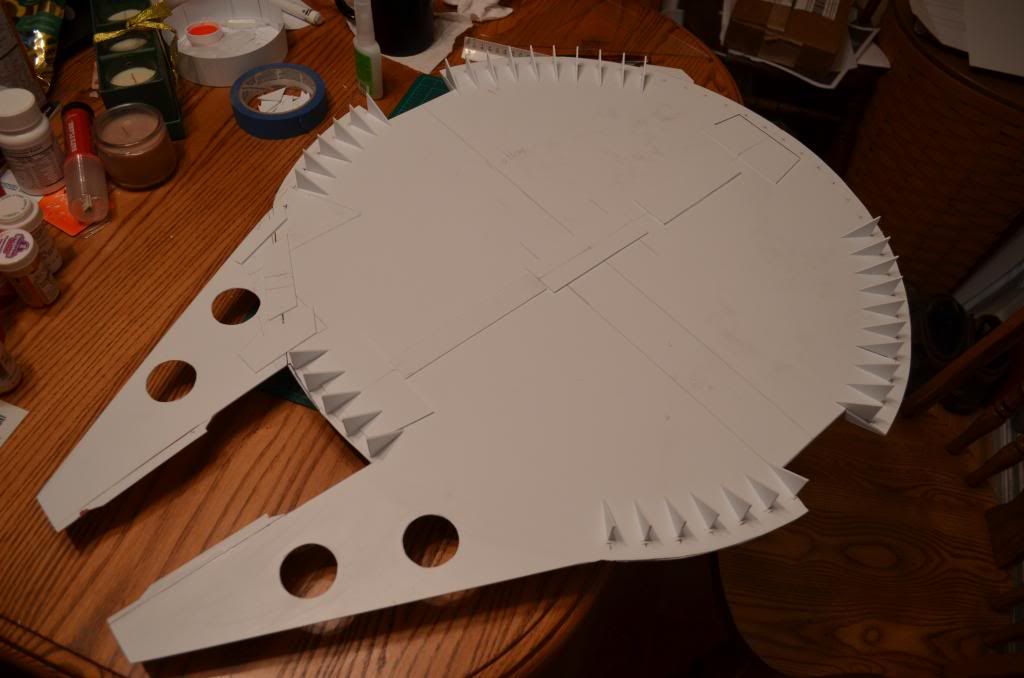
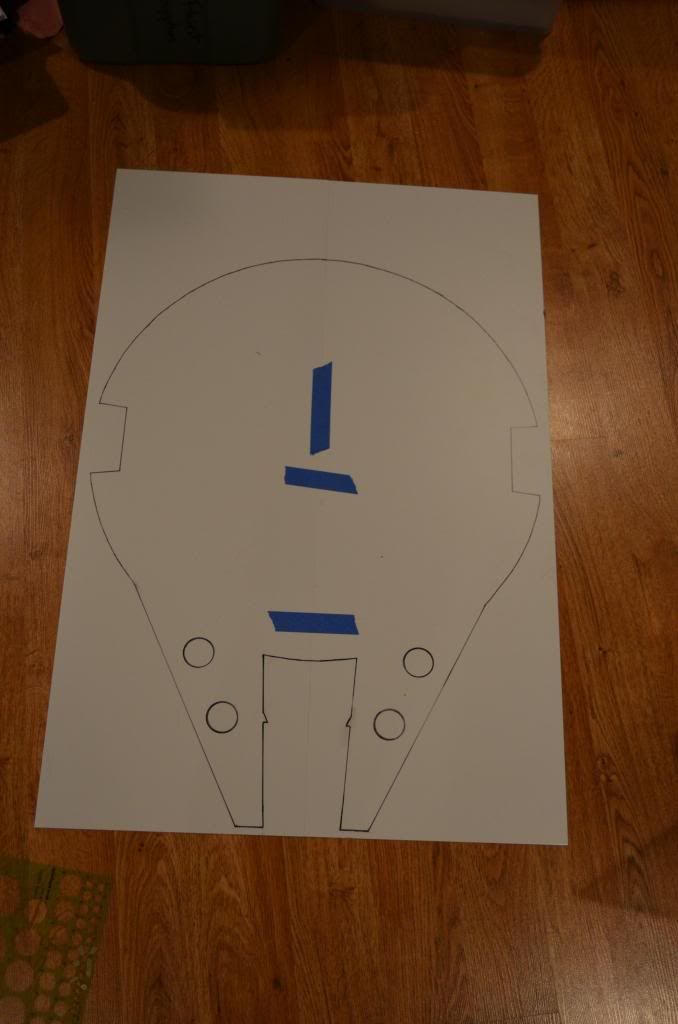
First pics are of Joe's cutting plans. I cut them out and traced them onto two sheets of .06 styrene.
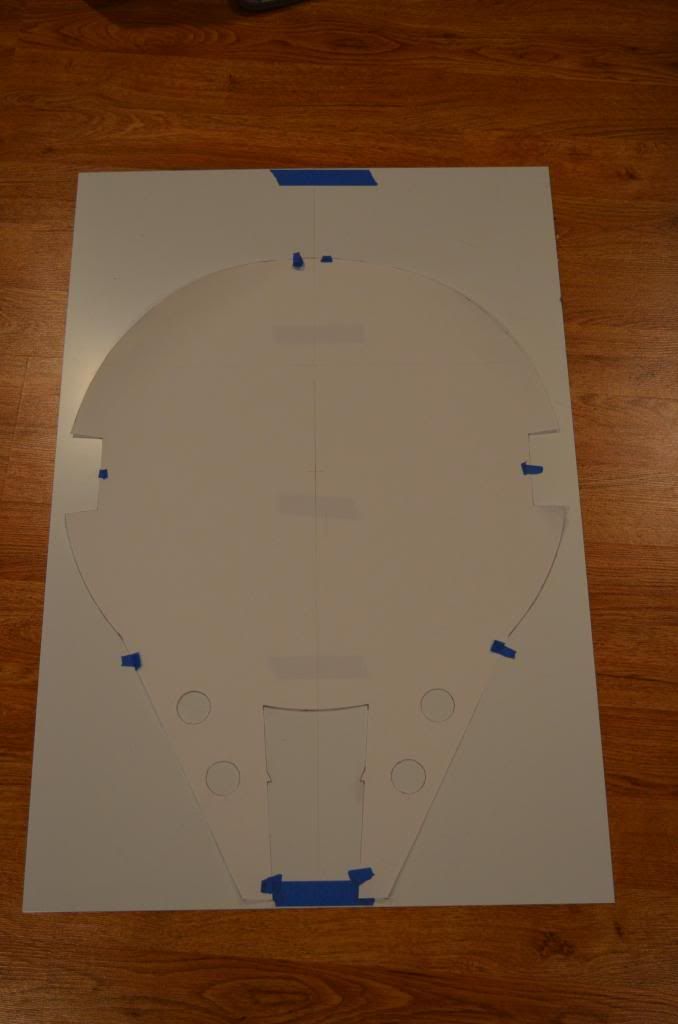
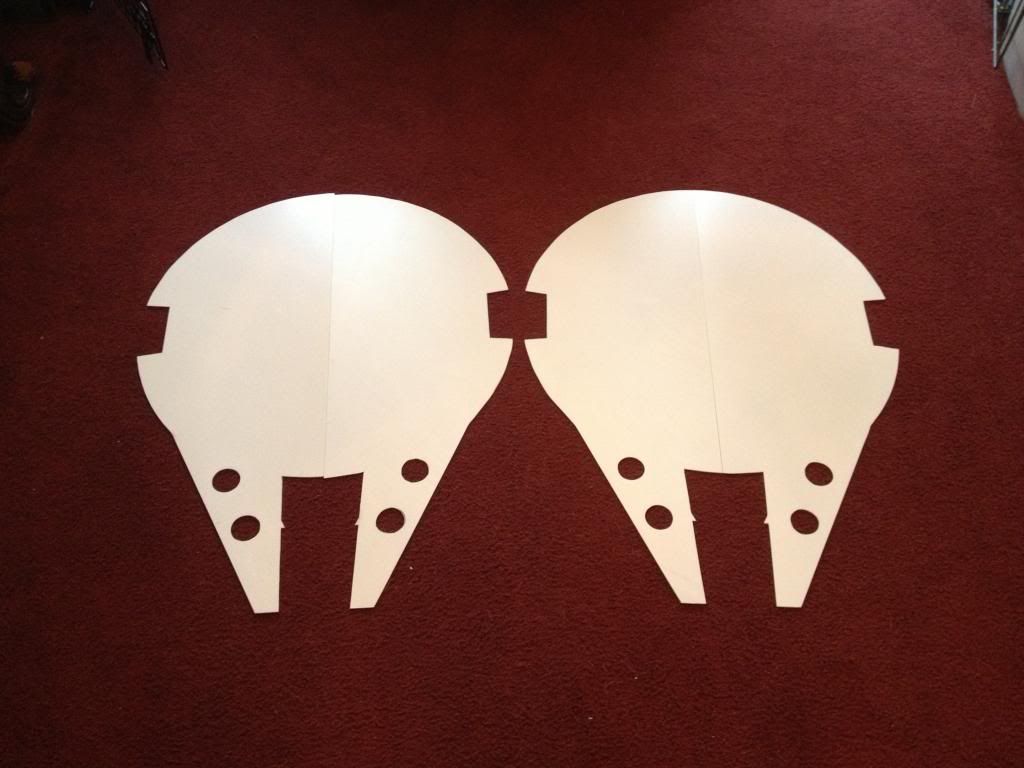
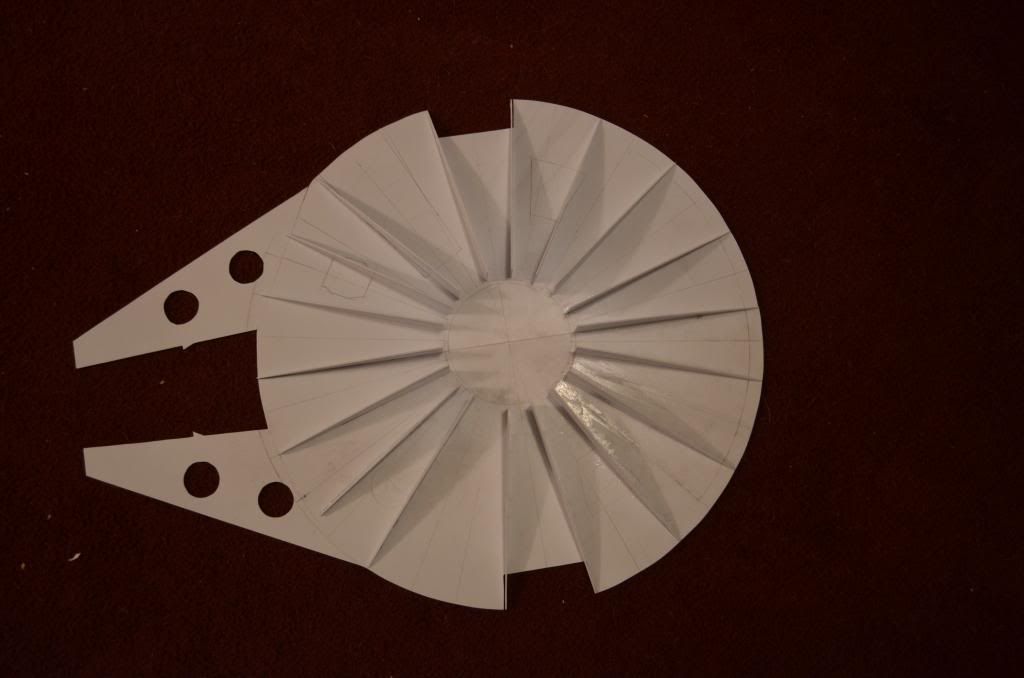
And here are the two halves completely cut out. They had some issues that I had and had to go in and later fix.
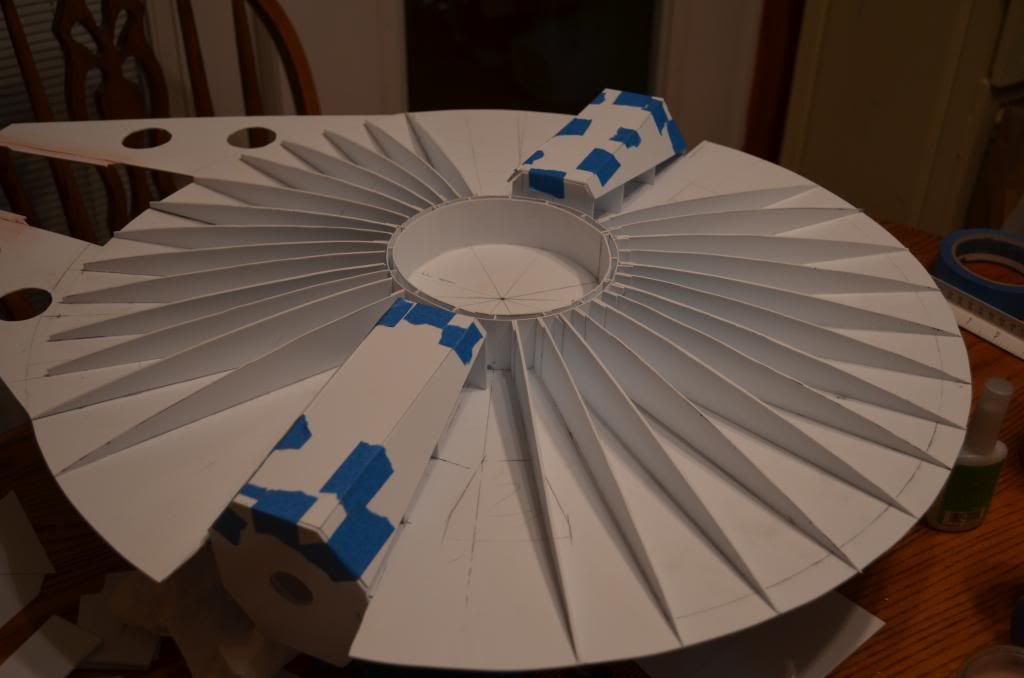
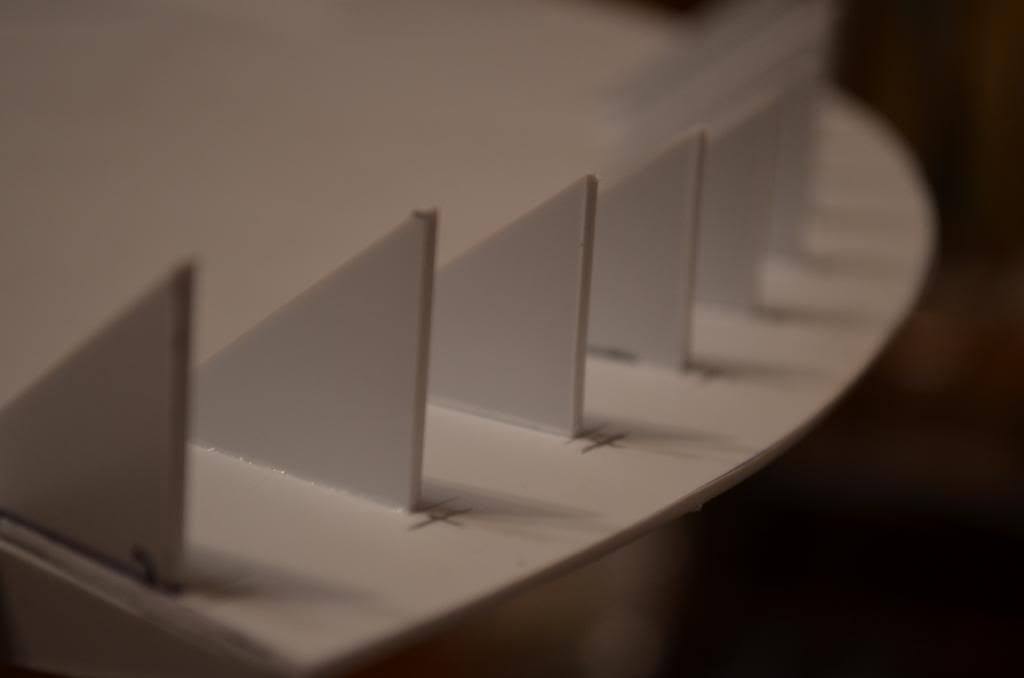
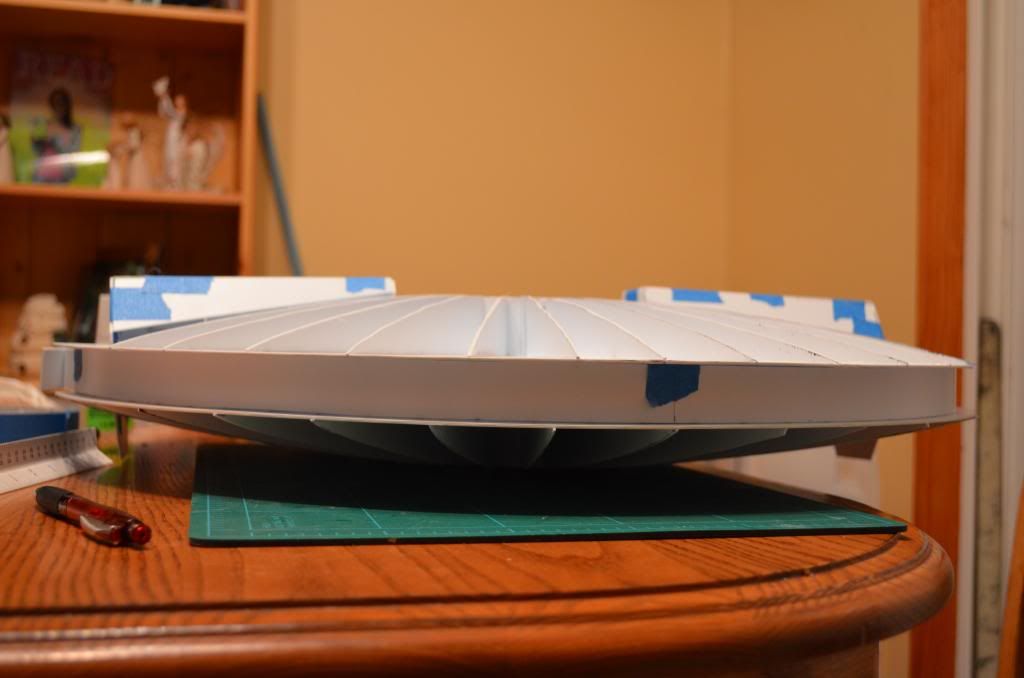
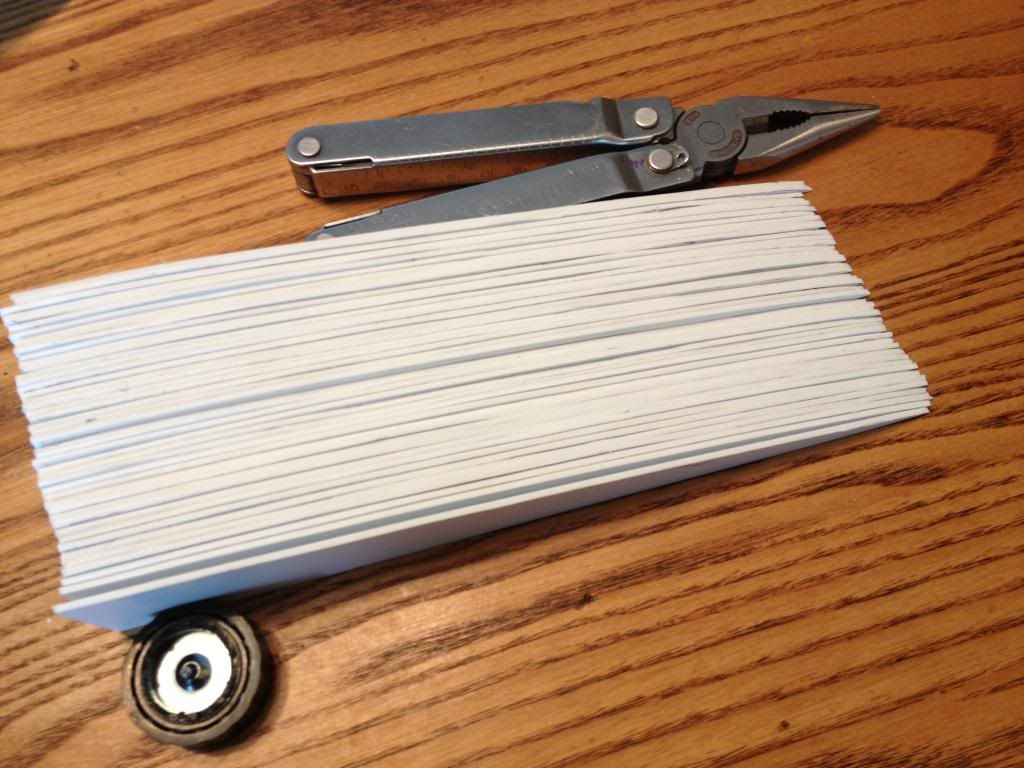
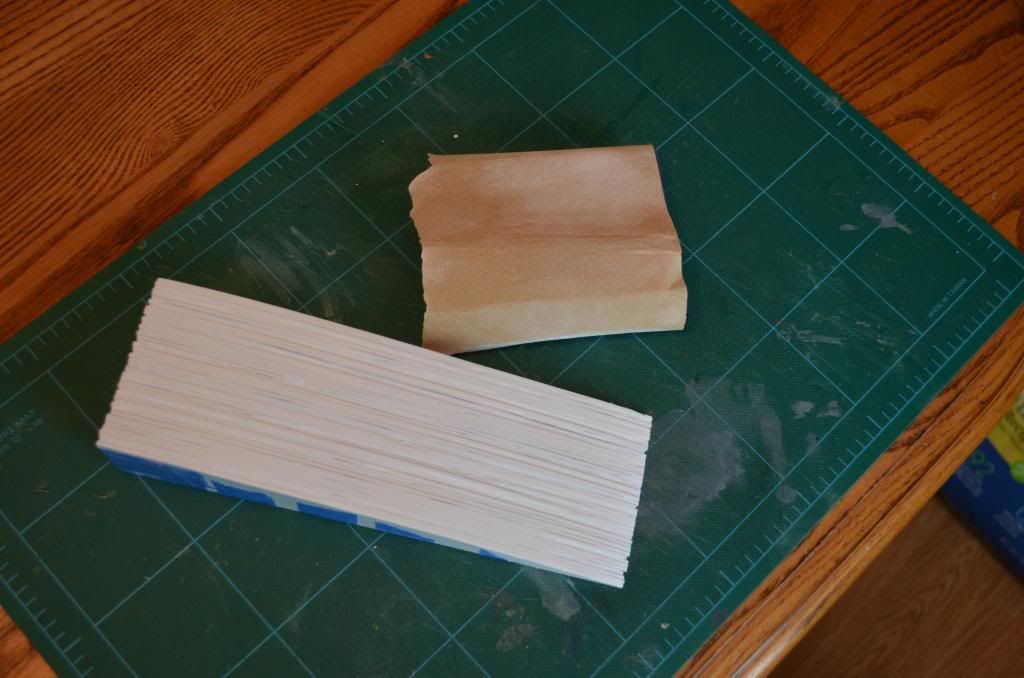
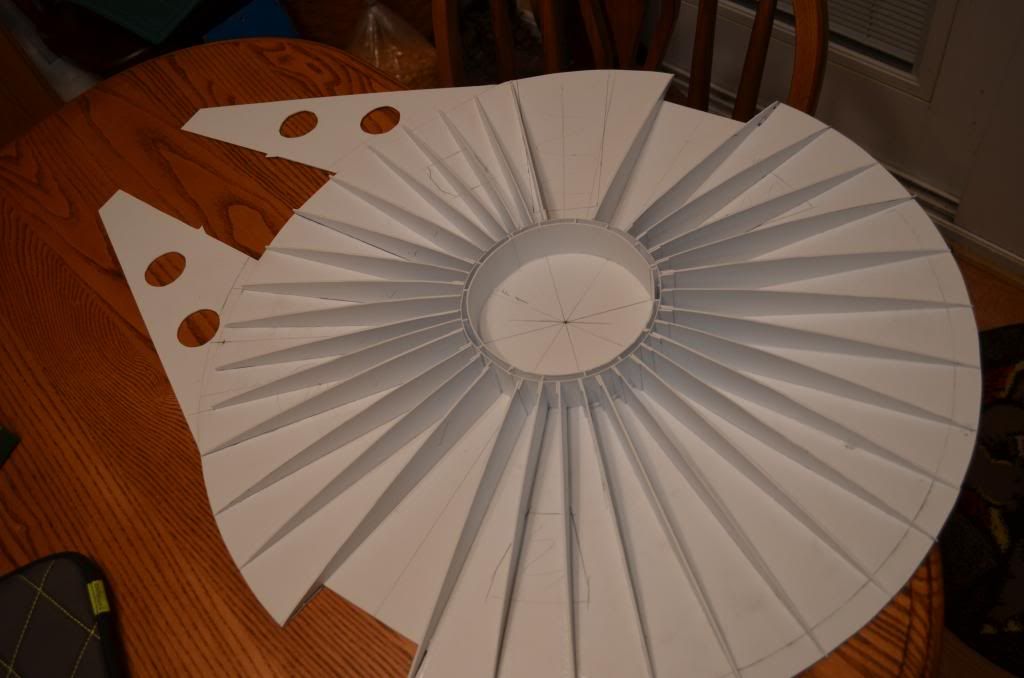
Next the ribs. I gotta' say that was tedious cutting them out by hand. I literally doubled the amount Joe had in his drawing as I remember reading on another post by Frank that when they did the MR Falcon, the spacing they used was 2" due to the hull warping. So, I figured it wouldn't hurt. Once they were cut out, I sanded them down so they would all match better.
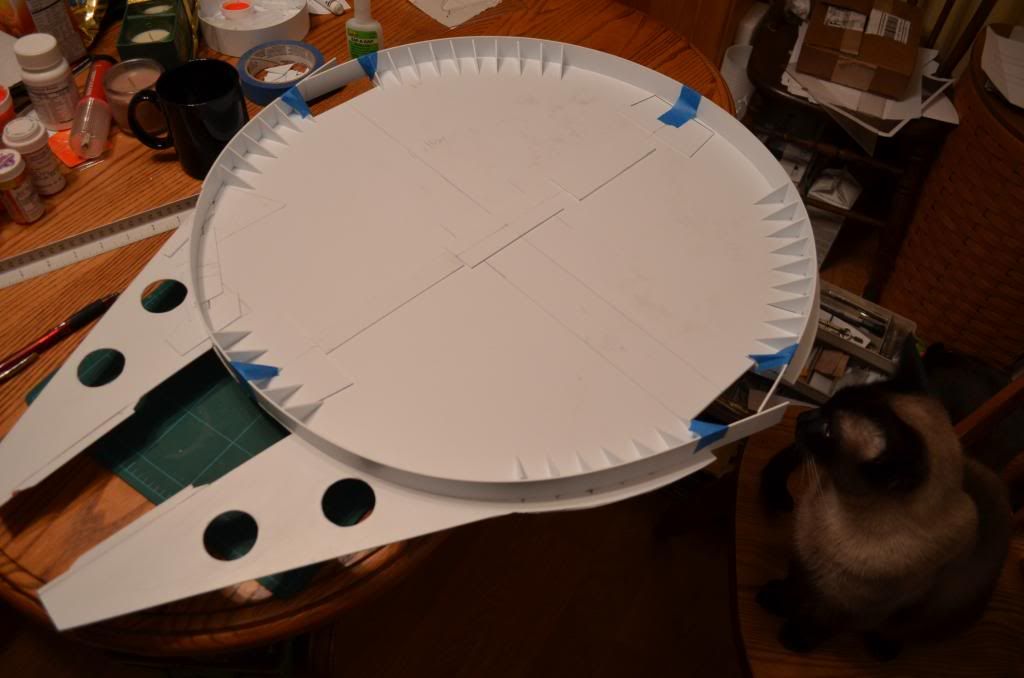
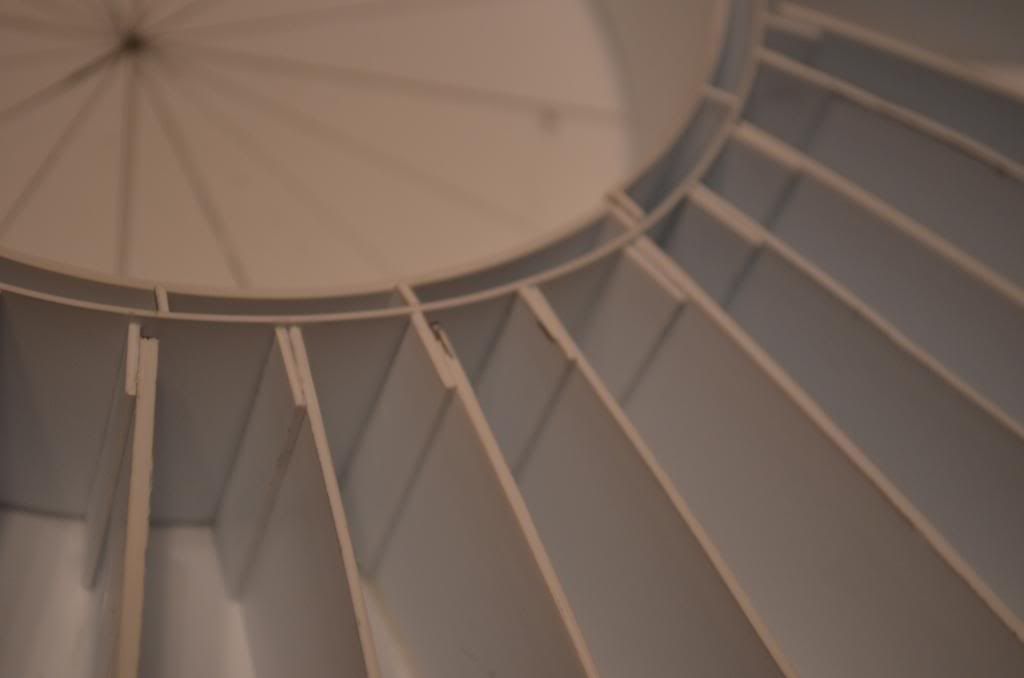
Right off the bat, I screwed up and attached them first instead of working on the center ring. I though that I could use them to create that circle. Nope...the "human factor" came in and found some of the ribs were too short. Not thinking, I had trimmed them down to match. So, when I built the ring, I attached shims so the ones that didn't quite reach the ring would do so. However, when did that, I noticed that it made that whole part much stronger, so I continued the shims all the way around on both the top and the bottom.
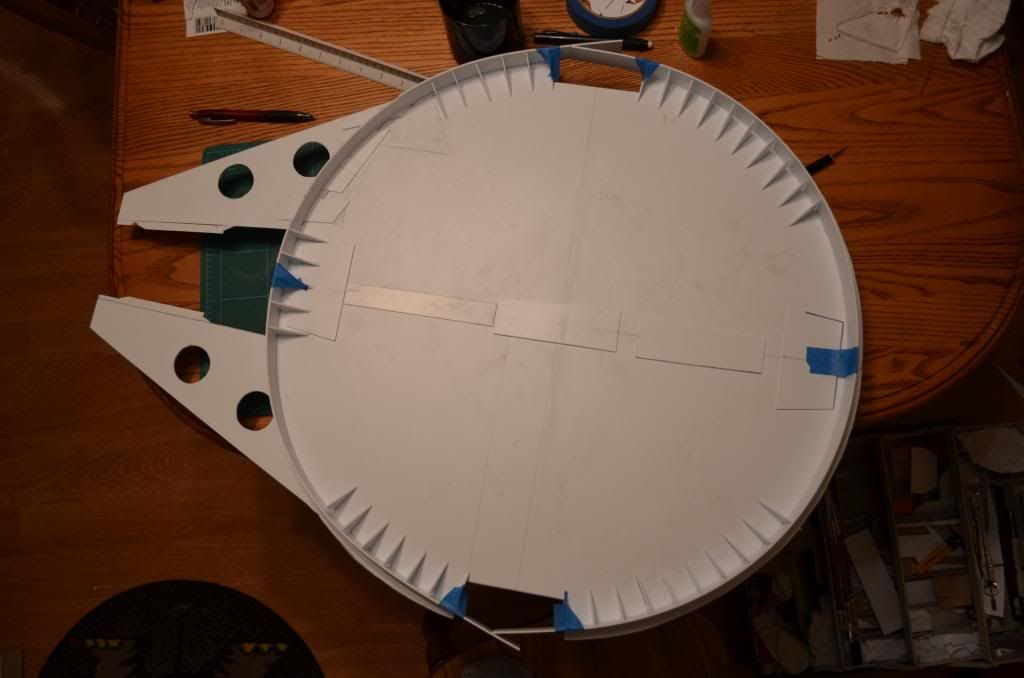
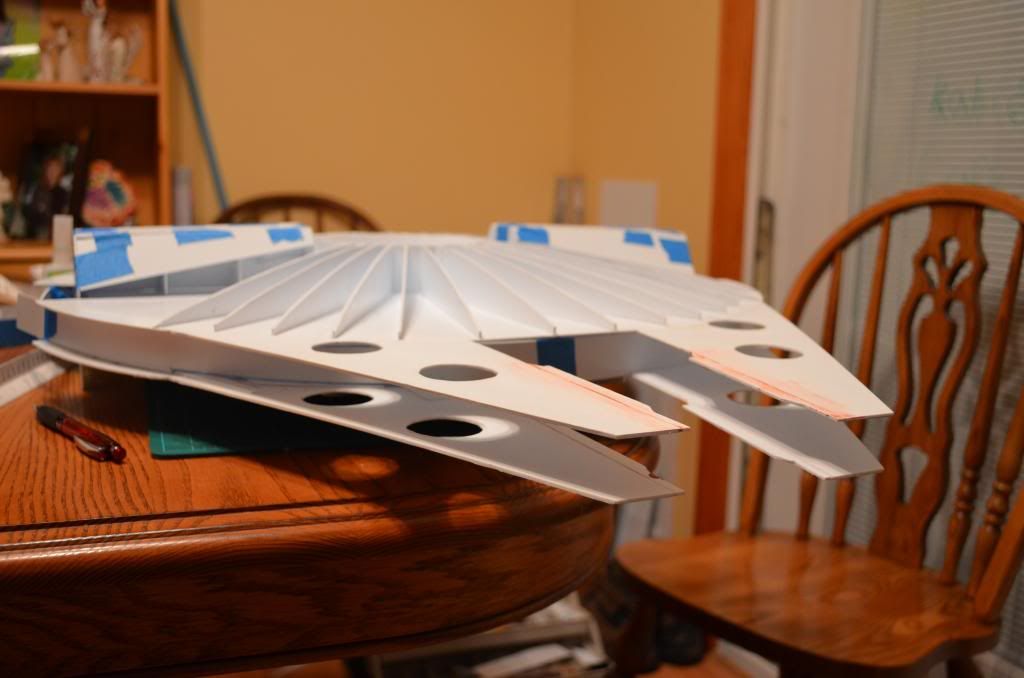
Instead of going ahead and skinning the halves, I had thought about making some of the hull structures, jaw boxes, boxes underneath, so that they would be attached first and the skin cut around them. This is how Joe had figured on doing the docking tunnels. So, that was my first (and current) task.
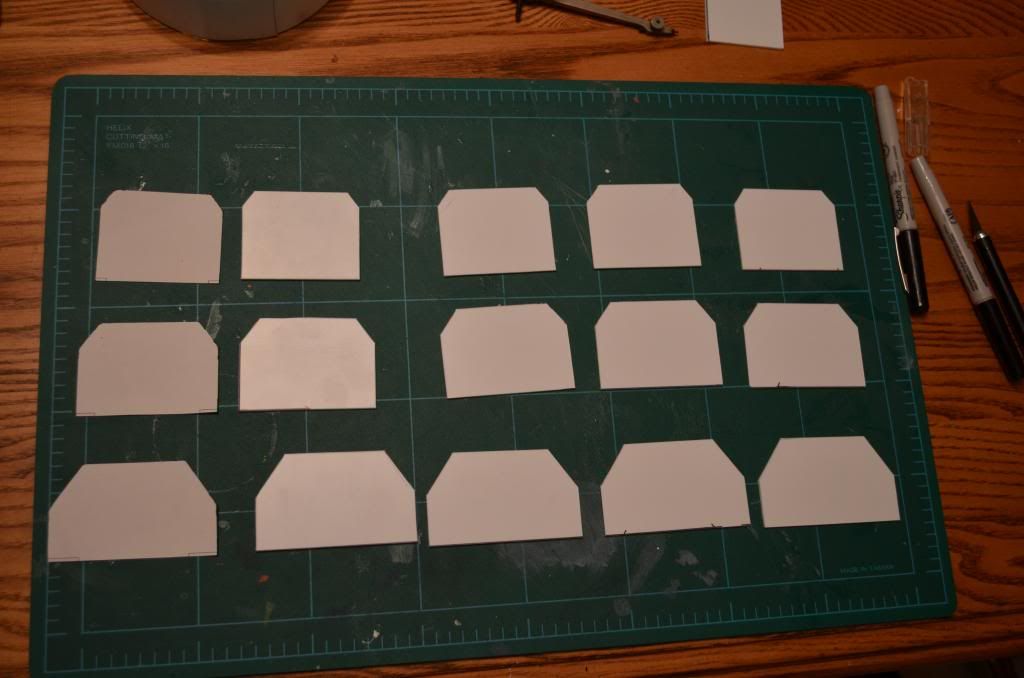
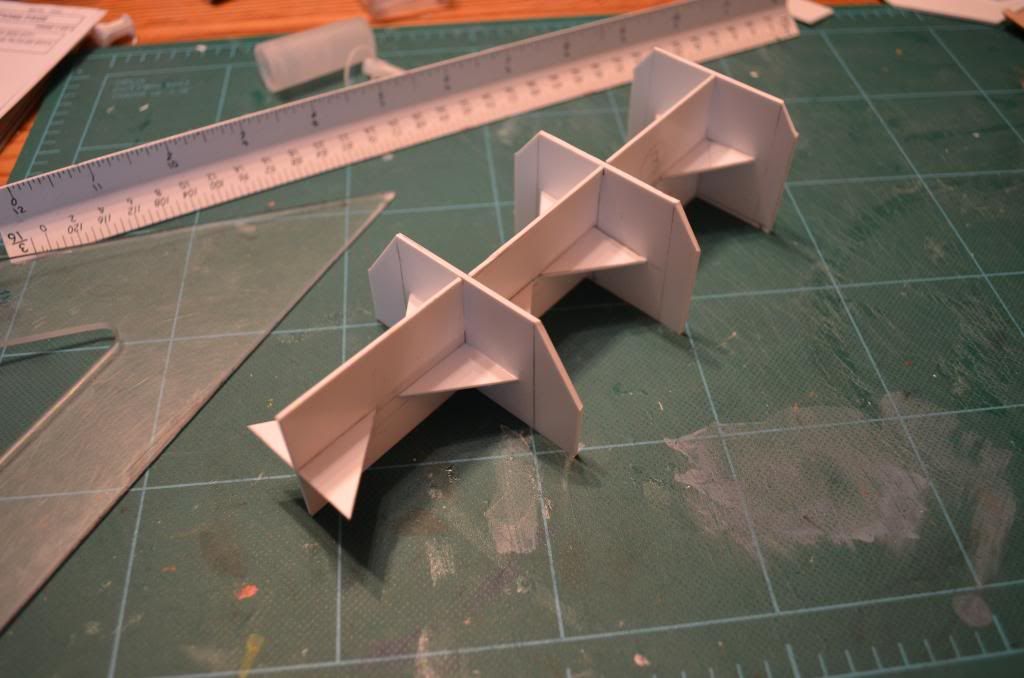
He created some ribs for the tunnels.
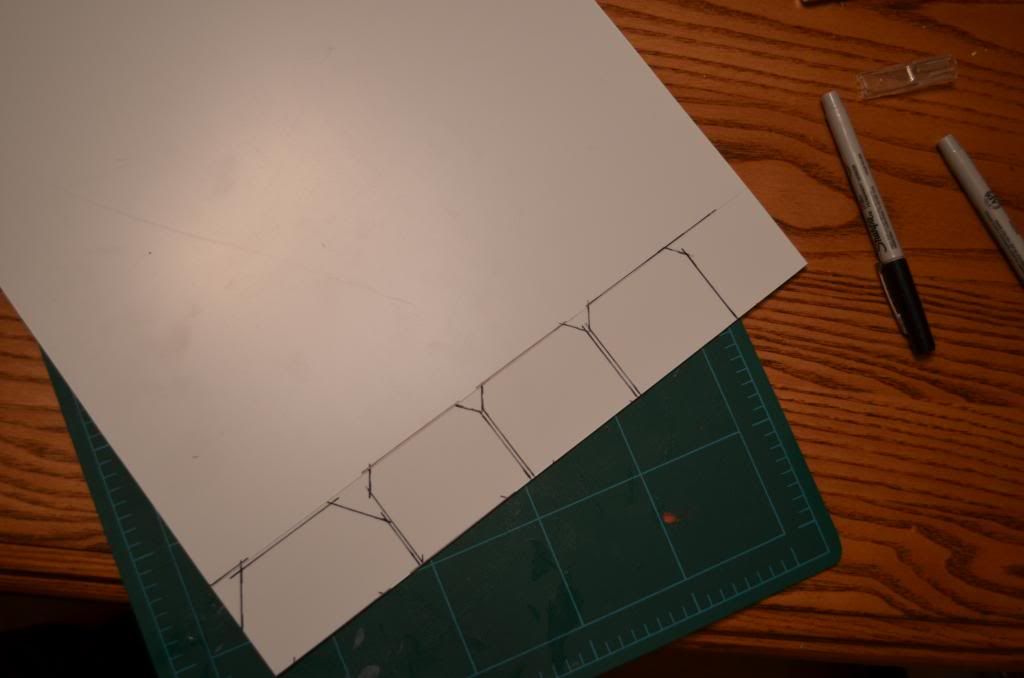
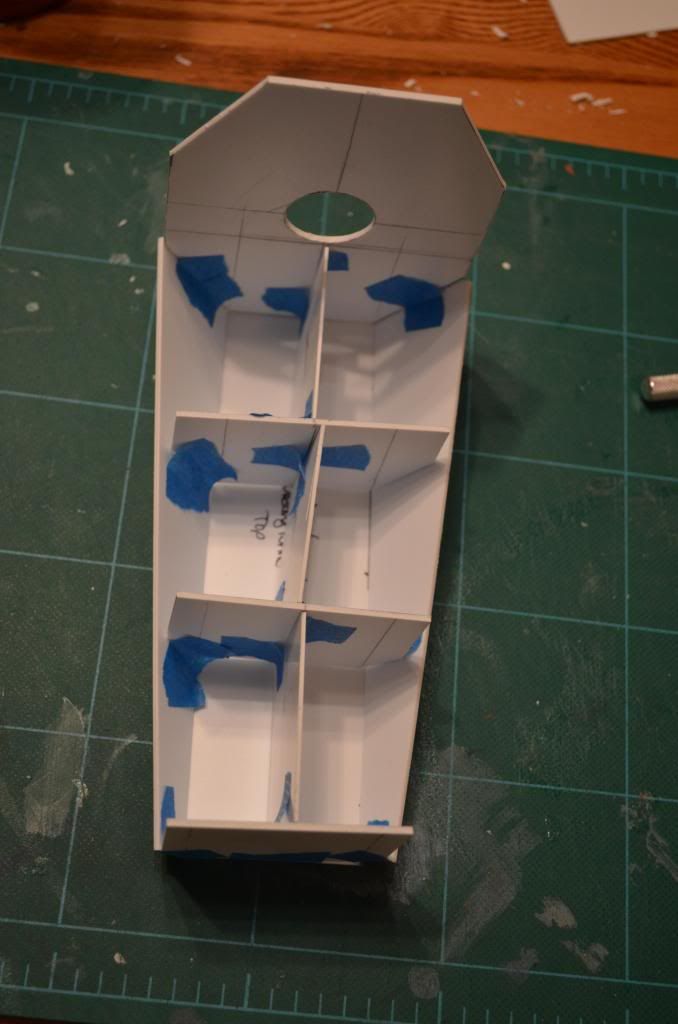
I decided to build a little bit of support for them so that they are squared and aligned as well as giving a bit of support for the top & sides. But first, I had to remove some of my ribbing in order to get in there.
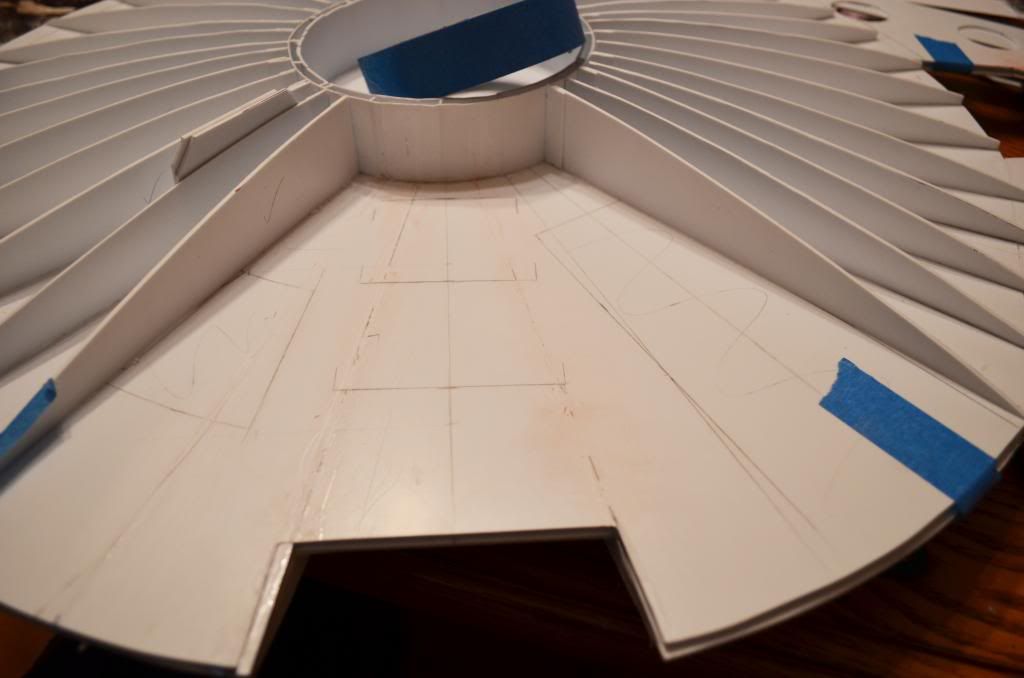
The above pic shows one of my errors in cutting this area out. I'll have to plug that up later. Not sure how I accomplished screwing this up. :angry
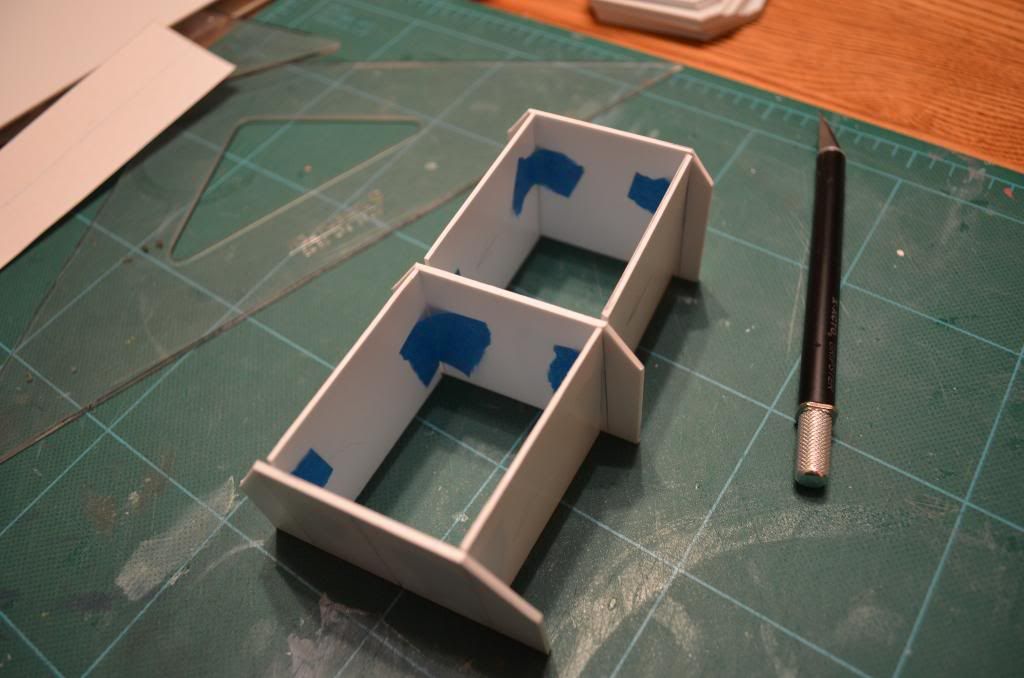
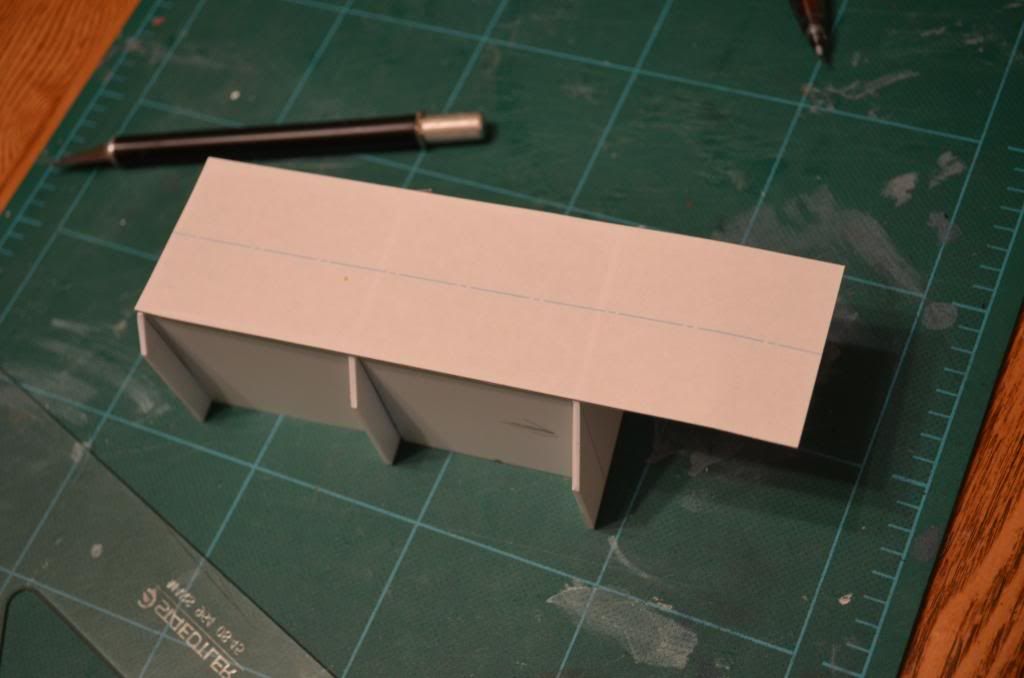
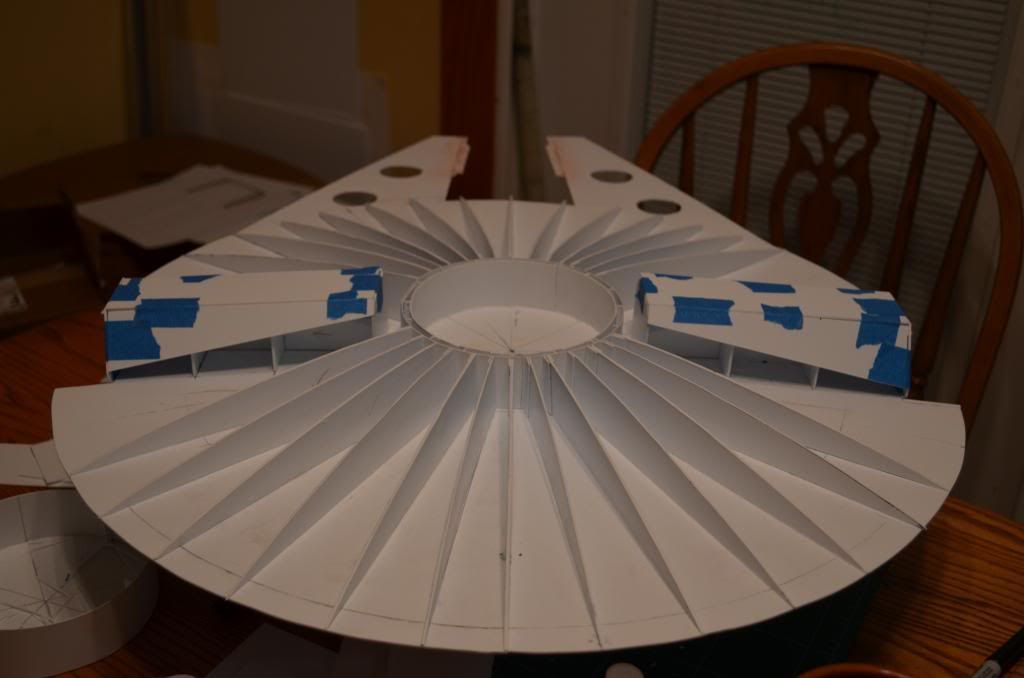
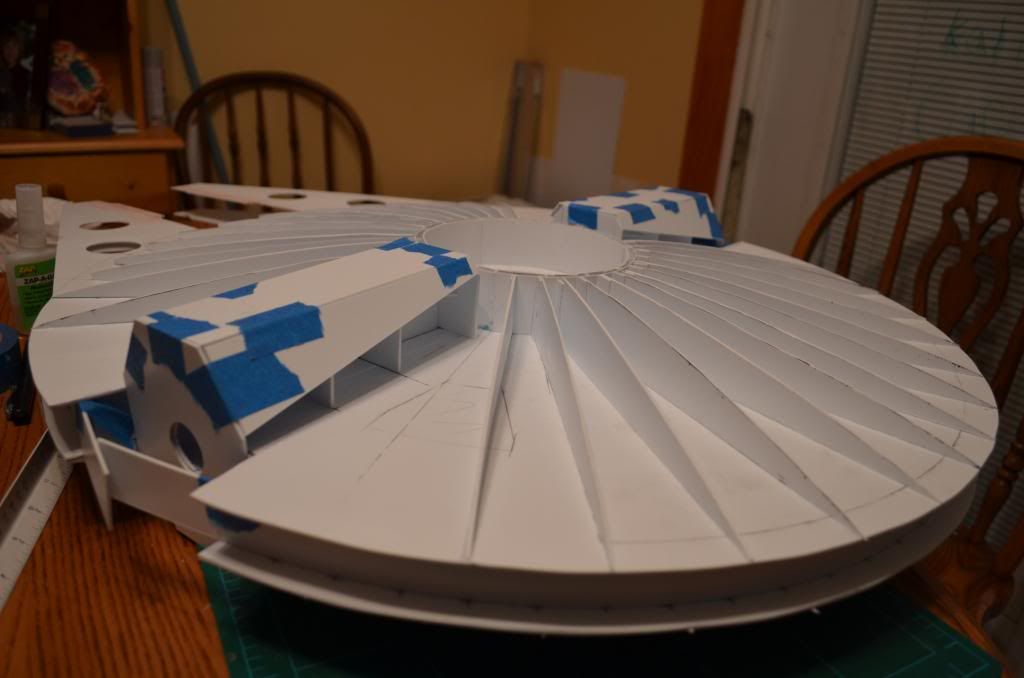
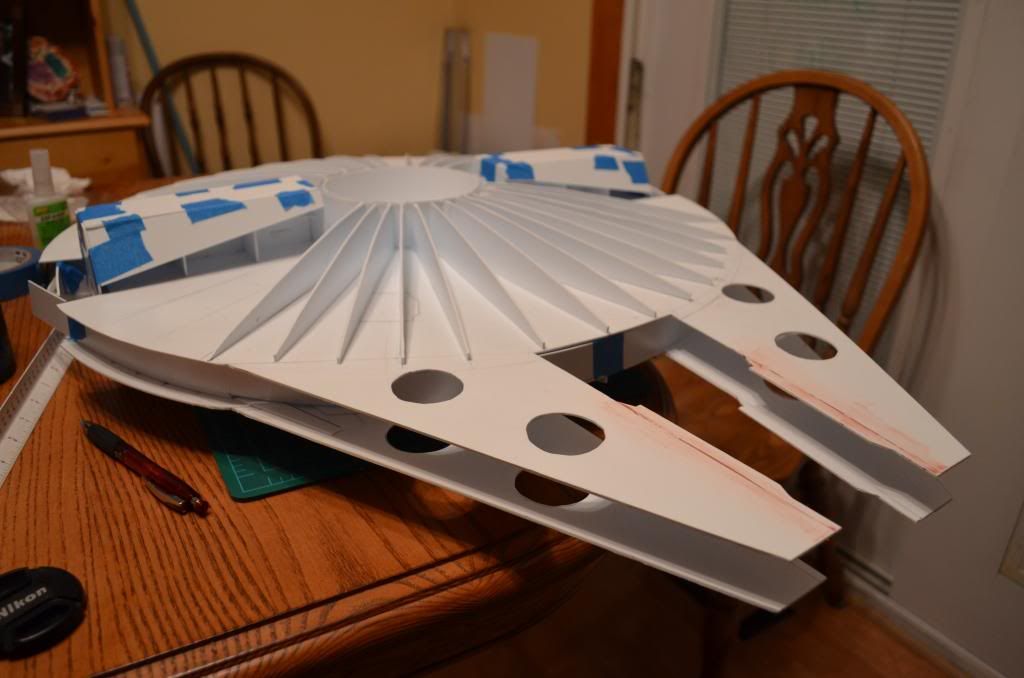
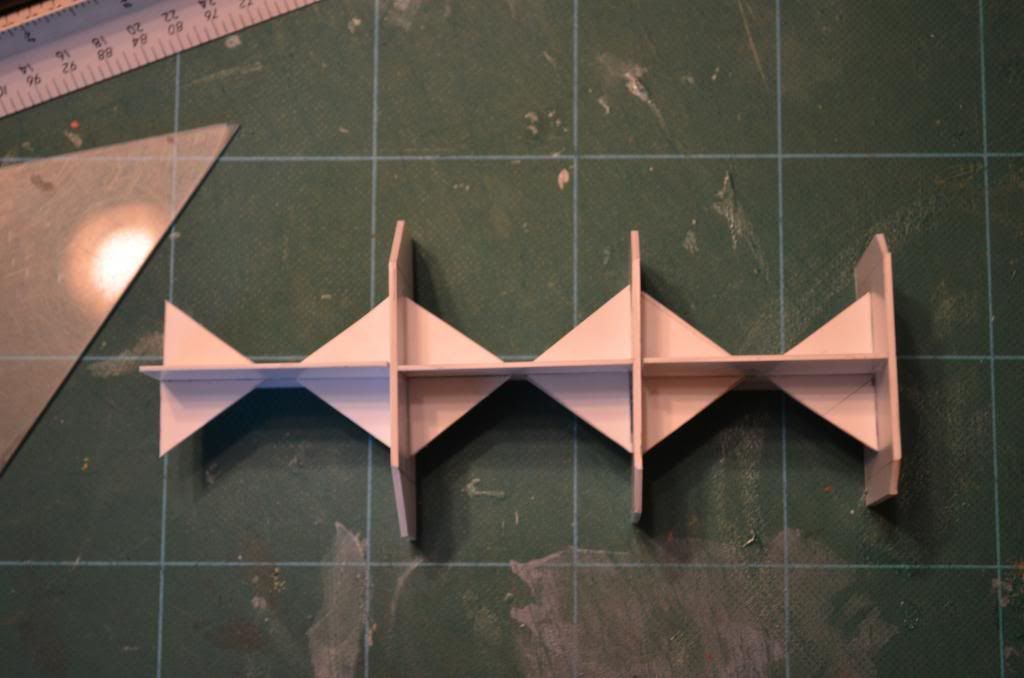
I realized that I had probably over-designed the understructure, so I simplified it a bit.
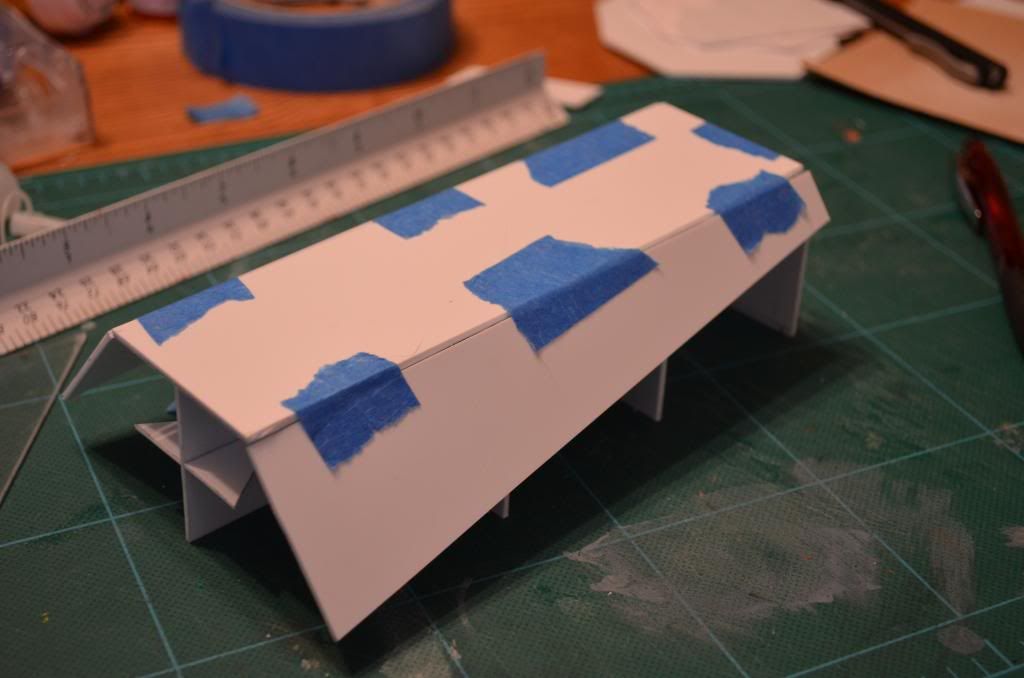
I'm pretty sure this will work, so this morning I went ahead and glued everything together.

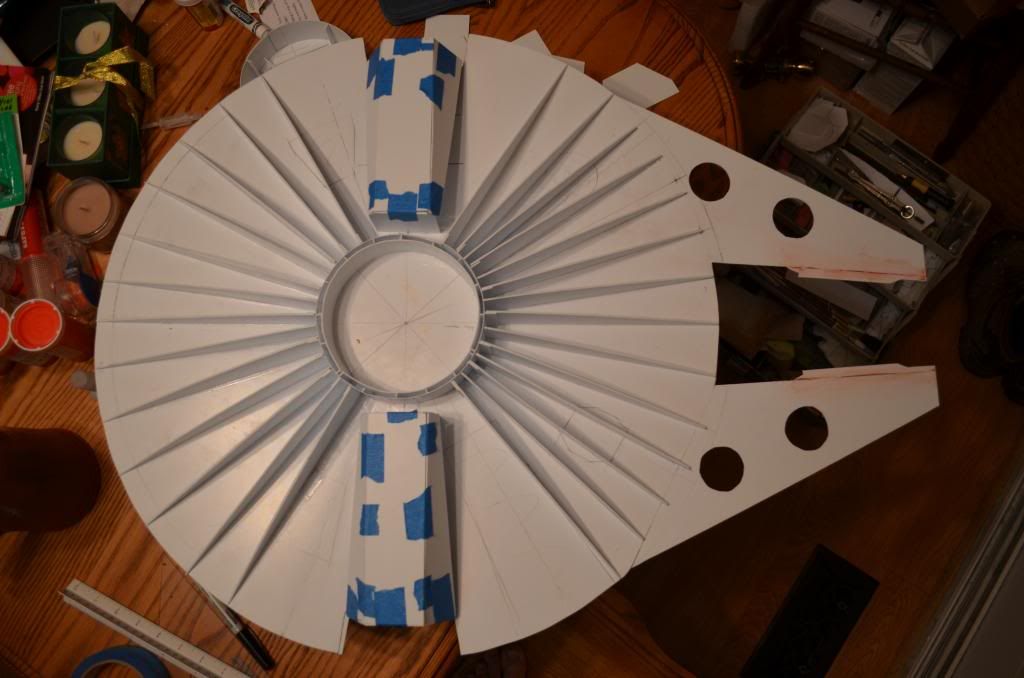
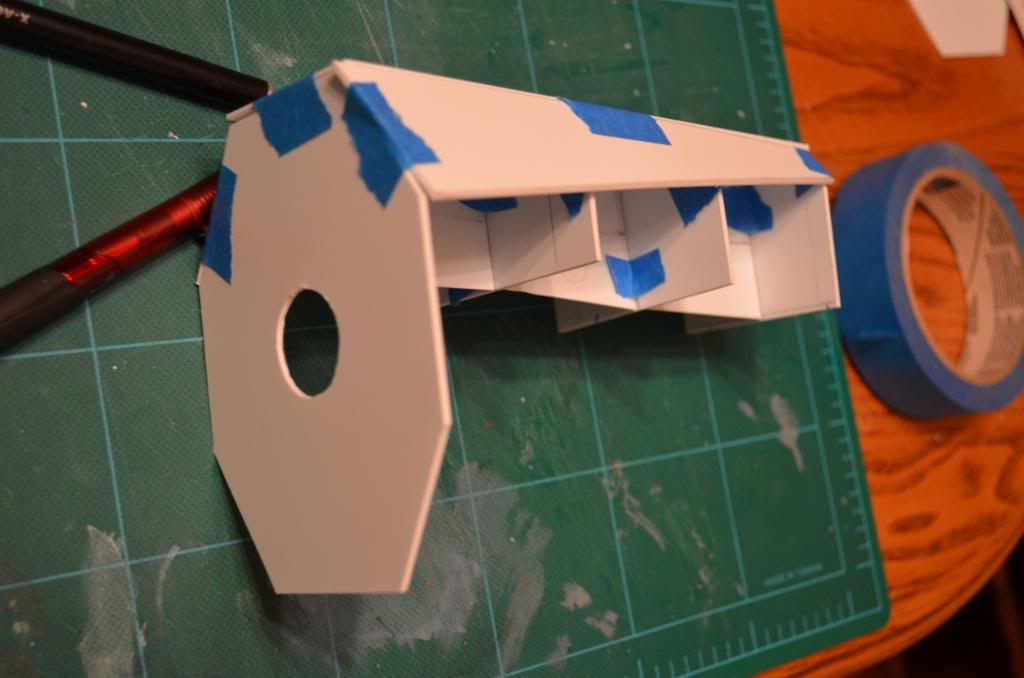
Dry fitted the top and sides...
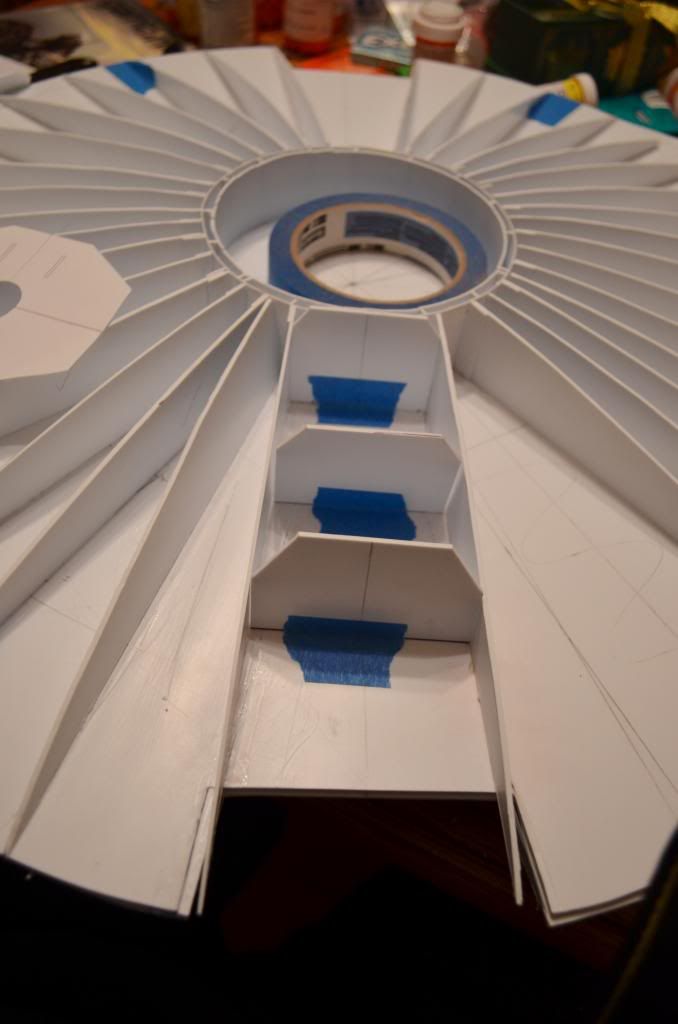
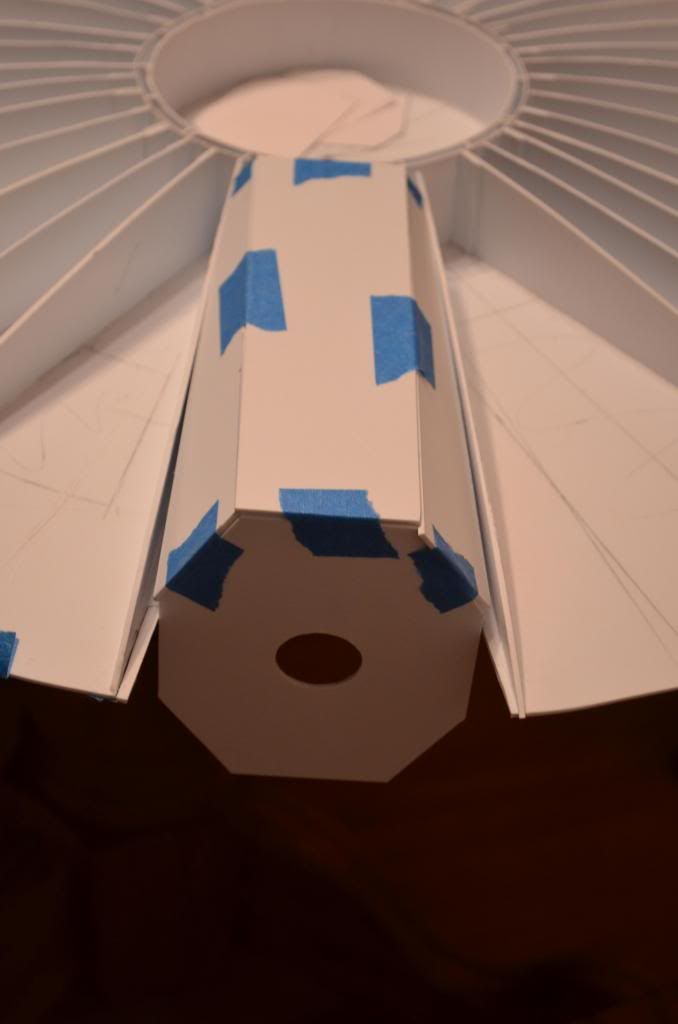
And sat the structure into it's place.
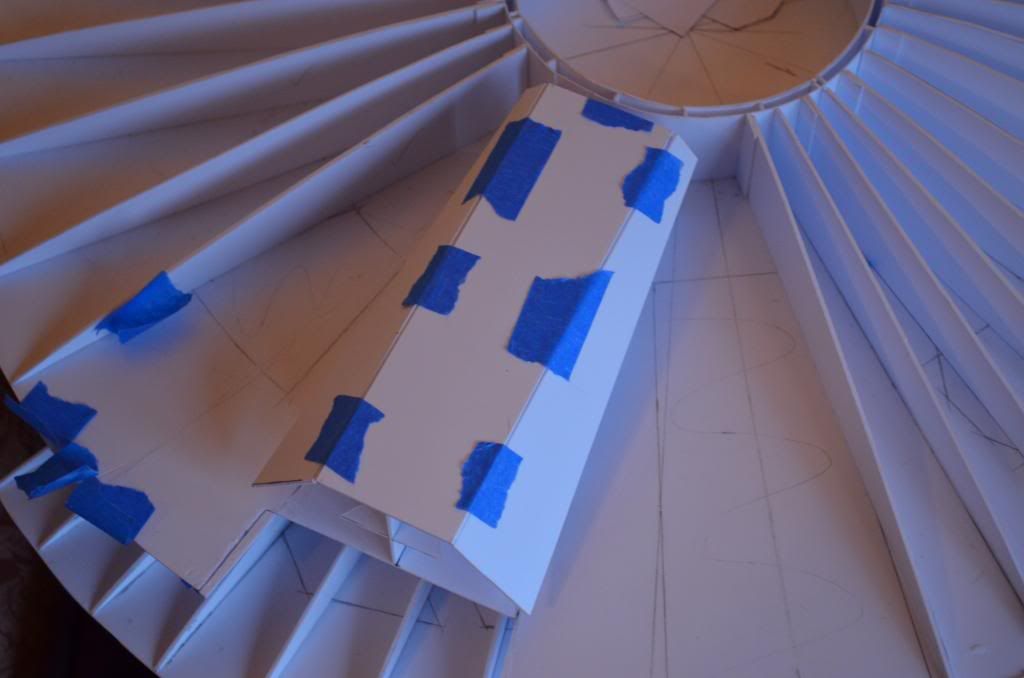
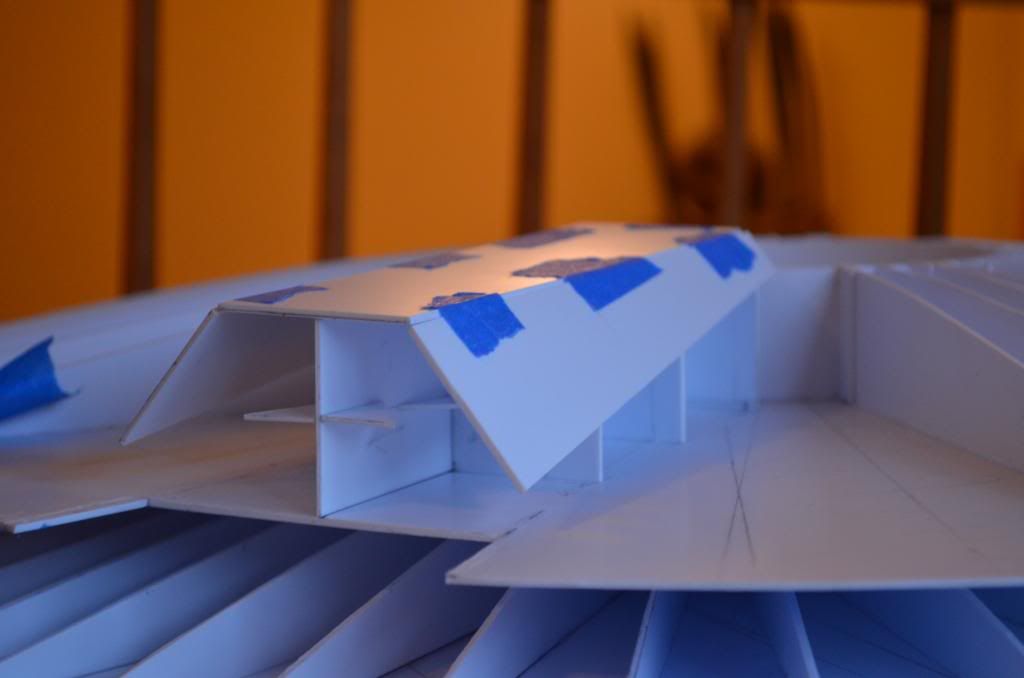
So, this is where I am this morning. I think this is going to work. So, I'm going to see if I can get the rest of them finished today. I'm not going to permanently attach them until I'm 100% sure it's going to work. In theory, it should...but since I'm cutting these parts by hand, who knows what may happen. :lol
Thanks for checking it out!
Dave
My apologies for all of the pics at the start. I've been working on this for a few months now.
To start off, I gotta thank joewhite for his cutting plans and for all of the help and insight he's given me thus far. Also a huge thanks to J. Maruska, the drawings he did are fantastic reference to this build.
Both sets of plans (Joe's & Maruska's) were designed for laser cutting and I have to say, I REALLY wish I had access to one of those. I'm cutting everything by hand and have had a lot of trial & error. However, things have worked out pretty well. Well, so far at least. The "human factor" in cutting has caused some issues that I've had to fix and still need to fix in some places.
Okay, now for the build.
First pics are of Joe's cutting plans. I cut them out and traced them onto two sheets of .06 styrene.
And here are the two halves completely cut out. They had some issues that I had and had to go in and later fix.
Next the ribs. I gotta' say that was tedious cutting them out by hand. I literally doubled the amount Joe had in his drawing as I remember reading on another post by Frank that when they did the MR Falcon, the spacing they used was 2" due to the hull warping. So, I figured it wouldn't hurt. Once they were cut out, I sanded them down so they would all match better.
Right off the bat, I screwed up and attached them first instead of working on the center ring. I though that I could use them to create that circle. Nope...the "human factor" came in and found some of the ribs were too short. Not thinking, I had trimmed them down to match. So, when I built the ring, I attached shims so the ones that didn't quite reach the ring would do so. However, when did that, I noticed that it made that whole part much stronger, so I continued the shims all the way around on both the top and the bottom.
Instead of going ahead and skinning the halves, I had thought about making some of the hull structures, jaw boxes, boxes underneath, so that they would be attached first and the skin cut around them. This is how Joe had figured on doing the docking tunnels. So, that was my first (and current) task.
He created some ribs for the tunnels.
I decided to build a little bit of support for them so that they are squared and aligned as well as giving a bit of support for the top & sides. But first, I had to remove some of my ribbing in order to get in there.
The above pic shows one of my errors in cutting this area out. I'll have to plug that up later. Not sure how I accomplished screwing this up. :angry
I realized that I had probably over-designed the understructure, so I simplified it a bit.
I'm pretty sure this will work, so this morning I went ahead and glued everything together.
Dry fitted the top and sides...
And sat the structure into it's place.
So, this is where I am this morning. I think this is going to work. So, I'm going to see if I can get the rest of them finished today. I'm not going to permanently attach them until I'm 100% sure it's going to work. In theory, it should...but since I'm cutting these parts by hand, who knows what may happen. :lol
Thanks for checking it out!
Dave
") I love it!
I love it!