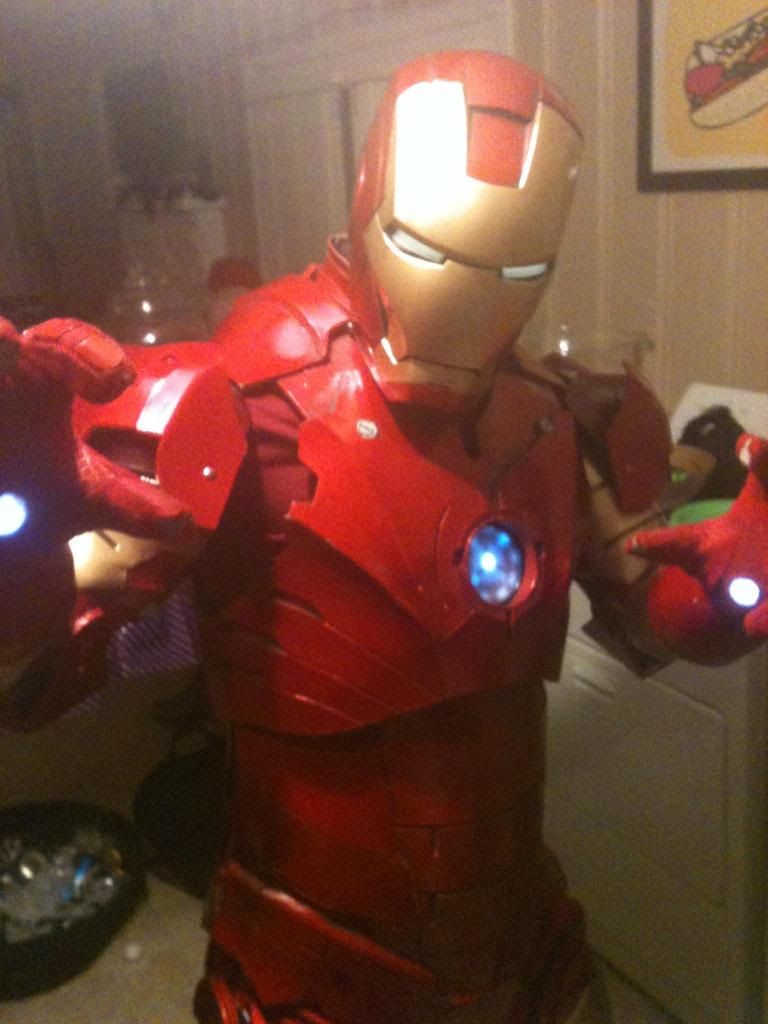
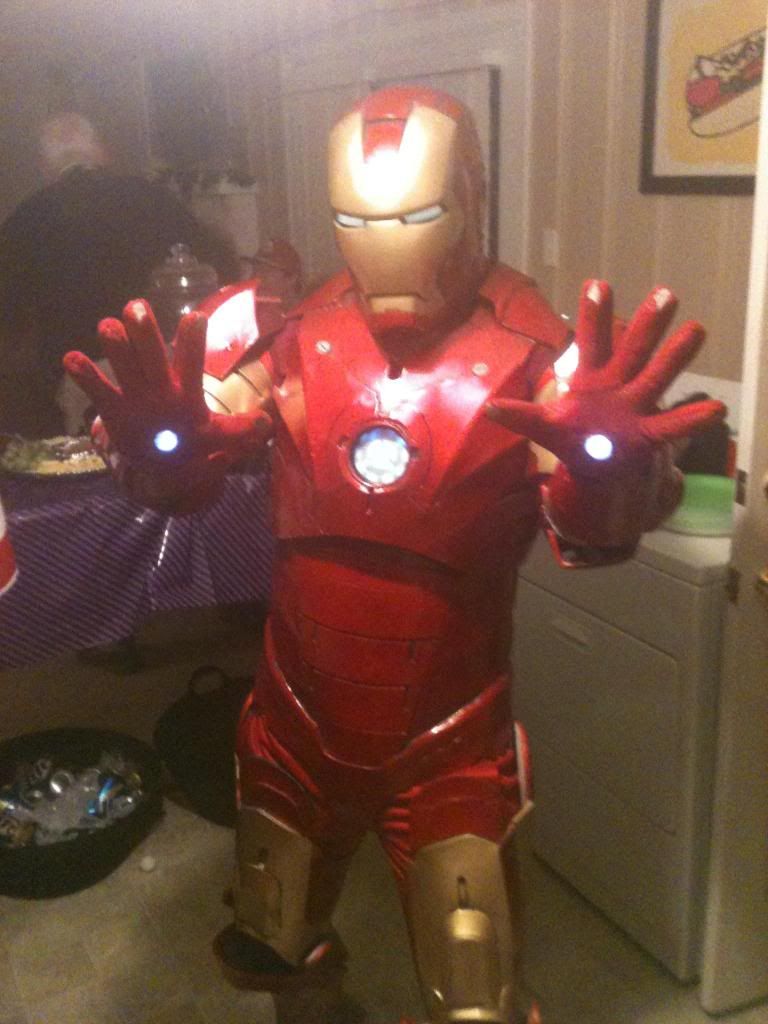
WIP first Iron Man Mark III (plastic-coated) foam build: Getting a bit pic heavy

Re: WIP first Iron Man foam build+knowledge share

by the way, this right shin went like this:

1.) 3 coats of 1:3 water to elmers glue
2.) 2 semi thin coats of smooth-cast 321, sanding in between
3.) 2 light coats primer filler
4.) 1 coat valspar silver (Lowe's)
5.) 2 Coats Duplicolor barcelona red metallic
6.) 1 coat Krylon triple thick Clear glaze, with a little on top to even out patchy areas

I would say next time I would try to sand the smooth on just a little better, or apply the glue thinner. There was a minute amount brushiness that I thought would be gone by the time I got to paint after a little sanding, but it's still there a little. Still looks great though!

The smooth-cast is thin, not super hard, and pretty flexible actually. According to the tests I ran, after 48 hrs of curing, the paint does not crack or chip. we'll see how long it lasts! so far so good.

I know this thread seems a bit old now... but wow, firstly I gotta say this has been the most helpful thread when it comes to the painting/plastic process for foam.

Quick question: How much smoothcast 321 did you use? And also, do I need a respirator if I'm working with it?
I'm looking to try this method, but it does get pretty pricey so I'm just curious how much I need so I can budget this build properly before dropping all the cash.
 
^bump! If anyone knows how much smoothcast 321 I need for a full suit plz let me know! thanks ^^

Hey bud sorry it took so long. I just used the sample size bottles of the 321. Can't recall the price, I believe it was around 50-70$ usd. The whole suit probably cost around 250-300 to make. The paint and coating is what gets you. I did two coats of paint and 321 over the entire piece for a good finish, so it got pricey. Just google "smooth-on" and it will get you to their website. Another option is to go the DocHoliday route with using a heat gun to seal, paint, bulldog brand adhesive promoter, etc.

Run a search on the rpf for docholiday78 (spelling might be slightly off) to find his method. Do him a favor though and search his thread for bulldog to get to his current method, because he ALWAYS gets the question as to what his method is, when it is listed several times clearly in his thread. If u can't find it, let me know, and I'll look it up. His method gets excellent results too, and may be a little less time consuming, not sure.

I love the final result of my plastic coating method, but it is a tedious process because the 321 sets very quickly, within 5-7 mins. So you can only work with a few teaspoons at a time. Granted this amount will cover a size able area, but you have to work quickly and smoothly, allowing ample drying time between coats. It's going to take experimentation no matter which route you choose. I do have a feeling that docholiday's method is easier to work with, but is still somewhat expensive... but perhaps a little cheaper to purchase small amounta of material for experimentation. With either method, understand that it will take a minute to get the learning curve down. If you stick with it, though, the results are great. Let me know if you need anything else. Good luck bud!
 
By the way, let me clarify... When I said the whole suit coat 2-300 to make, I meant TOTAL MATERIALS starting with no knives, cutting sheet, heat gun, etc.

As far as the 321, I did the whole suit using the sample sized bottles, and had a little left over.
 
Hey just to let you know, im quoting Doc from an email he sent me...the following are the basic steps to Docholiday's method as of November 12, 2012. He may have modified it a little by now, not sure.

"i used these steps:
1. heatseal with heatgun
2. 1 coat watered down elmers
3. 2 light coat modpodge
4. 1 coat bulldog adhesion promoter
5. primer
6. paint
7. clearcoat and put bulldog adhesion promoter after to give it more flex

about an hour between coats"

So there you have it, once you decide which route you go, just be prepared for work and spending a little cash:) good luck!!!
 
awesome thanks so much for the detailed reply!!! Hopefully my paint job will turn out as good as yours or doc's!!

Now I'm at a toss up between which method to use now that I've seen doc's method as well... lol but u're right, but methods will require experimentation and time. I have zero experience with stuff like that, so I hope this goes well!
 
Going to quickly add some old pics etc. I just dug up. Old news but good news!


Attachments

  • IM1_zps7976923b.jpg
    IM1_zps7976923b.jpg
    82.5 KB · Views: 150
Last edited:
If you ever start a rebuild under painting the suit with black before you do silver will give it a more metal look.
You could use a black primer. For the Gold areas black then green (like tarnish color) then the gold. These are old tricks I learned at Disney when doing scenic work.

Silver metal:
Black primer
Silver
Red
Clear Coat

Gold metal:
Black primer
Green (think Yoda green)
Gold
Clear Coat

Hey thanks I'll experiment with that! you just mean on the silver and gold parts specifically right? not the red areas?
 
you could do it on the red areas if you are going for a metallic red look. Also this will help make the color seem darker if its used under just a nonmetallic color.
 
yeah I originally made the shoulders with a dark primer because I ran out of my original. I had no idea how dark it would make it! bizarre. You did see that I did a gold and silver undercoat on the whole suit right? I'll definitely try the black and the green. It's making me want to build the new suit :)
 
Such a valueable and amazing build thread. Going to be very helpful on my MK III build.
It seems like not many others have done a MK III with the DancinFool's files (or at least posted about it).

Thank you!
 
Re: WIP first Iron Man Mark III foam build+knowledge share

the shoes: I primed and plastic painted a pair of reeboks with this great "universal" red plastic spray I bought at Lowes... I believe it's rustoleum. It's gloss, so no clearcoat required. The foam overlay JF custom's Dancin Fool edits. very simple. Again I didn't have time to do the outer accents and circular pieces. Still worked fine. The foam is plastidipped and hit with some Duplicolor and clear coat.

http://i1247.photobucket.com/albums/gg636/theillustrationer/IMG_1507.jpg

I am wondering how you went about attaching the front "flap" that covers the laces on the shin pieces? (If you don't want you thread cluttered up, I can PM you as well)
 
This thread is more than 9 years old.

Your message may be considered spam for the following reasons:

  1. This thread hasn't been active in some time. A new post in this thread might not contribute constructively to this discussion after so long.
If you wish to reply despite these issues, check the box below before replying.
Be aware that malicious compliance may result in more severe penalties.
Back
Top