Trekkie313
Active Member
Awesome!
Thanks!
Hey Shaw you have a PM!
")
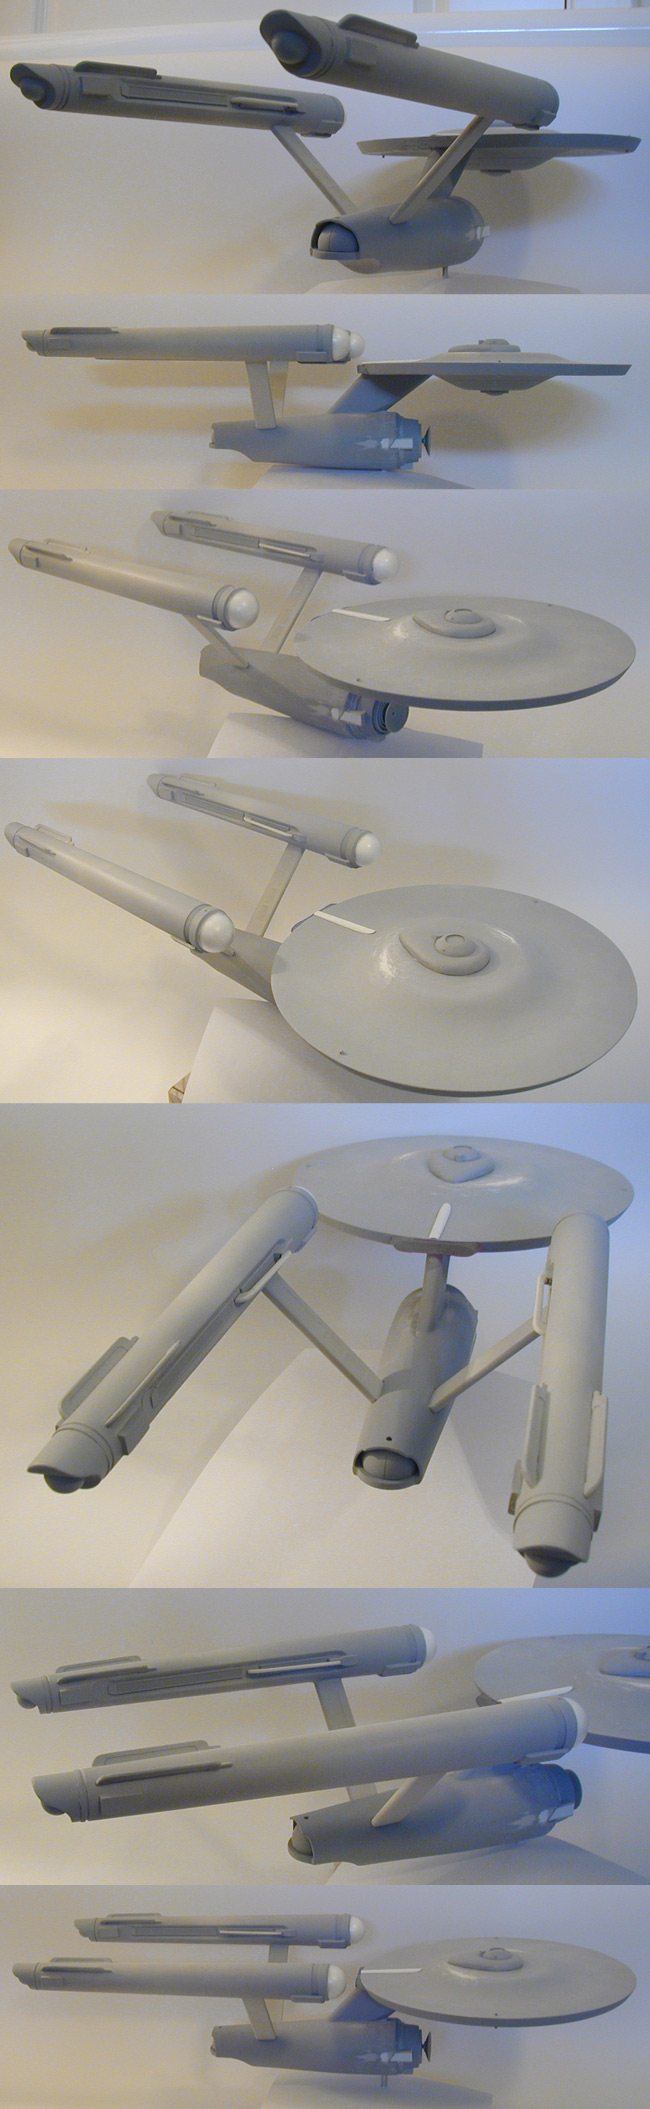
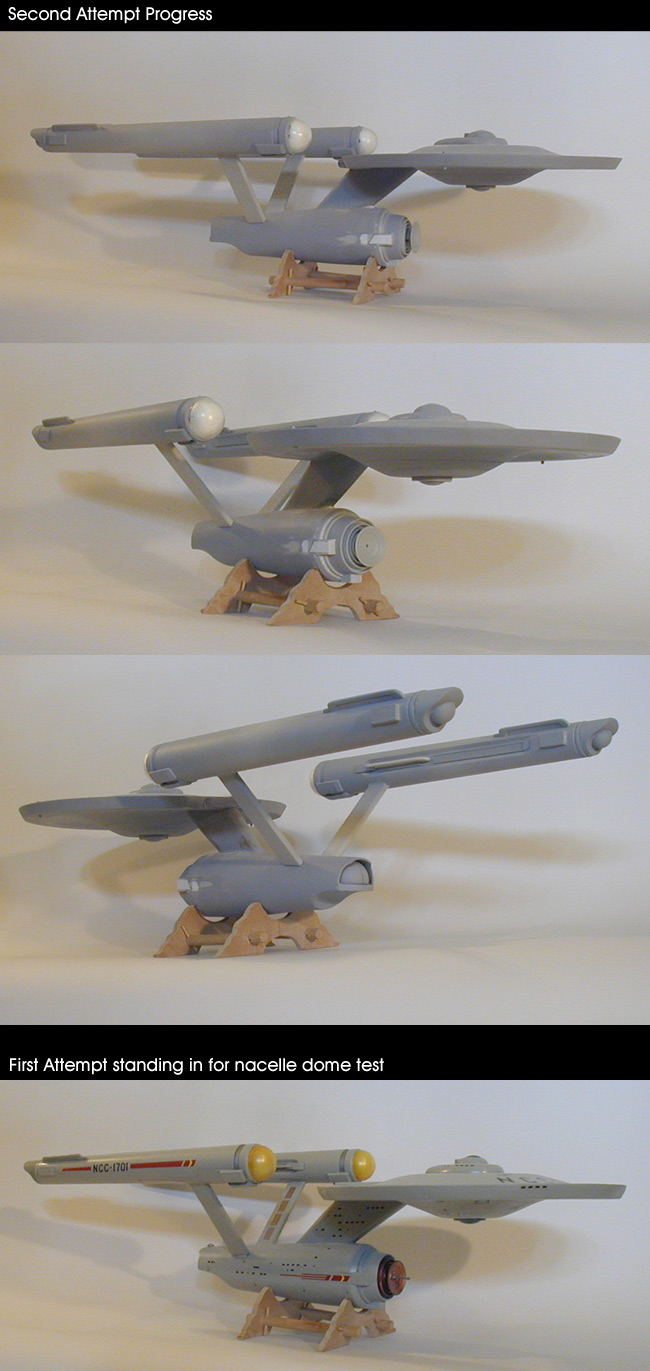
Cool! I look forward to seeing your progress. :thumbsupI have found that I am already working out new and effective methods of construction, and have been setting up jigs to line up tricky parts and hold them in place for gluing. Warp pylons and the primary hull / saucer were always a hastle. With my old beater already re-assembled, I'm rather pleased as to how it looks.
I know that there are a lot of opinions on the color for the Enterprise (and a number of good articles, like this one), but generally I've always felt that people should go with the color that feels best in person to them.For painting, I have been using images of your model, as well as several other images and want to get the color accuracy as close as possible. I'm using a combination of light grey spray and Krylon Fusion white and am misting in fine layers to get just the right combo. I will snap some shots of the progress and post.
I know what you mean!I forgot how relaxing modeling was for me. It's a great diversion from my computer work and gets me away from my screen.

Yeah, I love old computers... specially the ones I wanted (but couldn't afford) when they were new. Some of my favorites are my Silicon Graphics workstations.First, I'm more than a little impressed with the computer setup you have. I also have a data-center like setup in my home office, too - mostly made up of PC's and hardware I got from my old company when we closed down the building. Late 90's and early '00's equip. and all runs well. Like you, I do get tired of looking at screens.
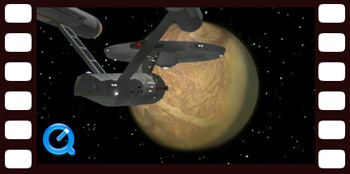
Thanks!Excellent job on the 3-D movie! I always wanted to try out that process and probably should scram up some older s/ware this fall. Good winter projects. What s-ware did you use for the modeling?
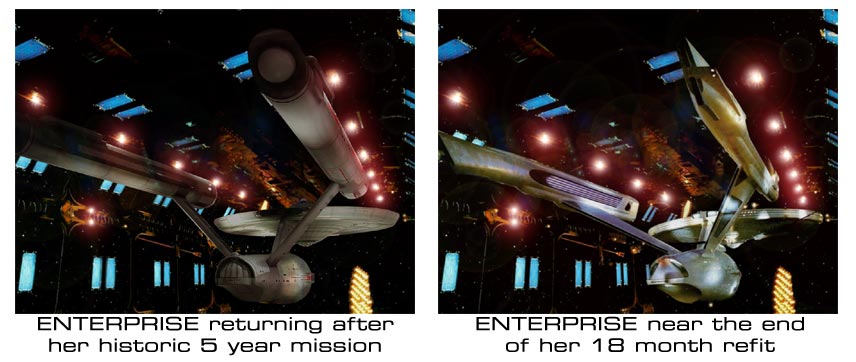
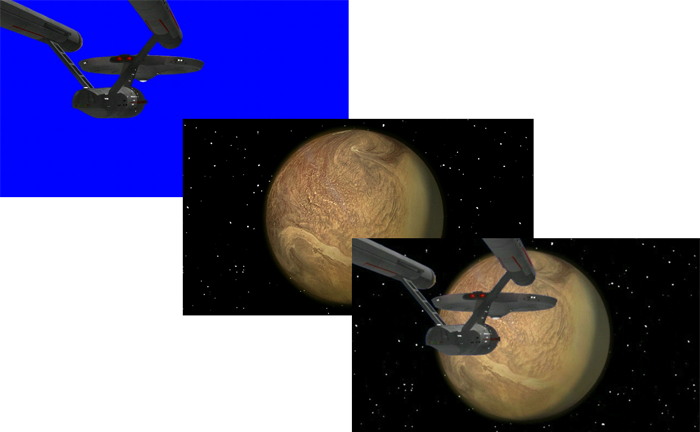
I love playing with photoshop. It is a great way to keep my skills up... though I haven't done much with my own models. I have done a few with the original model of the Enterprise, like this one...I've been using the physical models I'm finding hidden away and experimenting on them with photography. Using green screens, I key out the backgrounds in photoshop and put them in appropriate space-ish settings (orbit, nebulae, etc). Look nice and have created some cool wallpaper (and background image for my blackberries). Brings them to life...


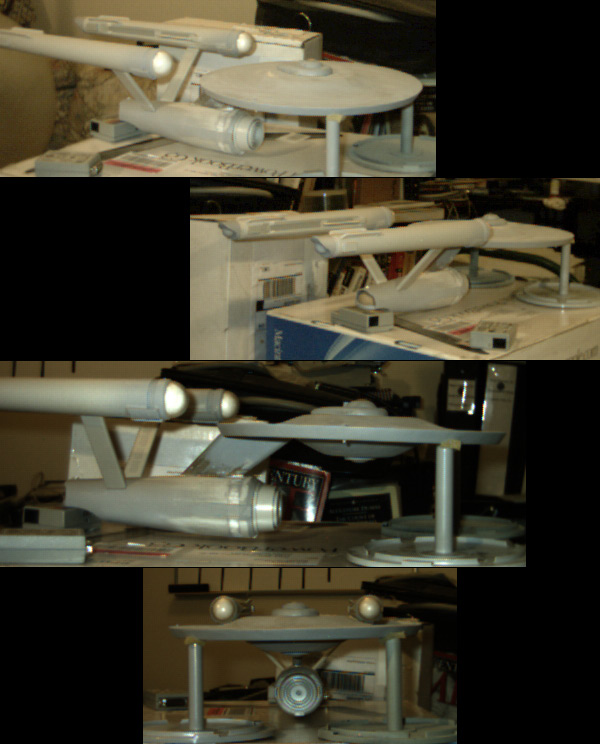
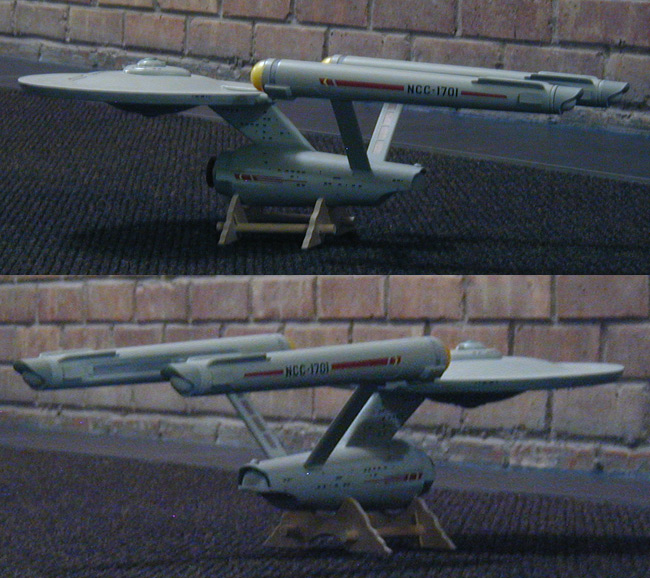
That was my first modified 22 inch model... I haven't built an 18 inch model since 1994 (though I might later this summer).Are these shots you sent of your 33", or an 18"?
Actually, that is a cool model to start with considering that it had actually been seen in TOS. The later reworking of the 18 inch kit has lost some of the historical value of those early versions.Some initial shots of my re-working. This was my true first model...
Awesome! I hadn't noticed that they had put those up. Thanks for pointing it out. :thumbsup