You are using an out of date browser. It may not display this or other websites correctly.
You should upgrade or use an alternative browser.
You should upgrade or use an alternative browser.
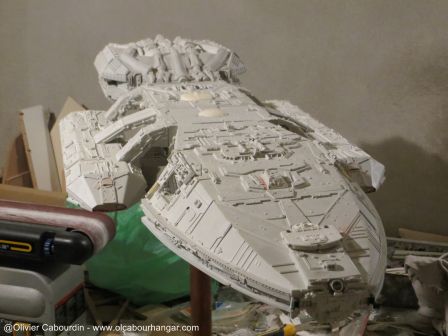
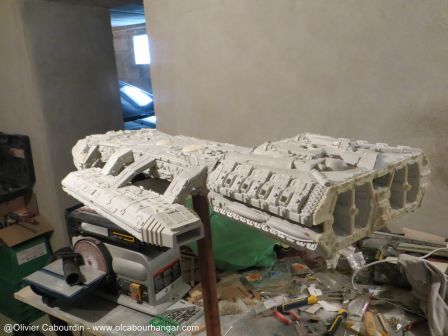
Salzo Battlestar Galactica half studio scale - 1 meter long
- Thread starter cabour
- Start date


DarthVador
Active Member
Very nice work on your Salzo BSG,the one thing I really like that your doing is adding all the extra support to hold it together..
Clarence
Clarence
cabour
Sr Member
Thanks for the nice comments ")
ImWolf. As this model will move regularly to be exhibited in collector conventions and so often manipulated, i had to strenghten it to prevent damaging.I will need also to build a specific wooden box for the transport.
Anyway, resin works in the time and tend to bend. So on this kit, I think that at least the head and the junctions head/central module and centre/rear modules need strenghtening.
ImWolf
Active Member
Thanks for the nice comments
ImWolf. As this model will move regularly to be exhibited in collector conventions and so often manipulated, i had to strenghten it to prevent damaging.I will need also to build a specific wooden box for the transport.
Anyway, resin works in the time and tend to bend. So on this kit, I think that at least the head and the junctions head/central module and centre/rear modules need strenghtening.
Thanks for that clarification Cabour..... BTW, you're quite the artist from where I'm sitting..... I hope to have such a nice build with it down the road..... :b
cabour
Sr Member
Thanks ImWolf
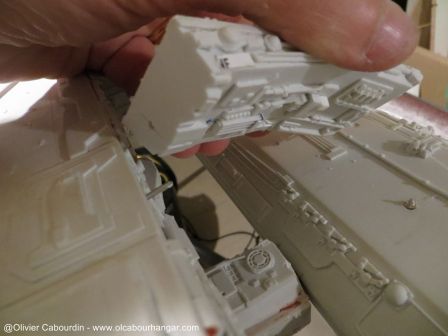
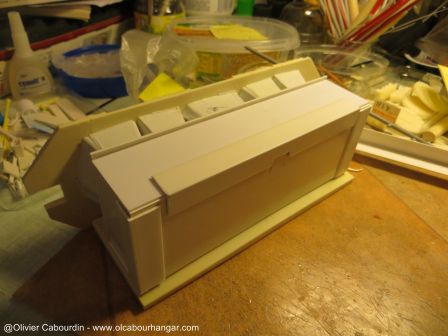
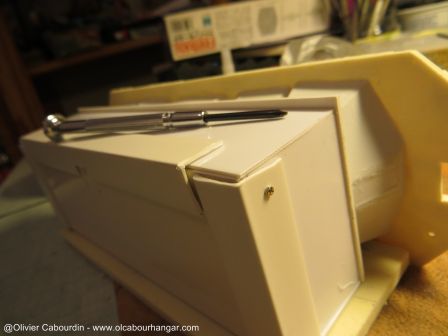
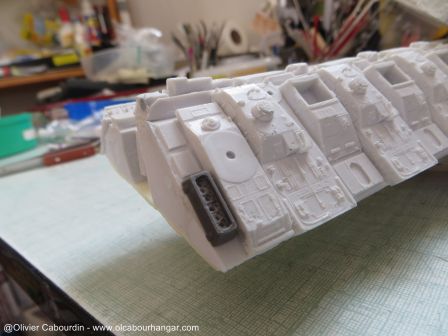
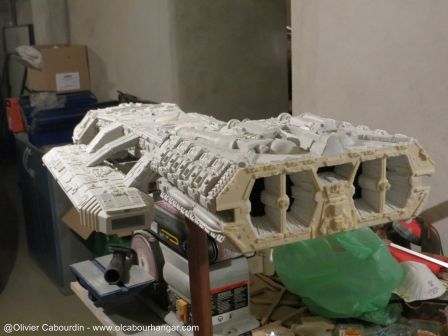
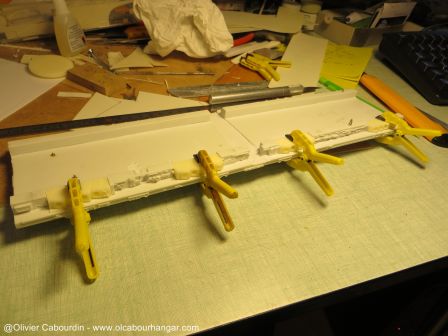
Back on the eassembly of the engine module
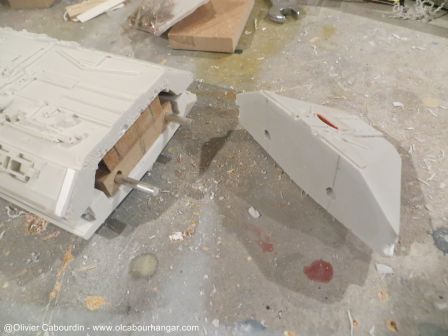
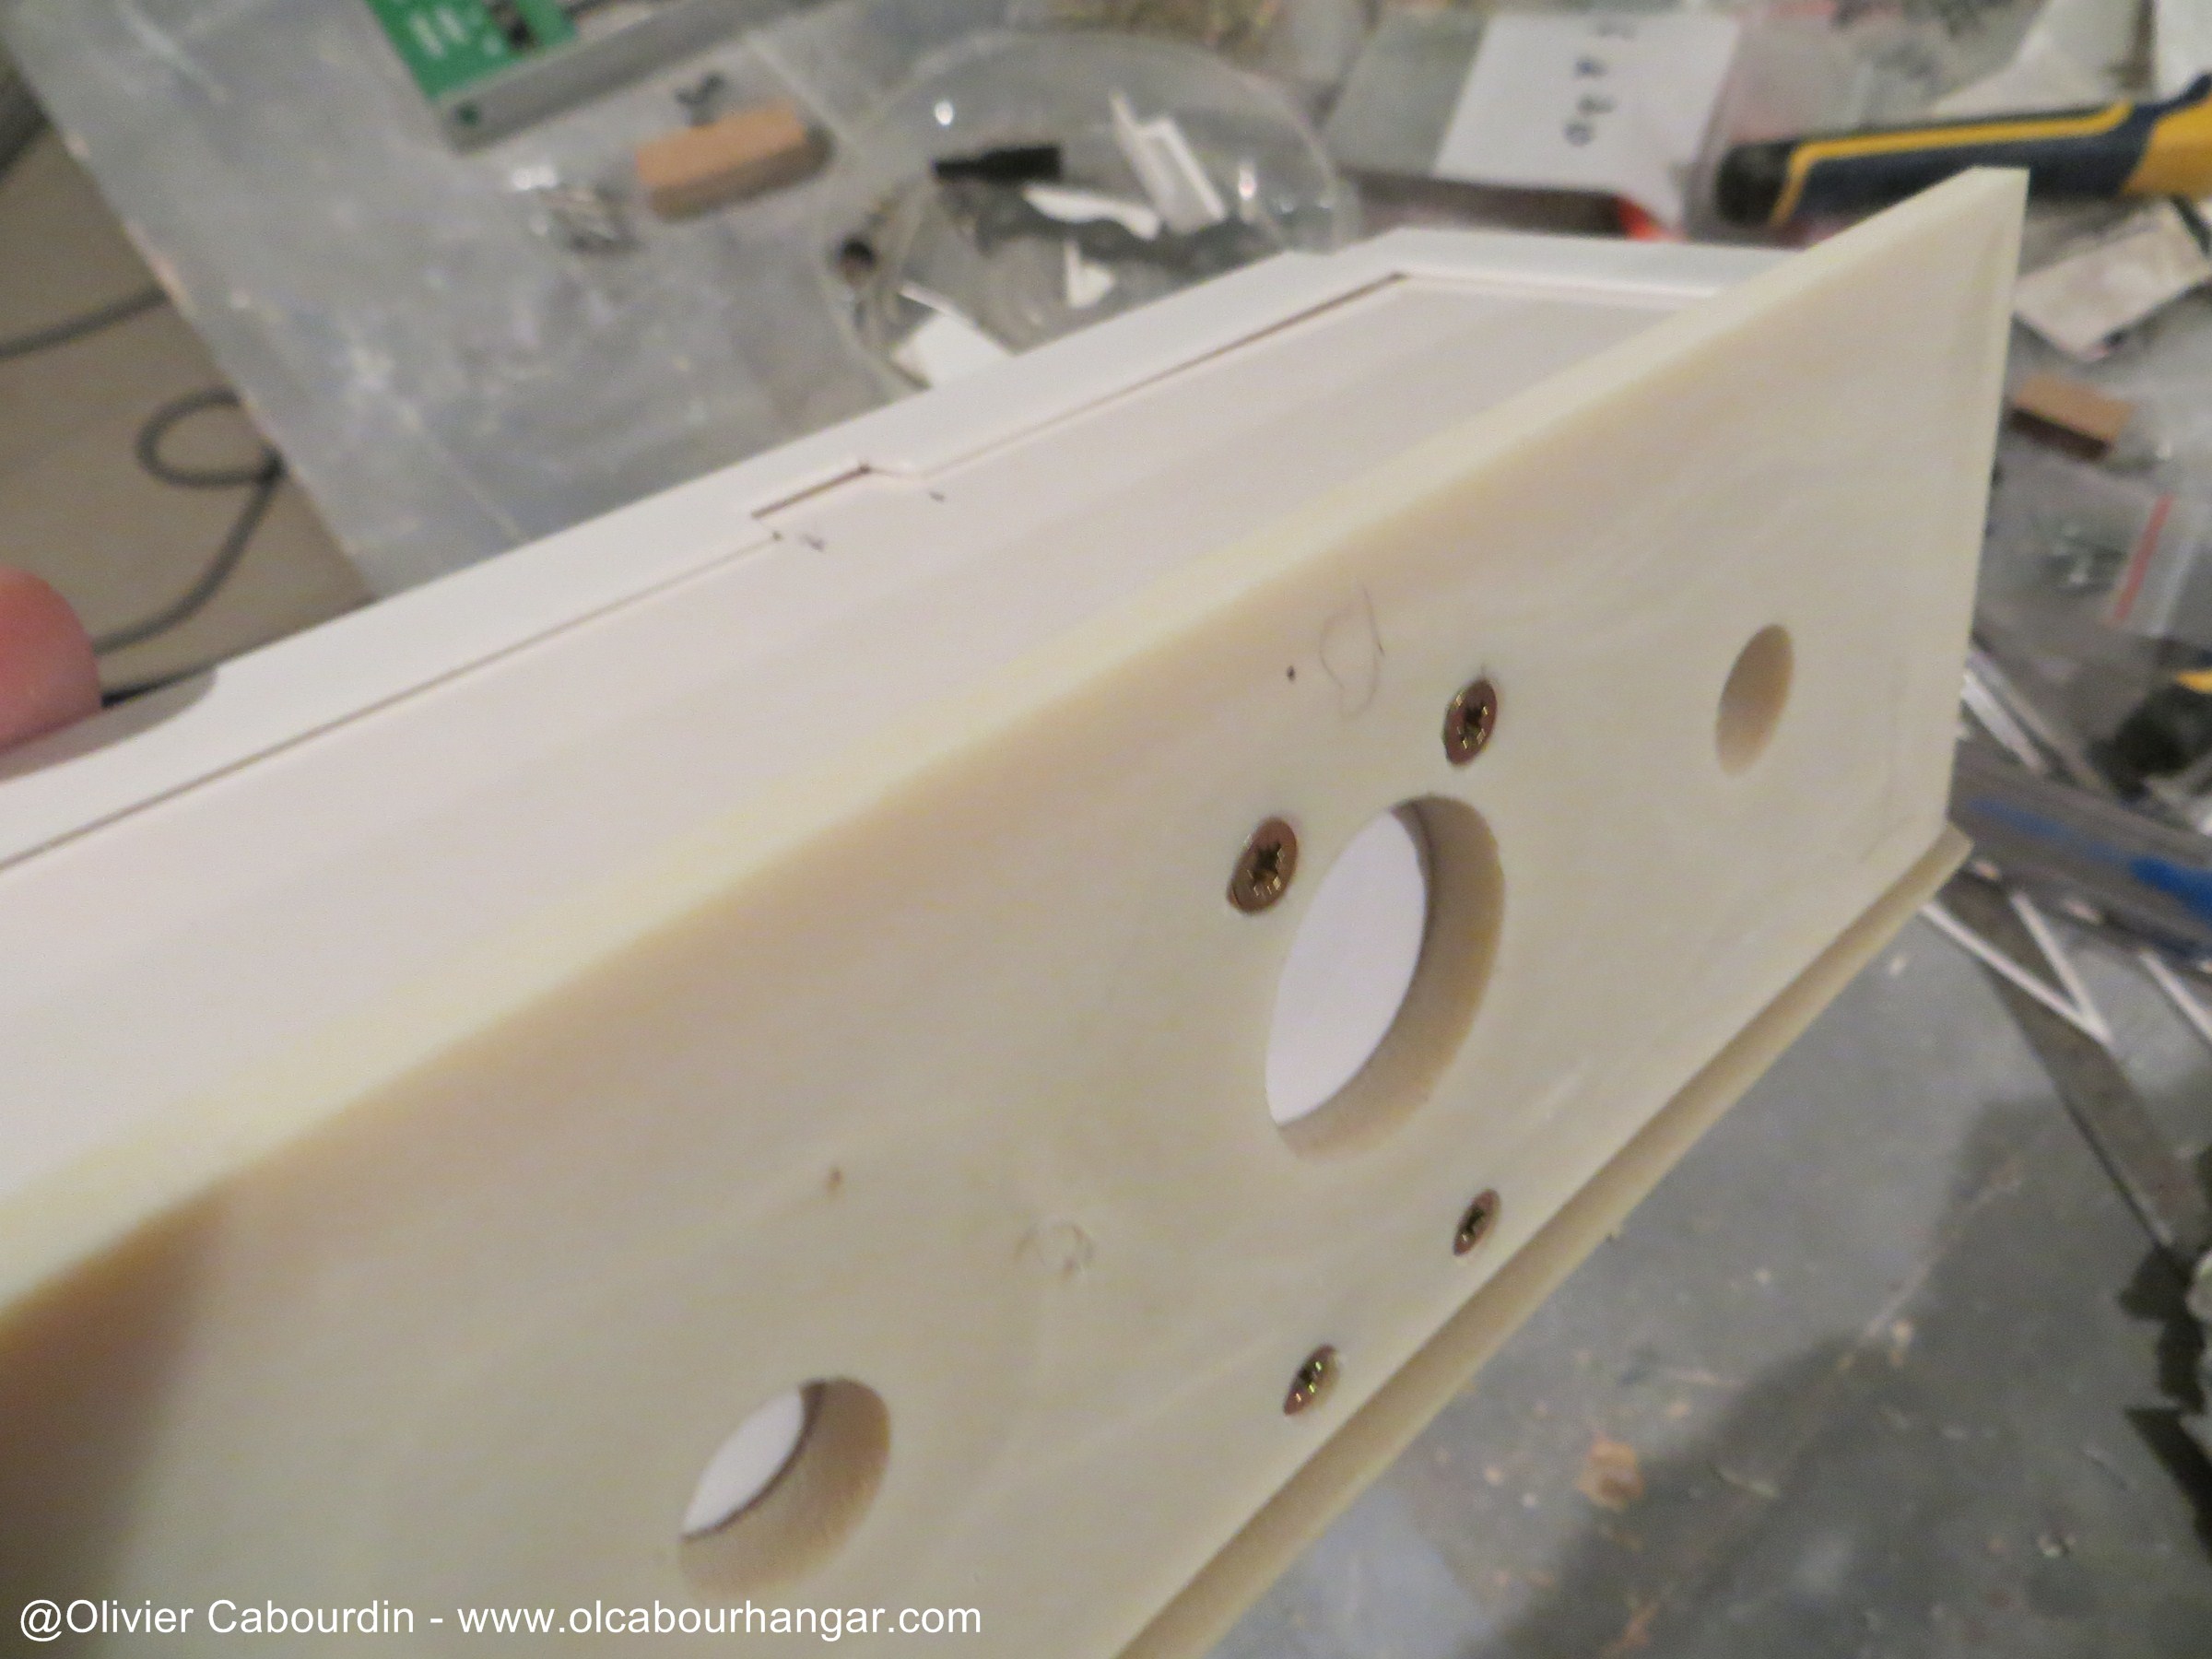
The sides are assembled (3 parts bolted together) and screwed to the structure.

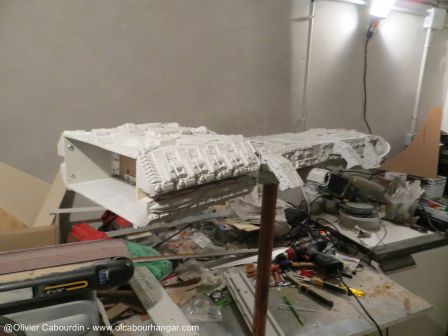
The topside is held by an alu L-channel section and 2 screws that will be hidden later.
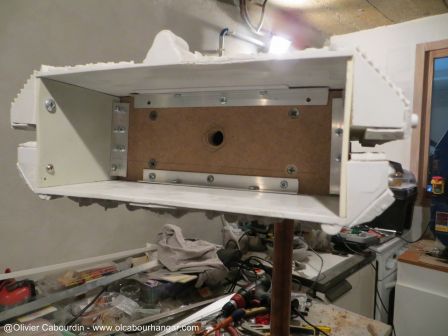
Engines (rear, nozzles and light box) will be installed later as a drawer.
Back on the eassembly of the engine module
The sides are assembled (3 parts bolted together) and screwed to the structure.


The topside is held by an alu L-channel section and 2 screws that will be hidden later.

Engines (rear, nozzles and light box) will be installed later as a drawer.
cabour
Sr Member
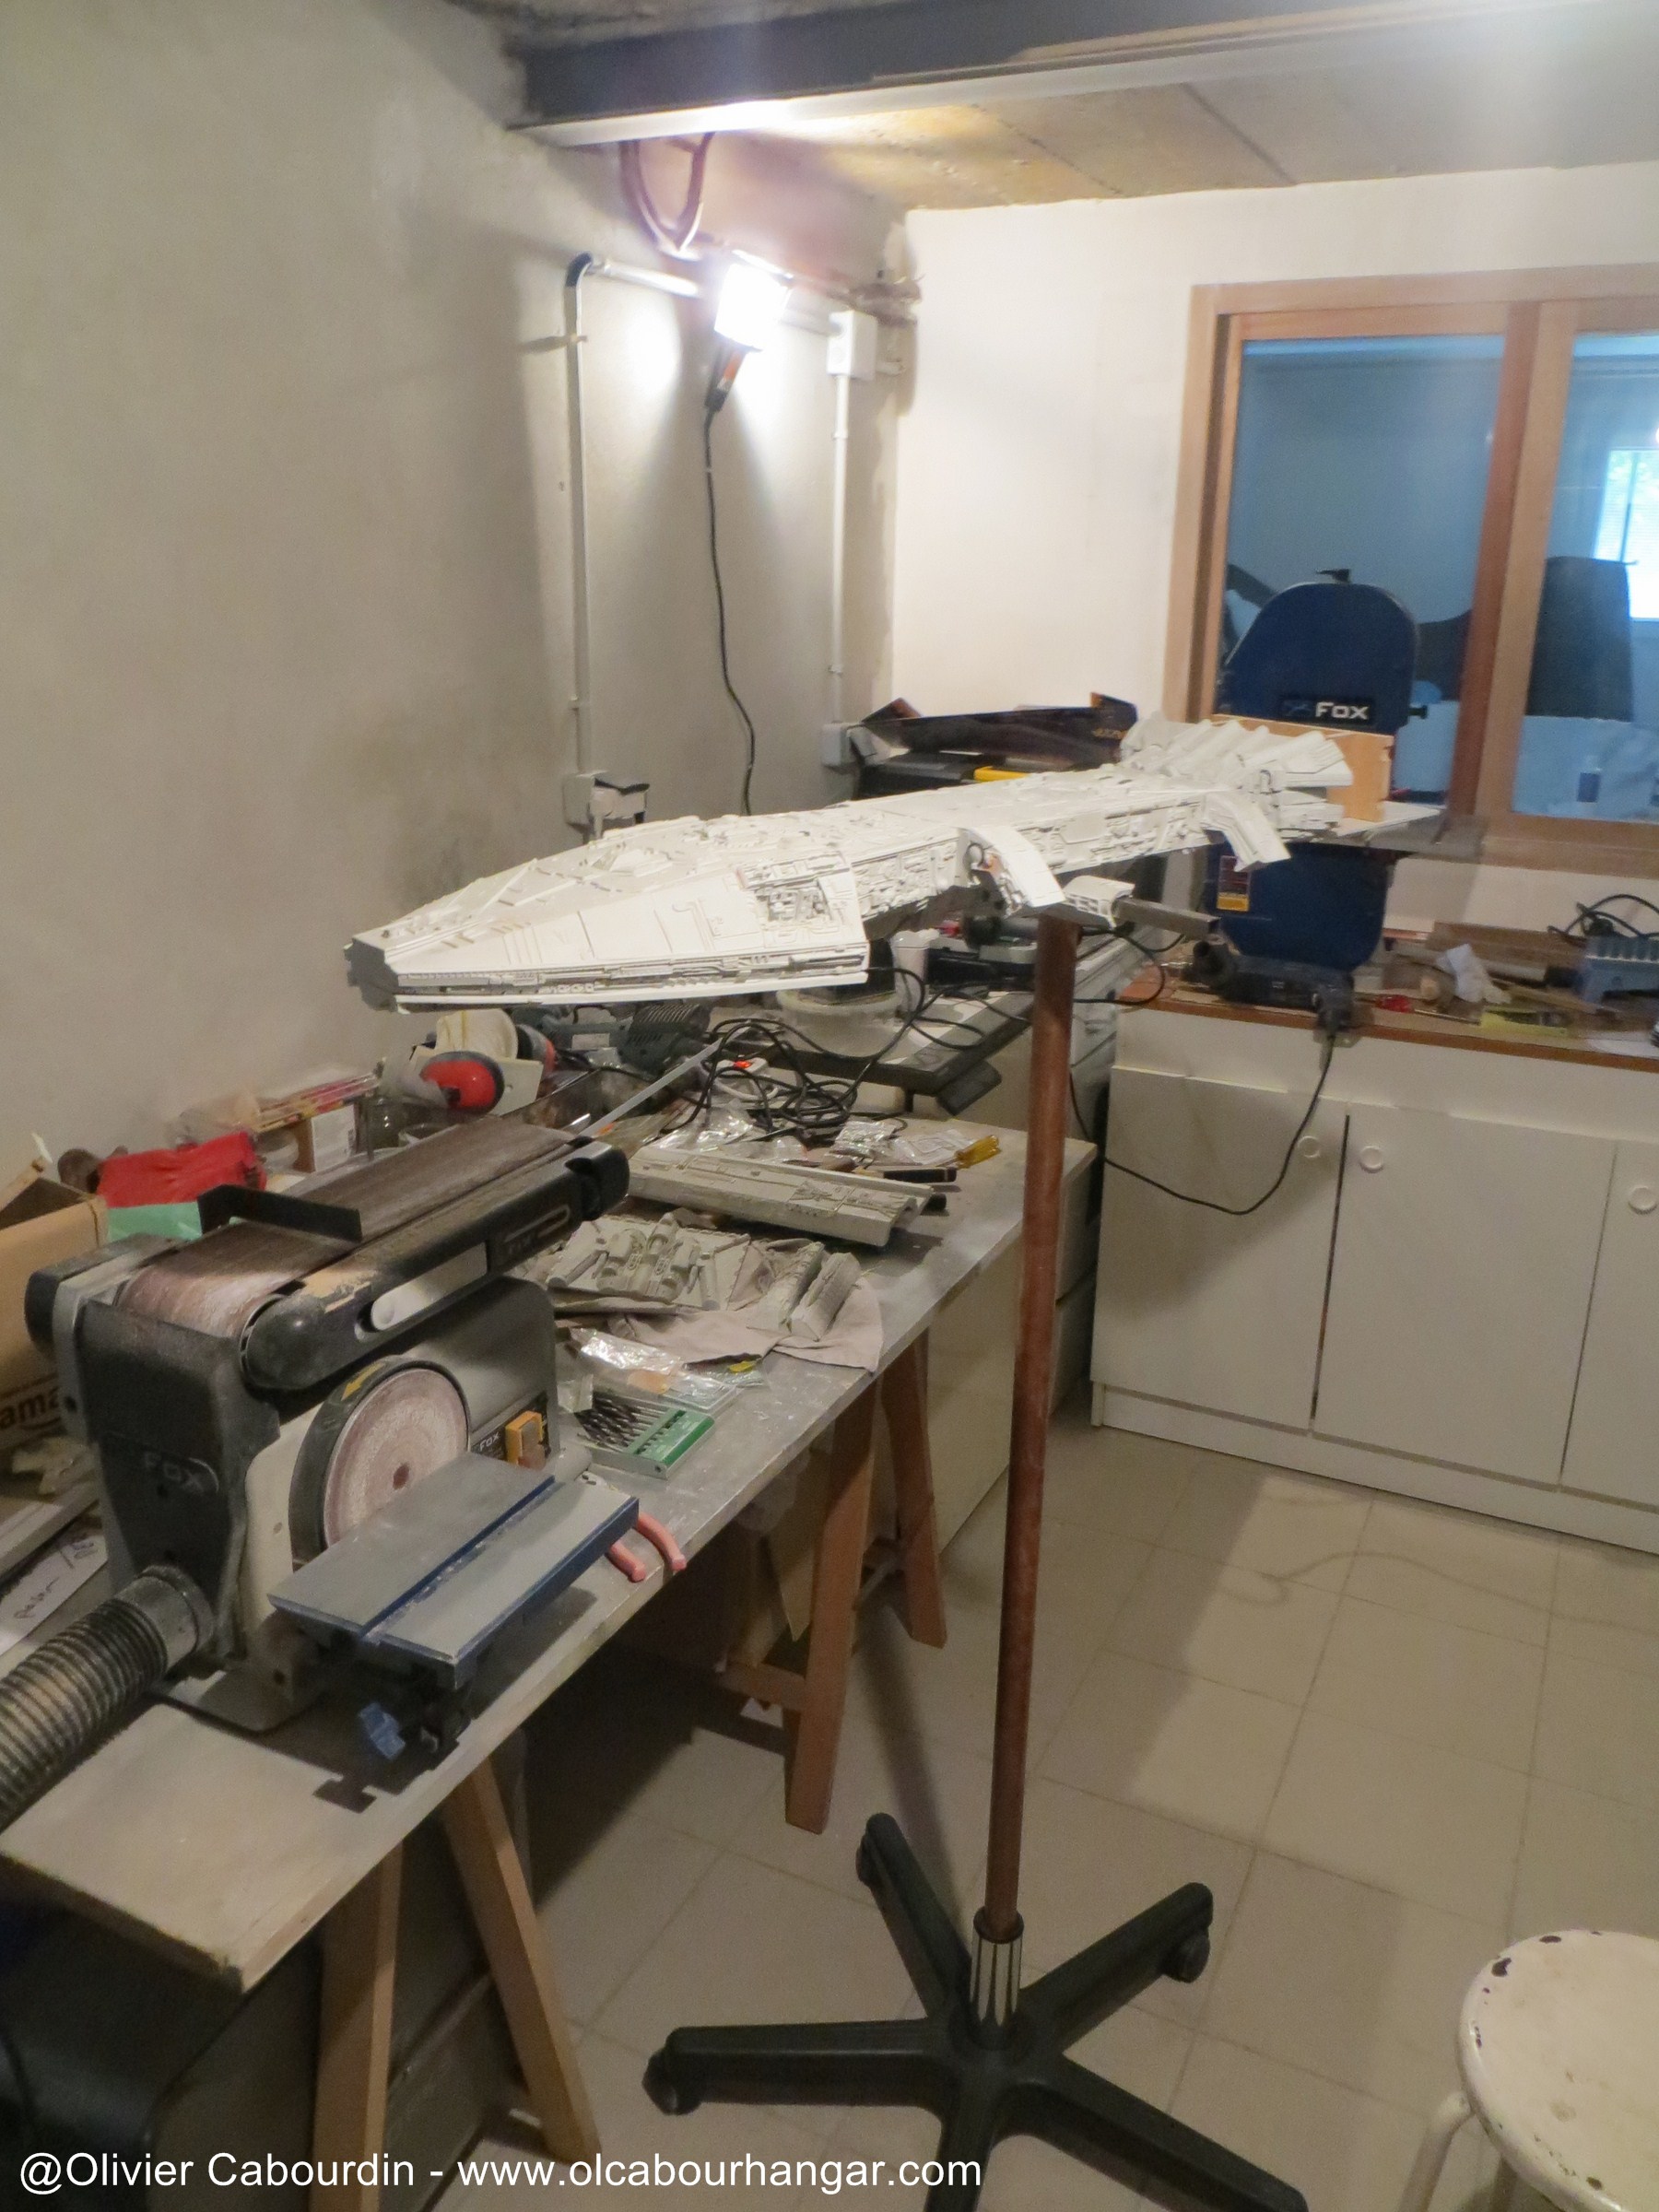
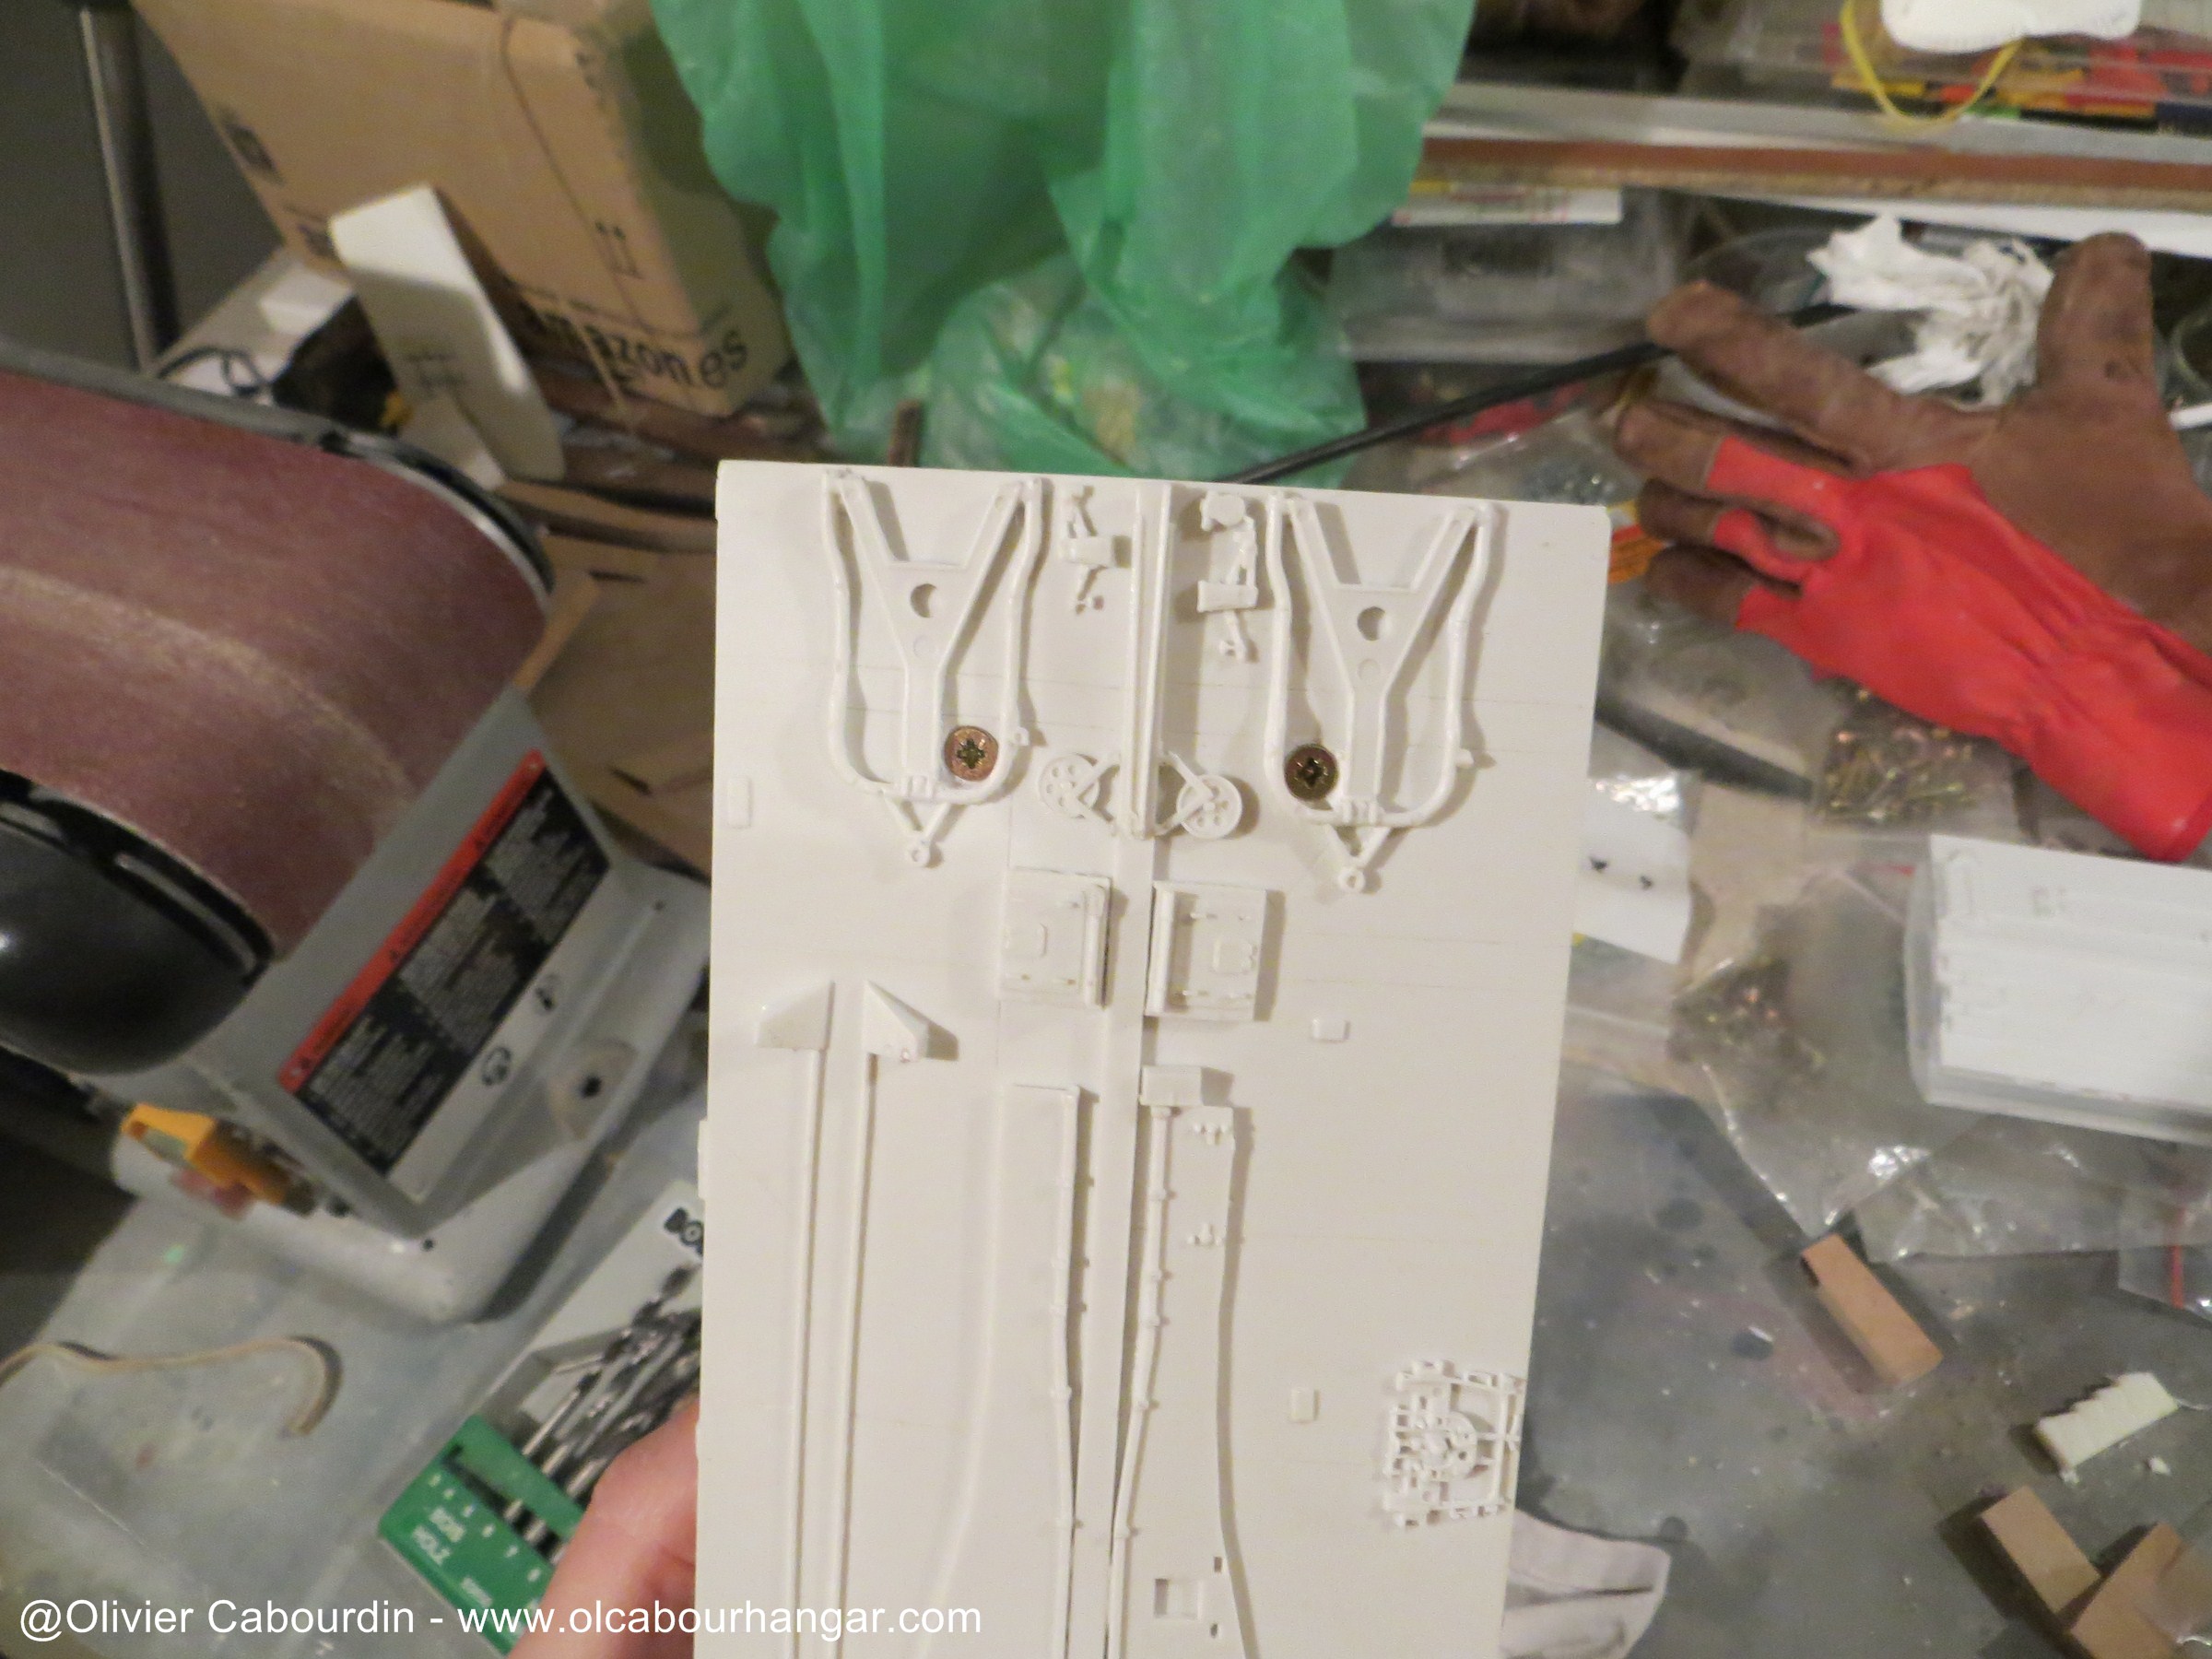
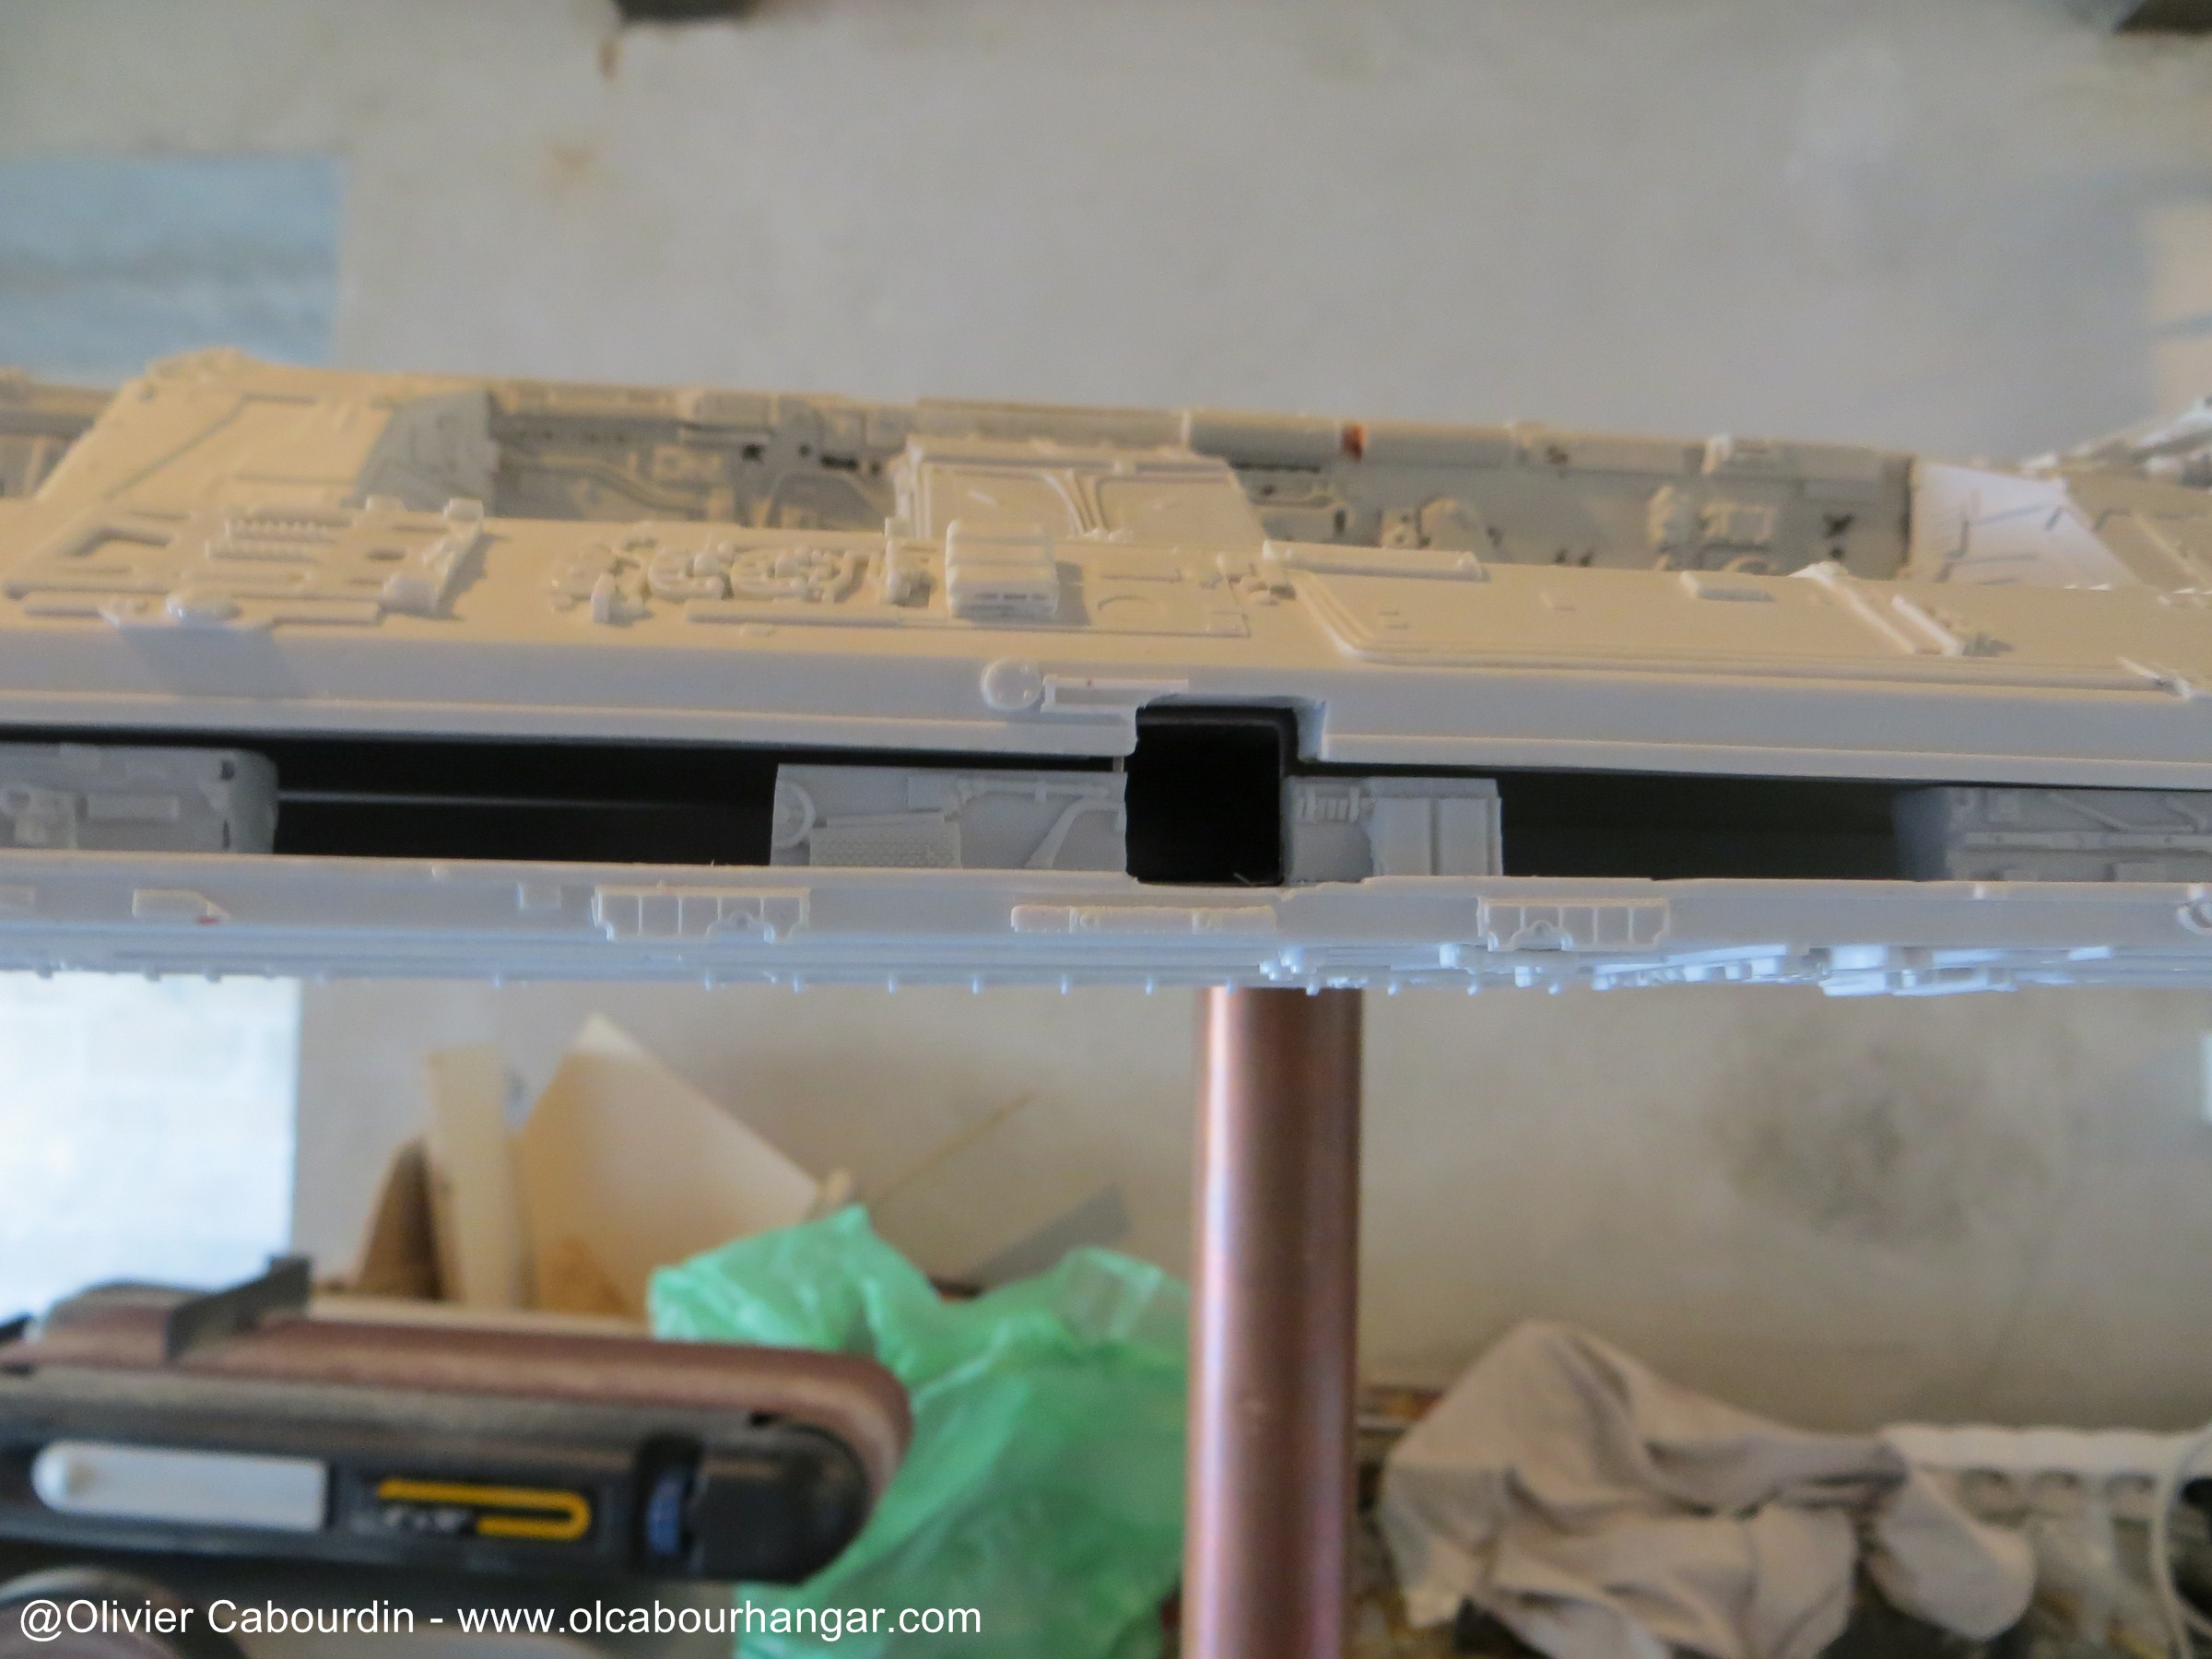
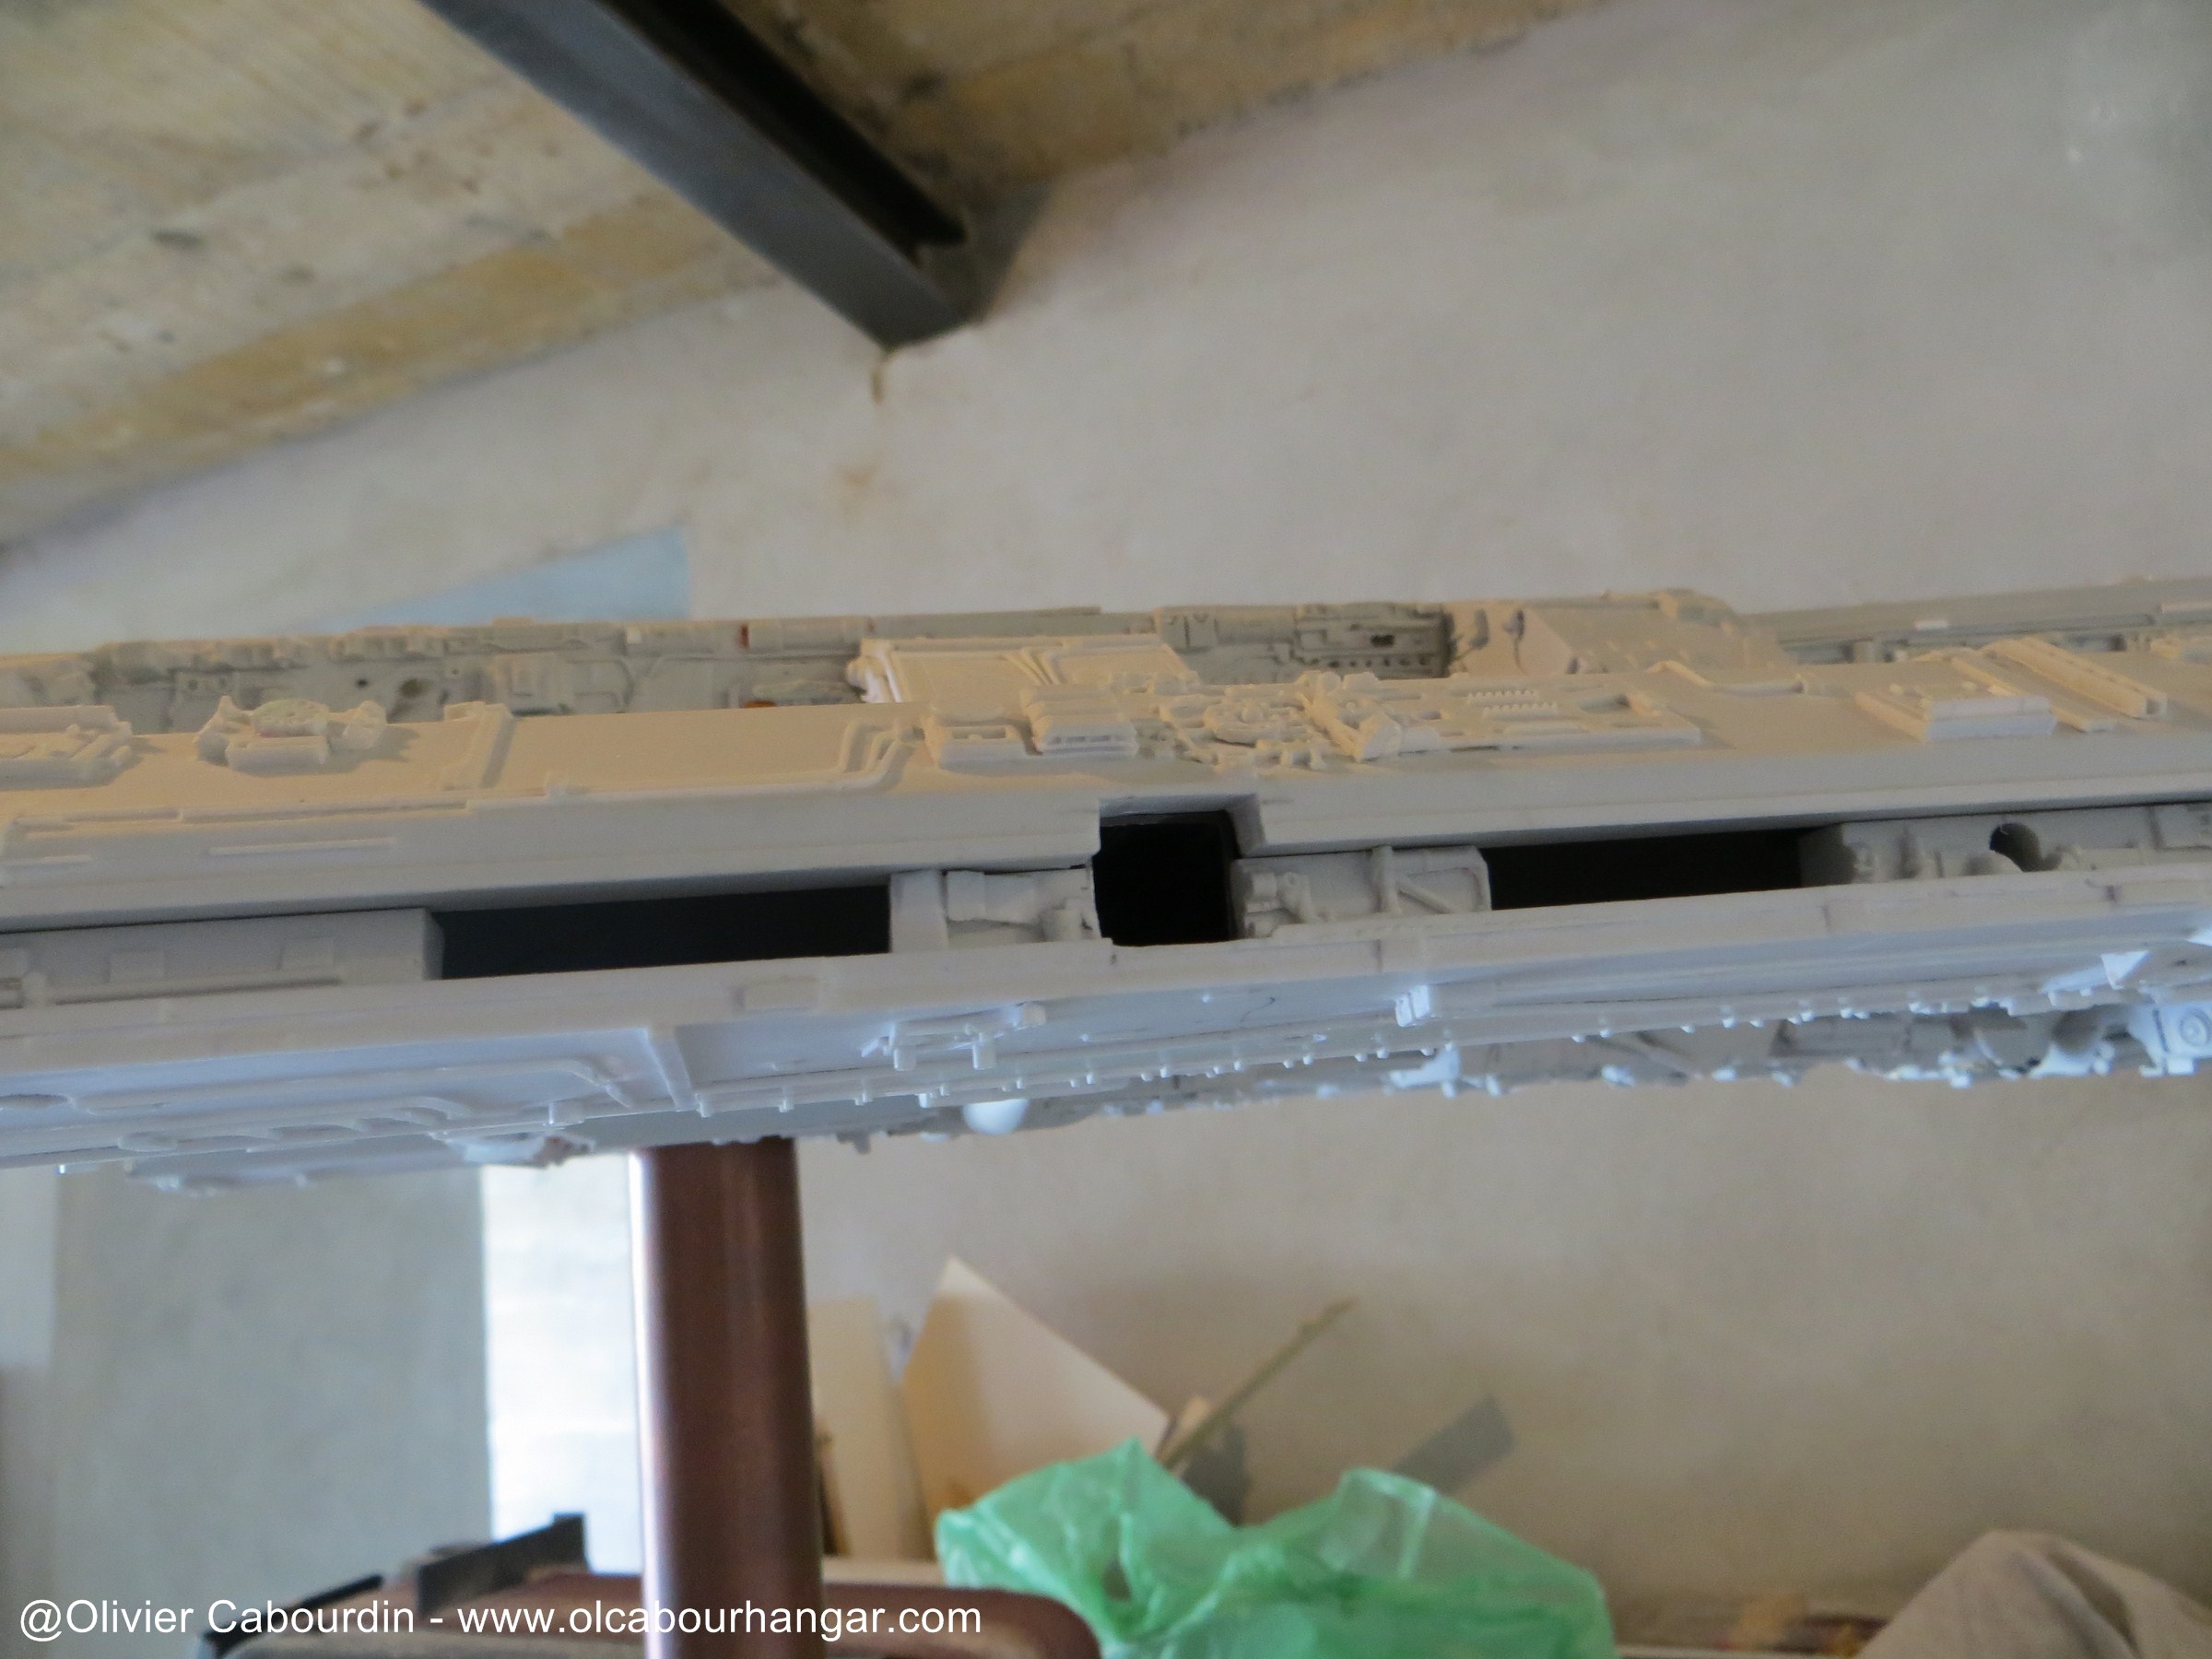
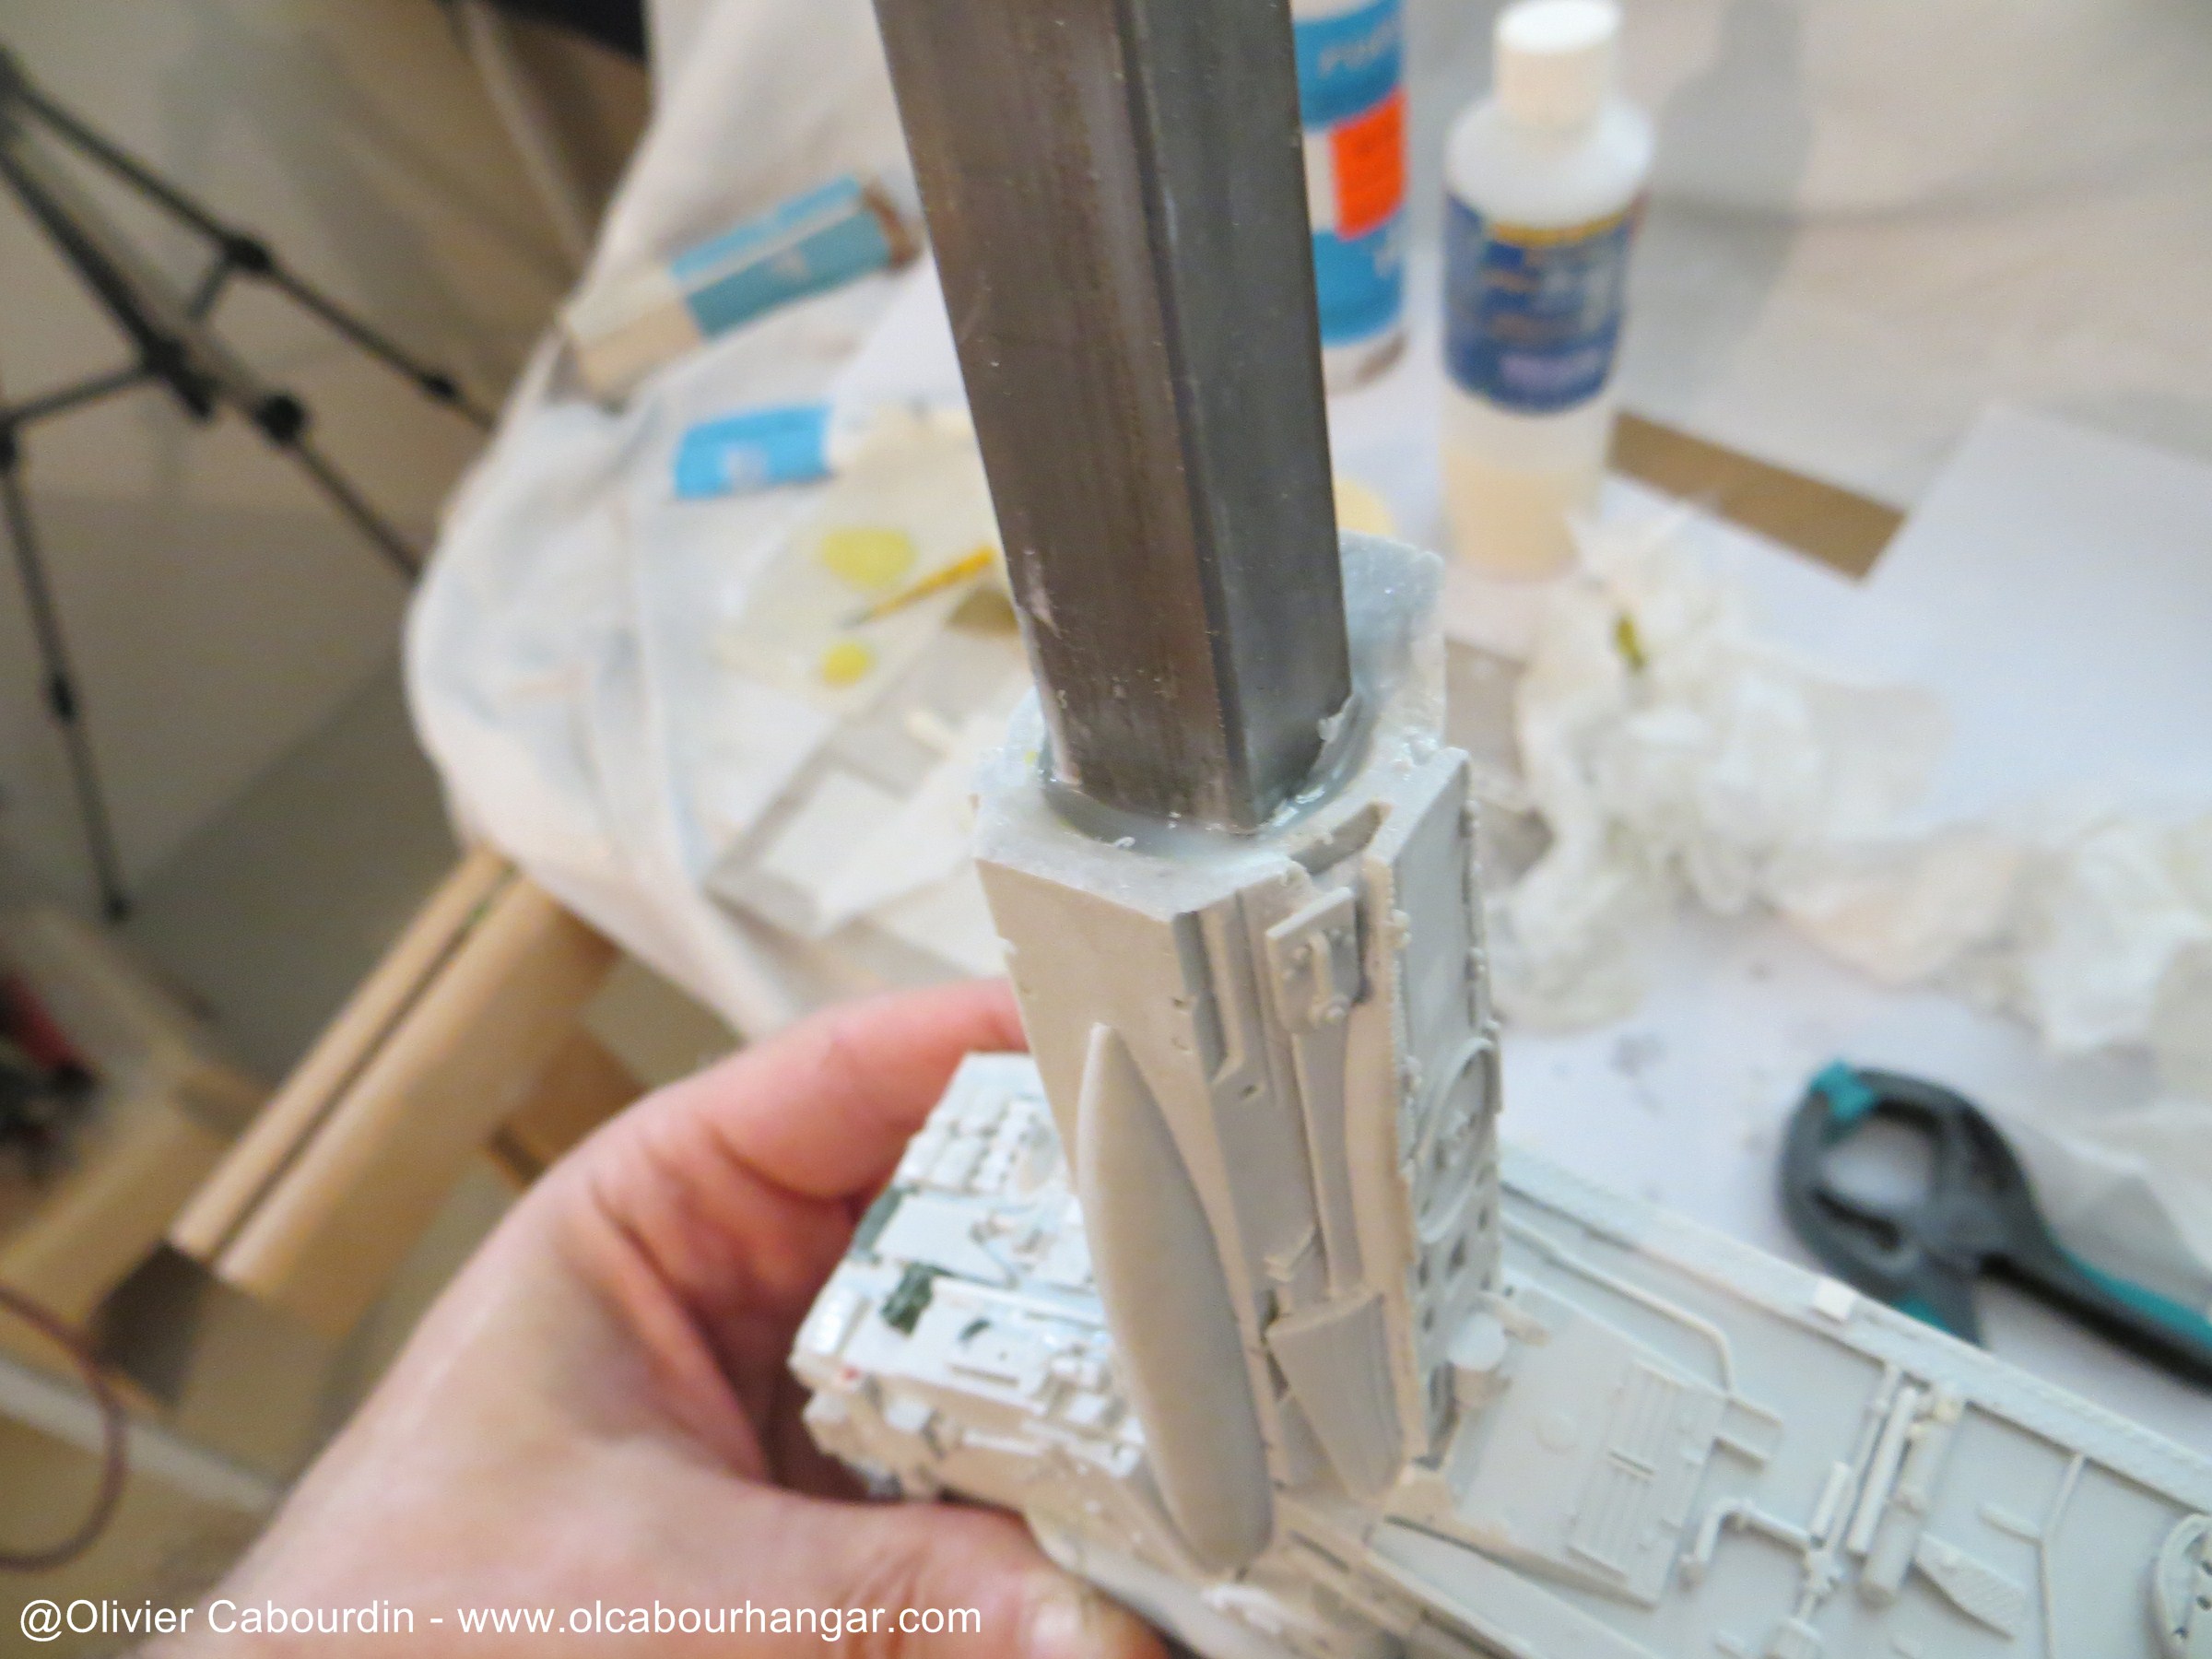
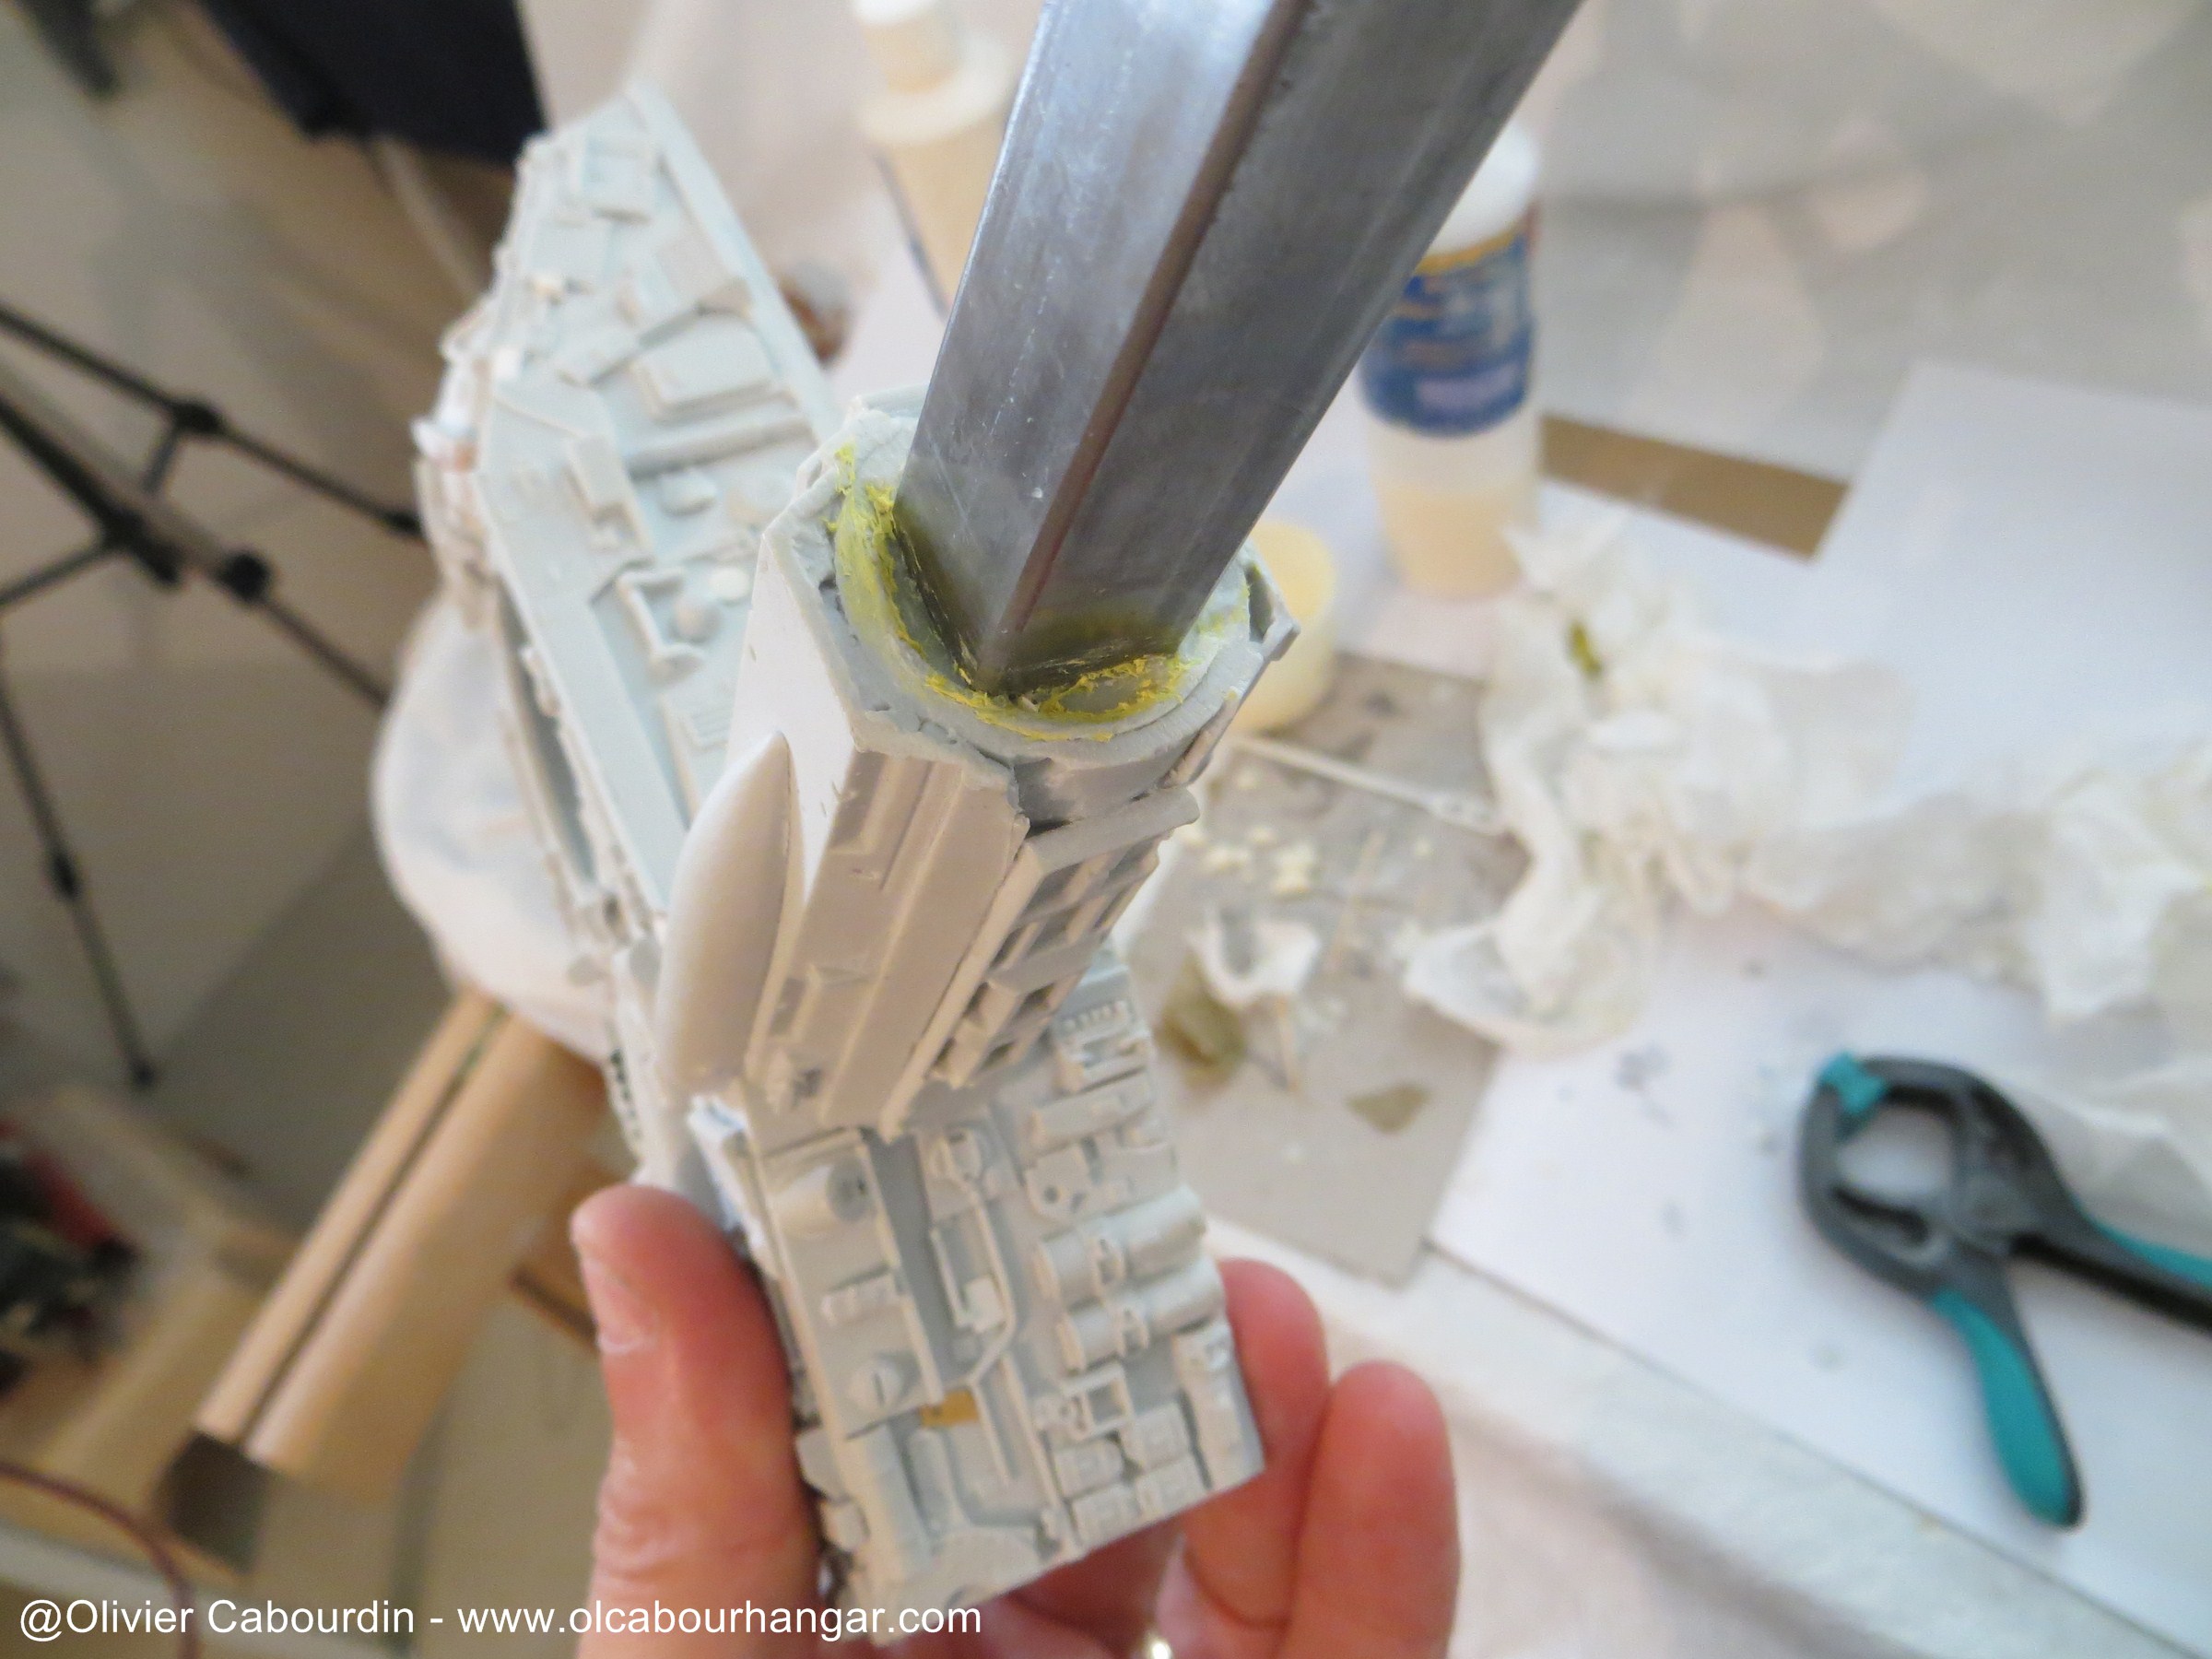
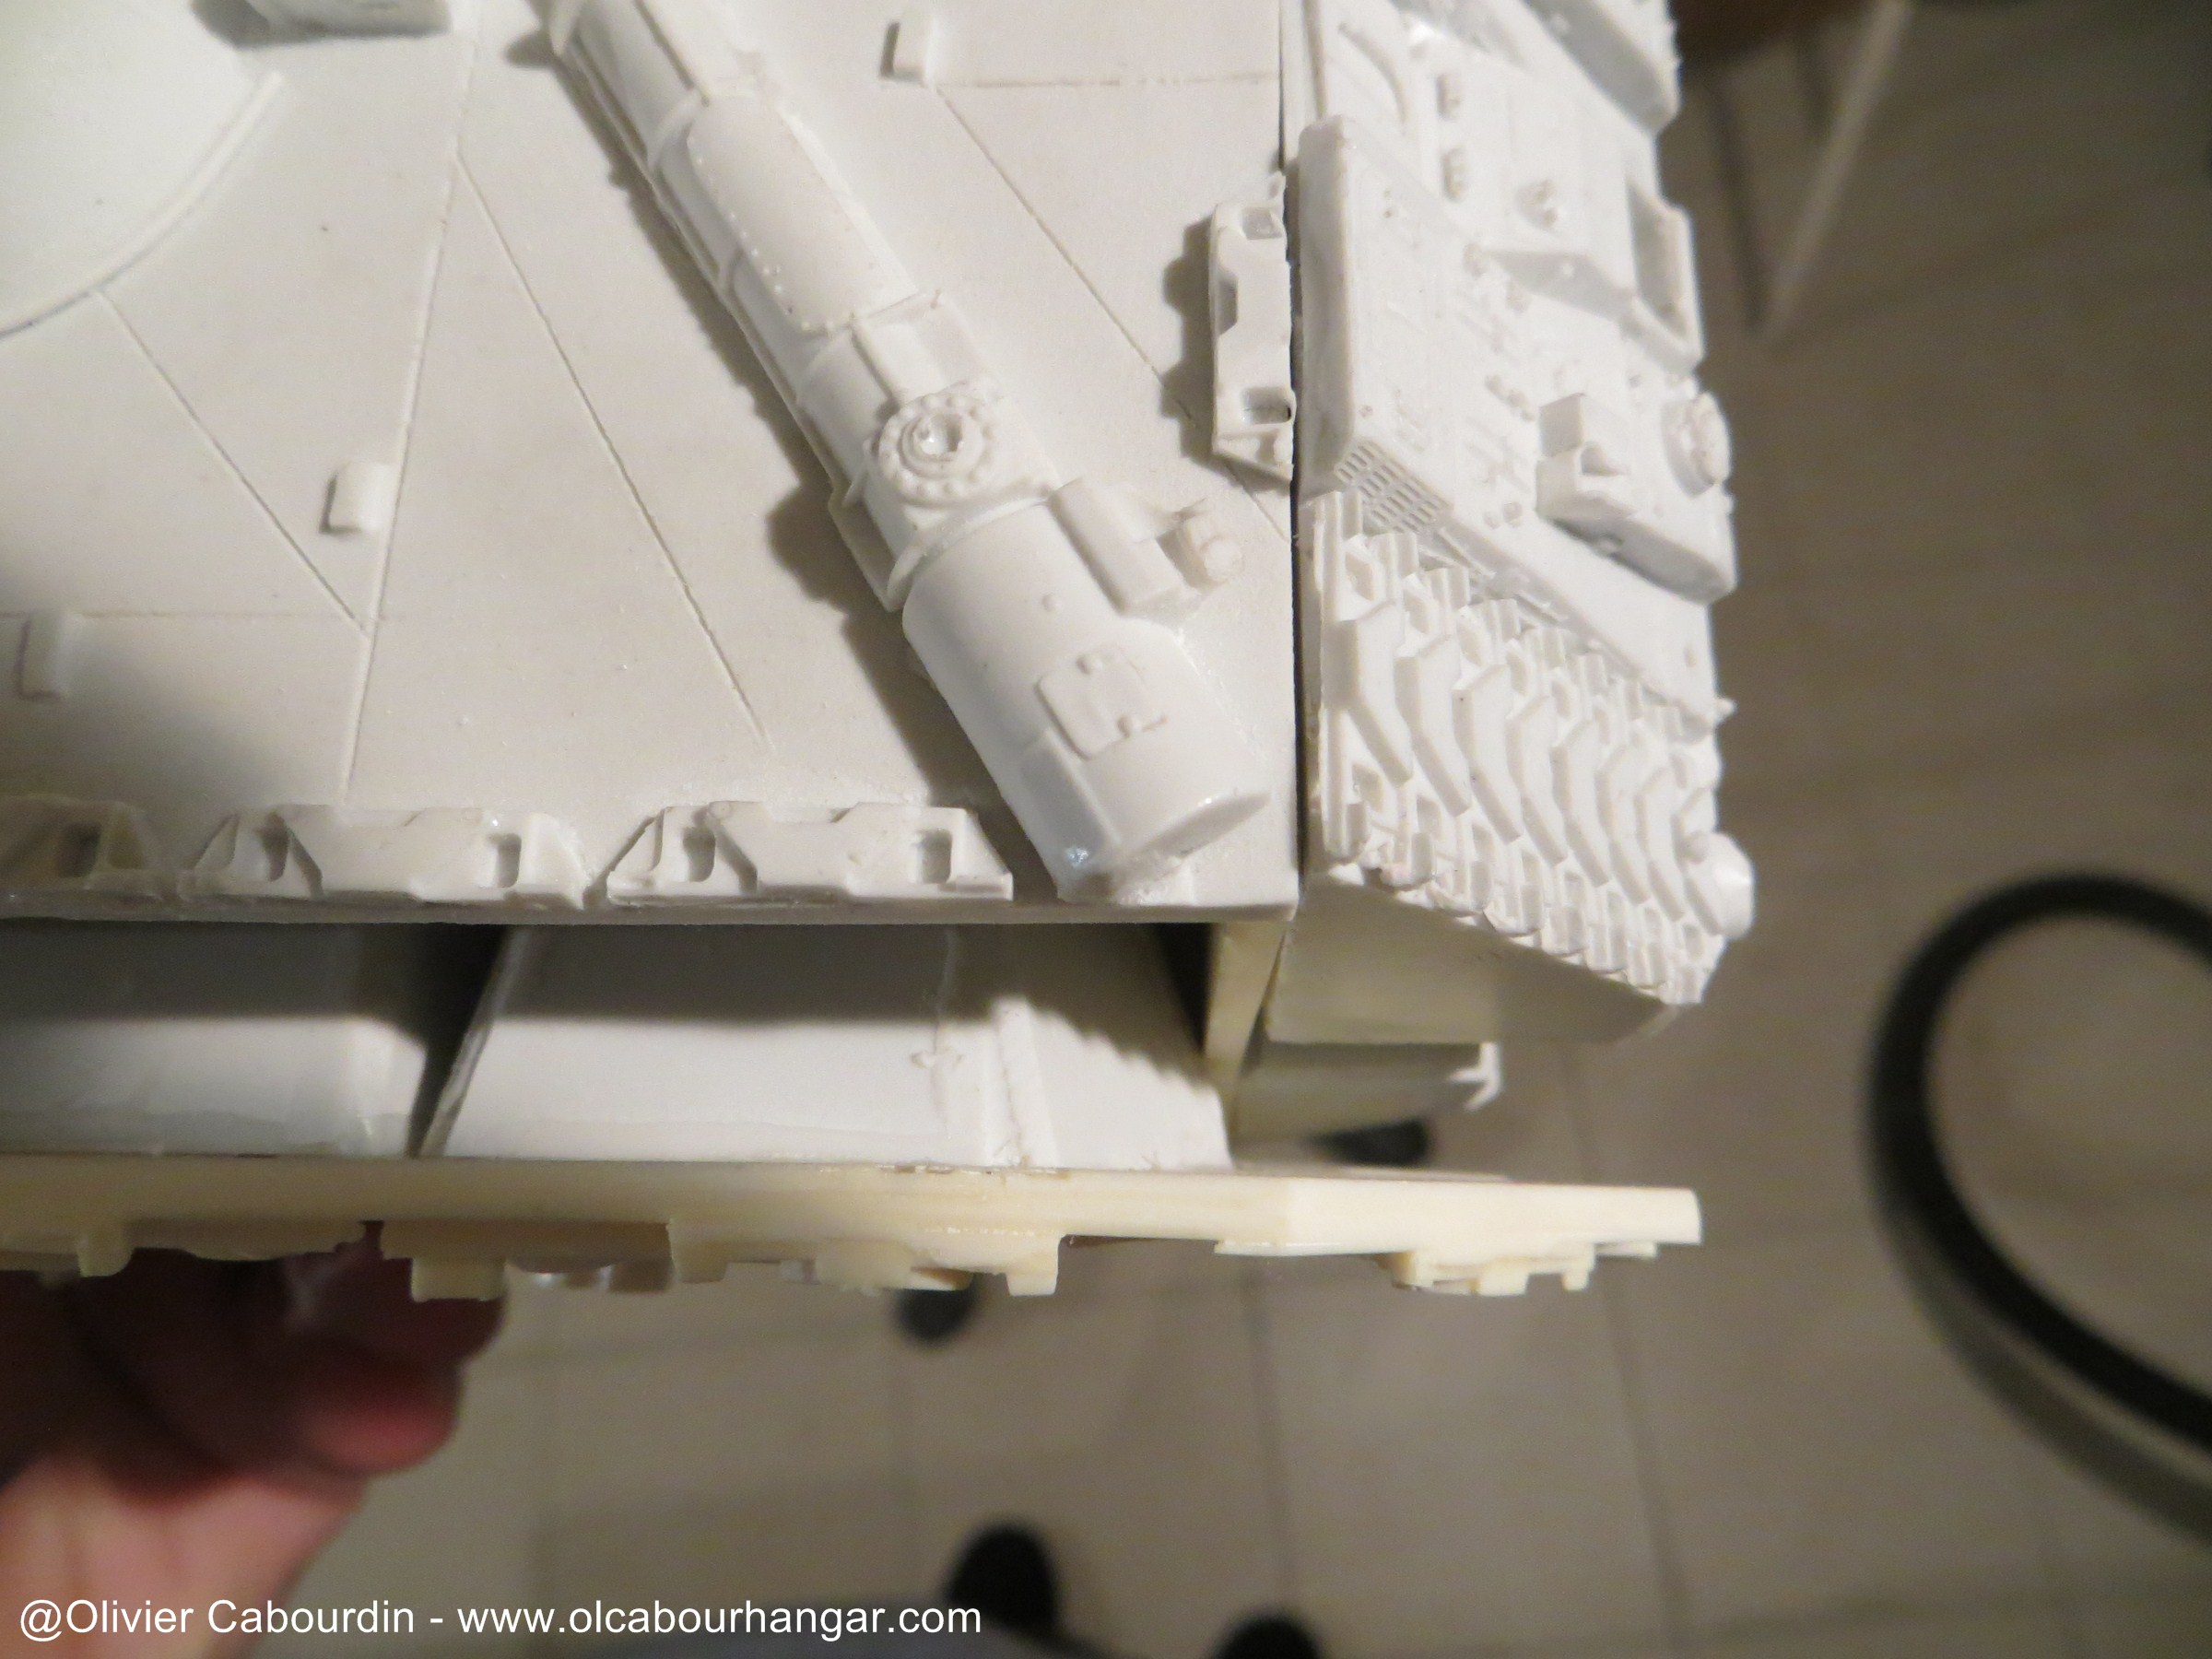
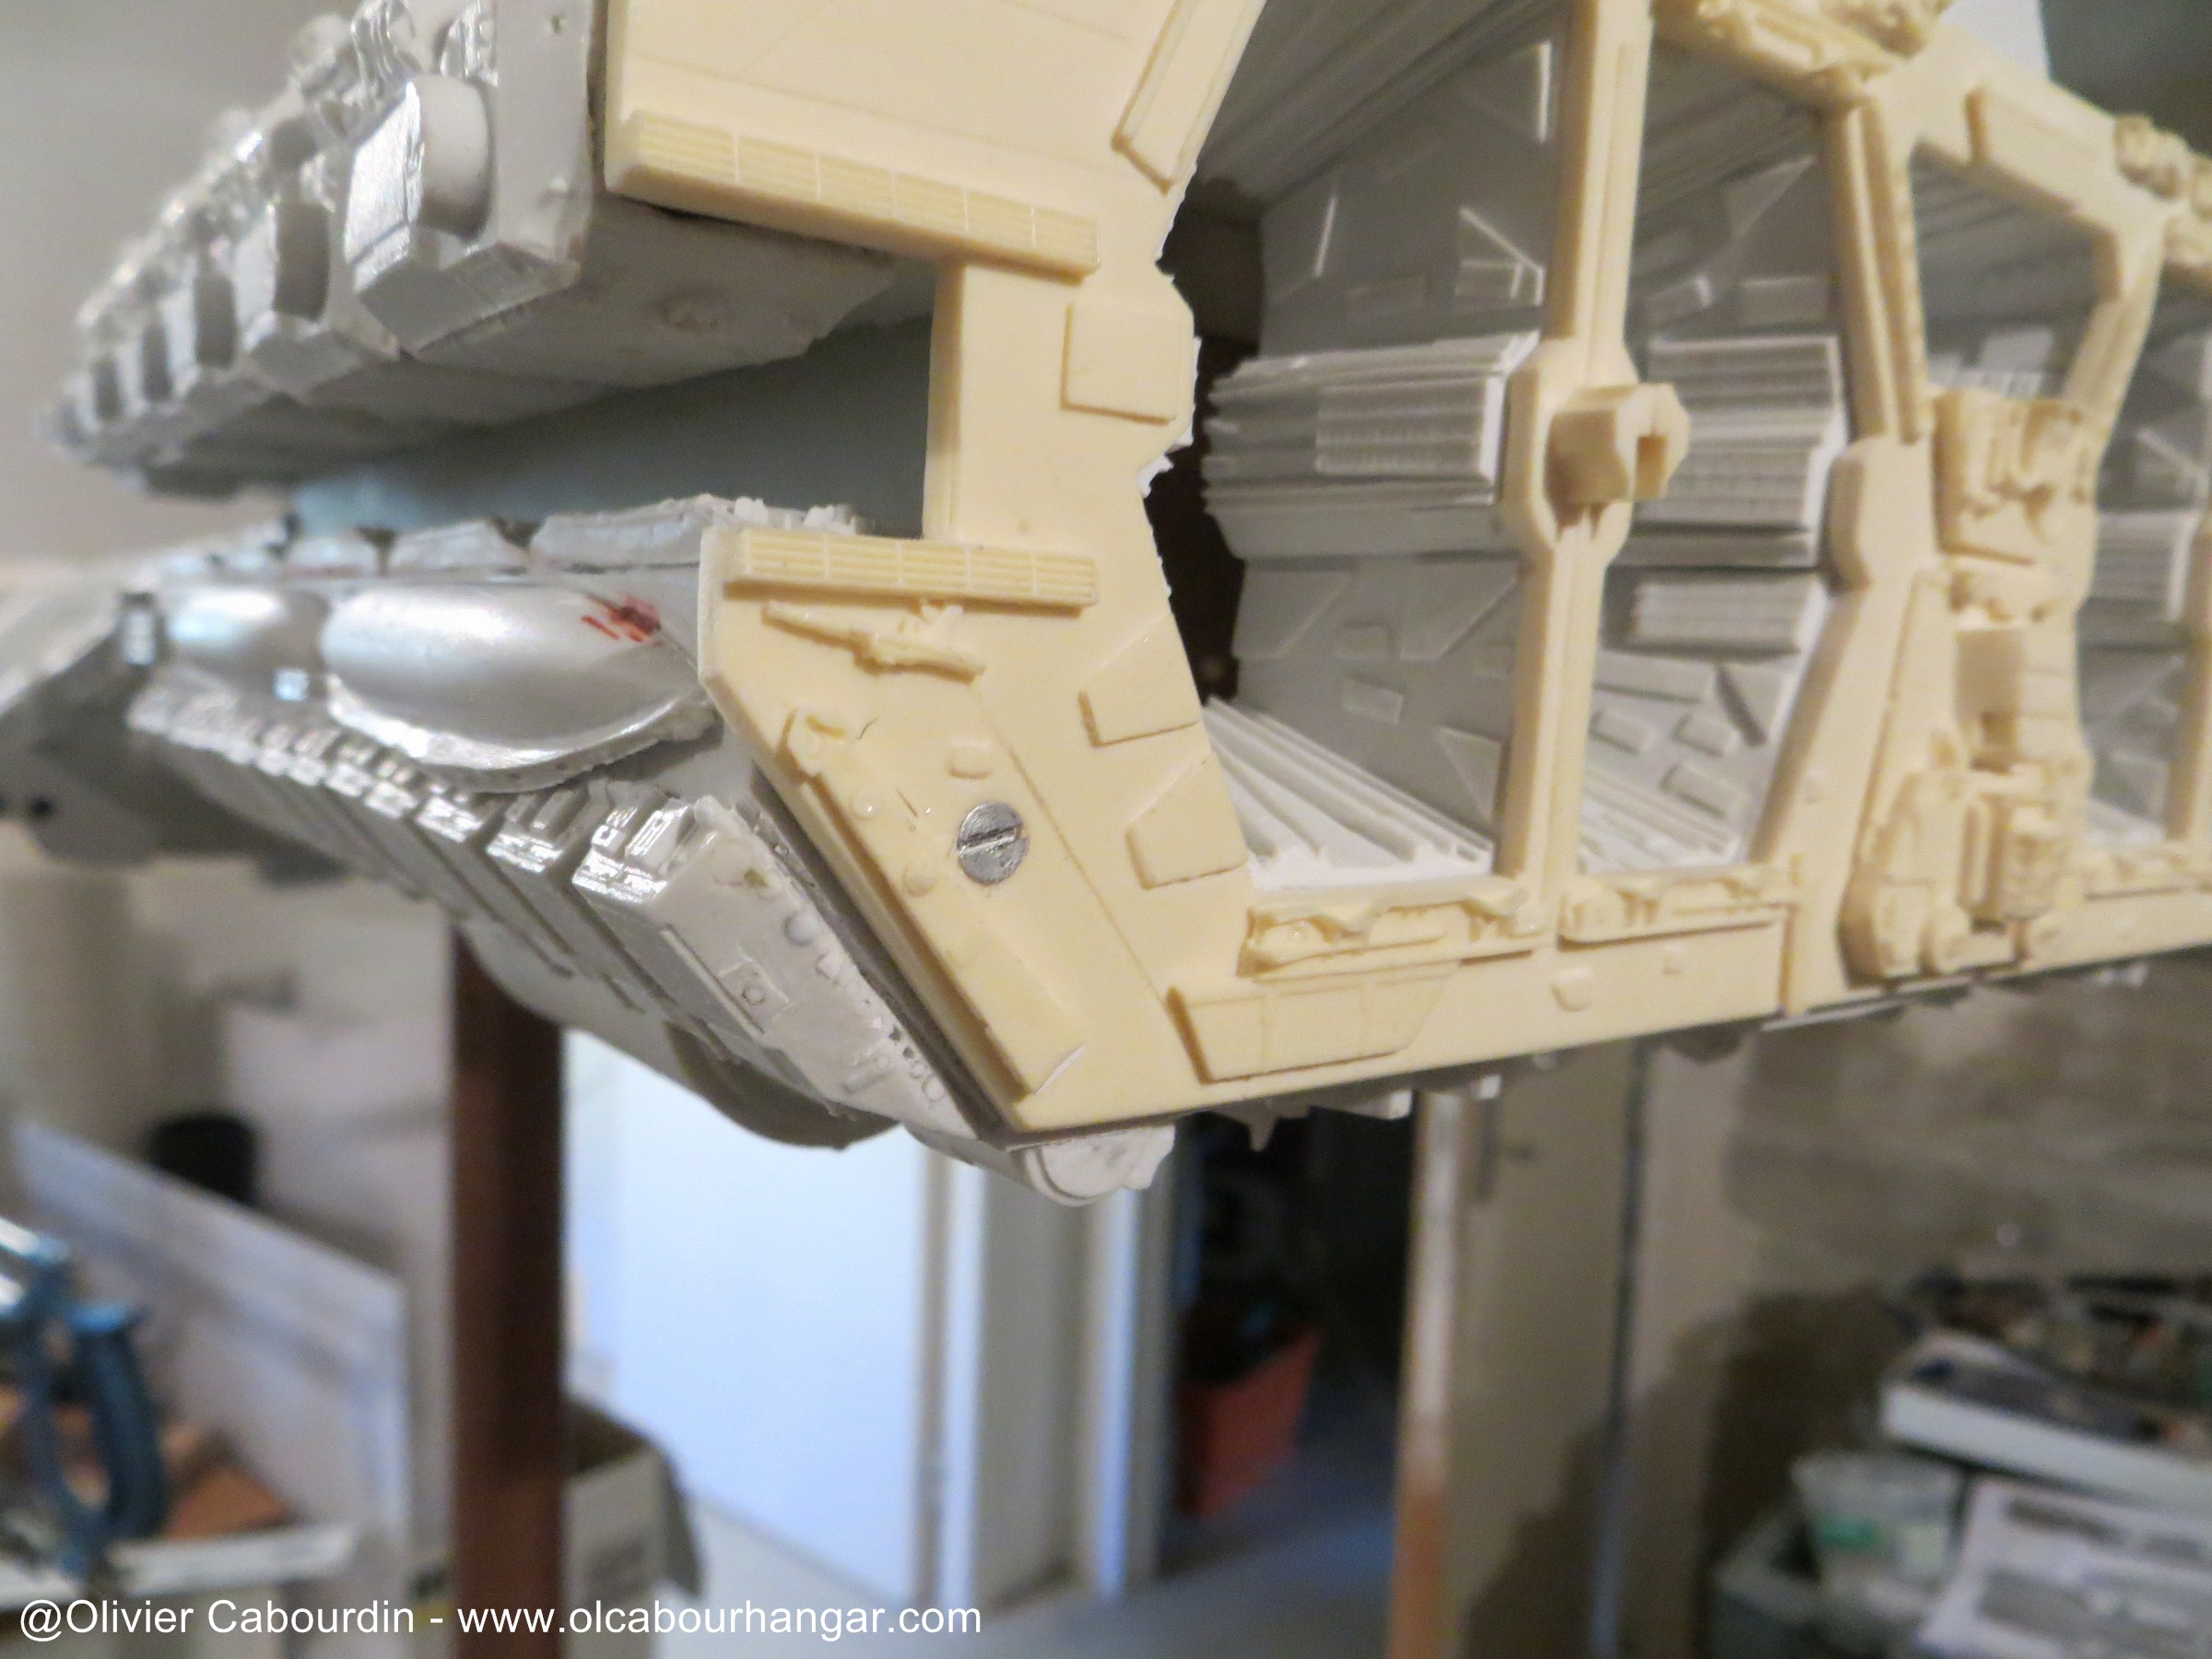
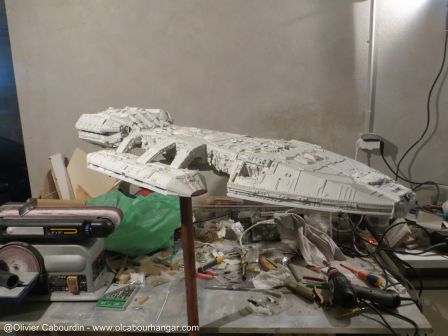
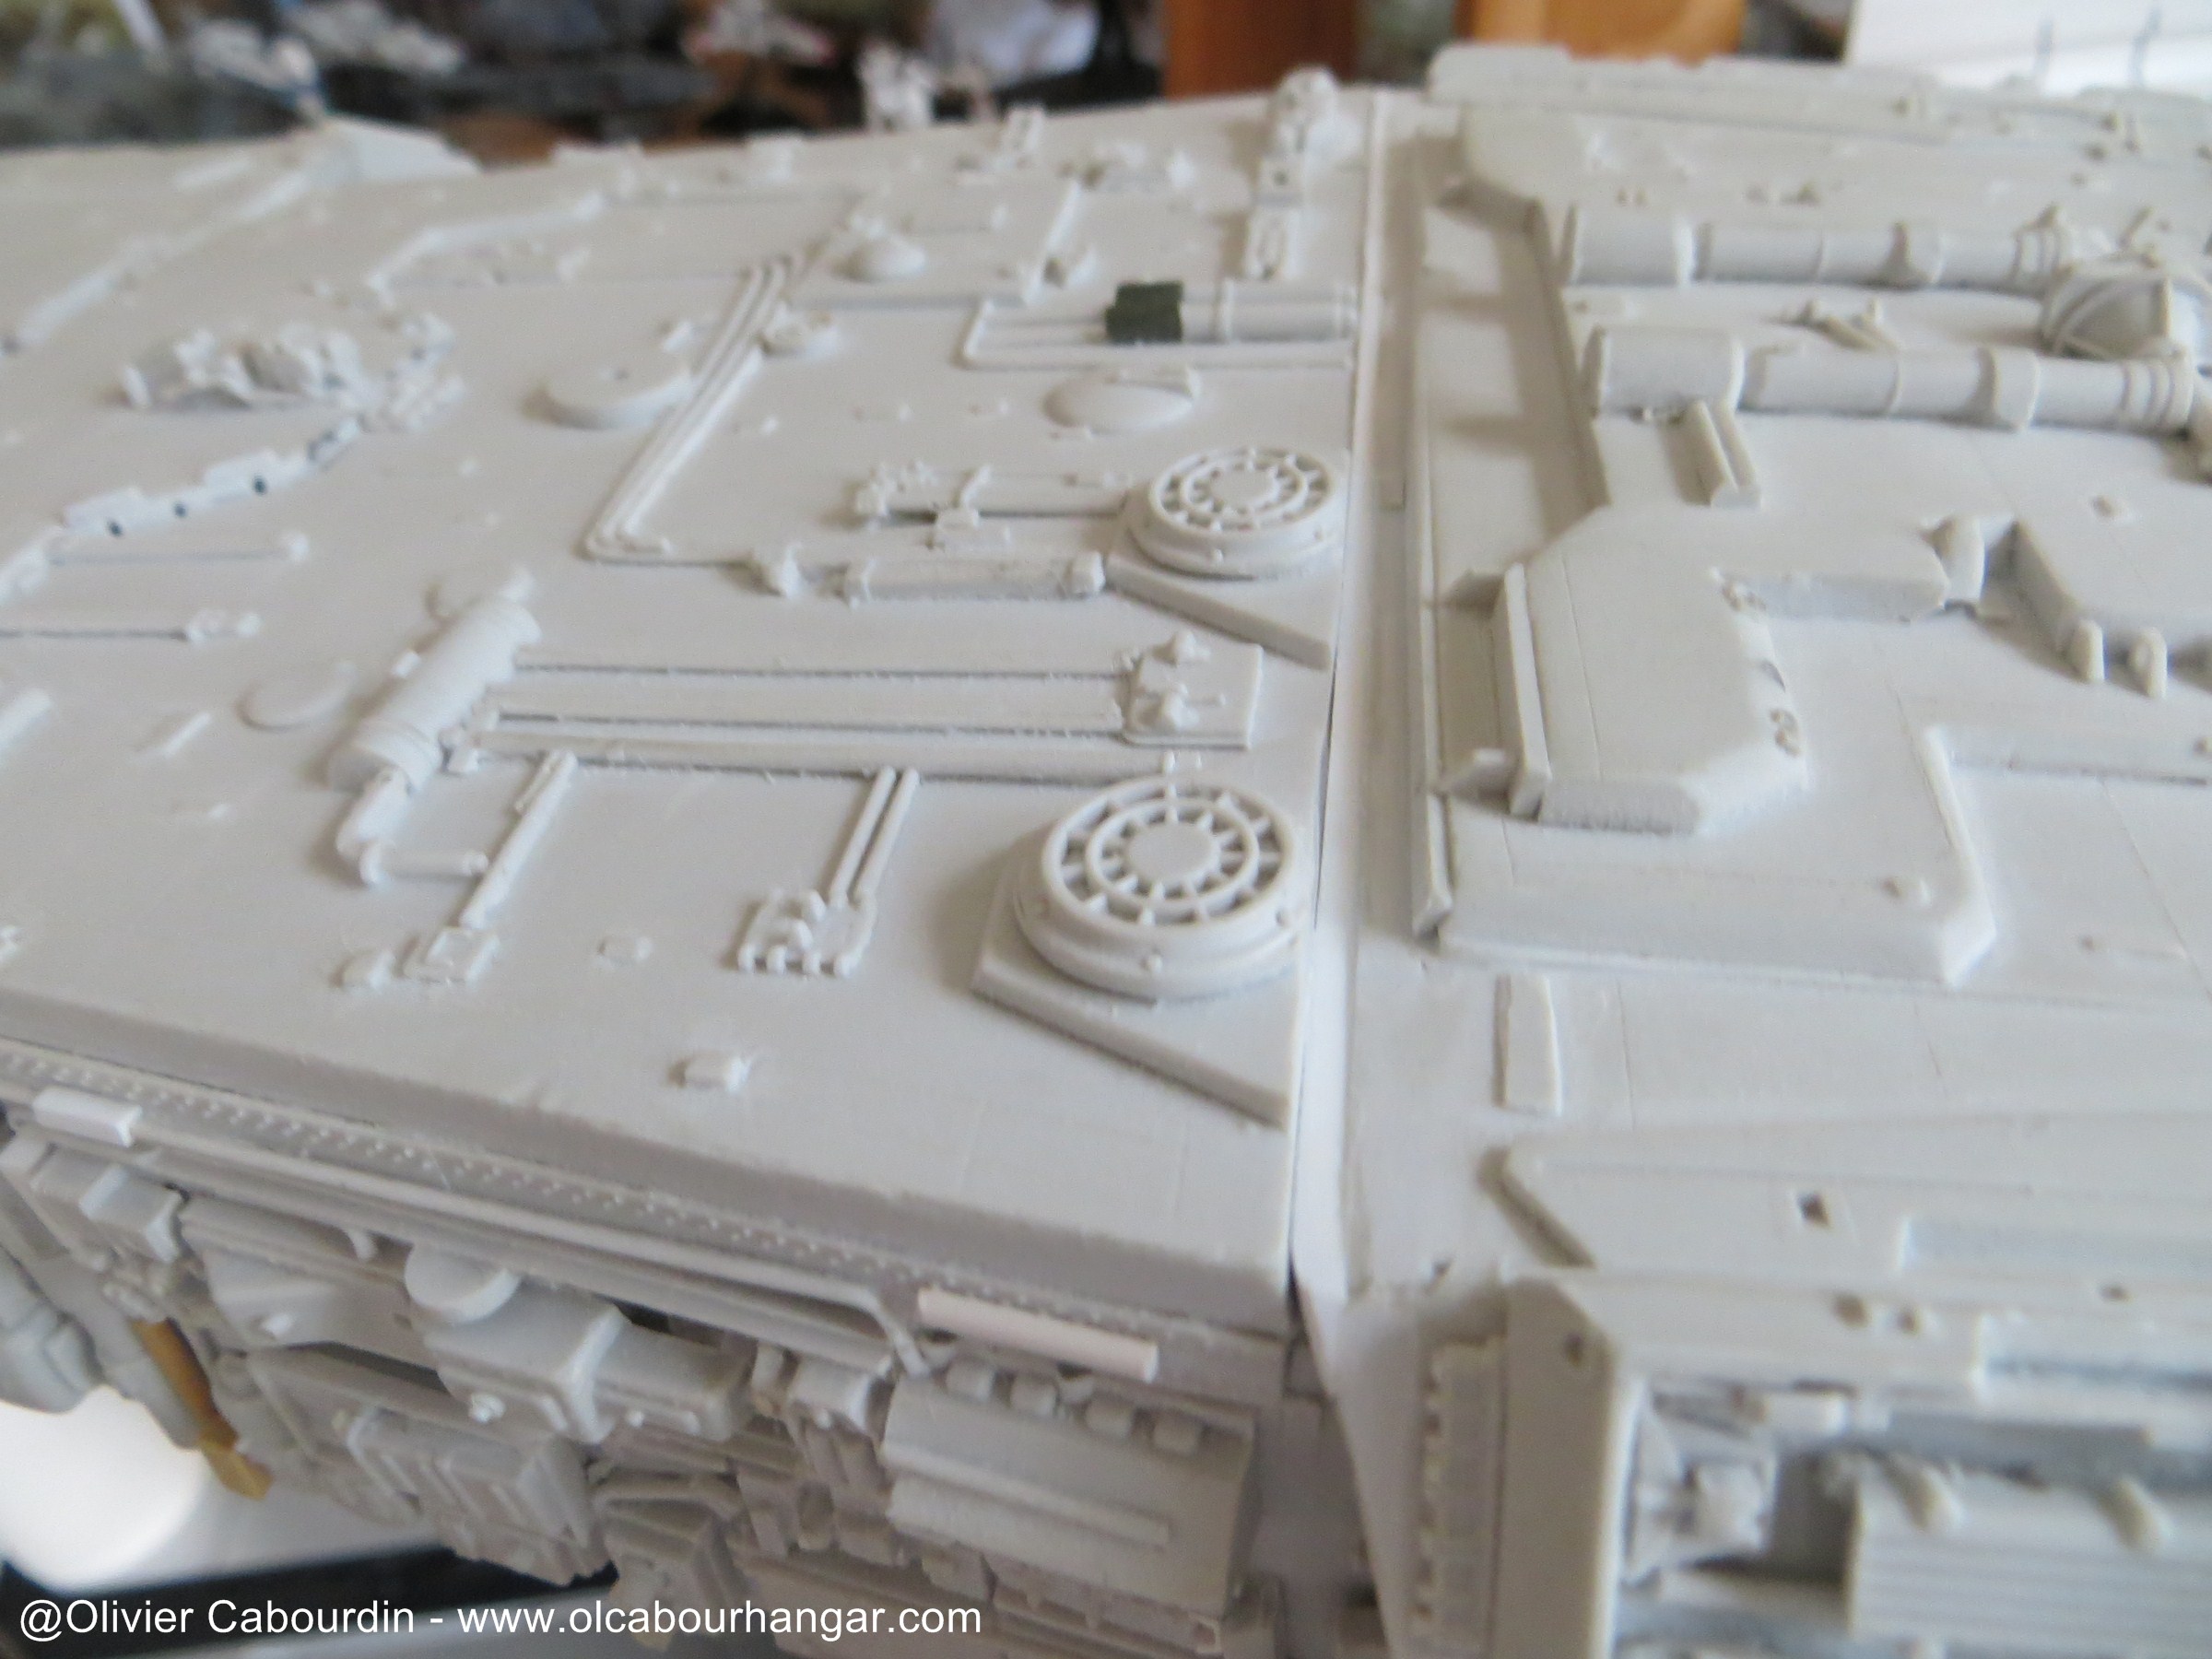
The lower end of the arms are sanded gradually to align them horizontally and with the central body.
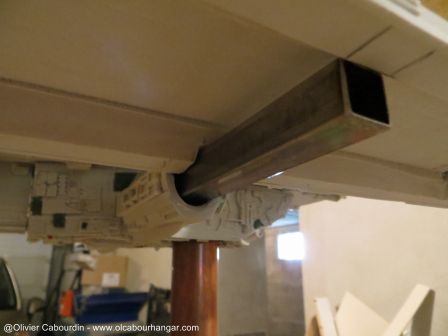
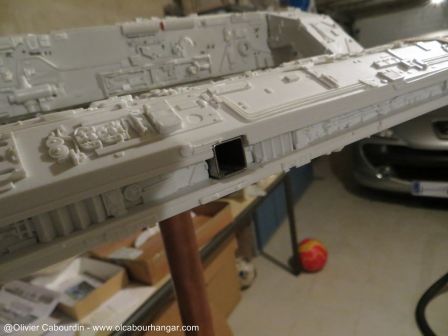
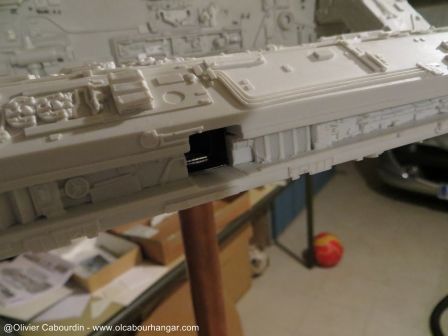
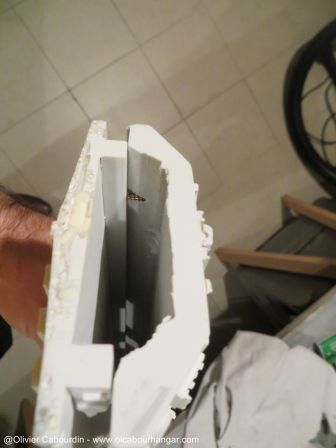
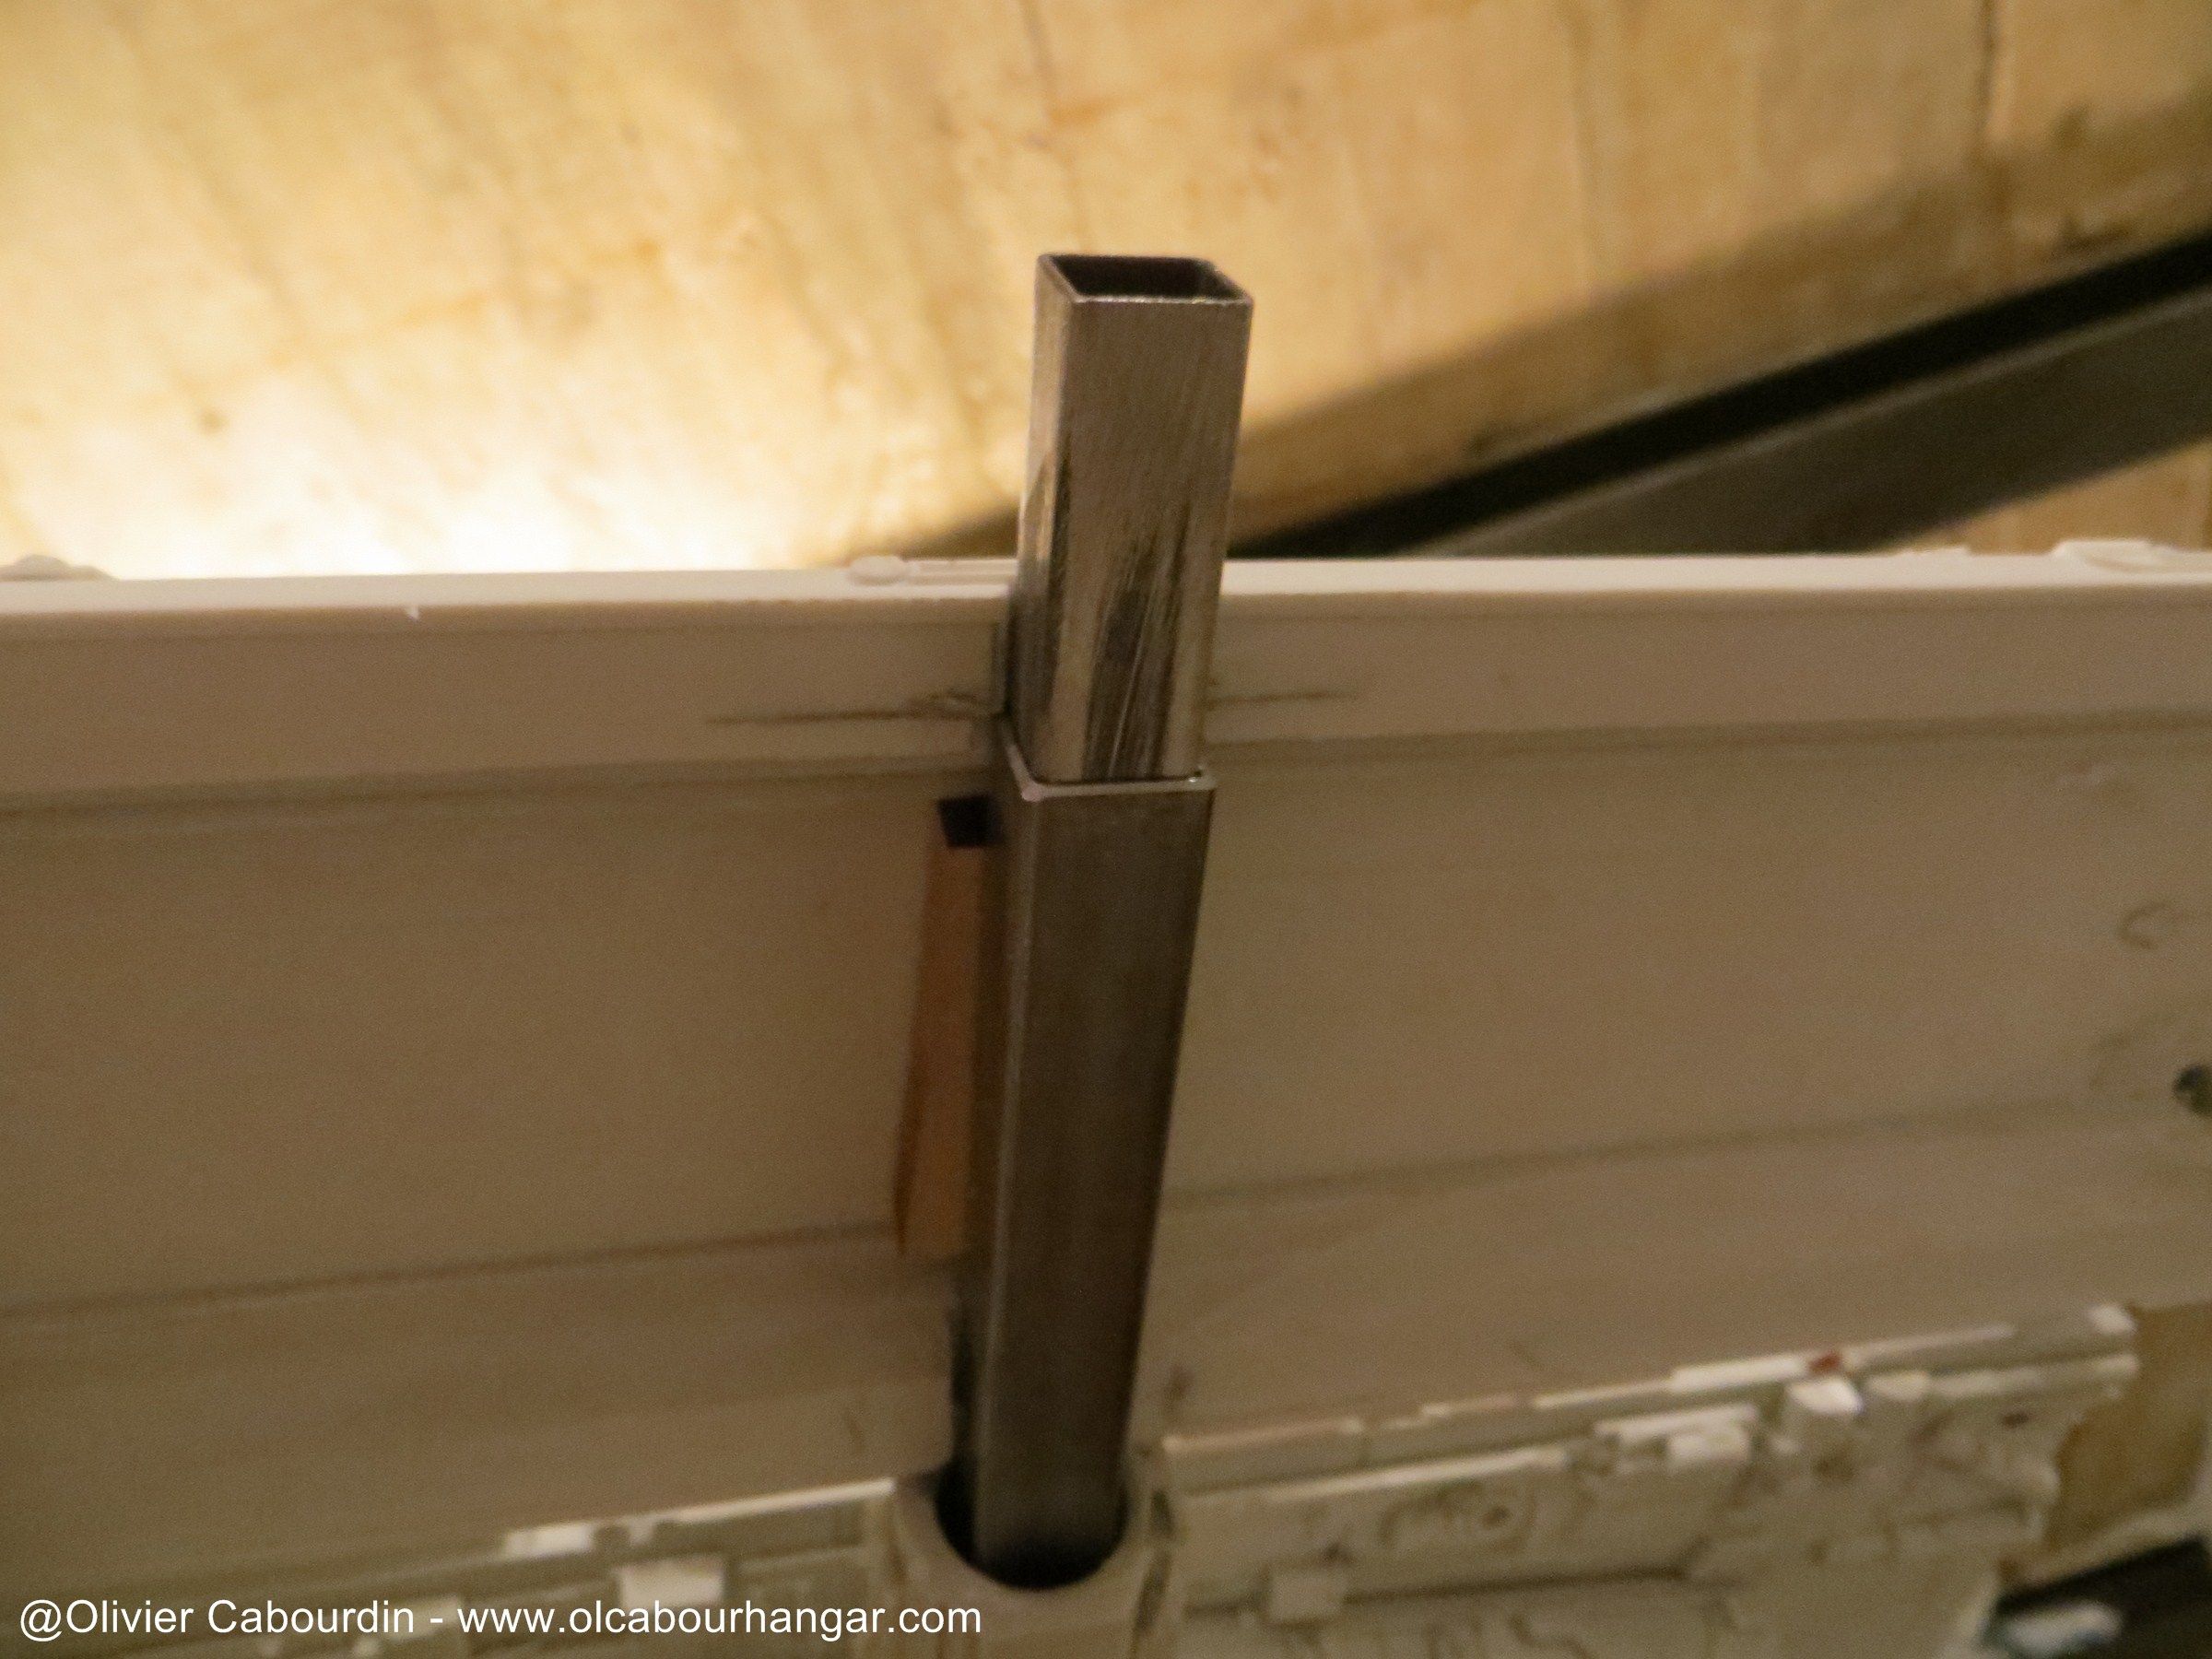
The hangar parts are digged to let my square tube (for a side standing system) go through to the side.
top part

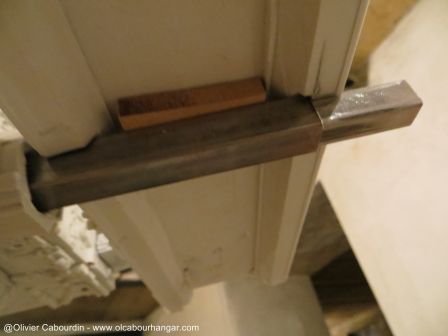
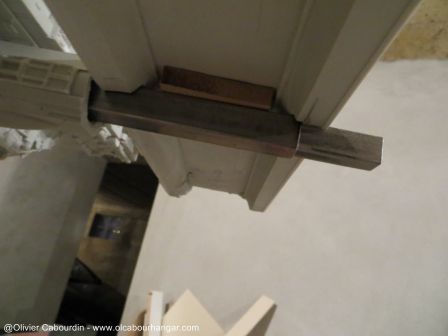
bottom part

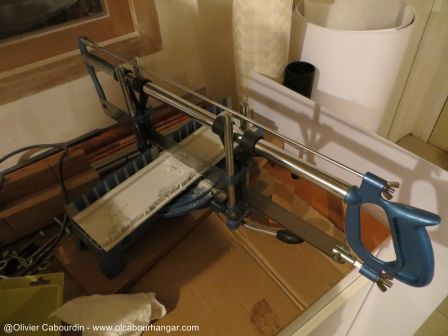
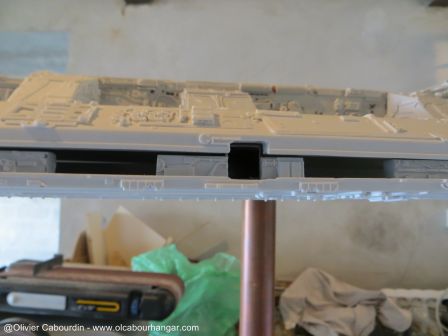
To be sure to be perfectly aligned, I used a miter saw
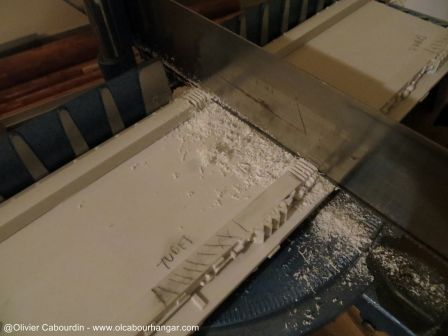
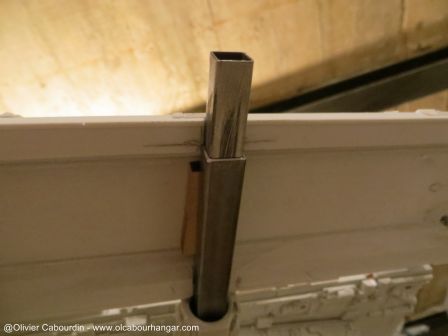
And then I realised I had to dig a channel otherwise it will not join between the top and bottom
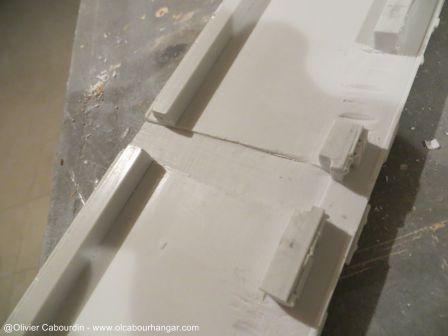
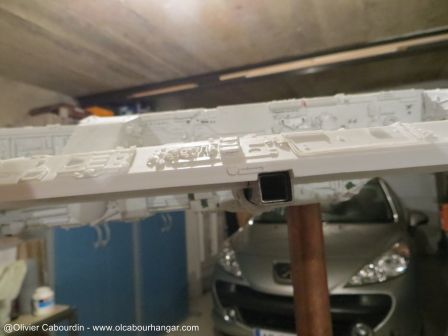
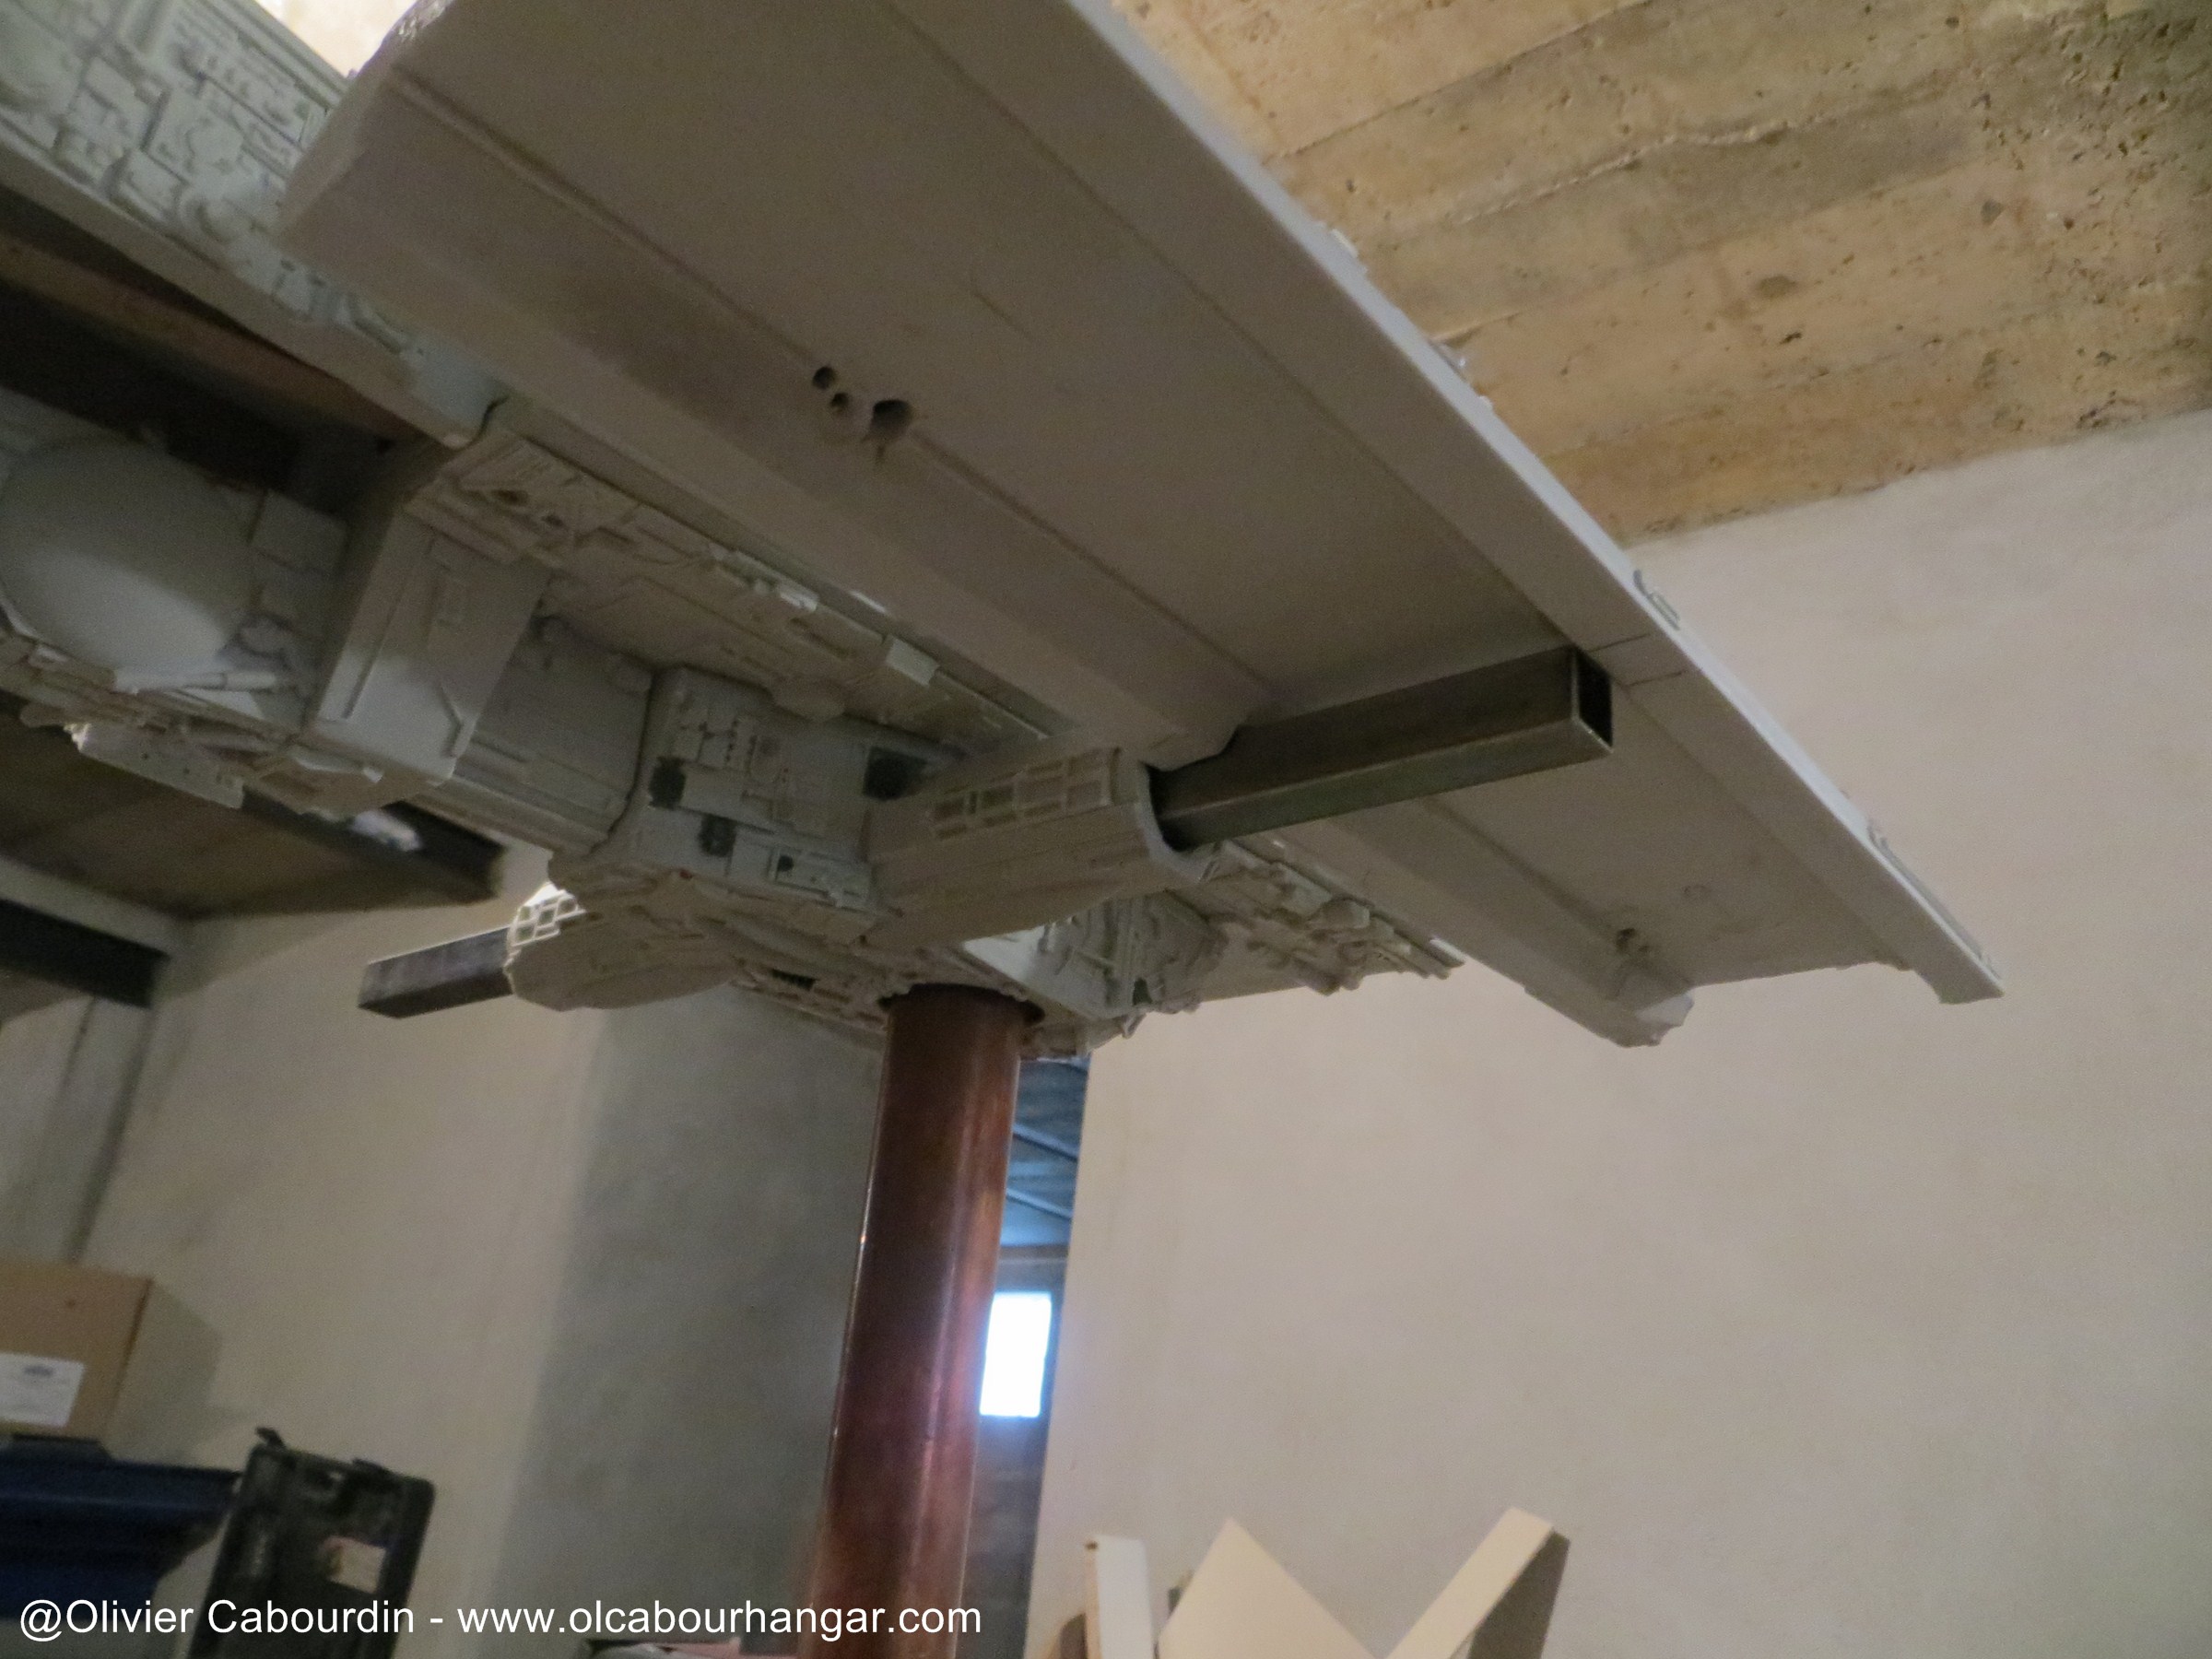
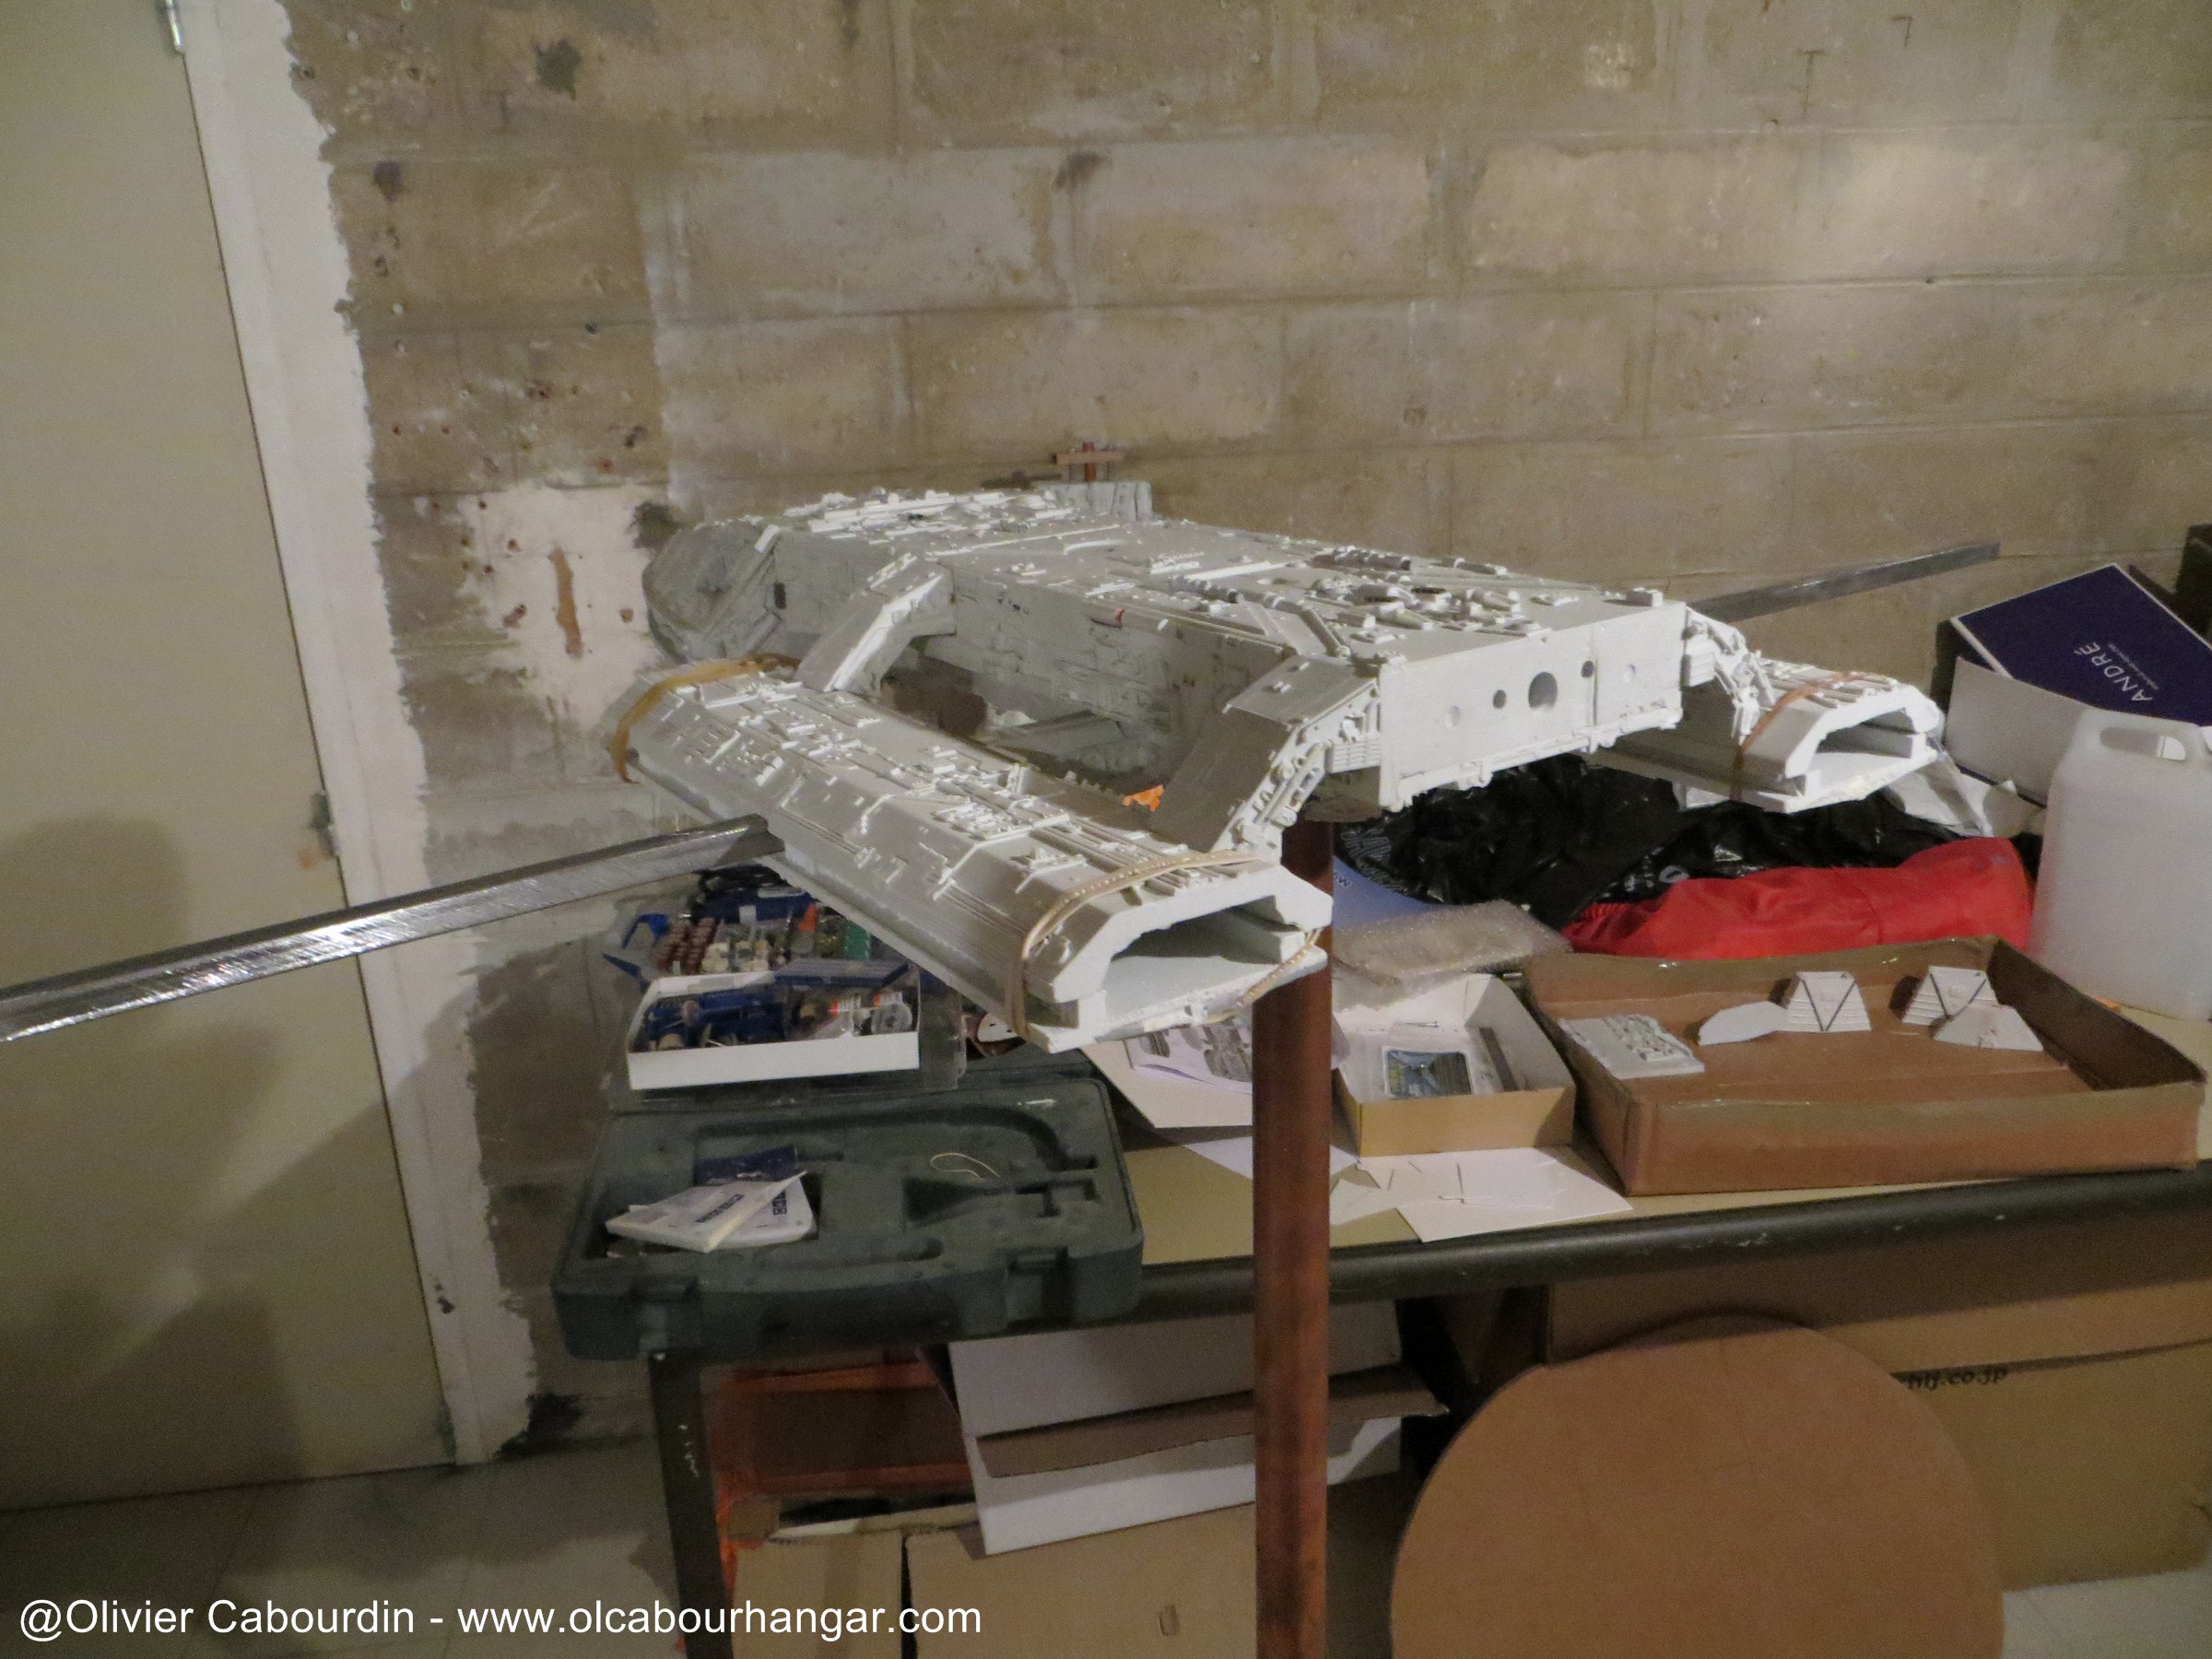
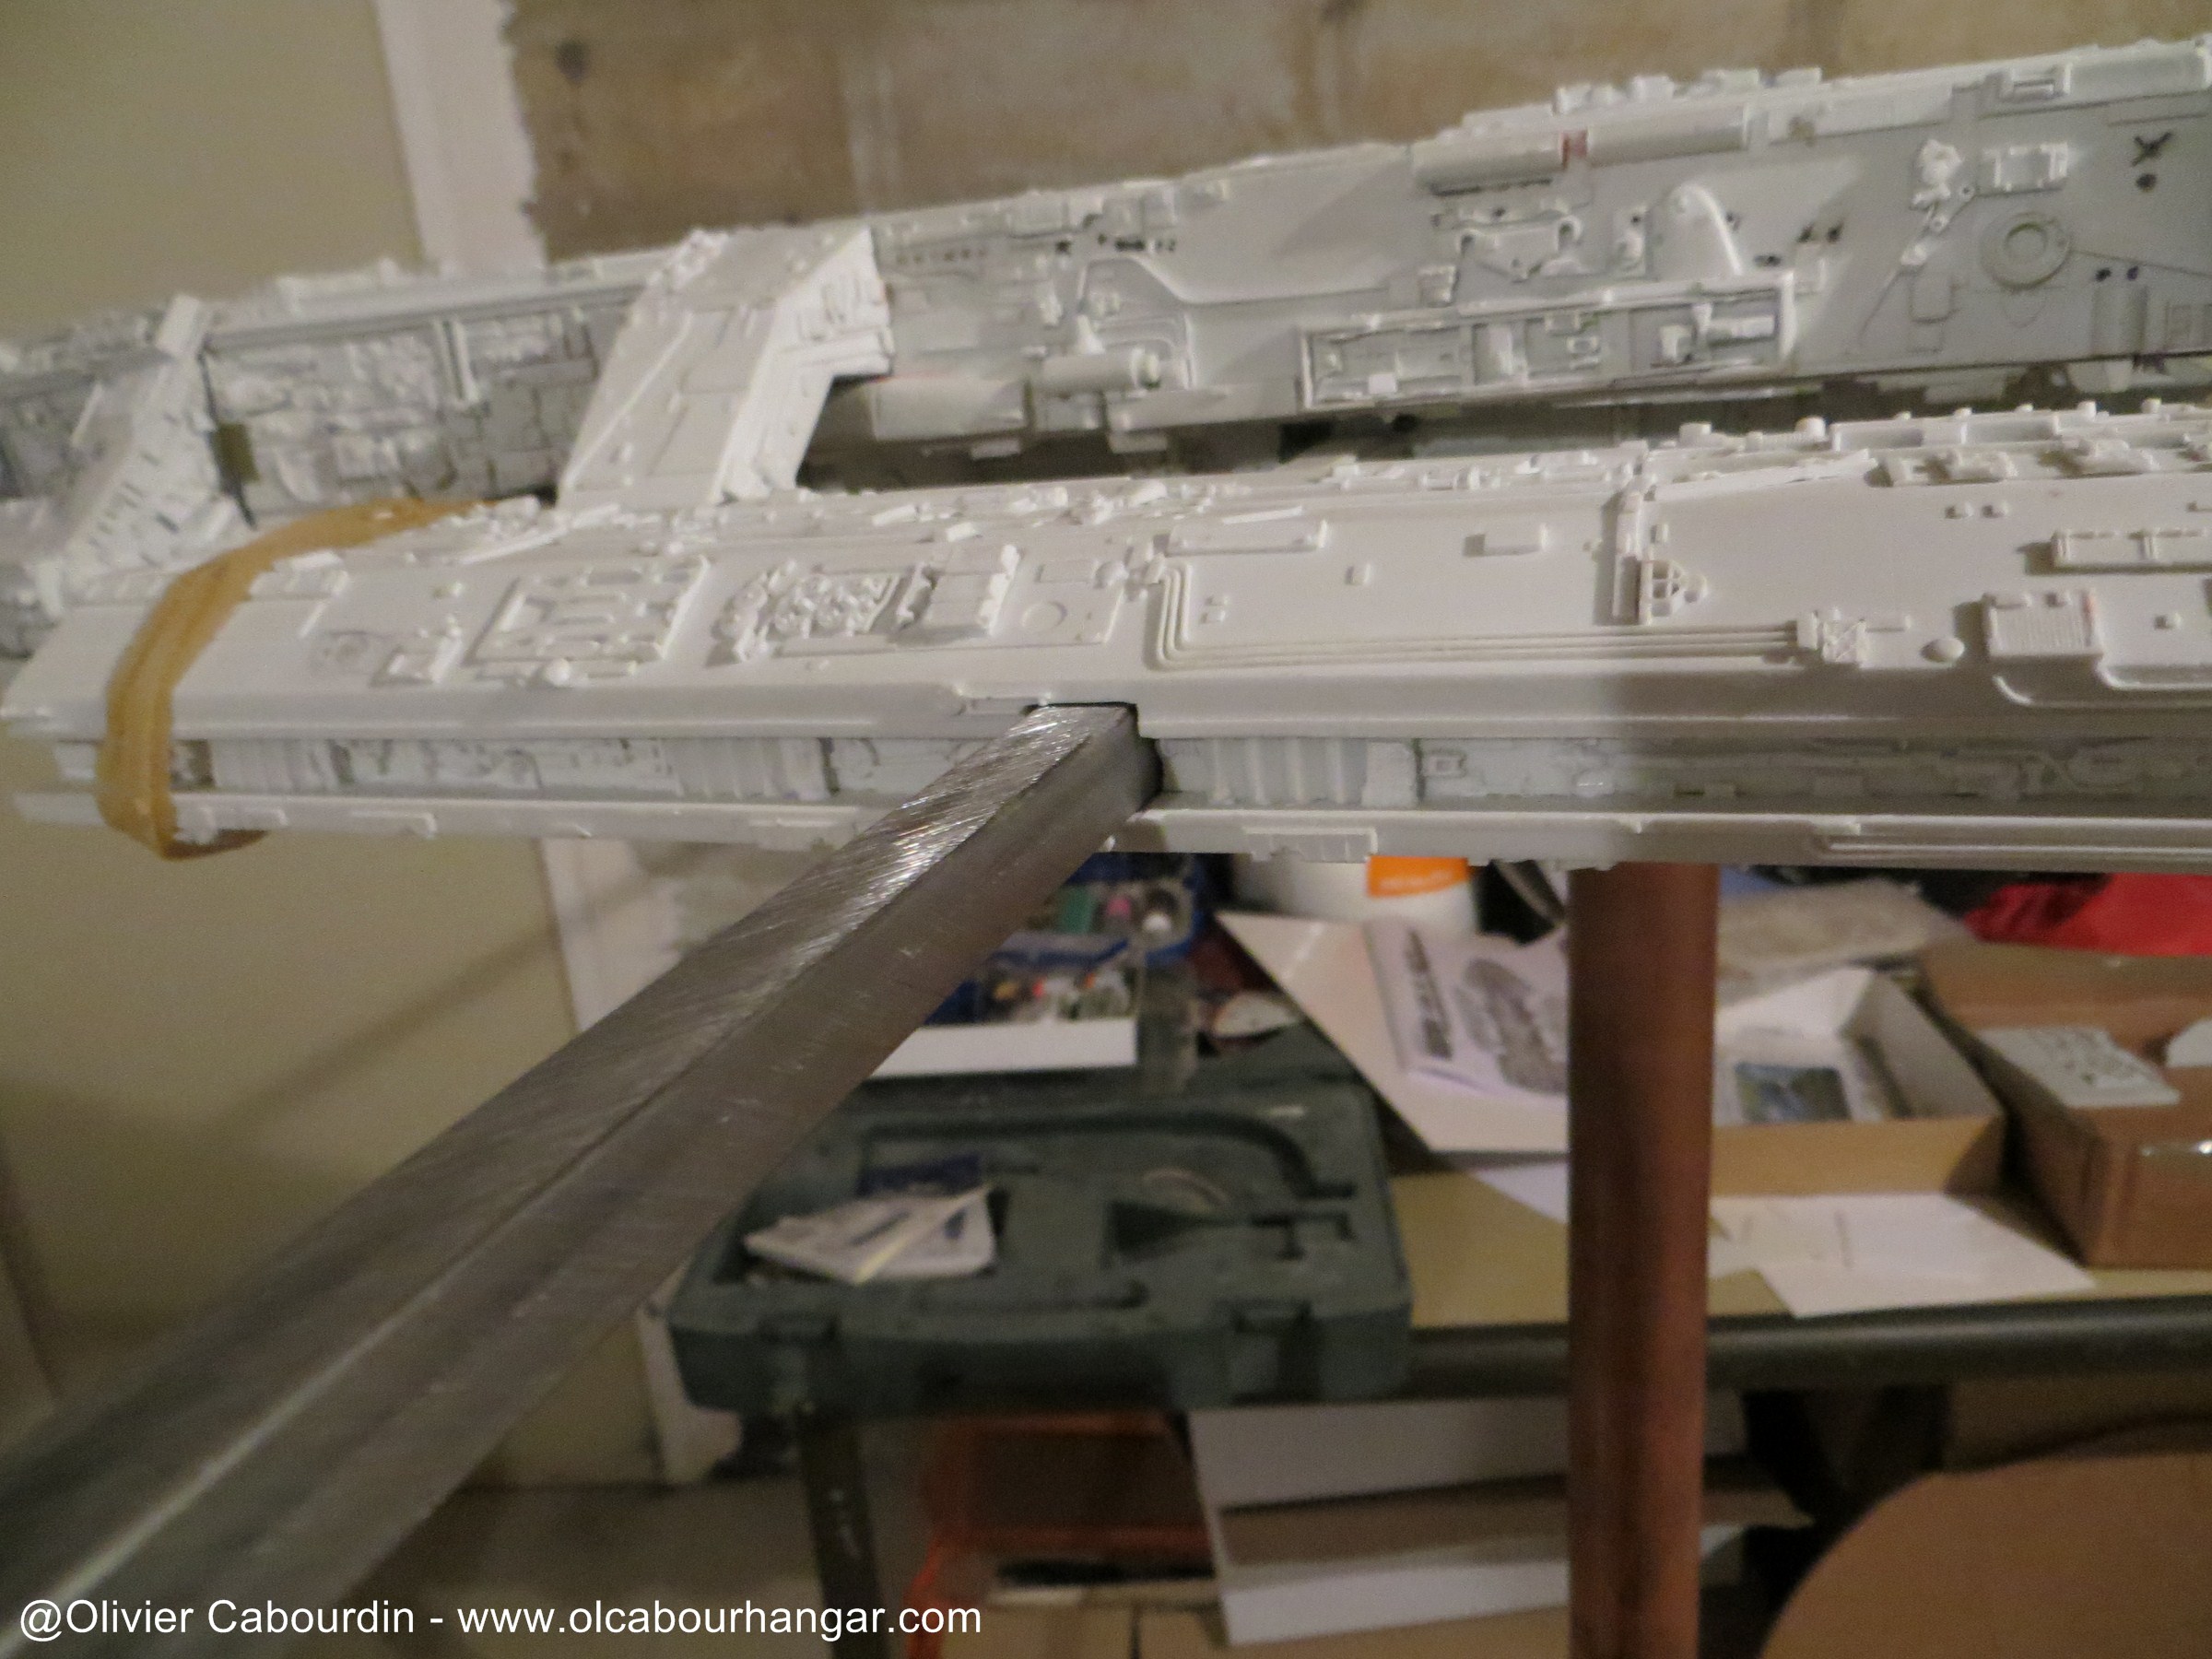
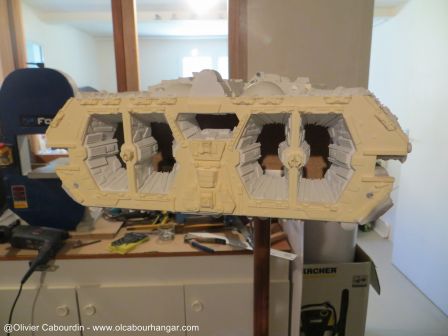
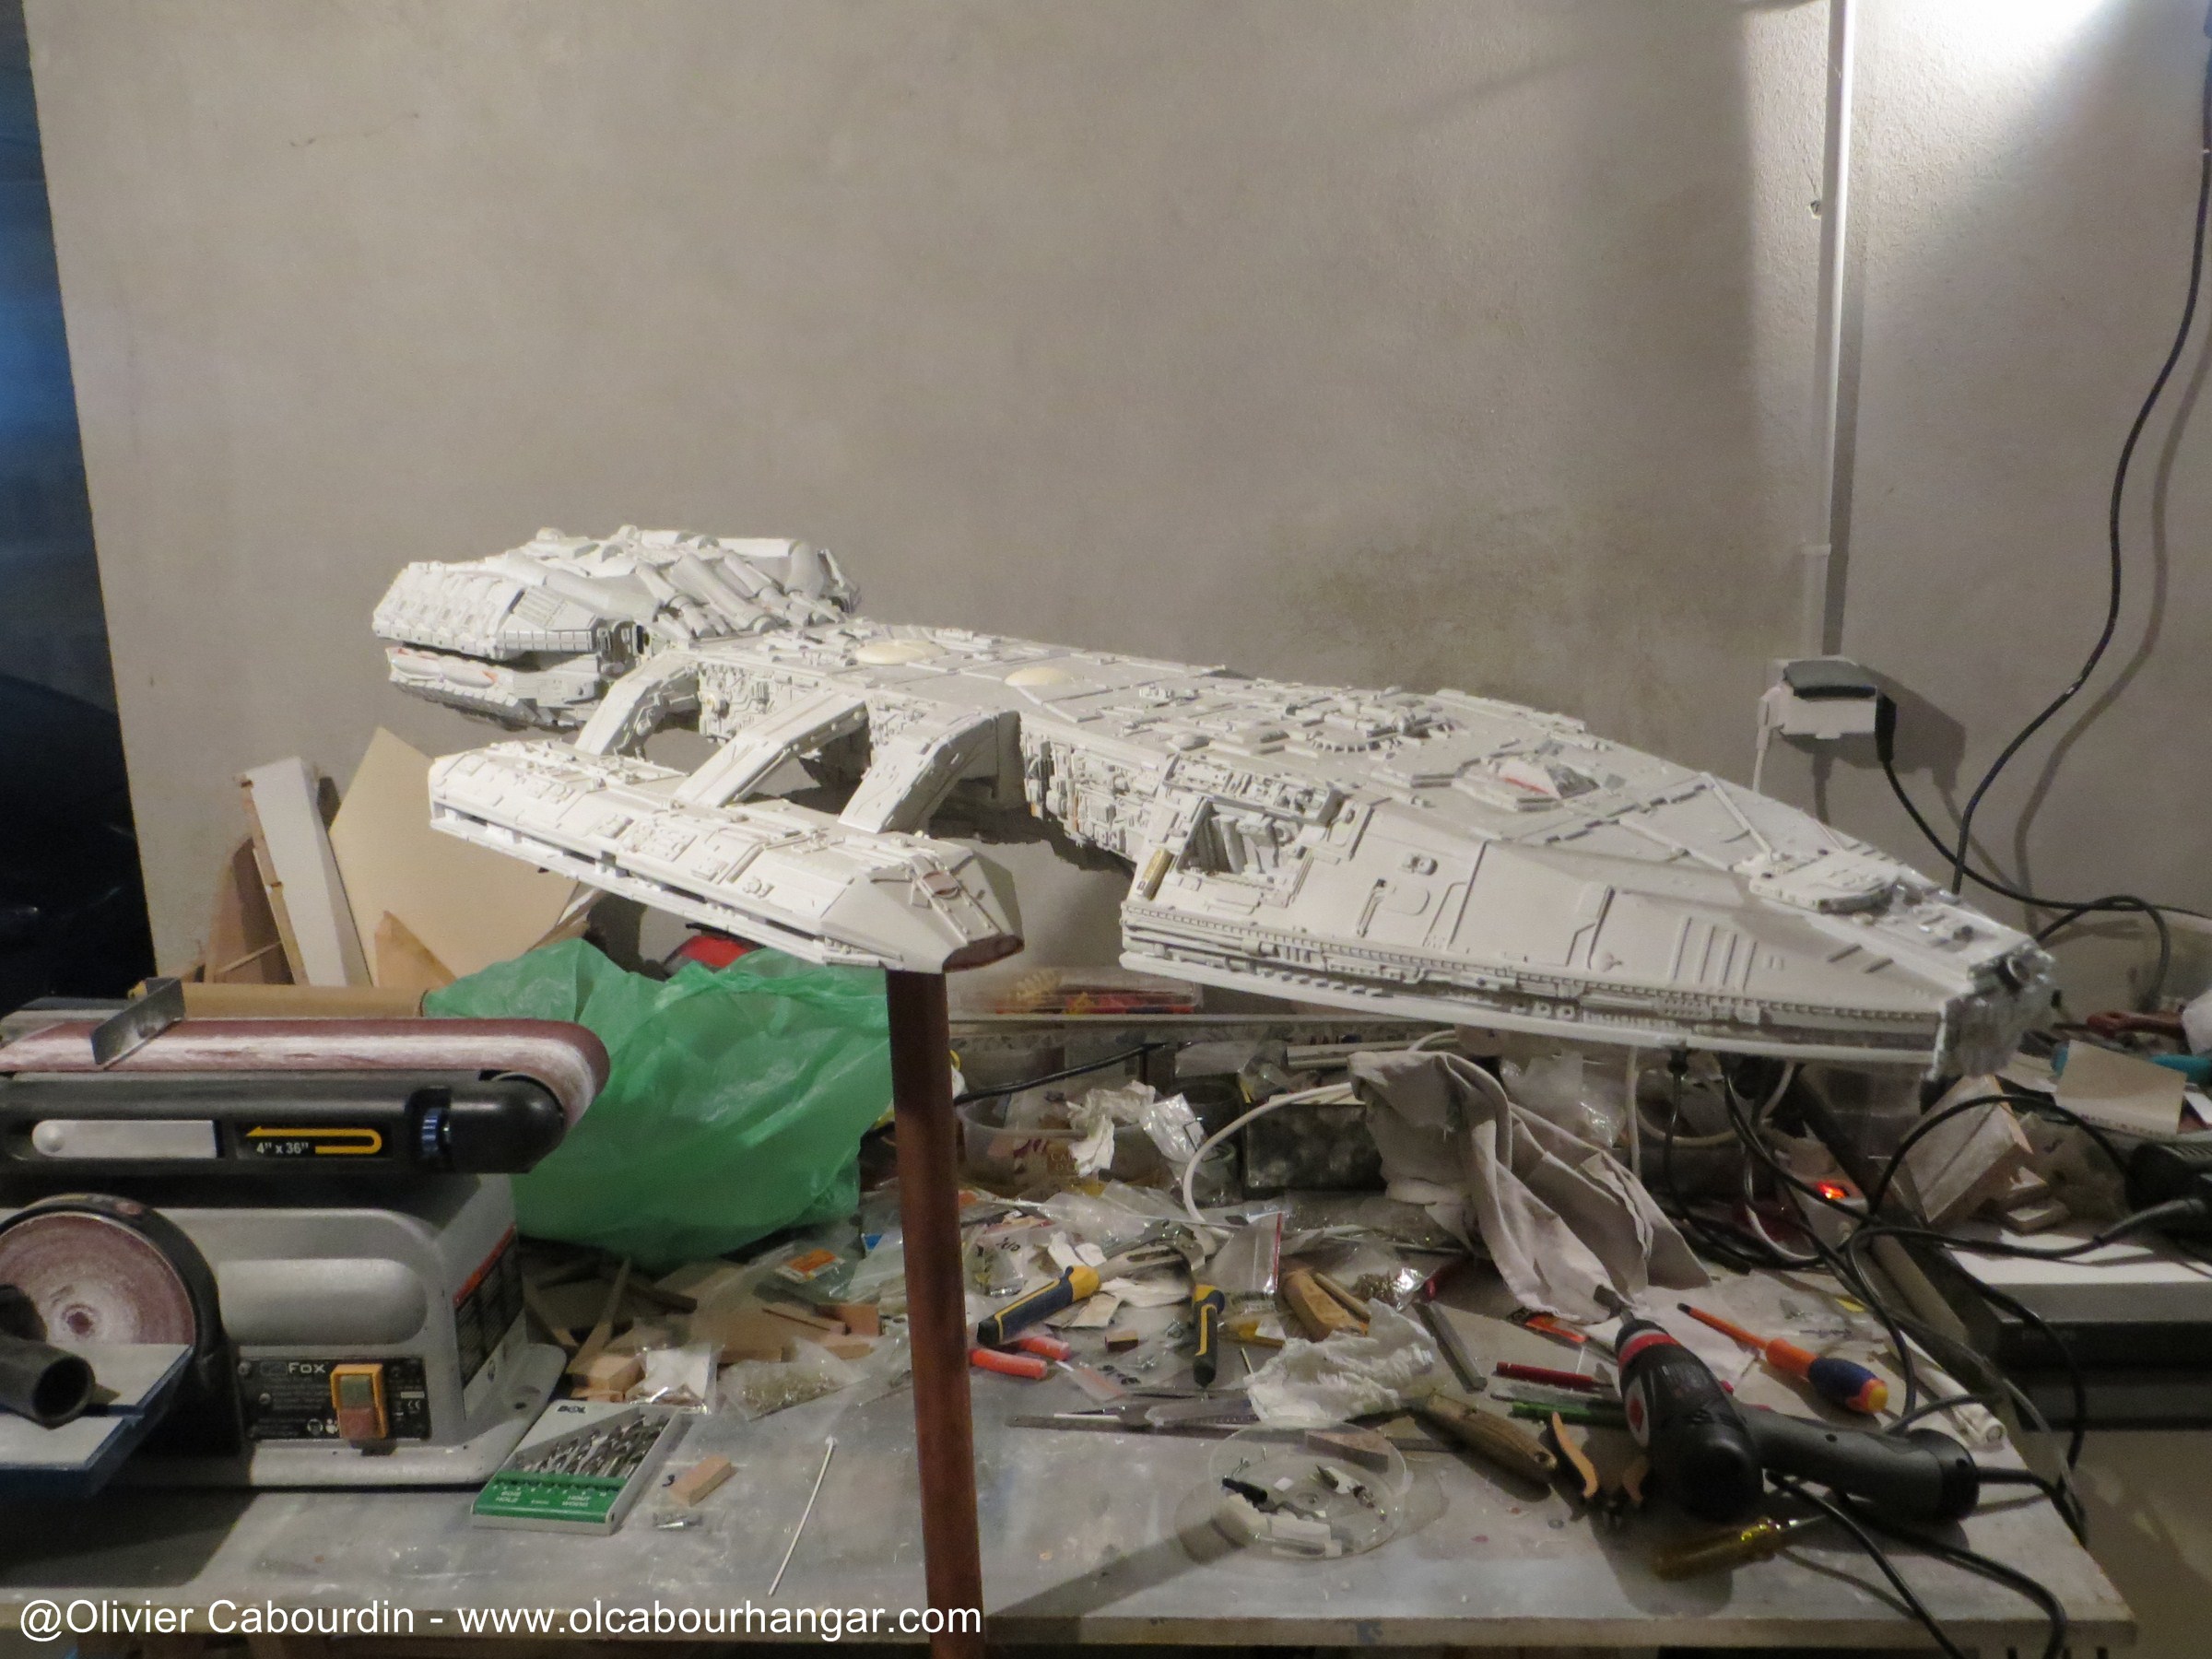
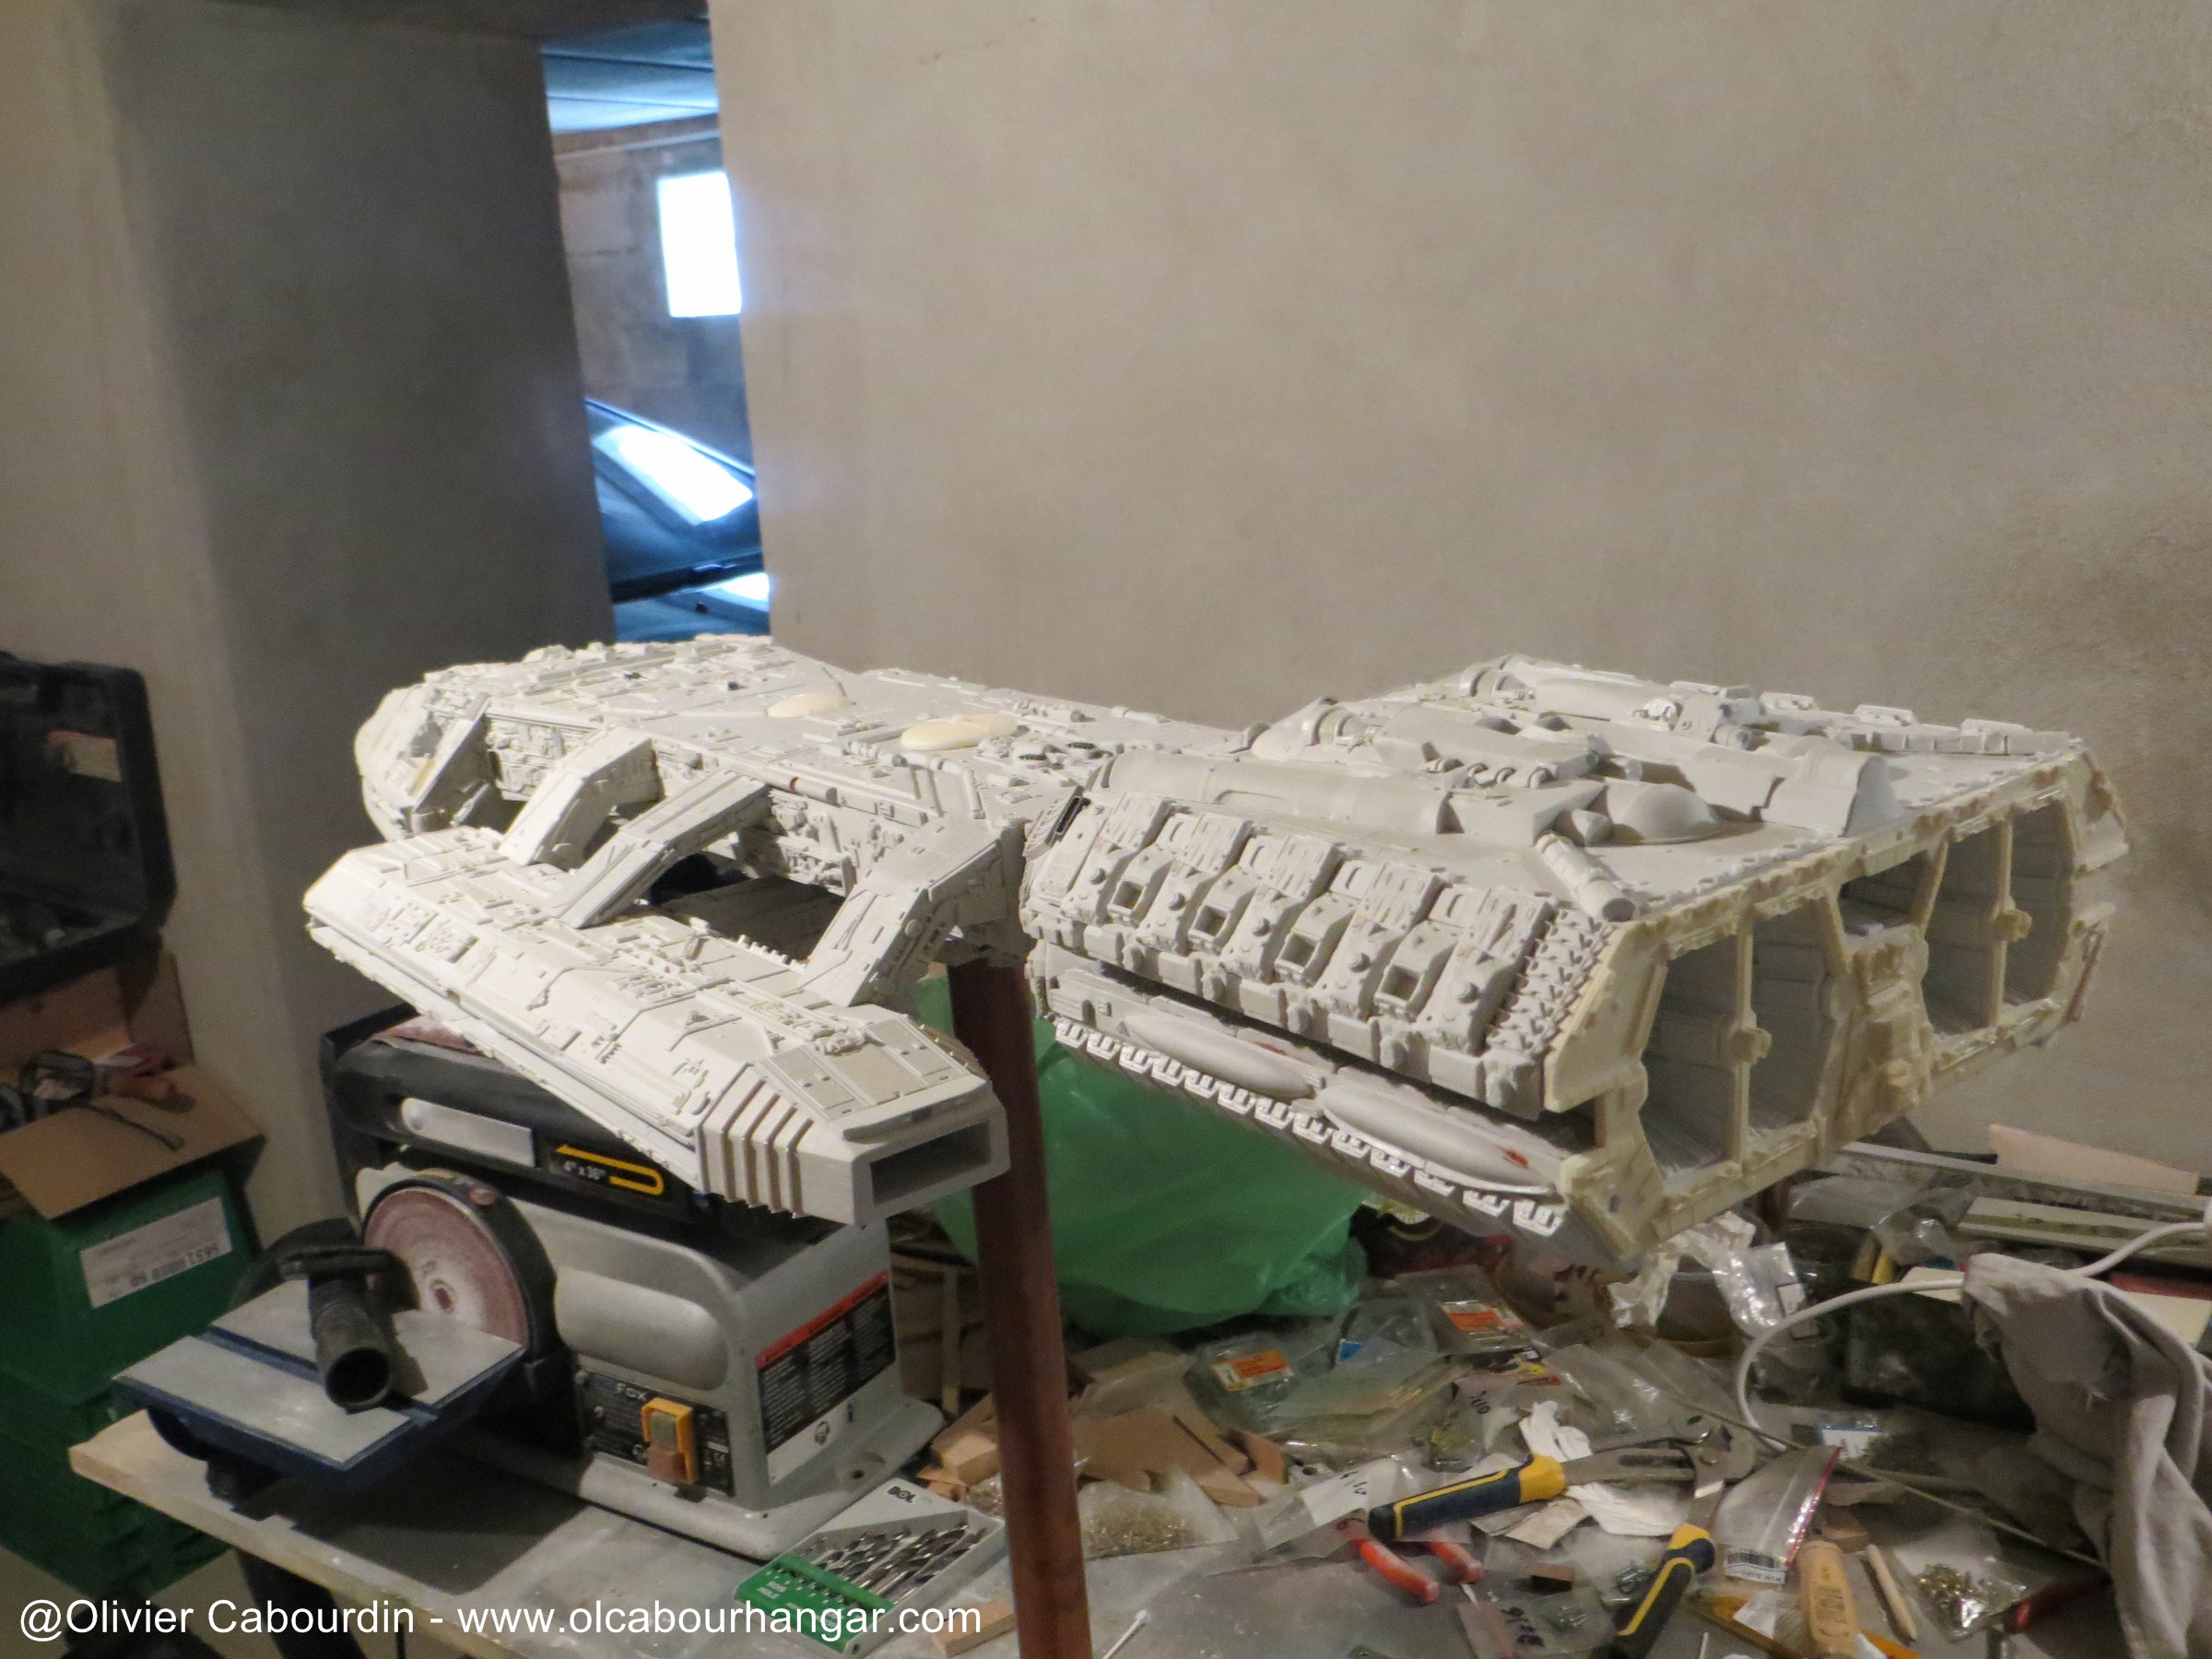
The Galactica is impaled!


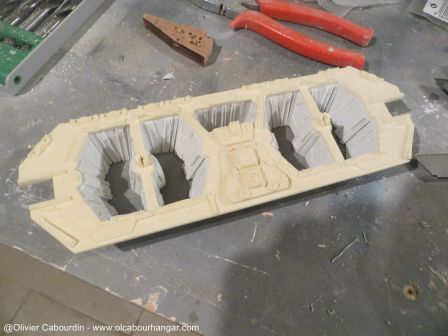
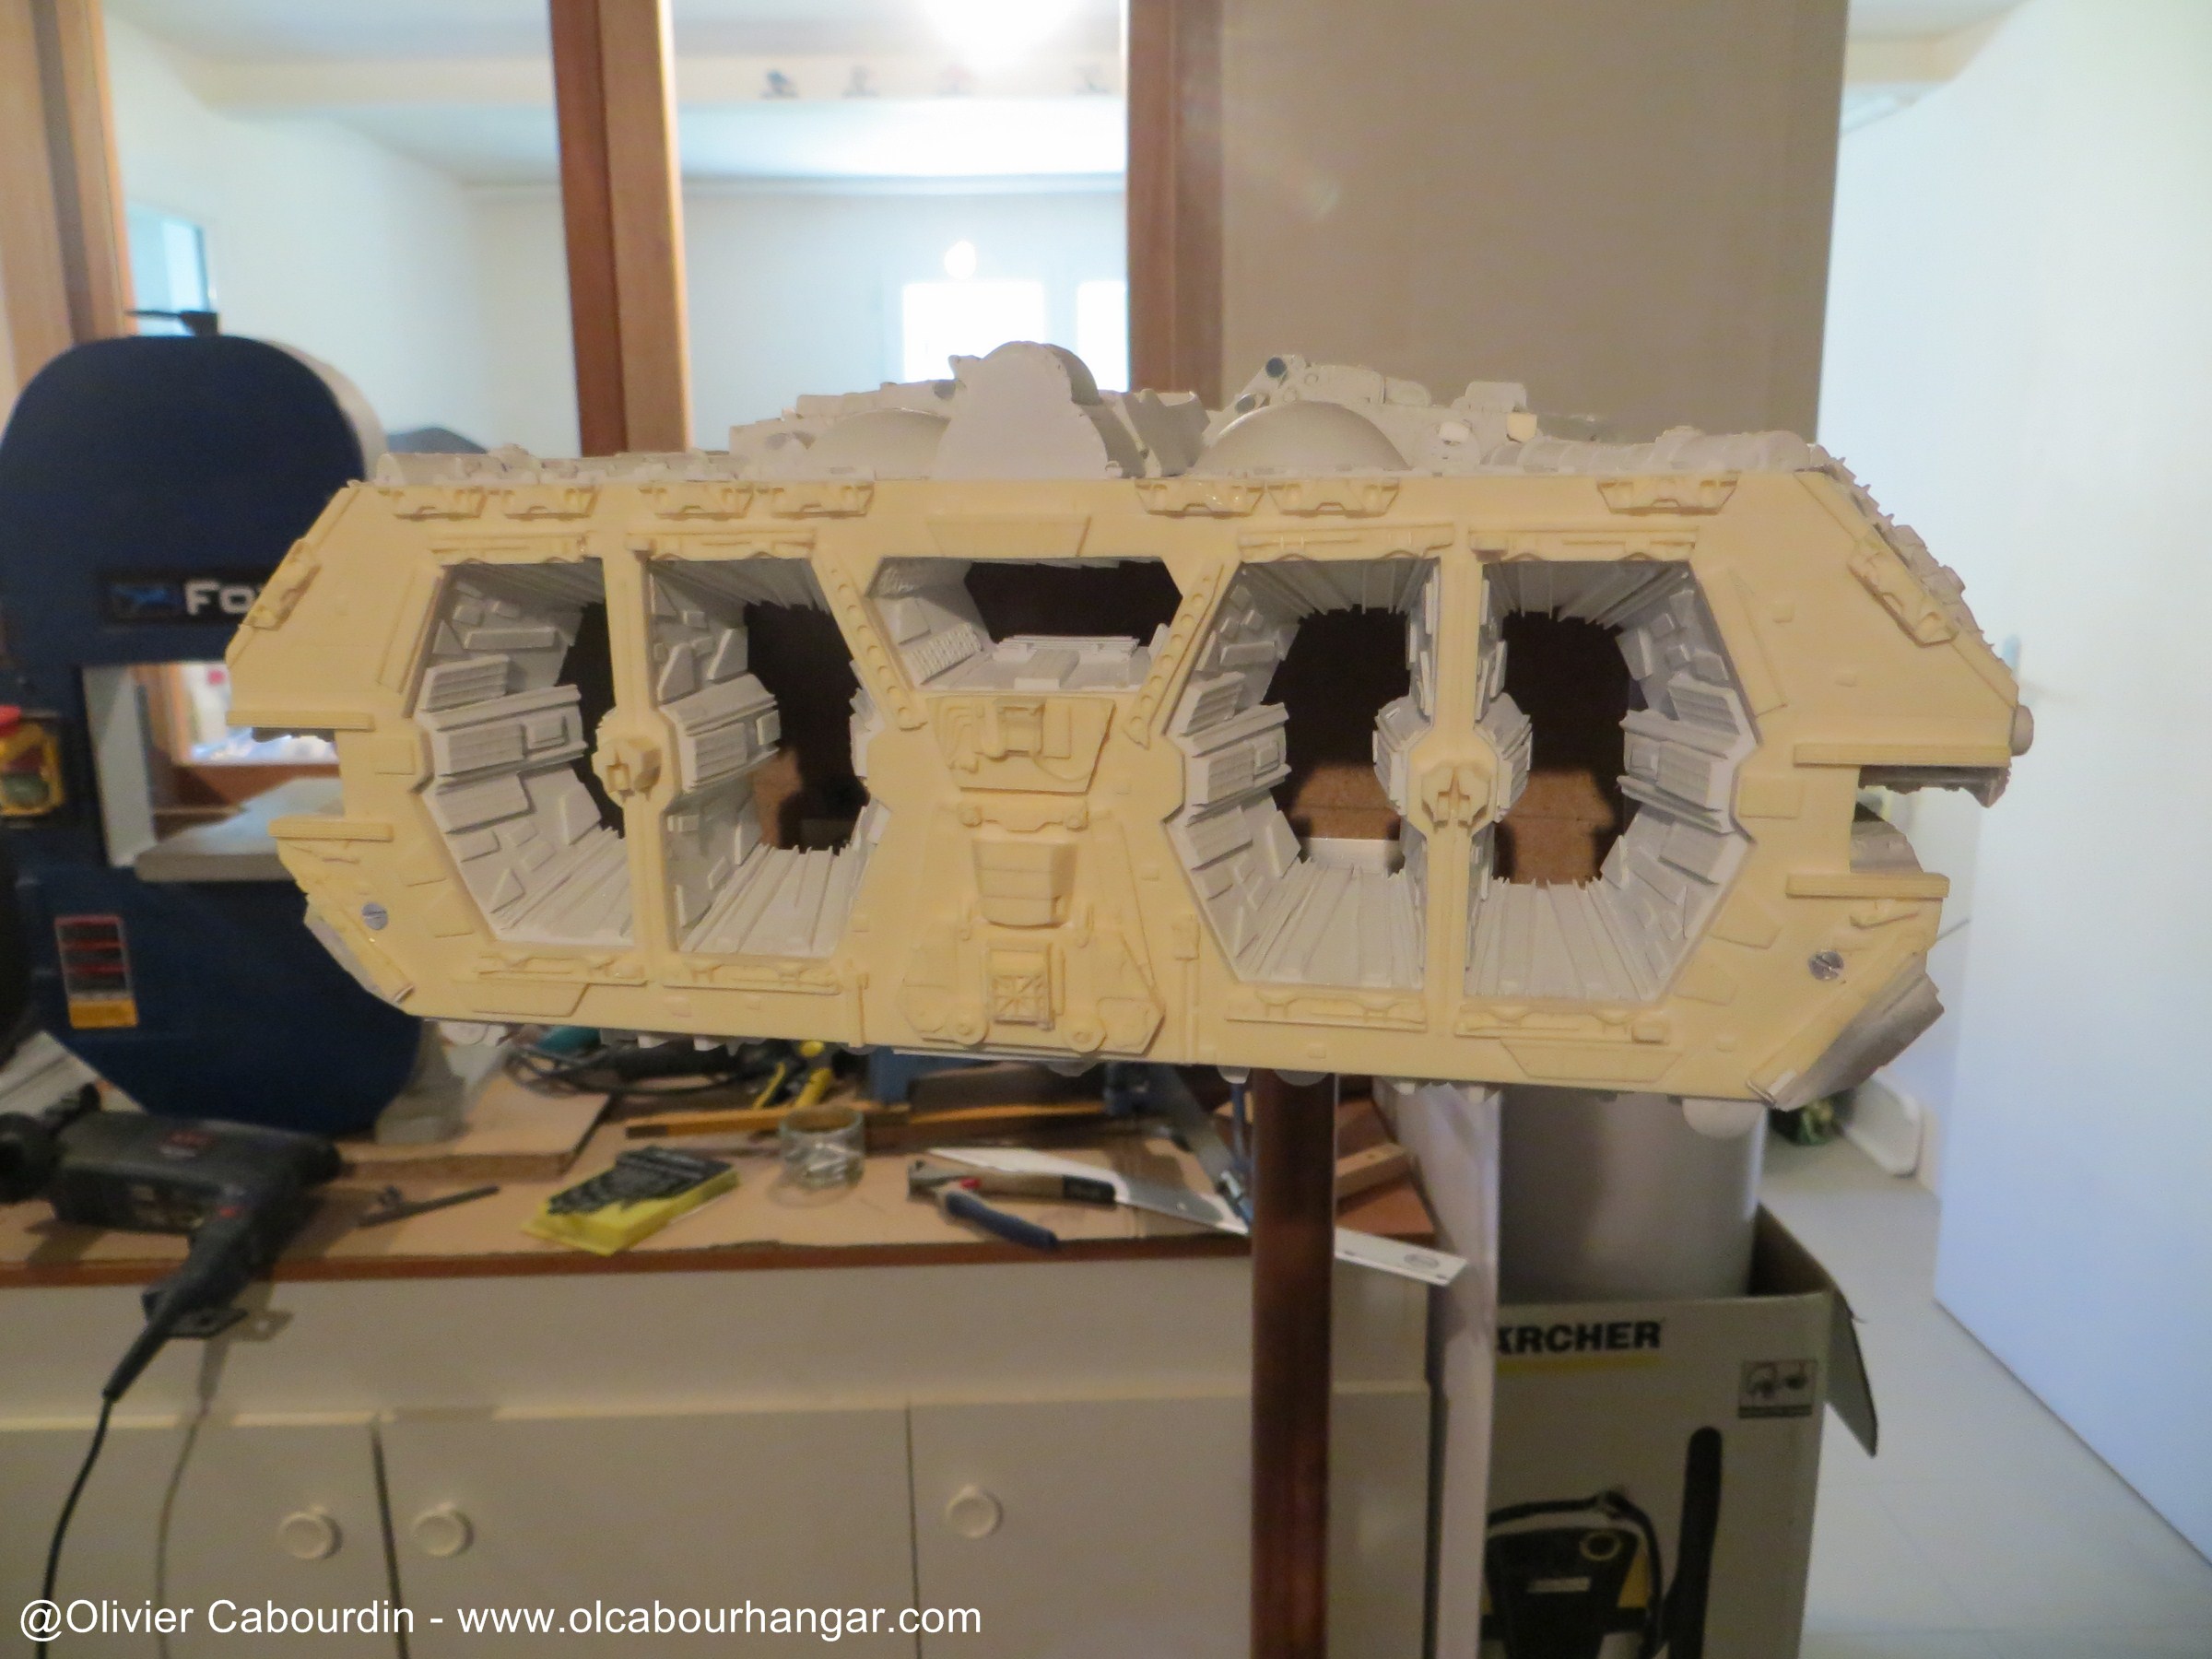
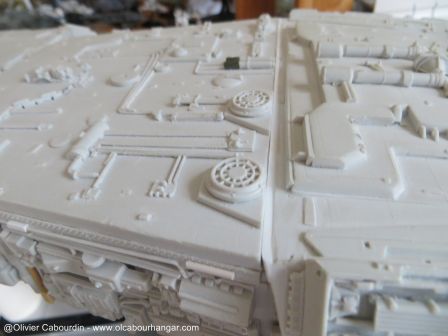
The locations of the viper launch tubes are holowed to install later the new parts

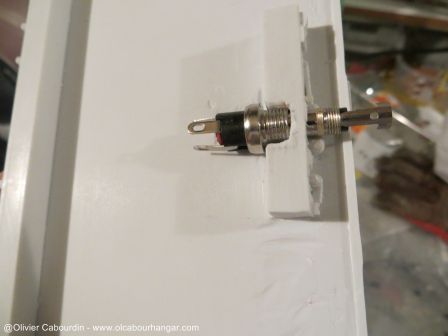
The location of the electric connectors is hollowed in each hangar.
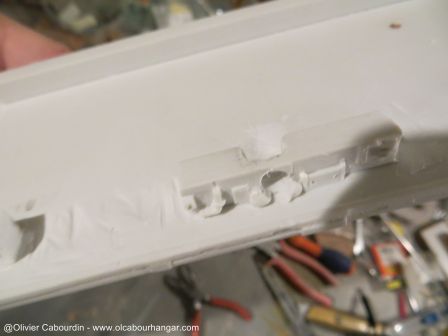
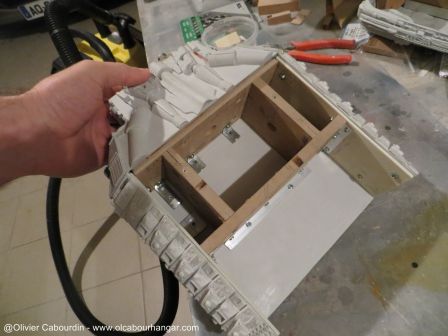
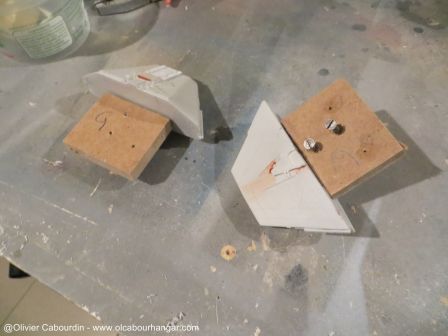
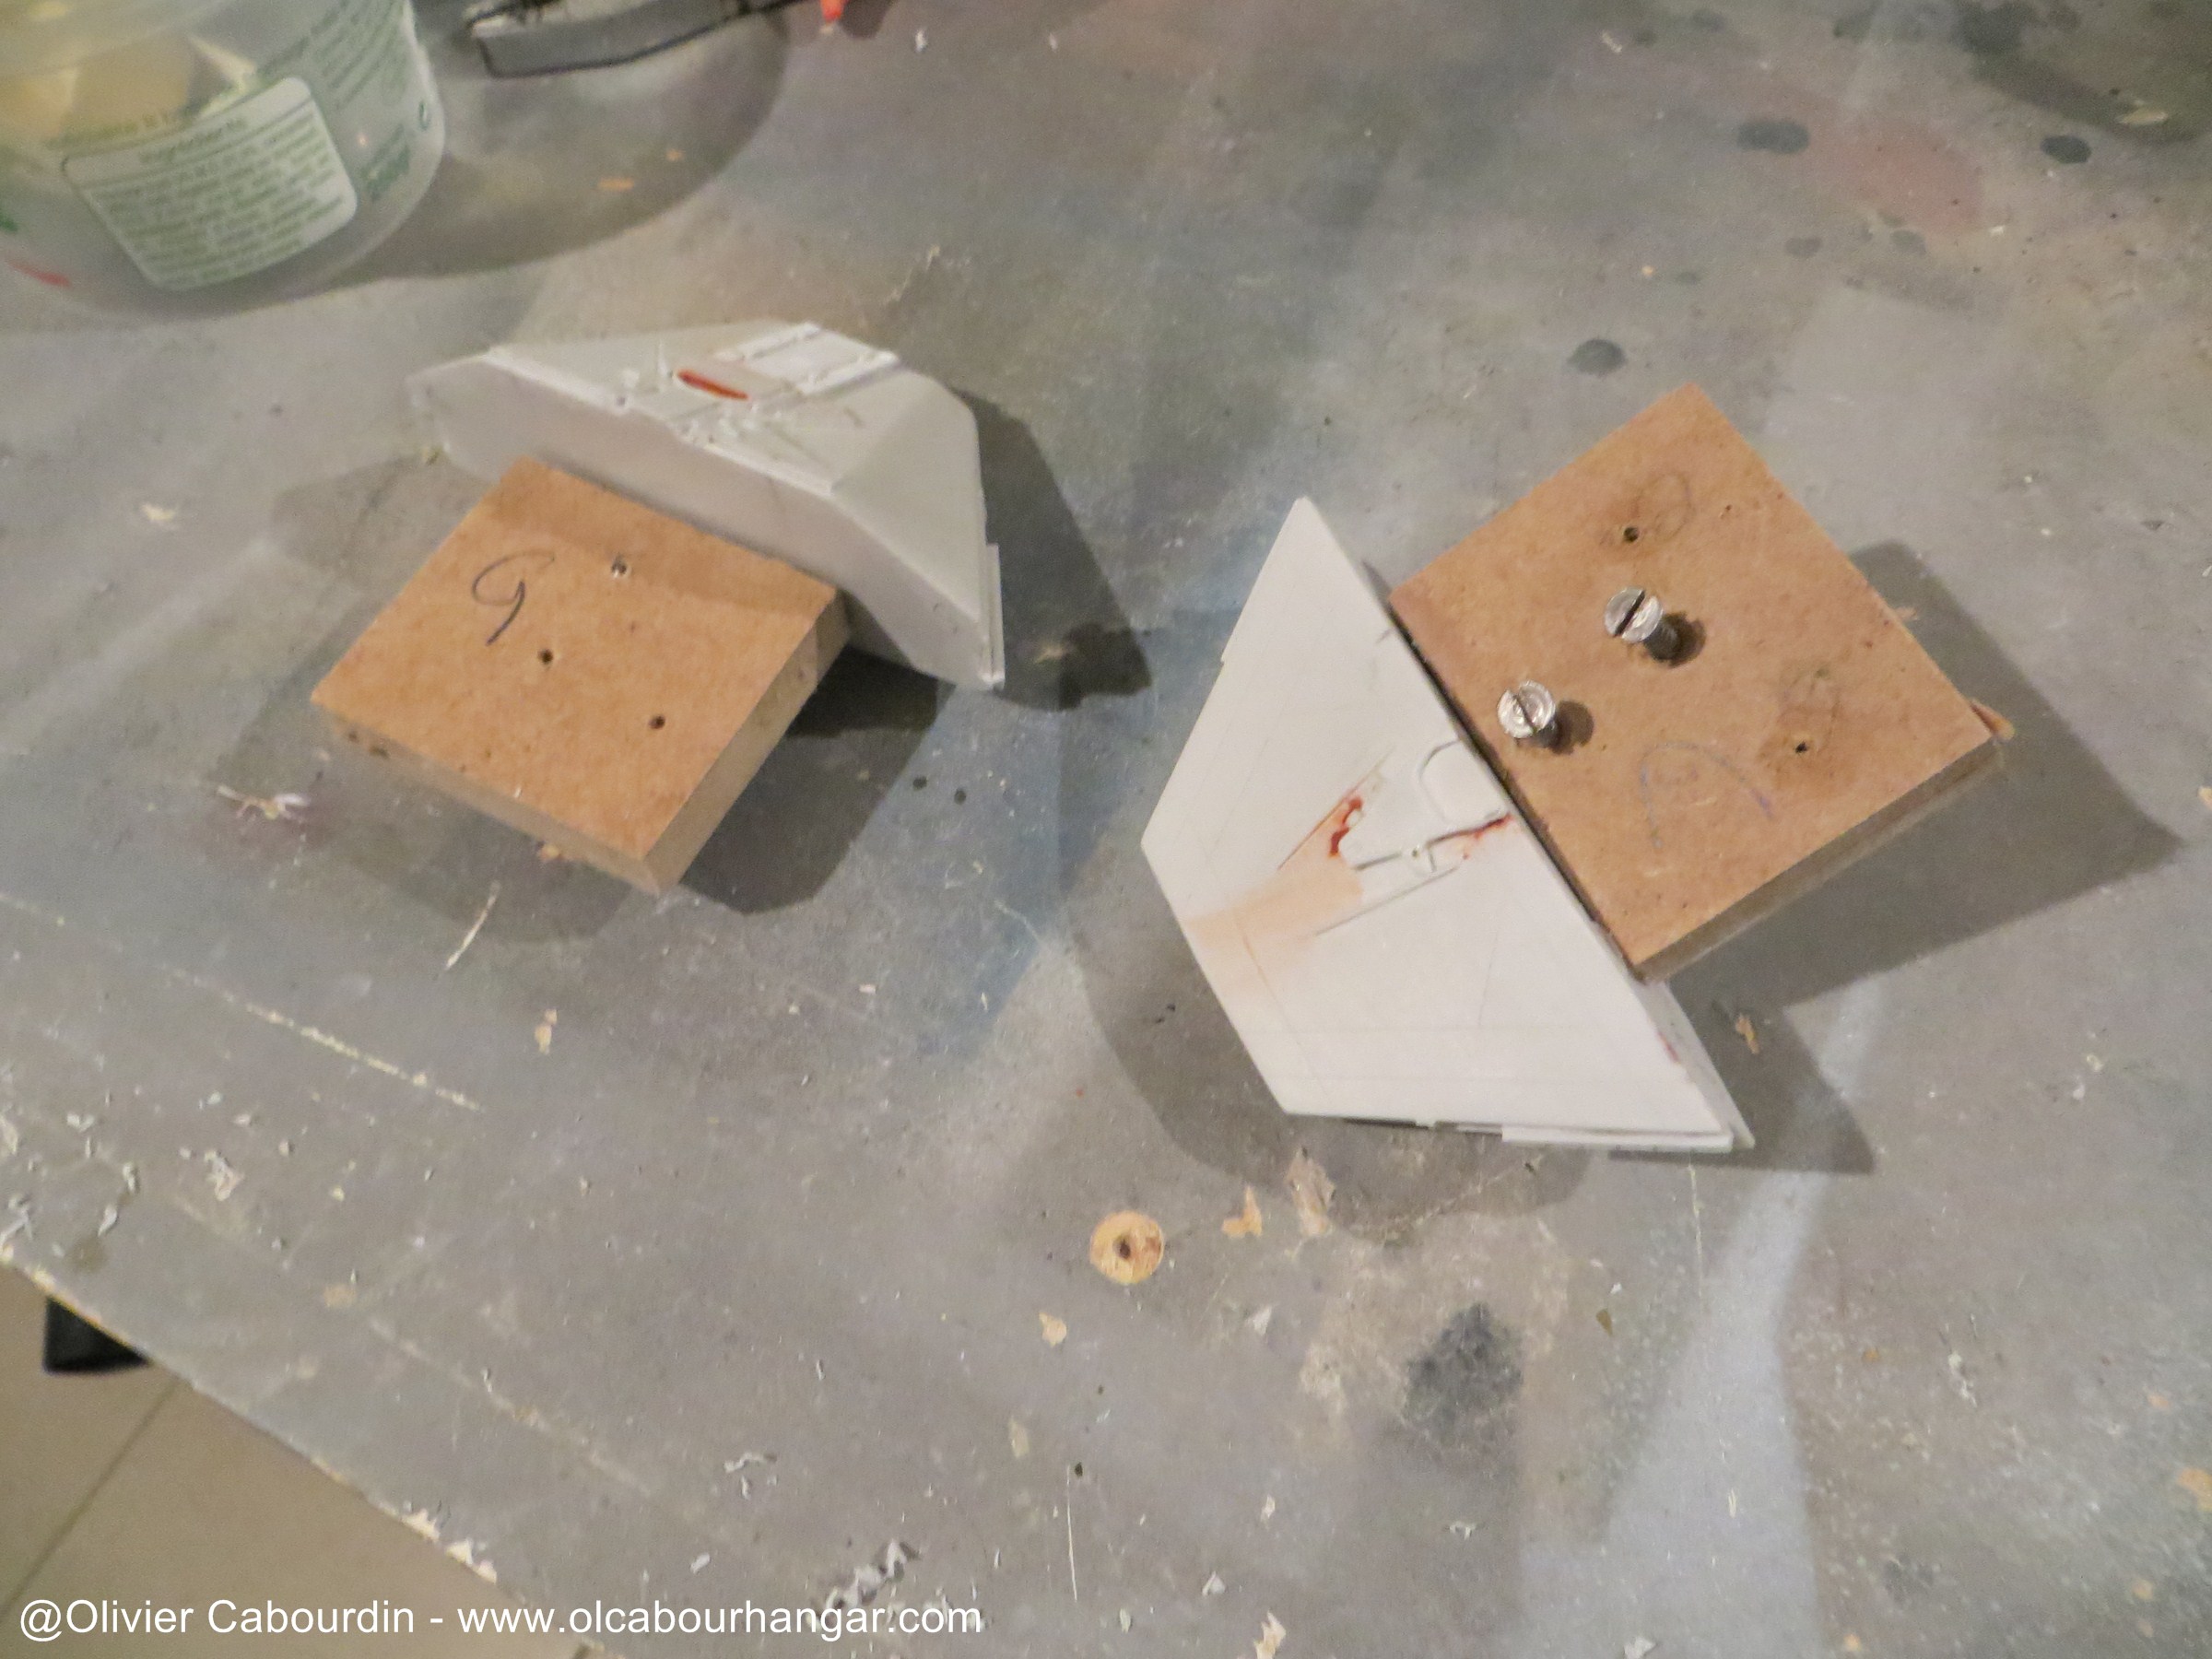
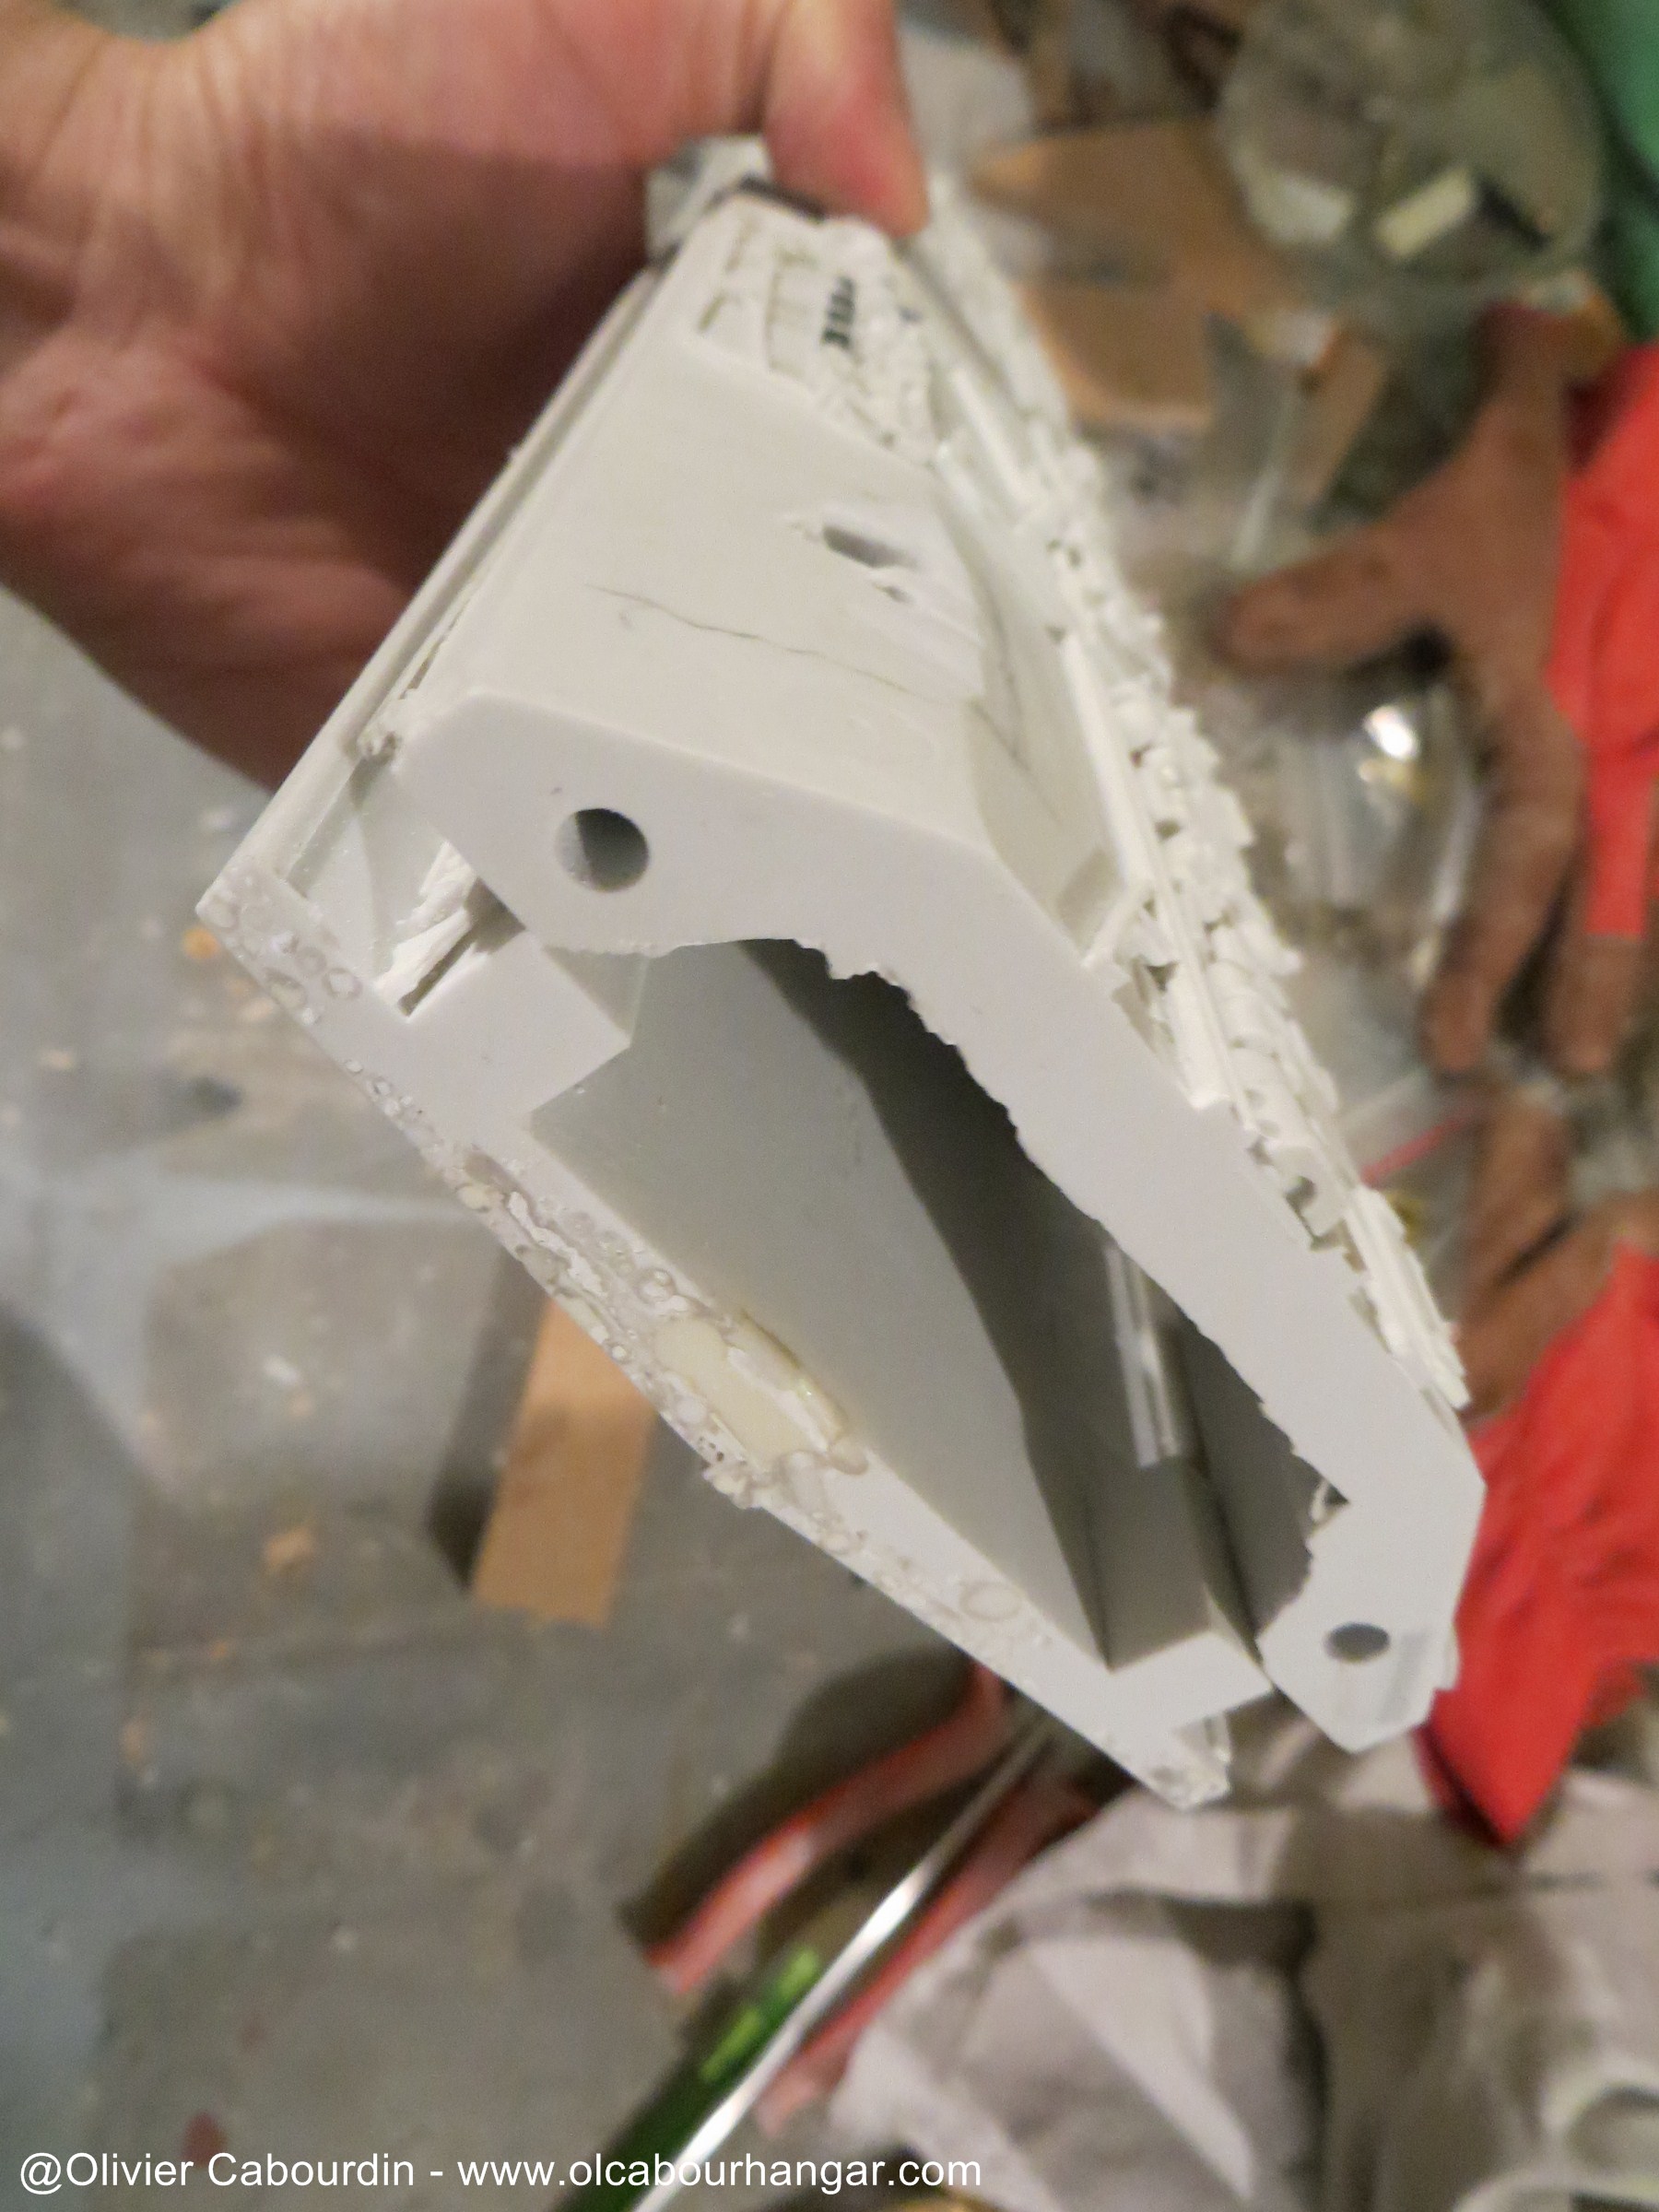
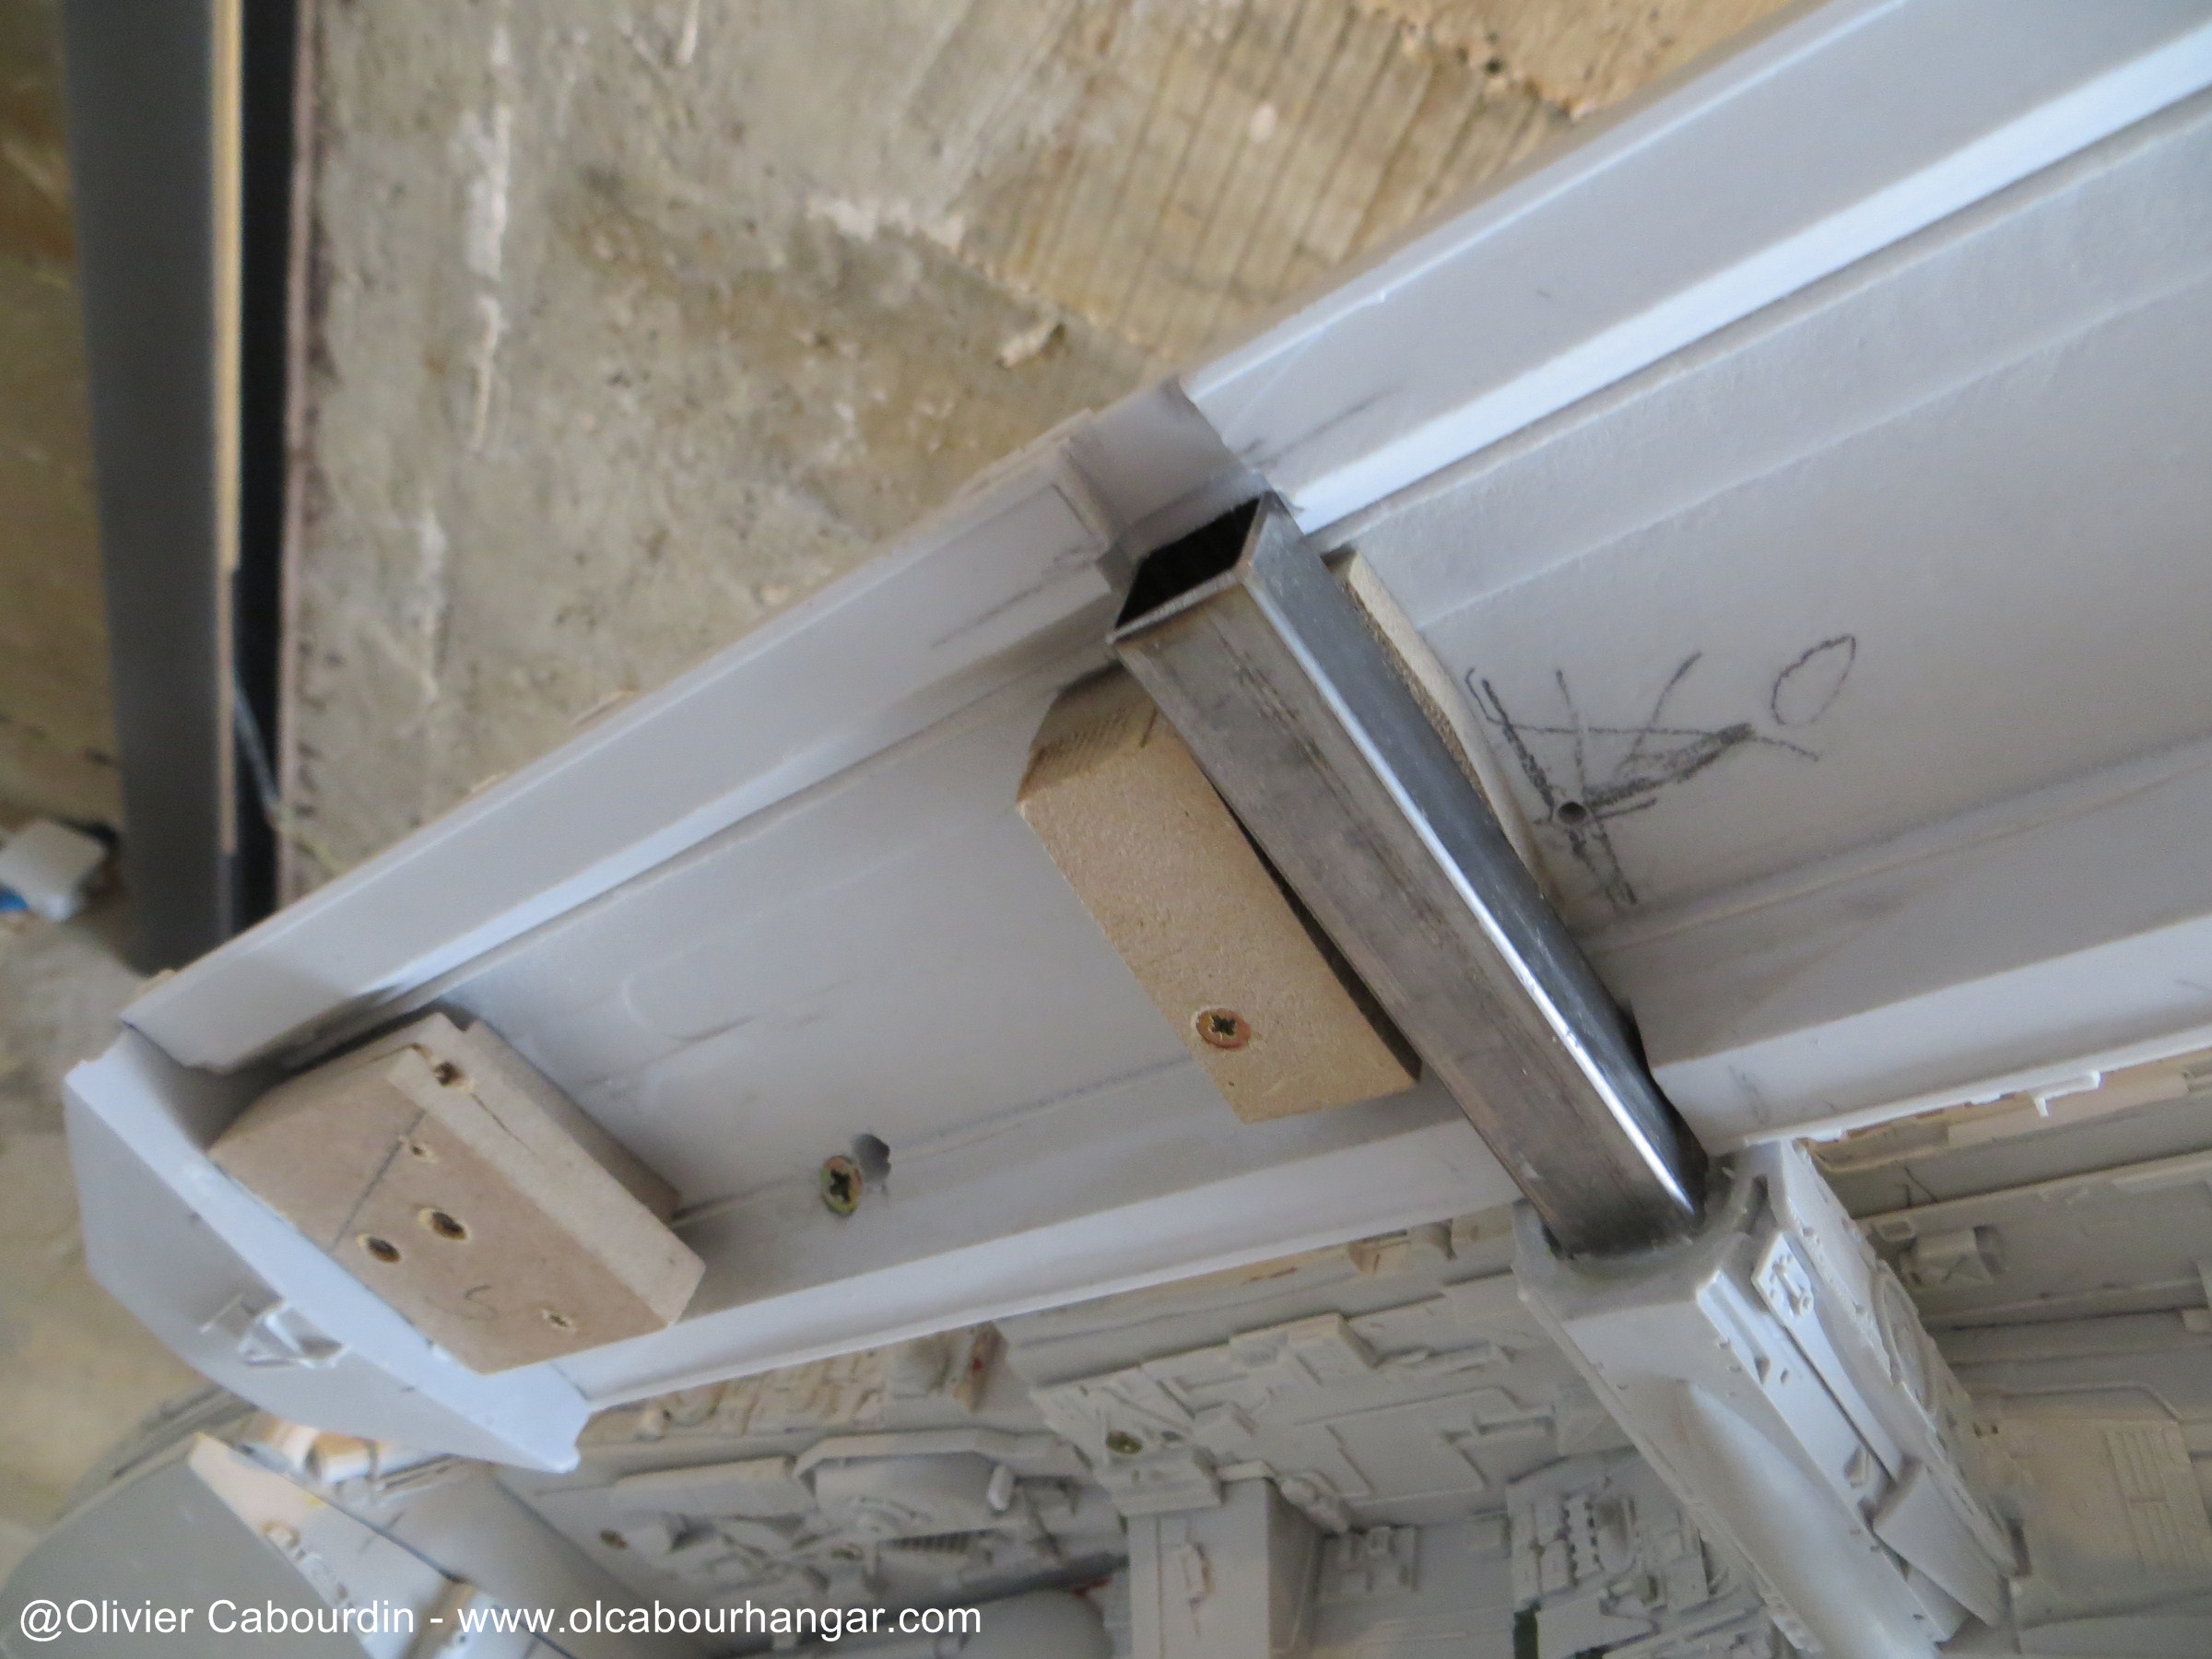
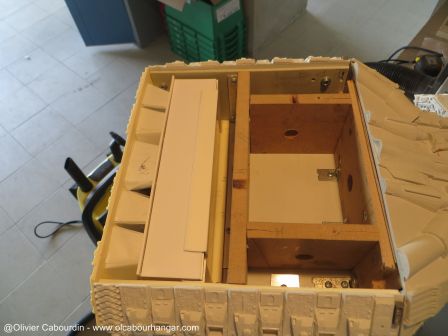
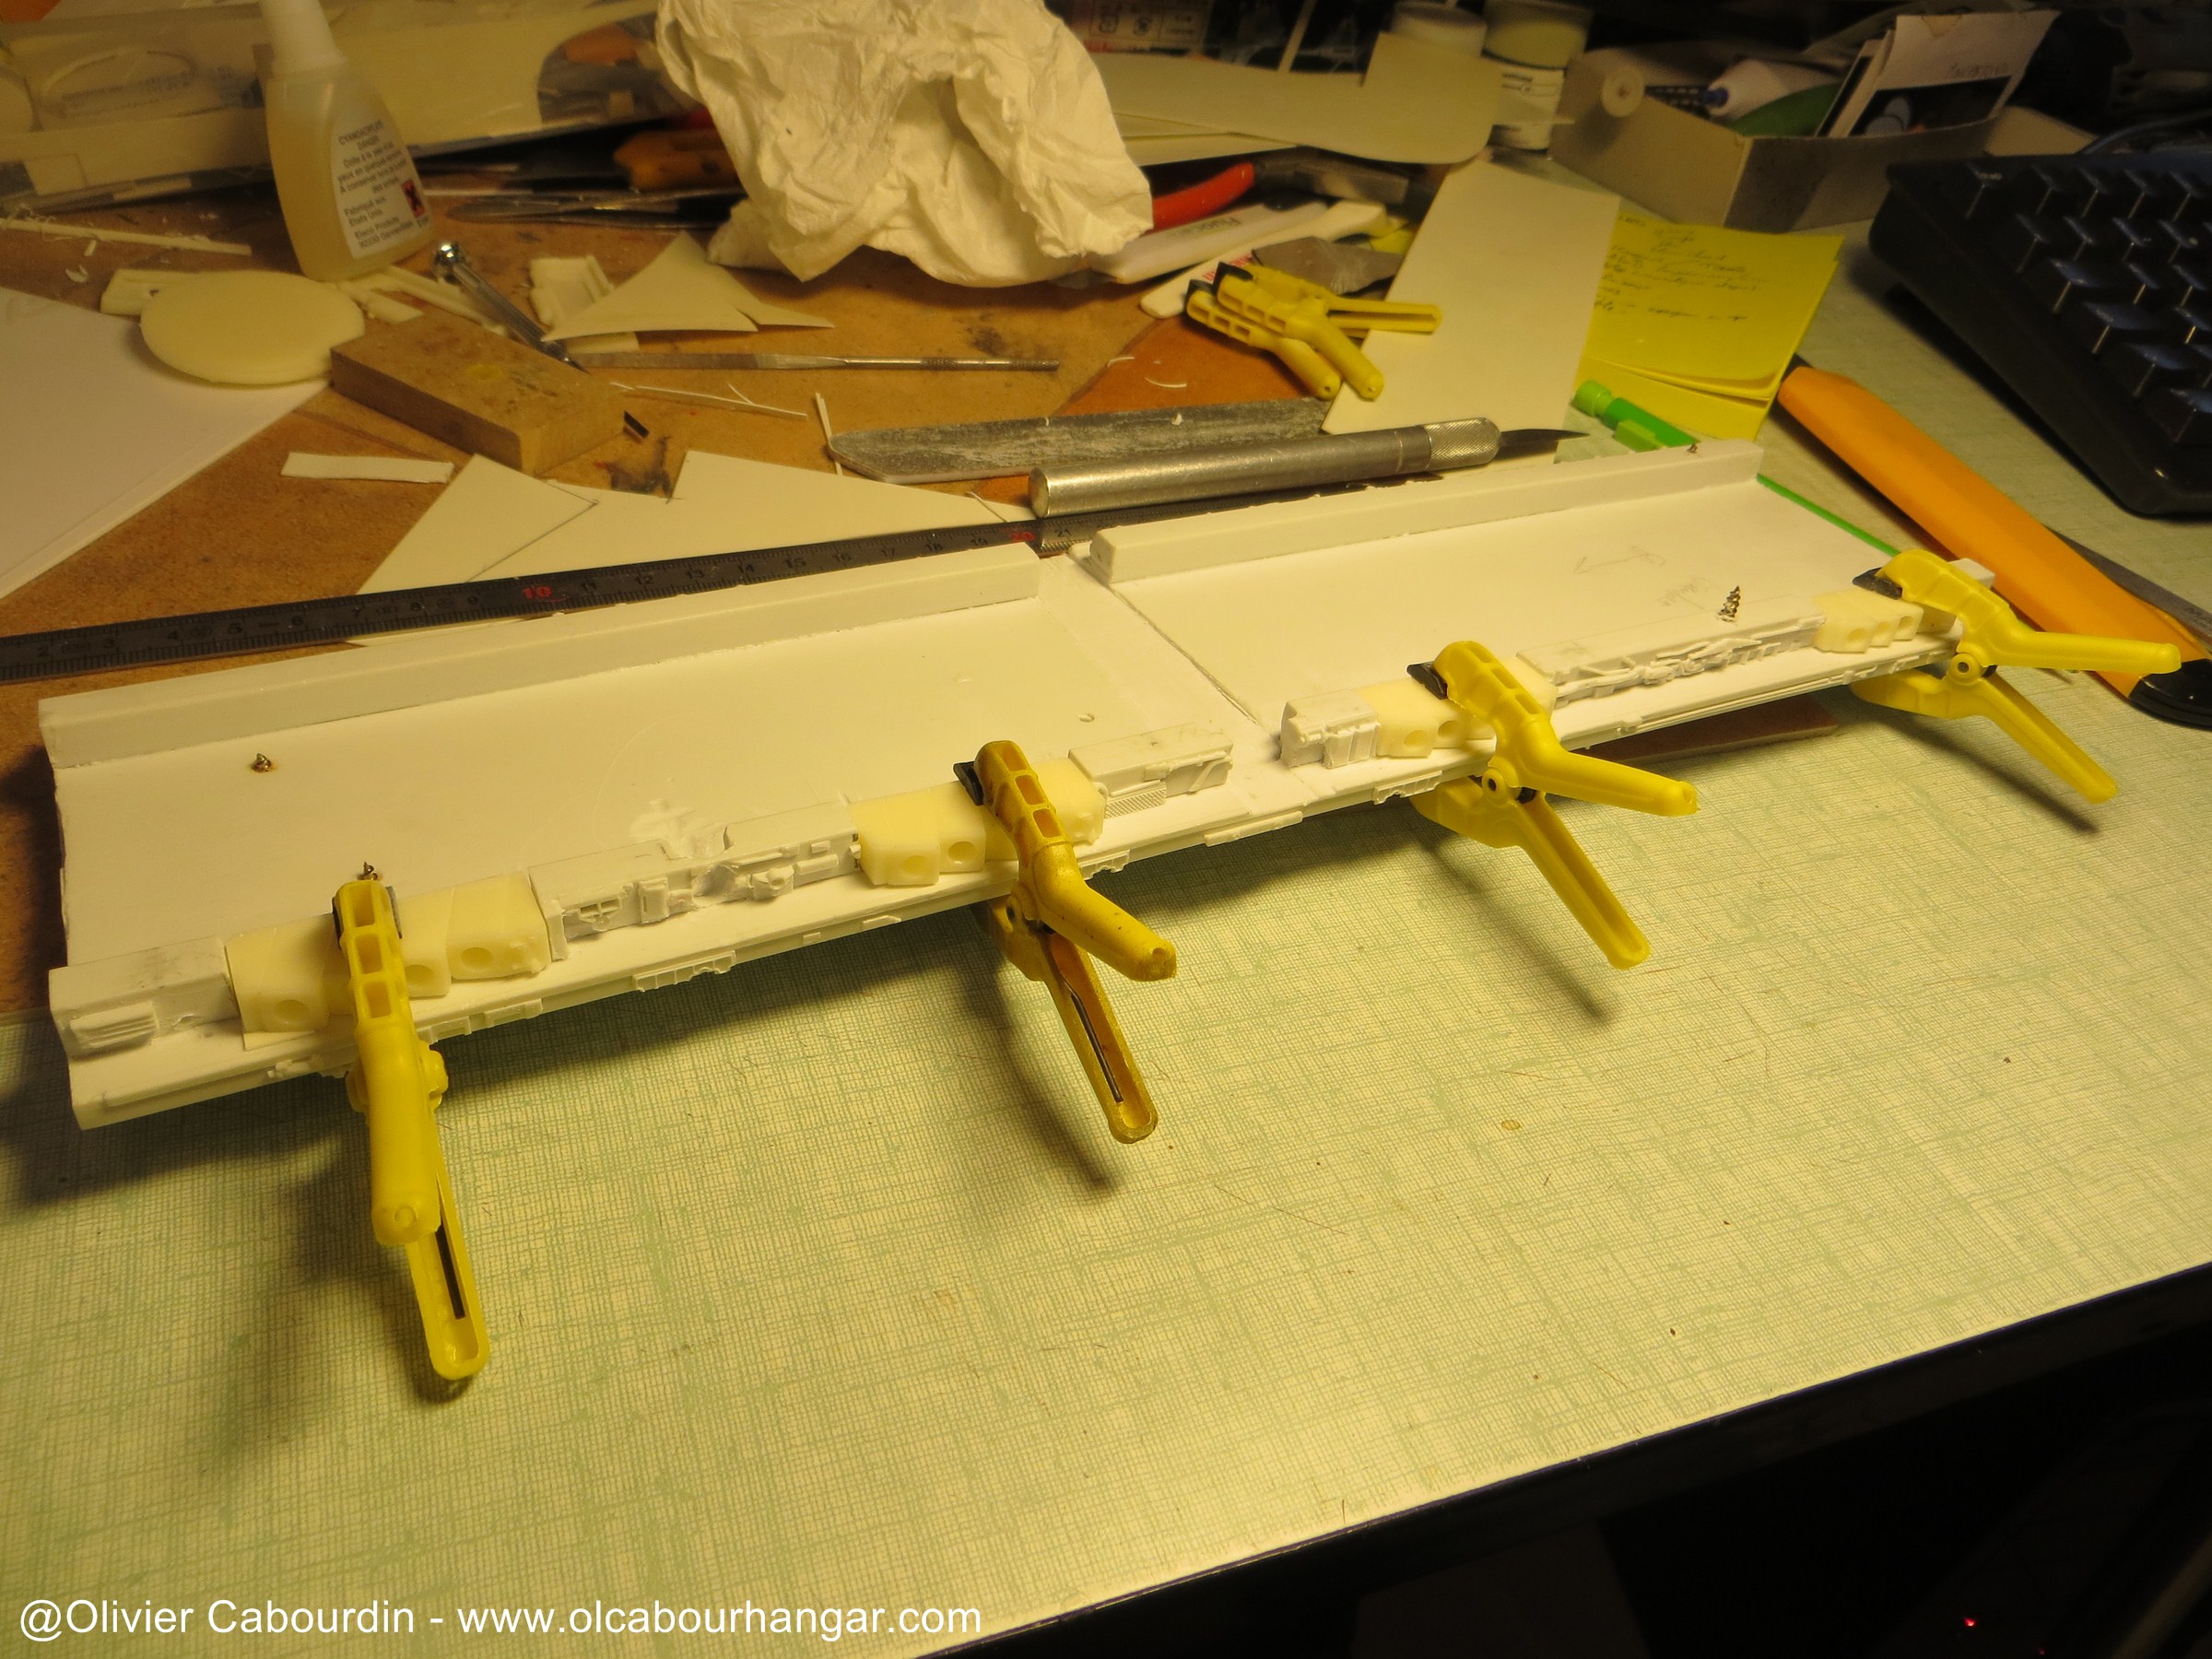
To attach the 2 large parts (top and bottom) of the hangars, the facing surface is not wide enough.
And in the rear side there will be a detailled interior, so I had to work with as is..

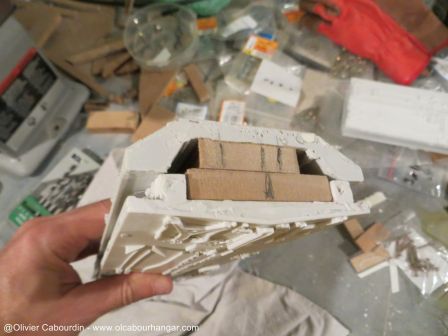
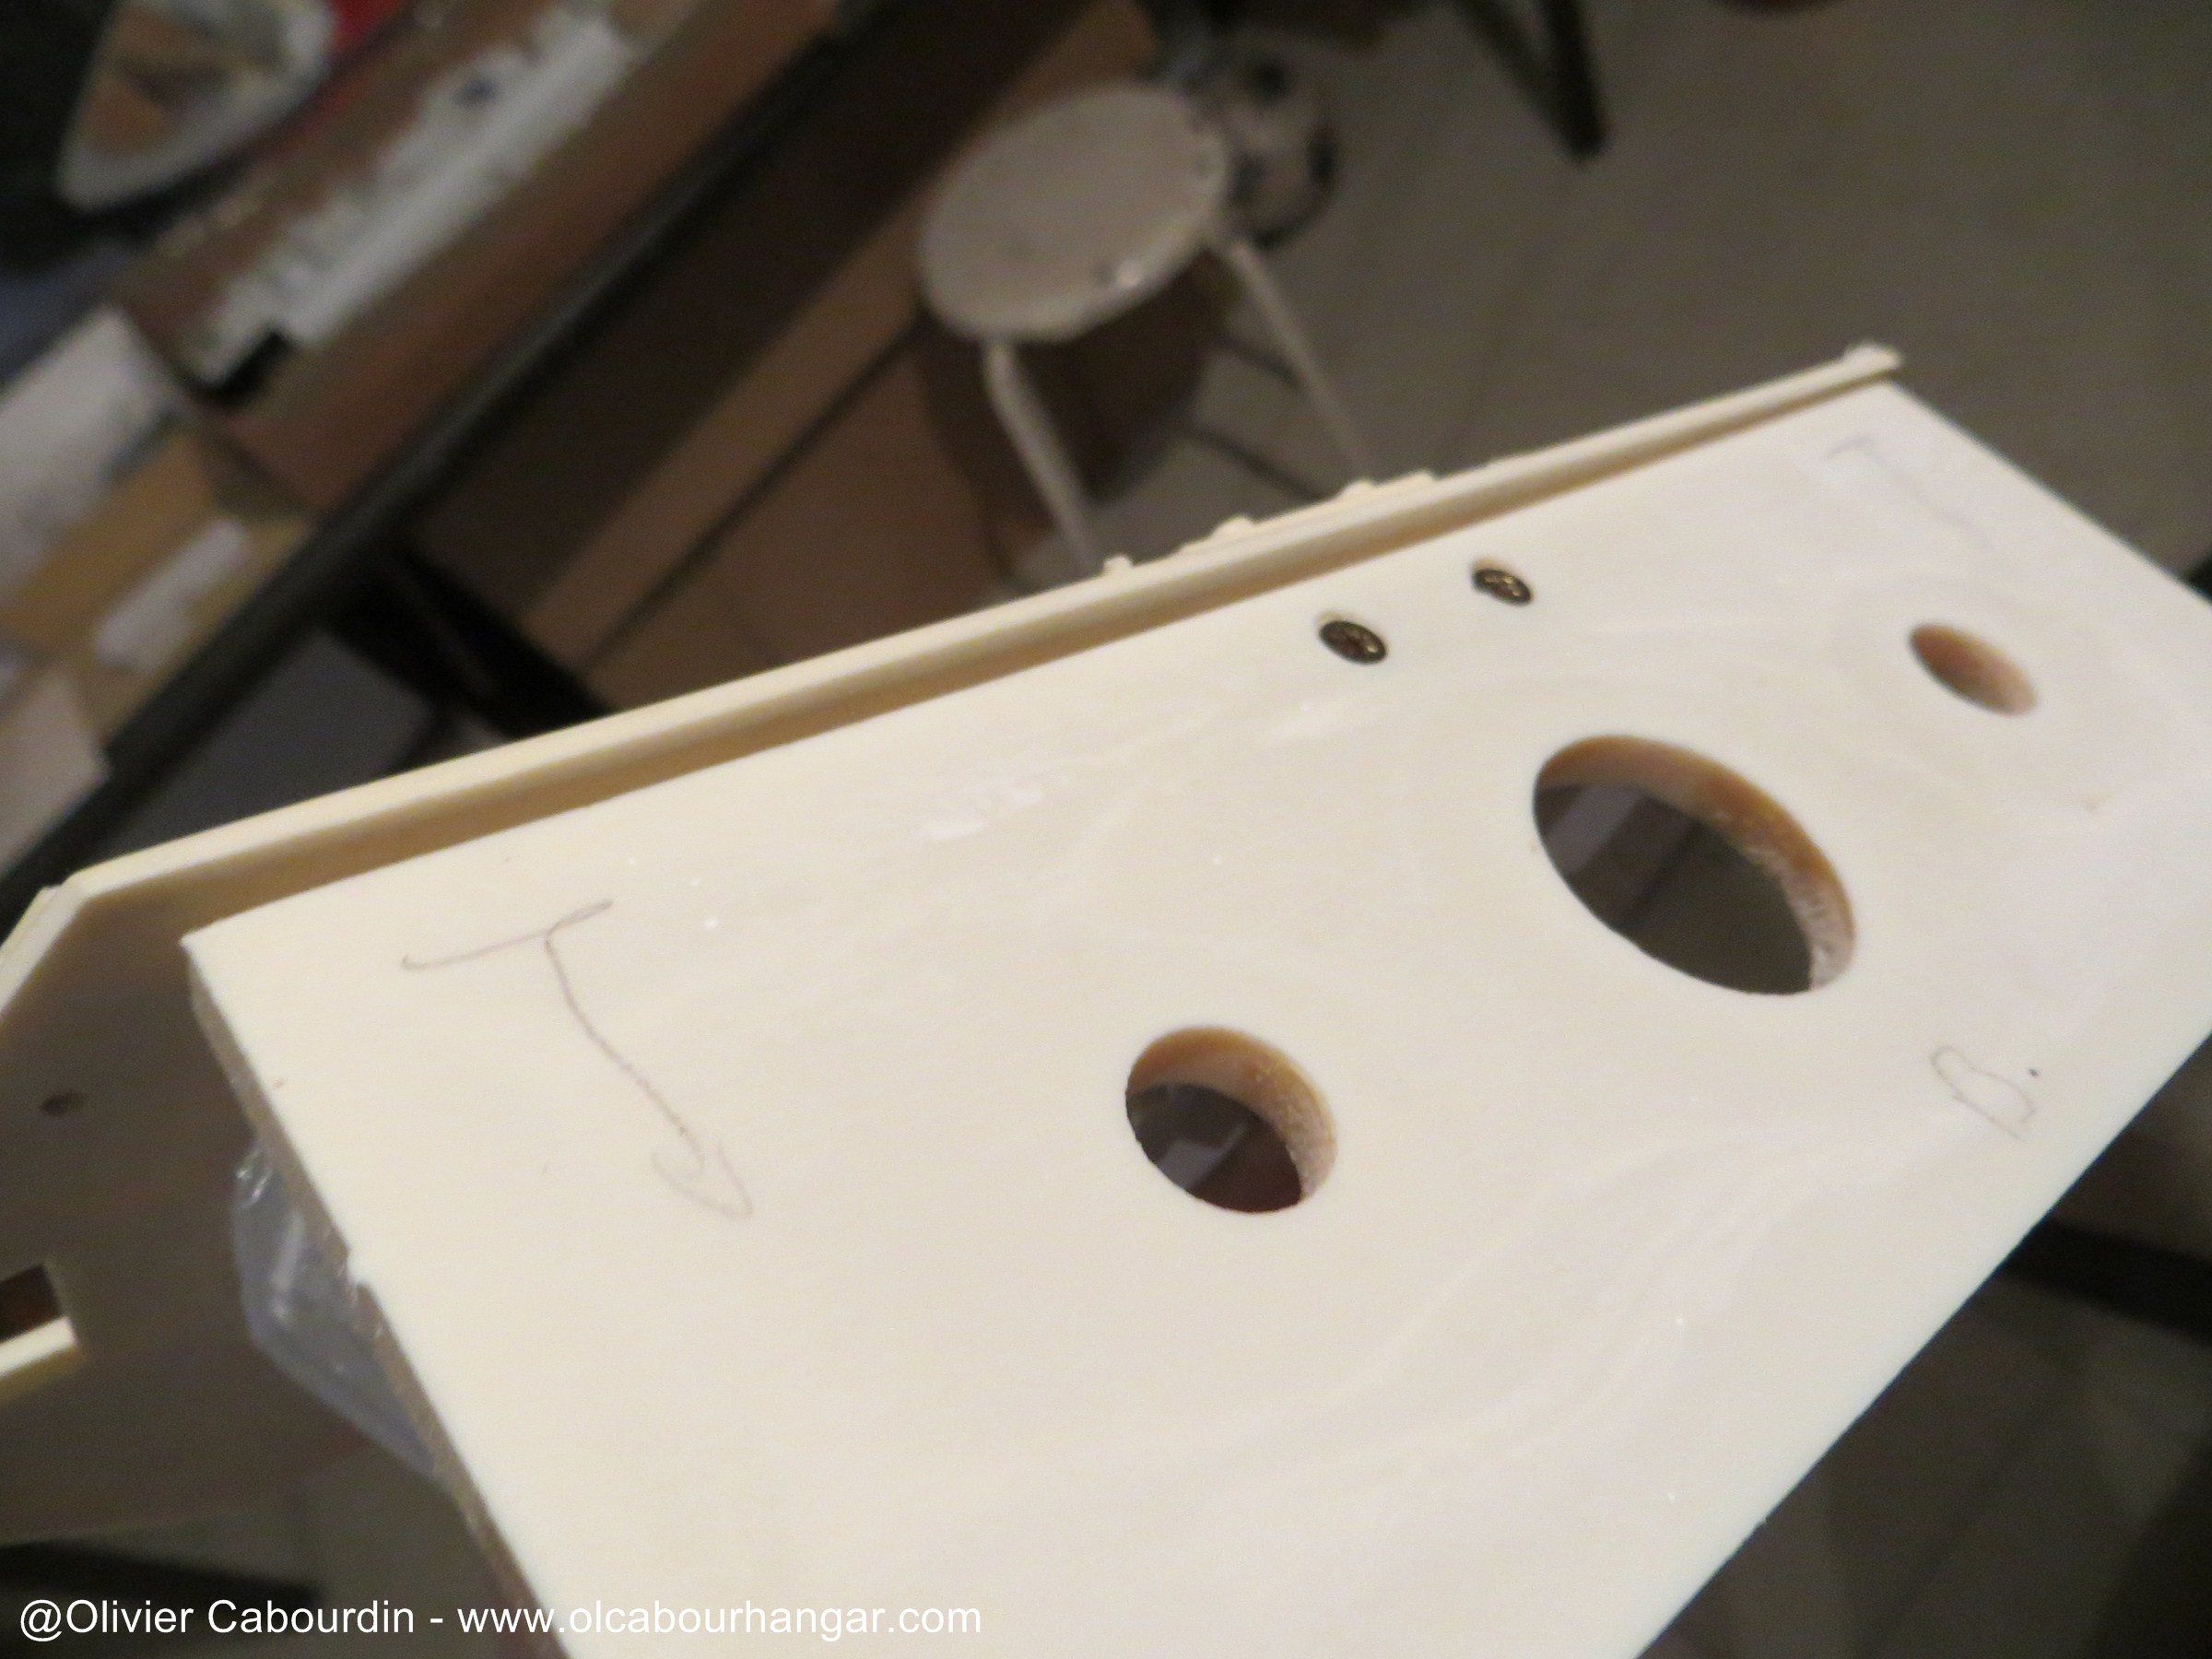
The forward side are held firmly with wooden blocks screwed together and with the parts.

The front of the hangar held with rods of 4mm. The holes are larger than the rods. I used some resin to fill the remaining space while adjusting alignment
The part and the wooden block are now one.
At the rear, the rods alone will keep the part.


The hangar parts are digged to let my square tube (for a side standing system) go through to the side.
top part


bottom part


To be sure to be perfectly aligned, I used a miter saw

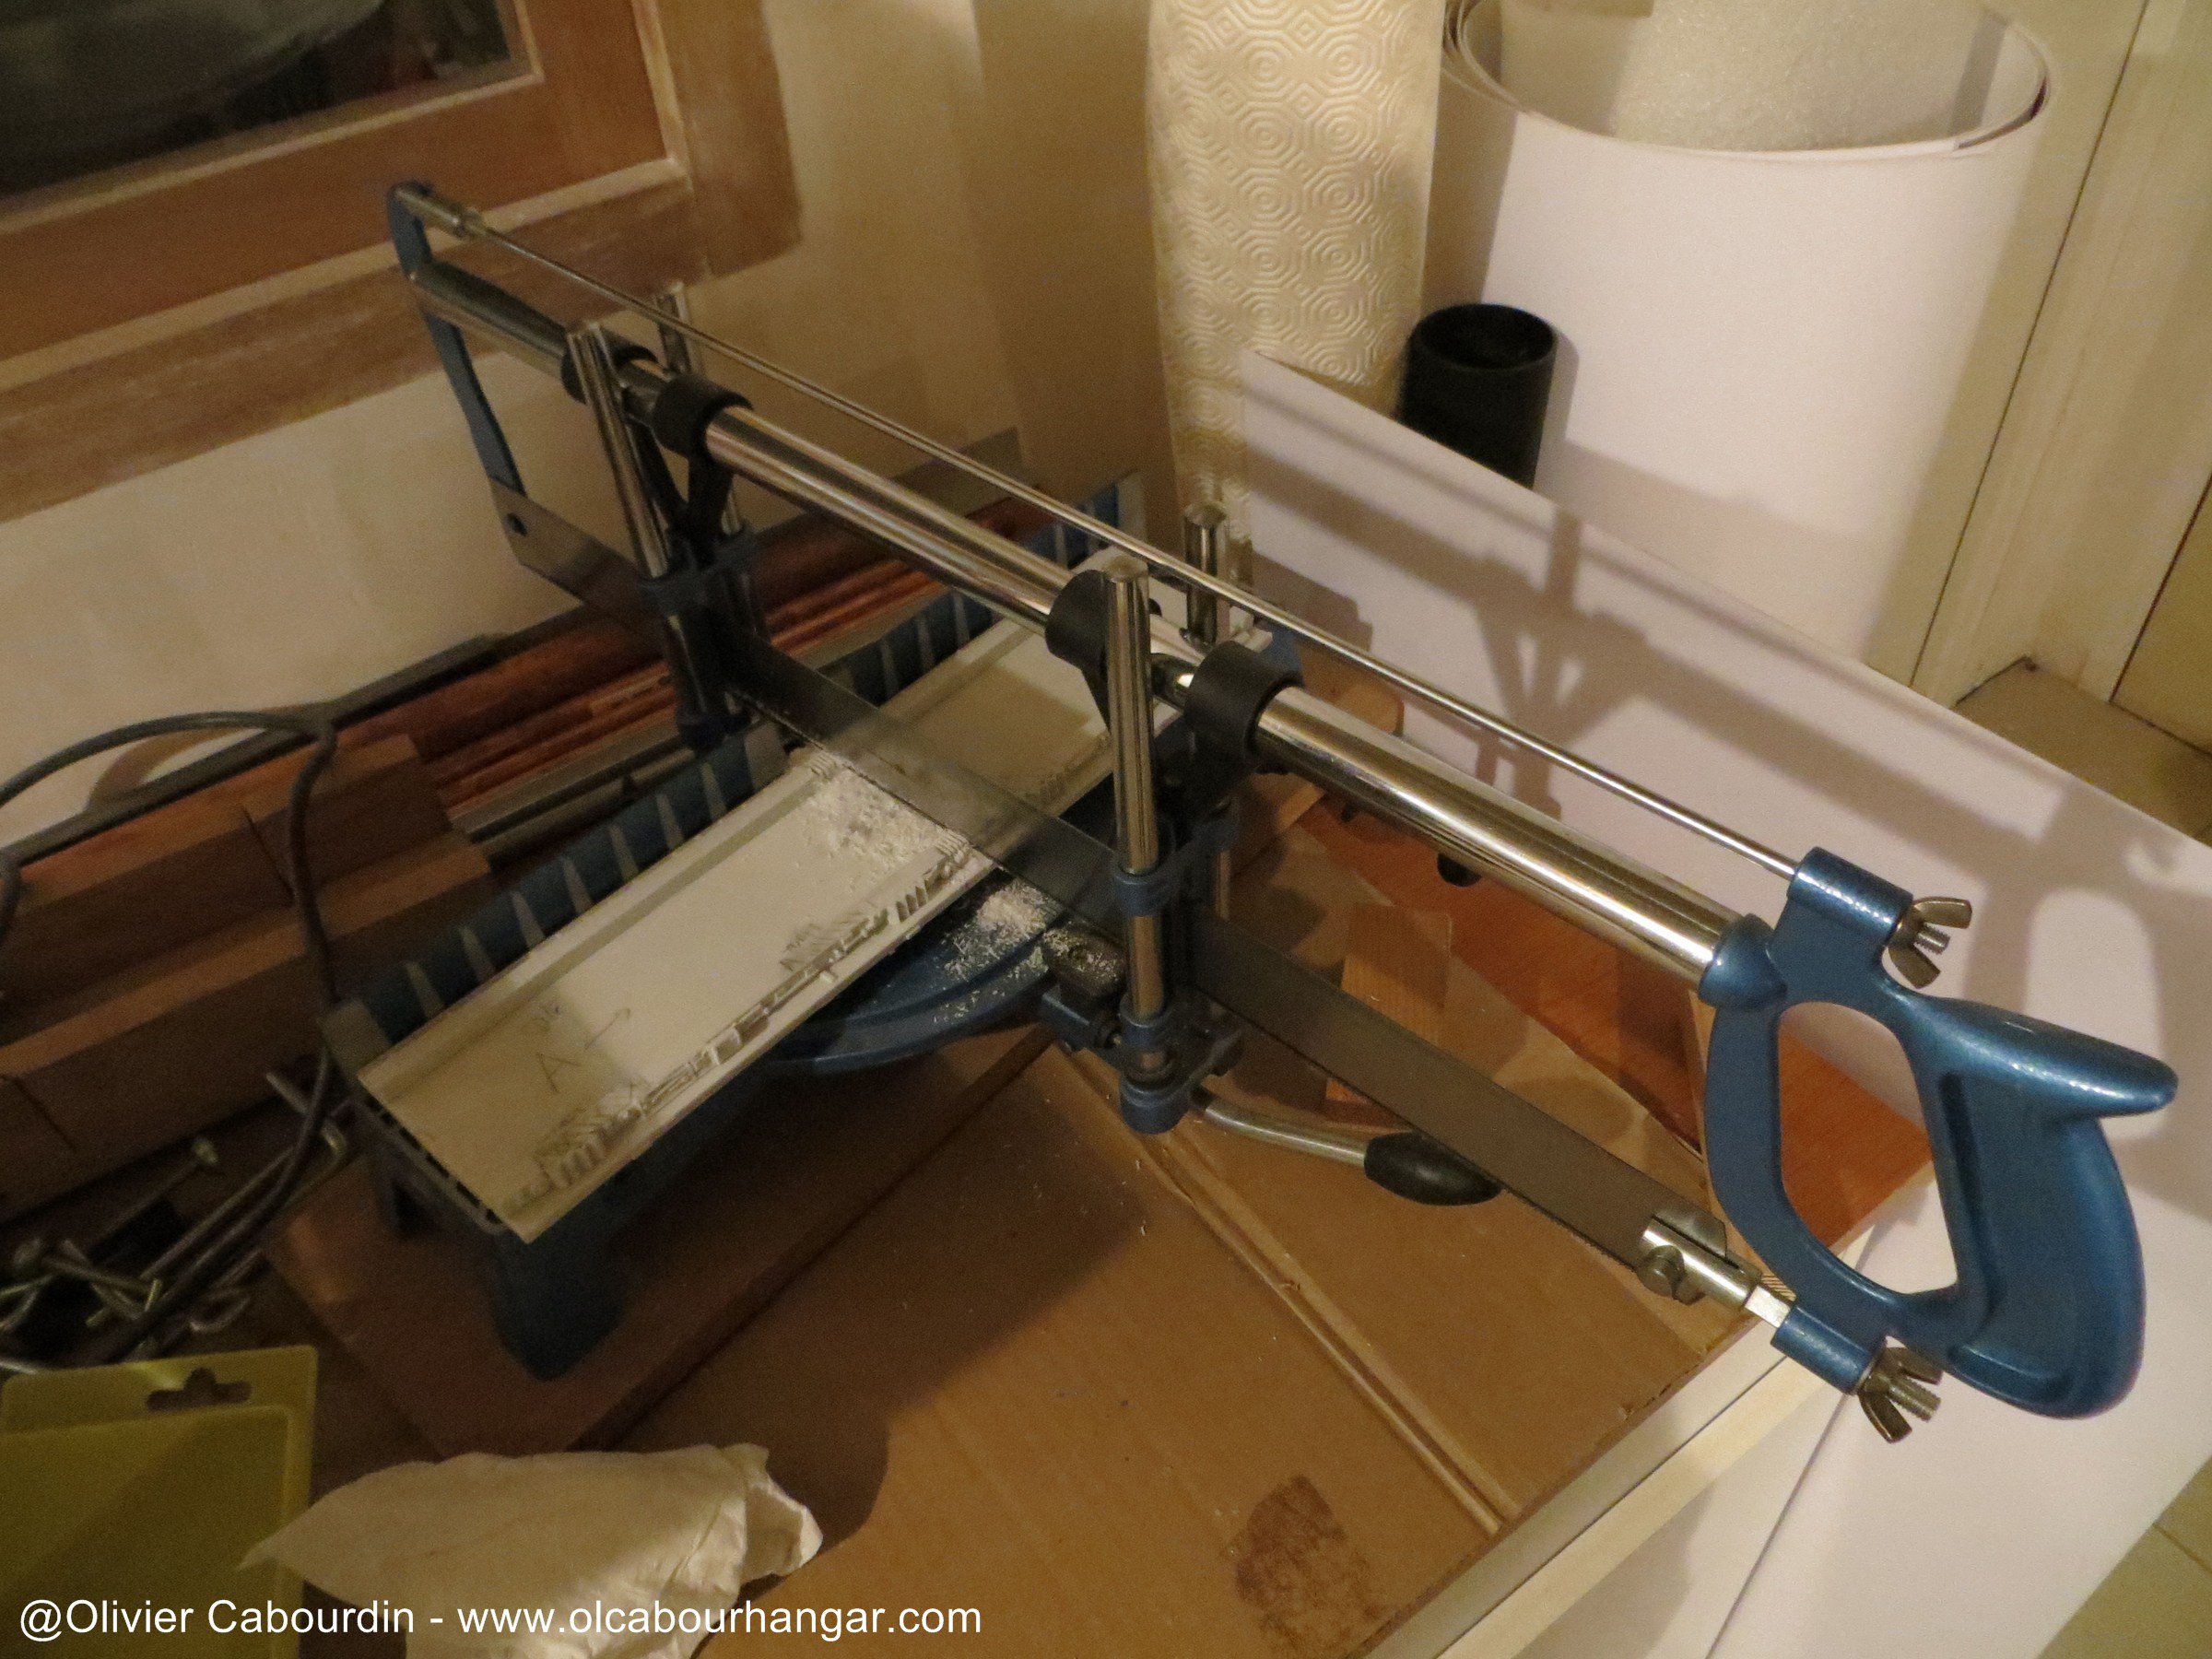
And then I realised I had to dig a channel otherwise it will not join between the top and bottom

The Galactica is impaled!
The locations of the viper launch tubes are holowed to install later the new parts
The location of the electric connectors is hollowed in each hangar.

To attach the 2 large parts (top and bottom) of the hangars, the facing surface is not wide enough.
And in the rear side there will be a detailled interior, so I had to work with as is..


The forward side are held firmly with wooden blocks screwed together and with the parts.

The front of the hangar held with rods of 4mm. The holes are larger than the rods. I used some resin to fill the remaining space while adjusting alignment
The part and the wooden block are now one.

At the rear, the rods alone will keep the part.

cabour
Sr Member
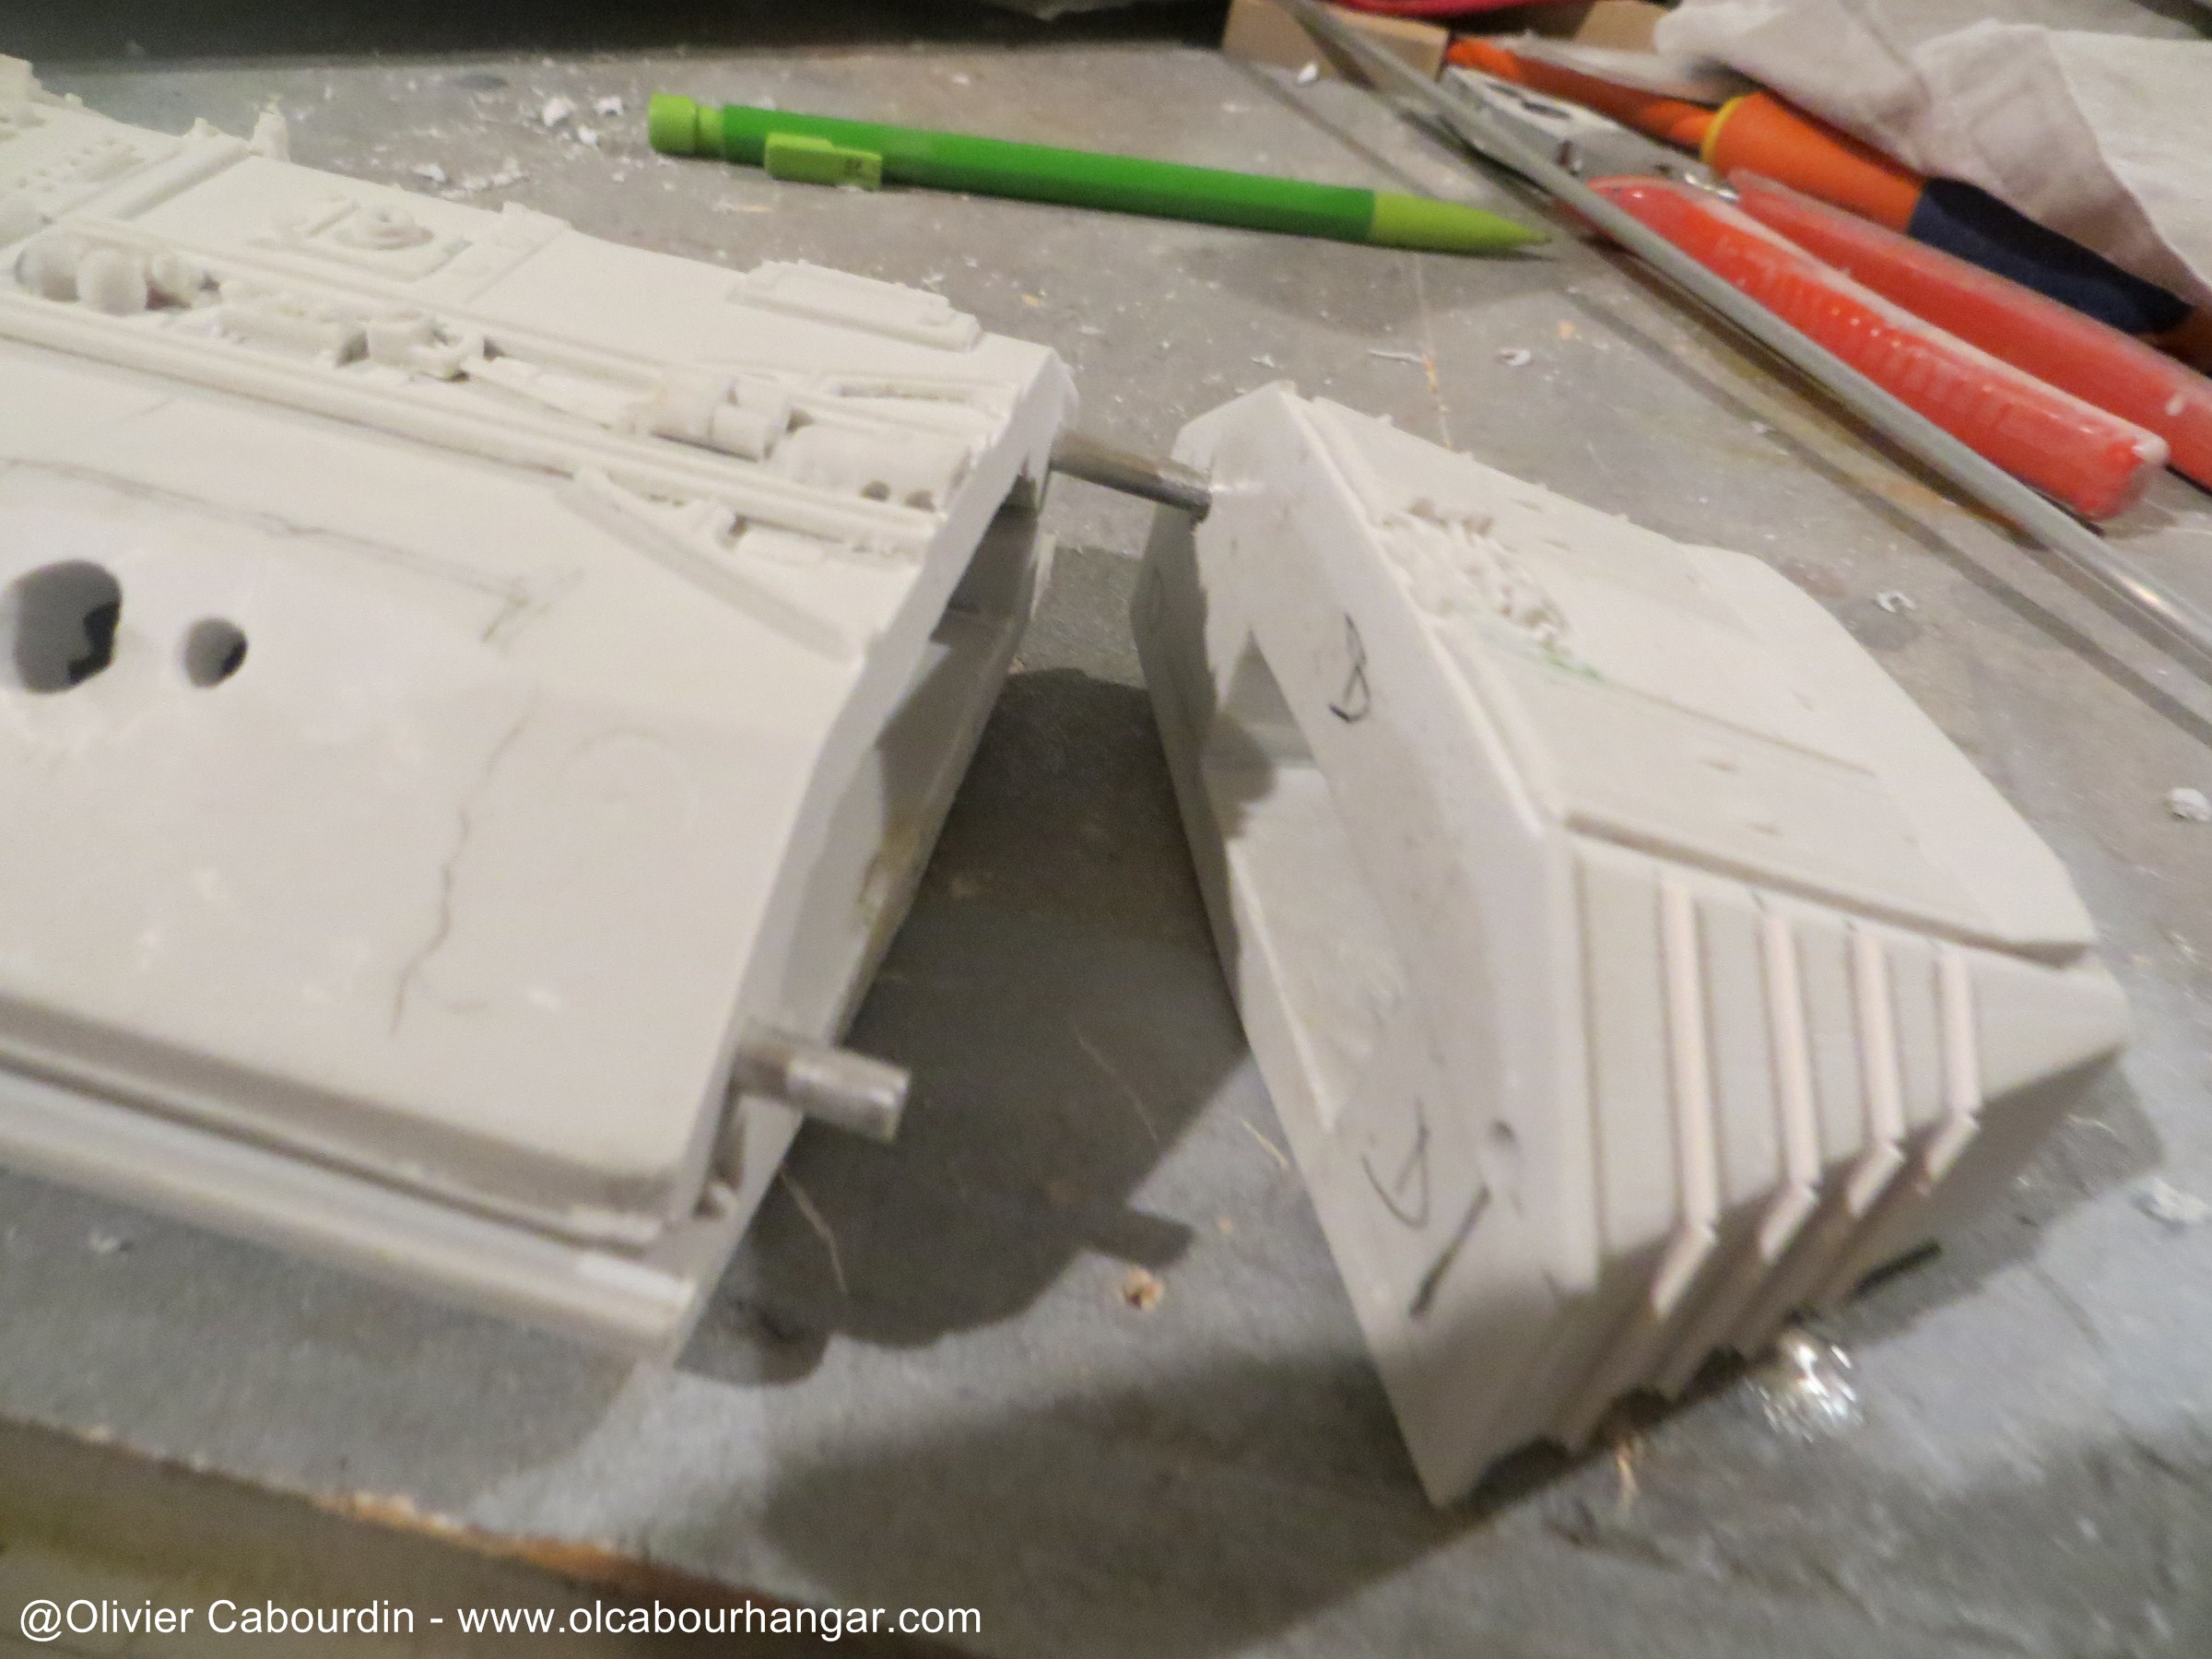
- Median arms
Median arms are adjusted gradually by successive sanding the ends.
A metal rod secures the alignment with the body and a screw from the shed to hold it firmly.

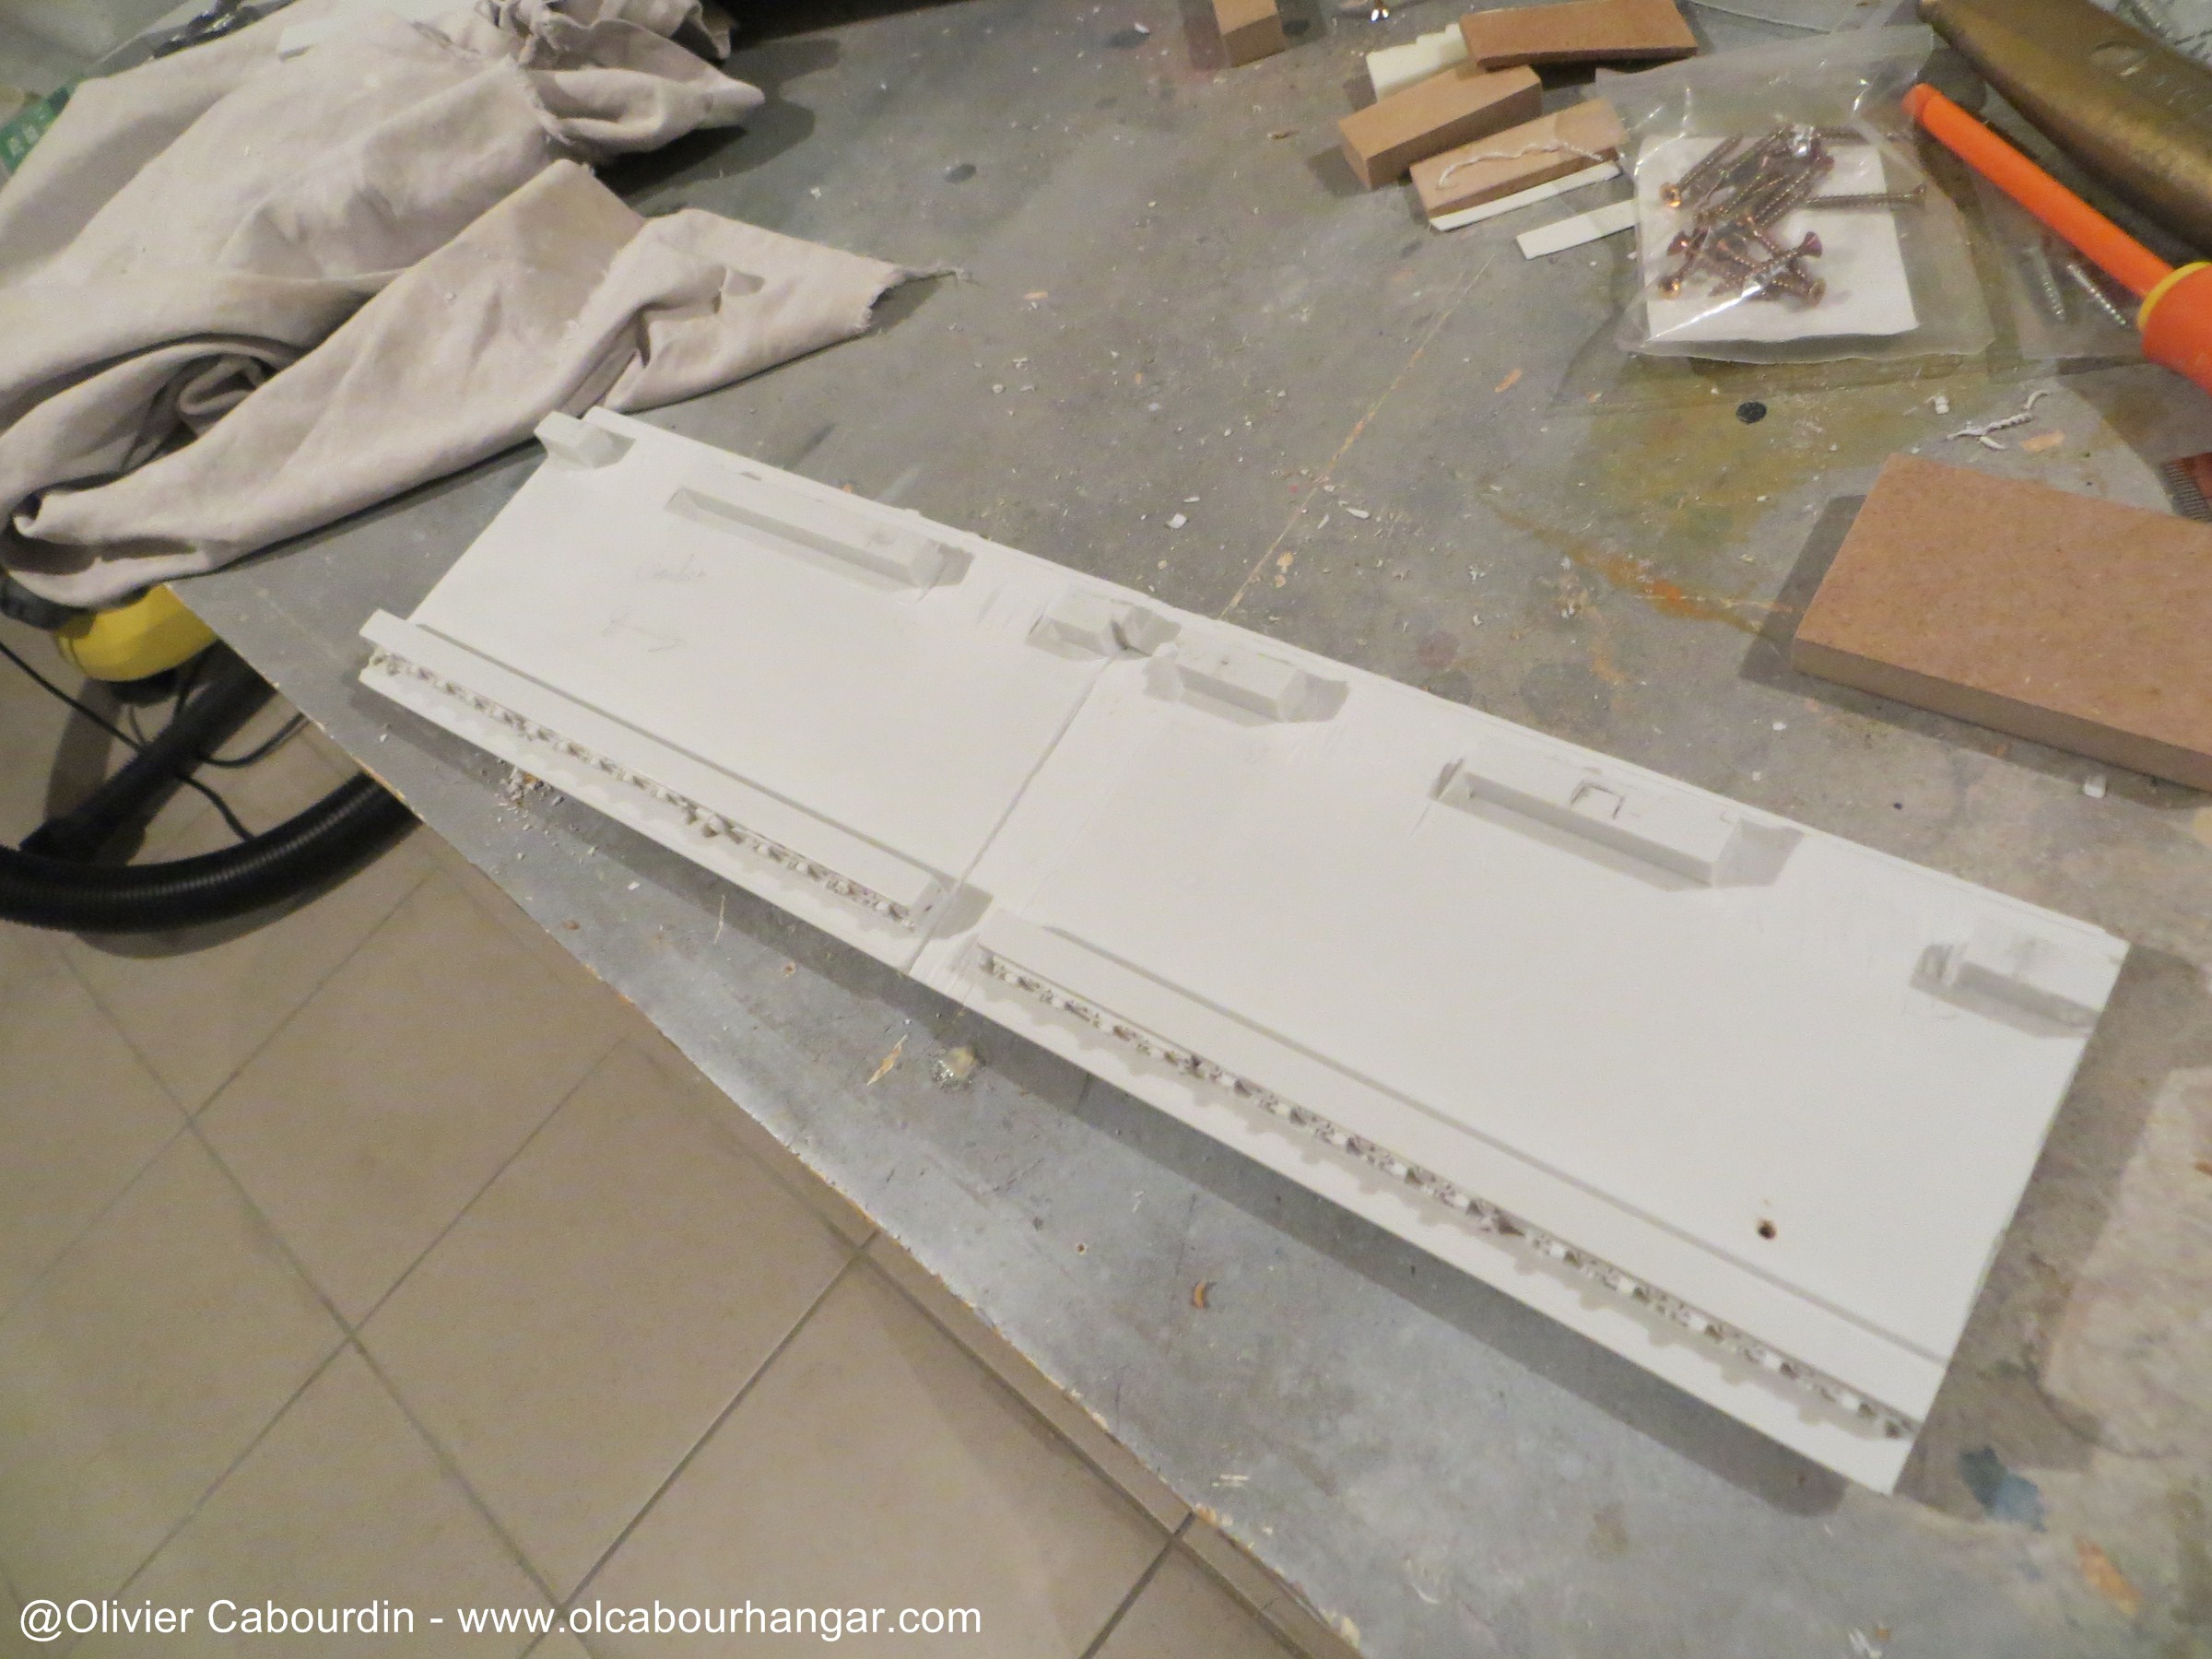
- hangars
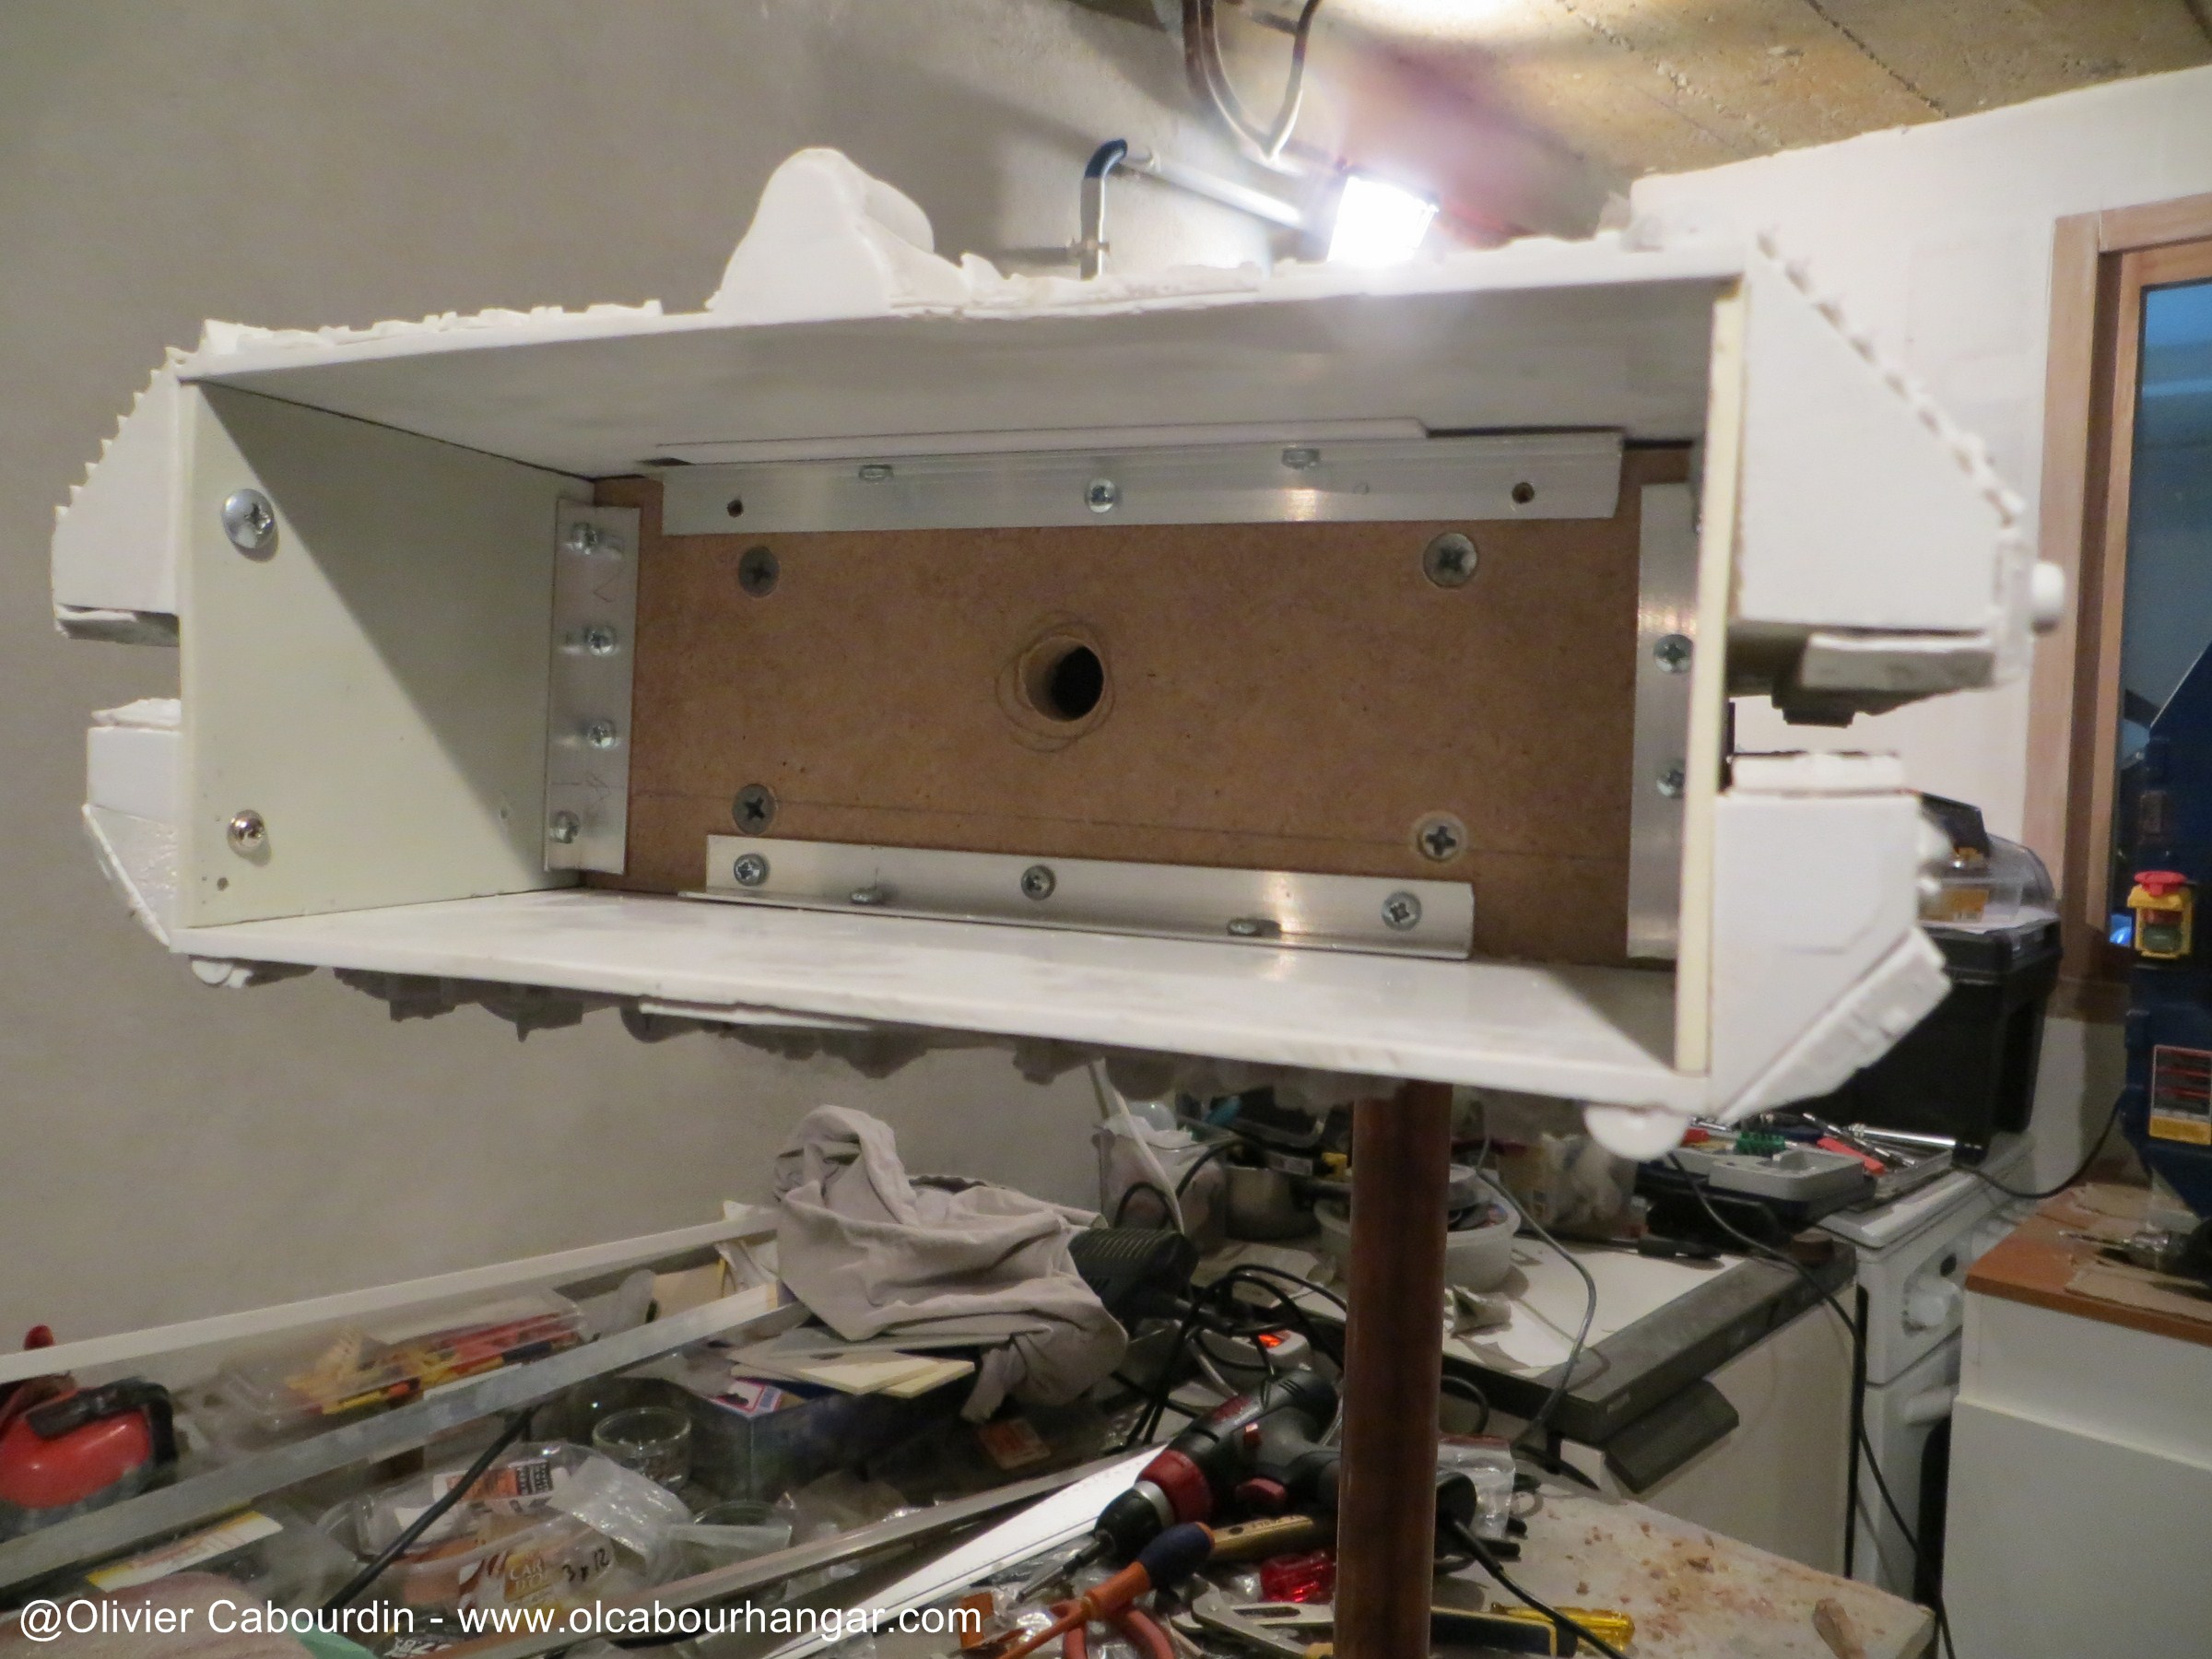
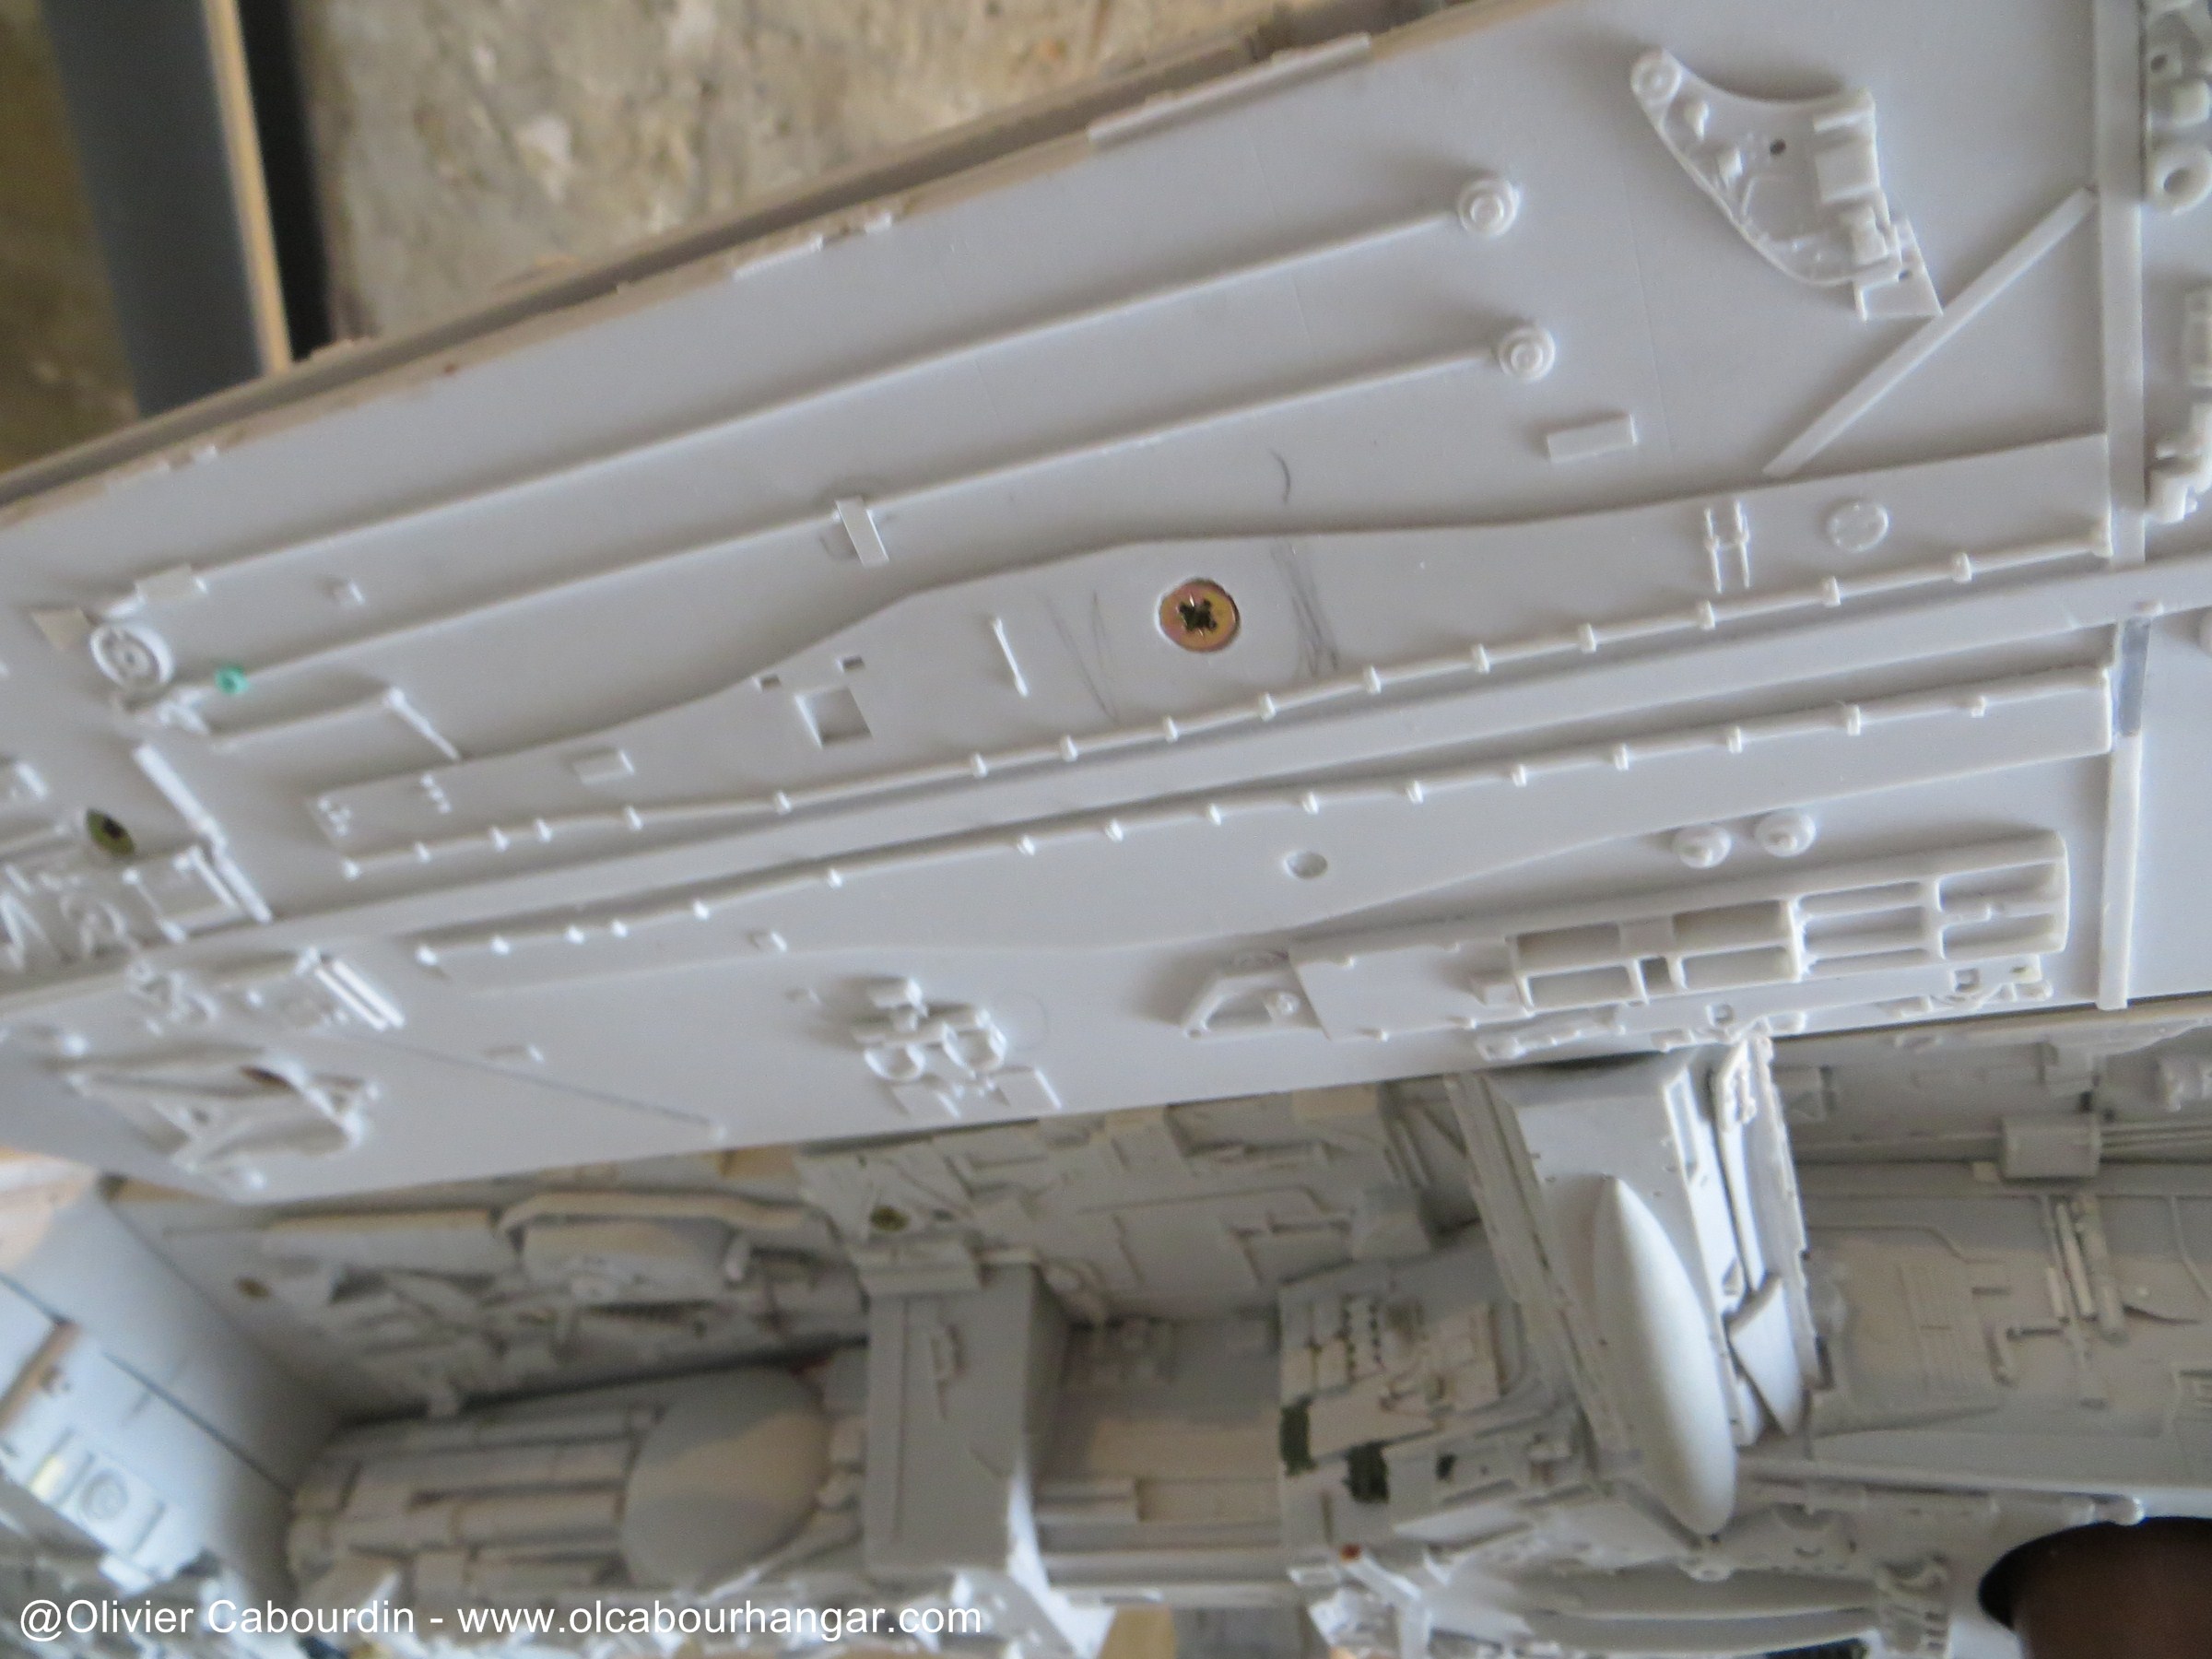
The big and long underside part of the hangar was bending under its ownweight, so I had to screw it at the center, by adding wooden wedges inside (like on the front).


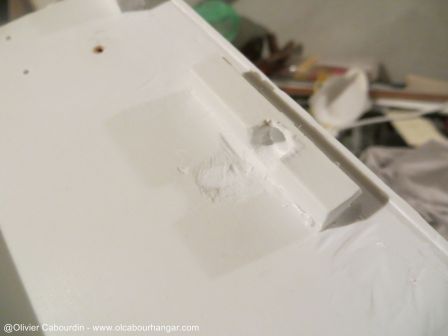
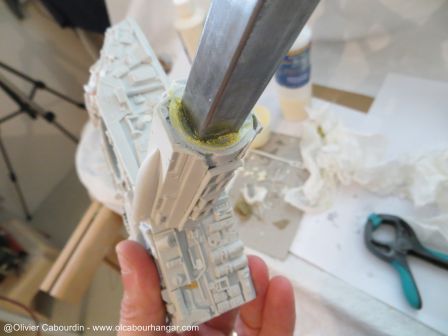
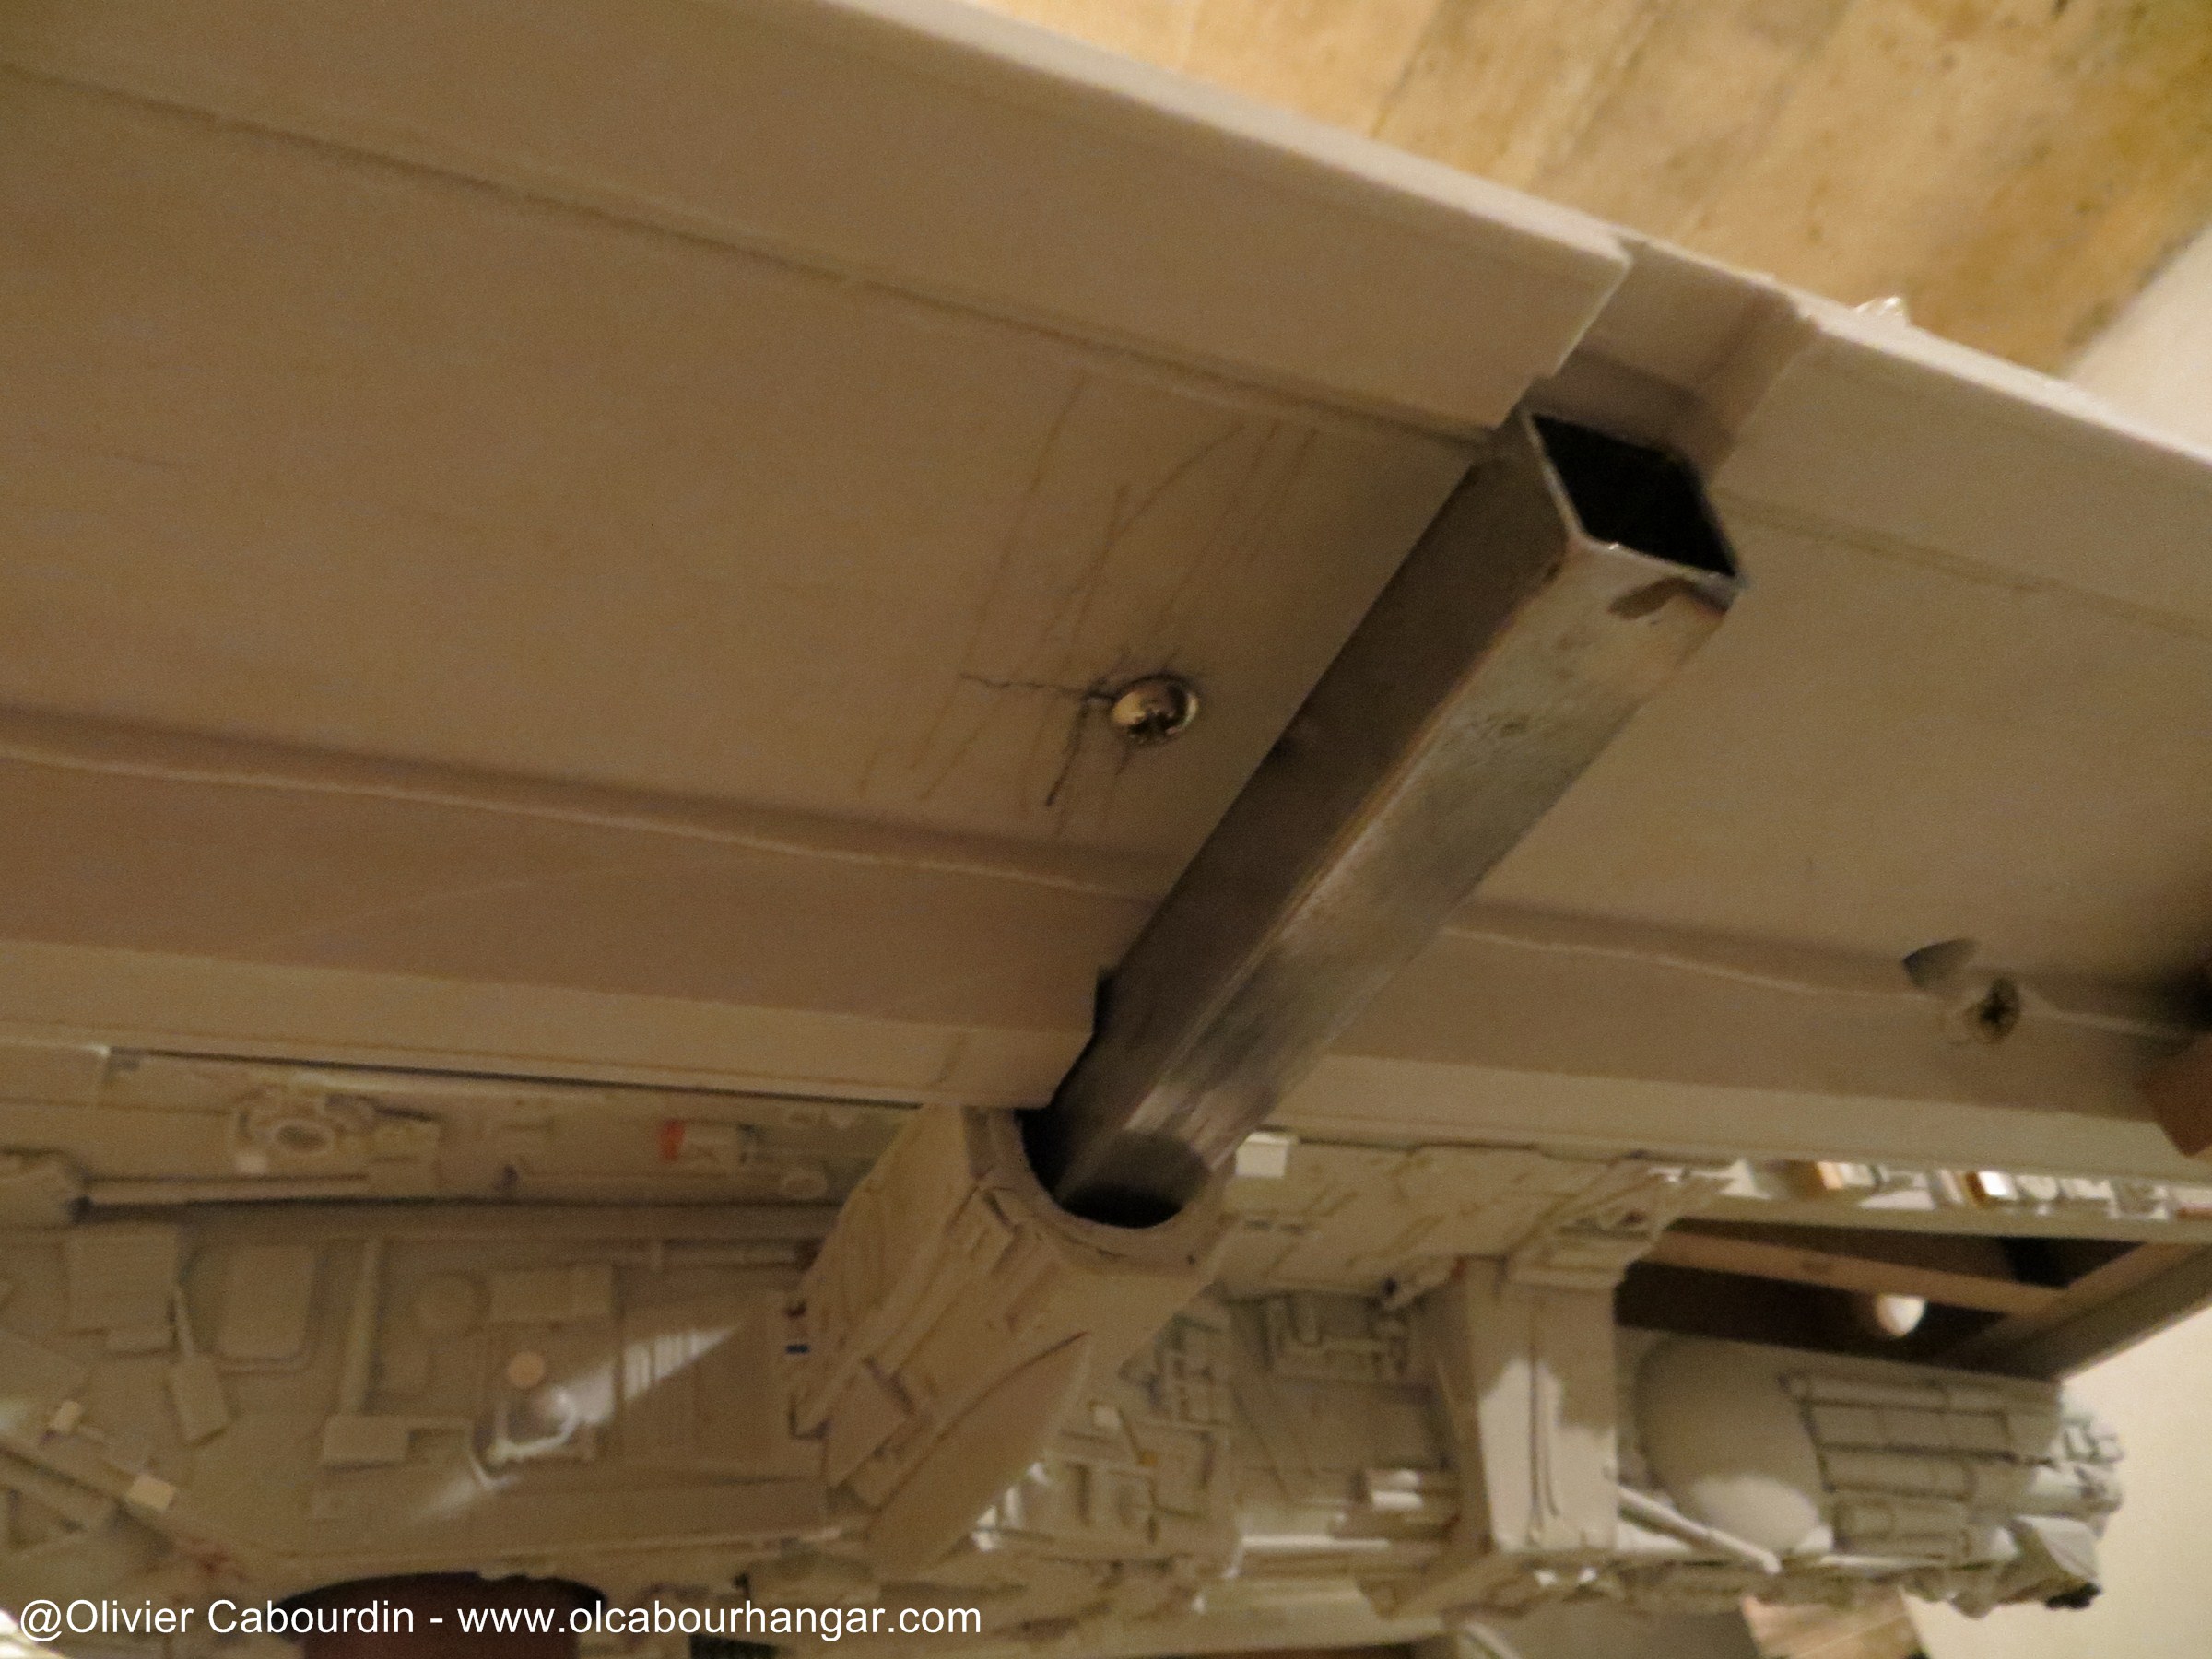
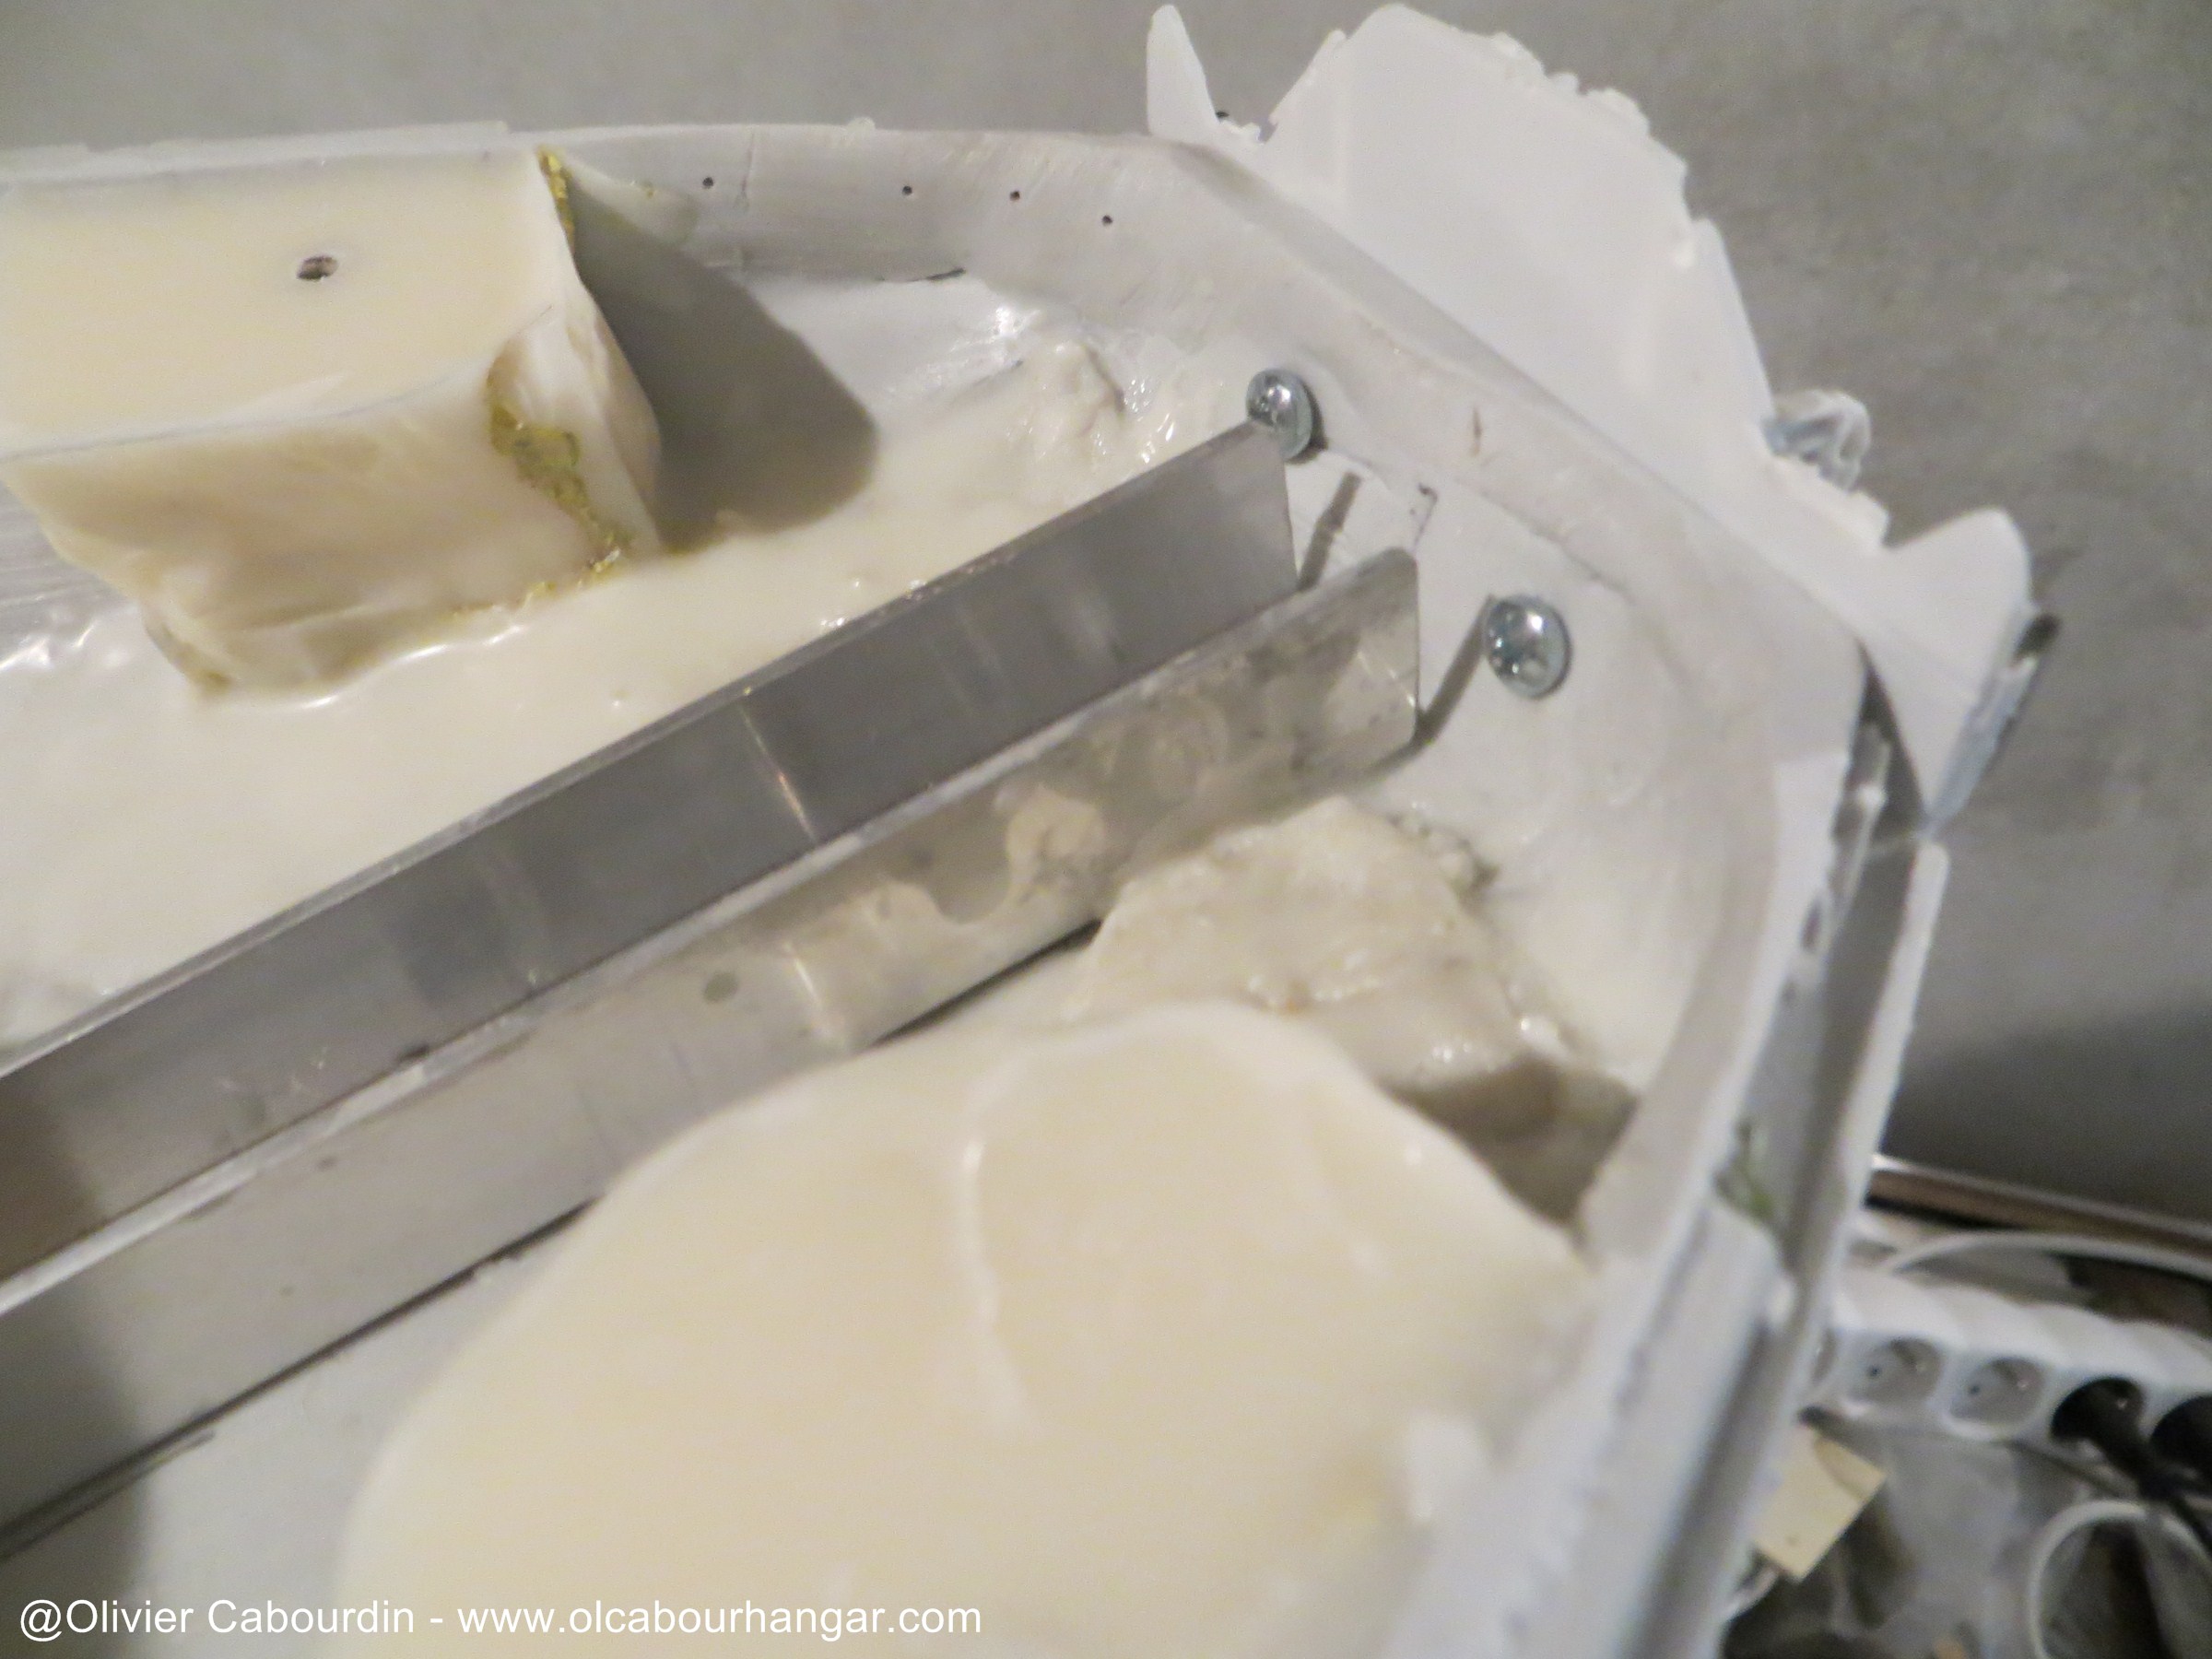
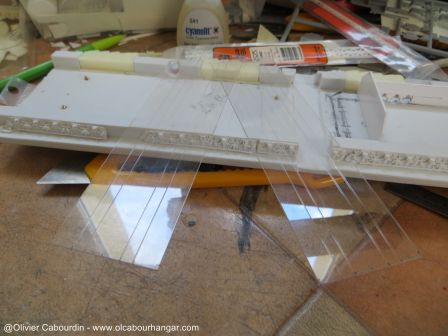
- belly cross
Hangars being adjusted, I can now run the resin in the cross part to lock permanently the square tube in it.
I clogged the end with Tac gum
This is the result once the resin cured

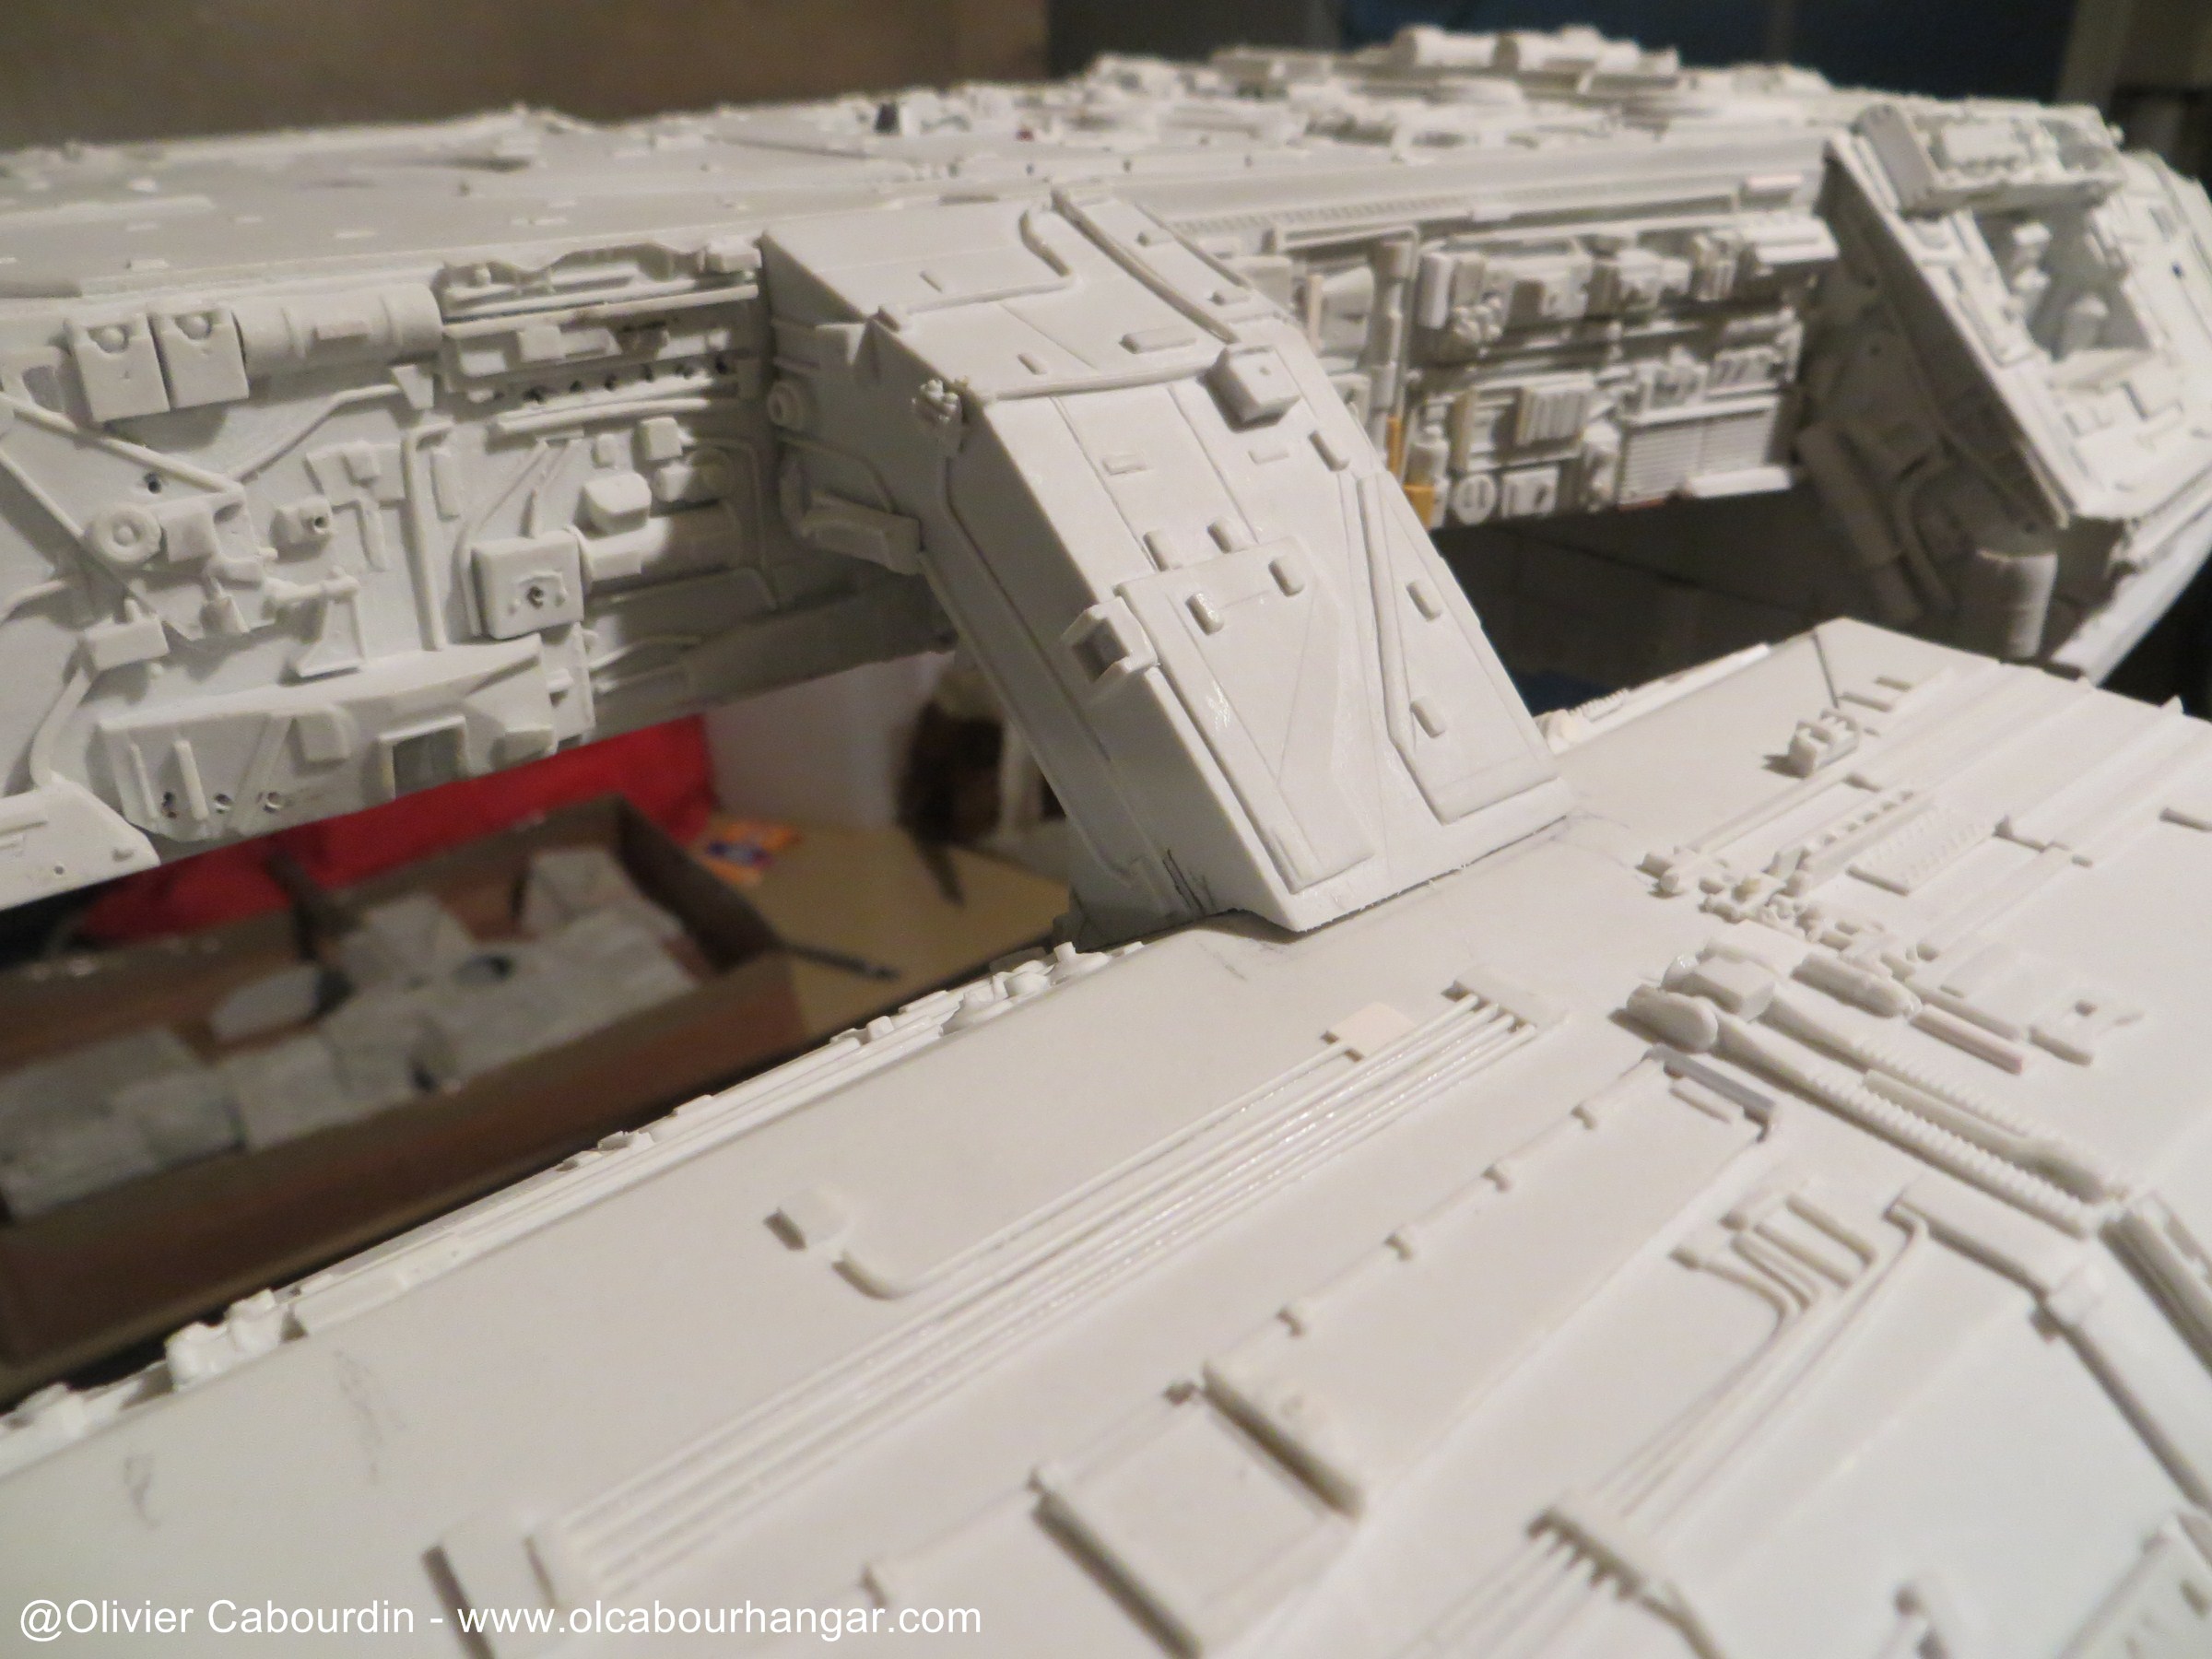
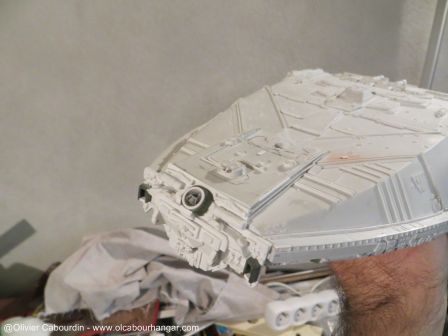
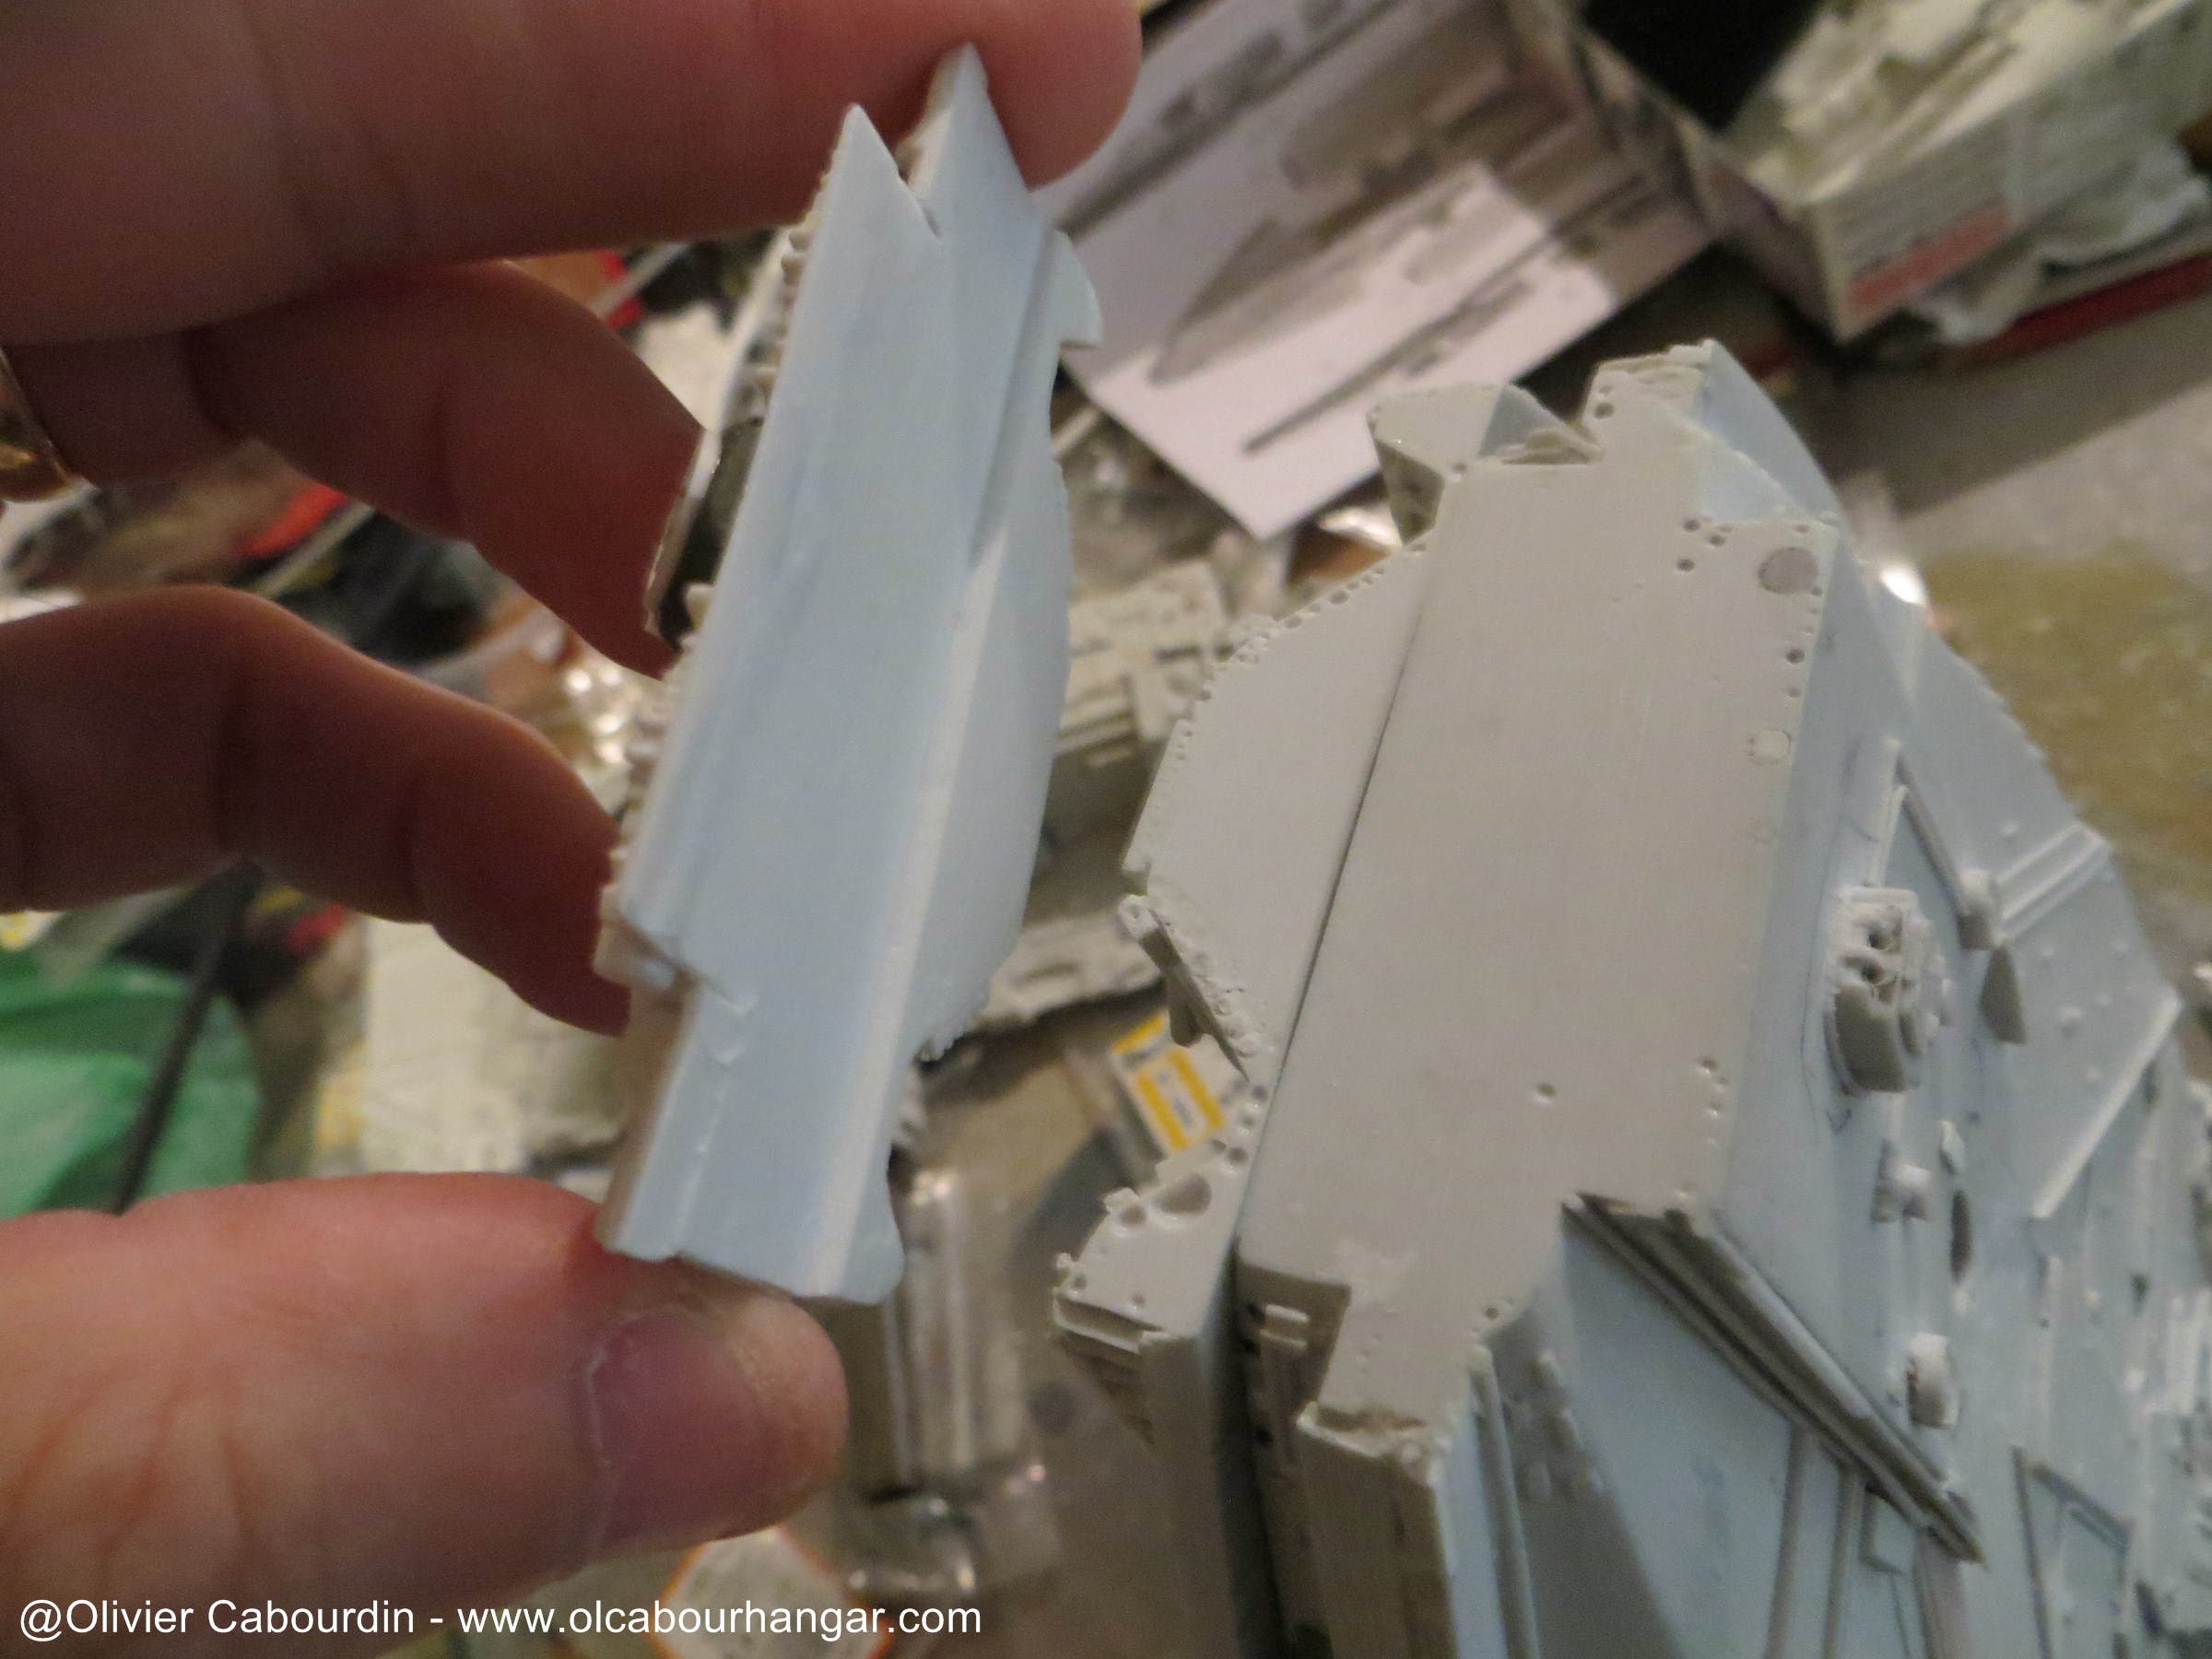
-- Nose
There is an level between the up and bottom of the part, so I sanded it, and the nose is then screwed in the head.

Median arms are adjusted gradually by successive sanding the ends.
A metal rod secures the alignment with the body and a screw from the shed to hold it firmly.

- hangars
The big and long underside part of the hangar was bending under its ownweight, so I had to screw it at the center, by adding wooden wedges inside (like on the front).
- belly cross
Hangars being adjusted, I can now run the resin in the cross part to lock permanently the square tube in it.
I clogged the end with Tac gum

This is the result once the resin cured
-- Nose
There is an level between the up and bottom of the part, so I sanded it, and the nose is then screwed in the head.


cabour
Sr Member
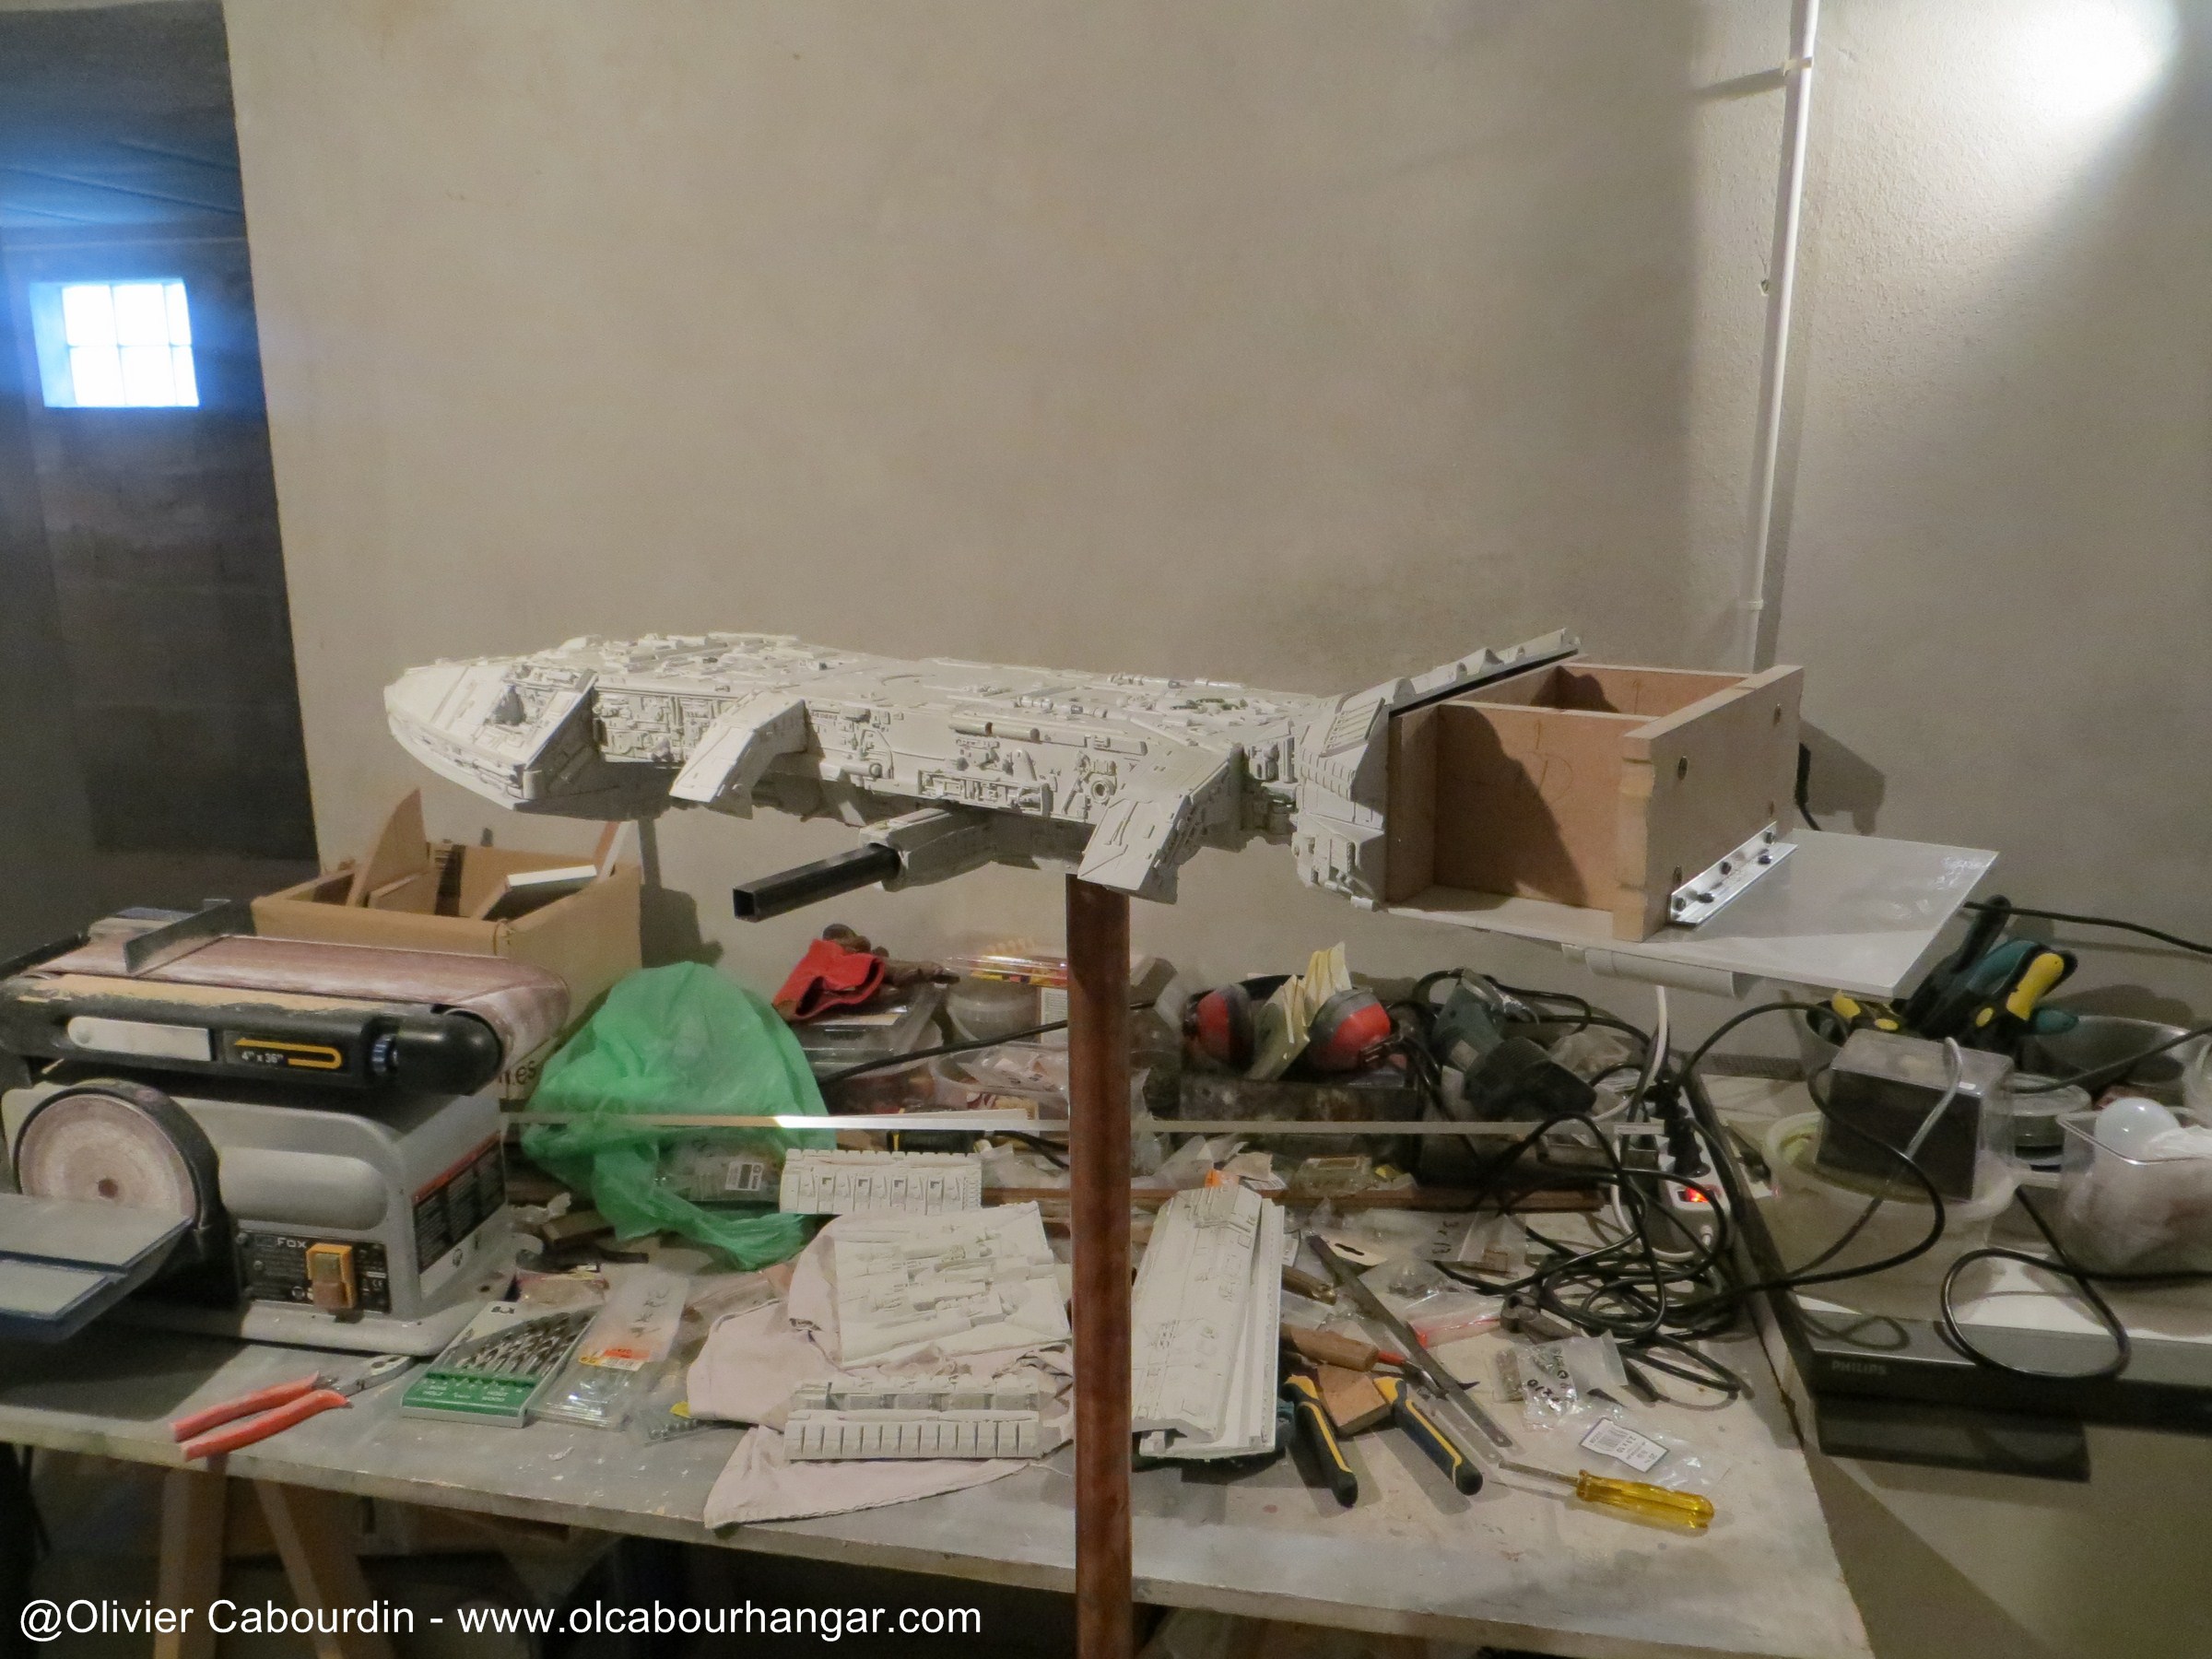
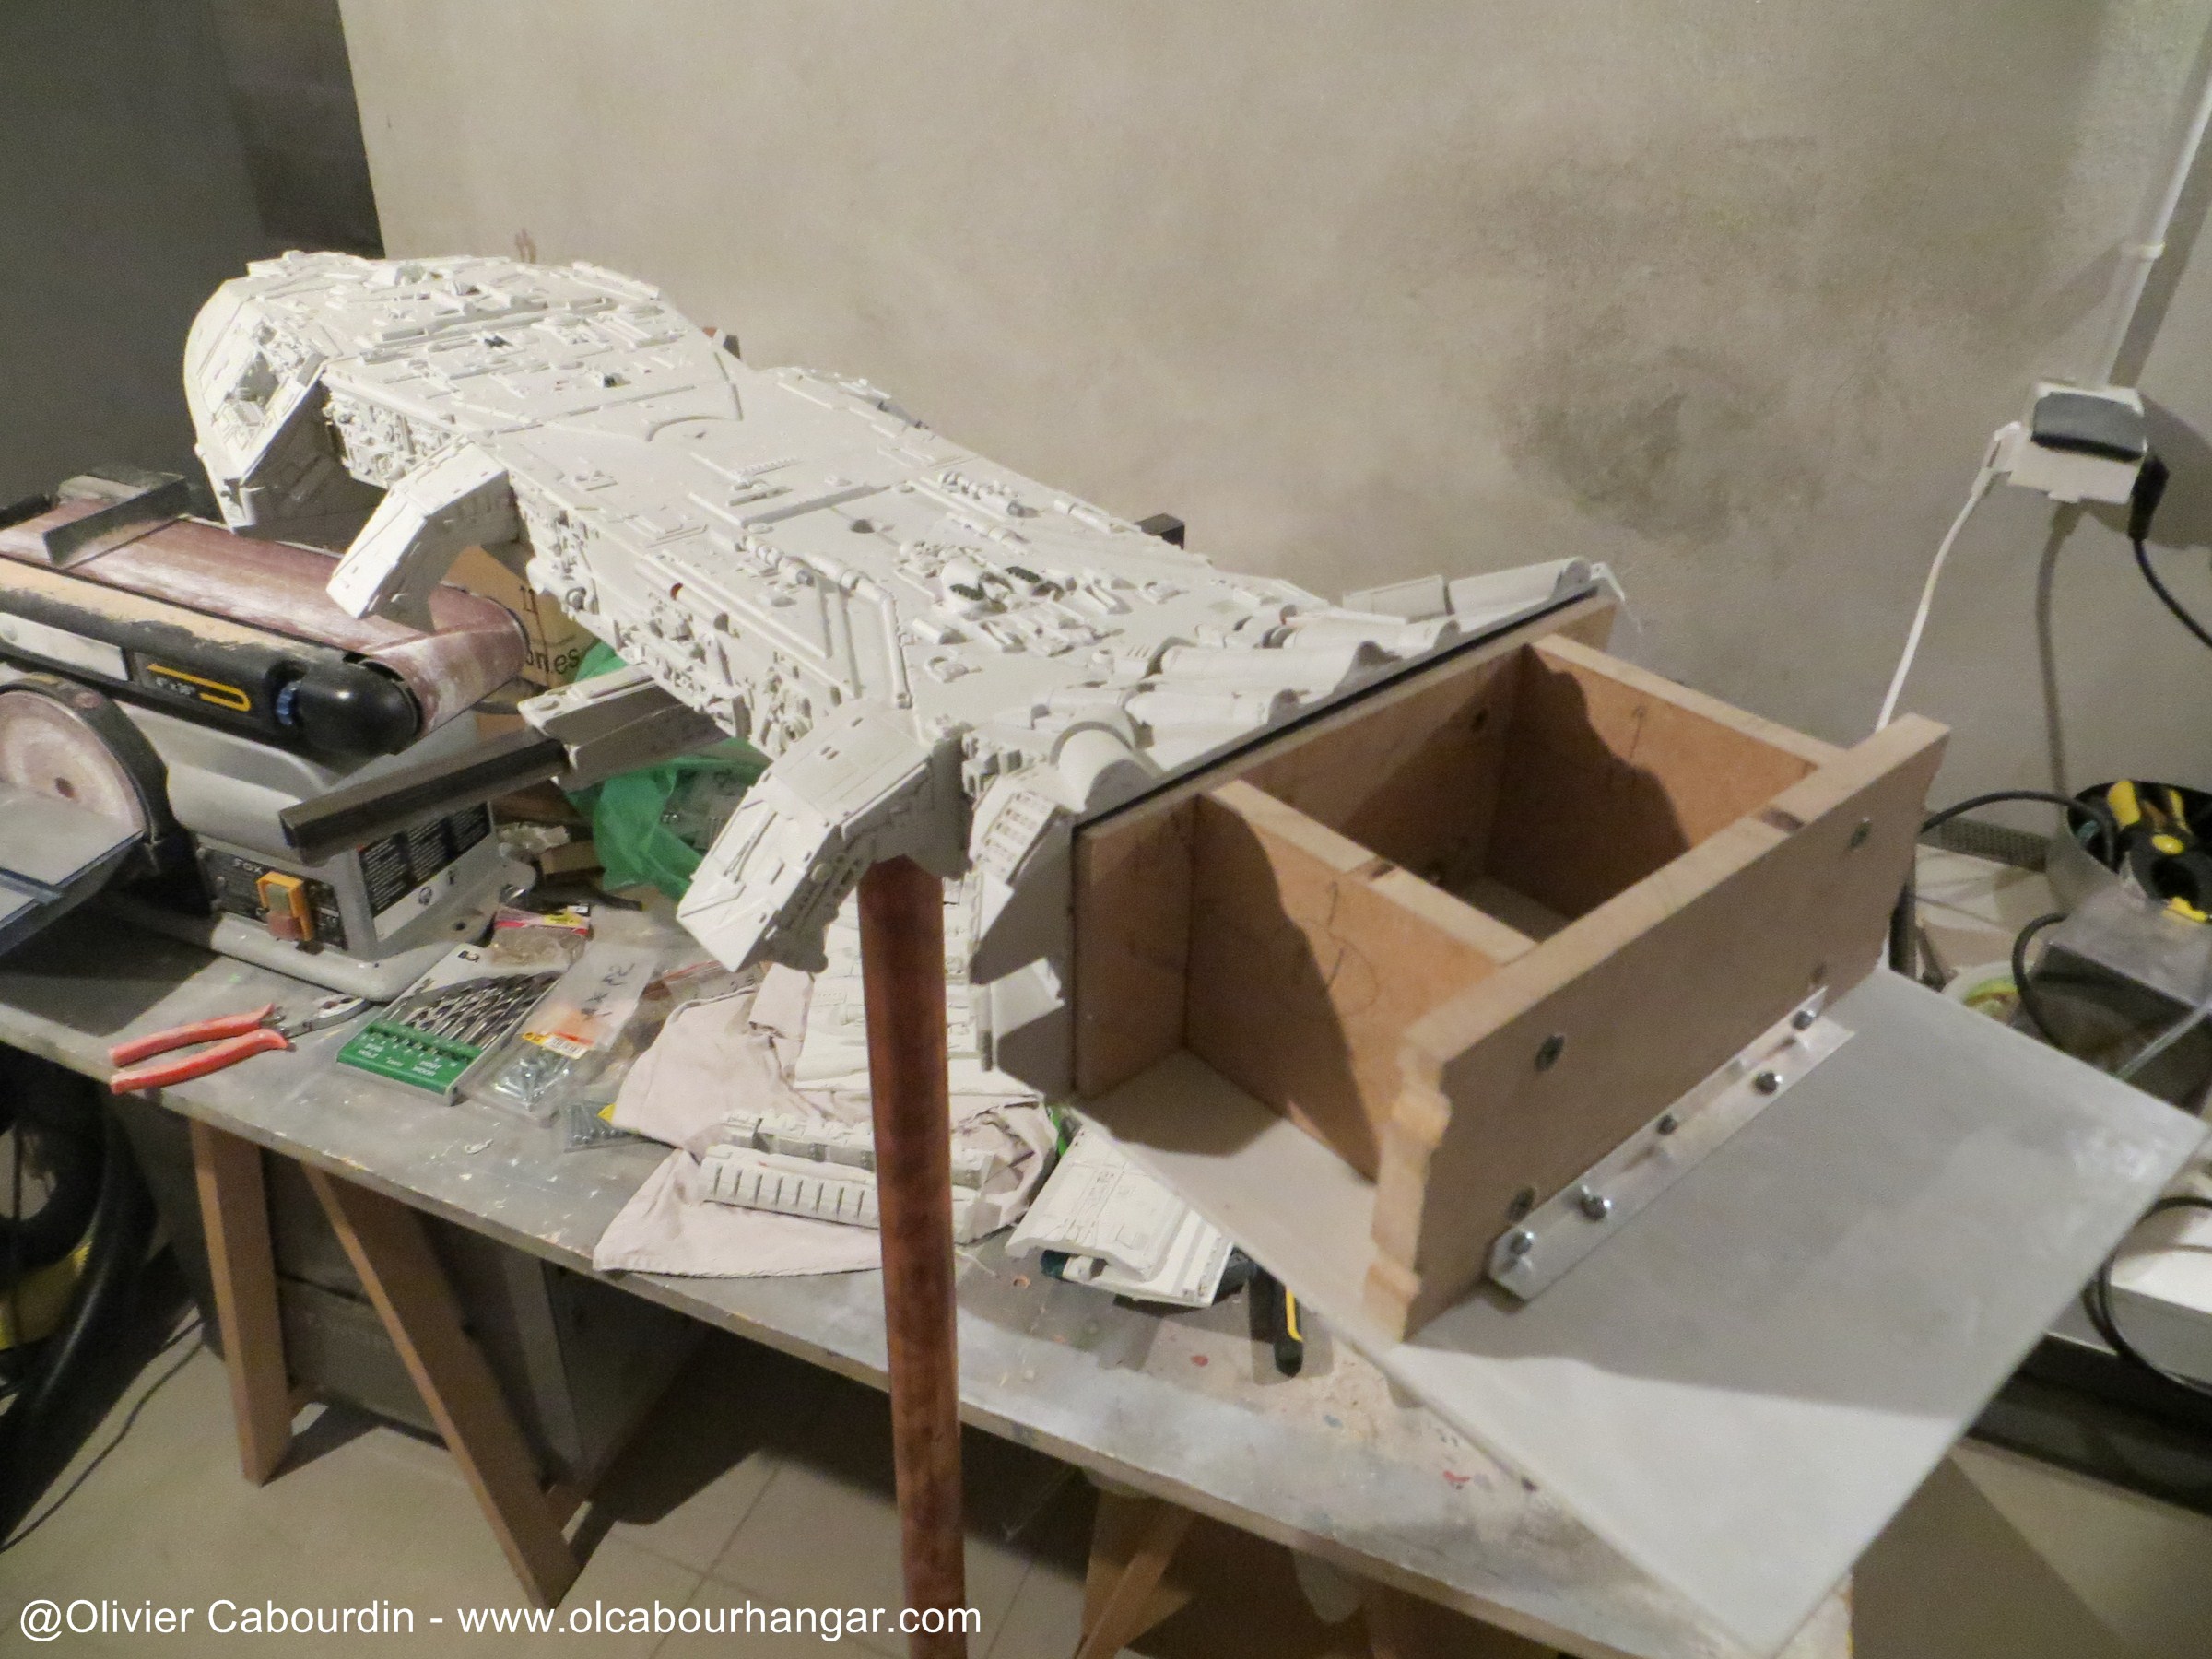
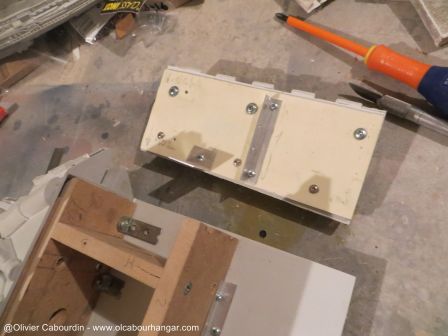
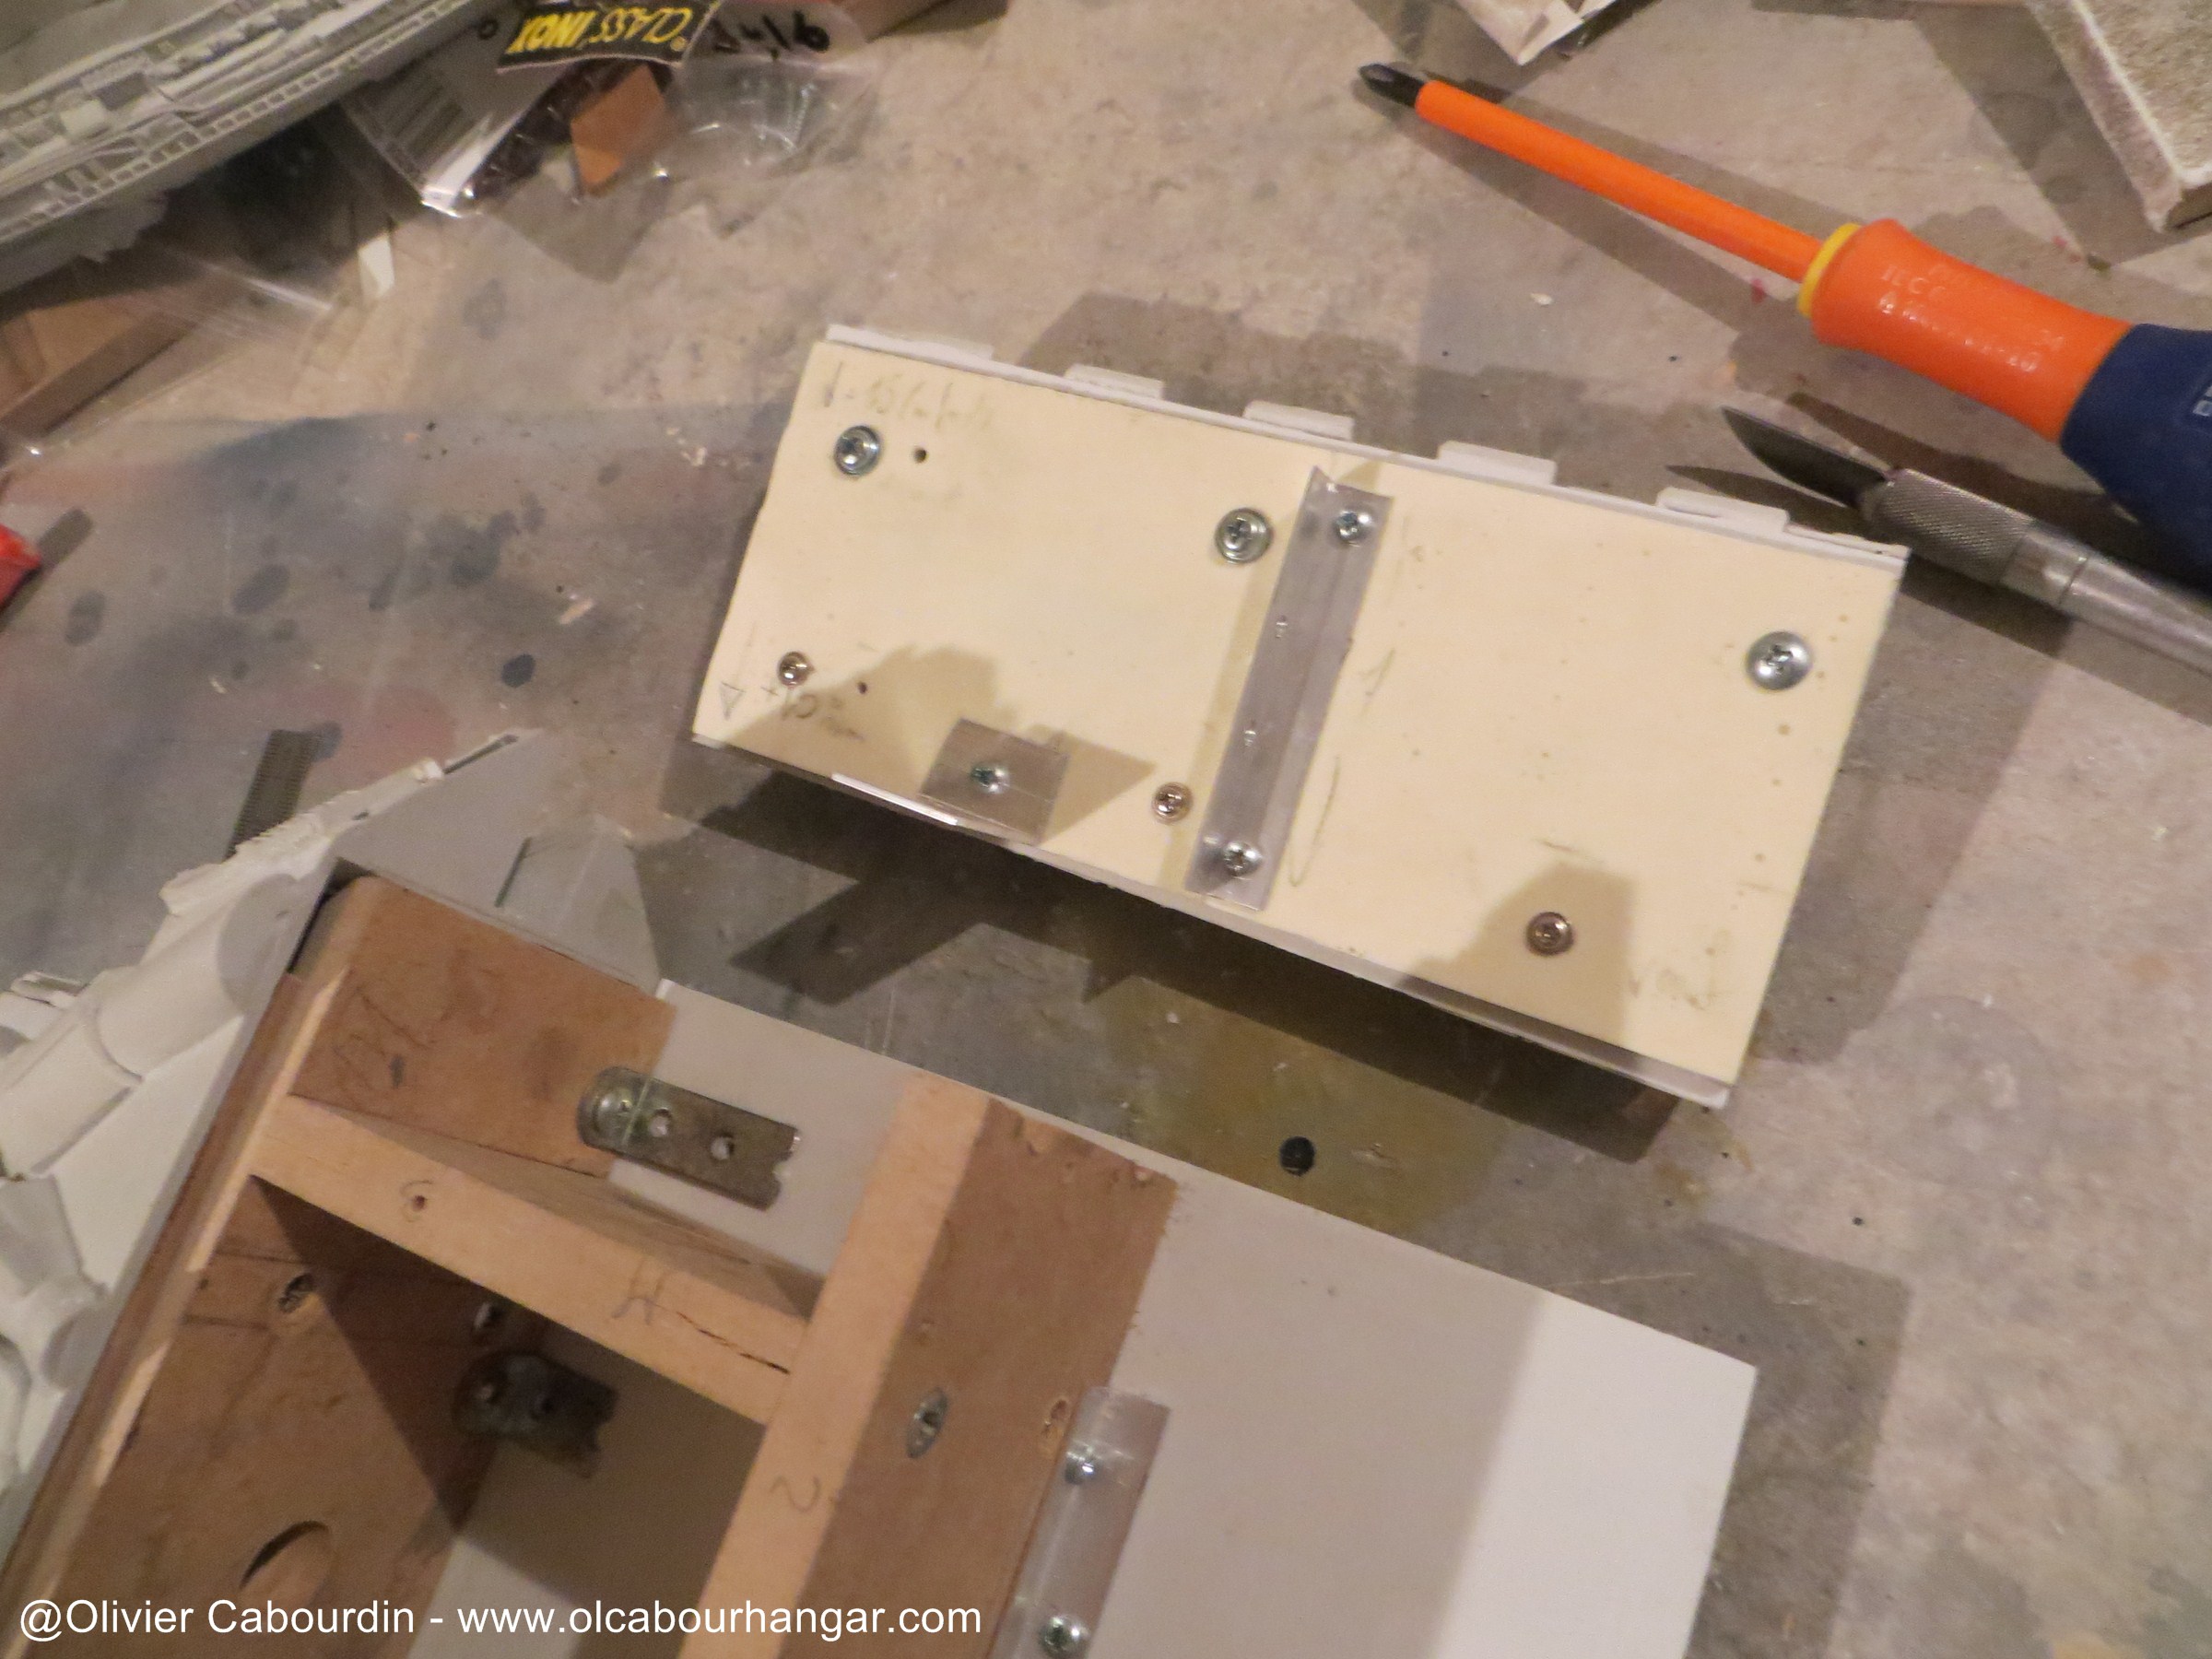
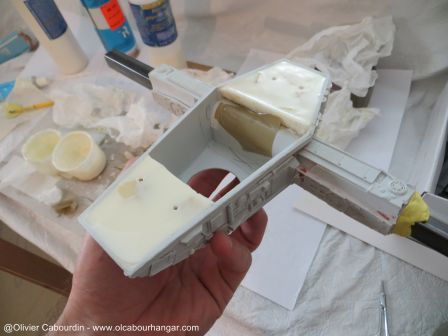
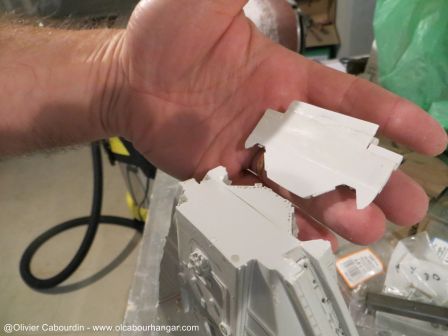
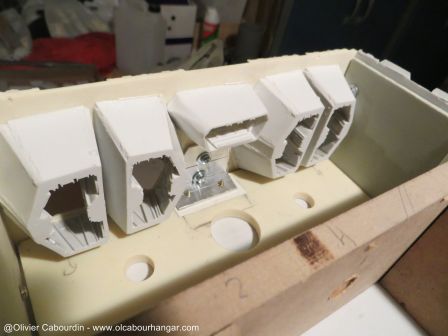
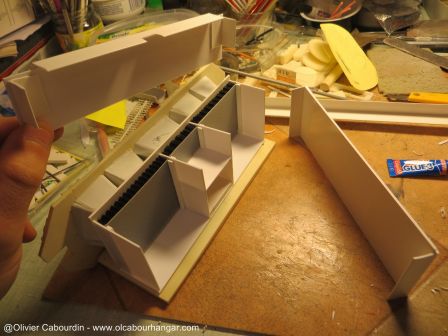
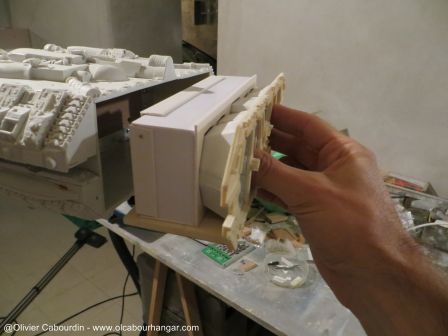
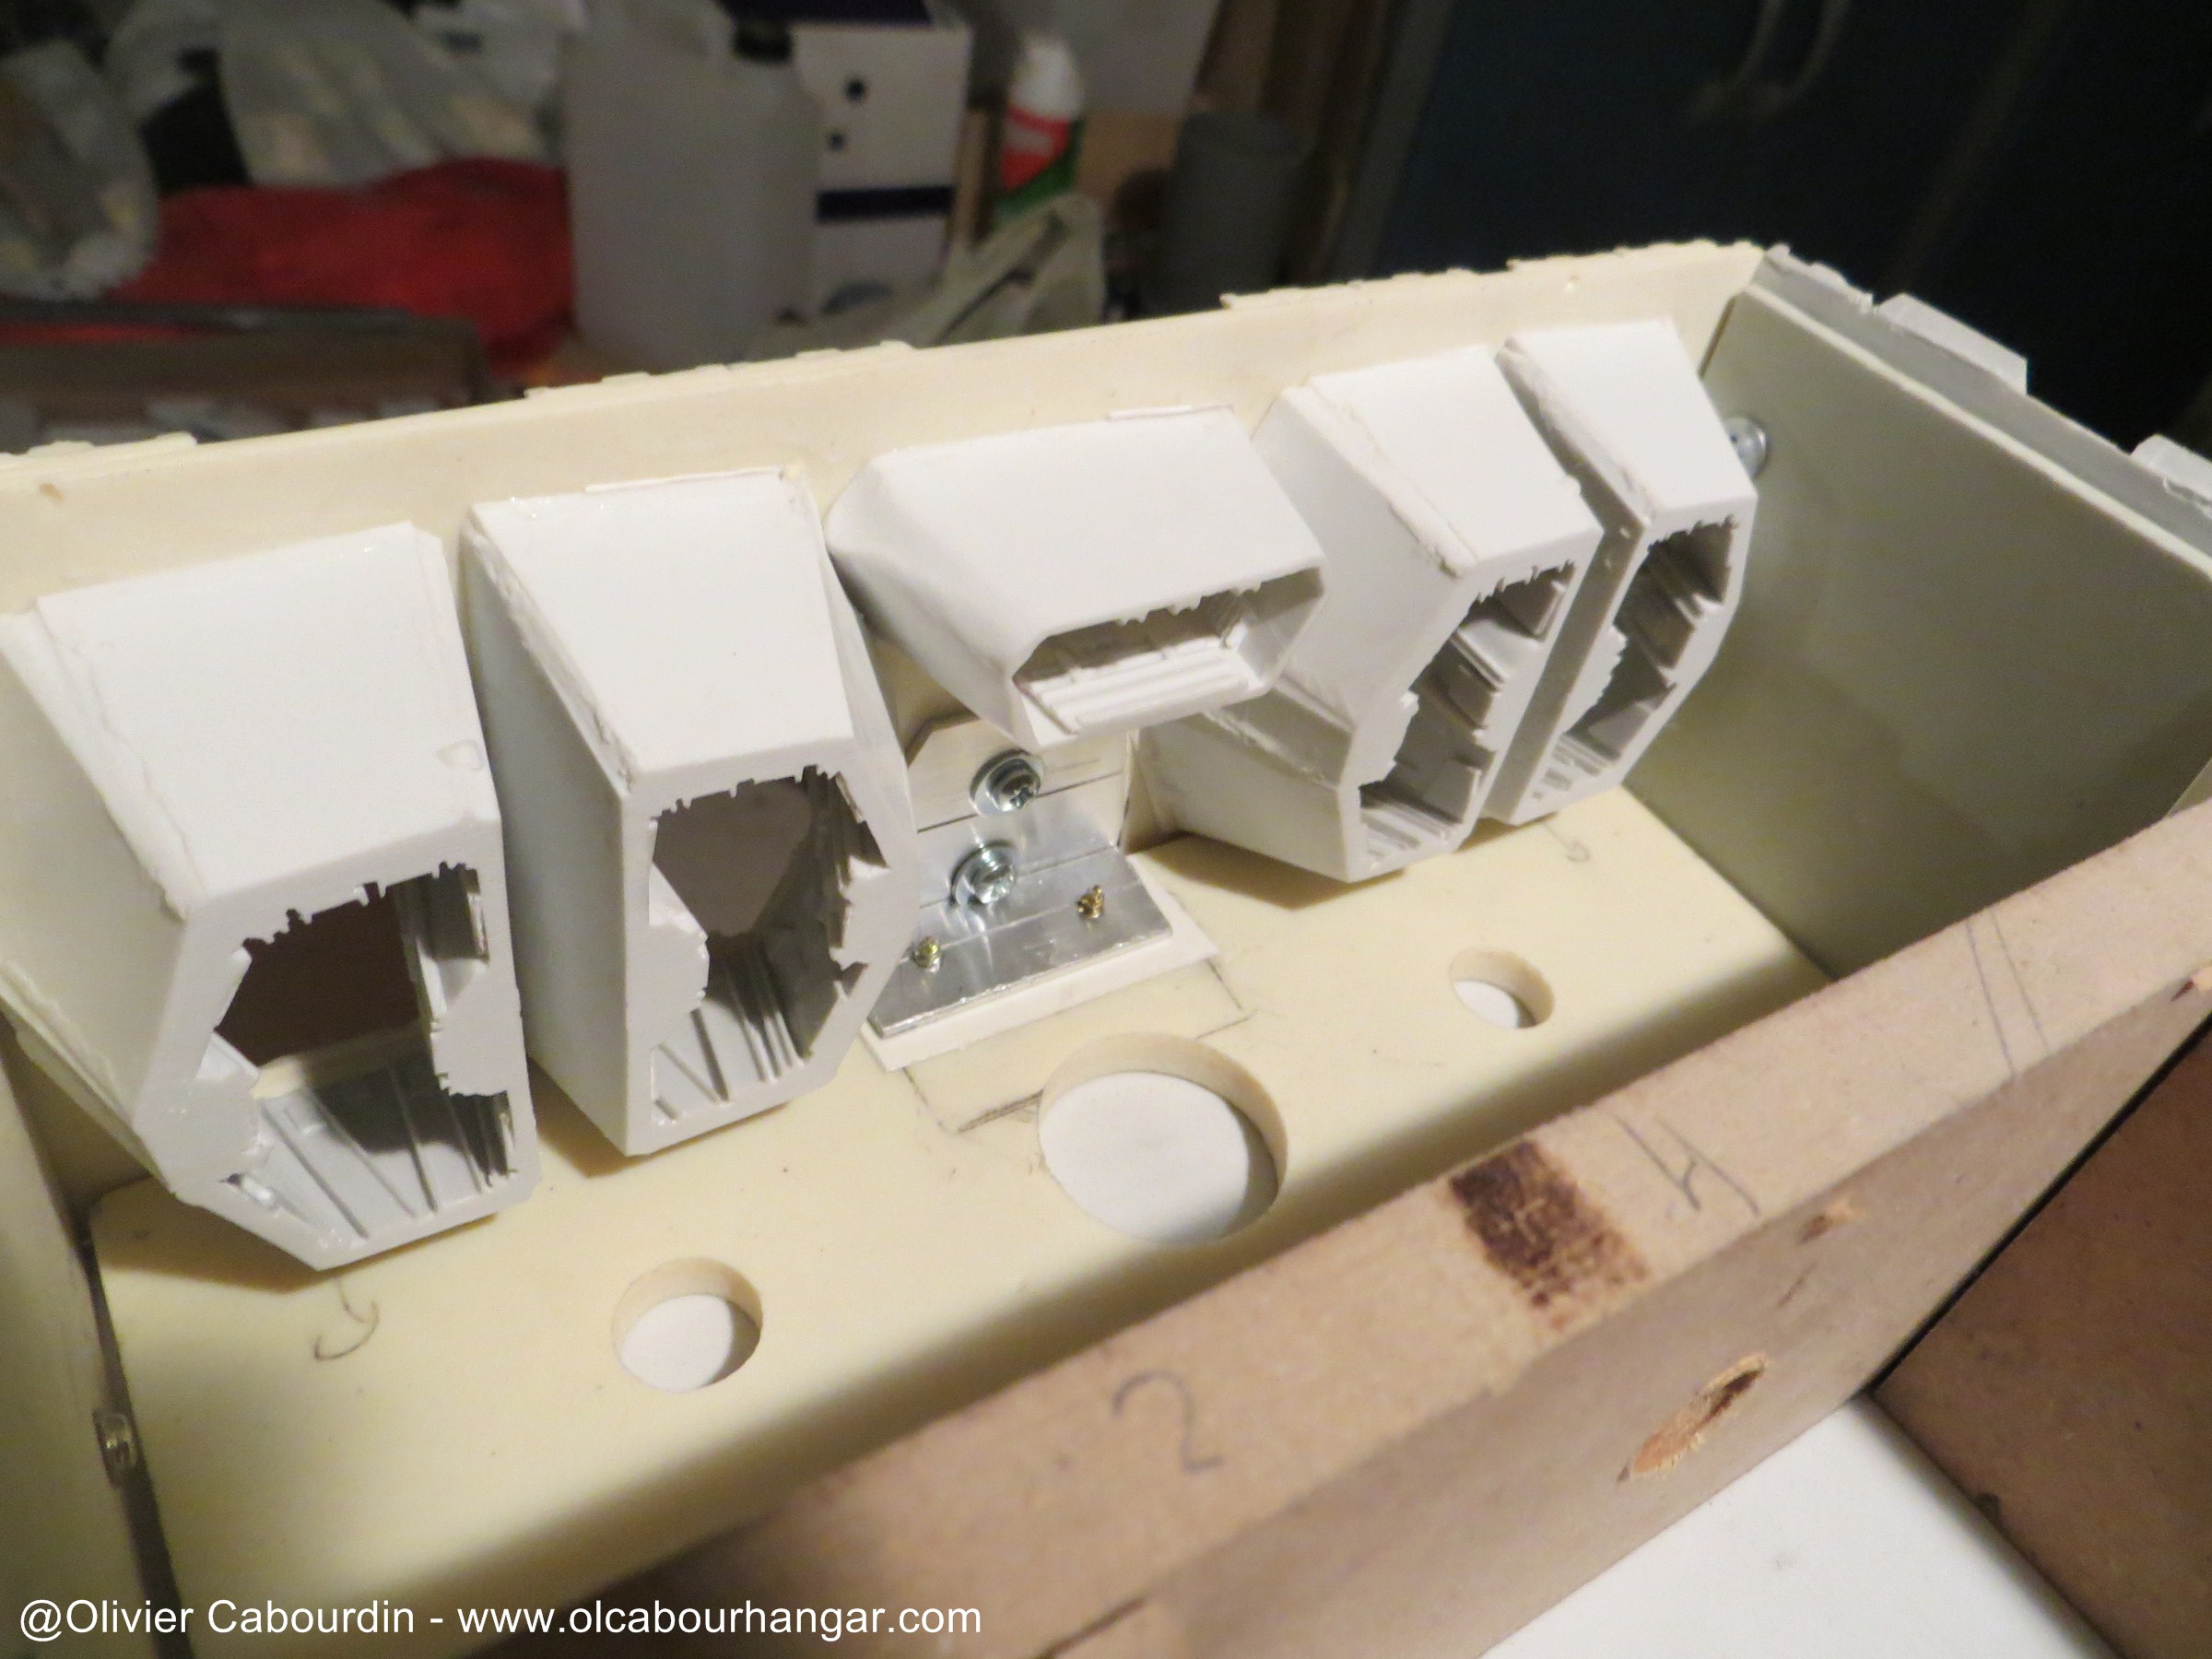
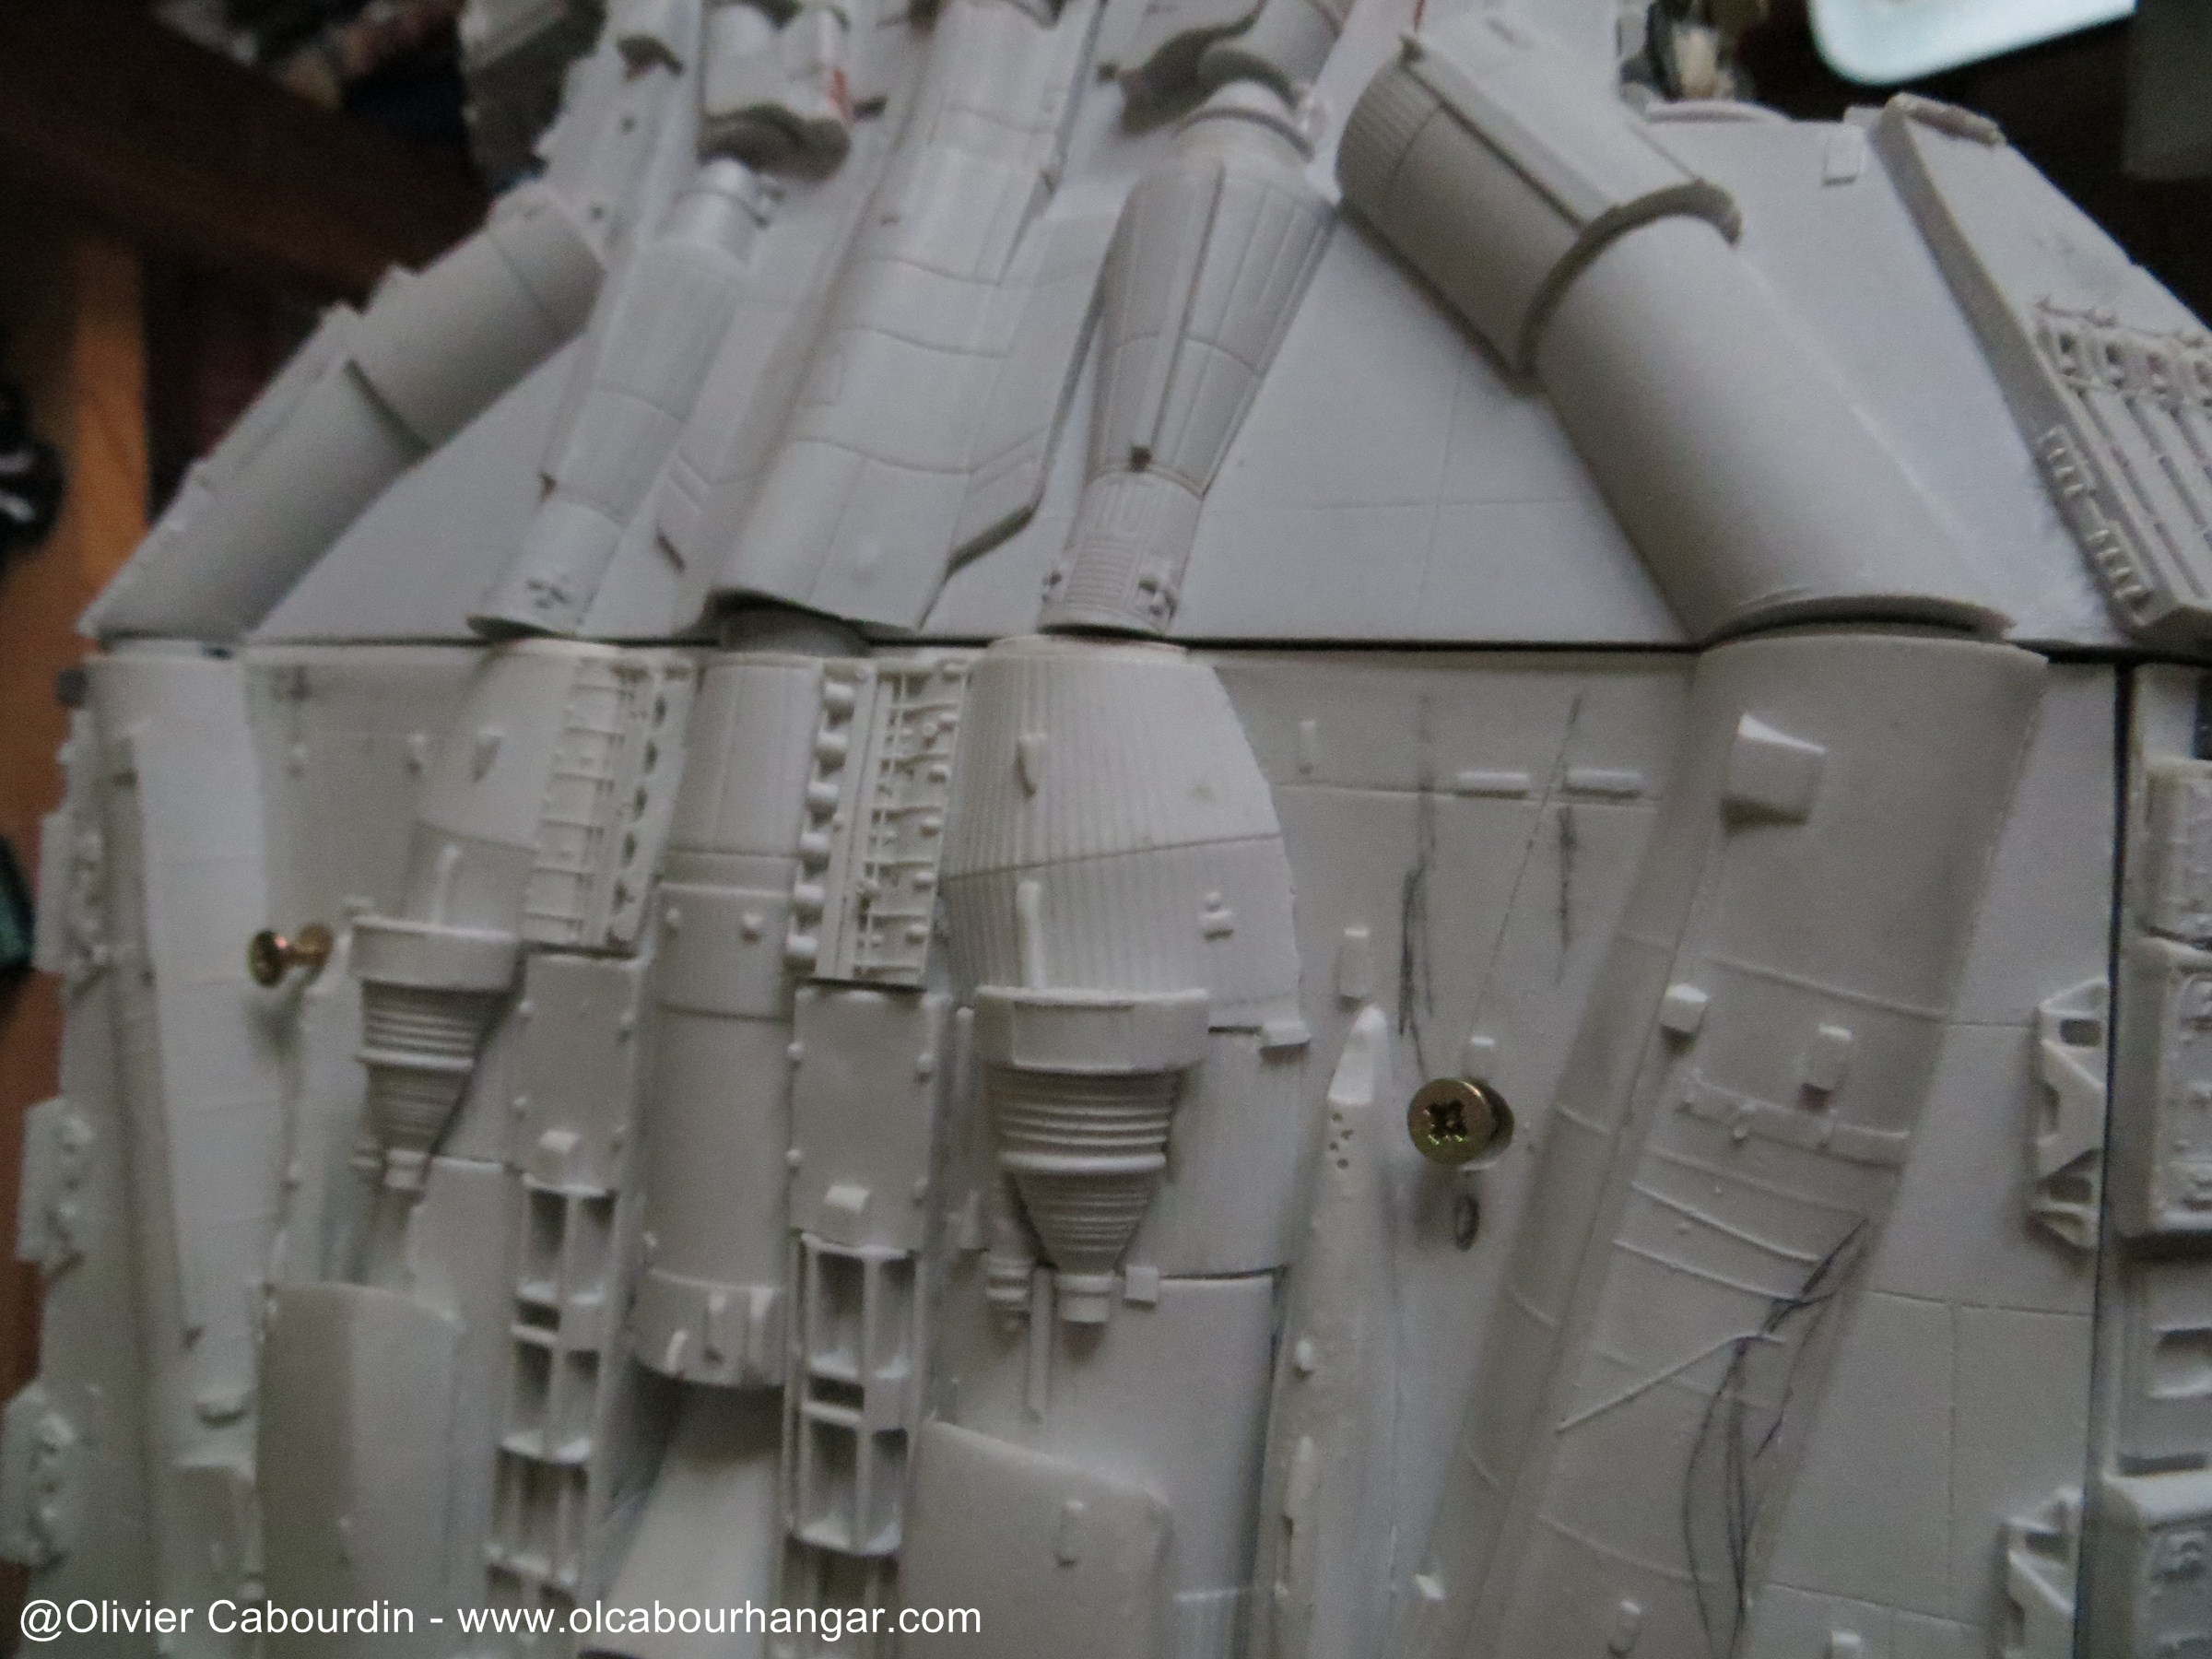
The engine casing is build like a drawer, the rear plate will be screwed to the engine module.
Assembly of the backplate

It needs some triming to fit in.

It will work with mini-screw

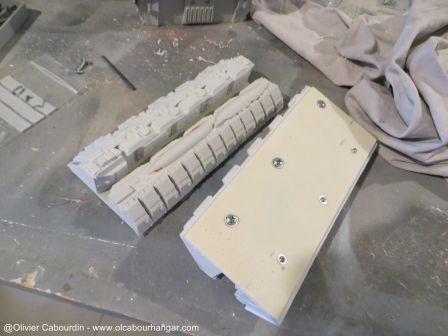
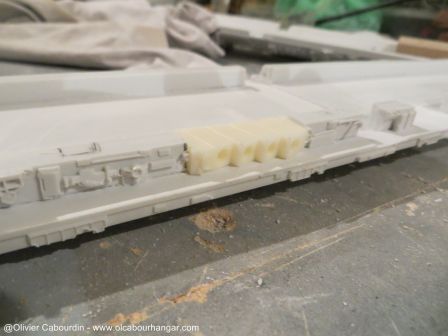
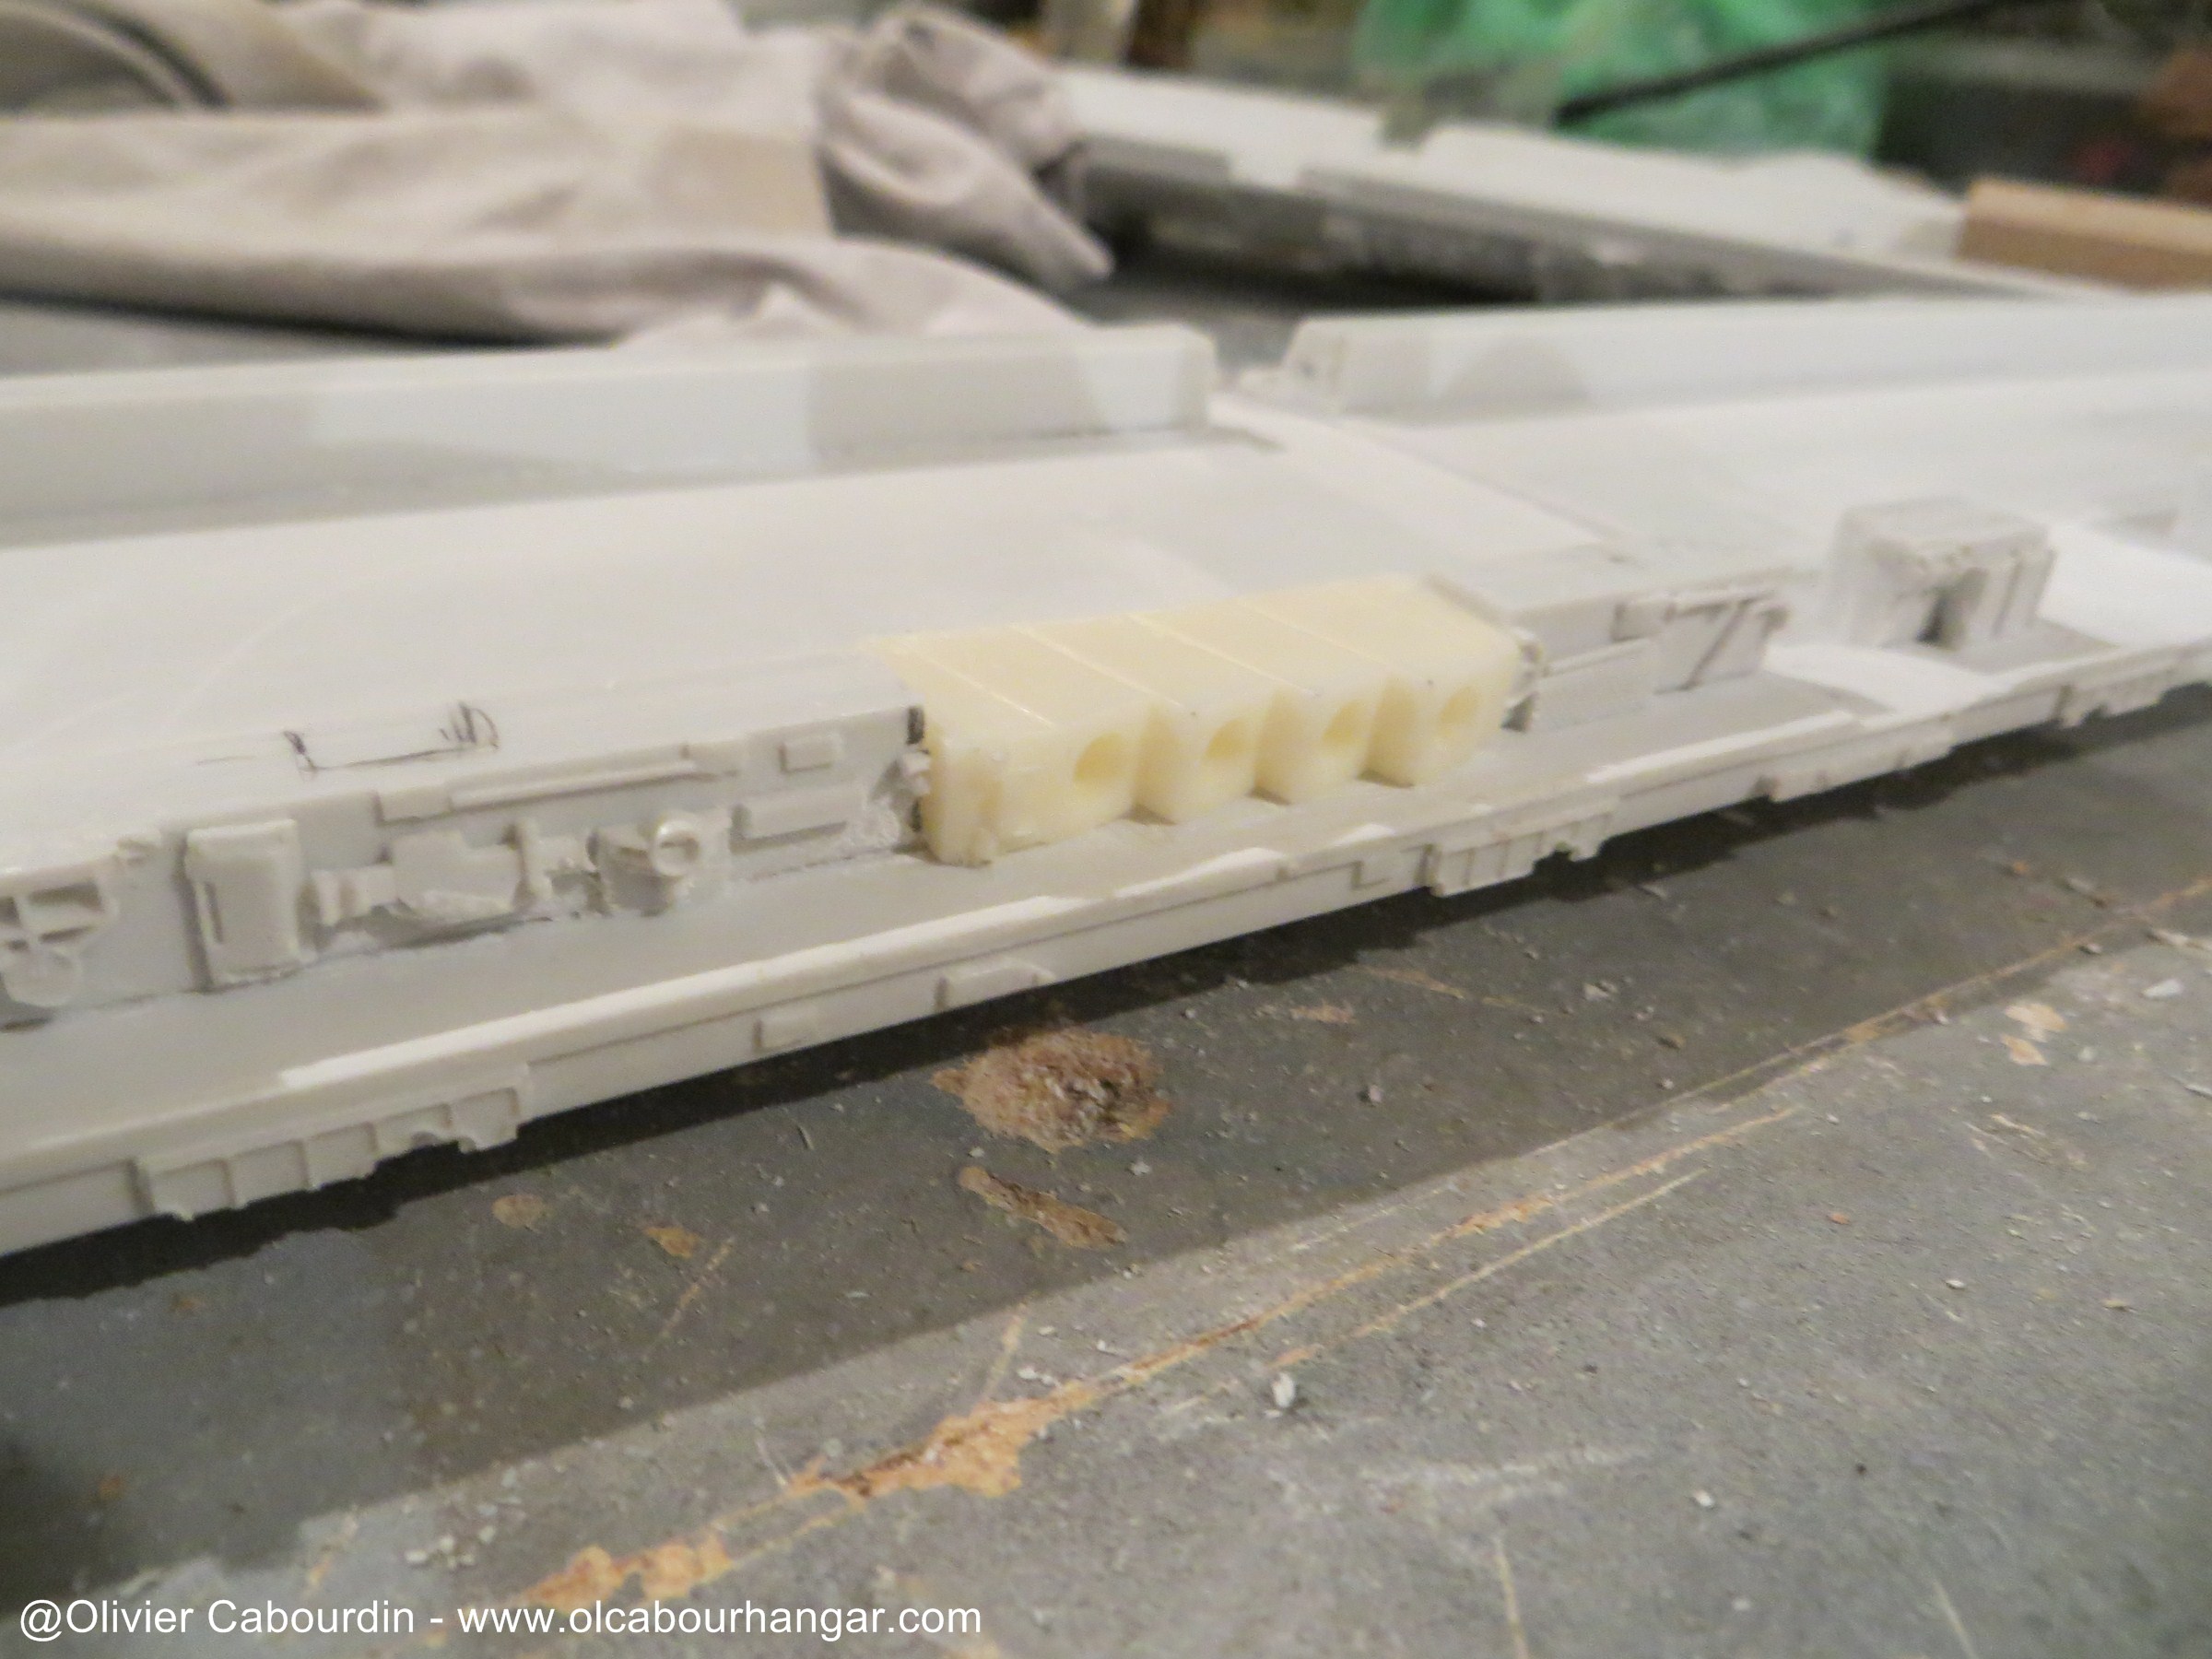
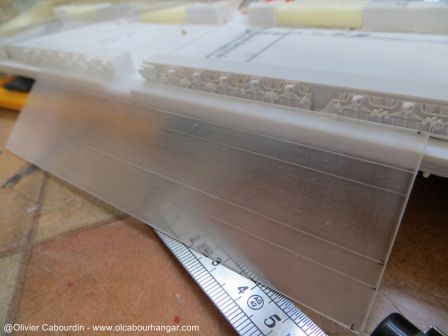
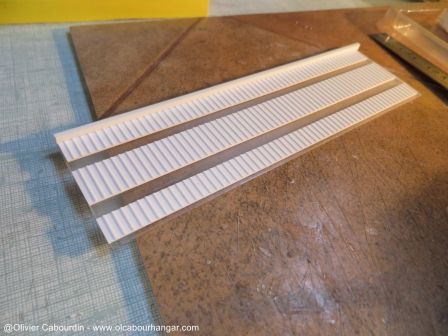
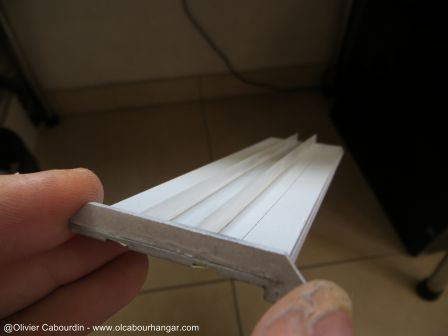
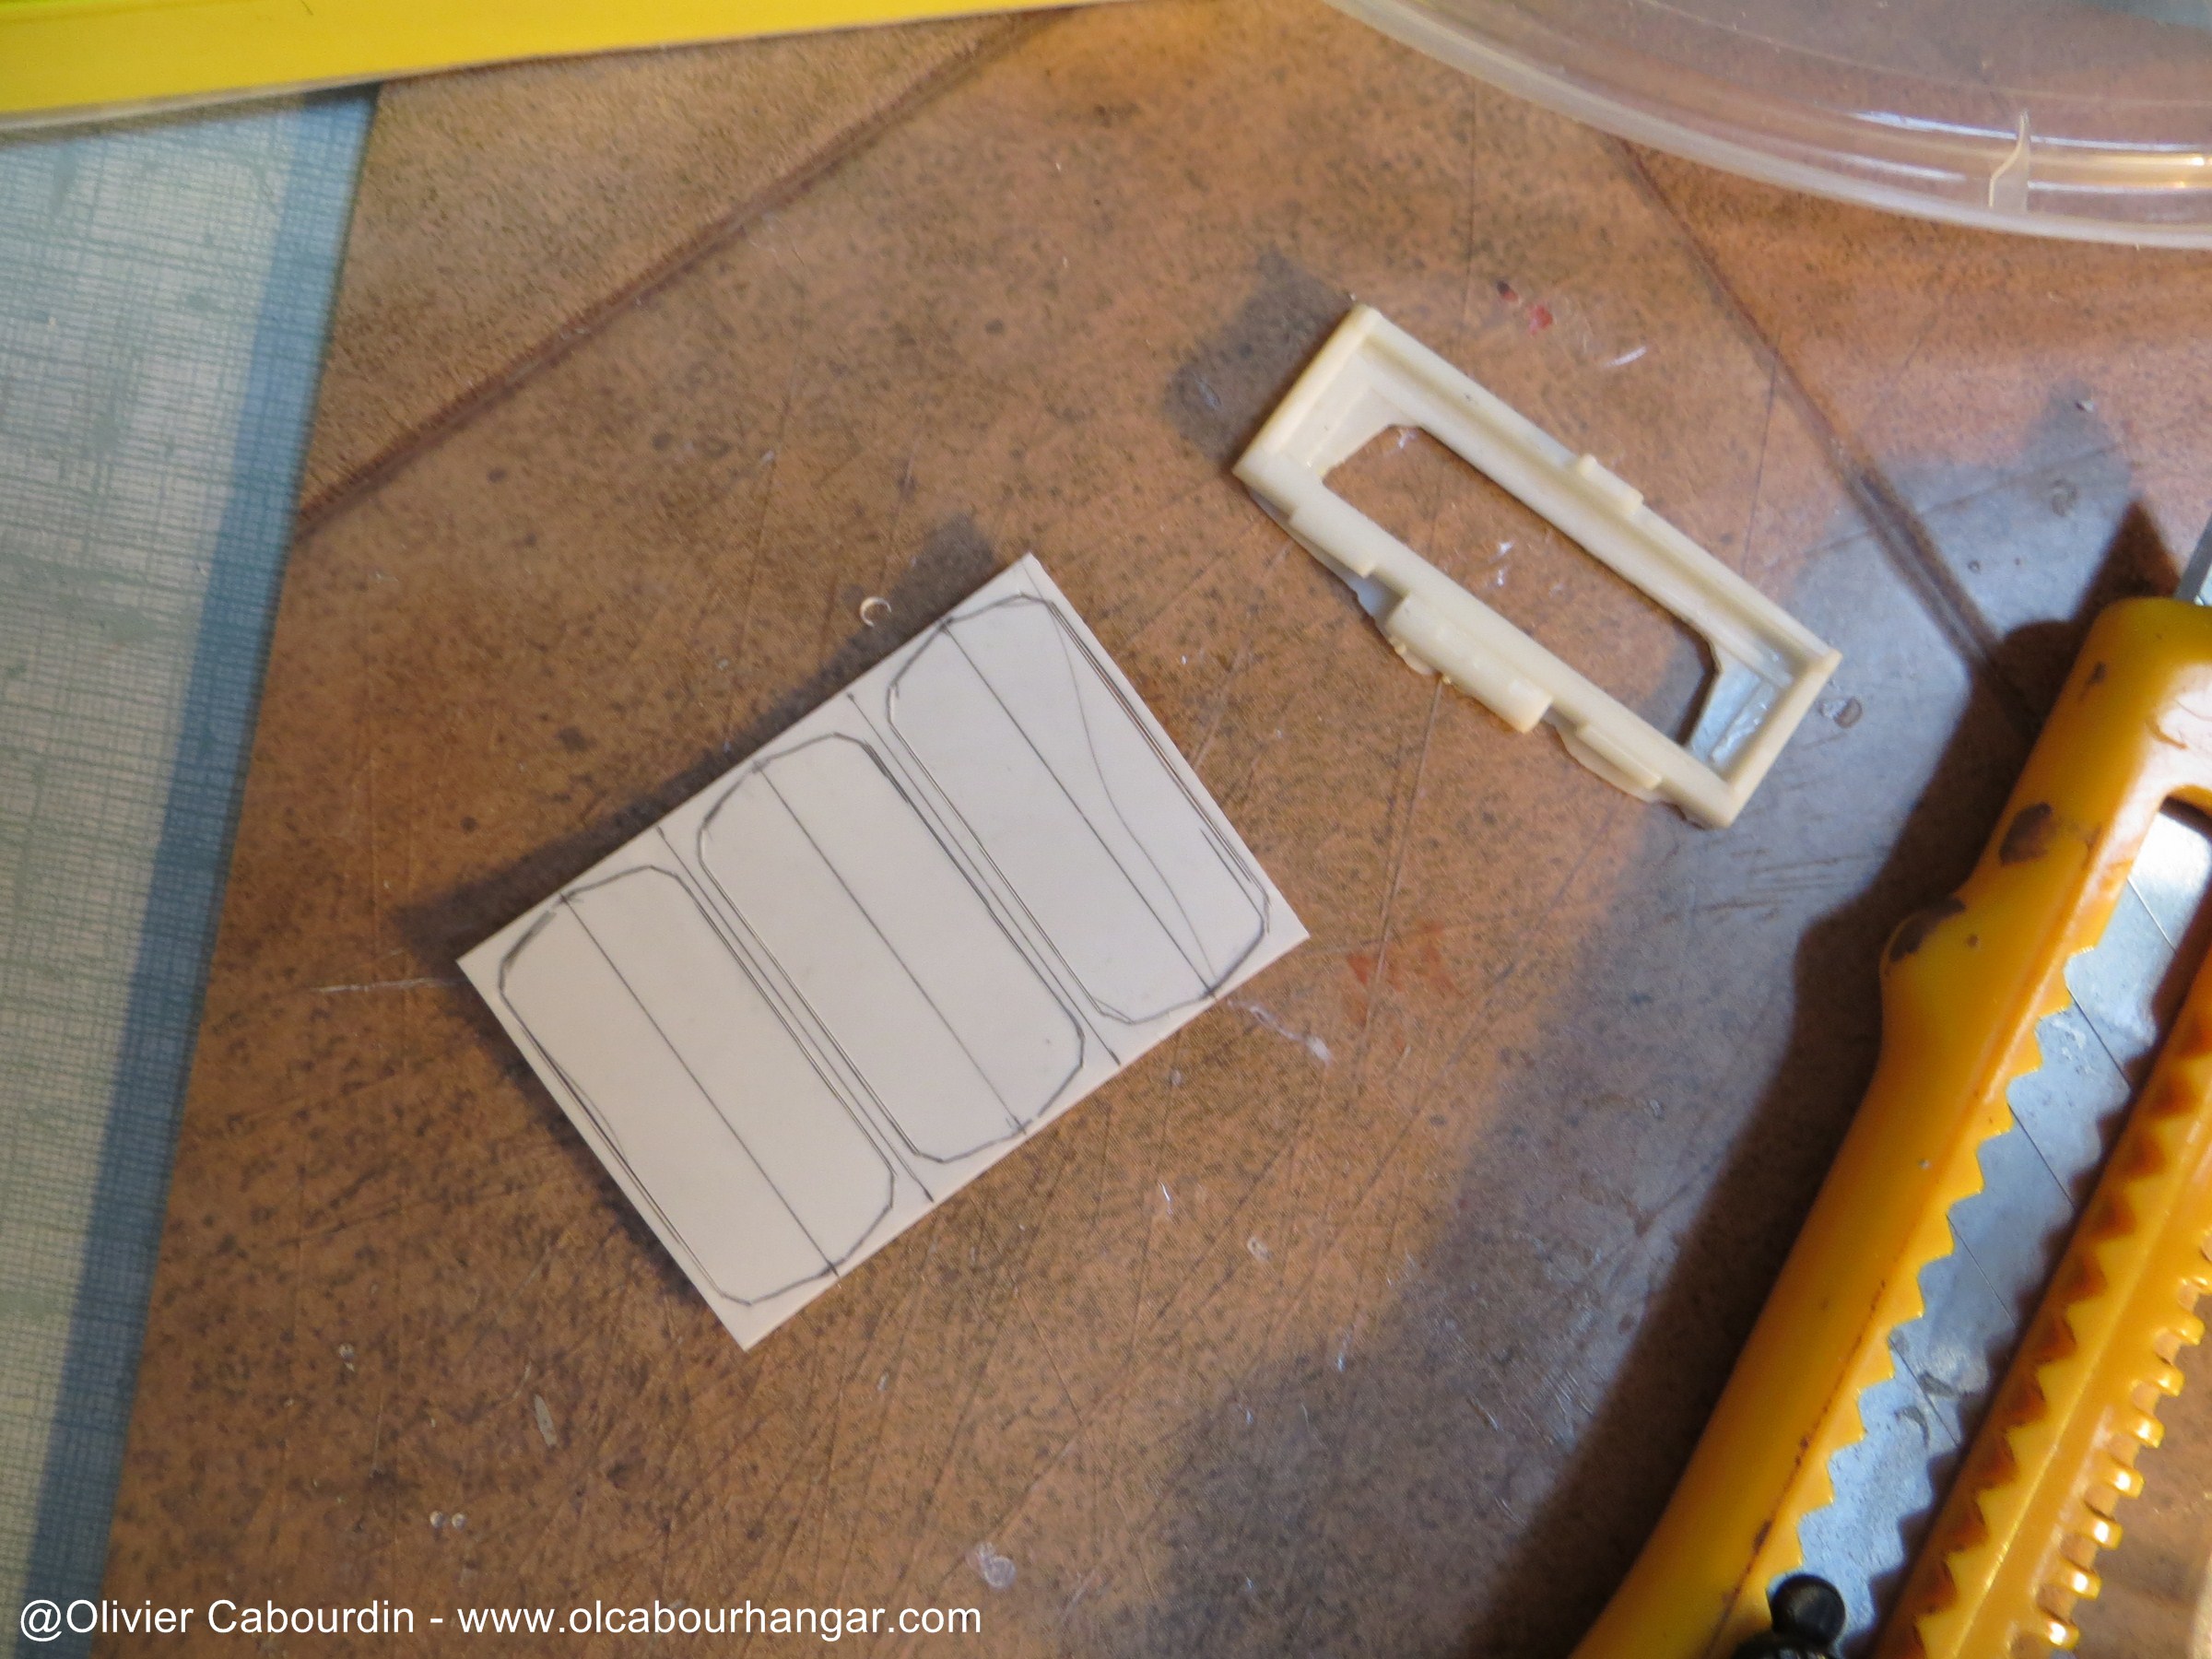
I use a resin plate, a part of the kit that I did not use (and replaced by the medium), to make the bottom of the drawer.

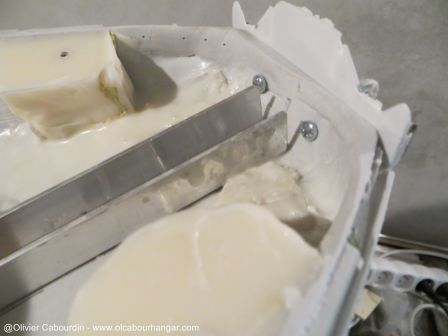
The light box is made of the above plate Honeycomb are slid inside, behind frosted transparent sheets.


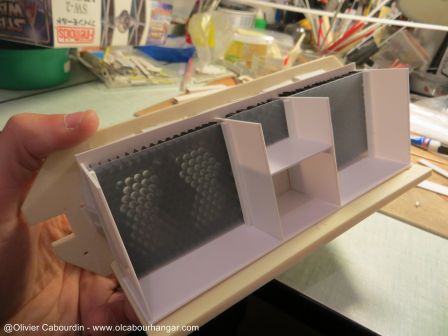
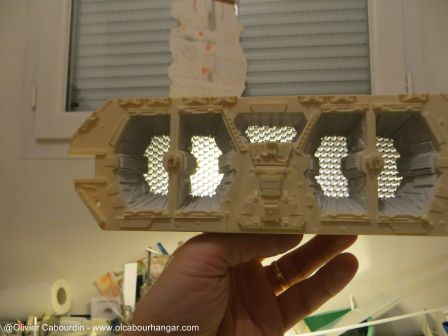
The box is closed with the help of PVC profiles L and screwing everything

Missing is the lighting (which will be done later)

Assembly of the backplate


It needs some triming to fit in.
It will work with mini-screw
I use a resin plate, a part of the kit that I did not use (and replaced by the medium), to make the bottom of the drawer.
The light box is made of the above plate Honeycomb are slid inside, behind frosted transparent sheets.

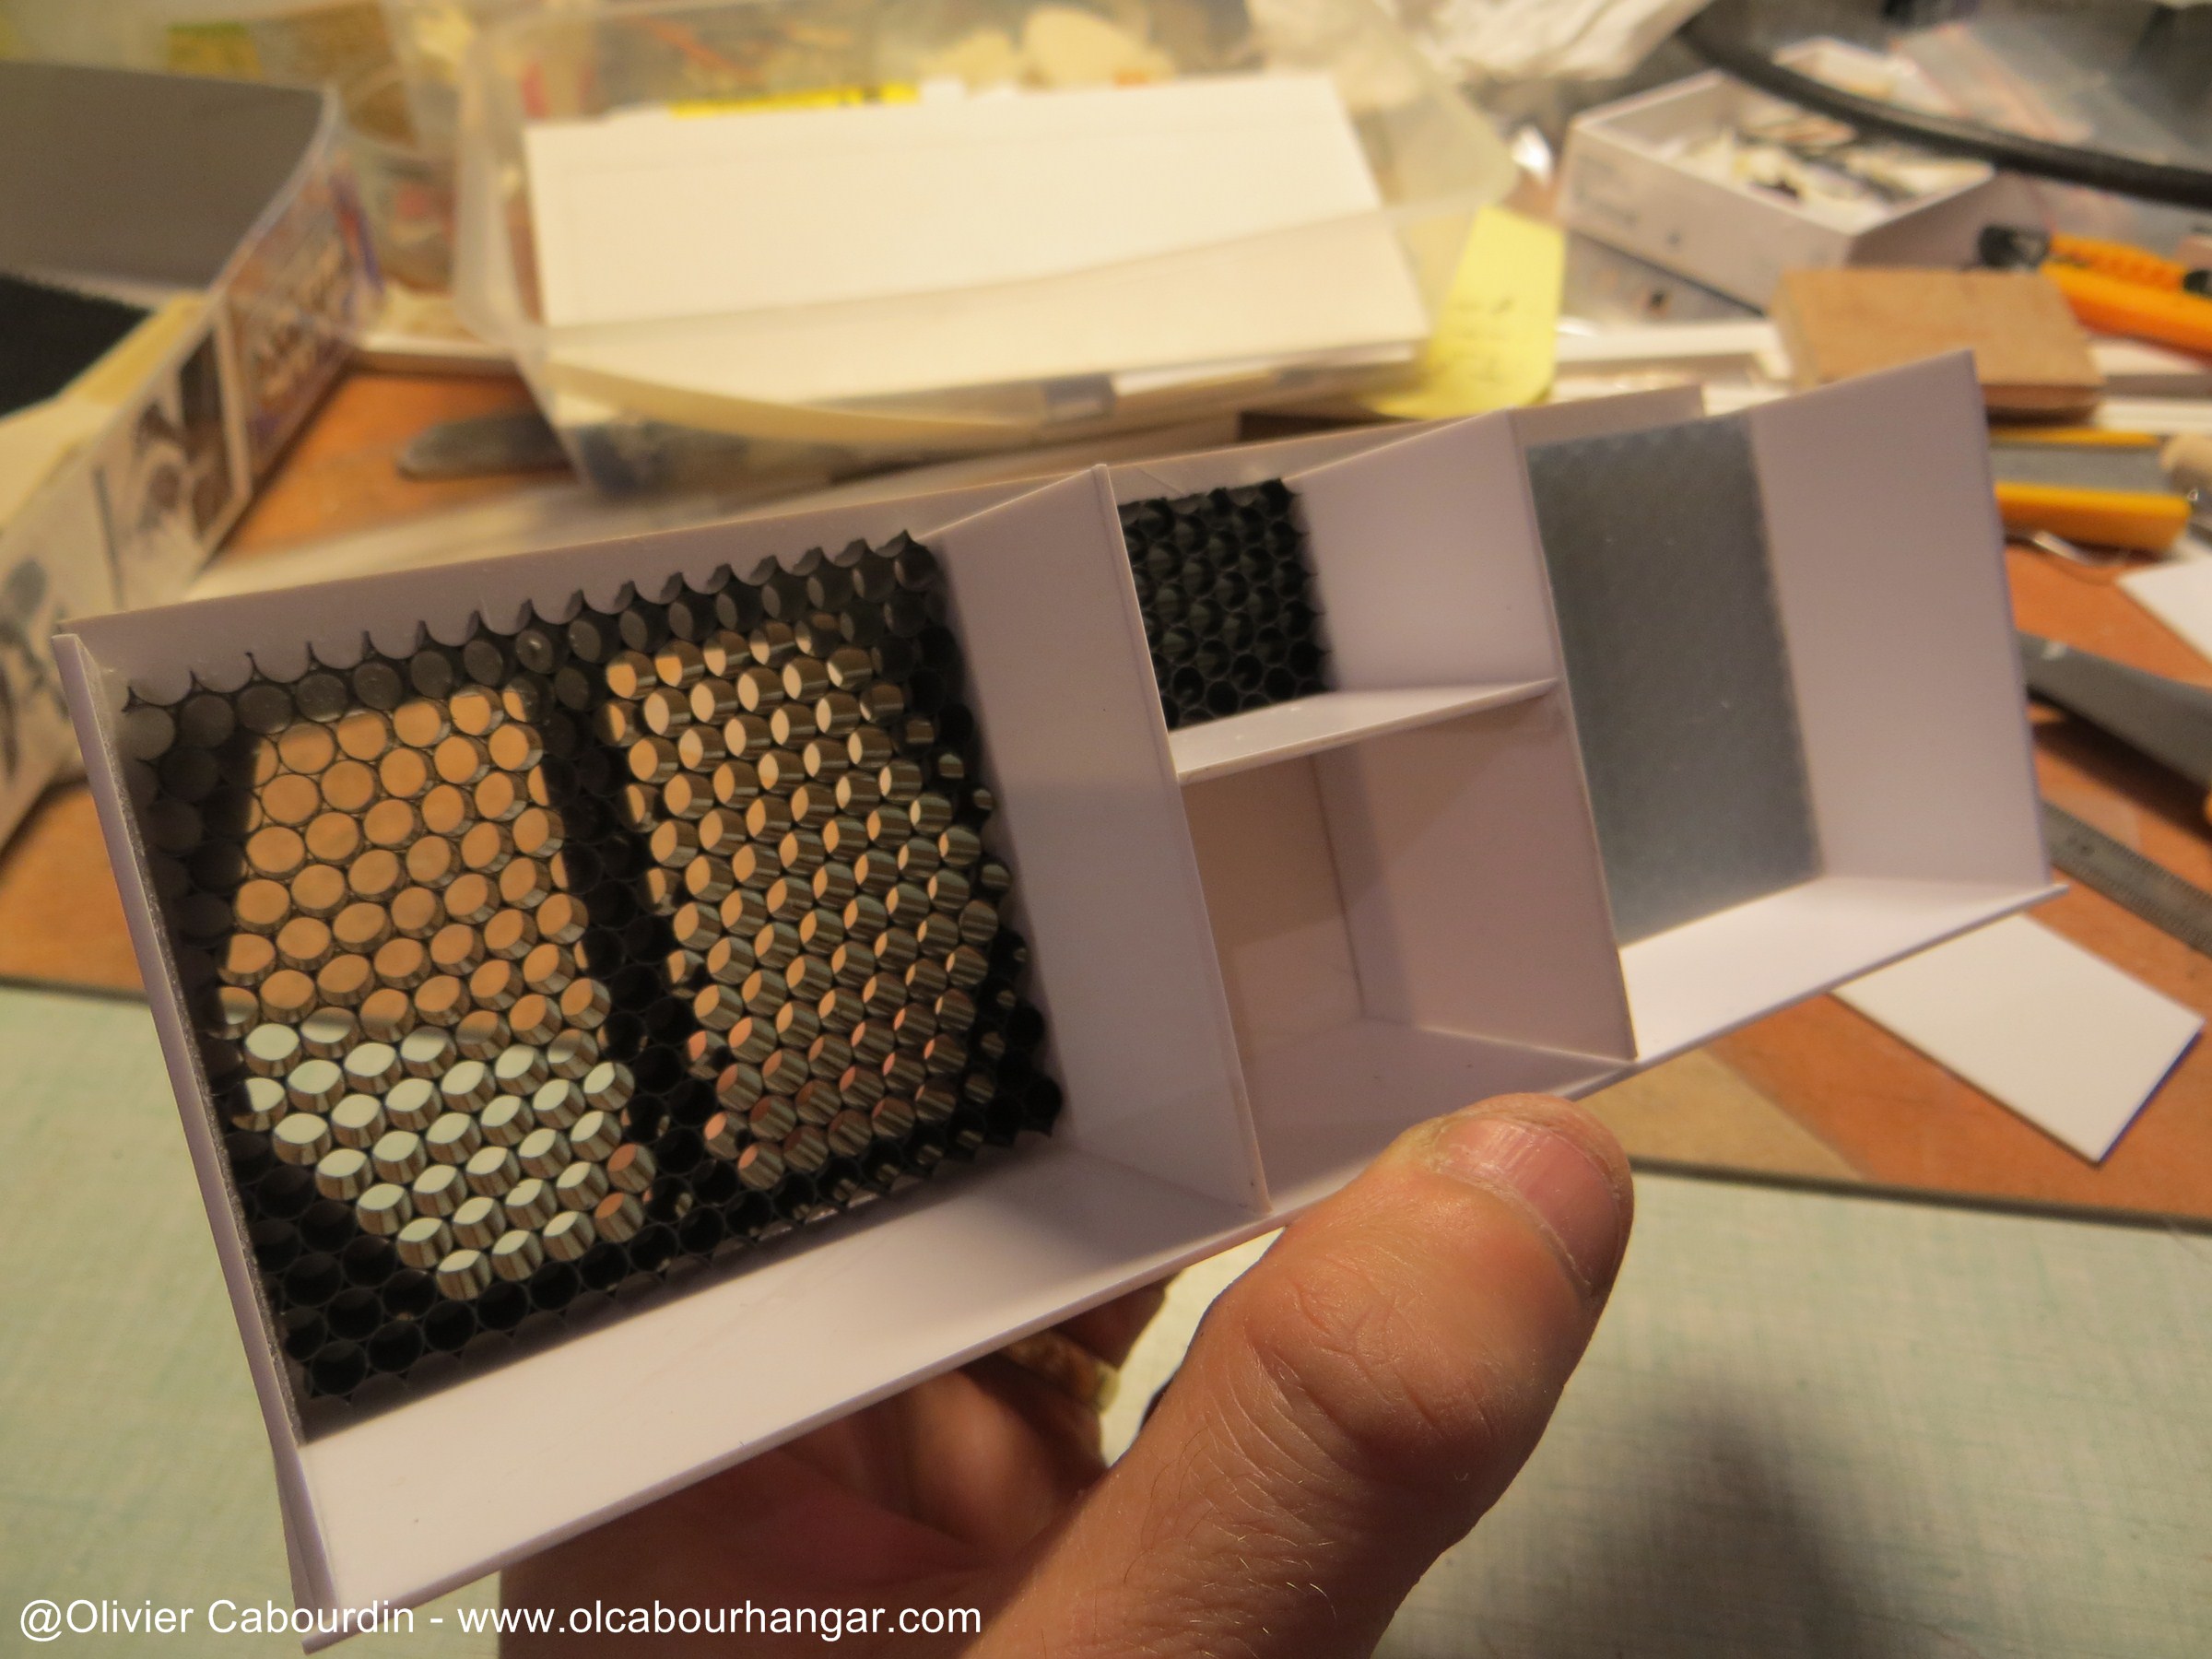


The box is closed with the help of PVC profiles L and screwing everything


Missing is the lighting (which will be done later)


kermet
Sr Member
Great work Oliver, Your model looks fantastic. As far ImWolf google this smooth on company get there number give them a call and request a catalog they will hook you up with sample pours of every materal they carry you gan get this resin in gallons part a part b in a kit it doesn't cost alot and its good stuff Ive used it and its great, might want to check it out also Oliver good stuff, Hope you show your lighting in step by step it will help out alot. Thanks Jim
cabour
Sr Member
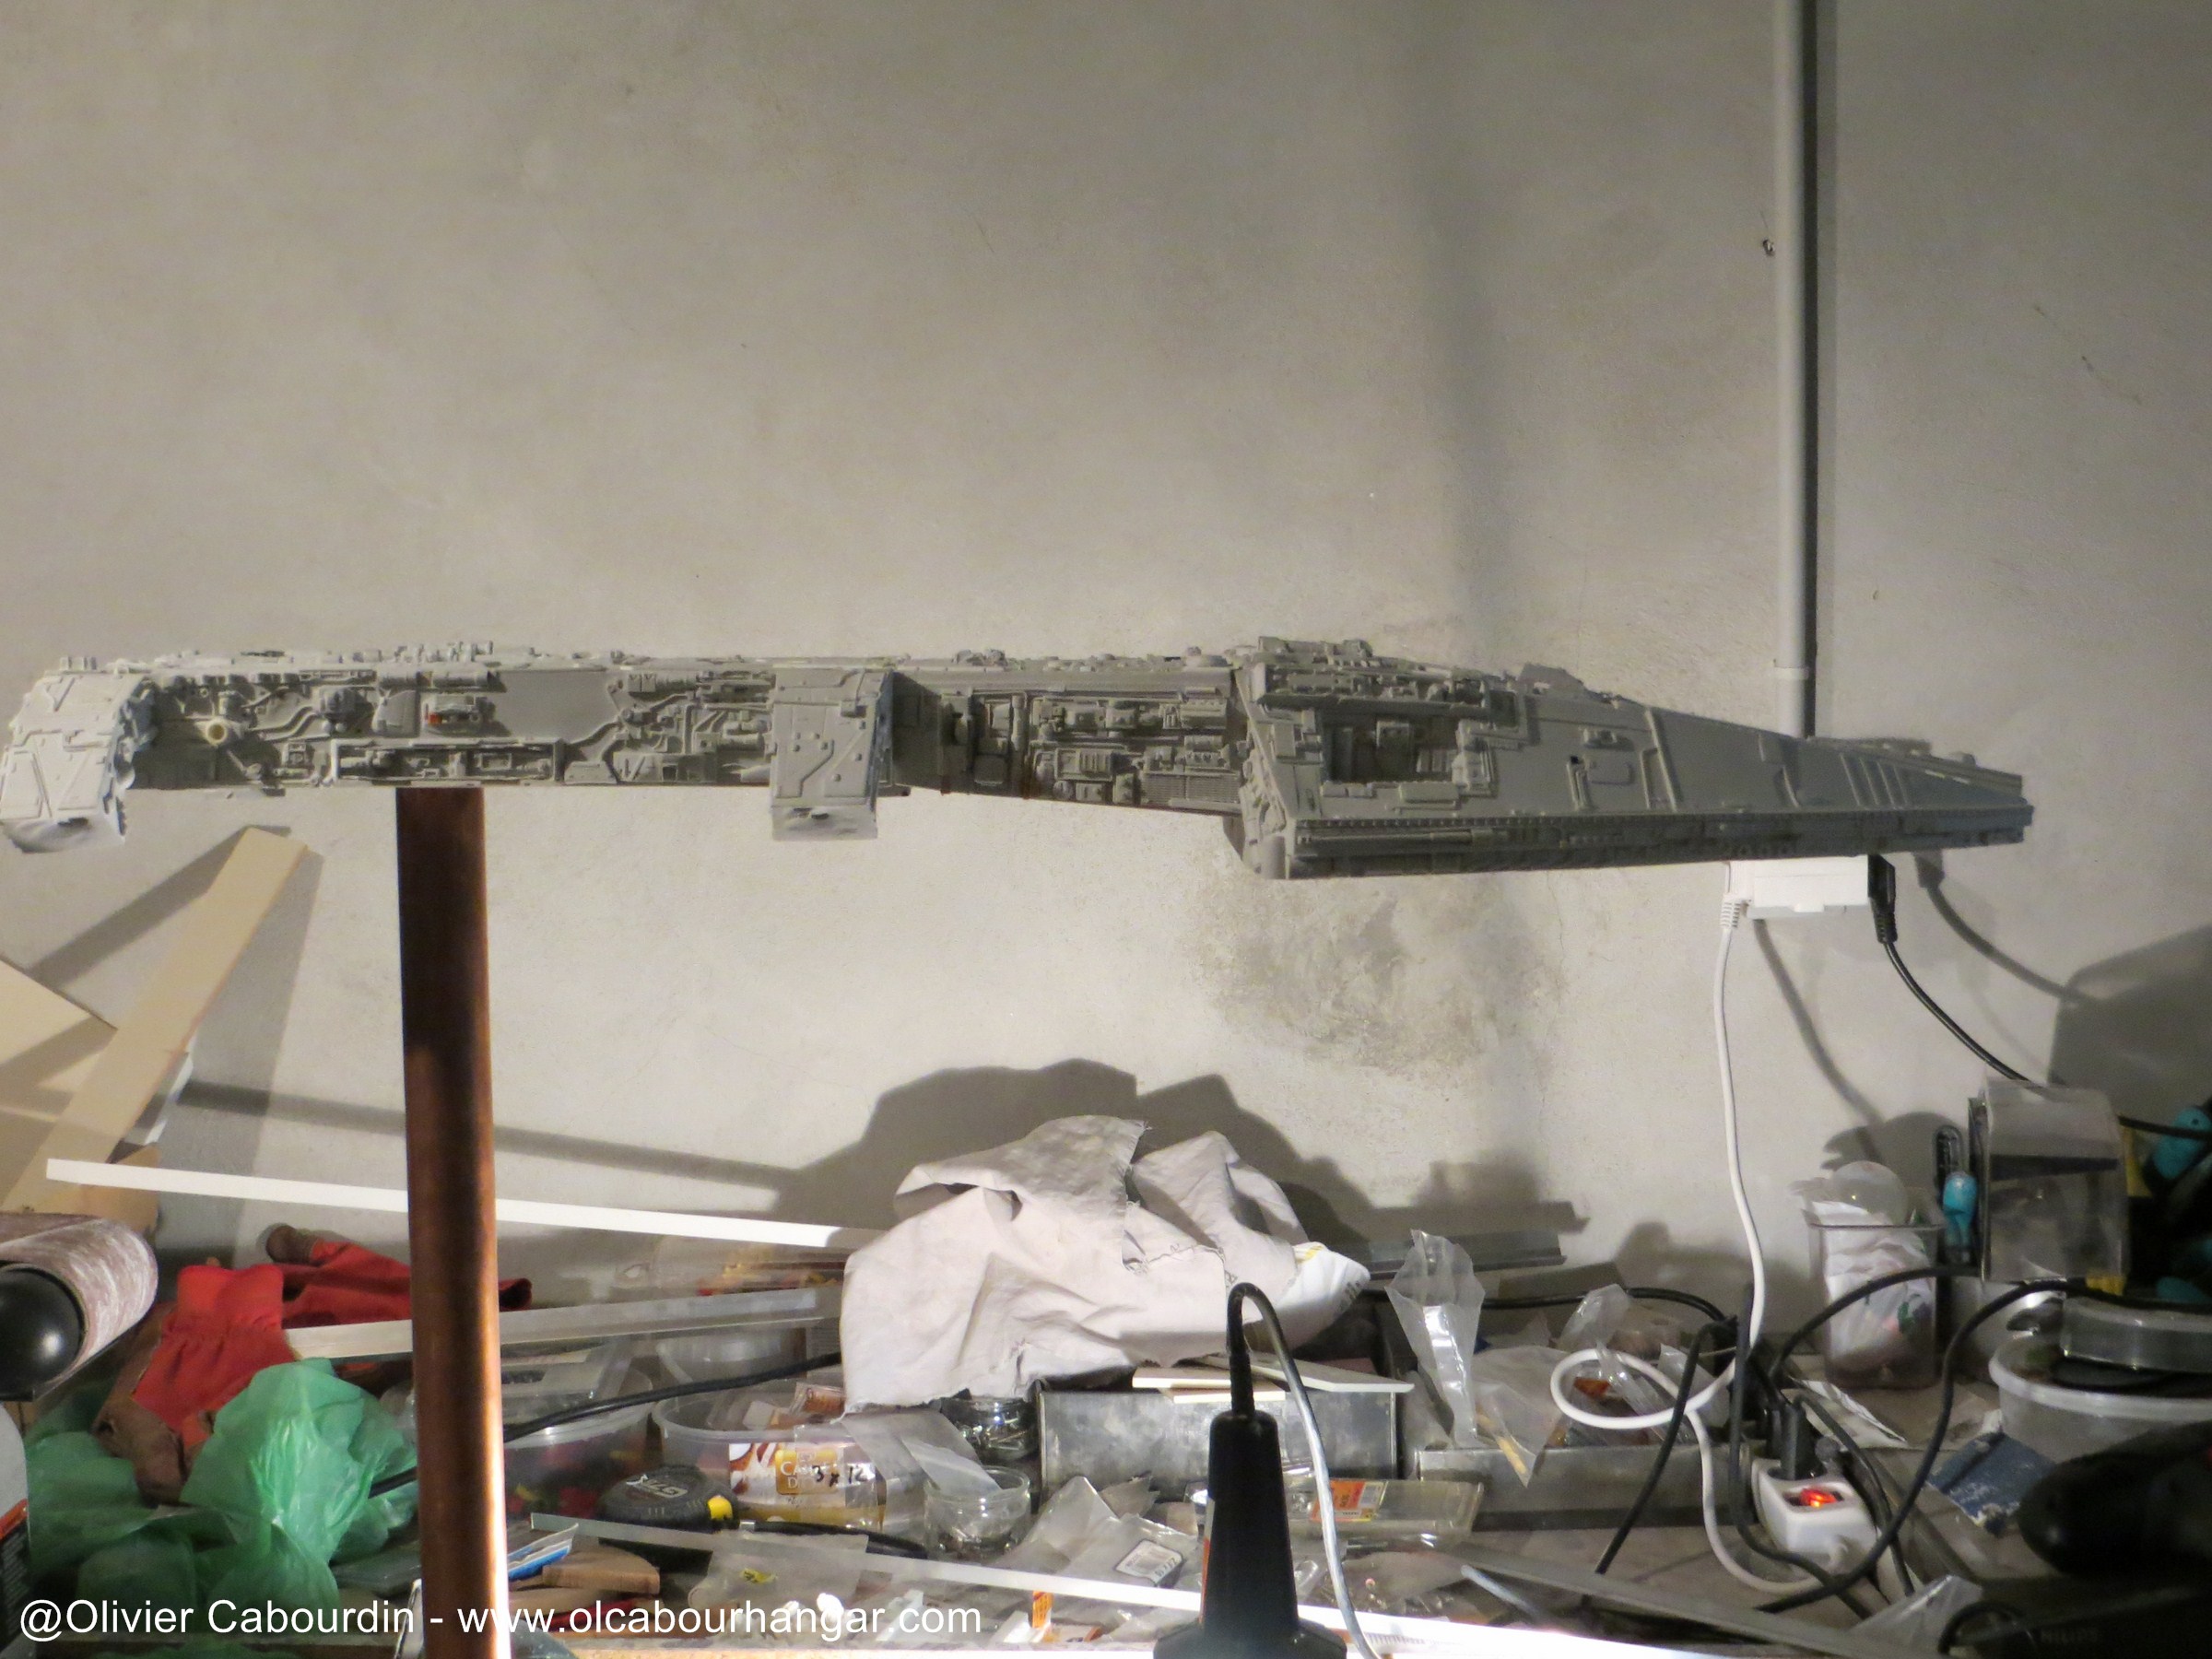
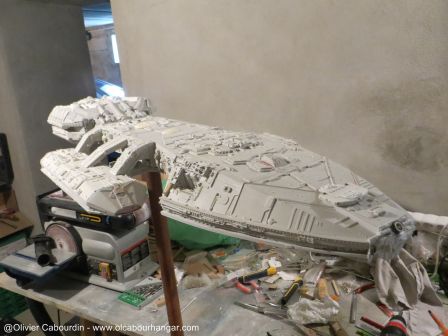
Back on line for the final run of this WIP description.
The Galactica was finished last week, just in time for a convention.
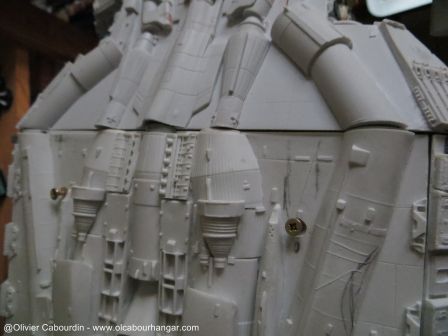
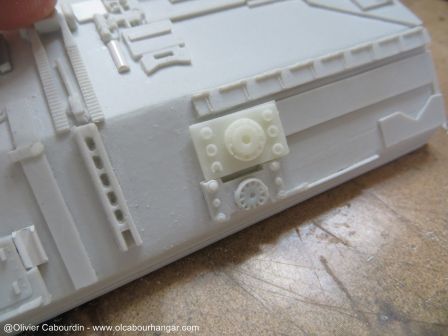
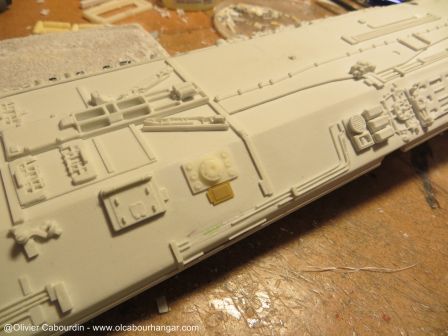
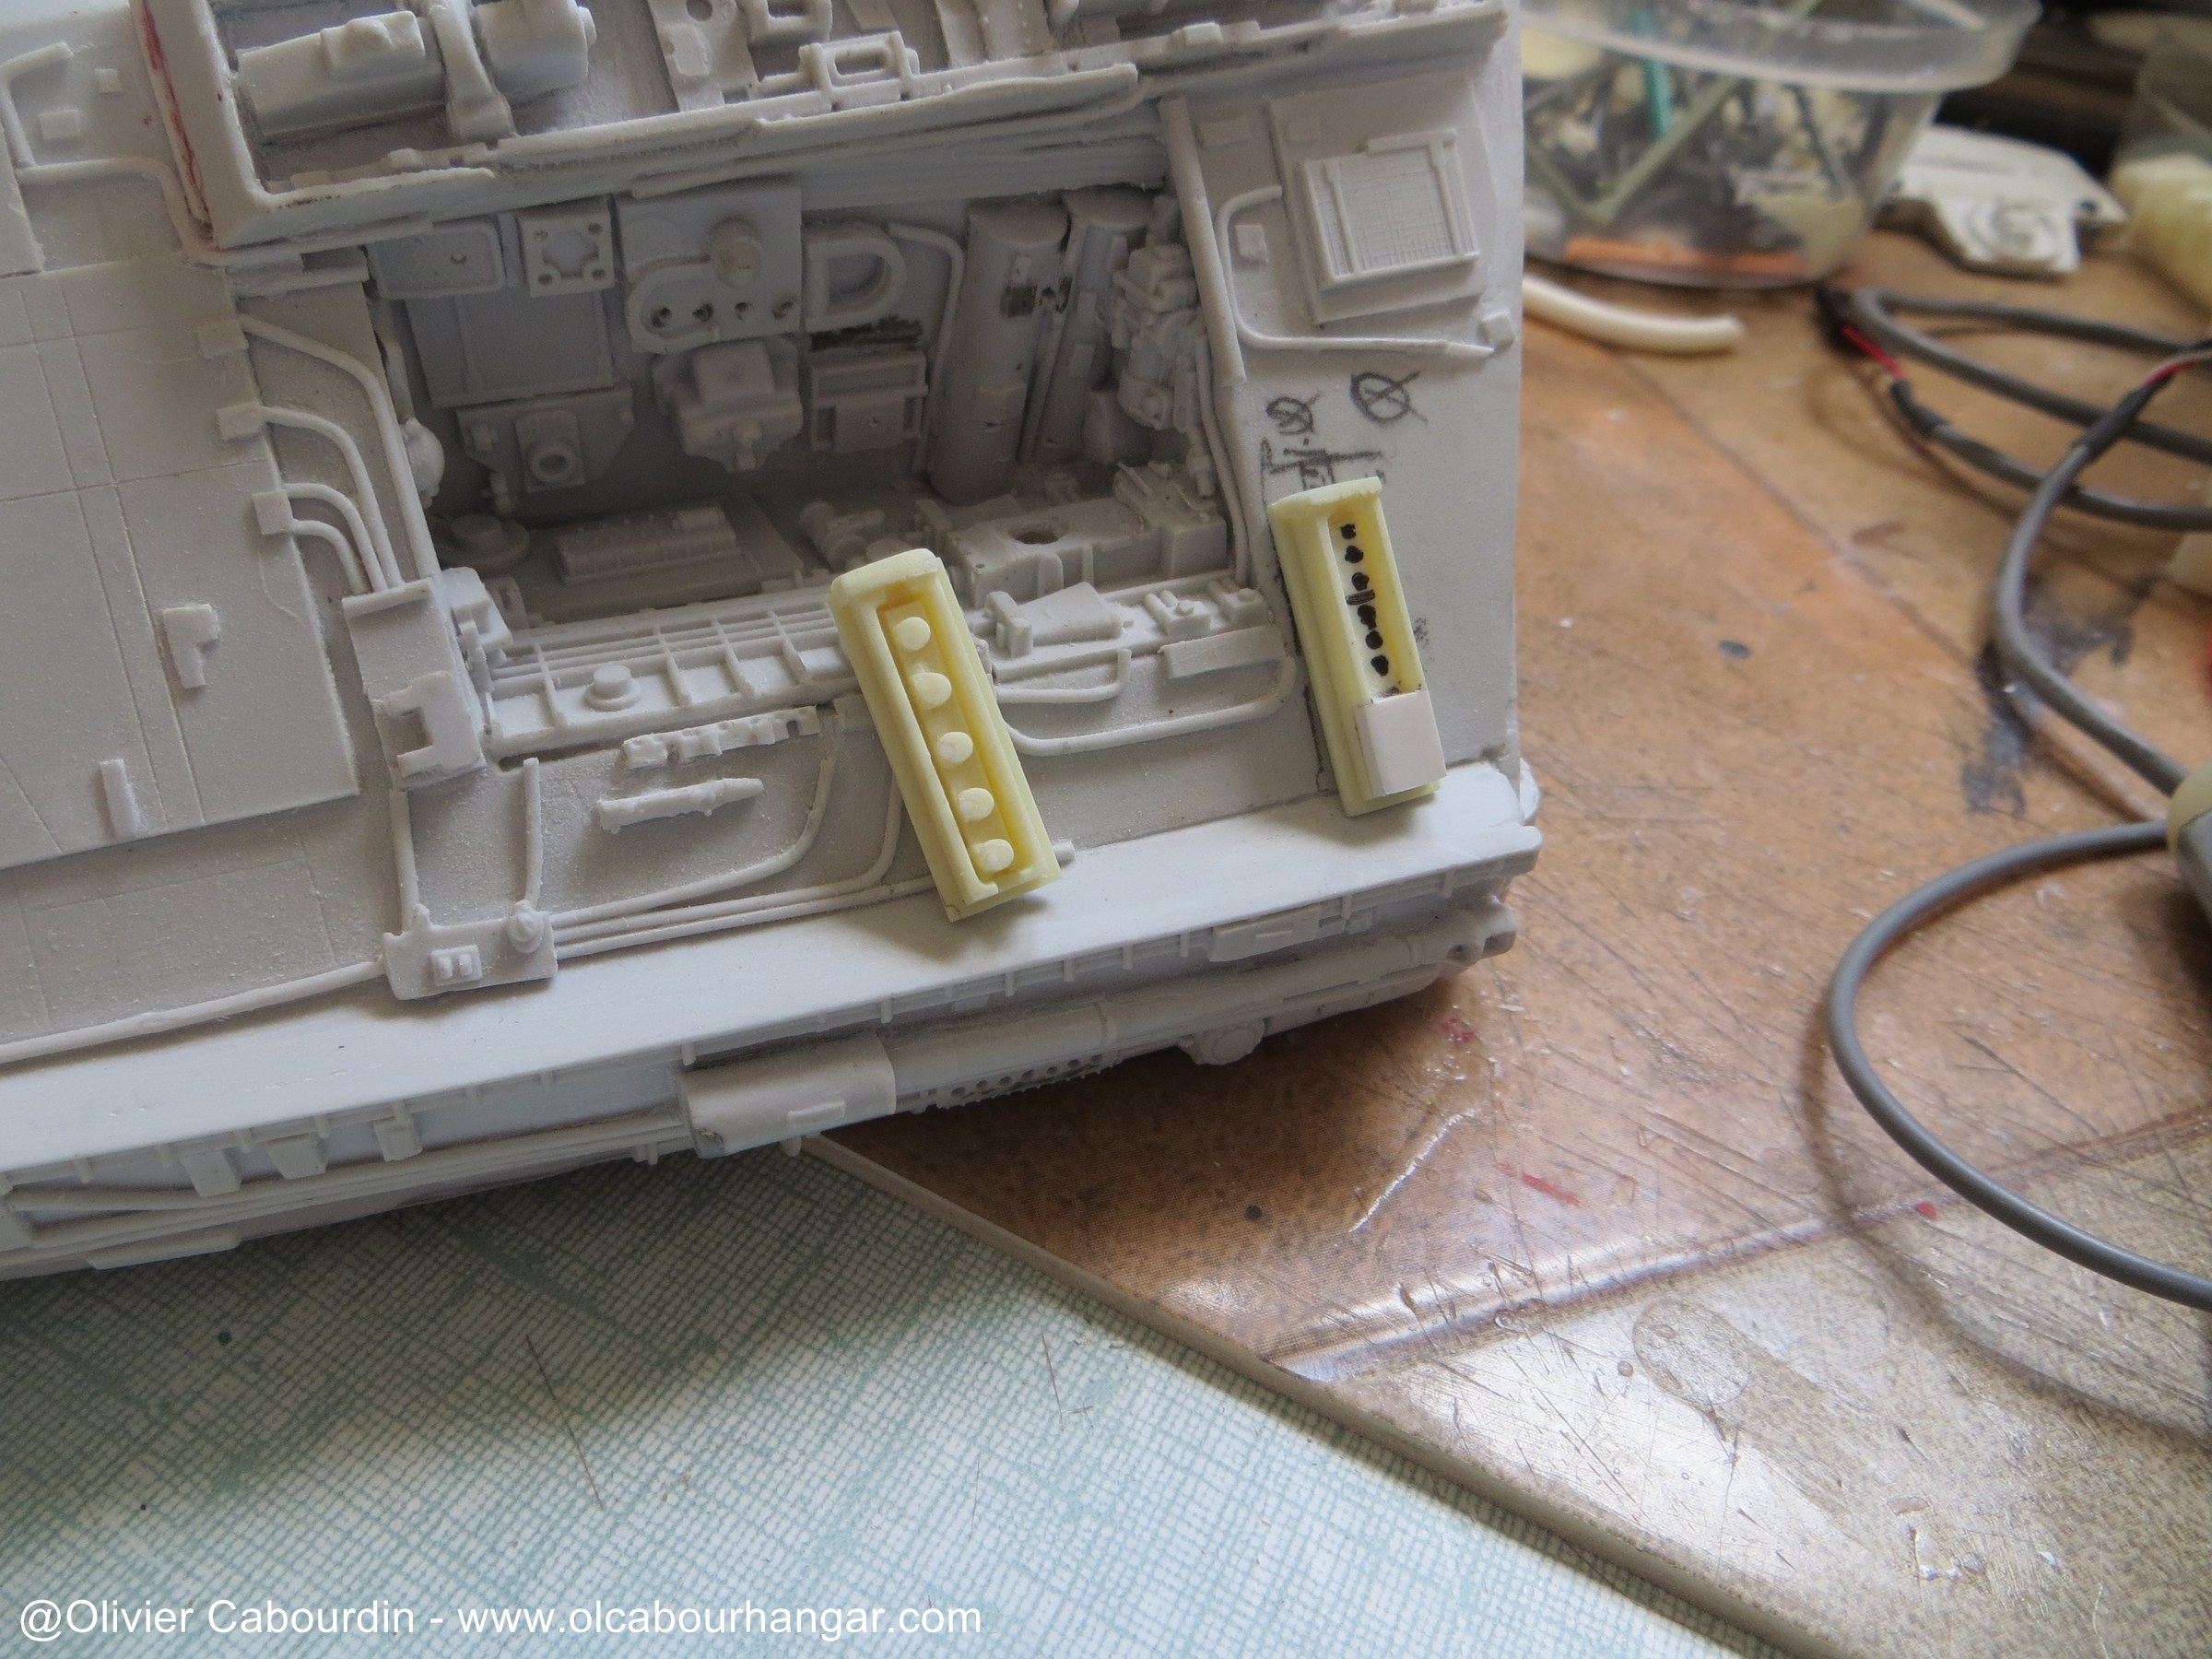
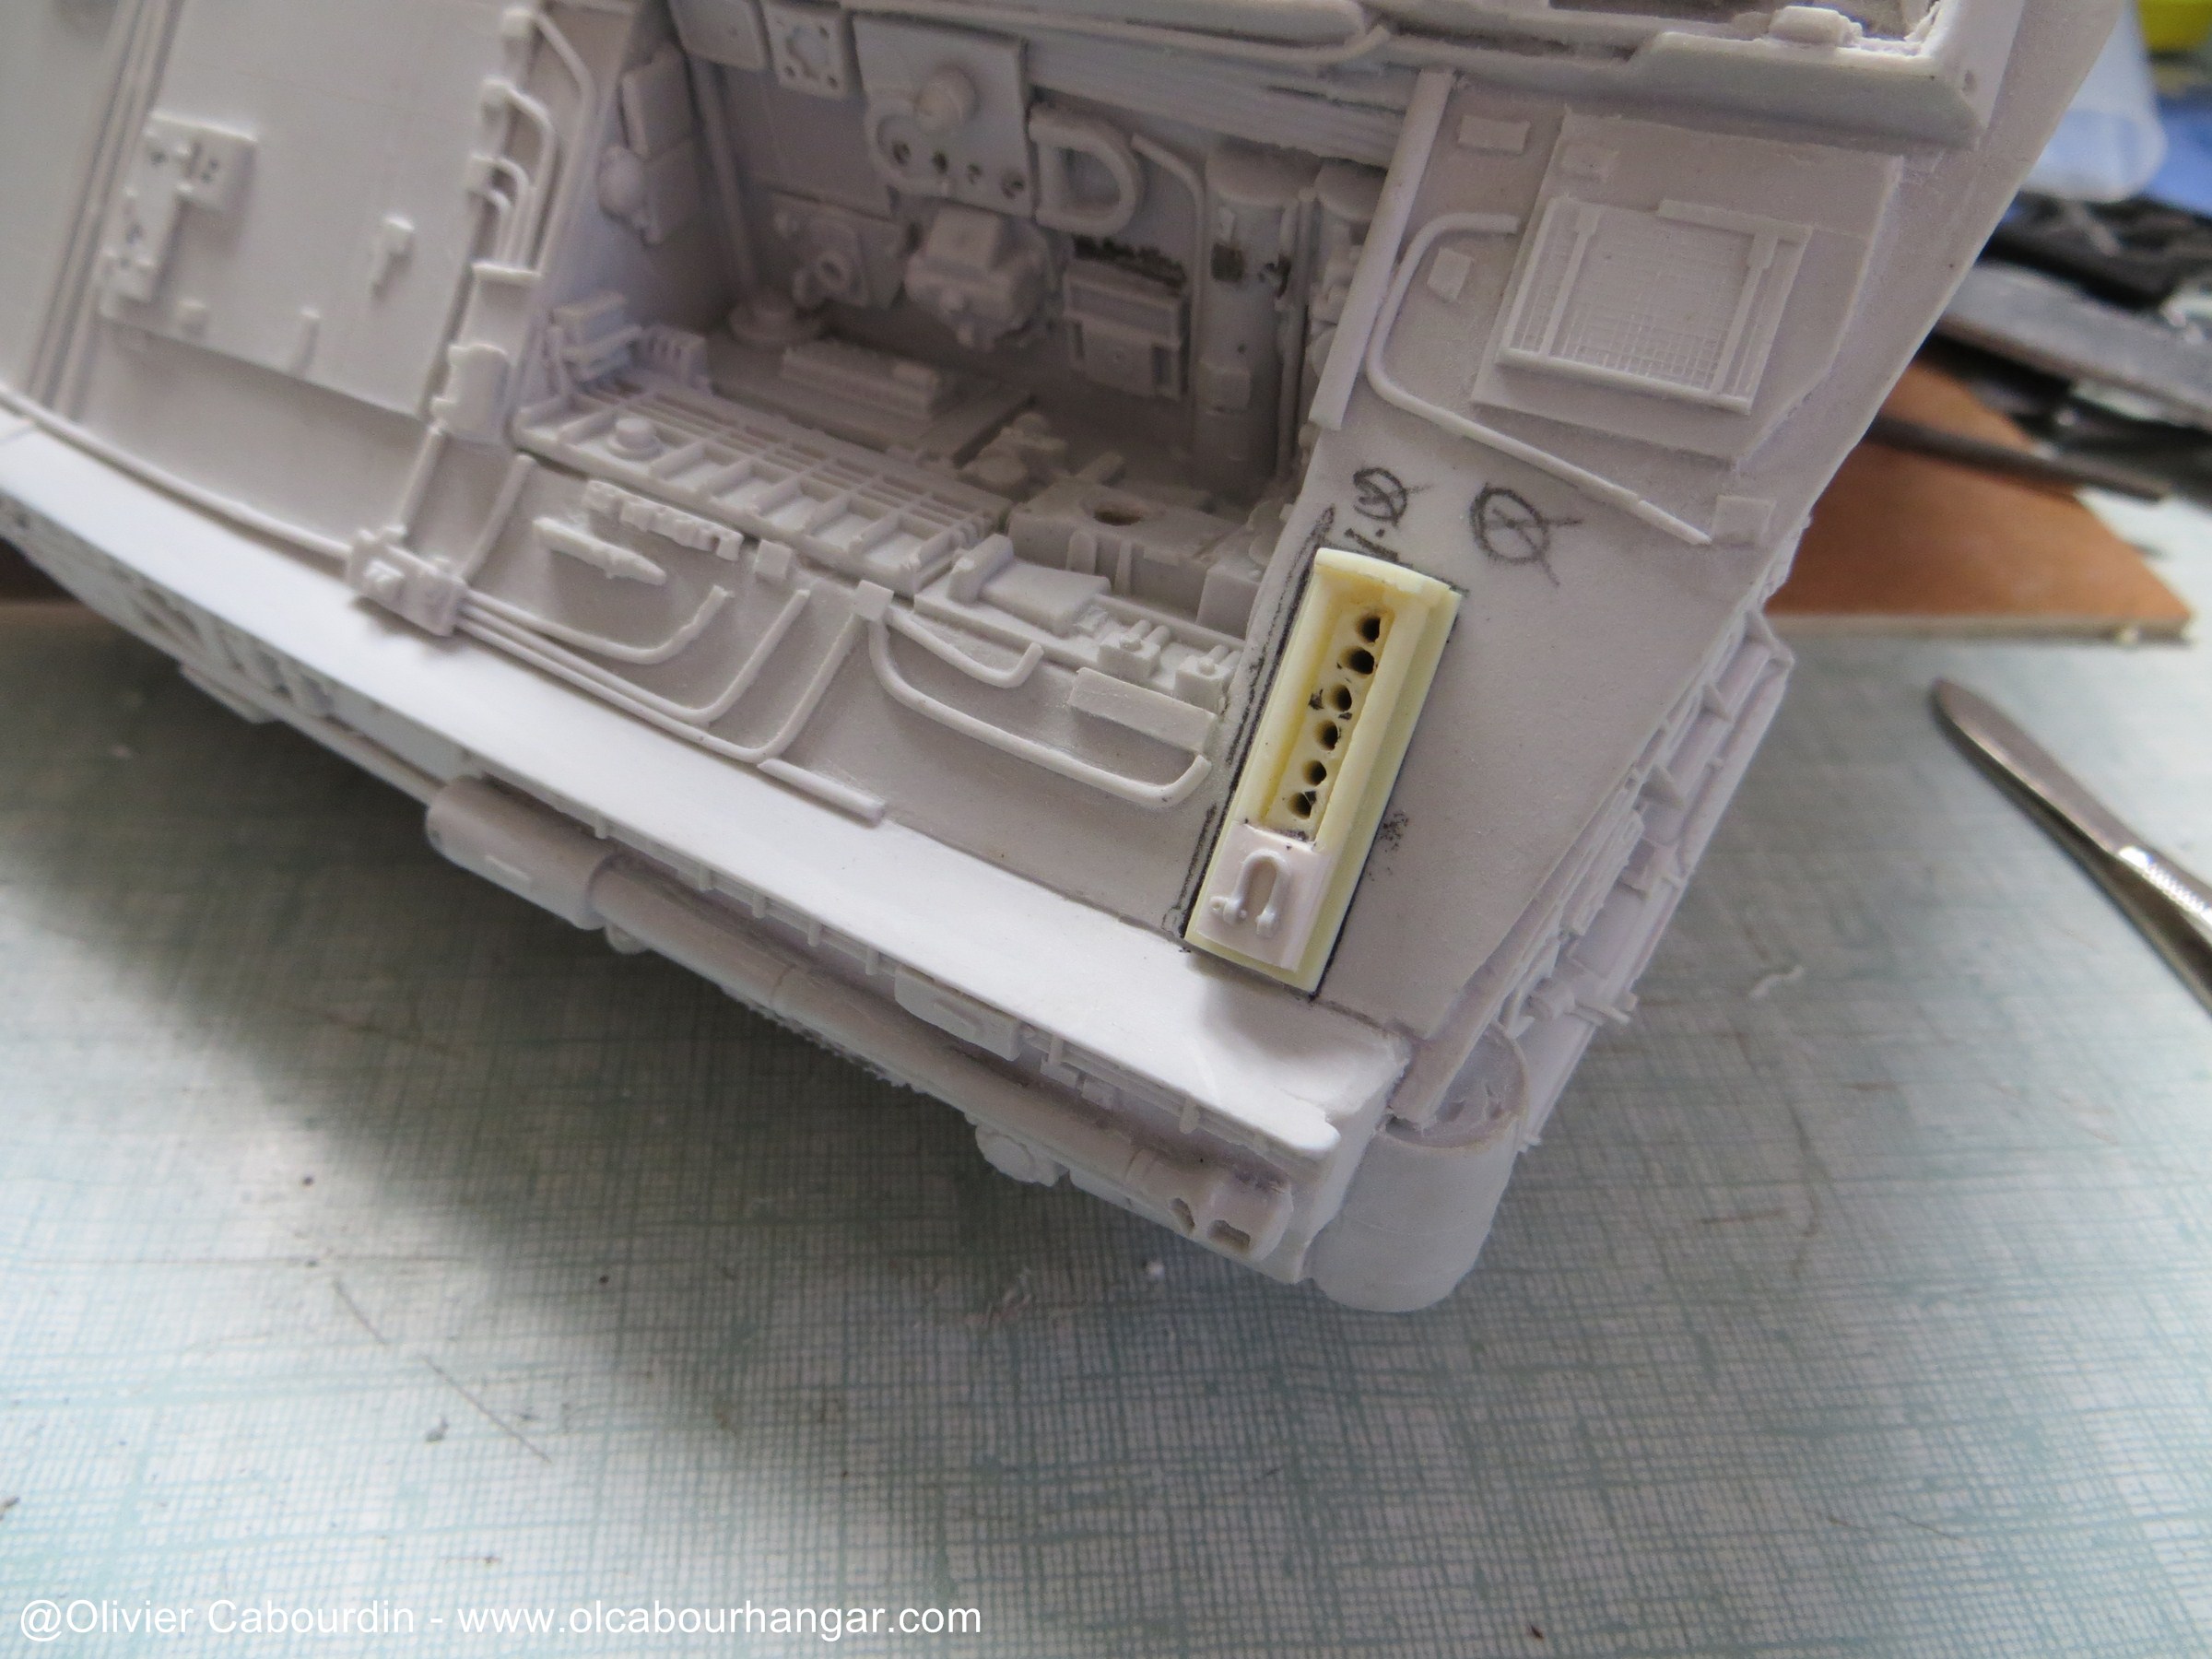
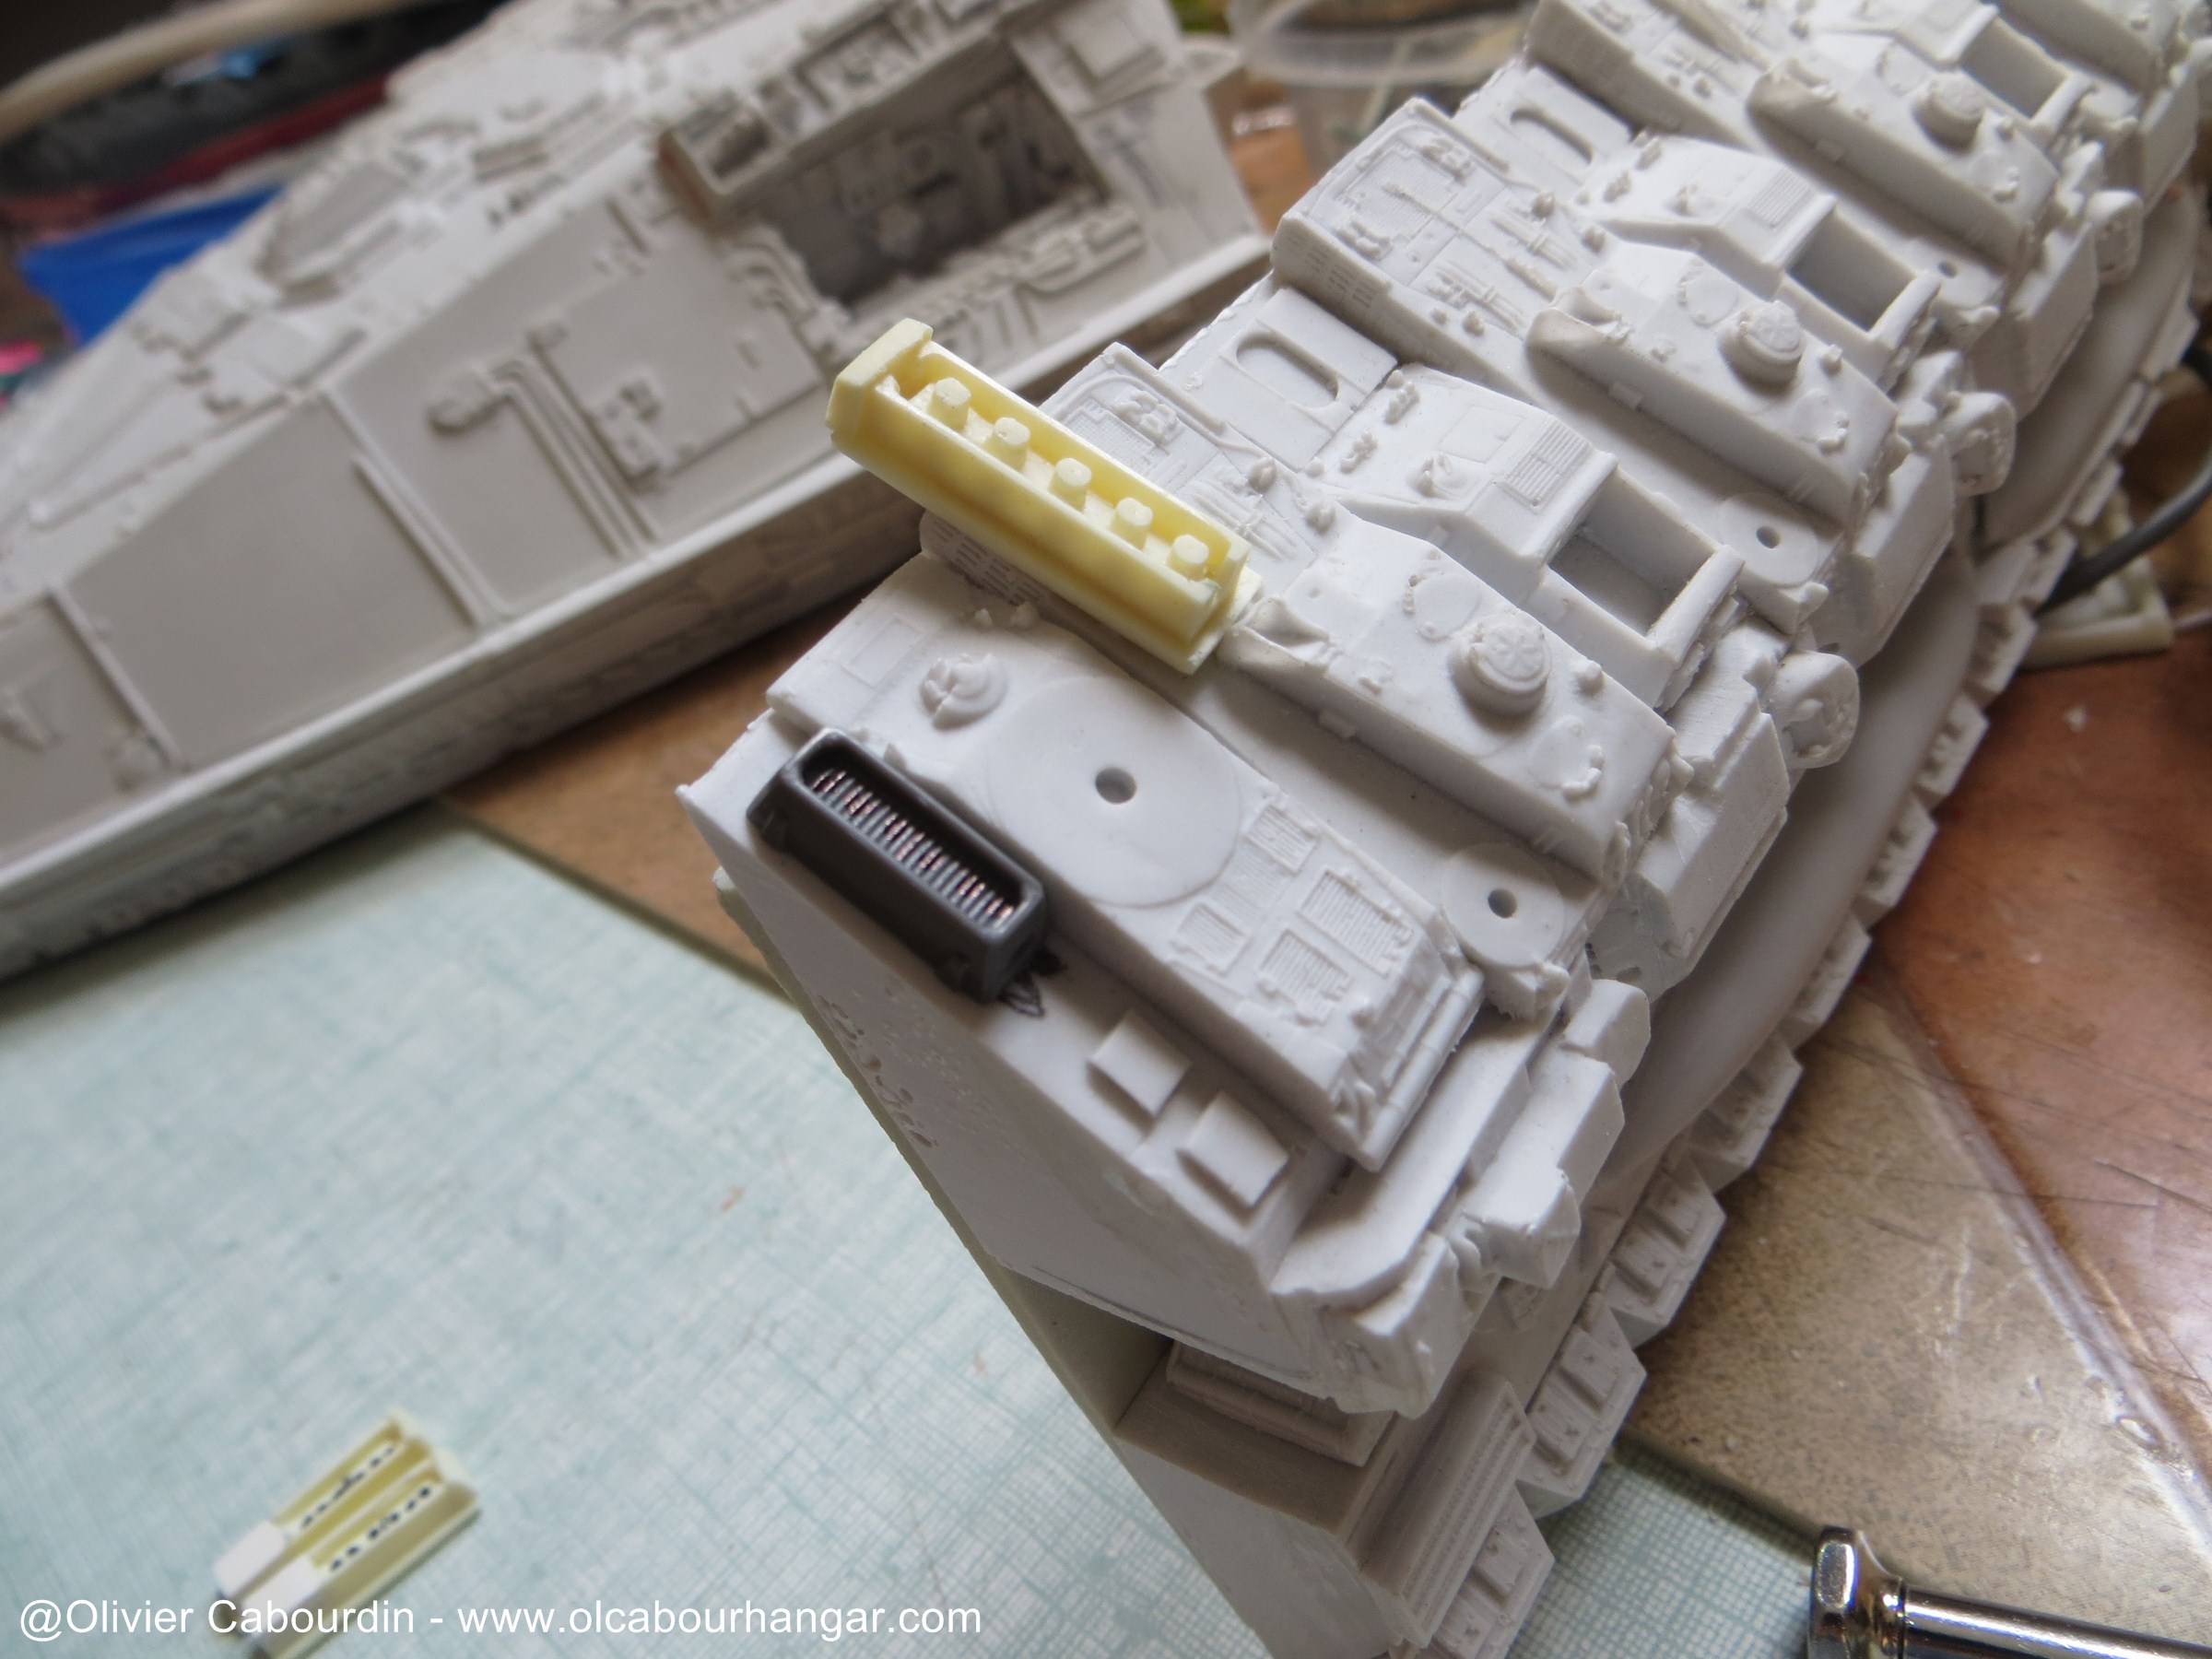
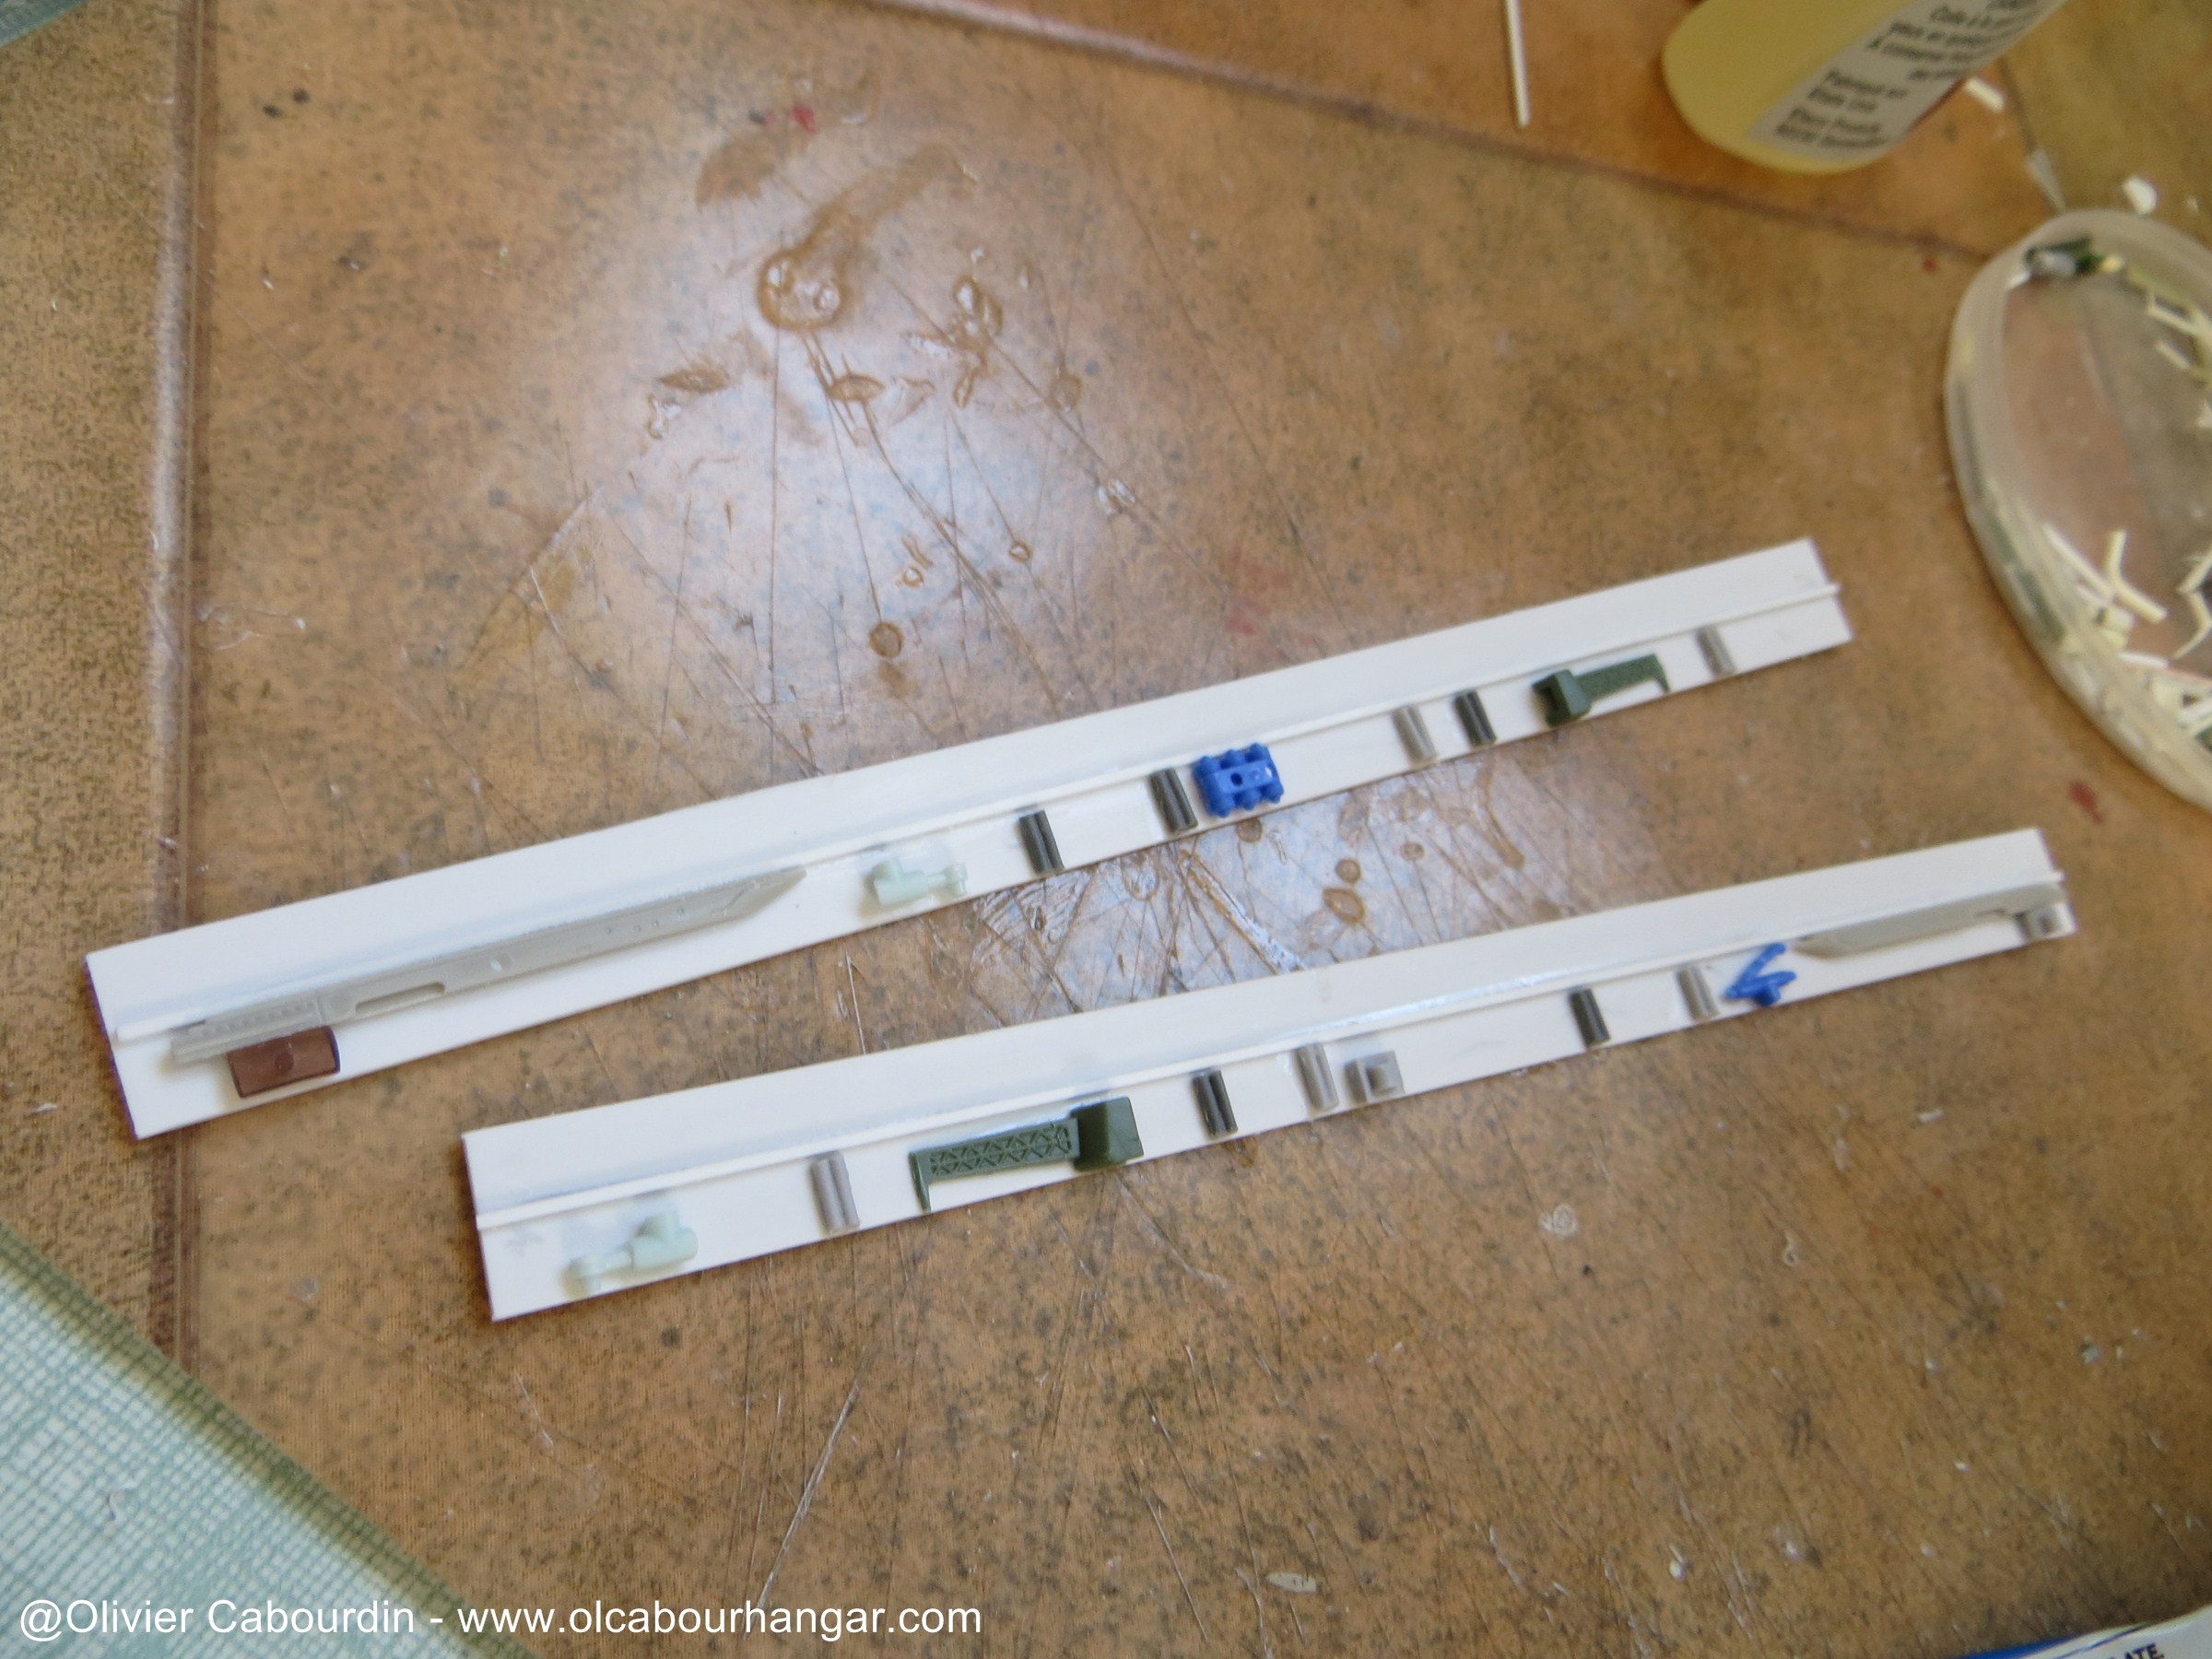
- yellow lights boxes
On each side of the head and the motor module, there are small boxes with bright yellow 6 points each.
The parts supplied are a little too big and different between the front and rear.
So I've modified or replaced, and then glued to drill the holes for the fibers.
Front ones


Back

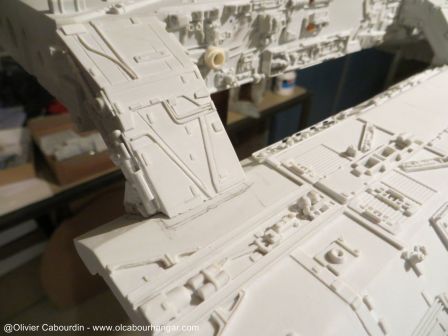
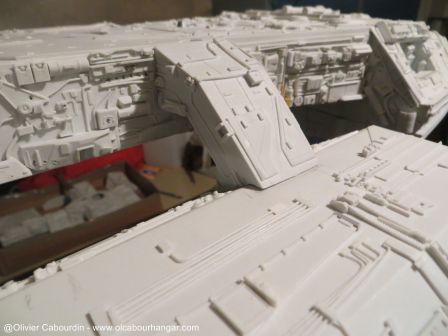
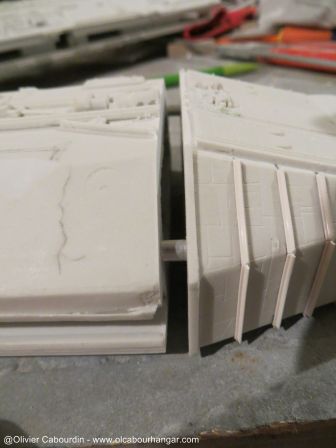
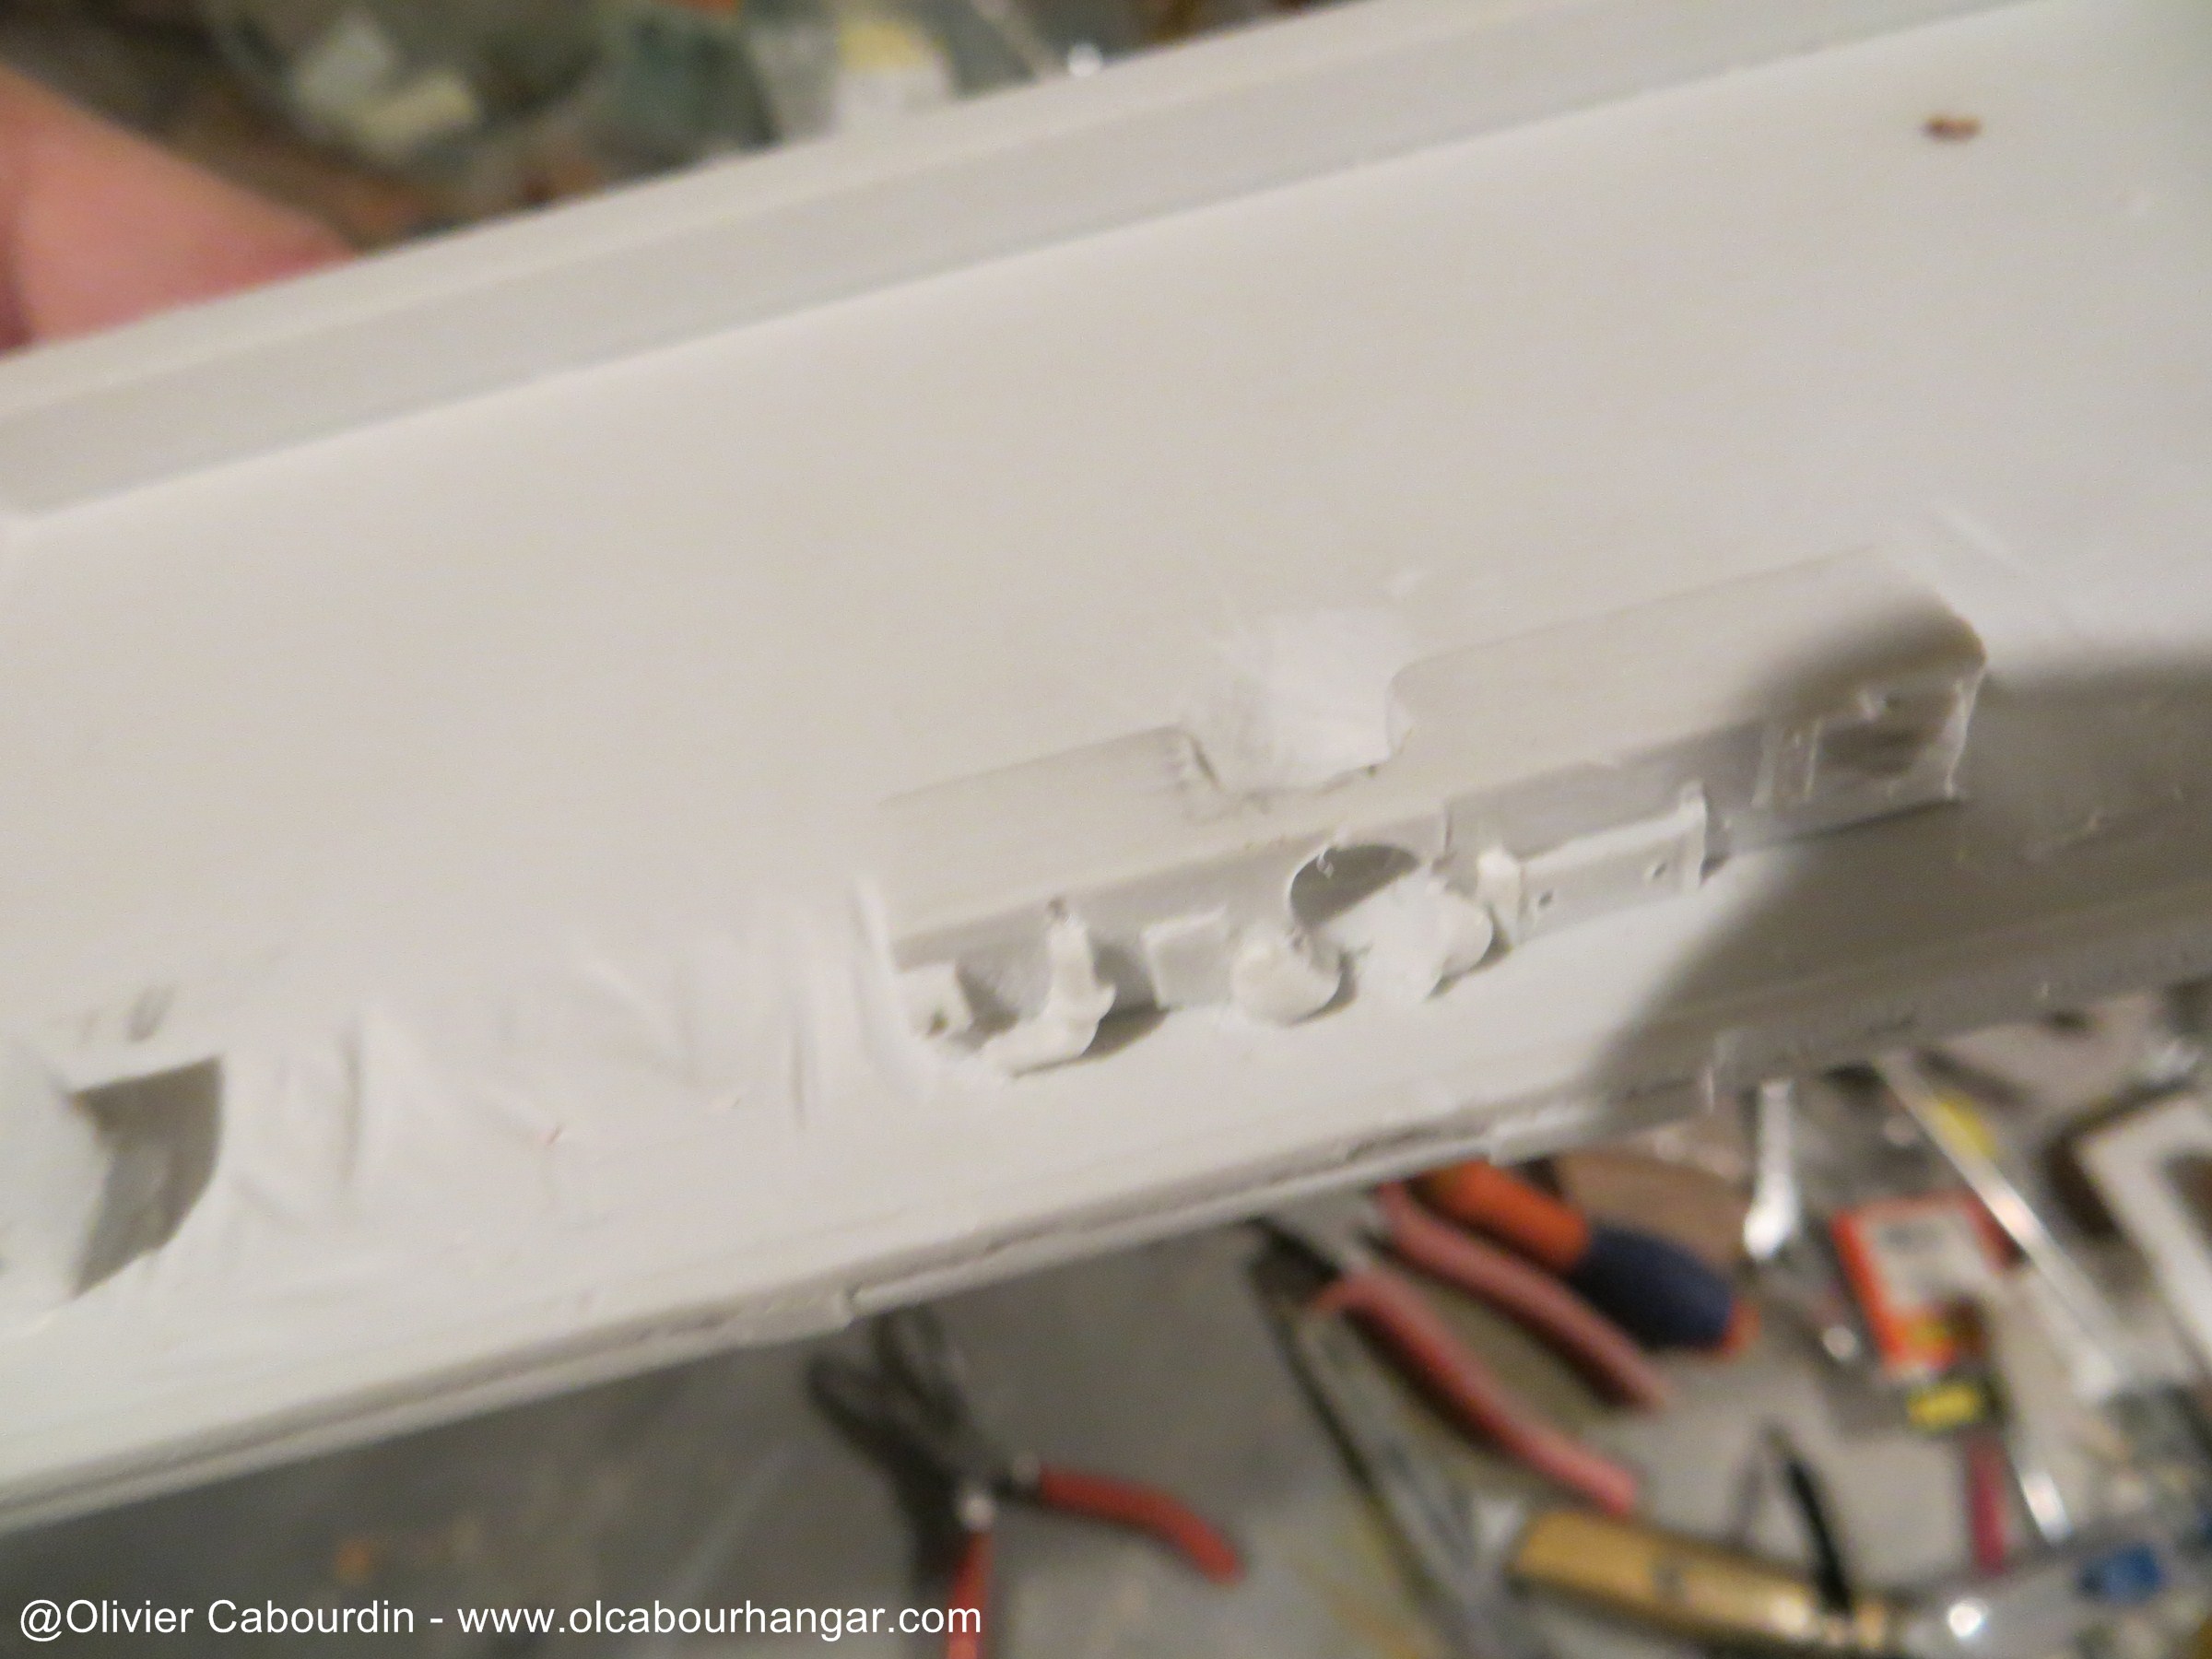
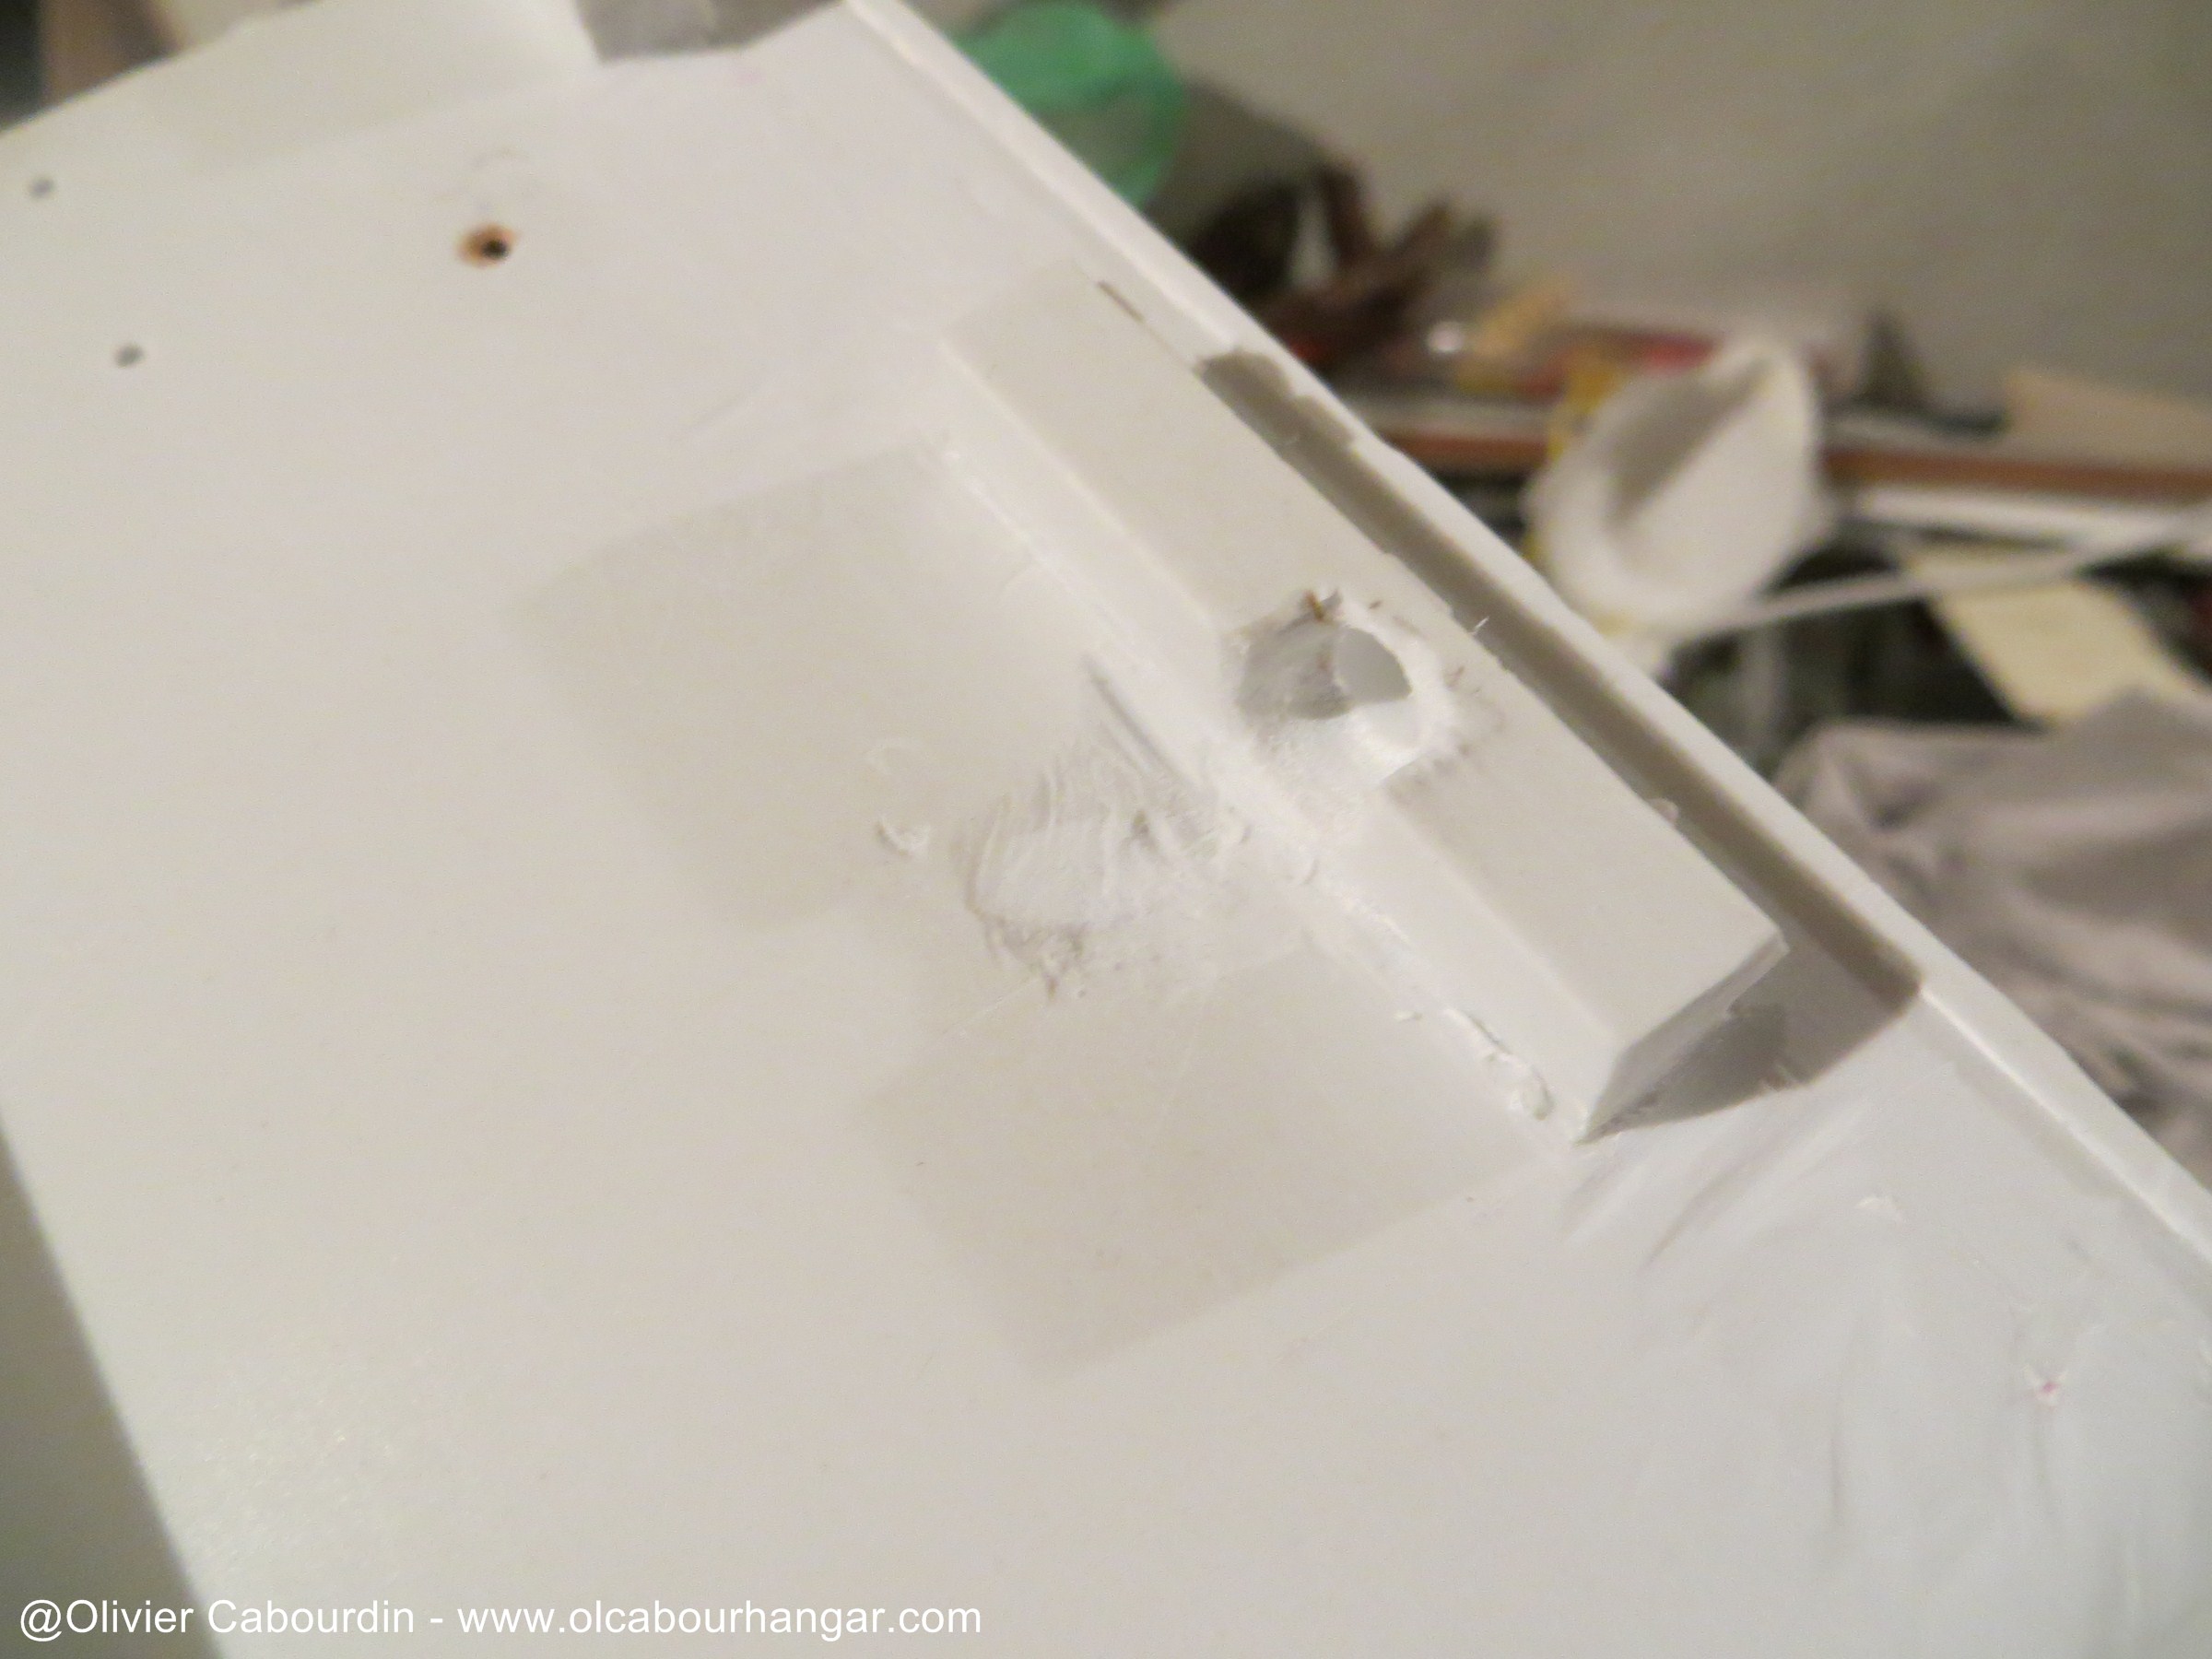
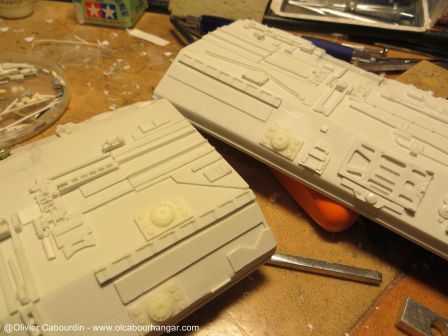
- remaining gaps
I filled few gaps between the large parts:
Here on the neck
and the engine module.
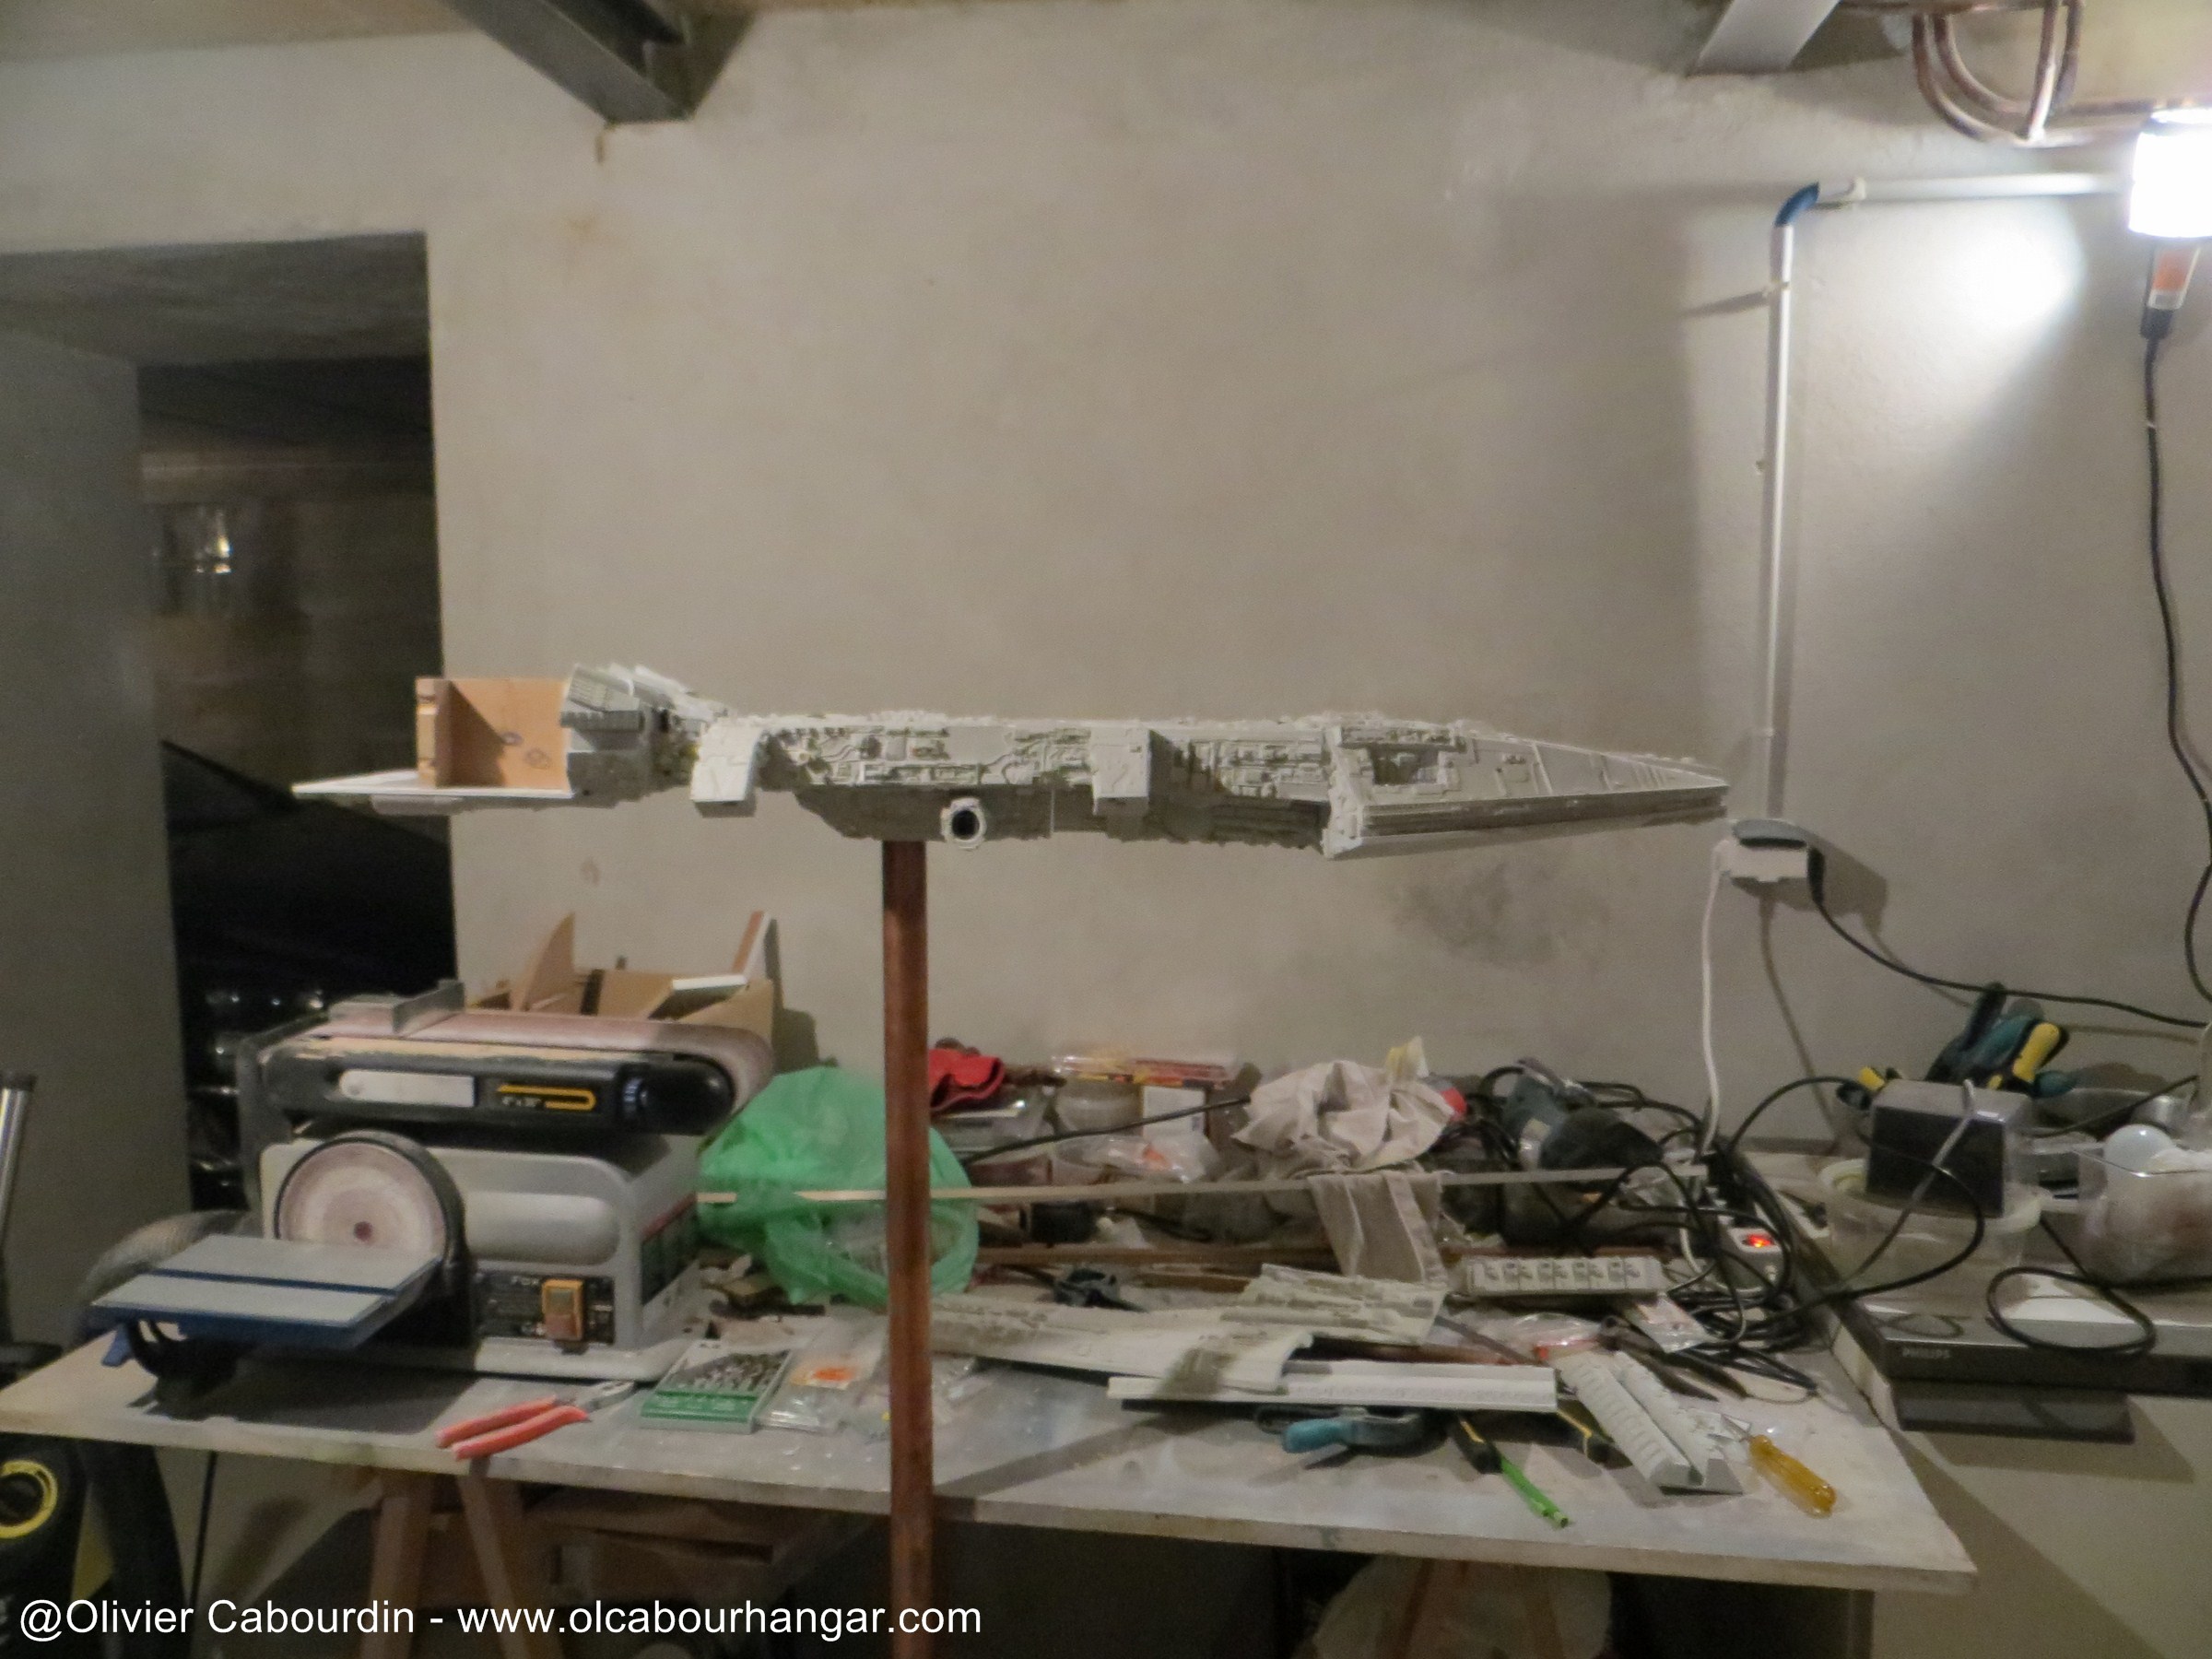
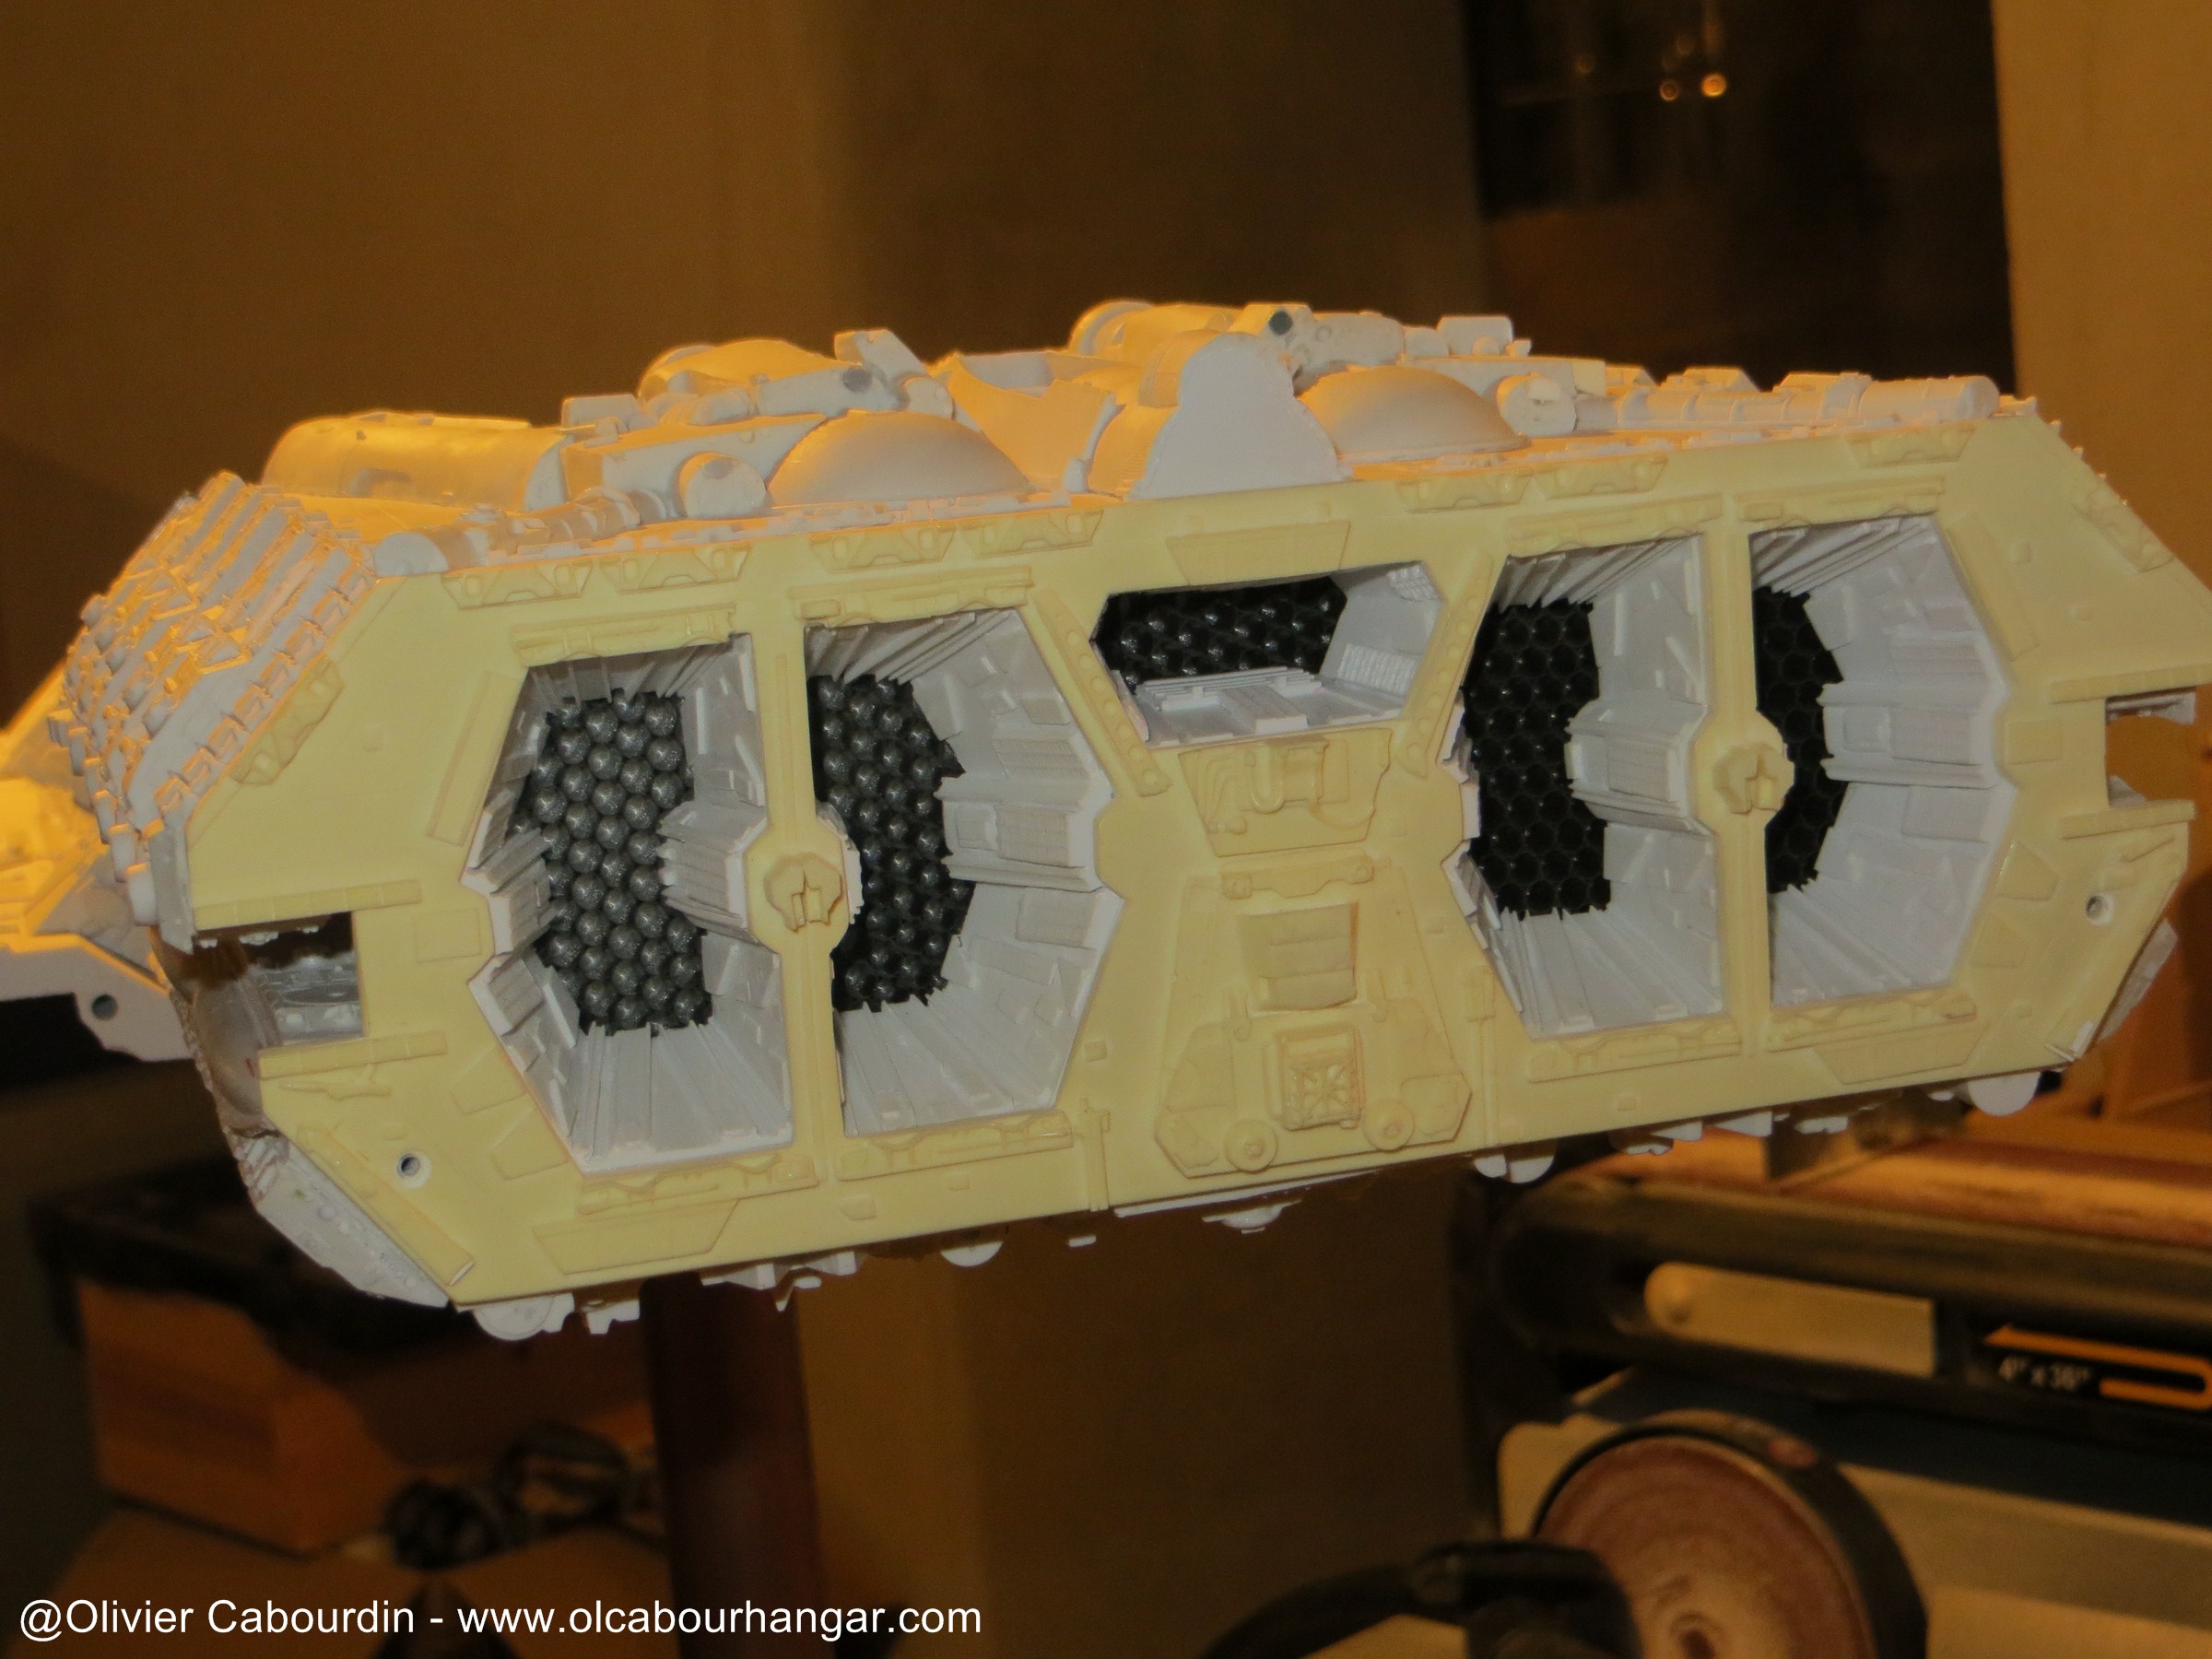
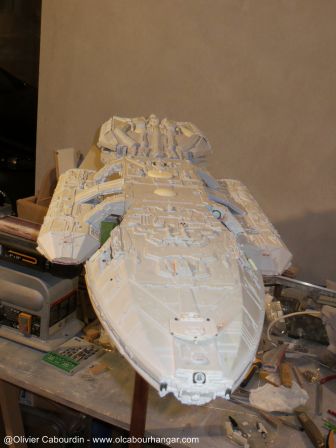
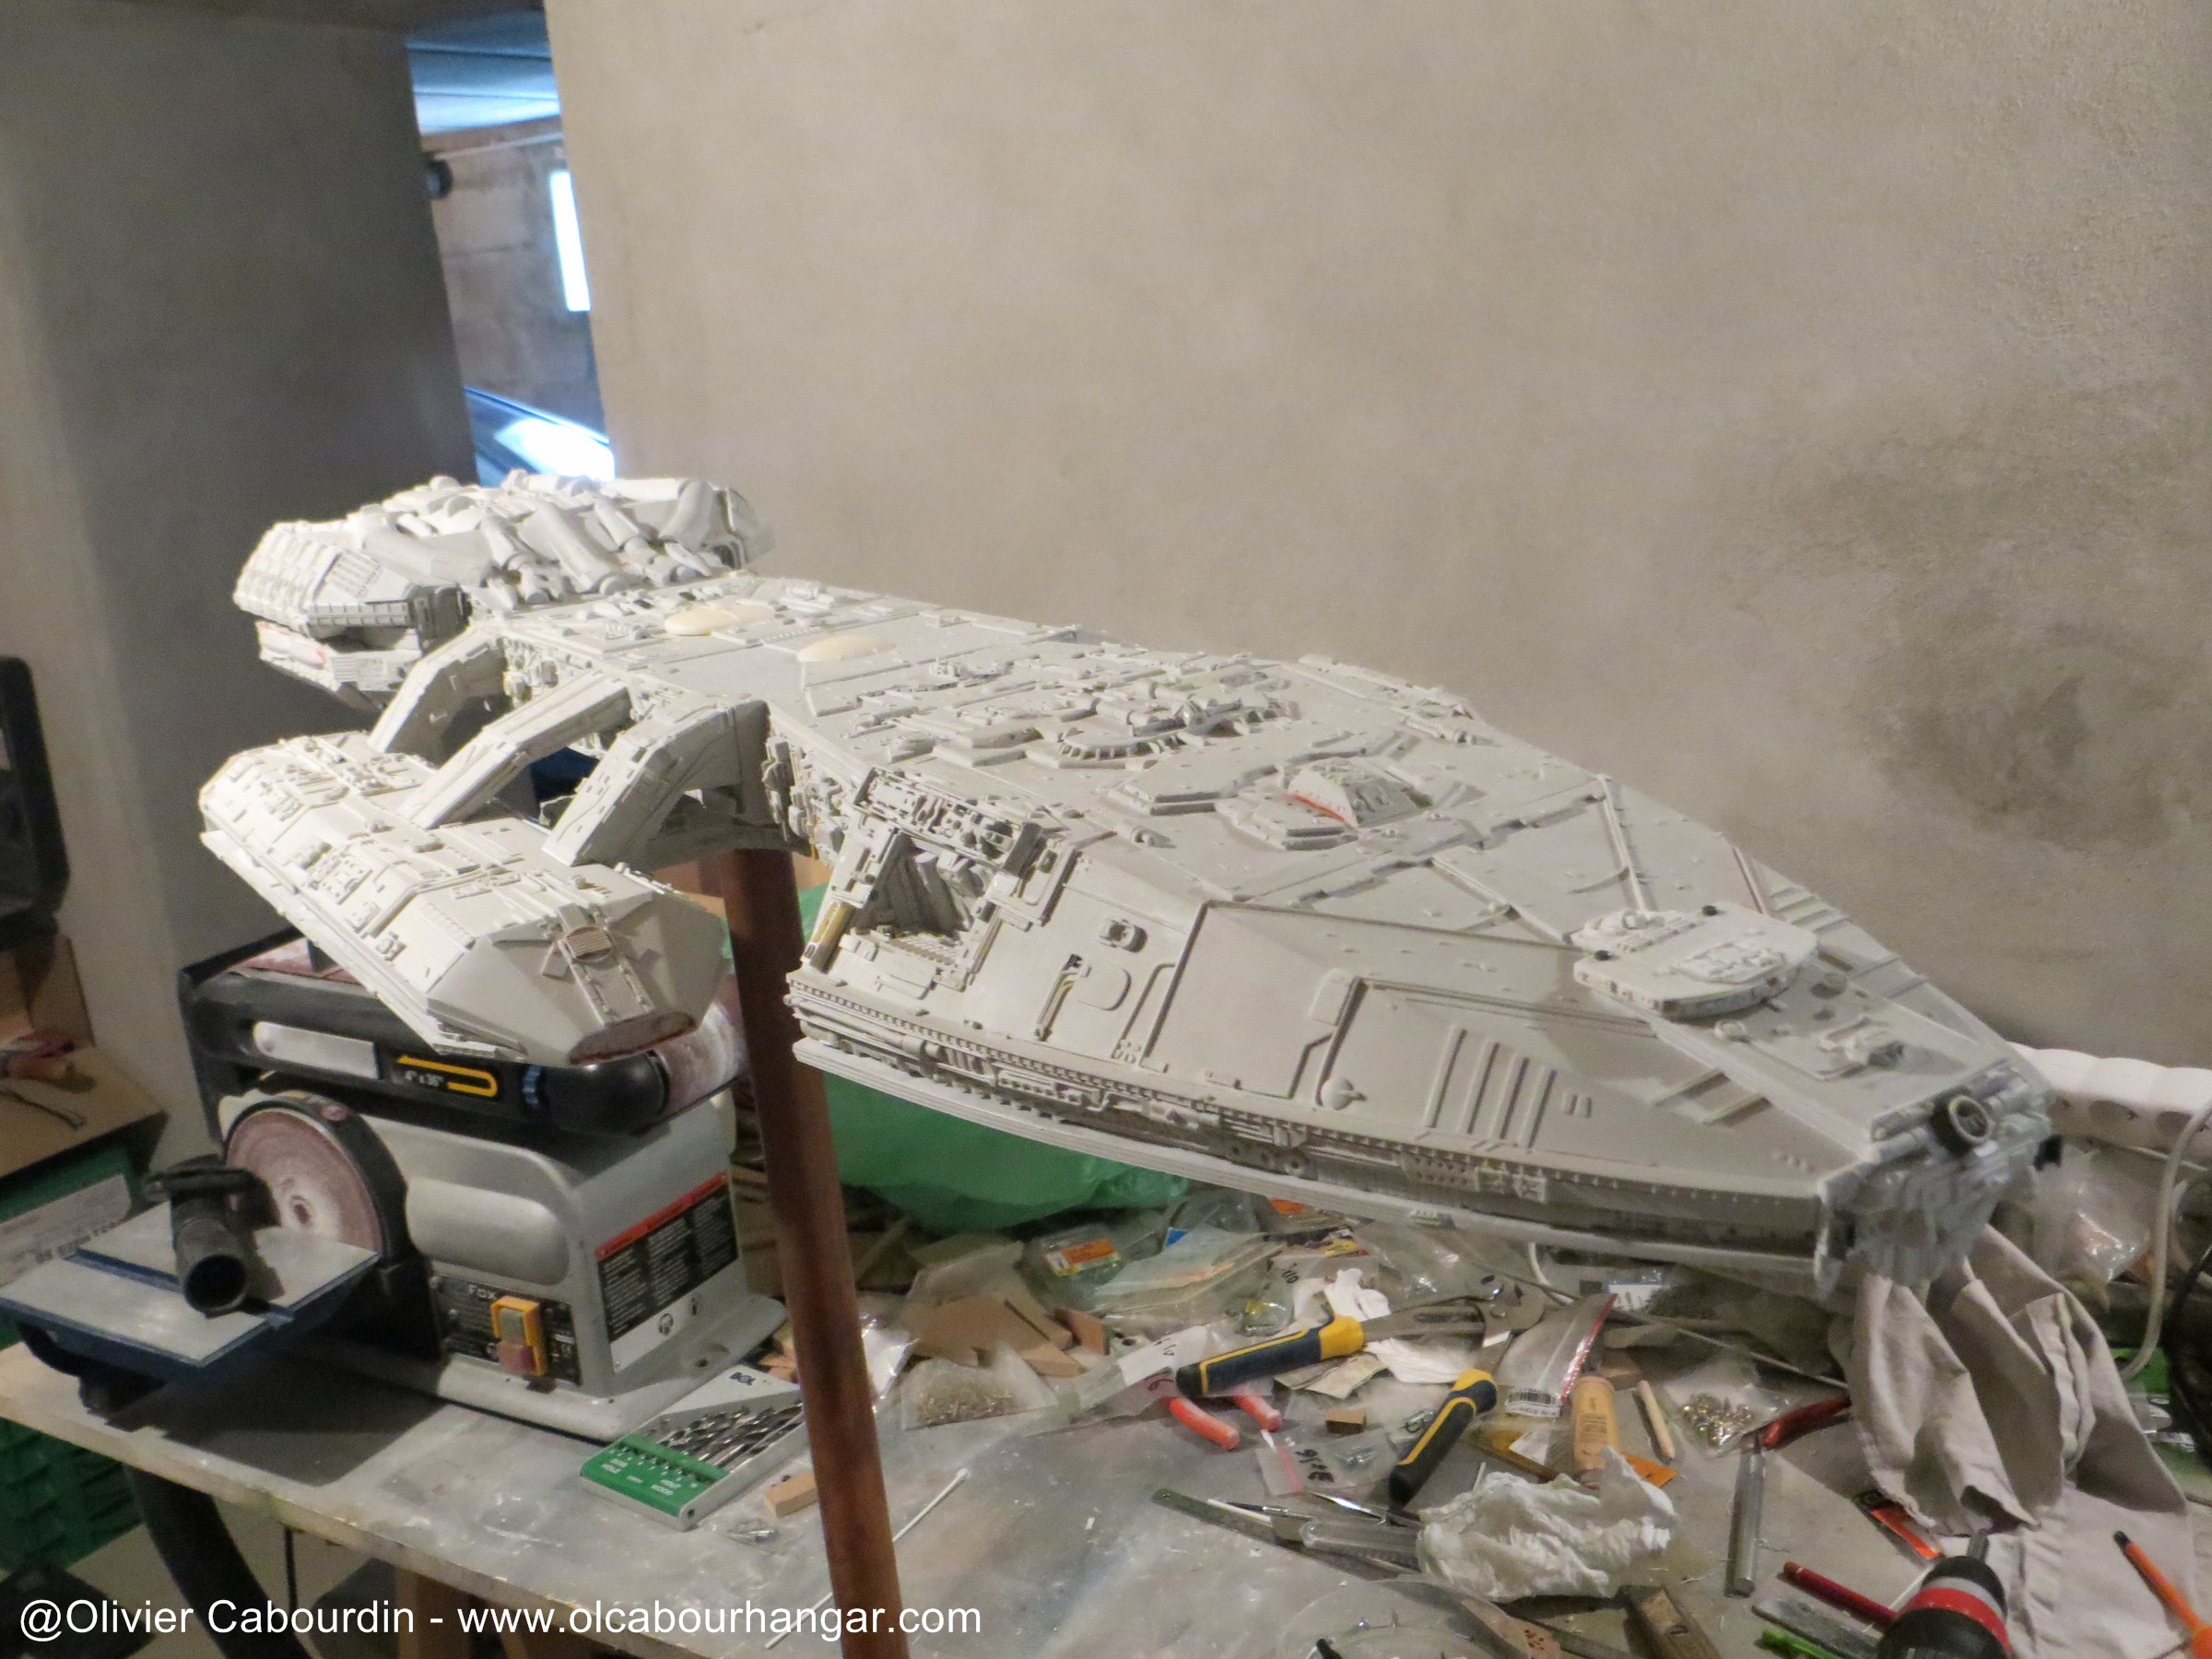
- Last complete dry test before lights installation and hangar detailling.
The usefull thing of this assembly with screws at this step is that everything can be dismantled easily.
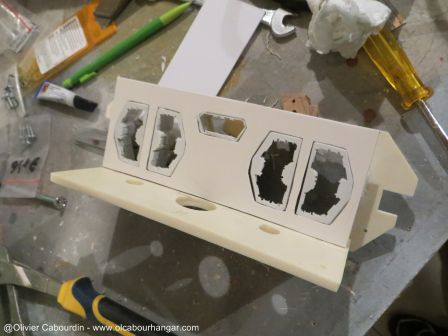
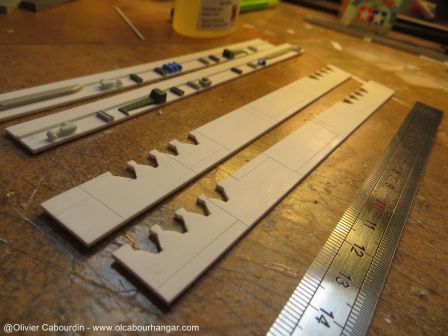
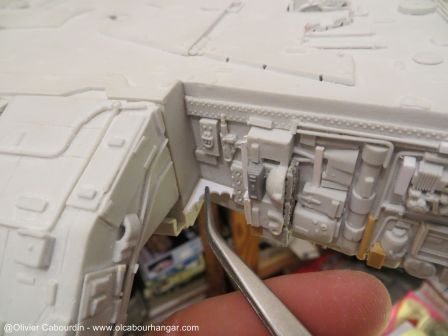
- Launch tubes and replacement hangars details
Viper Launch tubes are installed. A small strip of plastic card brings it the right level
The resin plates replaced the ones on the kit. There are 3 on the right hangar, two on the left one, not symmetrically placed as on the studio model.
The Galactica was finished last week, just in time for a convention.
- yellow lights boxes
On each side of the head and the motor module, there are small boxes with bright yellow 6 points each.
The parts supplied are a little too big and different between the front and rear.
So I've modified or replaced, and then glued to drill the holes for the fibers.
Front ones
Back

- remaining gaps
I filled few gaps between the large parts:
Here on the neck
and the engine module.
- Last complete dry test before lights installation and hangar detailling.
The usefull thing of this assembly with screws at this step is that everything can be dismantled easily.


- Launch tubes and replacement hangars details
Viper Launch tubes are installed. A small strip of plastic card brings it the right level
The resin plates replaced the ones on the kit. There are 3 on the right hangar, two on the left one, not symmetrically placed as on the studio model.


DarthVador
Active Member
Looking good keep up the great job on your BSG..
Clarence
Clarence
cabour
Sr Member
Thanks Clarence
Thanks Jim.
I did not take much photos during the FO installation. Hope they will be enough for you. (this post of the wip on this part is coming soon)
-------
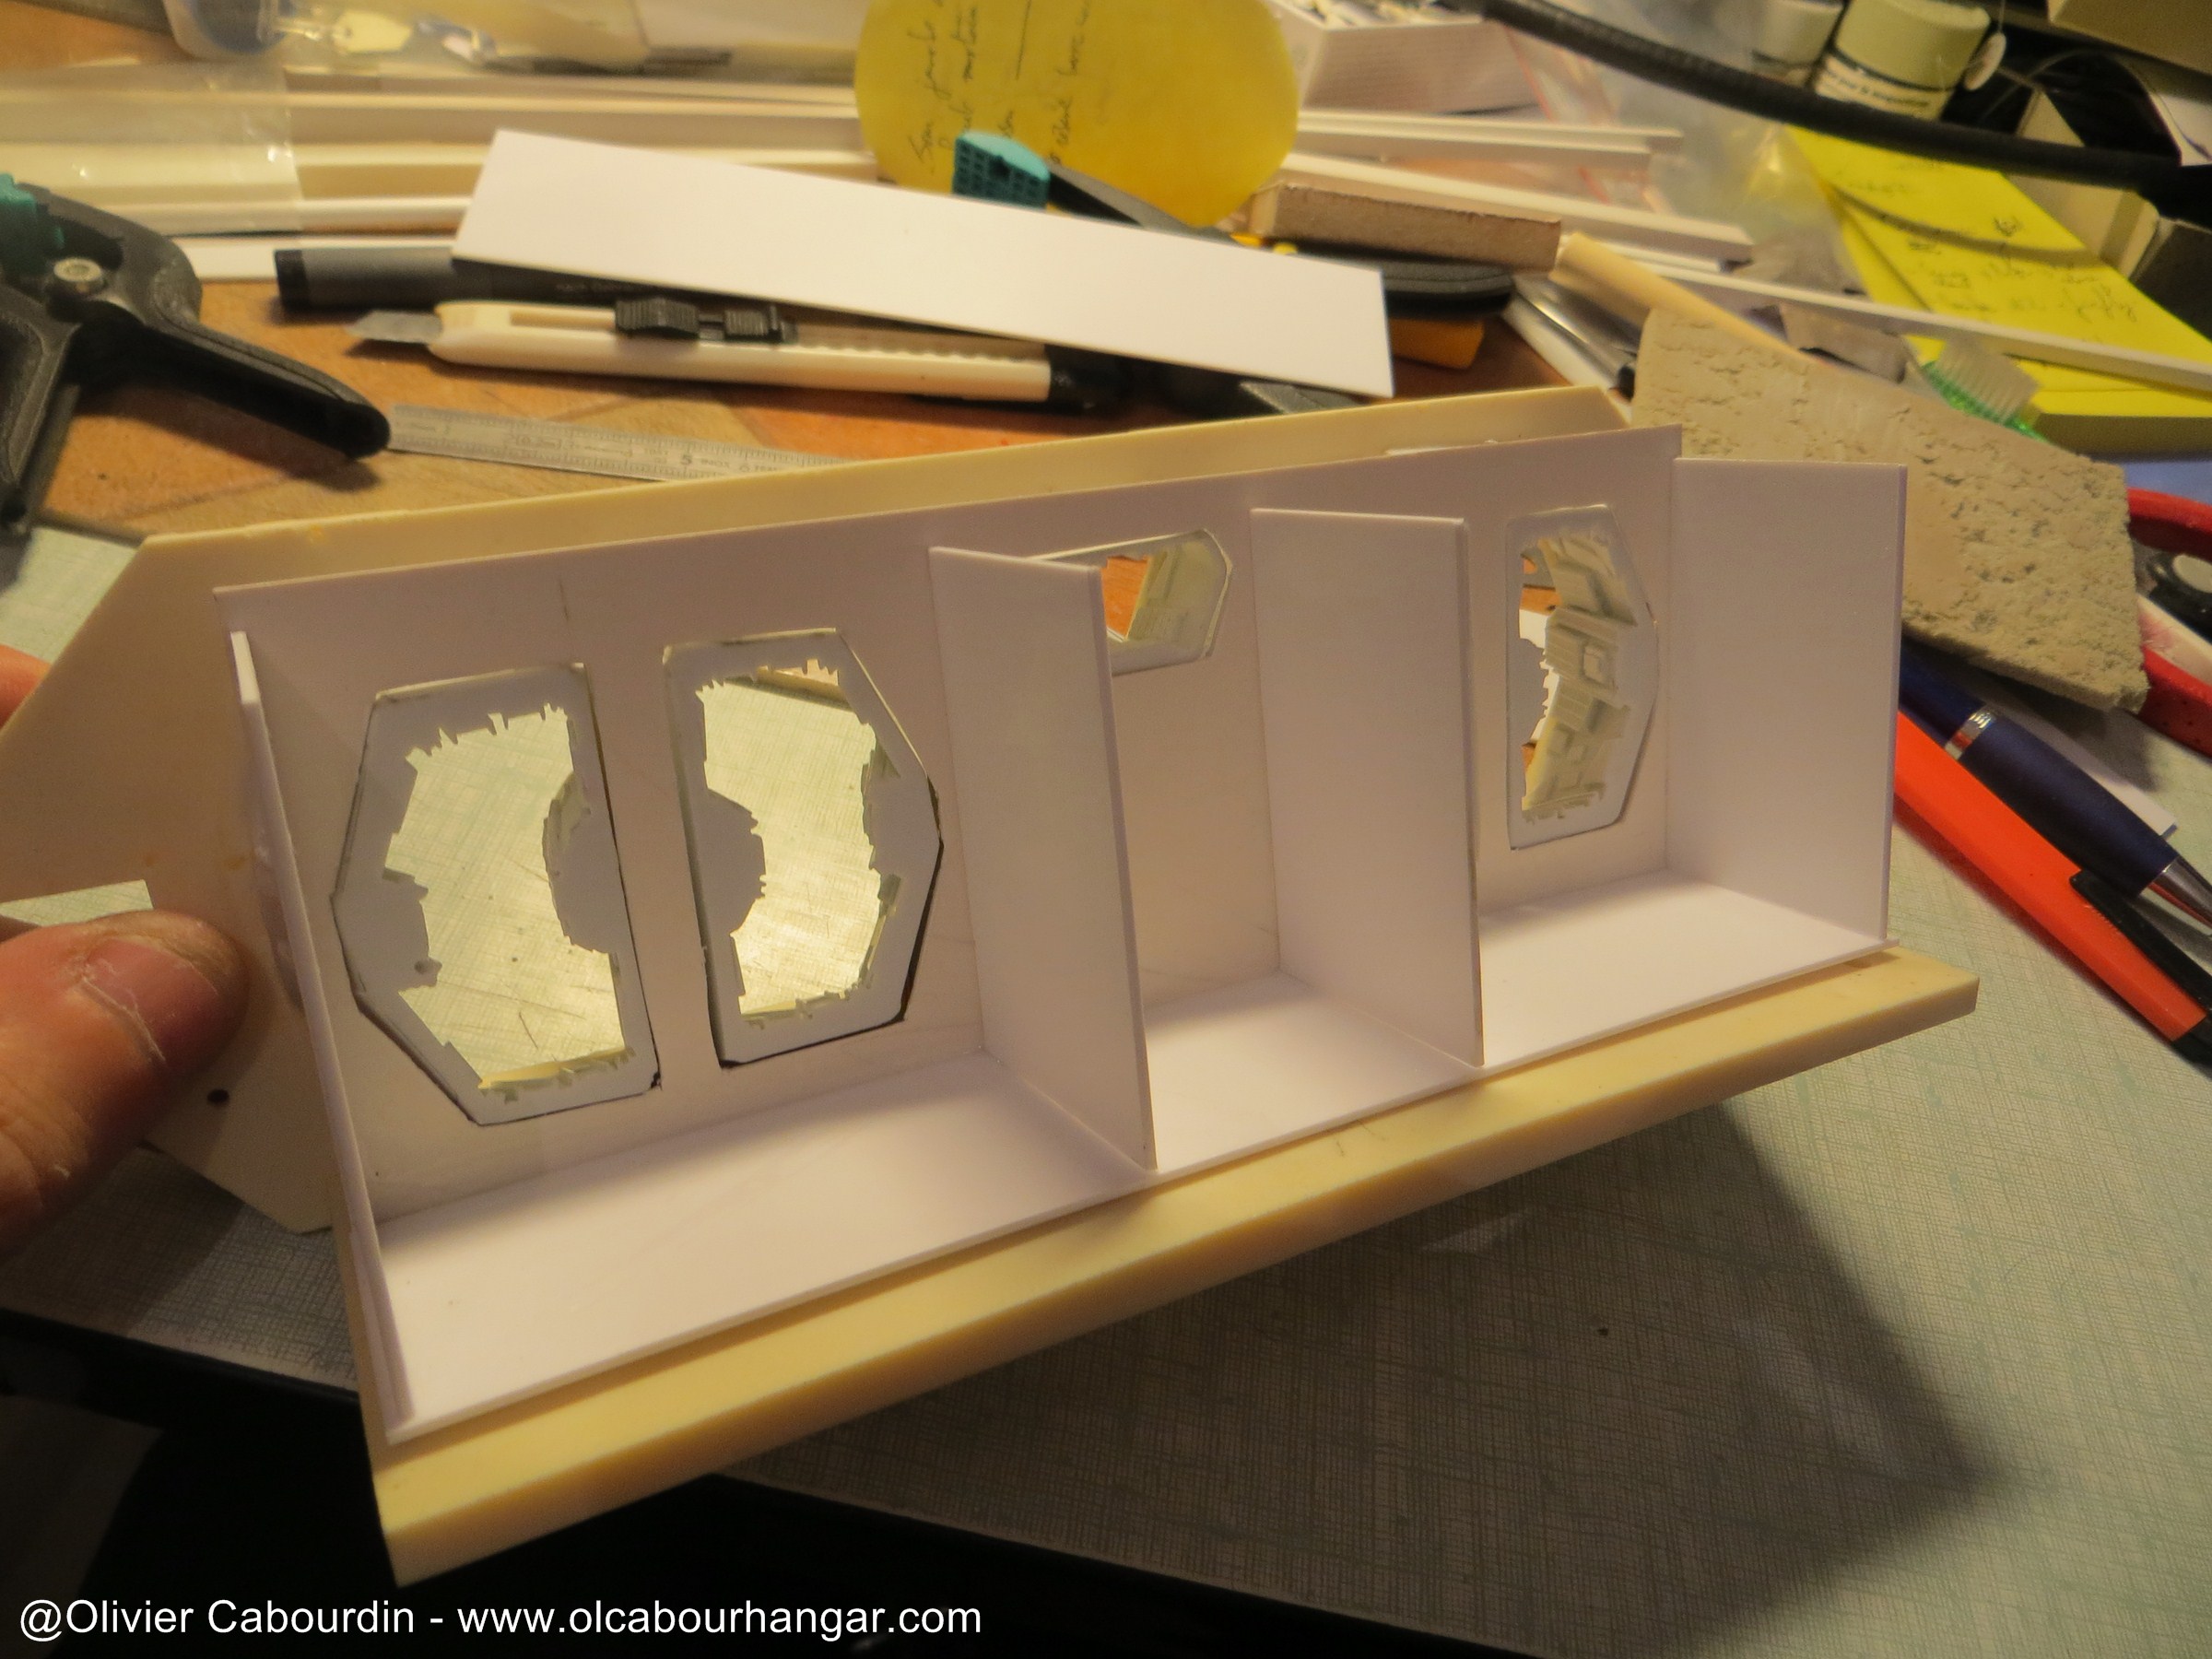
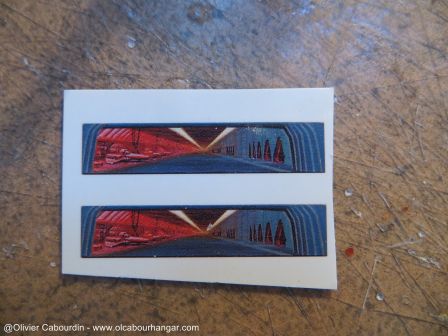
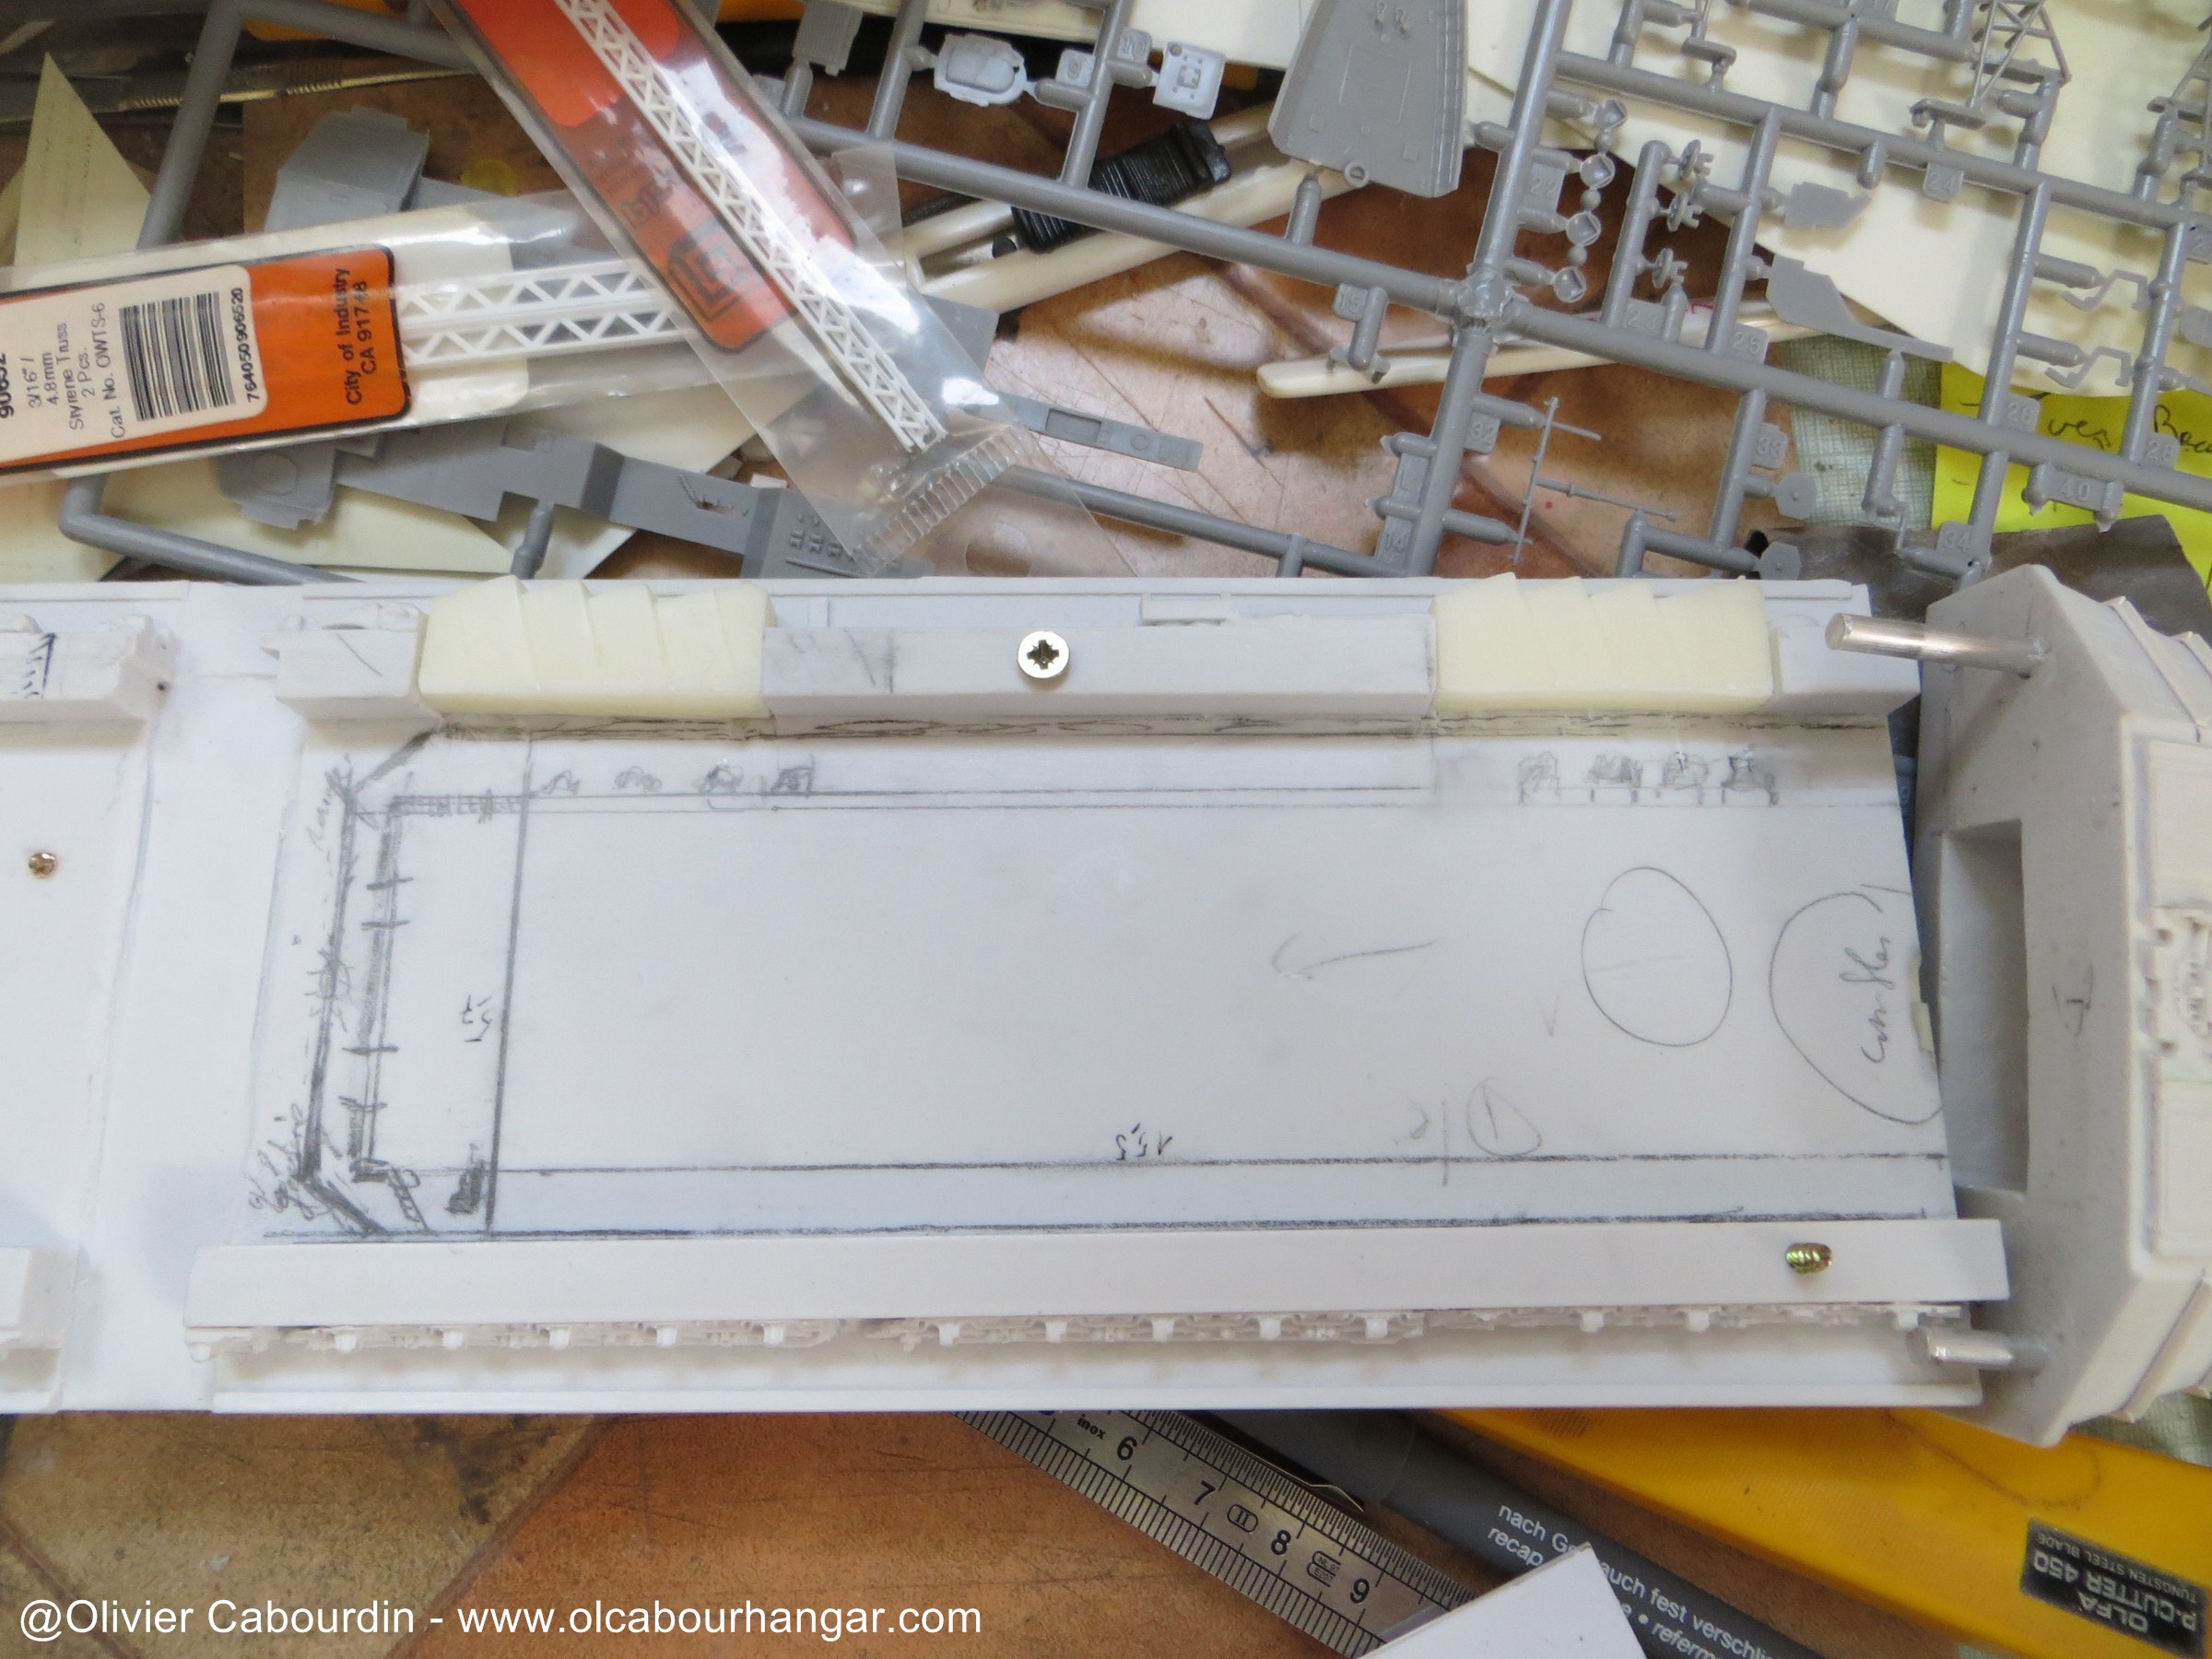
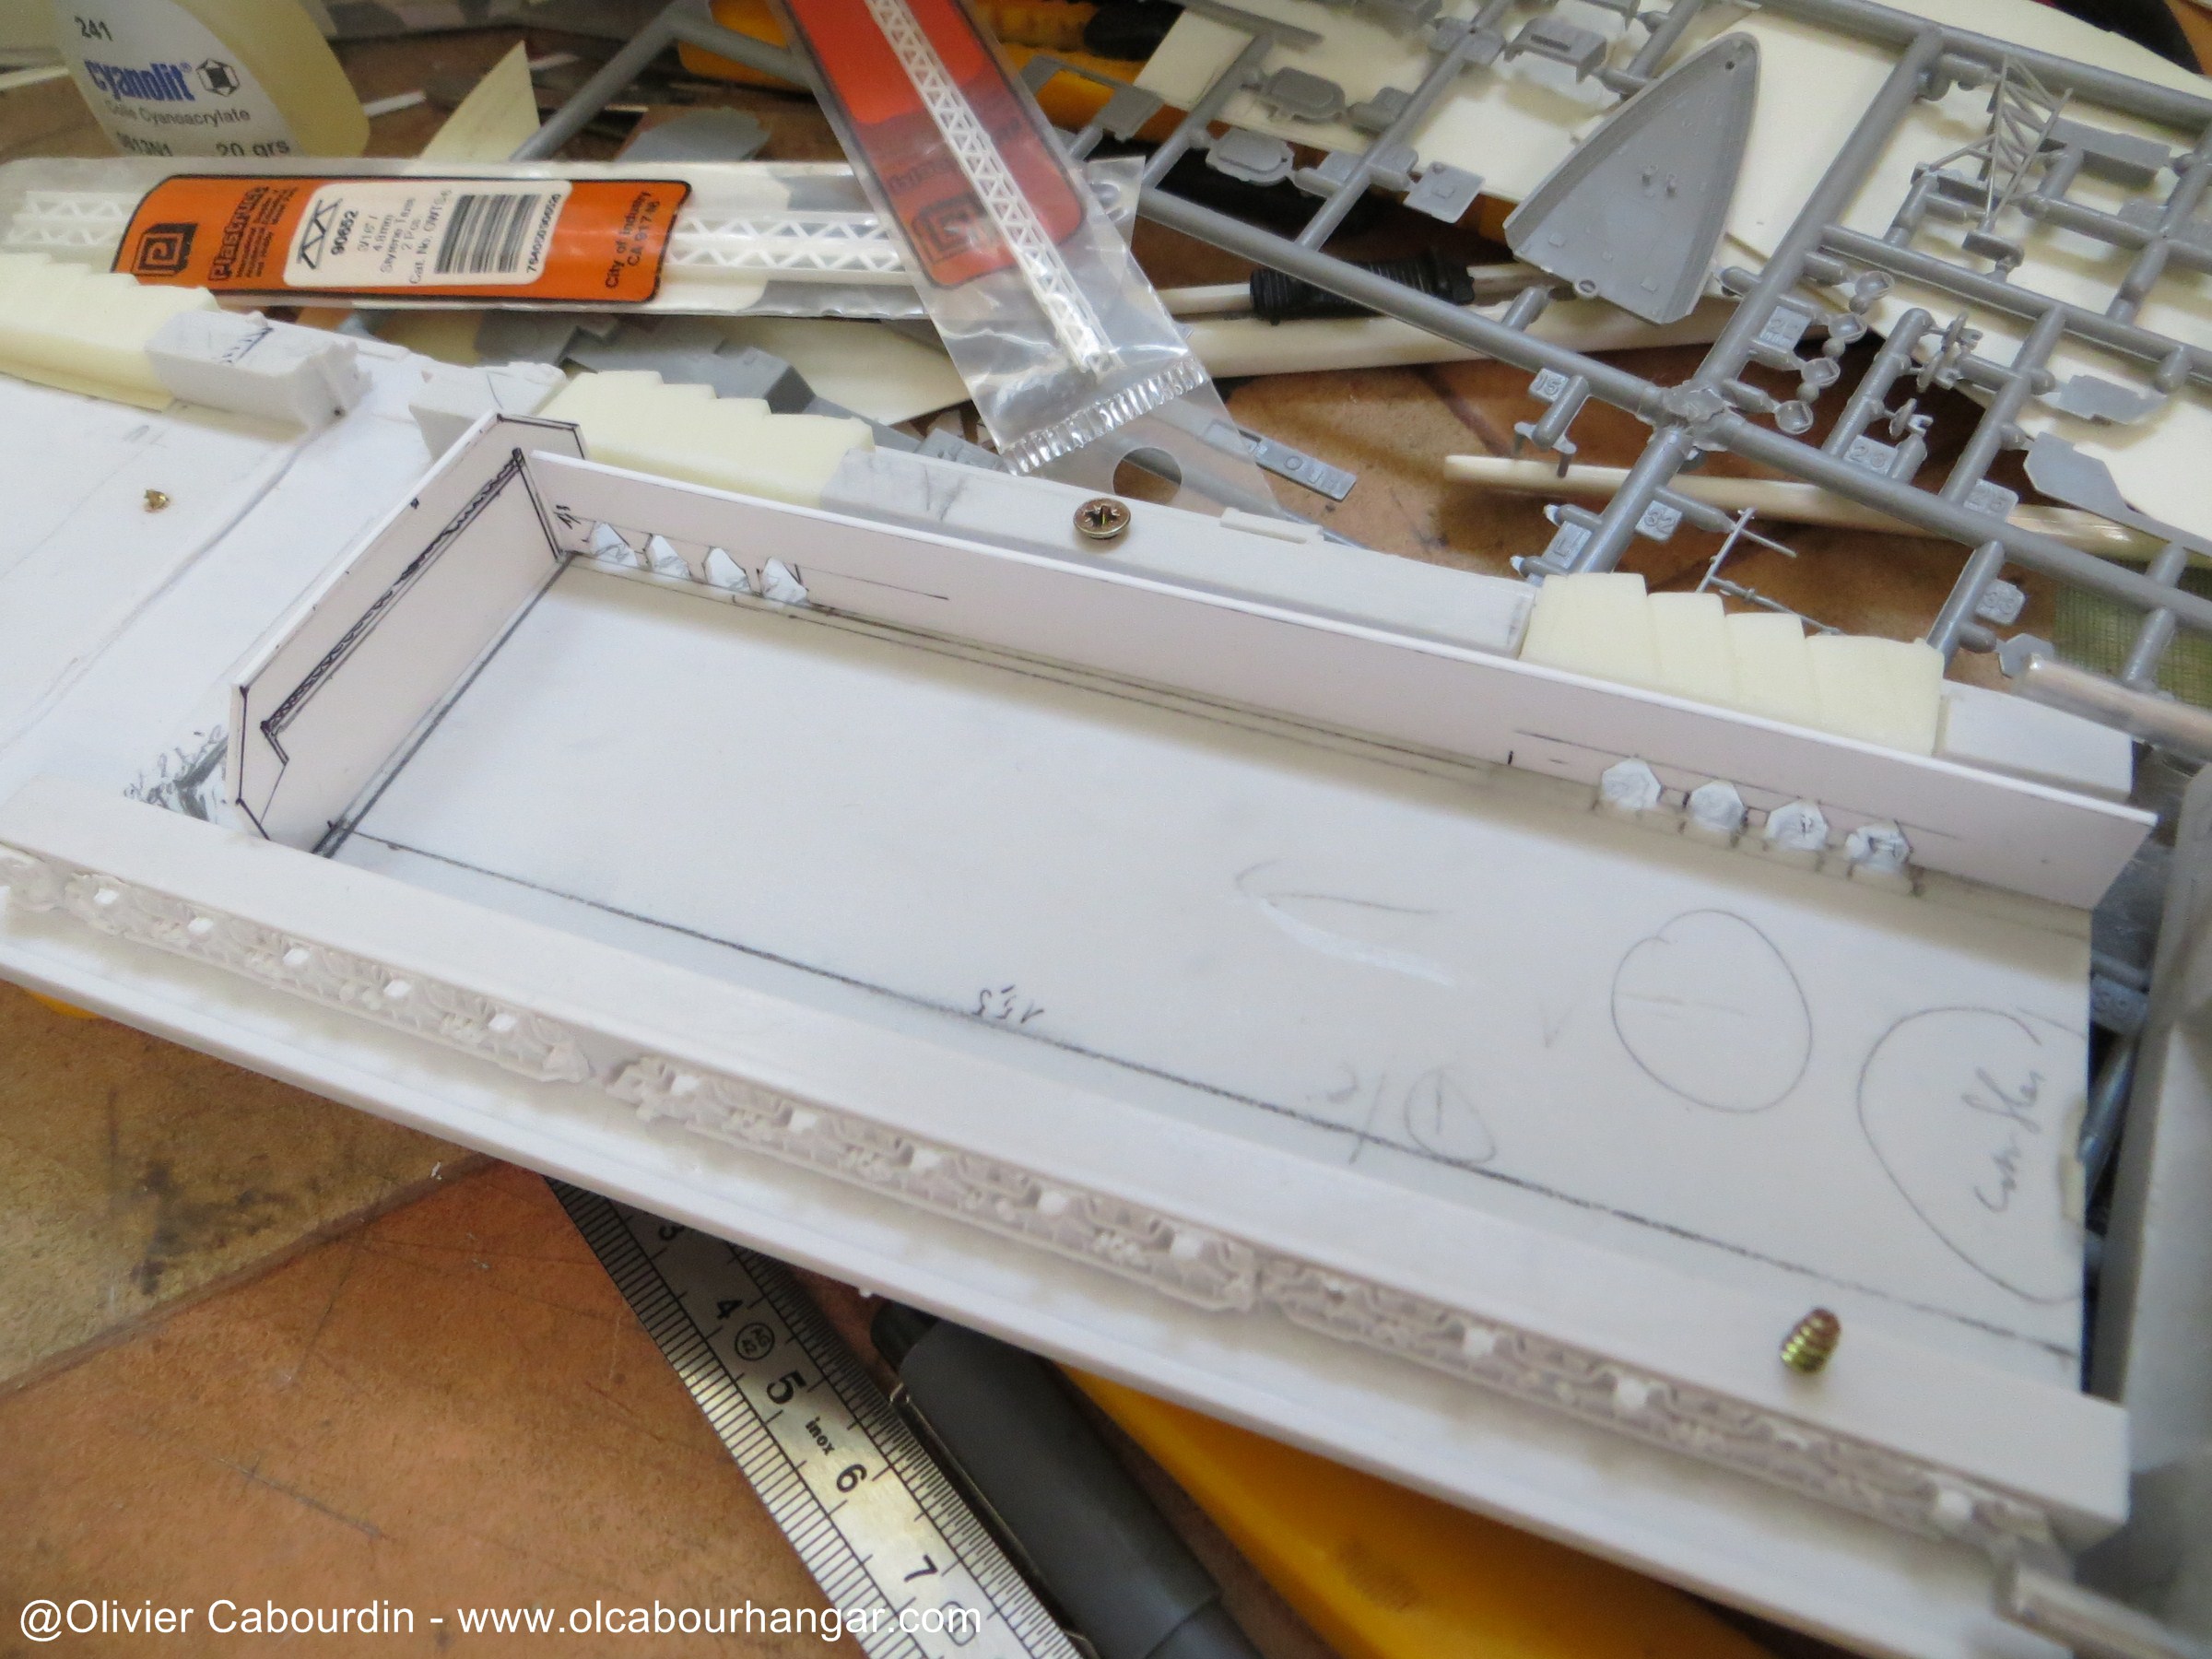
I wanted the hangars interior to look like the drawings of Andy Probert used as trompe-l'oeil on the original model of the Galactica (provided as 2 decals in the kit ). It was necessary to translate and extrapolate the drawing while playing with the small space, the lighting, the discordant scales between the drawing, the hangar and the viper launch tubes (on the exterior side).
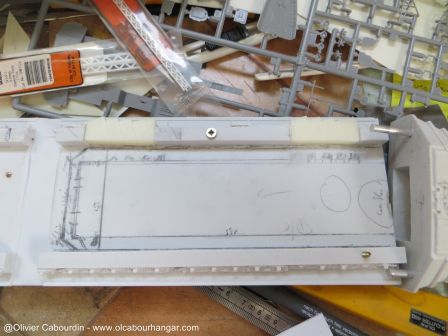
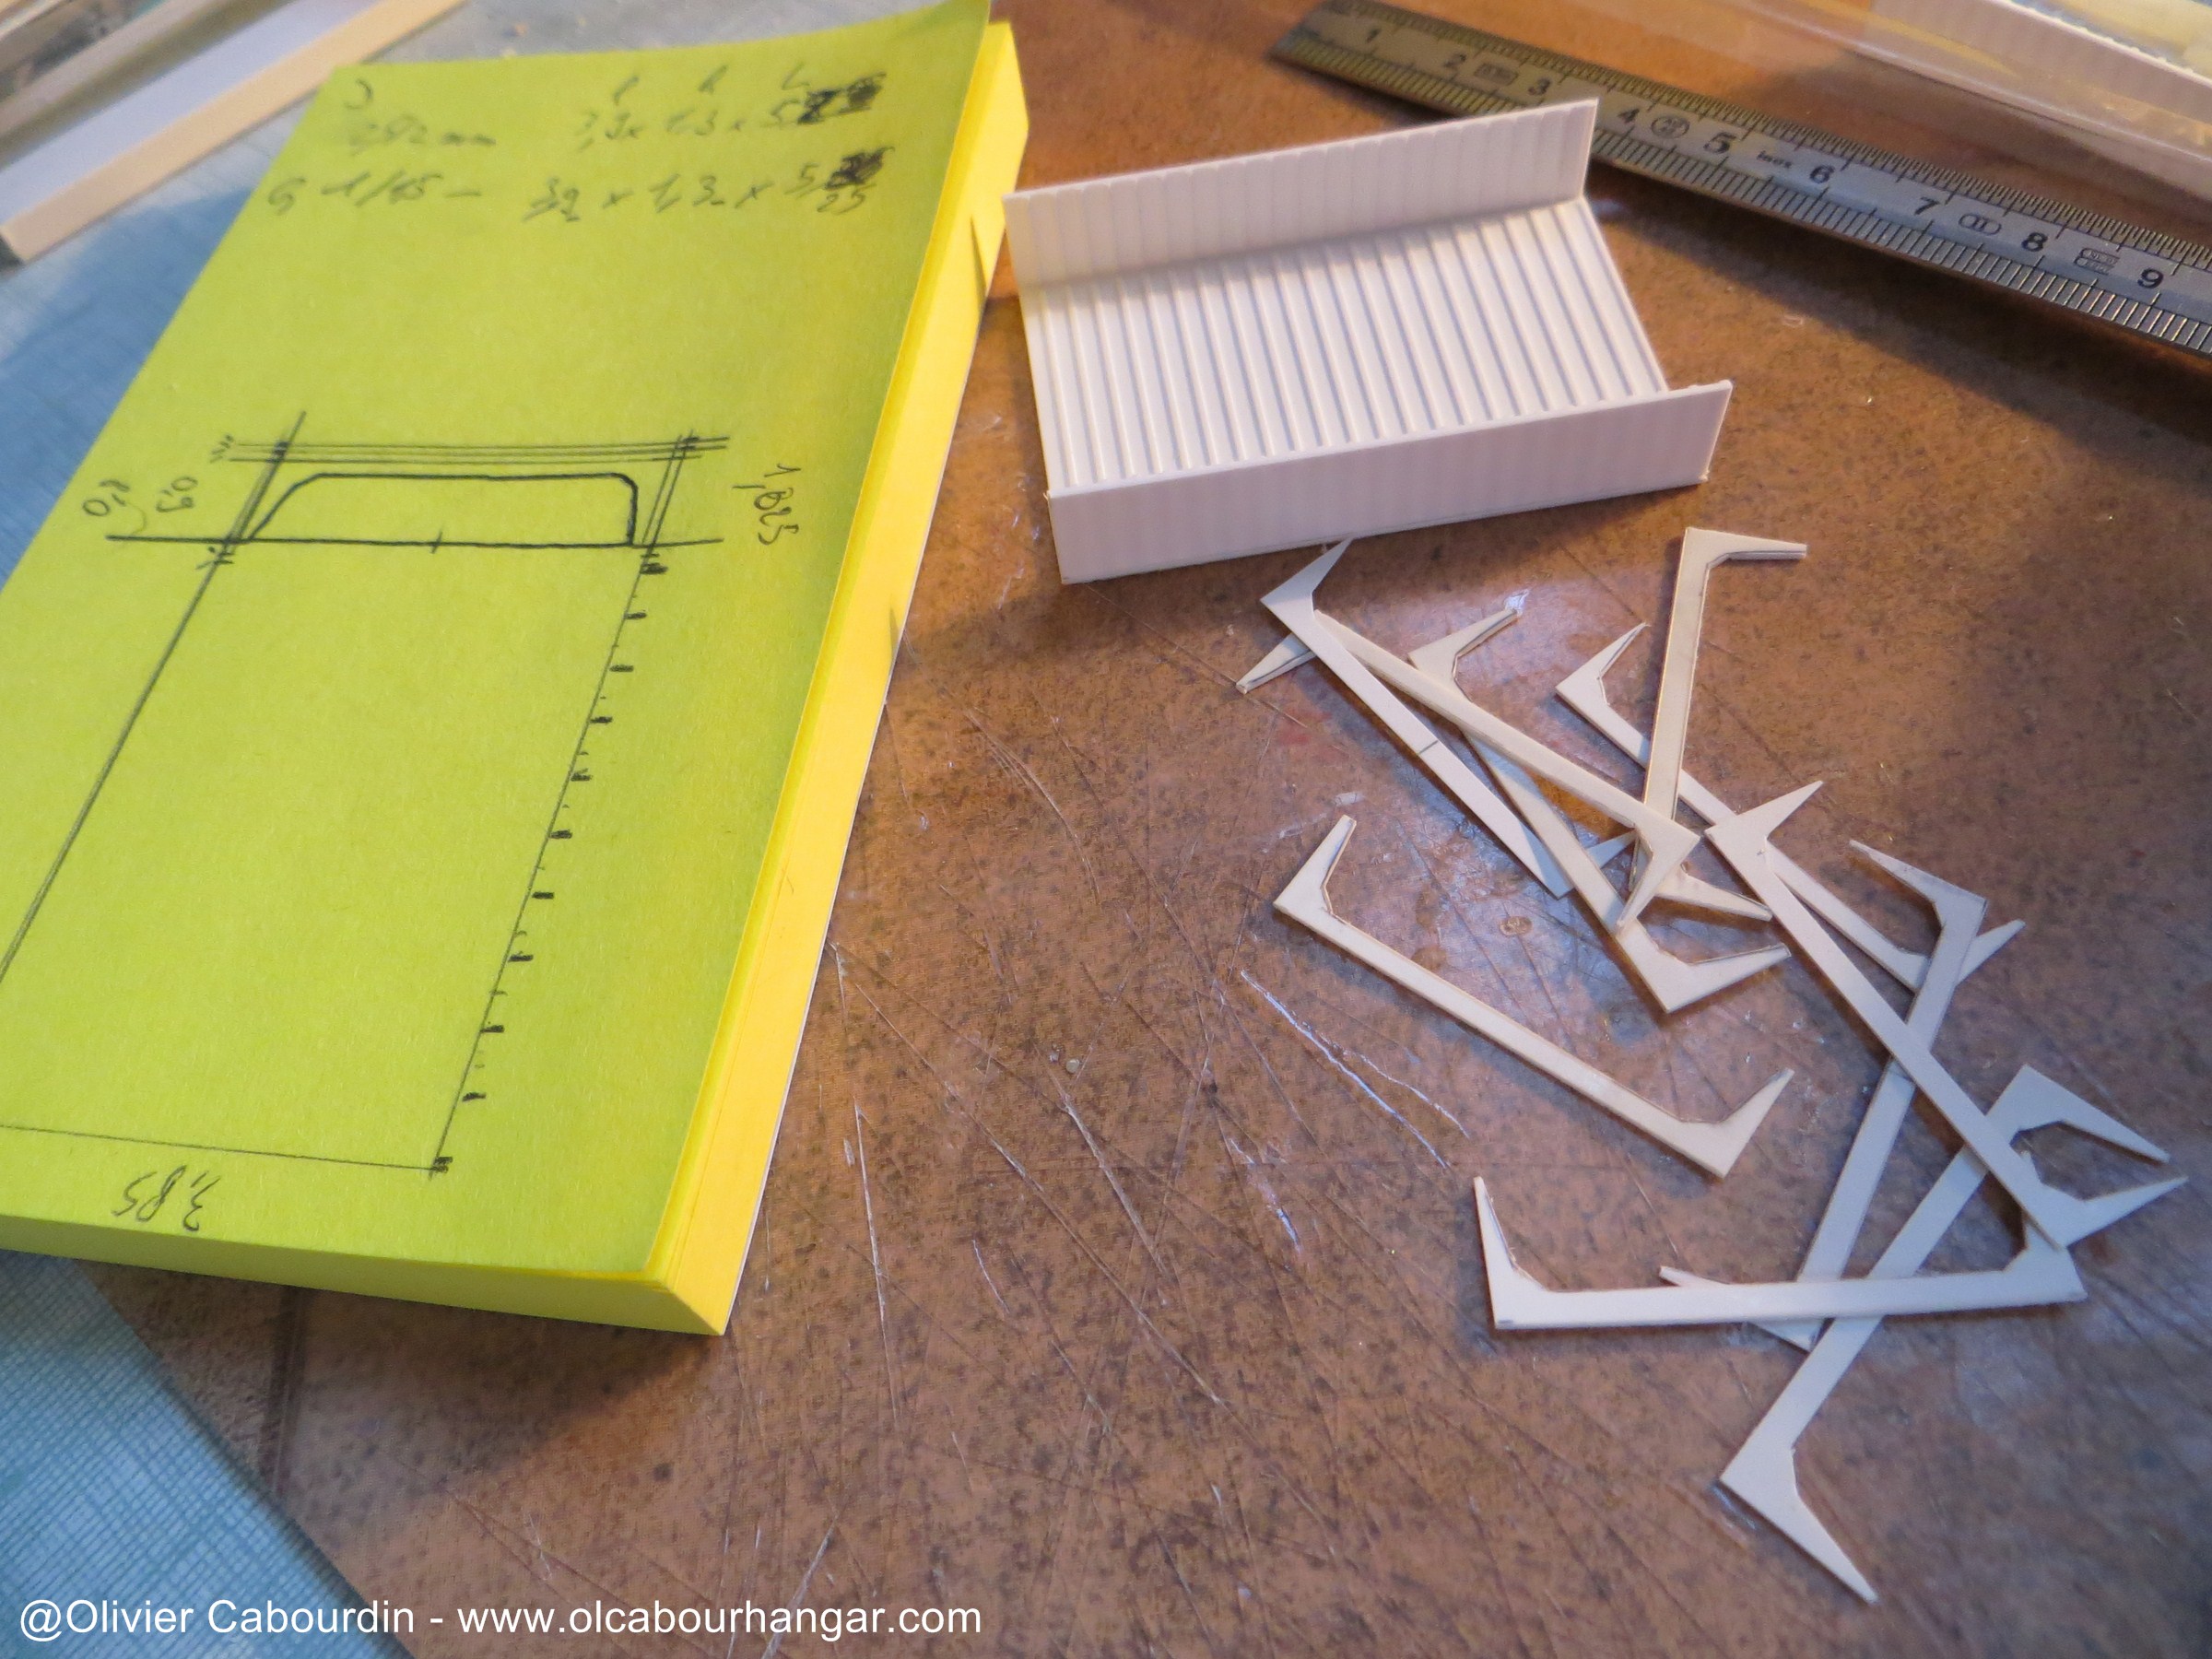
My blueprint is drawn directly on the part floor. I only use half the hangar lentgh, as the metal bar cut it in the middle.
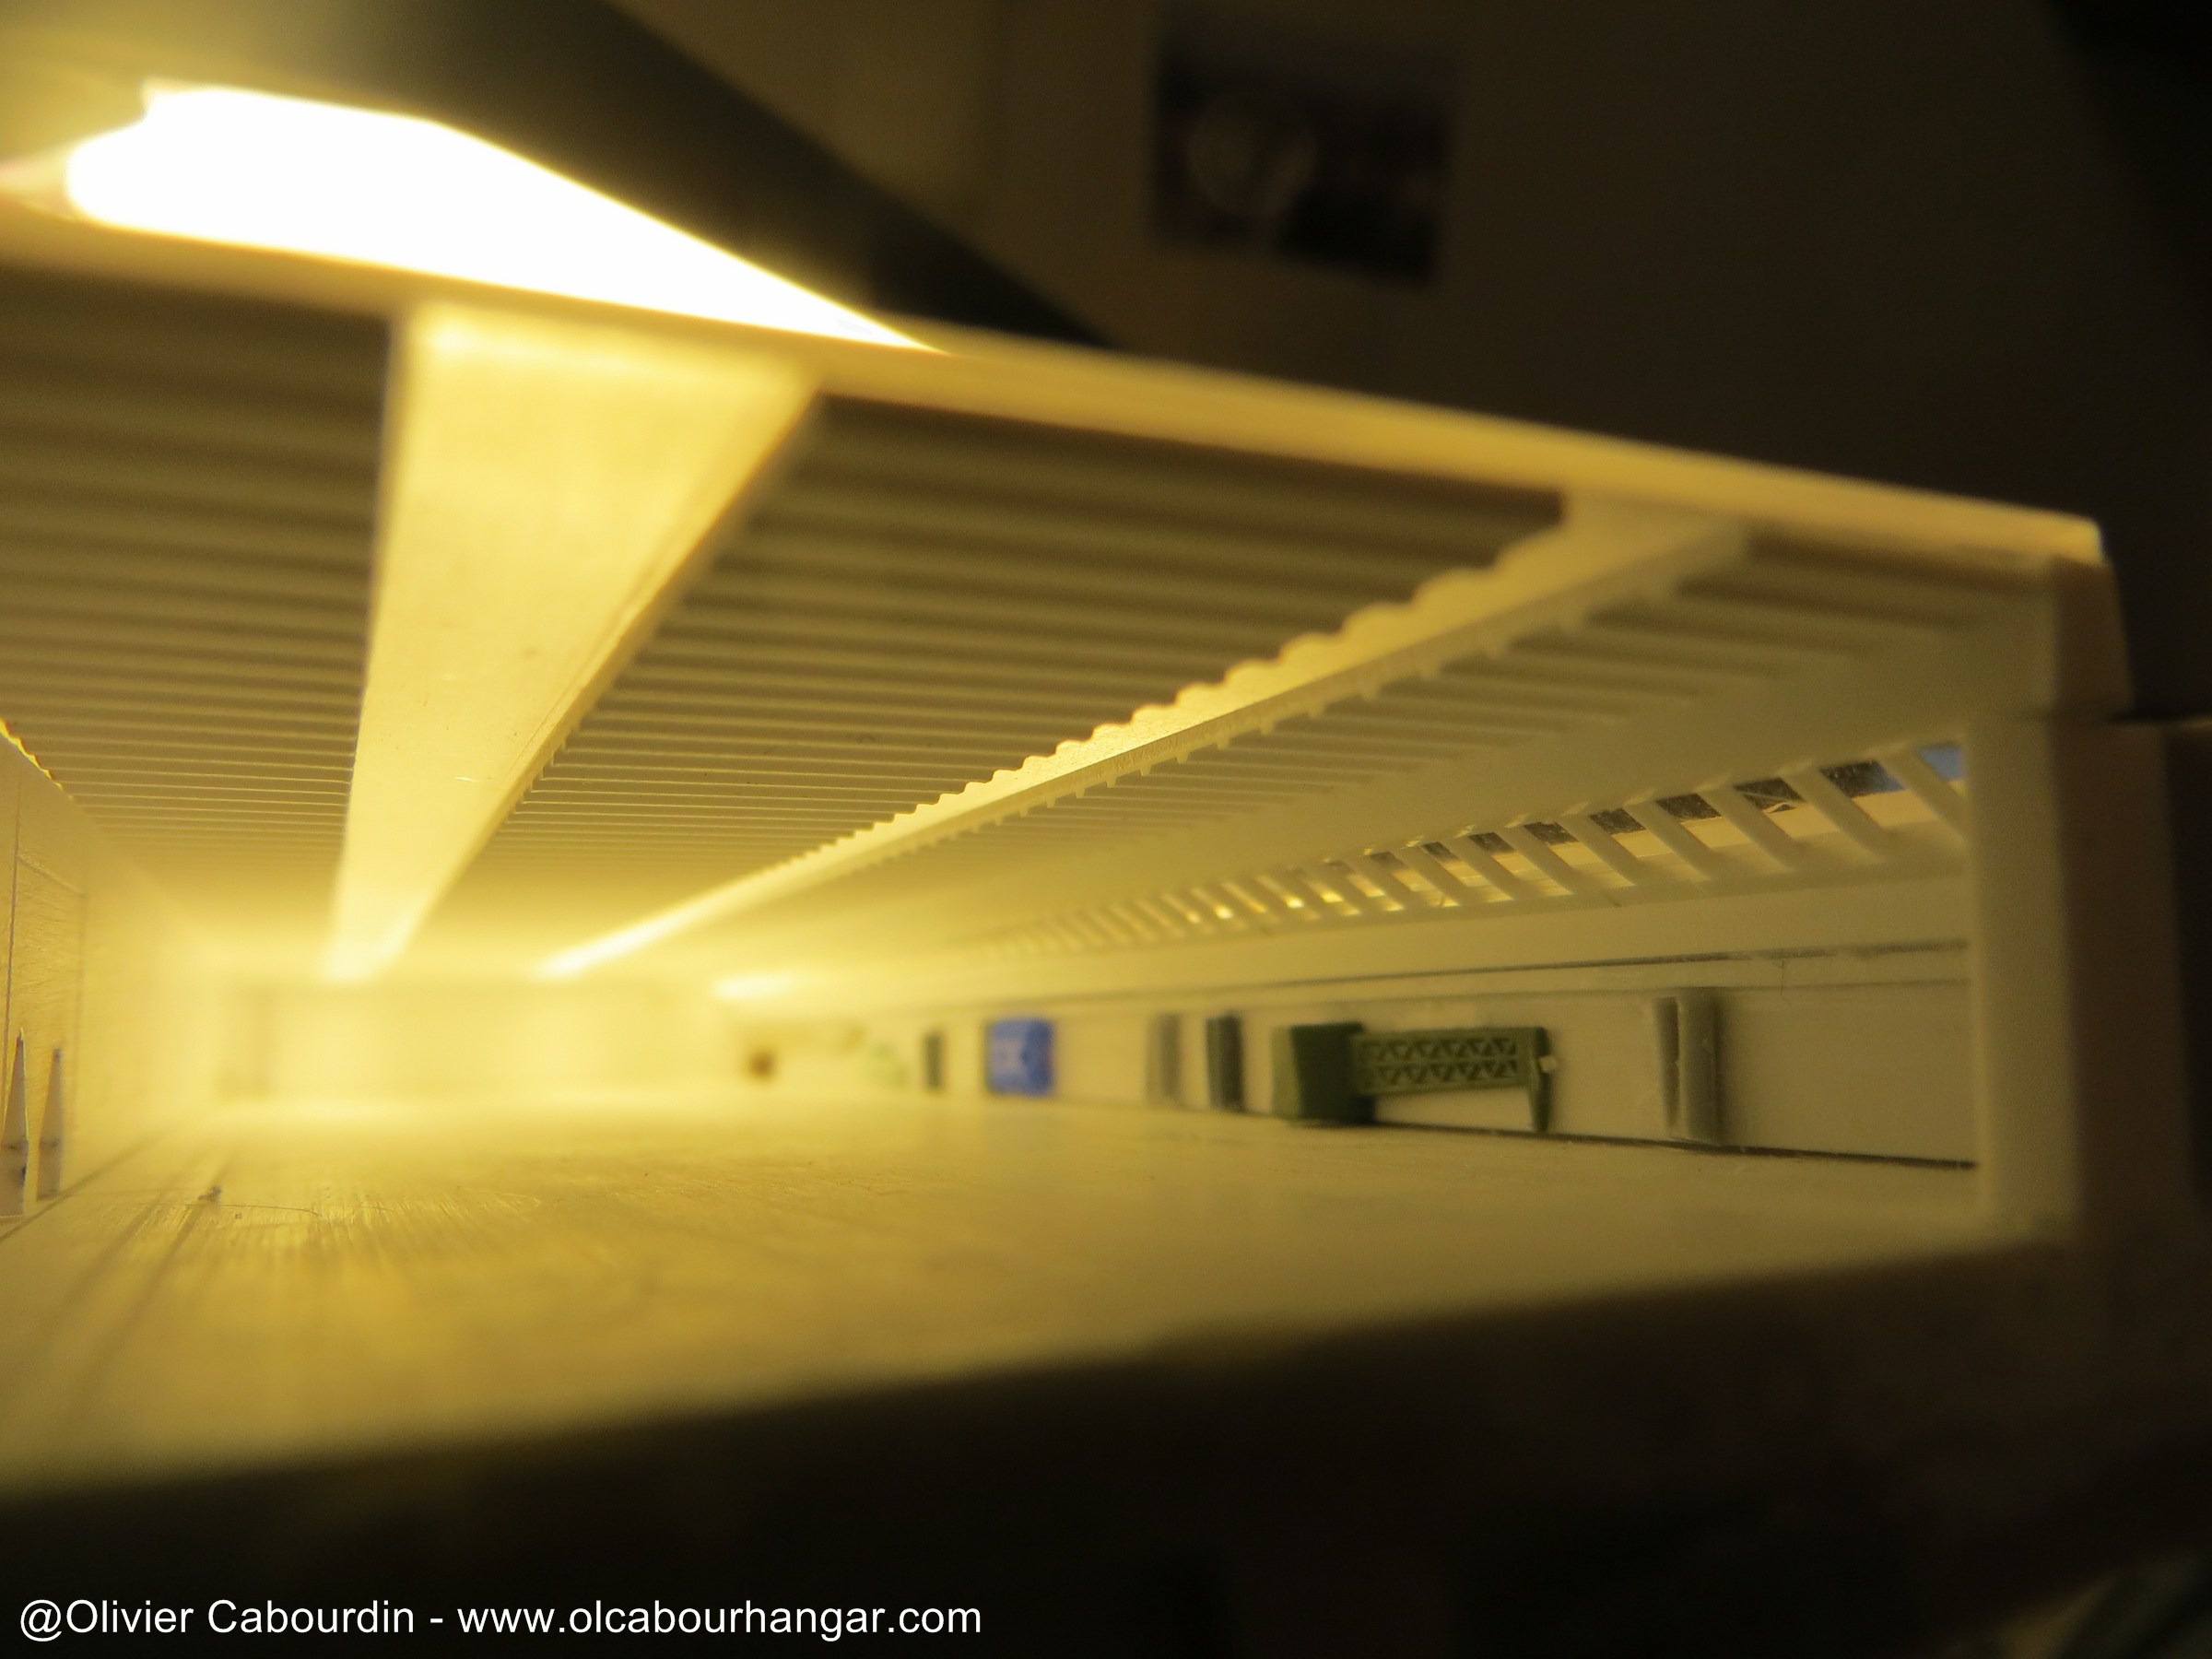
It will be lit in white above the runway and red on the sides.

On the workshop side, I added greeblies along the wall.

And on the other side (with the launch tubes alcoves), the wall is rather smooth, so I added some paneling.
The trapezoidal openings are aligned to match the outputs of the launch tubes.
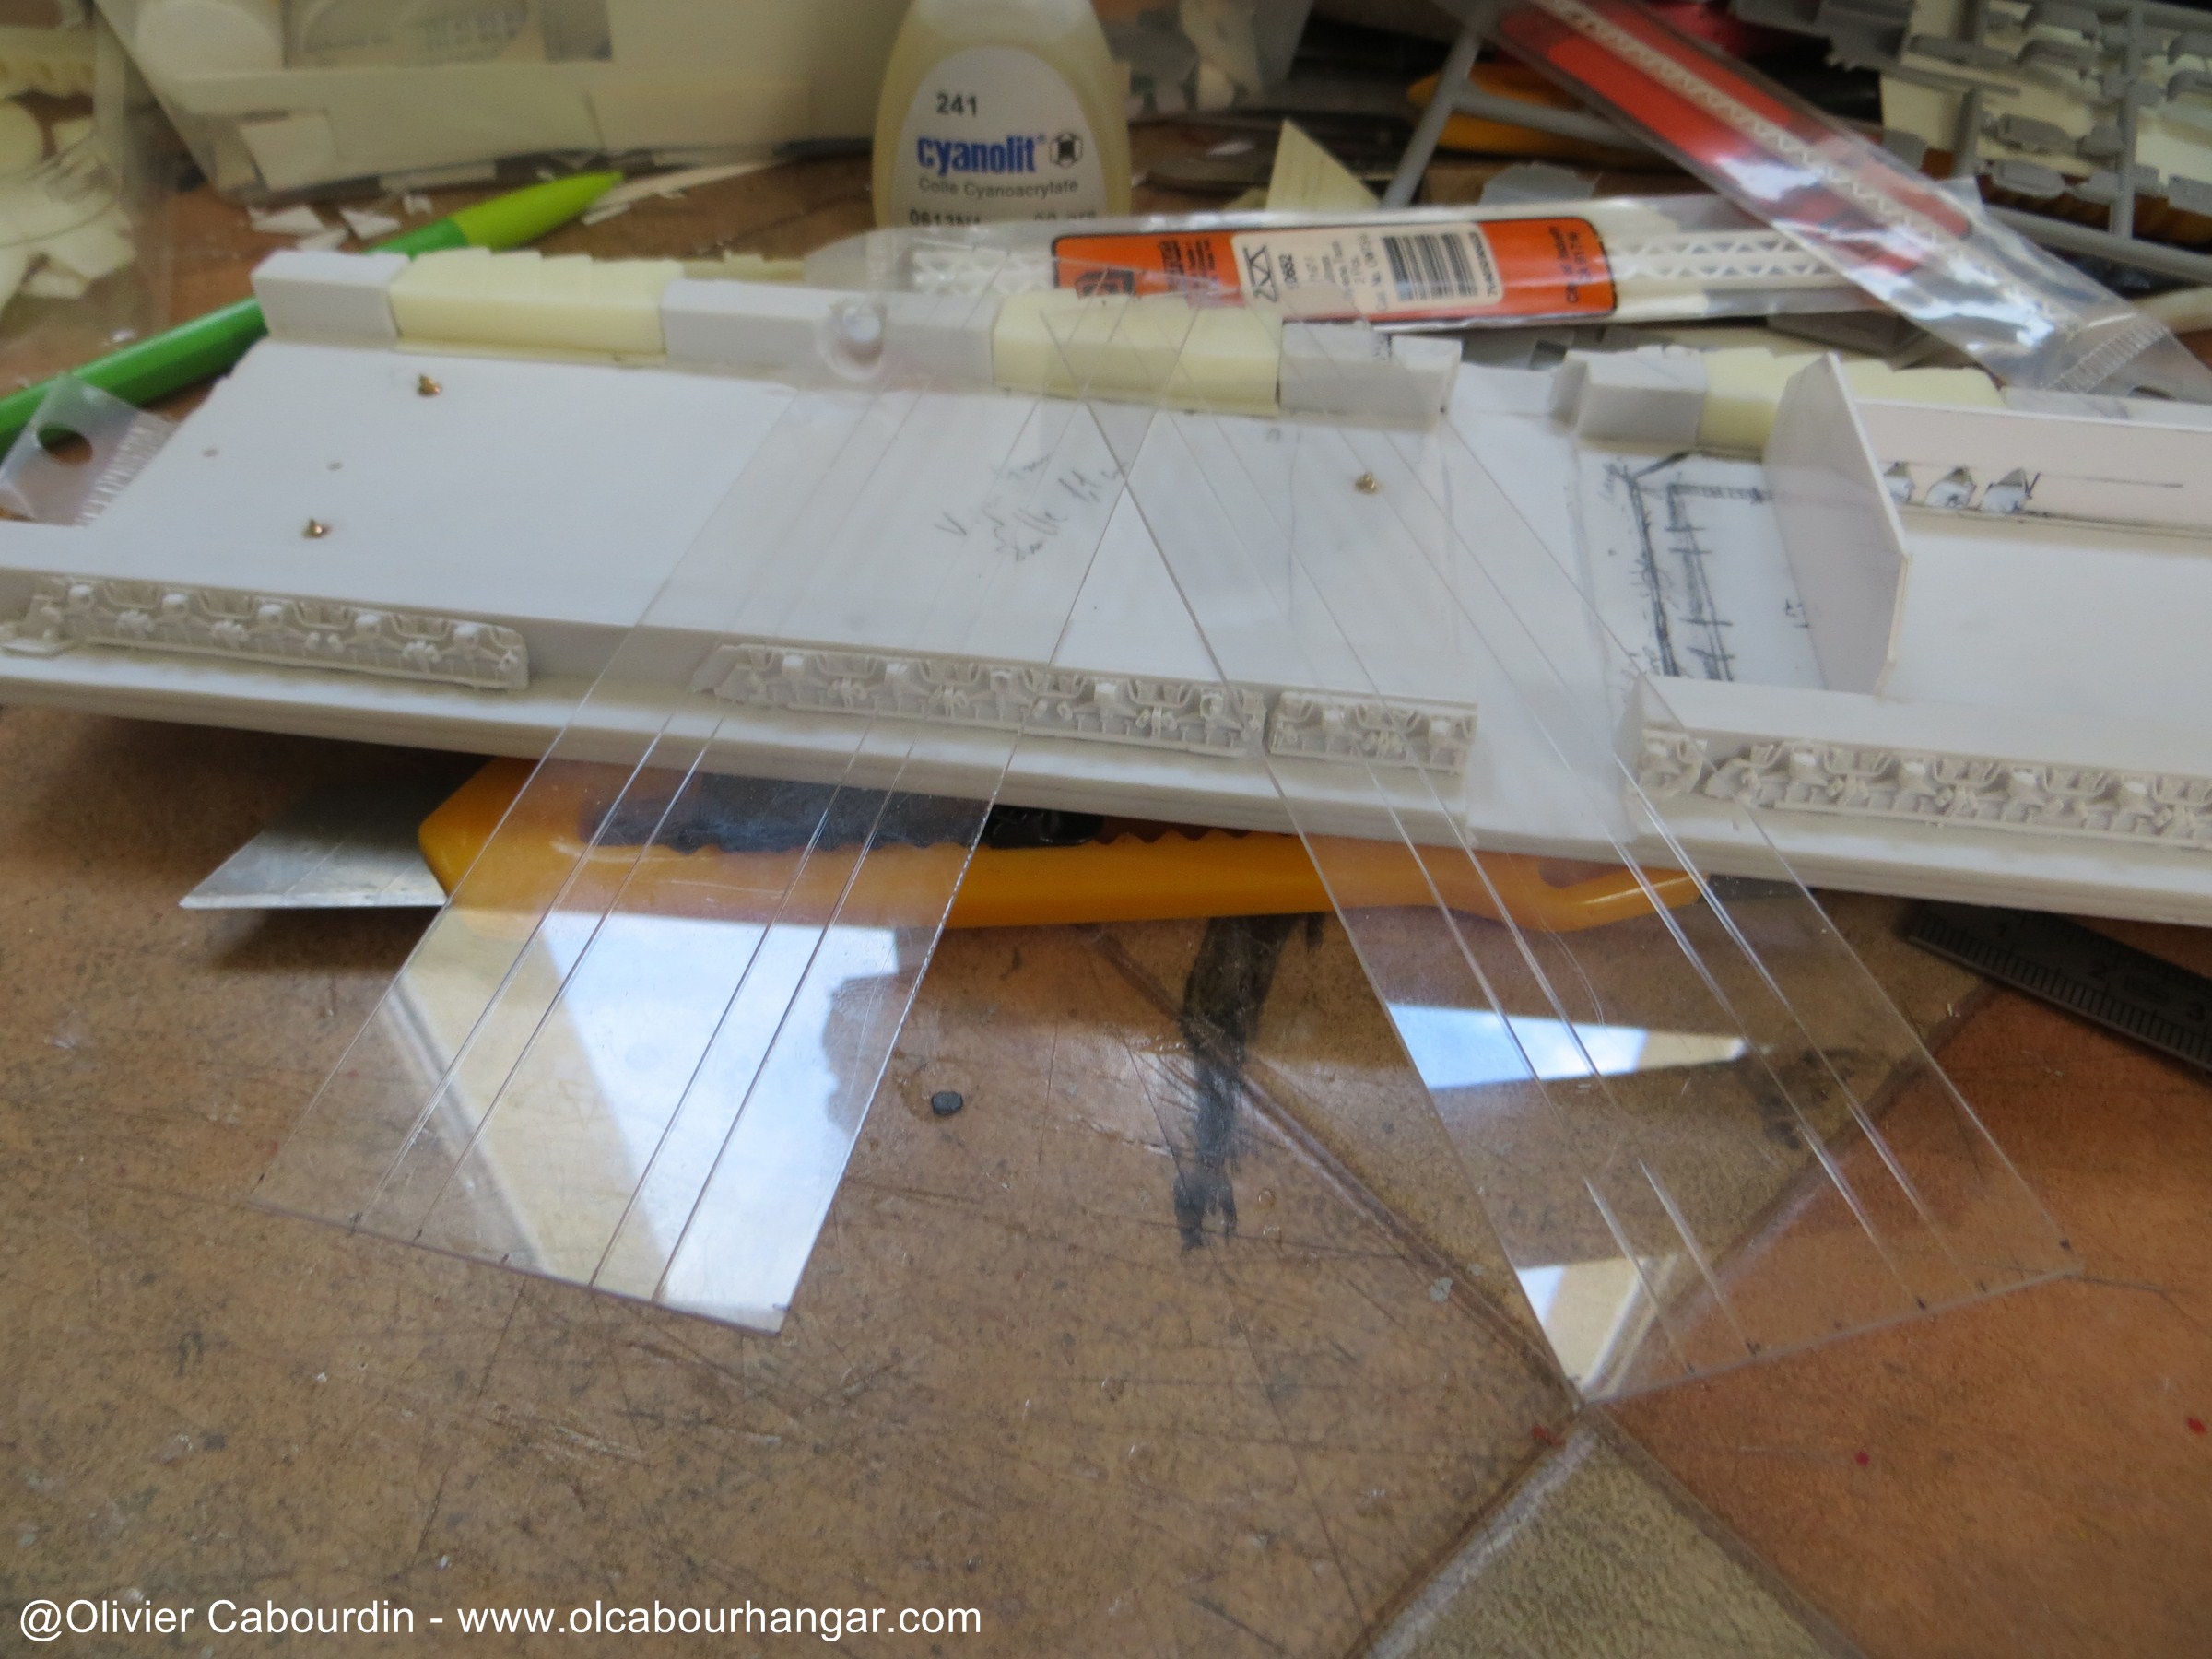
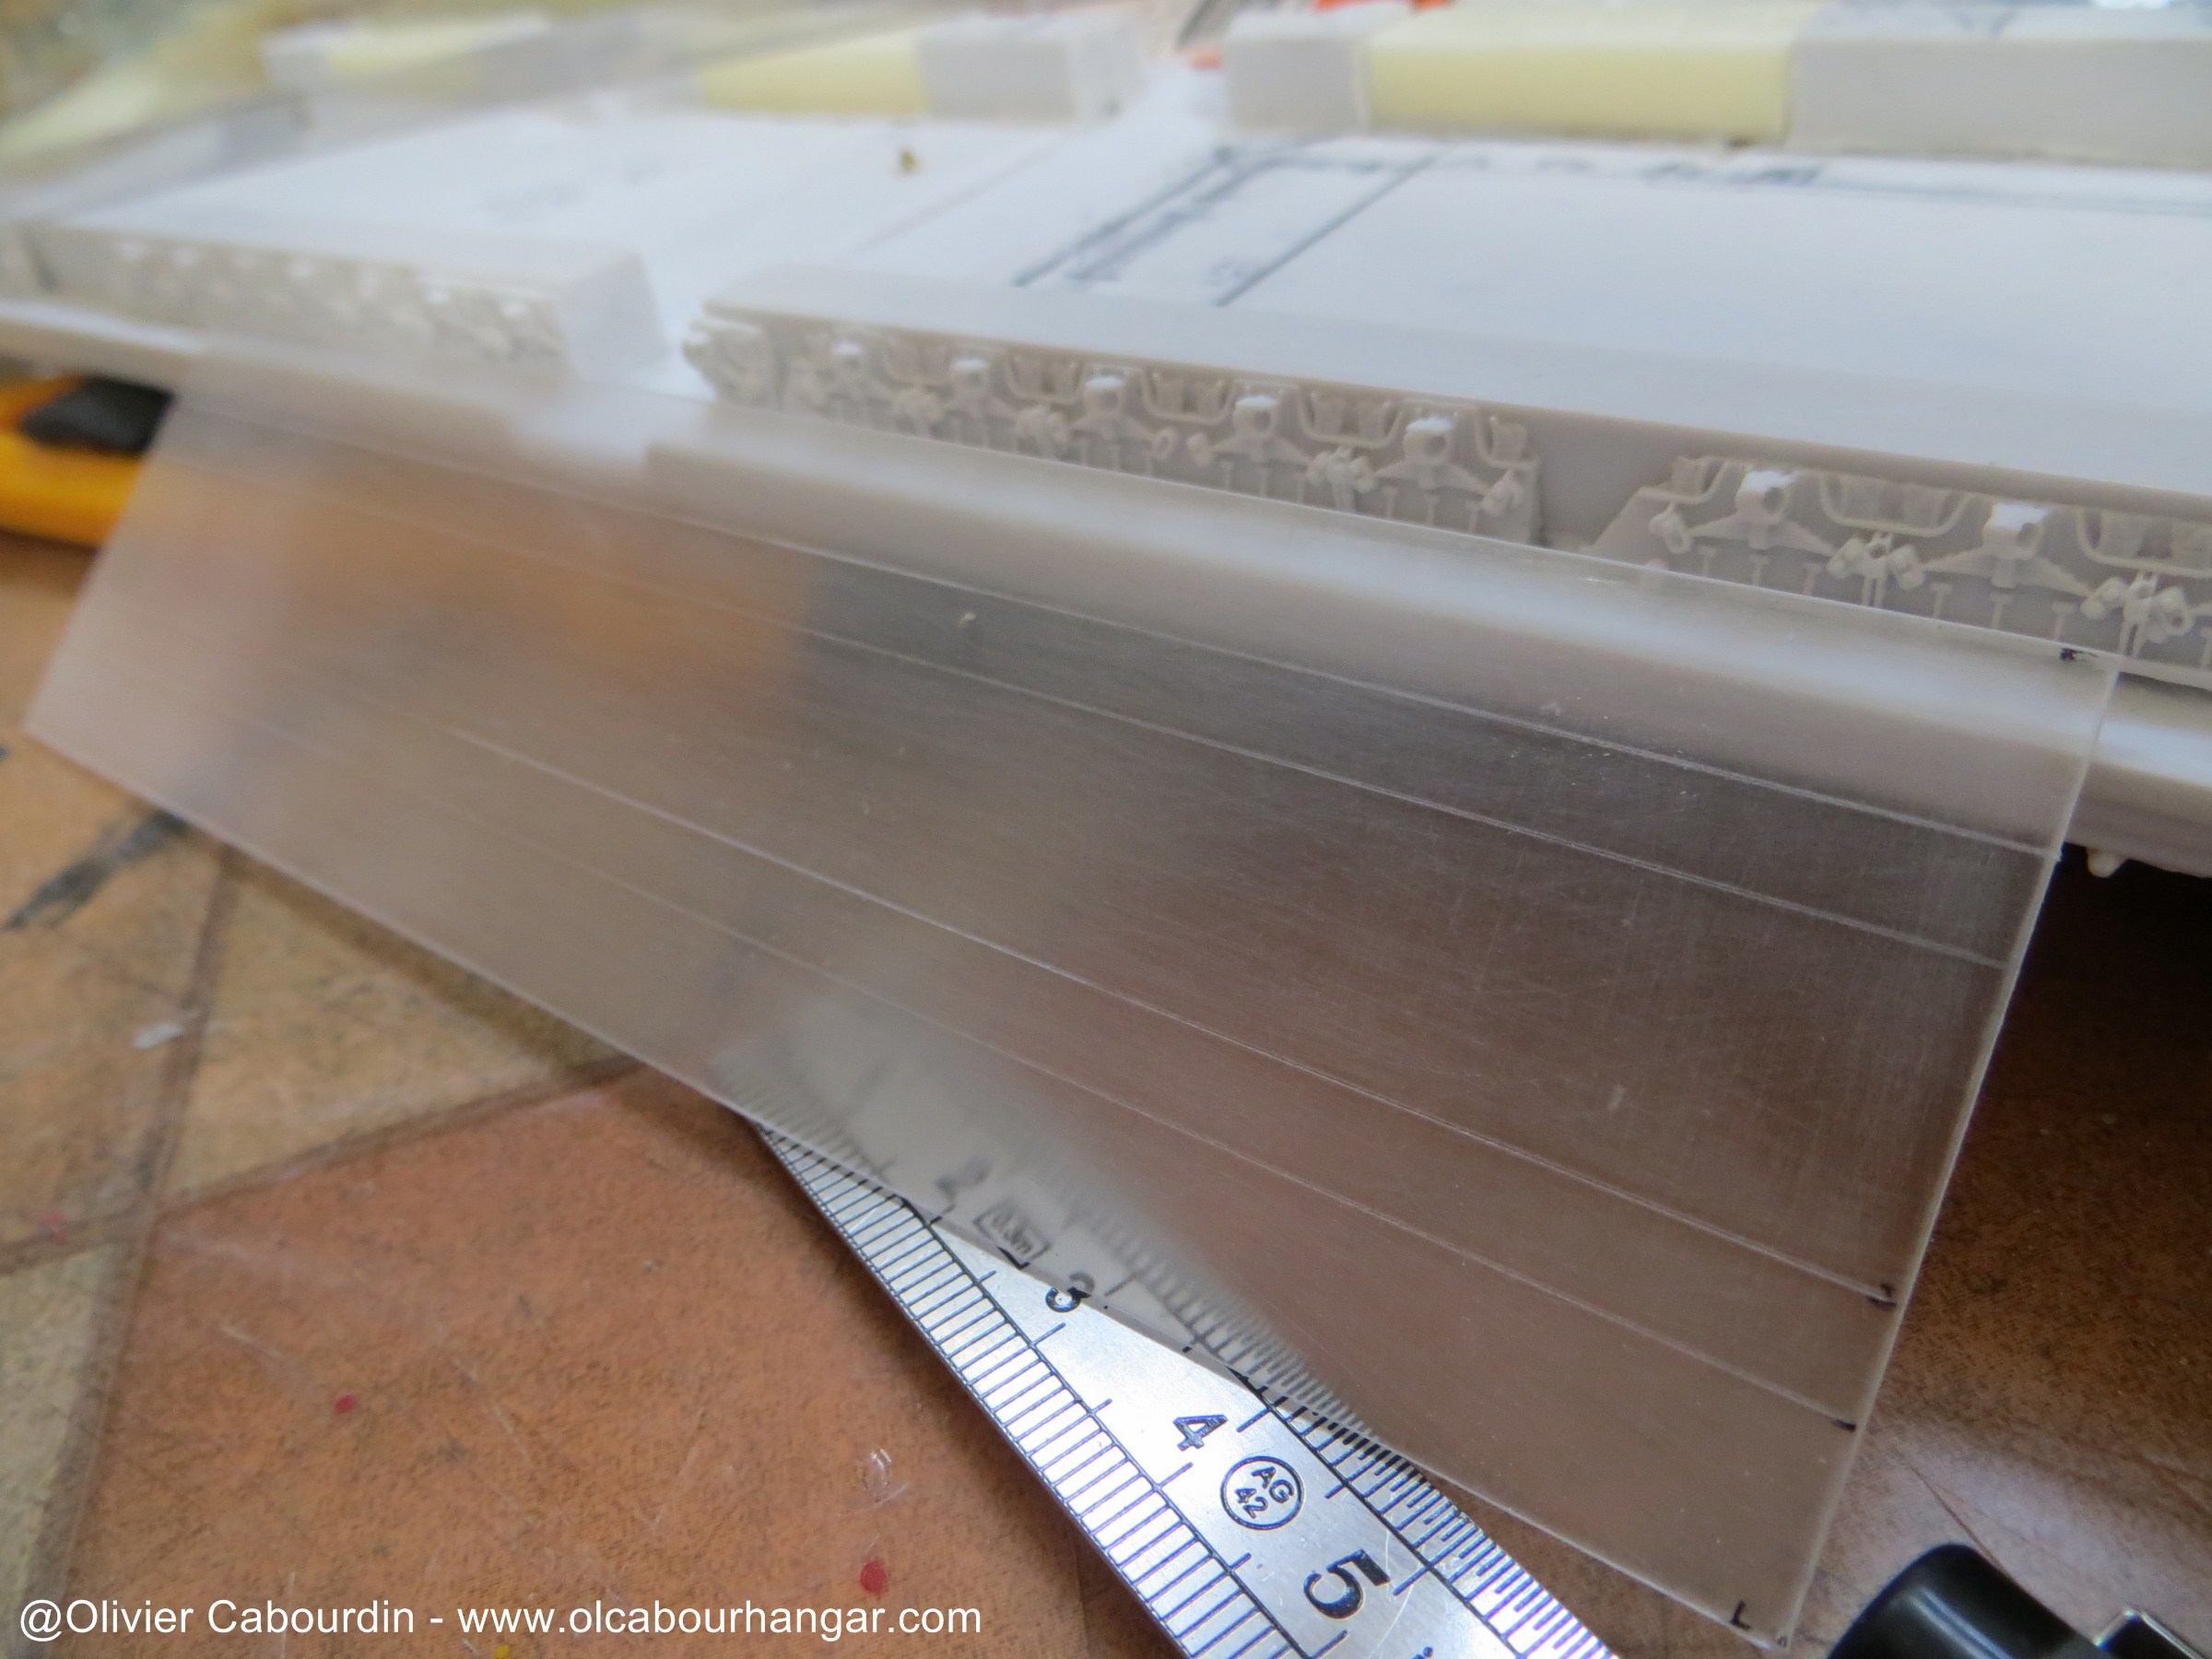
The ceiling of the runway is a clear plastic card, frosted with sand paper, detailled with Evergreen plates, behind which will be later placed the leds in indirect lighting.
The ceiling of the workshop is a ladder covered with frosted transparent plastic, which will be painted Red Clear later. The LED will later be placed on top.
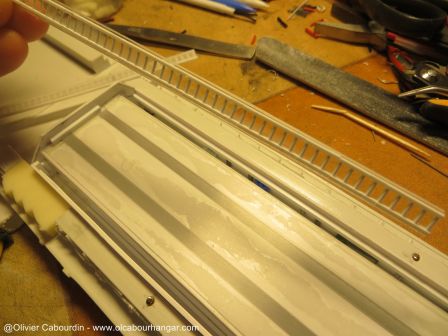

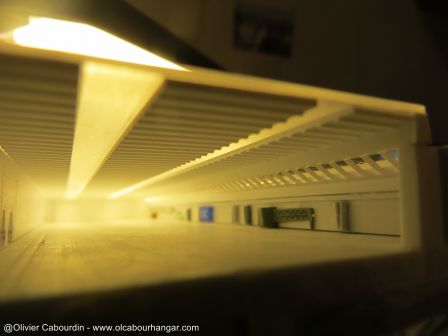
For the LEDs to not move and remain in indirect lighting, a housing is created with plastic card above ceiling to lock them.
Thanks Jim.
I did not take much photos during the FO installation. Hope they will be enough for you. (this post of the wip on this part is coming soon)
-------
I wanted the hangars interior to look like the drawings of Andy Probert used as trompe-l'oeil on the original model of the Galactica (provided as 2 decals in the kit ). It was necessary to translate and extrapolate the drawing while playing with the small space, the lighting, the discordant scales between the drawing, the hangar and the viper launch tubes (on the exterior side).

My blueprint is drawn directly on the part floor. I only use half the hangar lentgh, as the metal bar cut it in the middle.
It will be lit in white above the runway and red on the sides.
On the workshop side, I added greeblies along the wall.
And on the other side (with the launch tubes alcoves), the wall is rather smooth, so I added some paneling.
The trapezoidal openings are aligned to match the outputs of the launch tubes.

The ceiling of the runway is a clear plastic card, frosted with sand paper, detailled with Evergreen plates, behind which will be later placed the leds in indirect lighting.

The ceiling of the workshop is a ladder covered with frosted transparent plastic, which will be painted Red Clear later. The LED will later be placed on top.
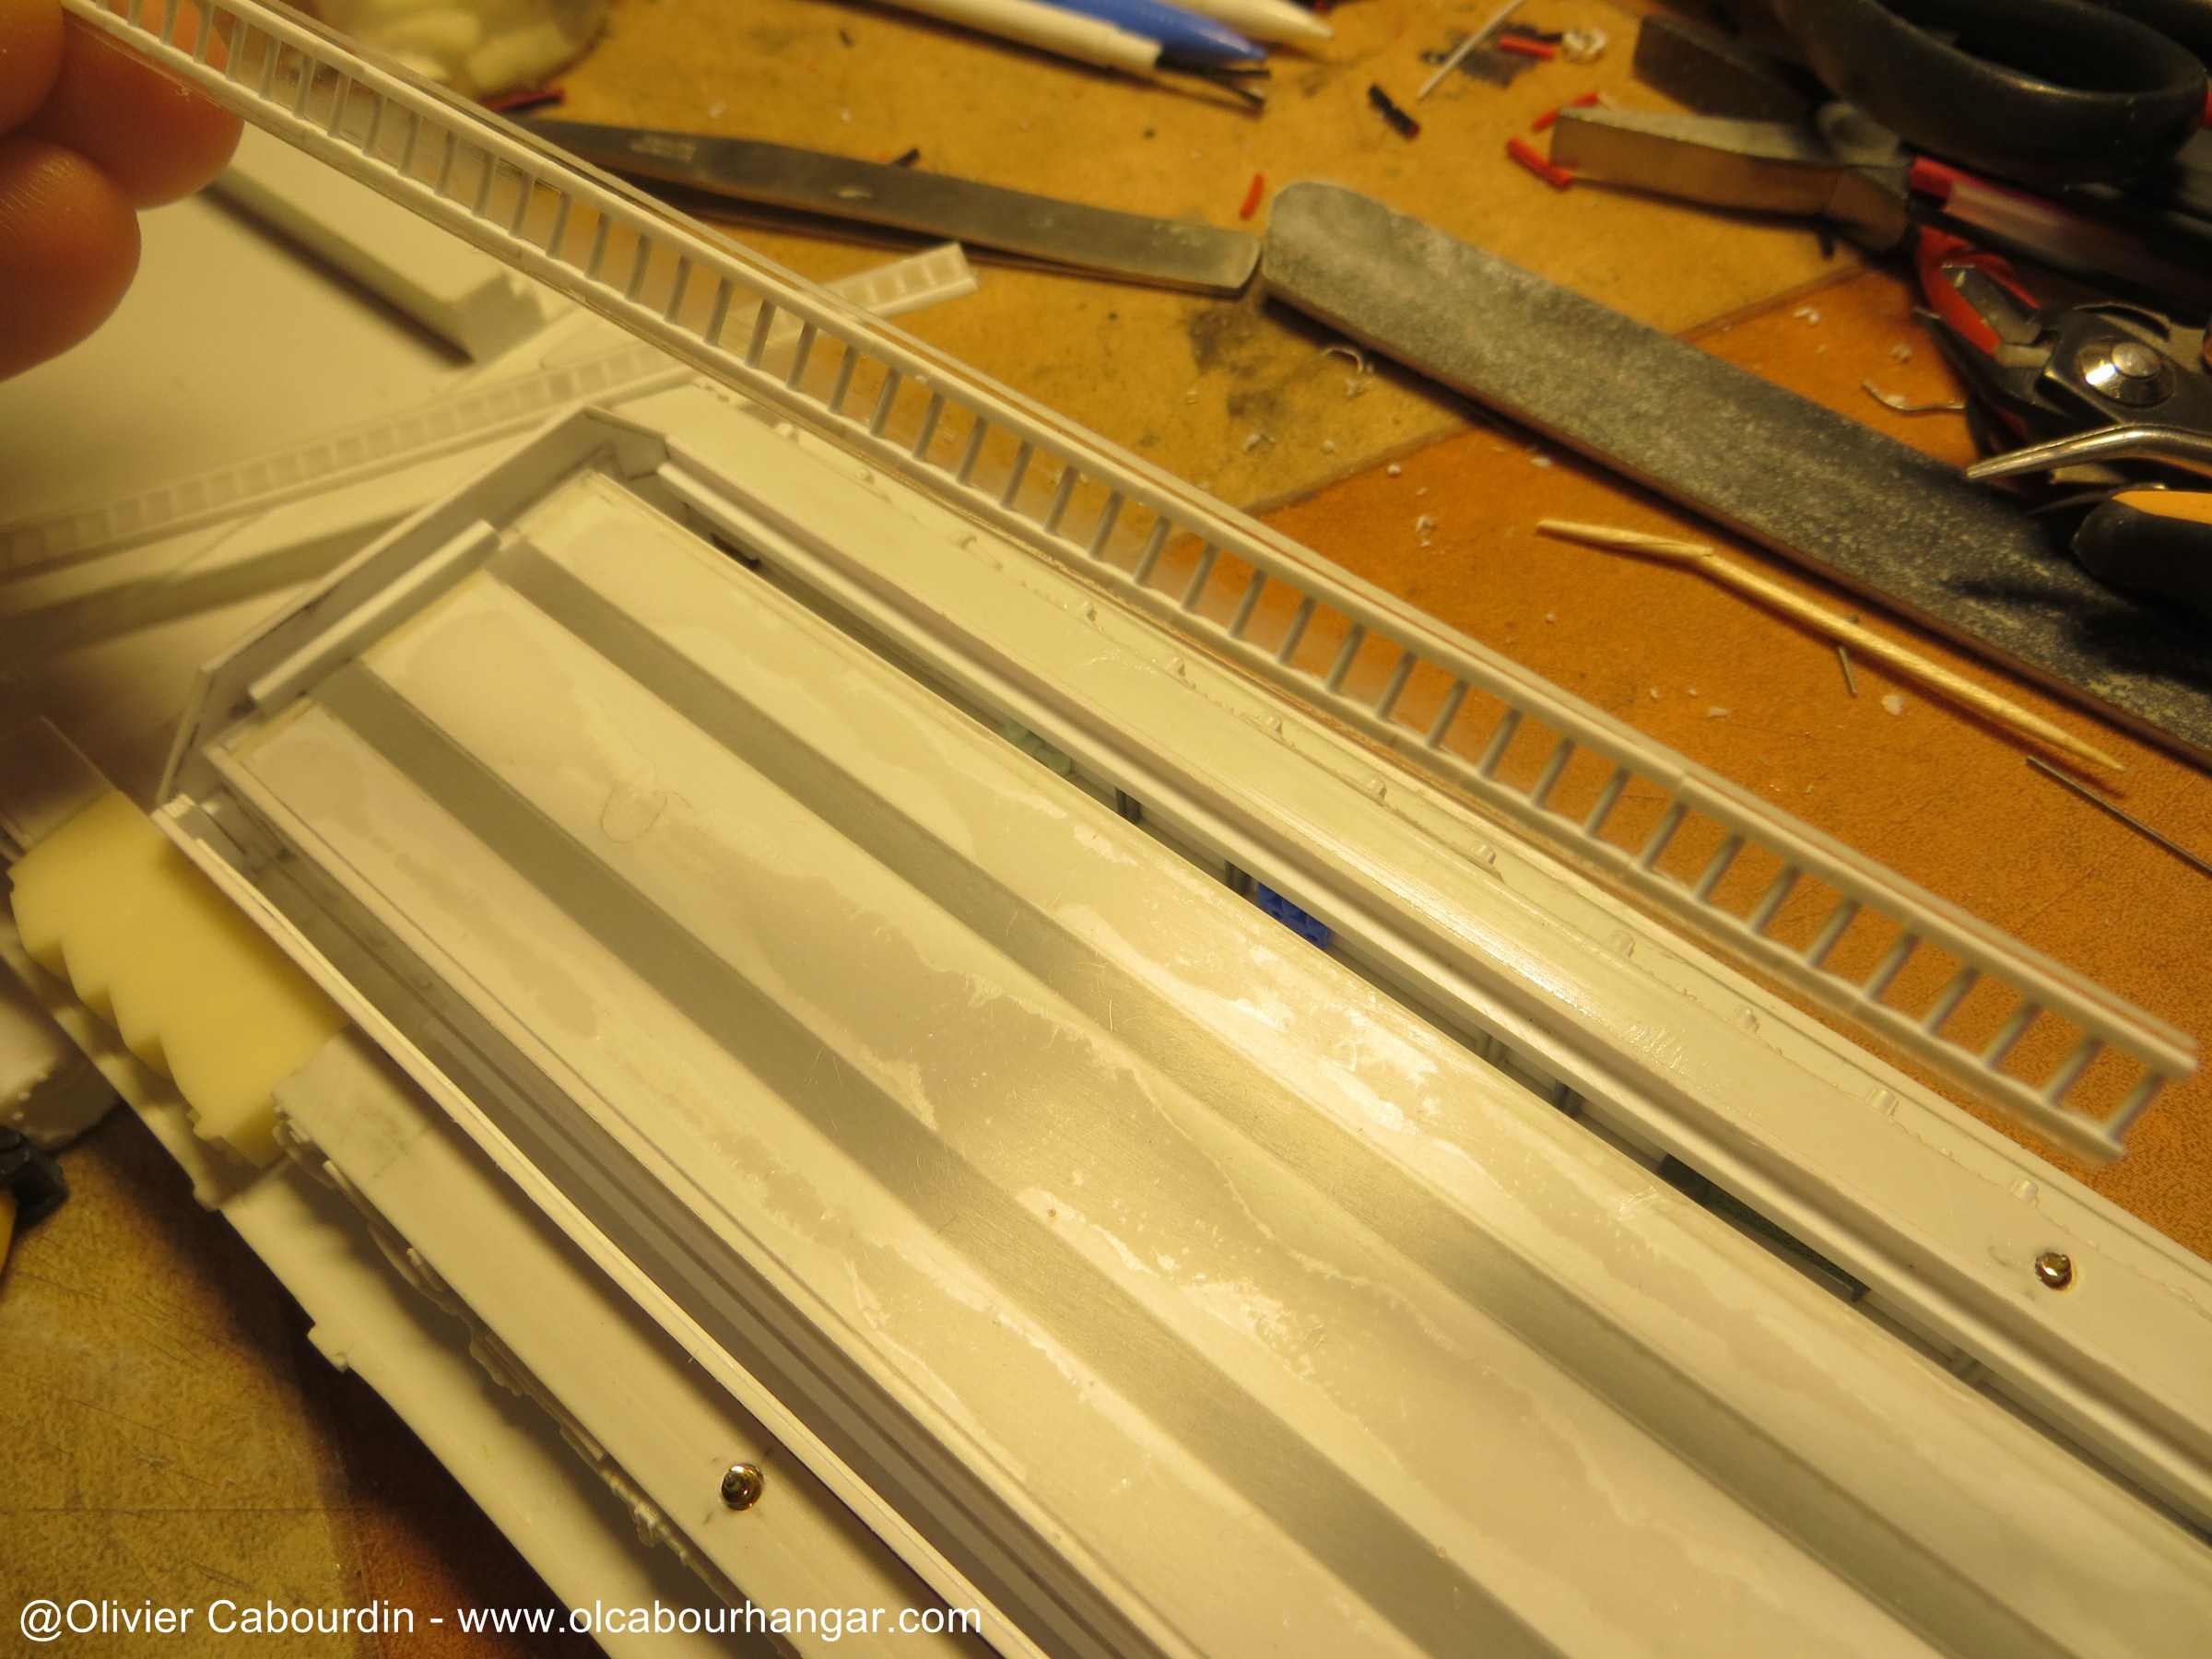
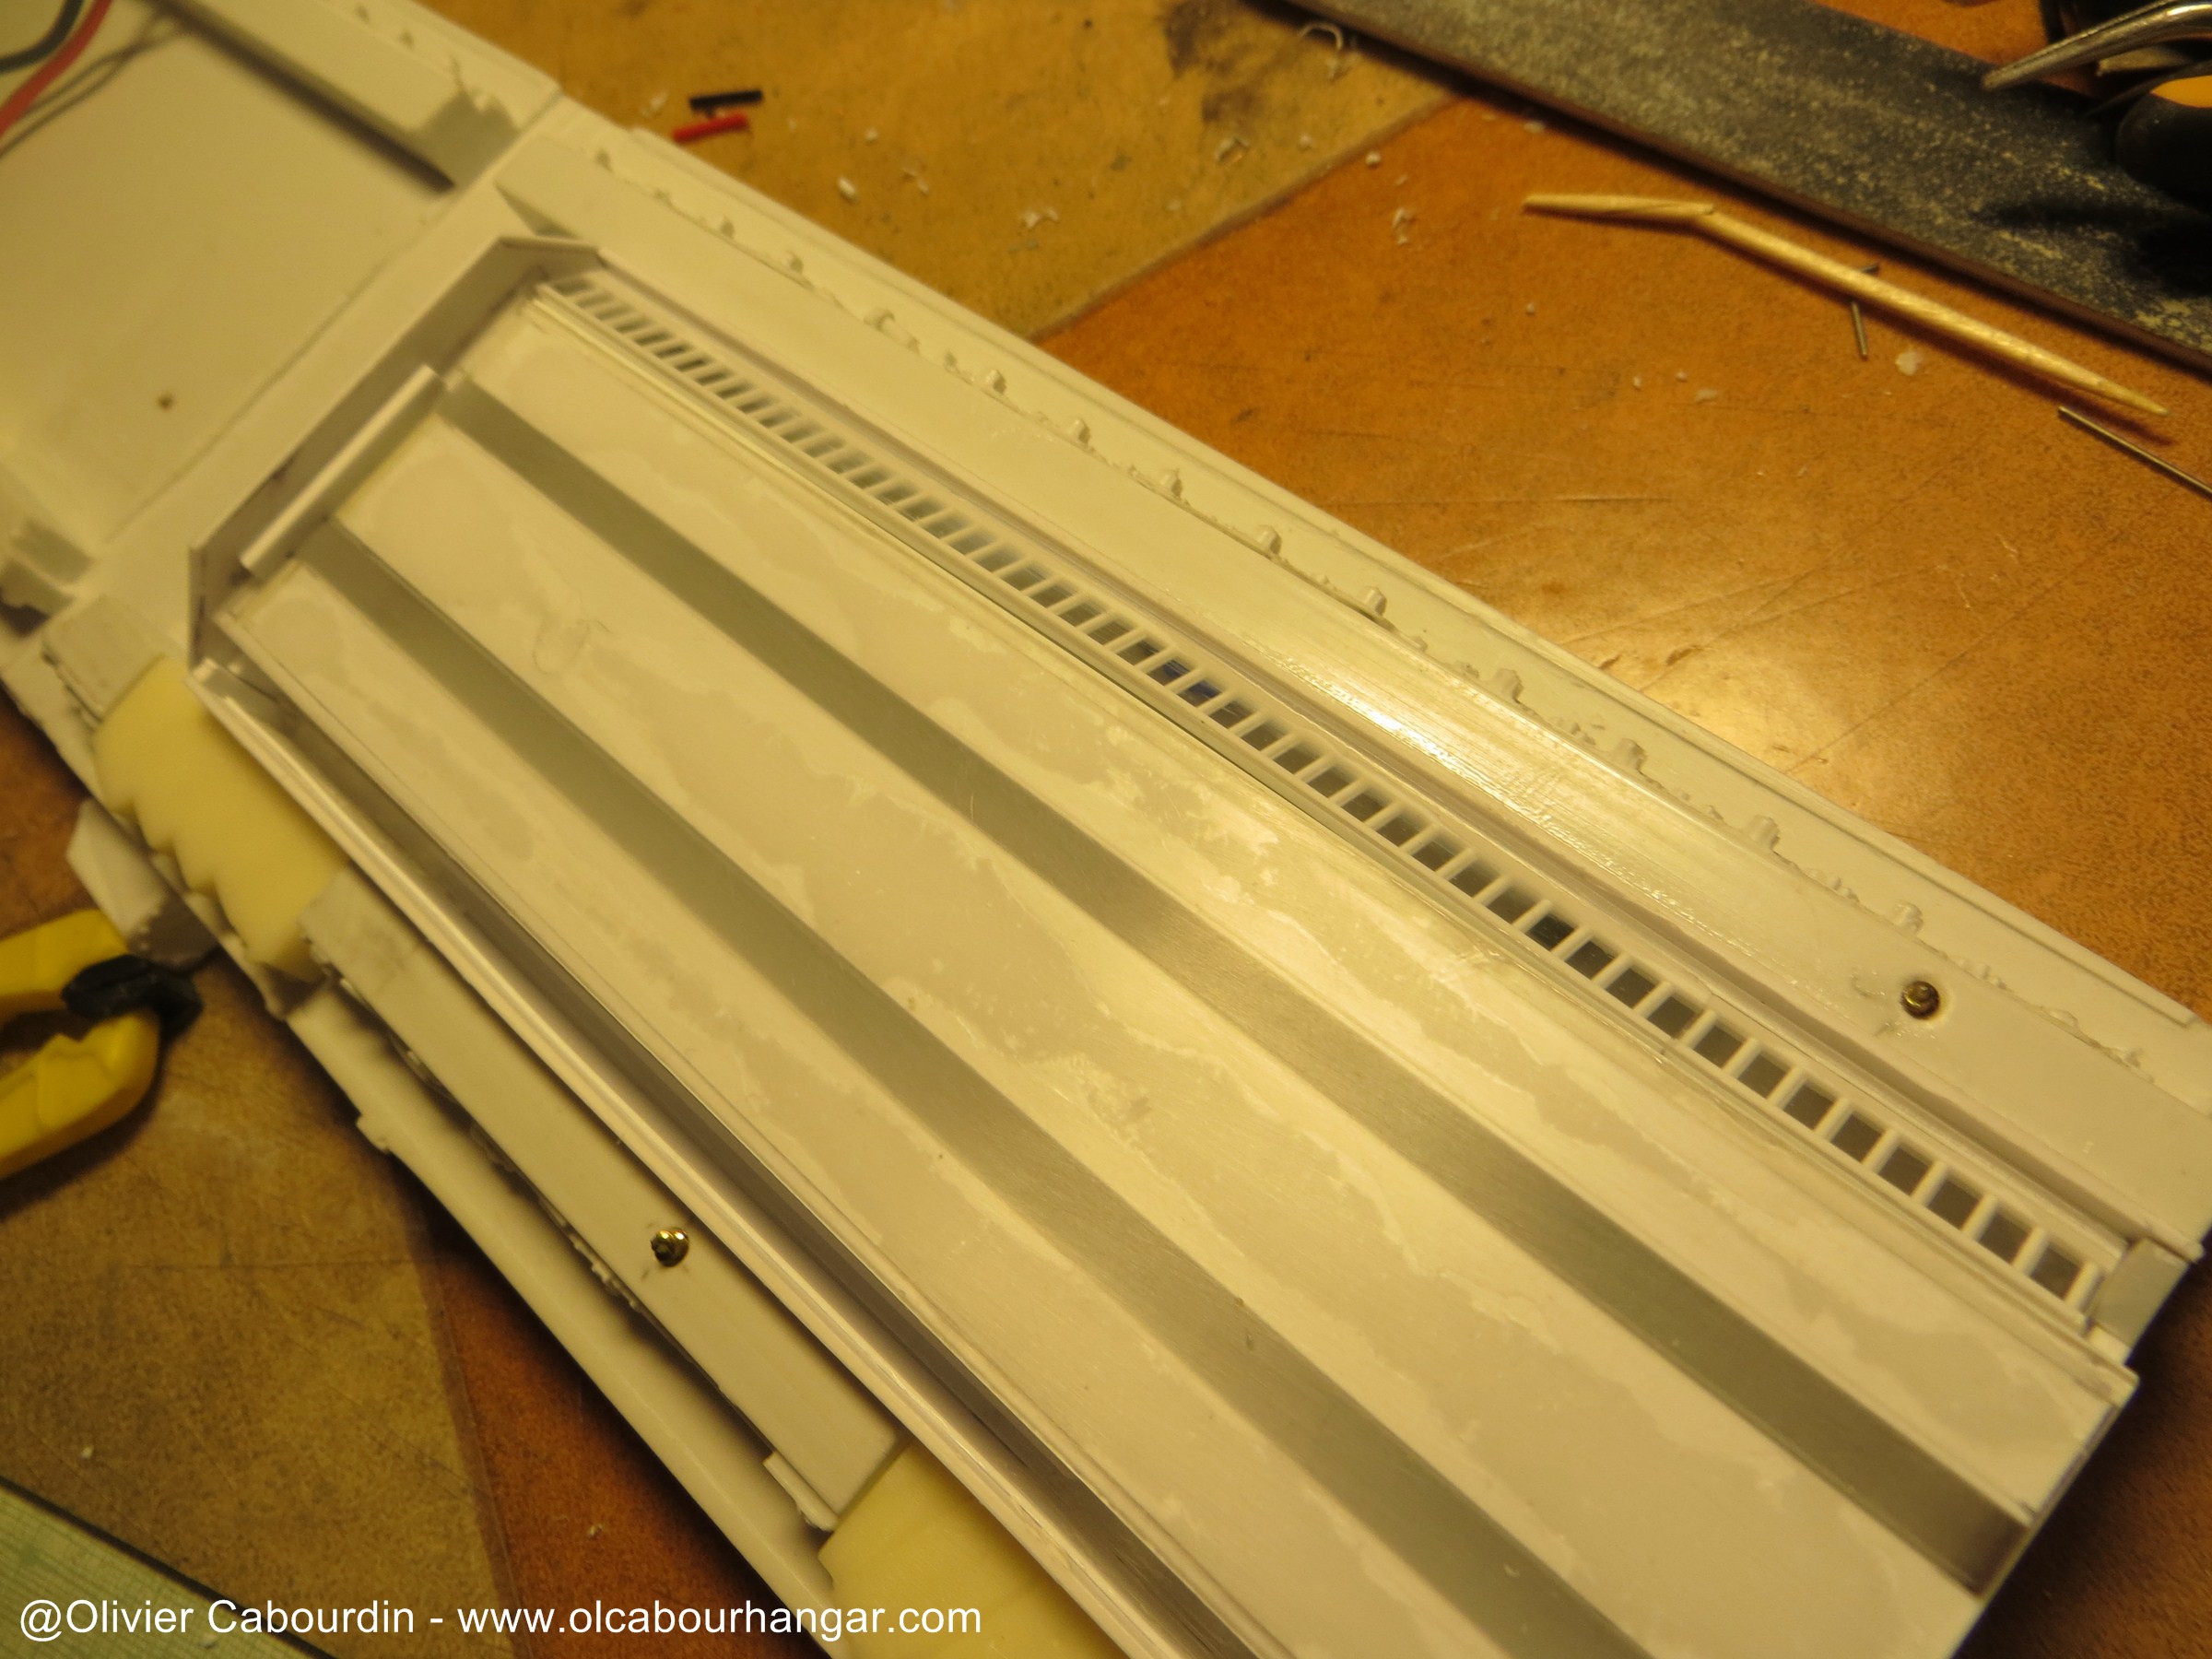
For the LEDs to not move and remain in indirect lighting, a housing is created with plastic card above ceiling to lock them.


cabour
Sr Member
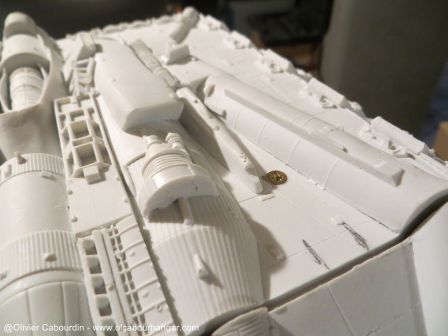
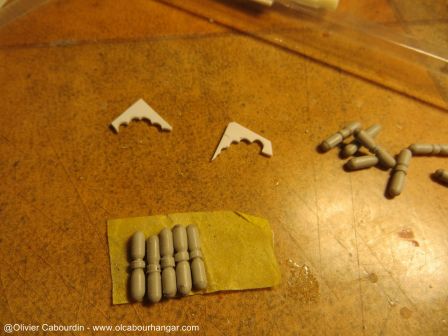
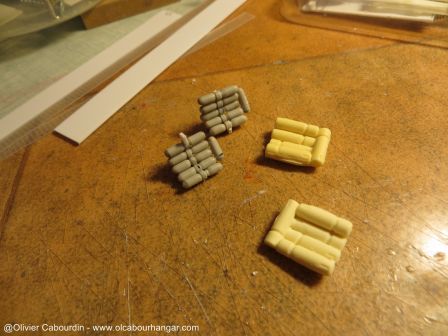
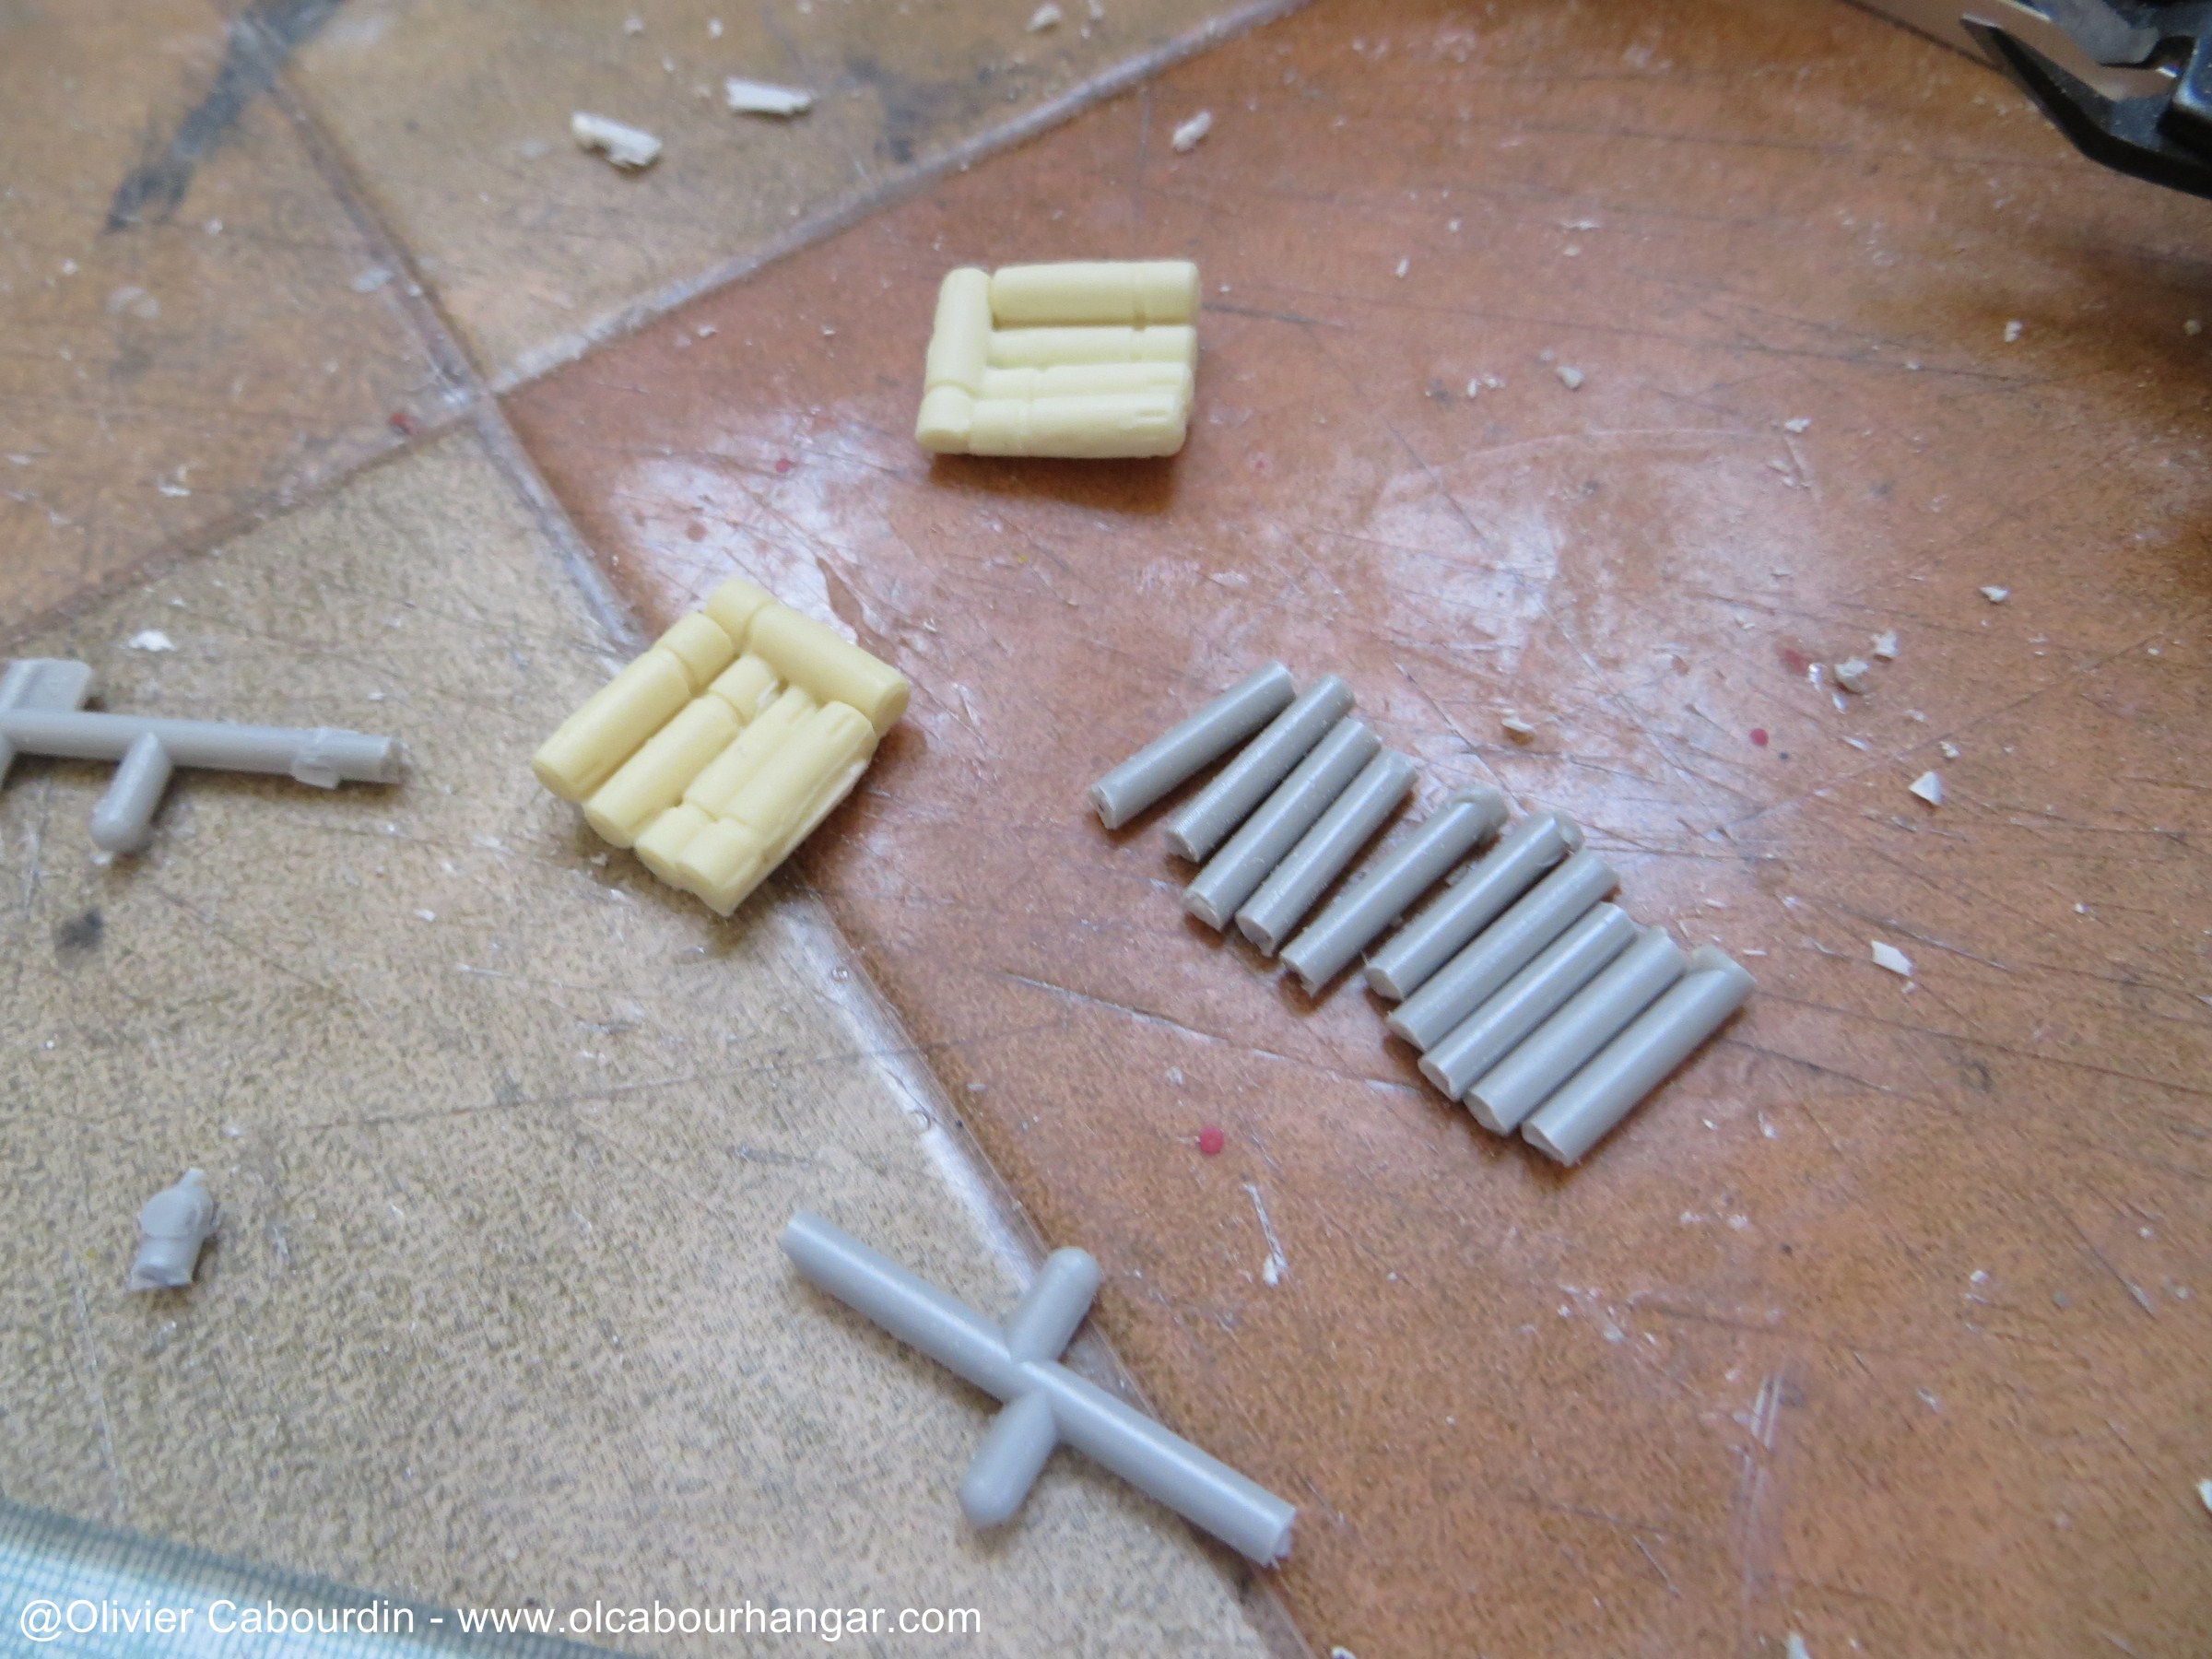
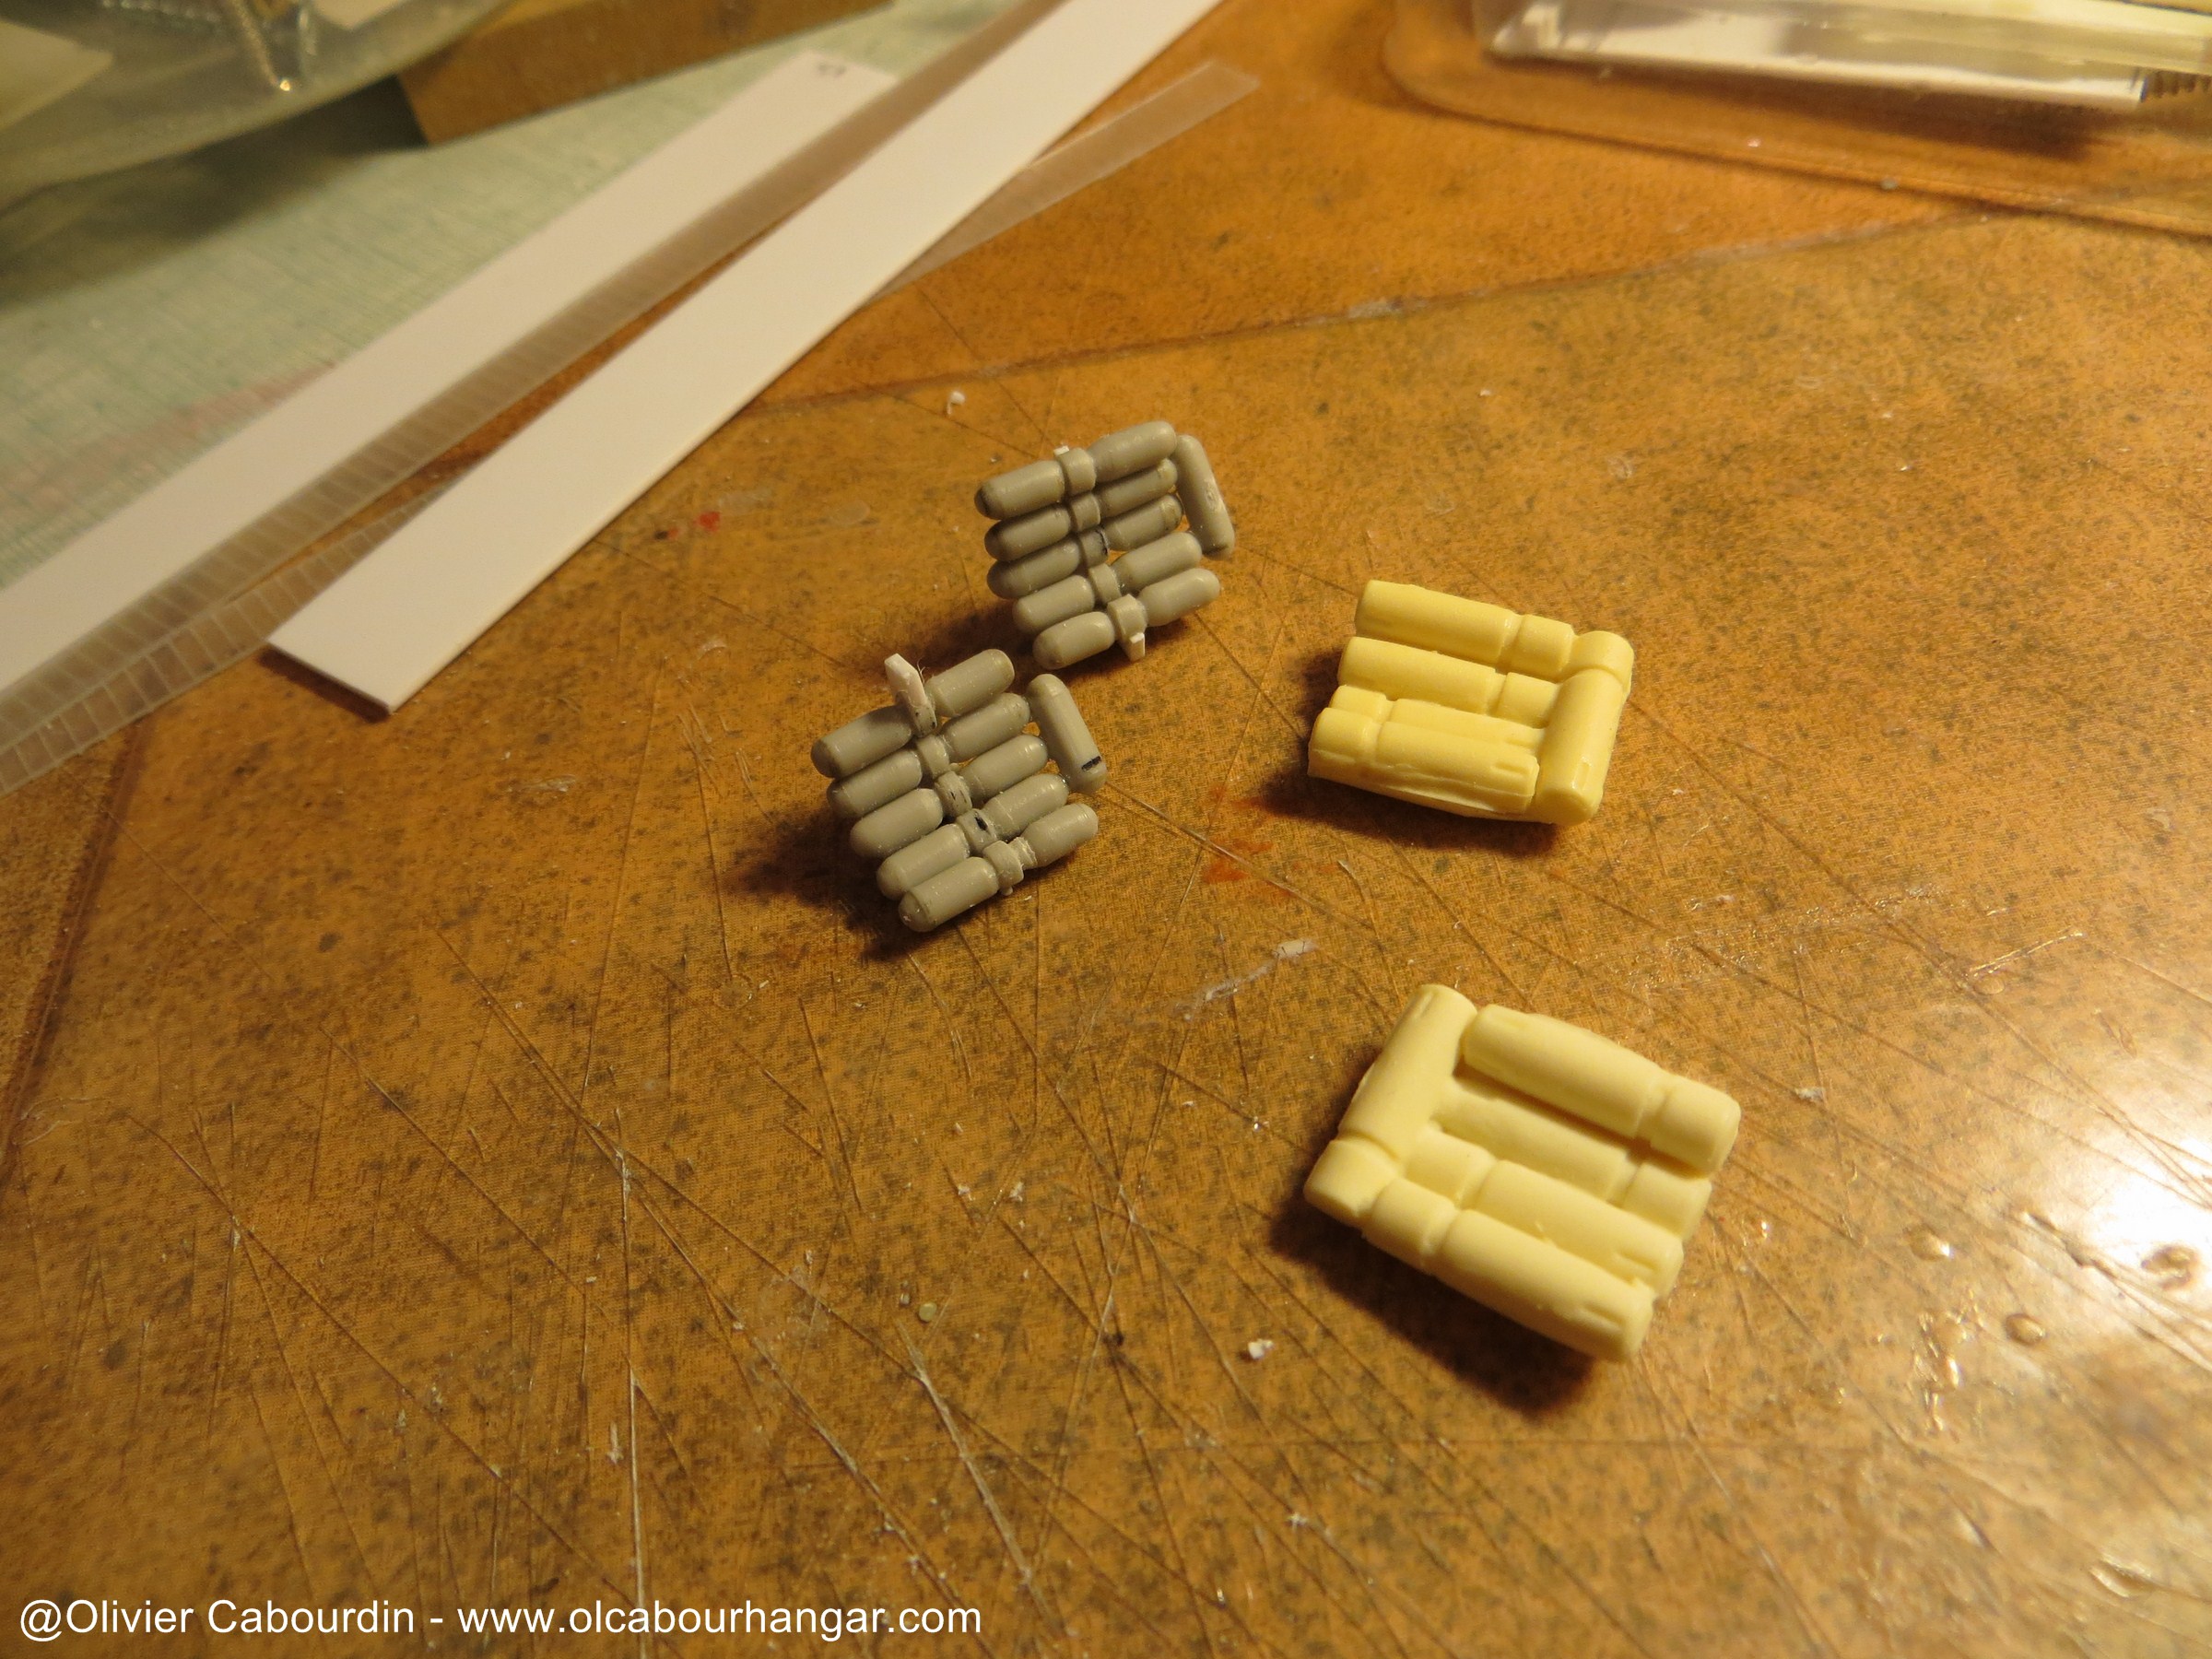
At the corner of the front arm, there is a round rack of 5 tubes, bombs from a B-29 kit.
The part provided, based on Macross missiles only contains 4 and it did not satisfied me.
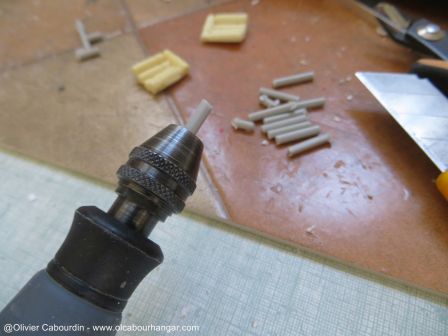
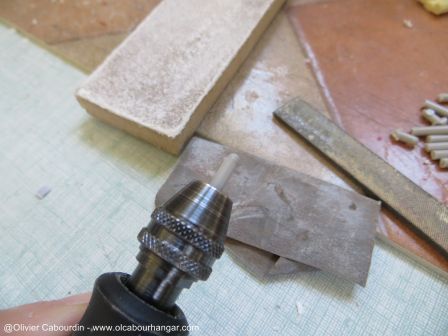
Finding no equivalent in my spare box, I scratched new ones using tree bits mounted on the dremel and shaped with files.
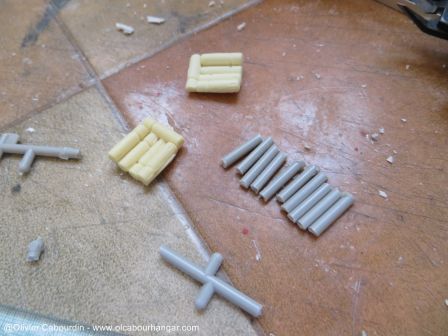
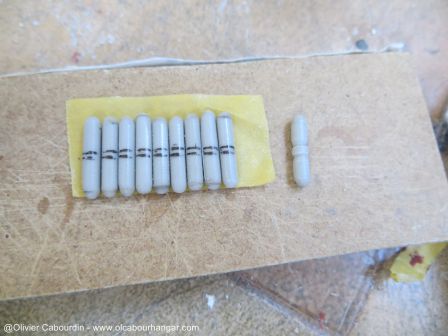
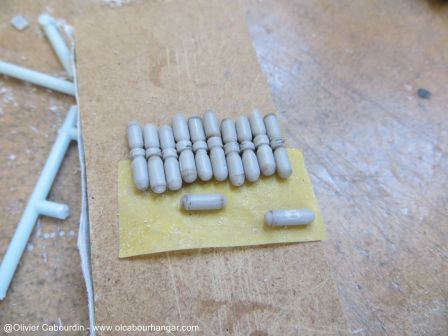
They are then placed on a small stand.

The part provided, based on Macross missiles only contains 4 and it did not satisfied me.
Finding no equivalent in my spare box, I scratched new ones using tree bits mounted on the dremel and shaped with files.


They are then placed on a small stand.


Similar threads
- Replies
- 1
- Views
- 284