anubispro
Well-Known Member
Well, it's Friday. Anyone order one of these yet?
Will
We have moved a few over at SSM.
Oh, Randy said to tell you he loved what you did with yours.
Well, it's Friday. Anyone order one of these yet?
Will
Well, it's Friday. Anyone order one of these yet?
Will
We have moved a few over at SSM.
Oh, Randy said to tell you he loved what you did with yours.
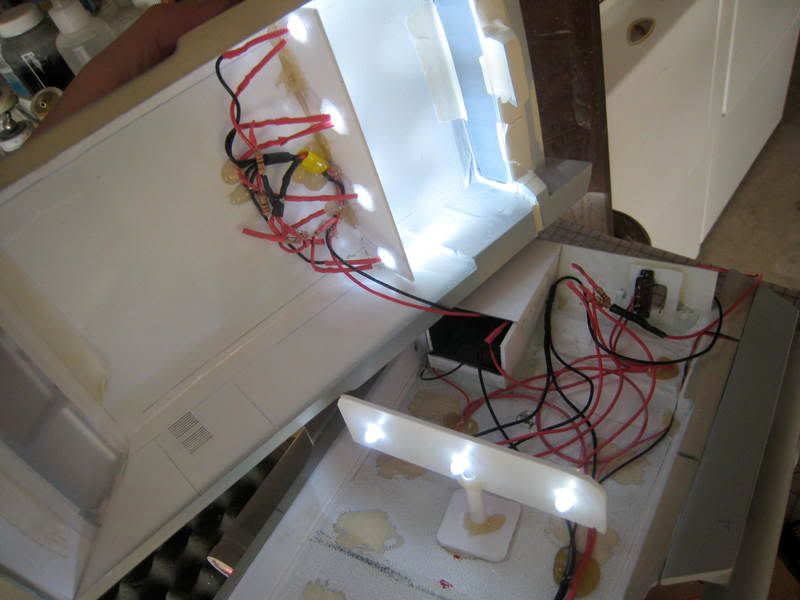
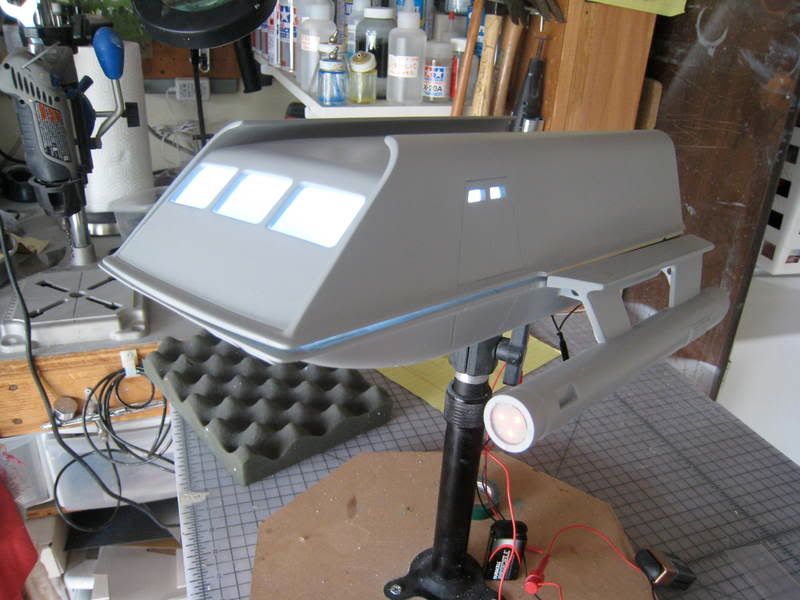
At the risk of repeating myself . . . . I hope someone will post pictures of their build!!! :lol


")
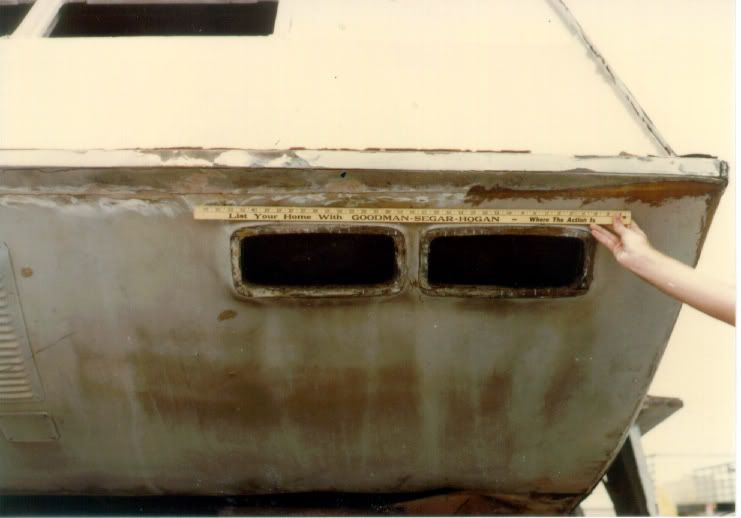
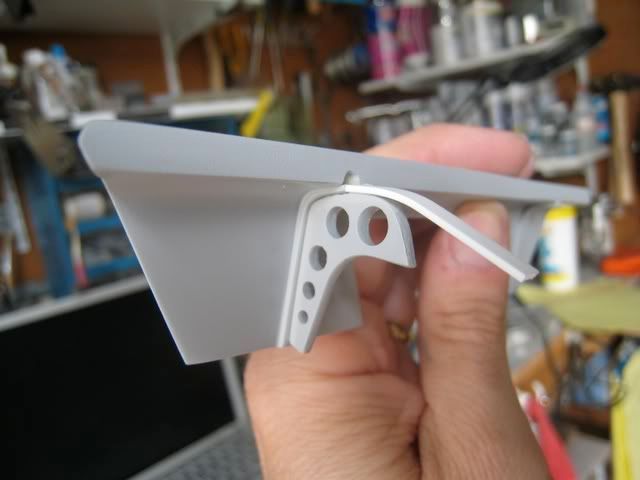
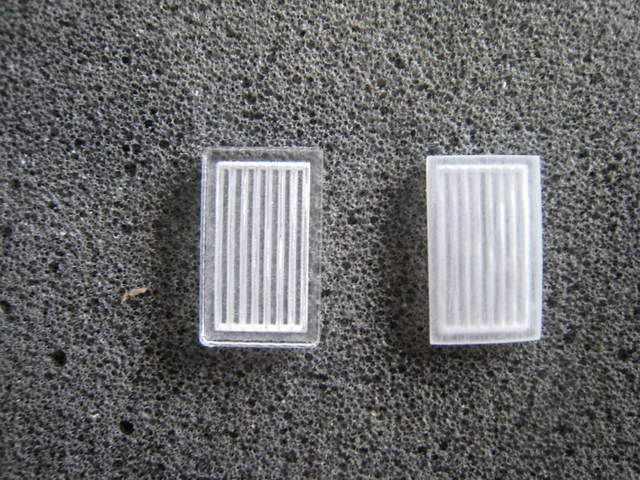
Huh. I've always seen them referred to as vents.
Thing is, what would be the point of having two search lamps of equal size placed side-by-side like that? Why not just have a single, more powerful lamp hooked to a dimmer?
Guess I'll have to do a little more research before priming over the clear plex.