rodimus184
Active Member
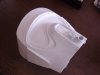
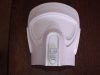
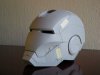
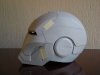
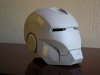
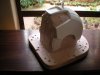
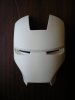
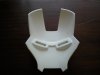
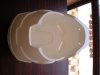
That's definitely the best looking Iron Man helmet I've seen on the RPF. Major props man, it came out looking sweet! Would love to see an entire suit built using this method.
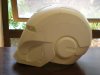
That is a beautiful piece of work! Nice job on the build. WIll you attempt any of the armor pieces?
Thanks for the replies. I'll try and re-upload the pics over the weekend. Maybe that'll make a difference.
At the moment I think the helmet is probably the only thing my patience and sanity would allow. I still have a bunch of other stuff I would like to finish before I'd even start thinking of doing a whole suit.
Cheers.


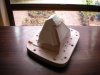

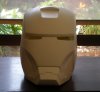


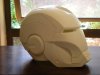
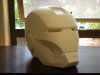
I was just wondering the other day if pep would work with styrene, you sir have proved that it does without a shadow of a doubt. That is some formidable talent you have there, long may it be fruitfull :thumbsup
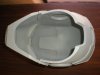
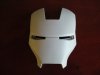
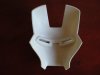
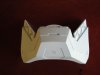
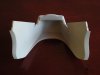
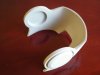
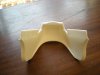
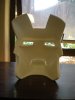
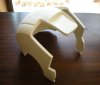
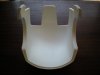
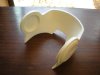
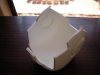
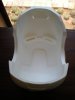
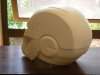
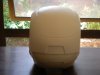
Its not vacformed, it's a hybrid of pepakura using 0.5 guage styrene instead of card stock which is built up in layers and then sanded.