Howlrunner
Sr Member
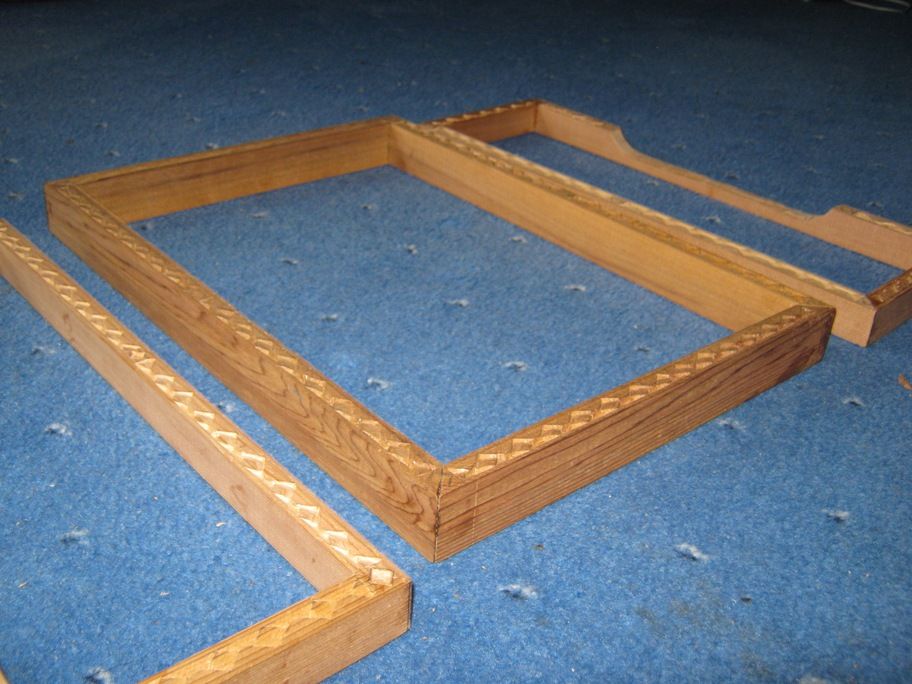
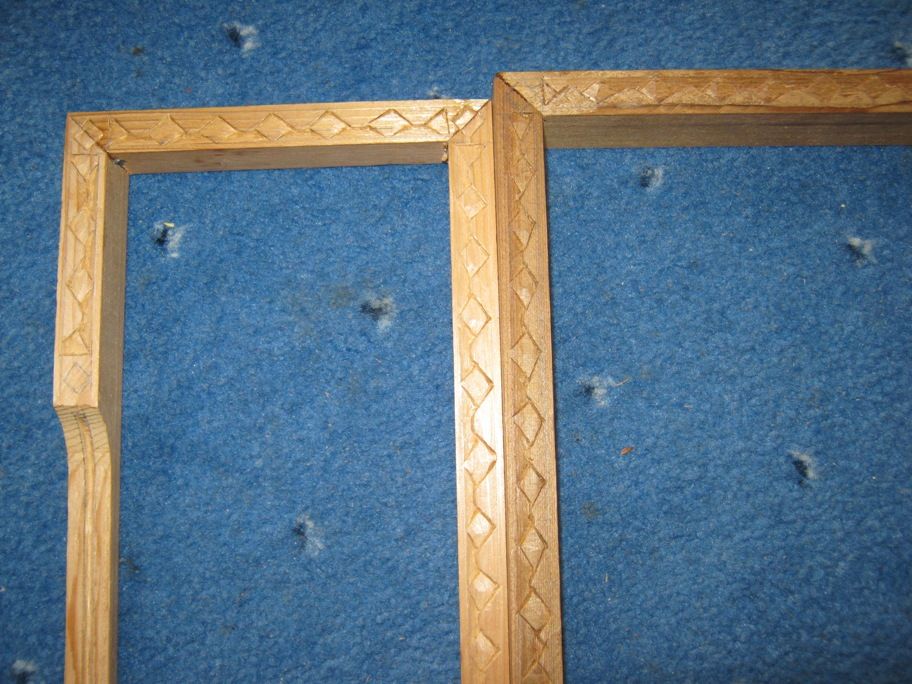
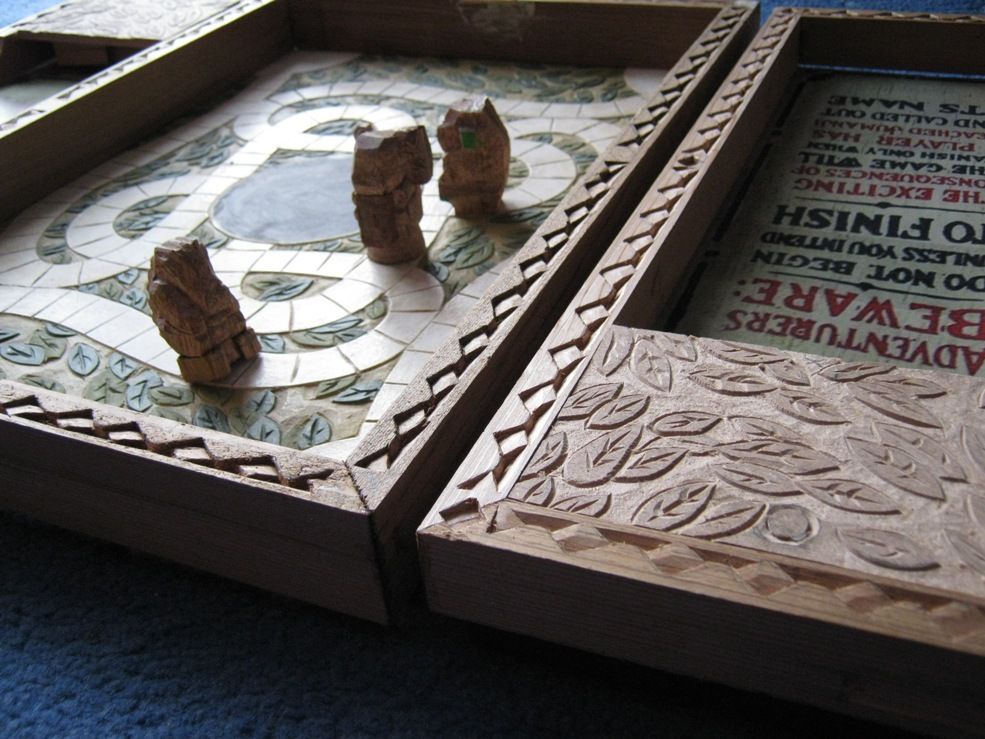
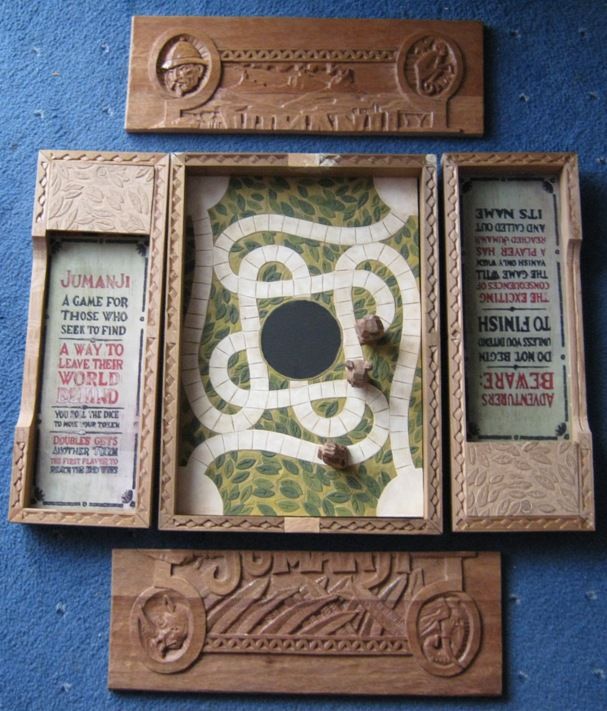
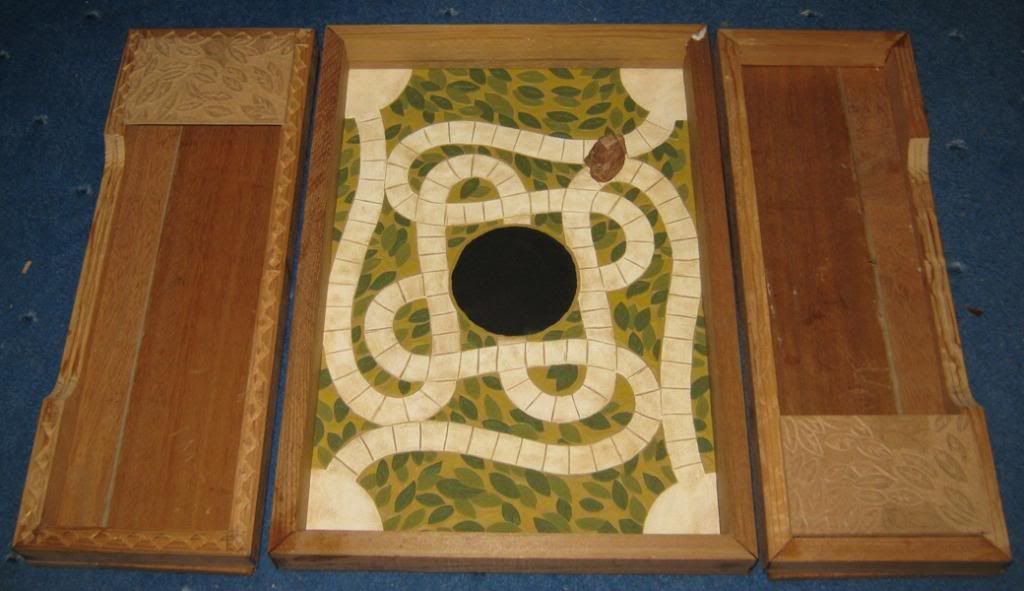
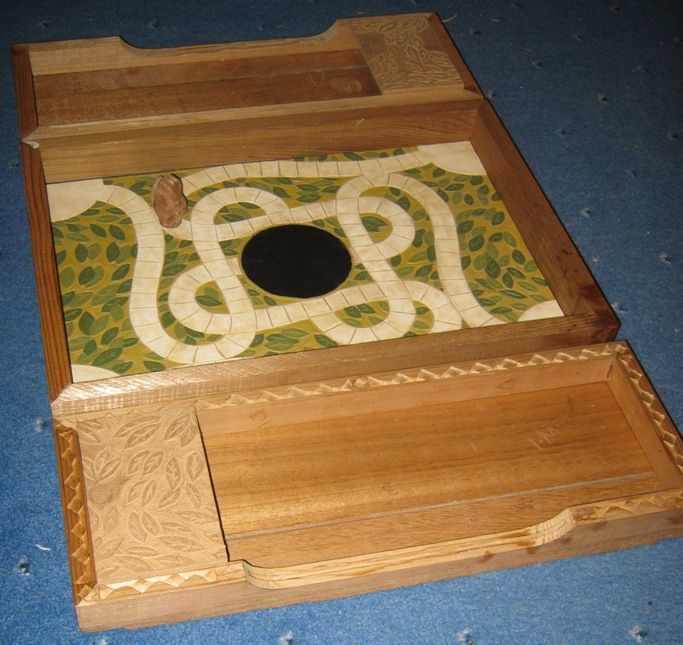
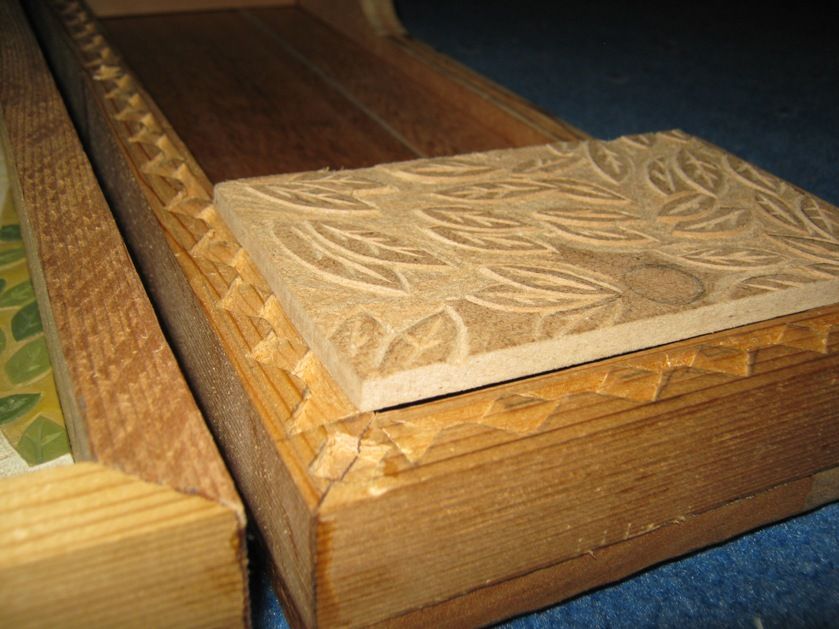
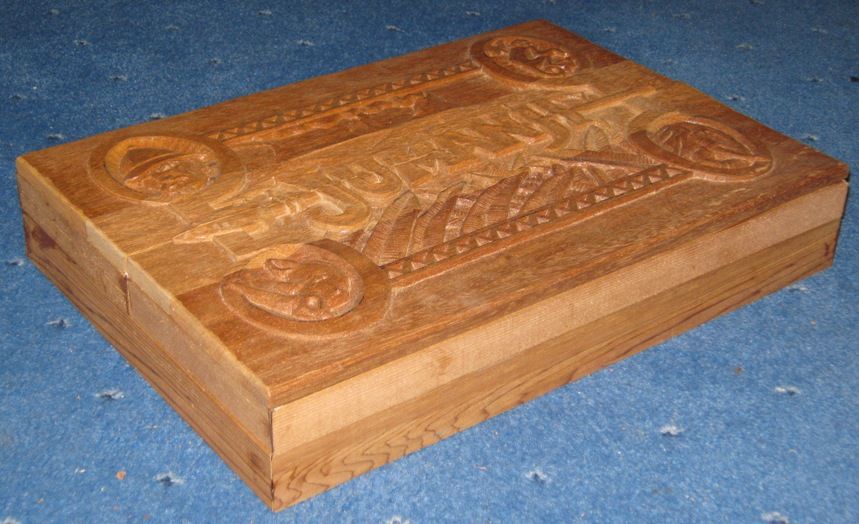
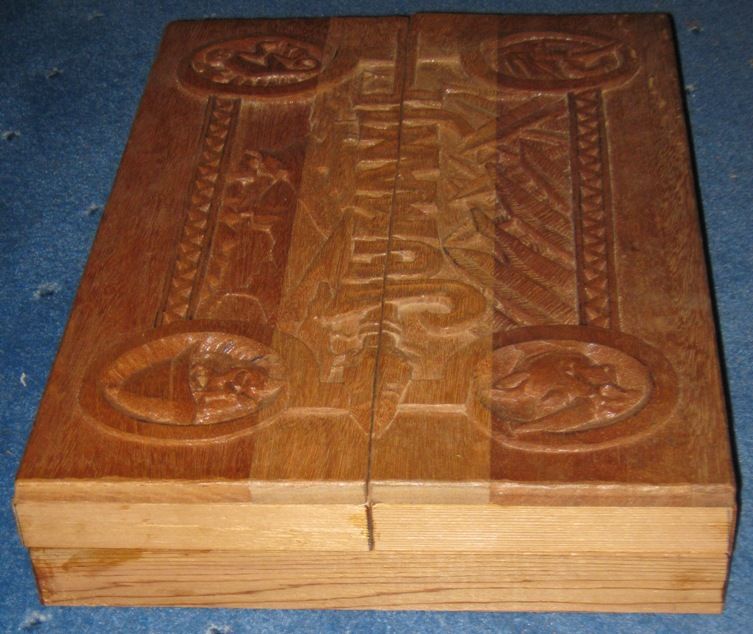
Re: Jumanji Game Board replica - 12/05/13 Update - Board Edges
Indeed it is. Though I don't think any more work has been done on them since I posted pics of them back here: http://www.therpf.com/f9/jumanji-ga...te-board-edges-121313/index5.html#post2553147
So awesome! Is that tokens i see back there?
Indeed it is. Though I don't think any more work has been done on them since I posted pics of them back here: http://www.therpf.com/f9/jumanji-ga...te-board-edges-121313/index5.html#post2553147
 true talent!! Its coming together quite nicely!