Dalex
Active Member
Figured it was time for an update...
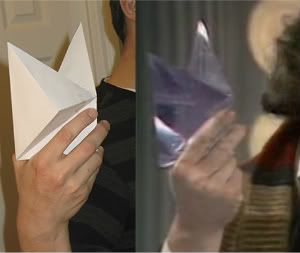
One of the first things I needed to do was determine the size of the Key To Time. The consensus seemed to be that it was a 6" cube, although there was some opinions that it could be larger.
So I made two cardboard boxes, one 6" and one 7", and took photographs of myself to compare to screen captures:

Seems pretty clear to me that the cube size is 6".
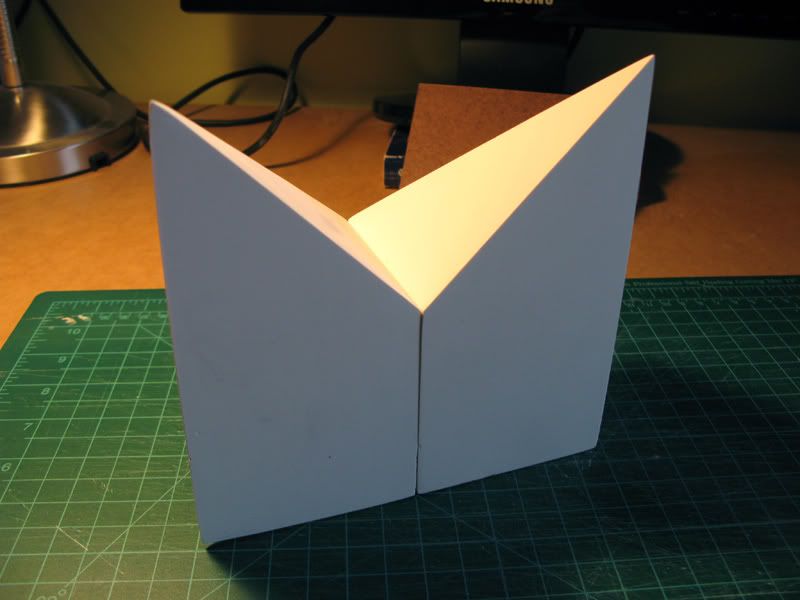
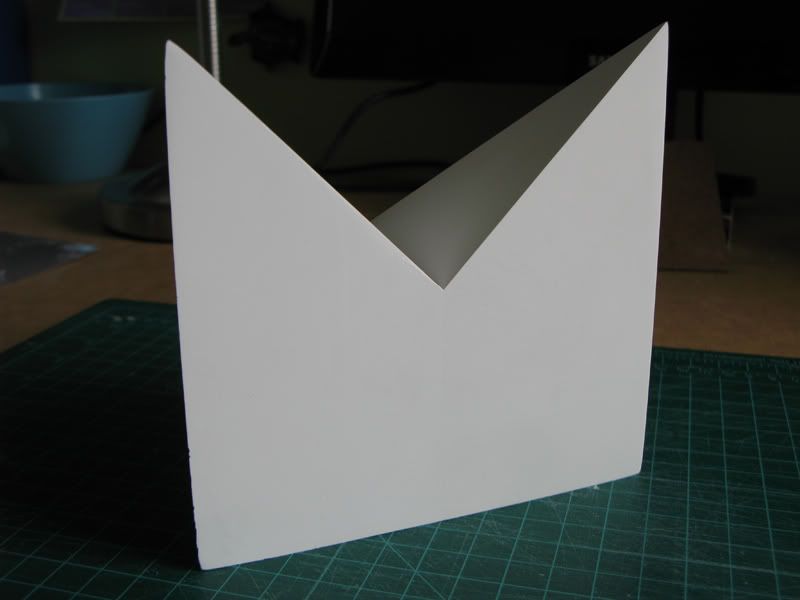
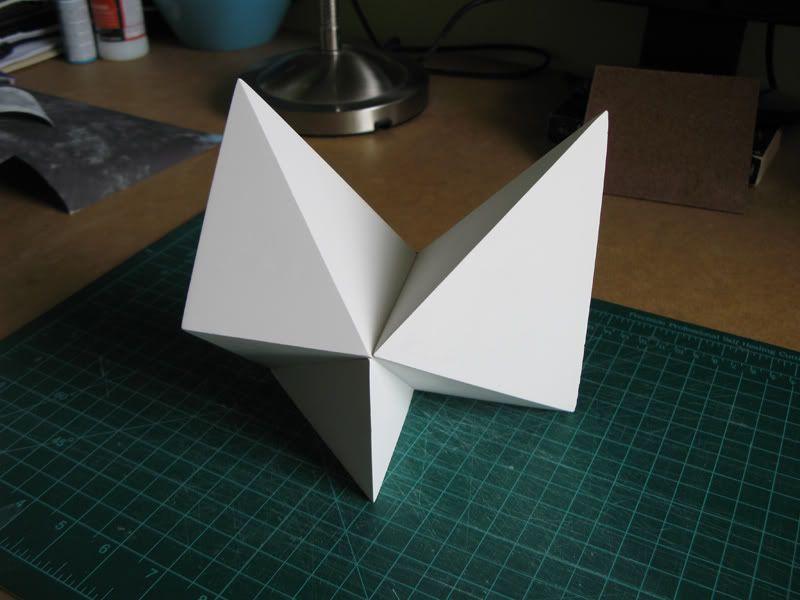
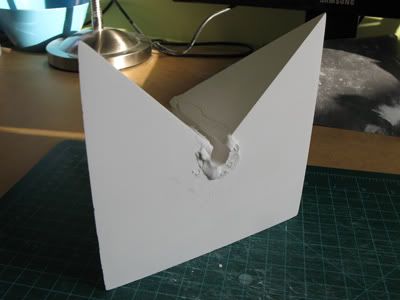
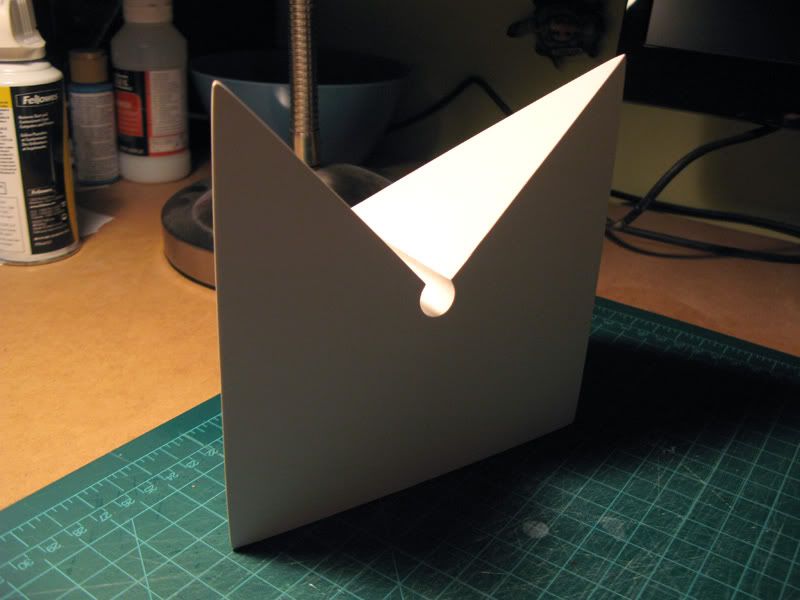
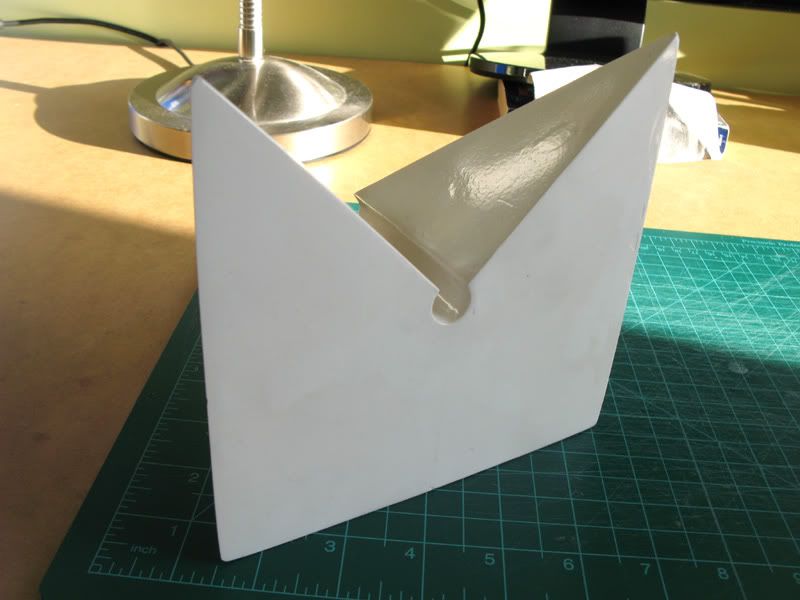
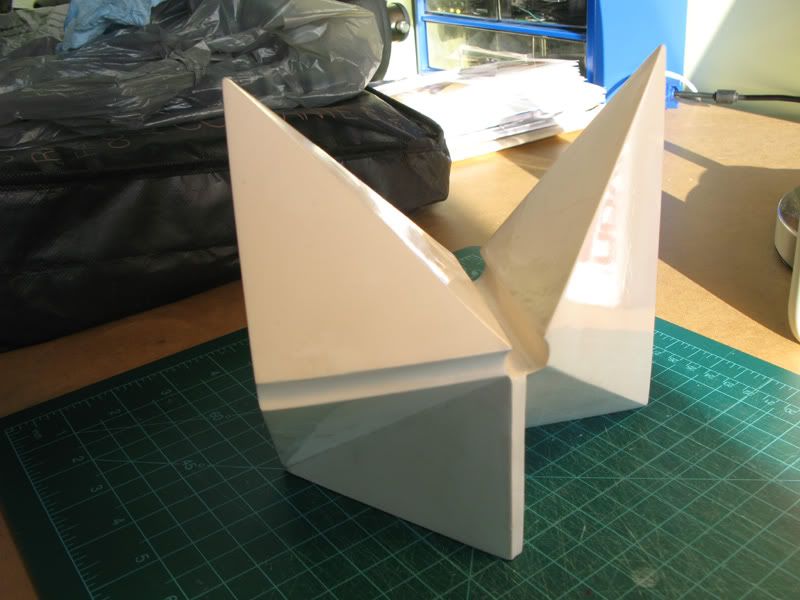
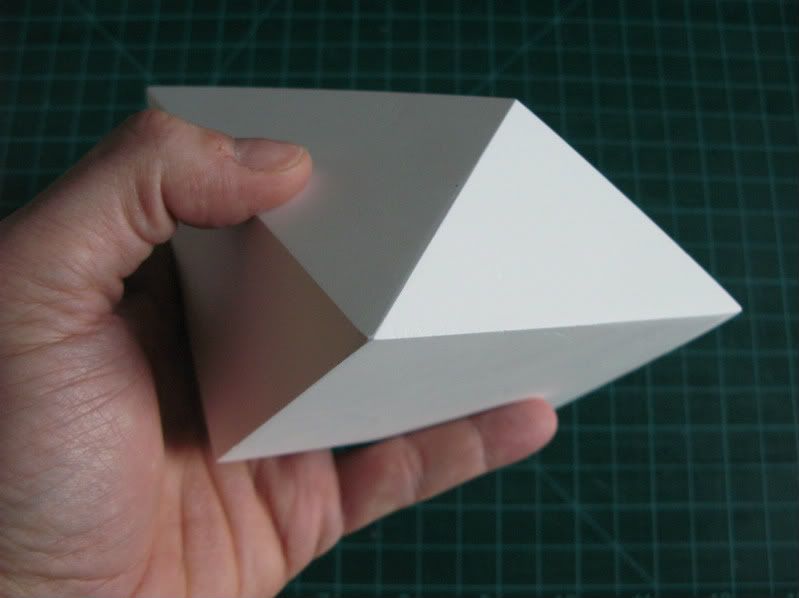
A quick paper mock-up of one of the segments just to be sure:
Looks right to me! Now, on to the actual molding...
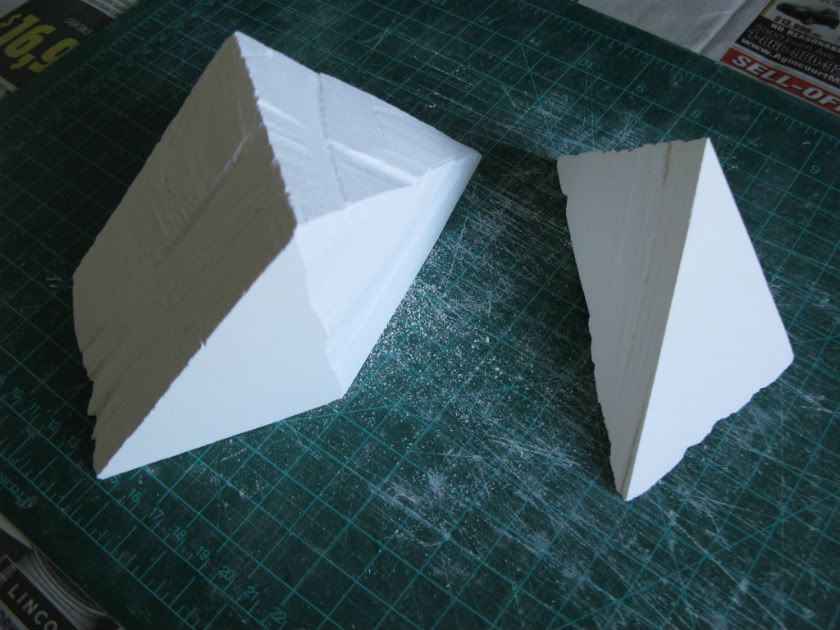
I spent some time thinking about how to do this in plaster. One of my concerns was how to accurately cut and sand the inner sides of a segment. For example, in the image above you can see the top of the segment has an acute angle, which is going to be difficult to cut and even more difficult to sand and polish.
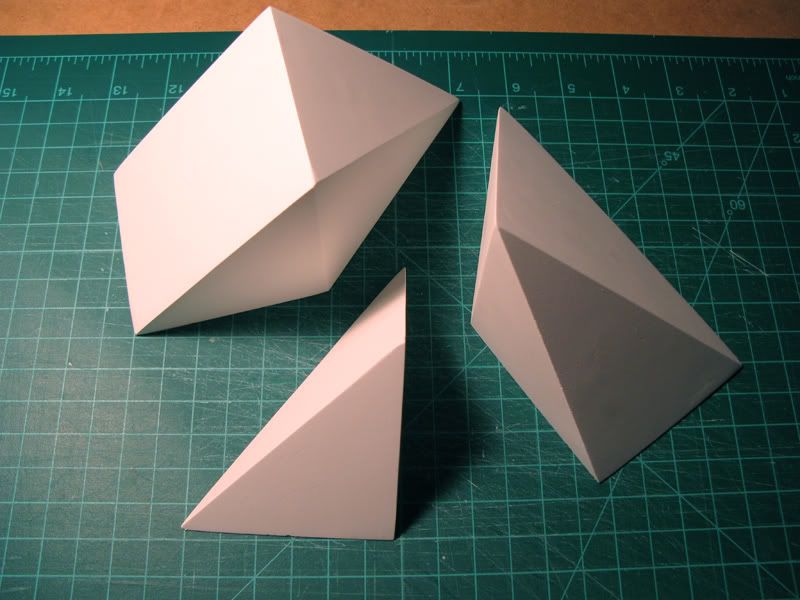
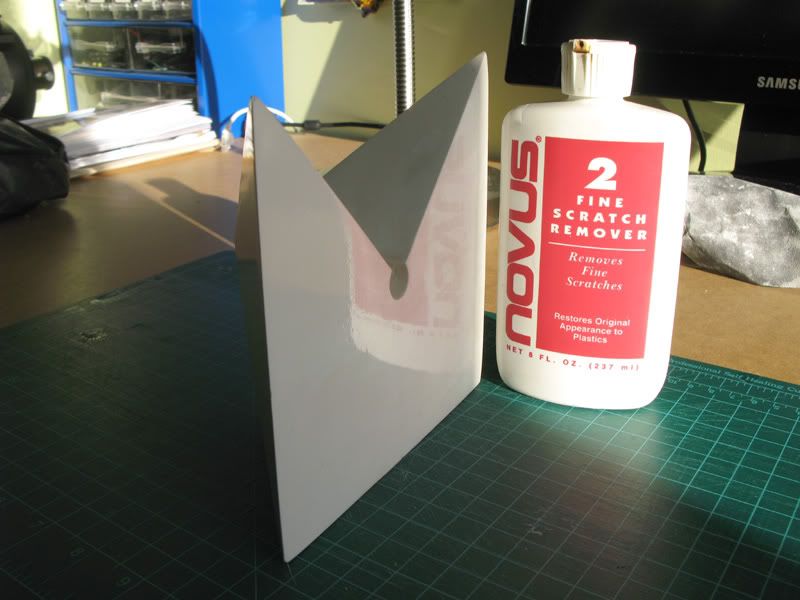
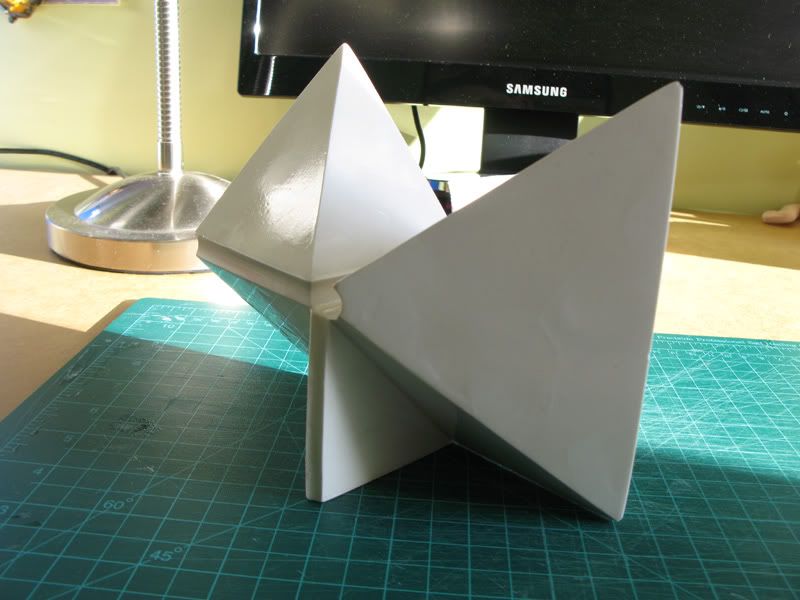
I realized that all the Key to Time segments could be further subdivided into pieces with no acute angles. In other words, each of these sub-pieces would be a geometric shape in which each side could be polished against a large flat surface without fear of damaging the adjacent sides. These piece could then be glued together (and adjoining sides sanded) so that they appear as one solid piece.
I took the original paper cut-out plans for Segment #1, and modified it to make the necessary sub-pieces. I also figured I'd throw in the lengths of the sides and angles while I was at it:
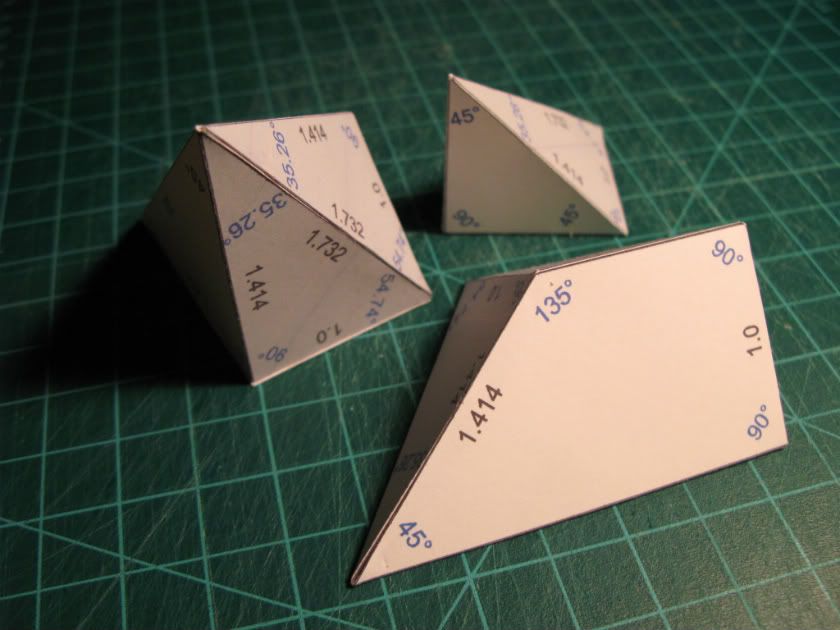
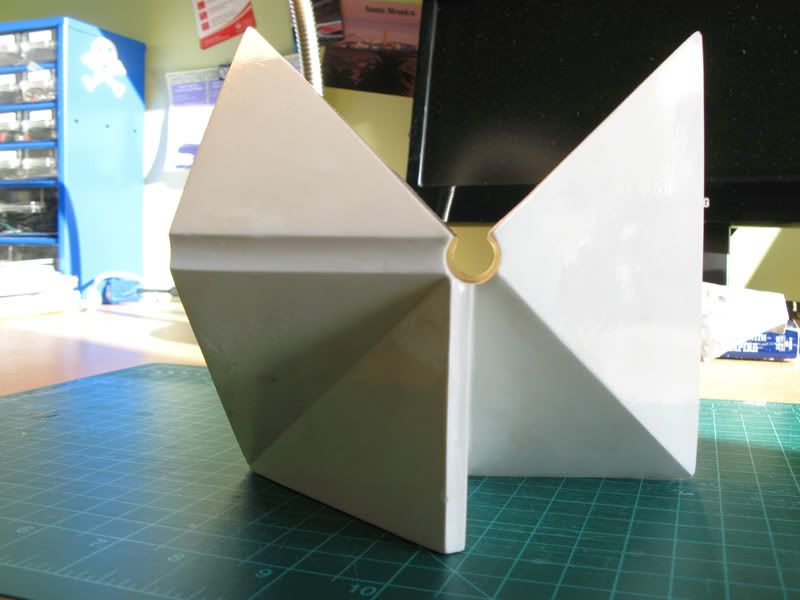
It may be hard to tell, but those three pieces actually fit together to form the first segment. (FYI, if anyone's interested I can provide the PDF for this.)
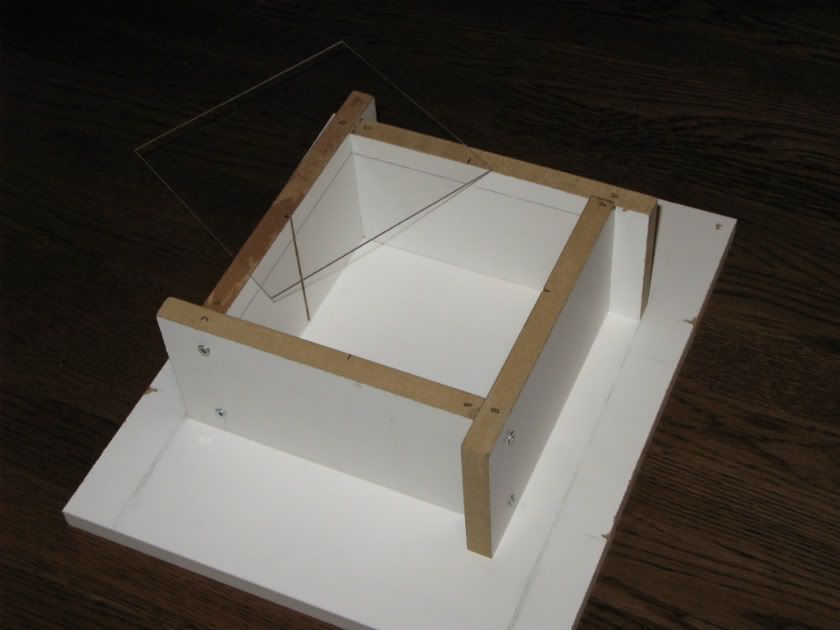
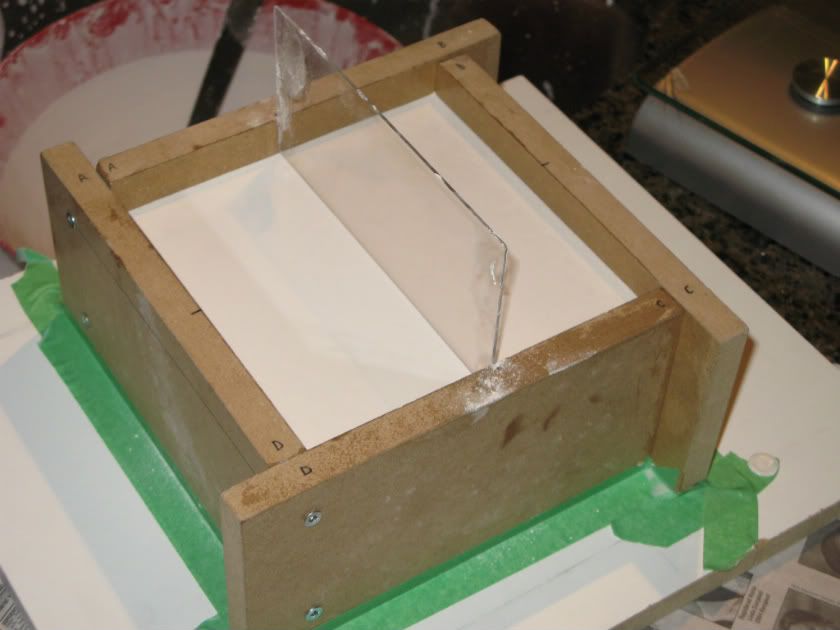
The next step is coming up with a mold for my plaster...
One of the first things I needed to do was determine the size of the Key To Time. The consensus seemed to be that it was a 6" cube, although there was some opinions that it could be larger.
So I made two cardboard boxes, one 6" and one 7", and took photographs of myself to compare to screen captures:
Seems pretty clear to me that the cube size is 6".
A quick paper mock-up of one of the segments just to be sure:
Looks right to me! Now, on to the actual molding...
I spent some time thinking about how to do this in plaster. One of my concerns was how to accurately cut and sand the inner sides of a segment. For example, in the image above you can see the top of the segment has an acute angle, which is going to be difficult to cut and even more difficult to sand and polish.
I realized that all the Key to Time segments could be further subdivided into pieces with no acute angles. In other words, each of these sub-pieces would be a geometric shape in which each side could be polished against a large flat surface without fear of damaging the adjacent sides. These piece could then be glued together (and adjoining sides sanded) so that they appear as one solid piece.
I took the original paper cut-out plans for Segment #1, and modified it to make the necessary sub-pieces. I also figured I'd throw in the lengths of the sides and angles while I was at it:
It may be hard to tell, but those three pieces actually fit together to form the first segment. (FYI, if anyone's interested I can provide the PDF for this.)
The next step is coming up with a mold for my plaster...
")