Daft Punk Helmets - WIP

Anyone know how long i should expect the clay to take to be ready to work on? and do i need to be concerned about cracking? i put it in a closed dark / cool pantry so that it wouldnt dry out too fast.

Mine only took about a day to dry, but I'd say that it was only .25" thick at its thickest. It cracked fairly significantly, but I didn't take any precautions against that.
 
Mine only took about a day to dry, but I'd say that it was only .25" thick at its thickest. It cracked fairly significantly, but I didn't take any precautions against that.


i came in this morning to find mine has begun cracking :-(

2010-04-28%2008.32.33.jpg


2010-04-28%2008.32.47.jpg


2010-04-28%2008.32.58.jpg
 
clay is dry finally! but unfortunately it is cracked as hell. scraped away the edges of the cracks so i can fill them properly. going to try and pick up some bondo after work.

2010-05-03%2011.00.42.jpg


2010-05-03%2011.00.58.jpg
 
Keep plugging away at it. Yea the clay will dry at a different rate due to the varying thickness and crack. Just refill and move on. Are you in SoCal? The landscape looks familiar. You could have used an oil based clay that doesnt dry. Then thinly coat it with fiberglass resin. Carefully pull out the Foam-clay base, then reinforce from the inside with fiberglass.
 
Did you consider using a spackling compound for your build up rather than the clay? I've found unless you're trying to build up thick details it works great with the urathane foam carve a helmet process.
 
so today was day 1 of the bondo chronicles. it was a day full of fumes, dust, messy blobs on expensive flooring, and lots of time with the orbital sander.


i think i have a lot of work to go, but i'm pleased with how things are coming along. here's a summary of today's work, in order.


2010-05-05%2010.03.14.jpg


2010-05-05%2013.57.51.jpg


the fumes were driving me crazy, so i whipped out my trusty mask. good for blistering agents, sarin, nerve gas, nuclear particles, and.....bondo fumes and bondo dust.
2010-05-05%2010.06.01.jpg
 
one nice thing is the bondo is a great deal stronger than the clay, i'm pretty sure all areas with bondo on them will survive even a fall off the table!

next step is going to be refining the visor area shape, and then getting going on the ear pucks. once ear pucks are done, time to build up the raised hoops and the rest of the frame details.
 
i haven't forgotten about this thread, and i promise to make progress and update once finals are over in a couple days.
 
Pretty awesome - I recently started my own replica build (Build Blog for the whole build). I'm using similar processes as Volpin, with some minor differences here and there. Have you made any progress on your helmet since may?

I have a slightly different design and spent more time on the clay stage and less with the Bondo. We'll see how things turn out. I'd love to get theRFP community involved for feedback - I saw how much you helped Volpin.

I'll start a thread here and I would love if people visited the helmet blog and left feedback!

(Early test fit:)

dph.png
 
wow! long delay. partly because i had a falling out with my dad when the master was sitting at his house and so it took several months before i was able to get it returned to me. and of course life happens.

made some time and progress on it though!

IMG_20101120_141041.jpg


IMG_20101120_141054.jpg


cut out pieces of card stock for reference to see if i'm still doing everything right. trying to track down some apoxie sculpt so i can start building up the frame hoops. next thing though will be cutting out the ear areas and attaching ear pucks (which also still need to be made).
 
working on the helmet light animation code! colors are wrong obviously, but this is code that will be used for the rainbow side bar lights. its set up so i can have a knob to select the animation pattern, and select the pattern speed. video just shows 2 patterns being cycled at different speeds.

YouTube - led pattern test
 
been working on the electronics side some more - did the detailed board on the "cheeks" of hte helmet. 52 LEDs in all - the two rows of 8 white leds on top, and the graphic eq of rectangular leds below.

dzyy9y.png


also working on the control side. going to use 8 bit shift registers to switch npn transistors. planning on using an arduino to run the shift registers, but might get ambitious and do something a little more *special* for the brains.
 
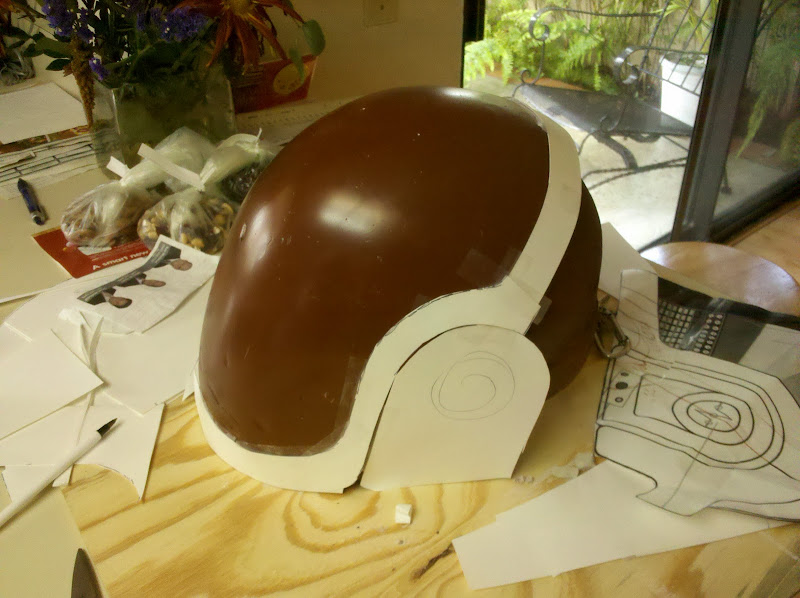
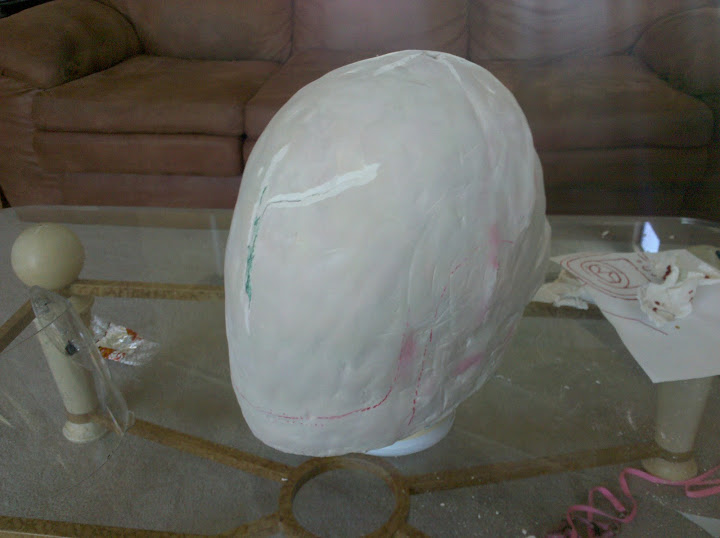
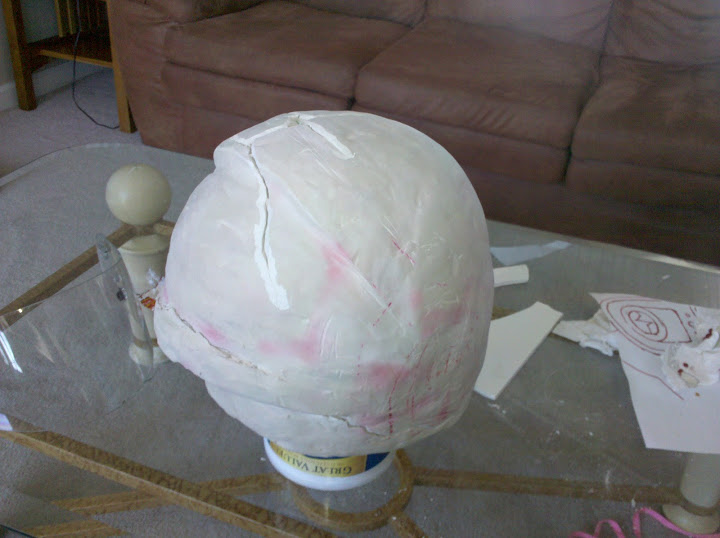
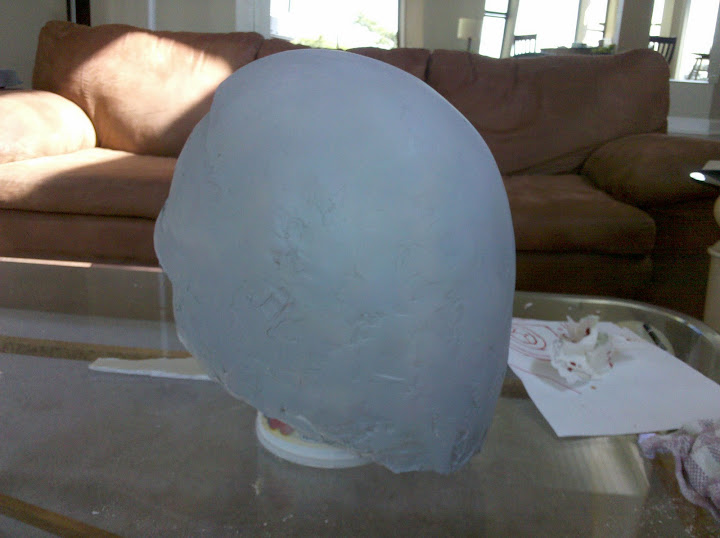
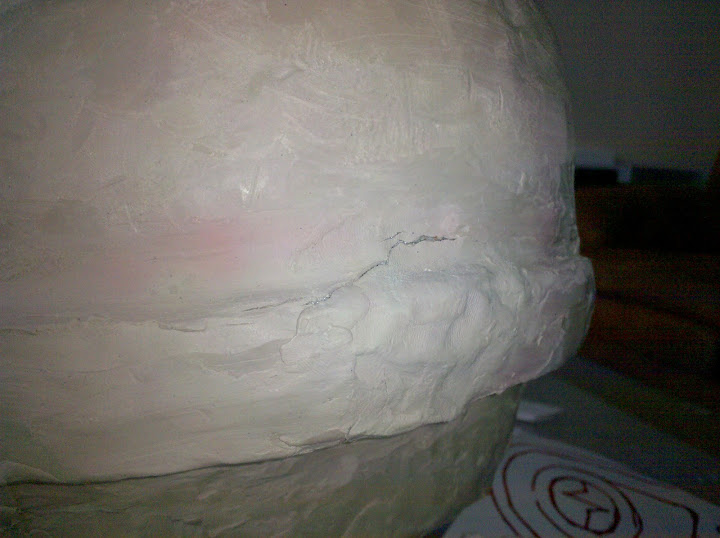
currently finishing evening out some oddities and flat spots that were bugging me. it looks rough, but most of that is due to the various layers that are showing. volpin reminded me that a sanding block would be helpful - boy was he right! switching from hand only to using a block made a world of difference. i had been chasing a bunch of flat spots and bumps for EVER.


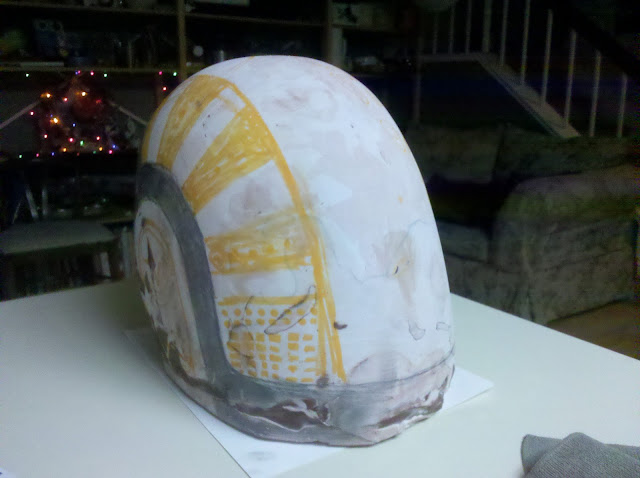
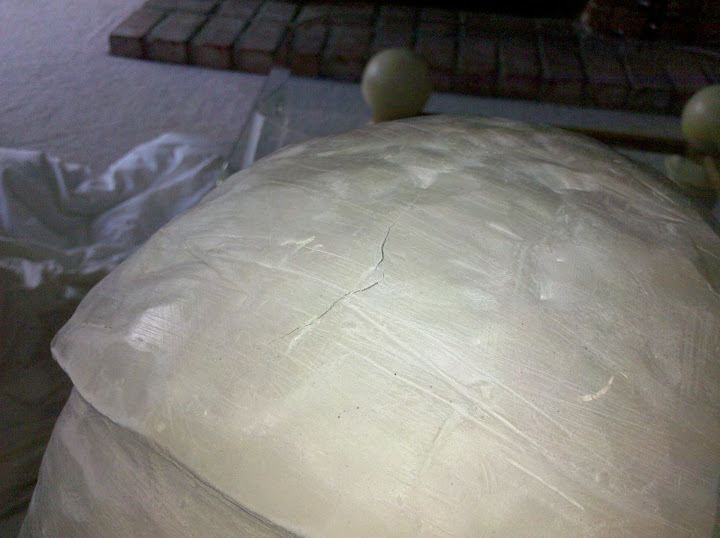
and yes i did draw on it, i couldnt resist.

IMG_20101204_064241.jpg


IMG_20101204_064142.jpg


4lbs of apoxie sculpt arrived yesterday for building up the hoops/frame. i messed with a test blob, very generous working time! this stuff is nice and stiff for many hours, i should have no trouble getting good defined shapes on the frame parts.

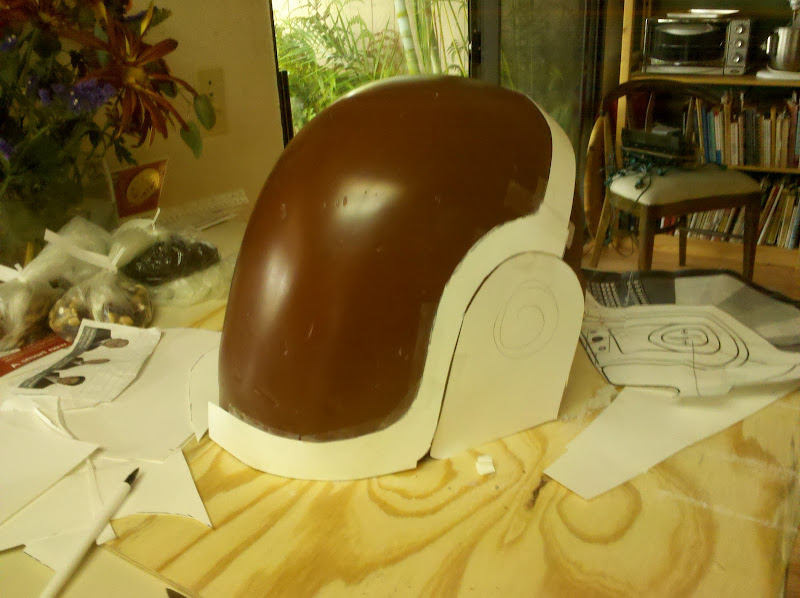
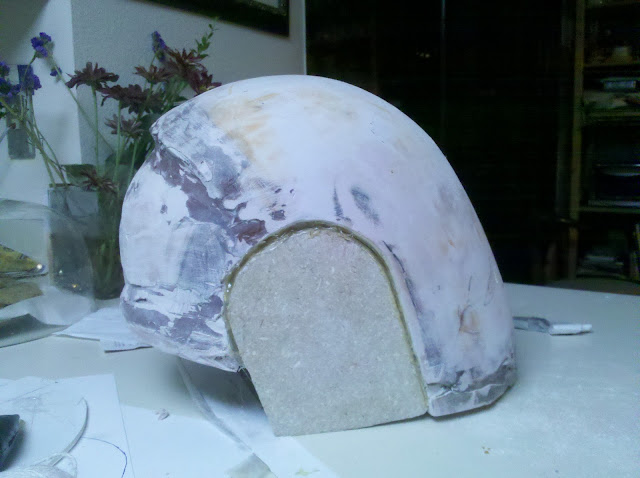
going to cut out the ear sections from the main form today, and hopefully get going on making the mdf ear pucks.

on the electronics side: waiting for chips to arrive. going to test out texas instruments' led driver chips - TLC5940 (16 channels, 4096 brightness levels per channel, serial data input) and TPIC6B595N (8 channels, high power driver). i've got working code to directly drive the rainbow bars, but having PWM means i can get creative with fading.

gutted an old laptop i had laying around, and found a very neat little fan. thinking about ways to use it (or something similar) to push air around both for comfort and to avoid fogging the massive visor up.

my current lighting scheme in my head is thus: the rainbow bars will each be on their own PWM channels (16 total) so i can do crazy things. the 2 rows of 5mm leds at the top of the cheeks will most likely share channels (each side doing the same thing), and will not be PWM - these generally just scroll / crawl anyway.

the graphic eq displays (lower cheeks) are something that i'm very excited about. i looked and looked, it appears the discovery era helmet had rectangular leds here, and i tracked some down online. these will most likely run on their own processor (arduino). sparkfun has a chip that accepts an audio input and splits it into 7 channels - each with its voltage varying corresponding to the amplitude of its frequency. i can feed these 7 voltage signals to an arduino's analog inputs, and have it mash them out into my display. DJing is a hobby of mine, so this will be a really cool feature. the end result is i should be able to plug a headphone line into the helmet and toggle the cheek displays between patterns, and a graphic EQ display of what i am actually playing. on a related note, i'm trying to think of creative ways i could install headphones into the final helmet - .

i know a major expense on volpin's build was the PCBs. i did a little investigating and i think i may not go that route. the hackerspace i frequent has a CNC mill for making pcbs, and so the only costs would be regular copper clad board, and maybe a bit or two. $2.50 per square inch of pcb sounds cheap, but this project has a lot going on and it would really add up.


looking at my photo collection on this project (a large chunk of which i owe to volpin and arafinwe, thanks!) i'm seeing that i will have ot make a few copies of this for myself and have a little collection! gold frame / black visor / full led display for discovery era, gold frame gold visor for transition era, gold frame black visor no lights for HAA era, and black resin frame black visor with red EL wire for one of the live setup versions. super cool!!! they can all be pulled from my one mold, with the adjustments mainly being color schemes. i'm getting giddy just thinking about it :cool


fun tally of materials used so far:
3 cans expanding insulation foam
1 piece of foam core poster board
1 roll painters tape
1 can krylon primer
10lbs air-dry clay
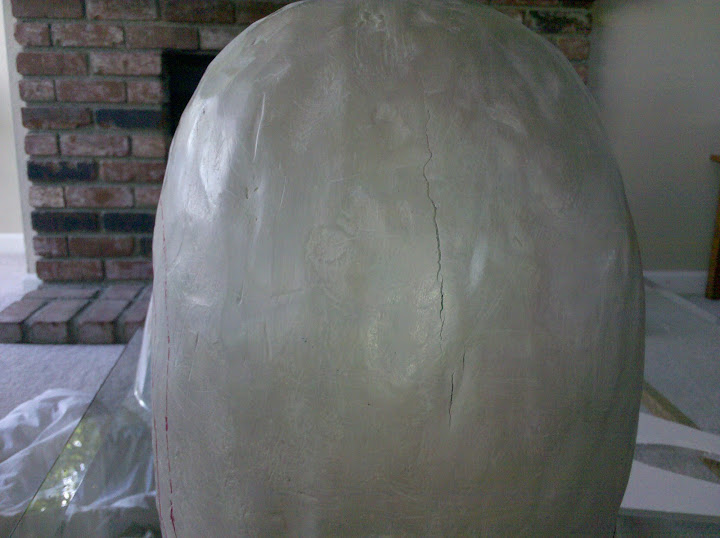
close to 1 gallon of bondo
 
Last edited:
This thread is more than 12 years old.

Your message may be considered spam for the following reasons:

  1. This thread hasn't been active in some time. A new post in this thread might not contribute constructively to this discussion after so long.
If you wish to reply despite these issues, check the box below before replying.
Be aware that malicious compliance may result in more severe penalties.
Back
Top