You are using an out of date browser. It may not display this or other websites correctly.
You should upgrade or use an alternative browser.
You should upgrade or use an alternative browser.
COMPLETE(?) Another Yoda Saber from a Bolsey flash build
- Thread starter NeoRutty
- Start date
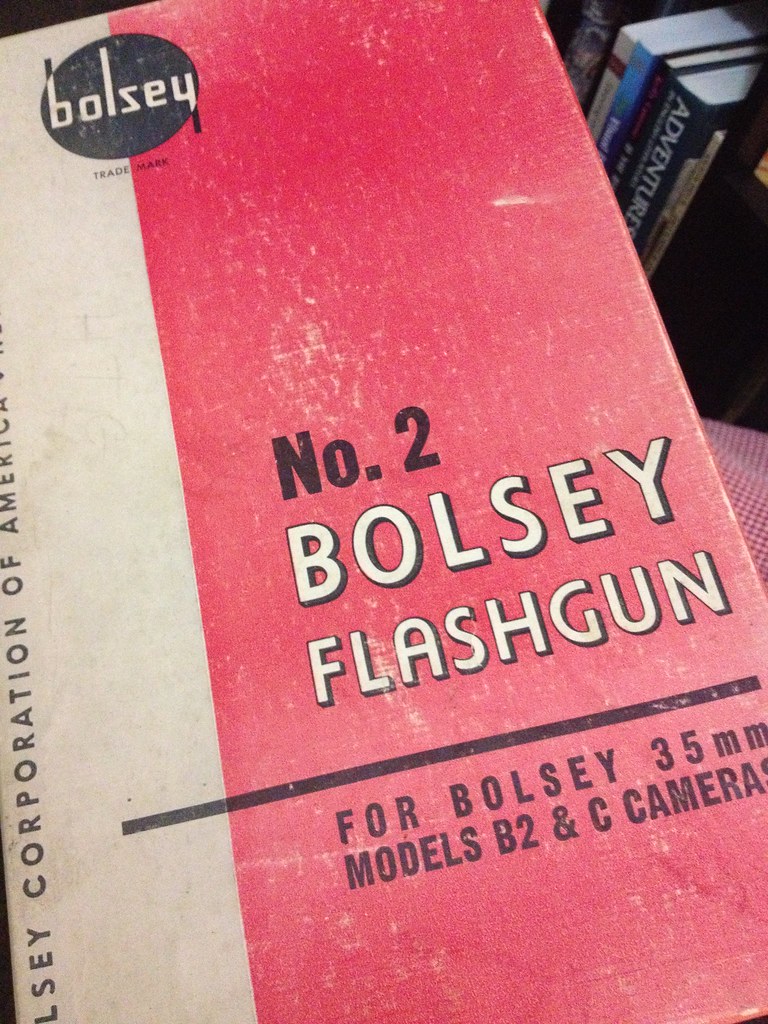
Which Bolsey have u used? I saw a Bolsey Nr. 1, a Nr. 2,.....?
It was a N.2... here's the box:

and these blueprints are pretty handy... though reversed...
http://lightsaber.s17.xrea.com/lightsaber/column/20030226/yoda.jpg
- - - Updated - - -
Great build and GREAT thread! I was searching ebay tonight for a flash, found one, and wondered what it would take to convert it. This thread is EXACTLY what I was looking for. Very nice work! Love the scratch-built oil pan!
Thanks... I was originally going to look for the actual oil pan, but it seems like no one was sure Quite which one, and I wasn't willing to buy a model and have it be way off.
When I do the praco, I'll have to re investigate.
Yup ... congrats on your first finished builds ... good photography too [url]http://i833.photobucket.com/albums/zz258/Sym-Cha/biggrin3_zps14cae5ee.png[/URL]
and yes I have an archive box full of bits and parts as well. Need more
time to finish my Luke's ANH and ESB, Obi-Wan's one original parts and
one cast+replicas ... a Vader ROTJ Graflex and a mix between a Heiland
and MPP replica's ... 1 Praco and another Bolsey 2 . . .
-Chaim
Yeah I'm trying to nail down the original trilogy sabers, and then see what happens with the new movies... Not really that fascinated with the prequels... I guess because they're all machined... I like the found part handles, thus my Yoda exception (And Luke ROTJ, I guess)
All real parts obiwan is something I've considered... but not sure I want to head down that road of broke and frustrated.
Figured I would quickly add to this thread... since I tried out the mukini screw...
This is the one I used: Mikuni N102.221 Main Jet- (SBN) #150 N102.221/150


I tried out a few different screws to get one that matched... and while I never found one EXACT, I did finally get one that looked close enough for this flash.

The thread section was crazy wide, so I had to drill the hole near the top to accommodate, and then epoxy in place.


Does it match the original? Not really...it's obviously a little tall, but everything on this Bolsey is slightly off, so I'm okay with it... it's all slightly off in a good way.
So not exact, but for this flash, good enough! and DONE!
Next I hope to do a Praco version... so we need to find that friggin oil pan!


This is the one I used: Mikuni N102.221 Main Jet- (SBN) #150 N102.221/150
I tried out a few different screws to get one that matched... and while I never found one EXACT, I did finally get one that looked close enough for this flash.
The thread section was crazy wide, so I had to drill the hole near the top to accommodate, and then epoxy in place.
Does it match the original? Not really...it's obviously a little tall, but everything on this Bolsey is slightly off, so I'm okay with it... it's all slightly off in a good way.
So not exact, but for this flash, good enough! and DONE!
Next I hope to do a Praco version... so we need to find that friggin oil pan!
Last edited by a moderator:
One day I hope to have the machinery for small jobs as such, but for now, I'm fine with it as is.
Everything is a little bit off on that saber, right down to my custom pen-lid oil pan and textured grips... It makes it a bit unique, while keeping pretty close to the design.
If I find a Praco, I will absolutely be nitpicky...
Everything is a little bit off on that saber, right down to my custom pen-lid oil pan and textured grips... It makes it a bit unique, while keeping pretty close to the design.
If I find a Praco, I will absolutely be nitpicky...
amazing job! thanks for a great walk through of converting a bosley 2, into a praco. i think a machine shop can easily knurl the end cap for you if you wanted. how much does a praco go for normally when found?
Thanks, it's a neat saber... I'm sure it could be done more accurately...One showed up on ebay a couple months ago and went for about 20. I almost grabbed to take another stab... but decided to hold out and hunt down a praco one day.
Did anyone ever find out what exactly the PEM nut is? I am having a hard time finding where this is mentioned in all of my Yoda threads...
View attachment 561560
I have the number written down somewhere, although that number may be incorrect. One member here ordered several of that part number and once having them in hand they did not seem to match physically. I ordered a 10 pack of a similar PEM nut, which has a trunk that is a bit taller than needed, but the other features seem pretty accurate. I'll try to scrounge up the number though on the supposedly correct PEM nut.
Andy, thanks again for the greeblies. I have yet to get that to stay on the tube, glue problems as usual :lol my grips are a little messy.
The brass screw looks fantastic too, I was surprised at how thick the threading was.
Thanks, Tom. No problem... and not to derail this thread, but I read on FB about your good deed. You're awesome, man. AWESOME!
Yeah those jets have super thick threads. Almost to a goofy-looking extent. I haven't attempted to attach mine yet, as I'm still contemplating the best/safest/sturdiest way to attach it. I I do have a few left for the emitter shroud replacement/cover screw, if anyone is looking.
And my grips I think are going to be attached with really thin 3M double sided tape. I haven't tested that out yet either.
I've been reading this to prep for my Bolsey build. Would be curious to see how people are dealing with those big threads alright.
I take it that super glue doesn't play well with the vintage plastic tube and the grips? Also trying to find the right screw to tie down the emitter.
I take it that super glue doesn't play well with the vintage plastic tube and the grips? Also trying to find the right screw to tie down the emitter.
I've been reading this to prep for my Bolsey build. Would be curious to see how people are dealing with those big threads alright.
I take it that super glue doesn't play well with the vintage plastic tube and the grips? Also trying to find the right screw to tie down the emitter.
The screw I have in the bolsey keeping the shroud on definitely isn't correct, but DID have the thick threading... I just drilled a super wide hole and glued it all in place.
I also have all the parts for a praco build now, right down to the display case on the ED209 original. Just haven't gotten around to putting it all together yet. I feel like I shouldn't be building any more props until I have my basement finished. It's still chaos, and should be a priority.
I have a metric set of drill bits. No clue what they are, but I picked one that is a hair smaller than the threads on the brass screw. I drilled out the screw holes on the metal emitter thing and in the black socket. They're rather large holes, so be careful about placement. Then I force tapped the holes with the screw itself. It won't come back out, so it worked 
I do have a few left for the emitter shroud replacement/cover screw, if anyone is looking.
PM sent about cover screw. Am I missing where the emitter screw was discussed? Is it a re-purposed screw from the flash? Sounds like Panaflex is looking for it as well.
Last edited by a moderator:
PM sent about cover screw. Am I missing where the emitter screw was discussed? Is it a re-purposed screw from the flash? Sounds like @Panaflex is looking for it as well.
When you pull the black band off the top of the flash (Bolsey or Praco) it reveals the emitter... which is screwed on. On the Praco it's a brass slotted, neat looking screw, on the Bolsey it's just a boring normal screw.
I haven't pulled the band off my praco yet, so not 100% positive it will be there... but if it isn't... I will be very annoyed.
phunkymunky
Well-Known Member
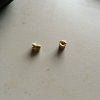
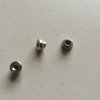
Here are some pics of the Mikuni jets I had milled down to the correct diameter, and the PEM nuts I have:
View attachment 561959View attachment 561958
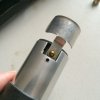
The brass jet goes to either cover or replace this little brass Bolsey screw:
View attachment 561960
Do you have any extra?
Similar threads
- Replies
- 32
- Views
- 1,914
- Replies
- 94
- Views
- 5,853
- Replies
- 20
- Views
- 1,788
- Replies
- 5
- Views
- 712
- Replies
- 8
- Views
- 1,146


