3d-builder
Sr Member
Thanks George!
") cool:thumbsup
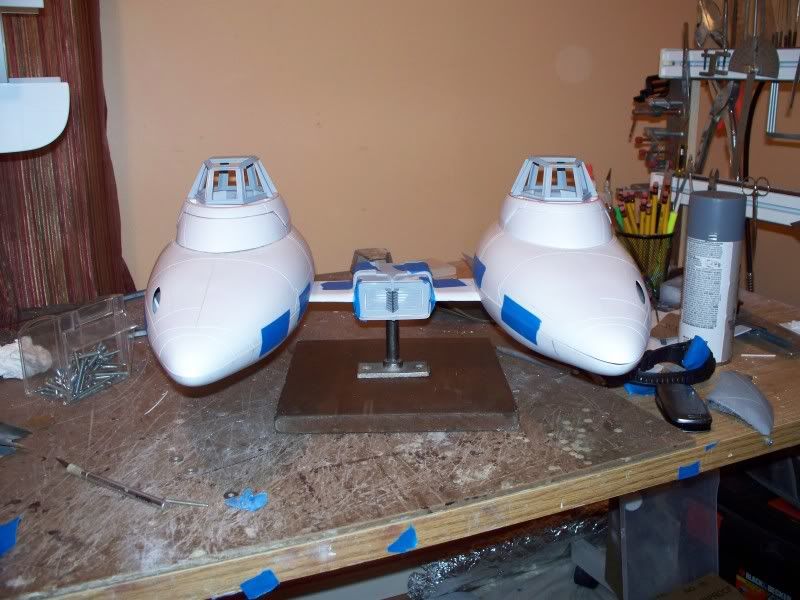
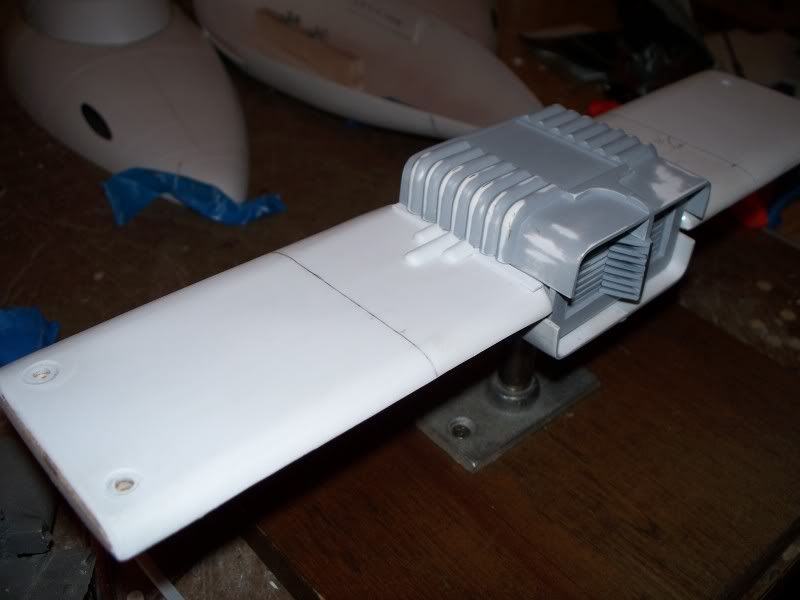
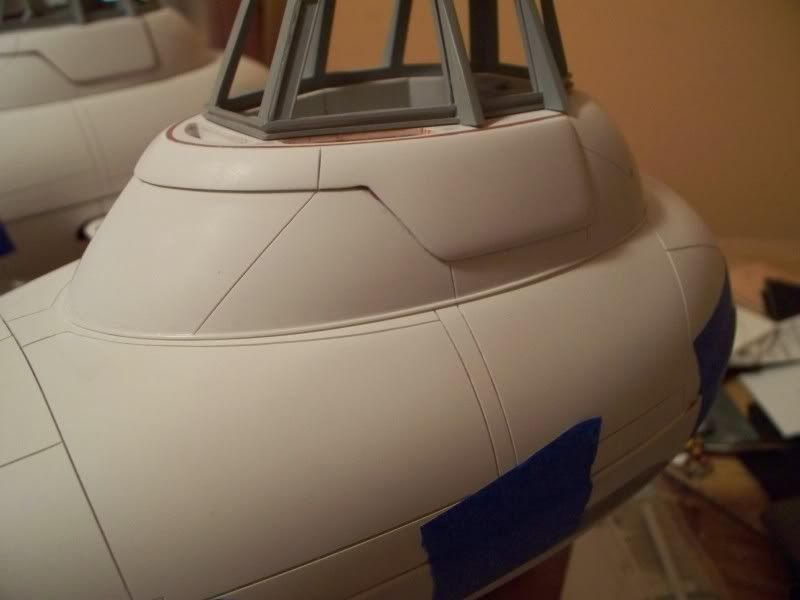
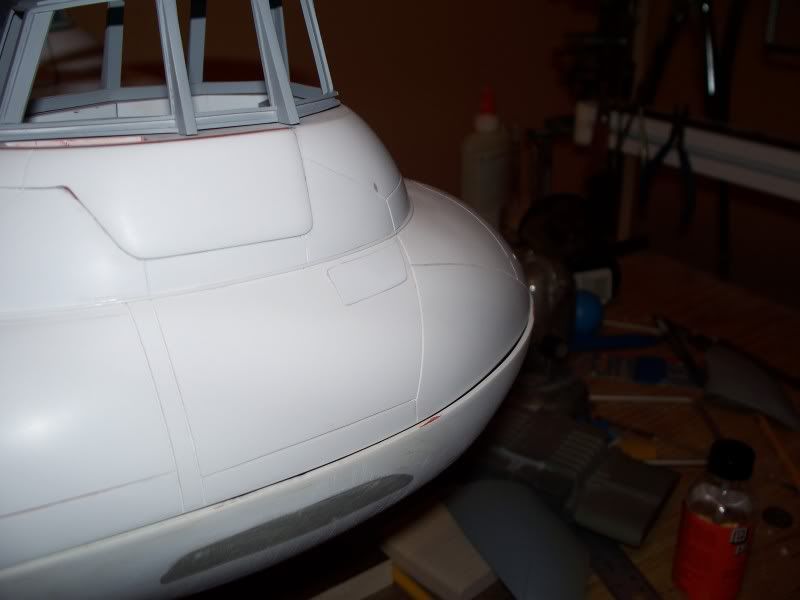
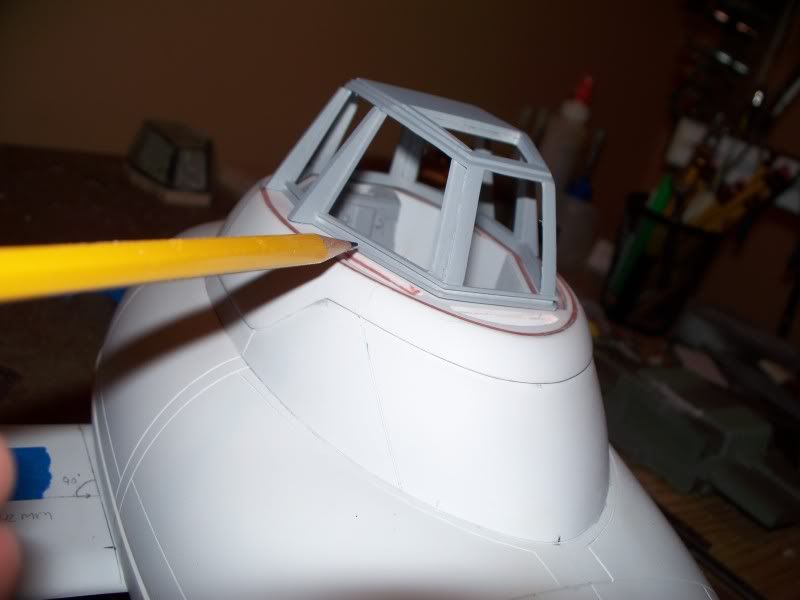
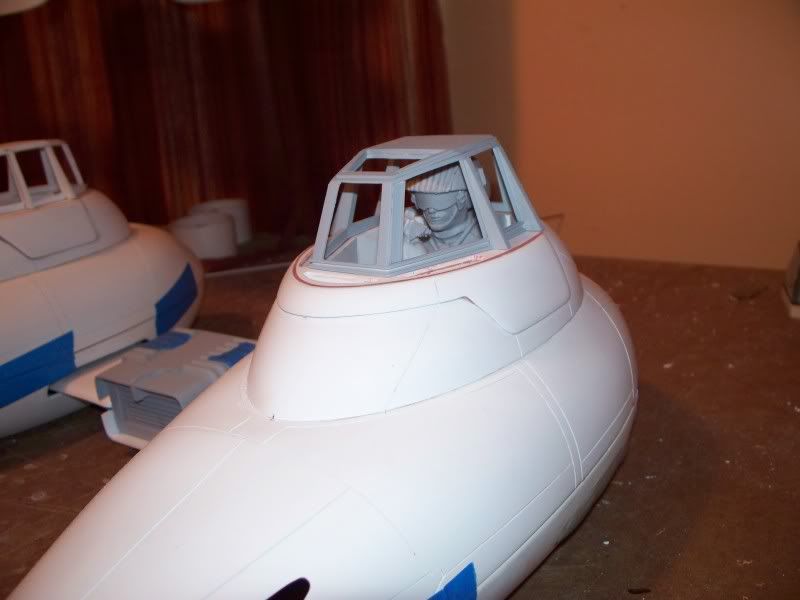
cool:thumbsupLooking great Michael. It's good to see it almost finished.
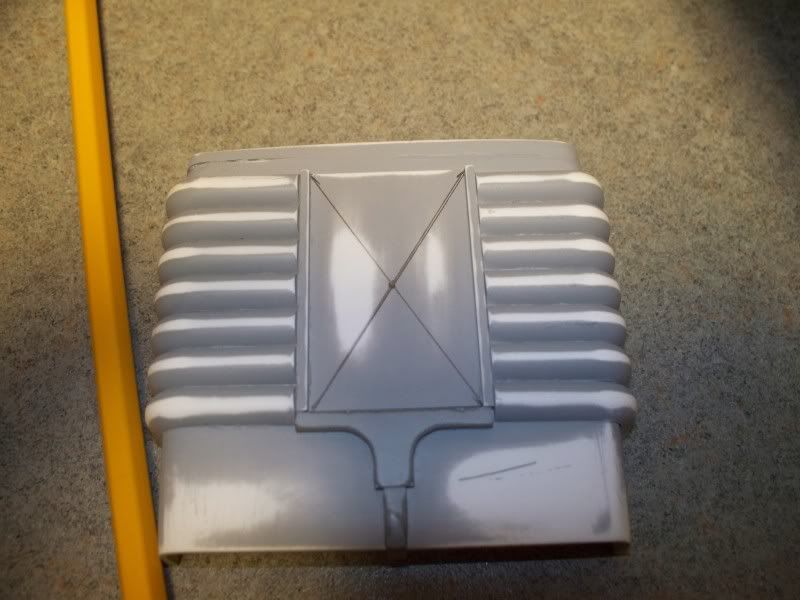
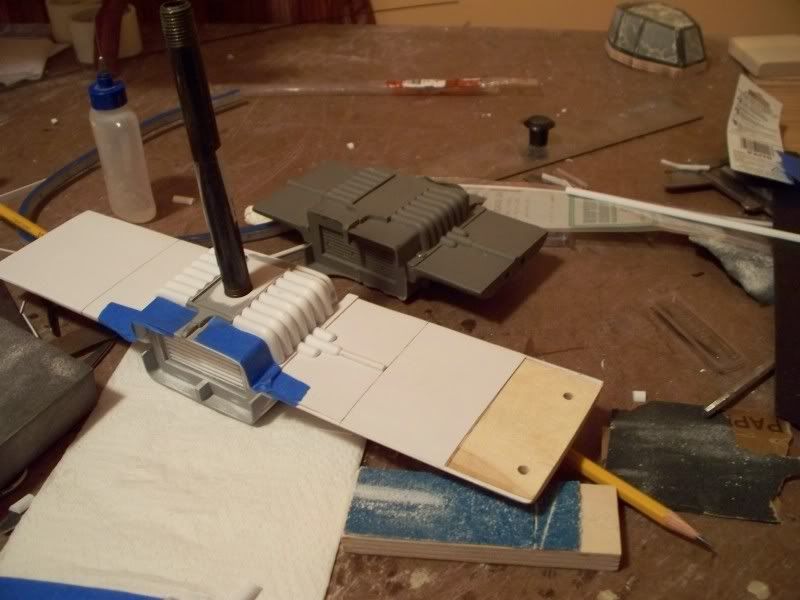
I just have a question about one area of the original (for anyone to answer). I see different versions of the central pole in the engine intake area in these two shots of the studio model. Can anyone make sense of why one has the 'radiator' horizontal pieces forming a triangular section where it meets the pole, and in the other, there seems to be just the pole? Maybe that triangular section piece went missing at one point?
I'm curious to see what you or others think of the discrepancy. I'd like to sort it out for the build I'll eventually do.
Attached are the two pics
Oh well...just noticed after attaching that the pics are a bit small and it's hard to see what I meant. Let me know if I should post detail shots...
thumbsdown To be honest I like it better with out all the triangles.......well I am lazy to so this helps!:lol

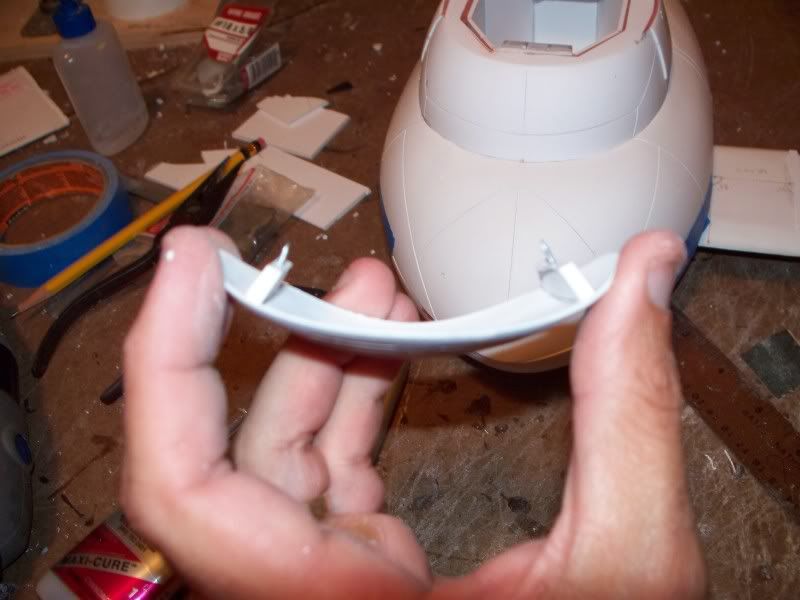
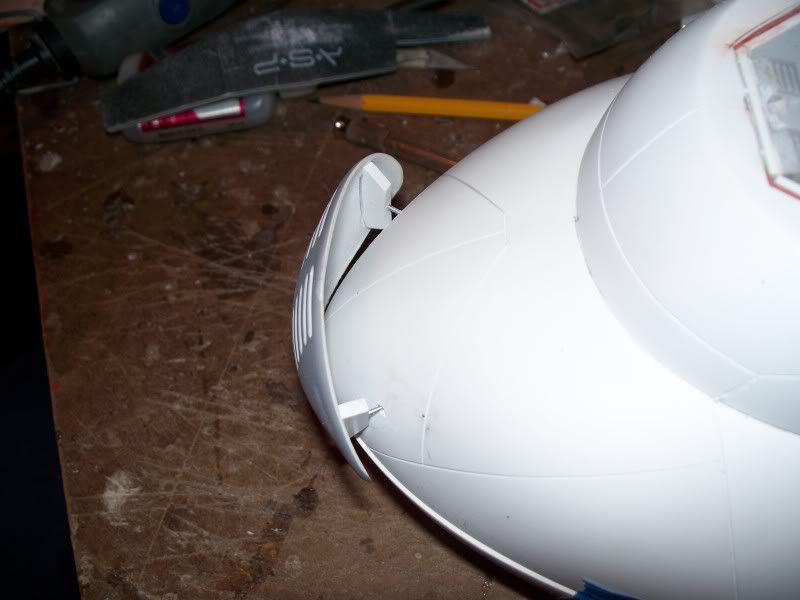

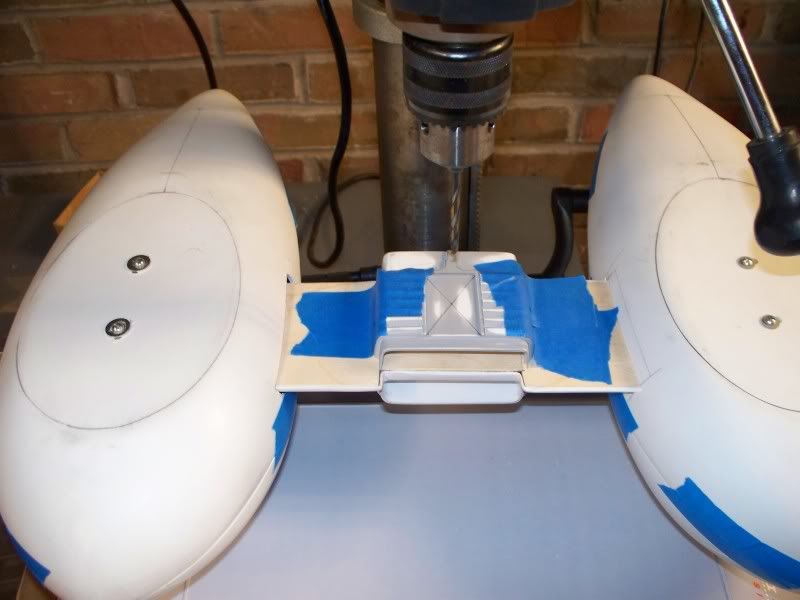
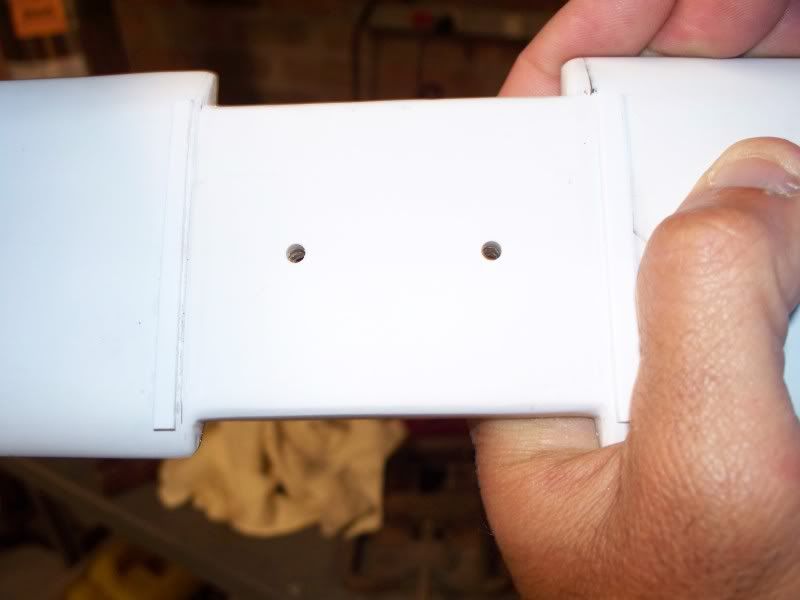
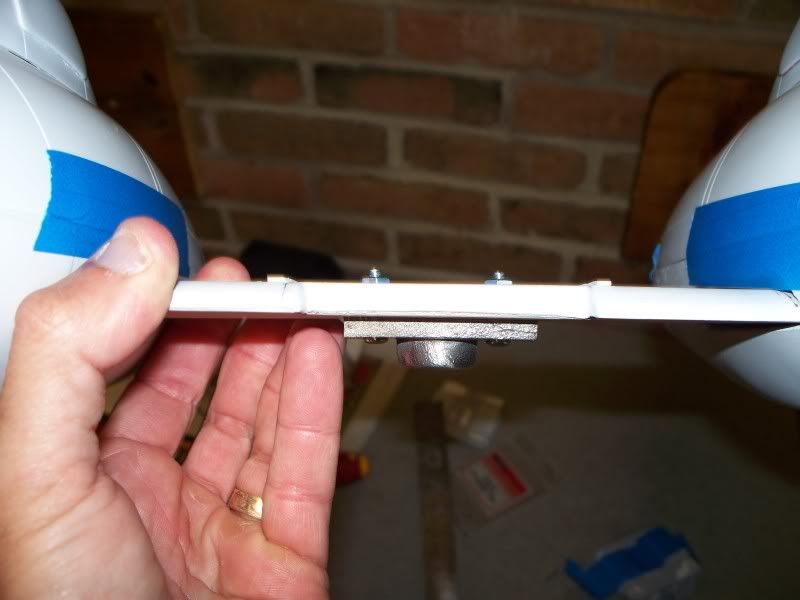
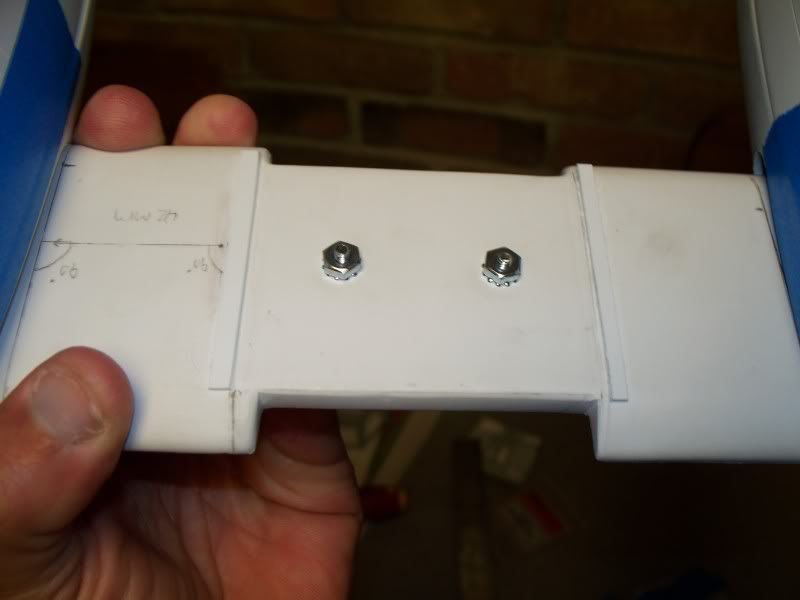
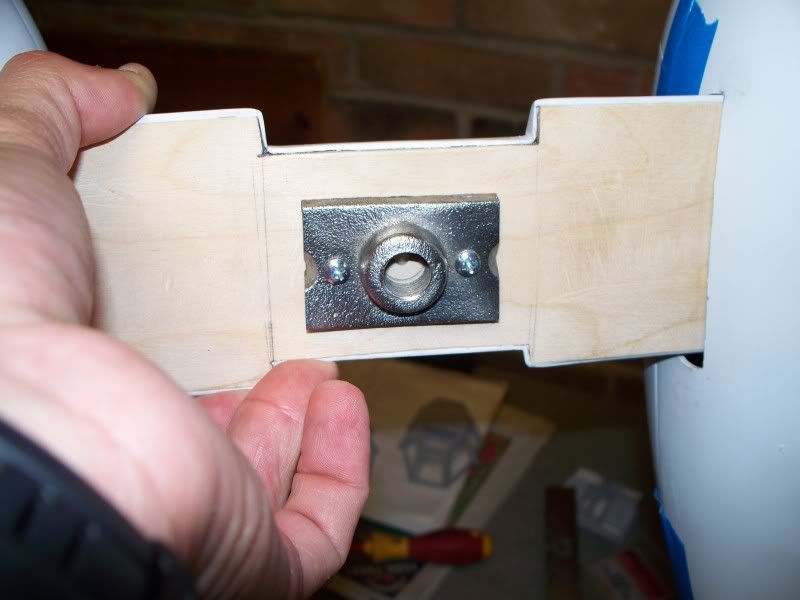
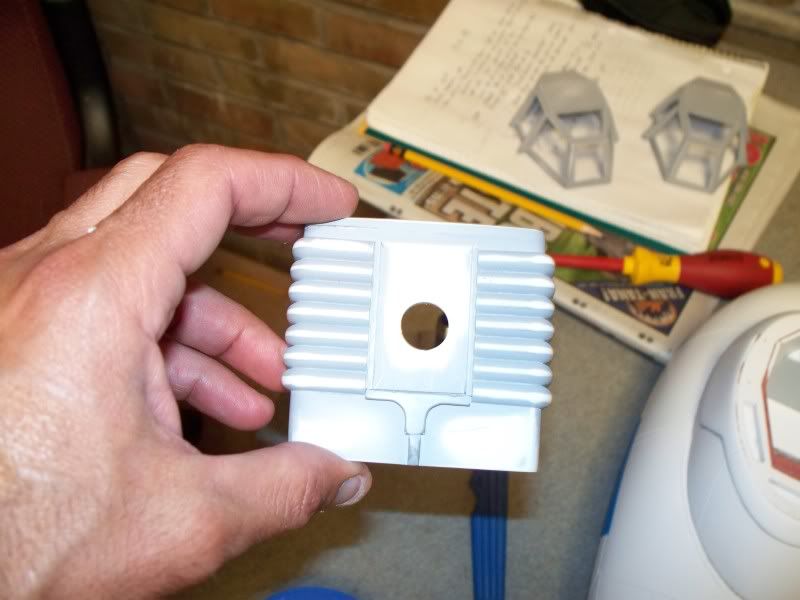
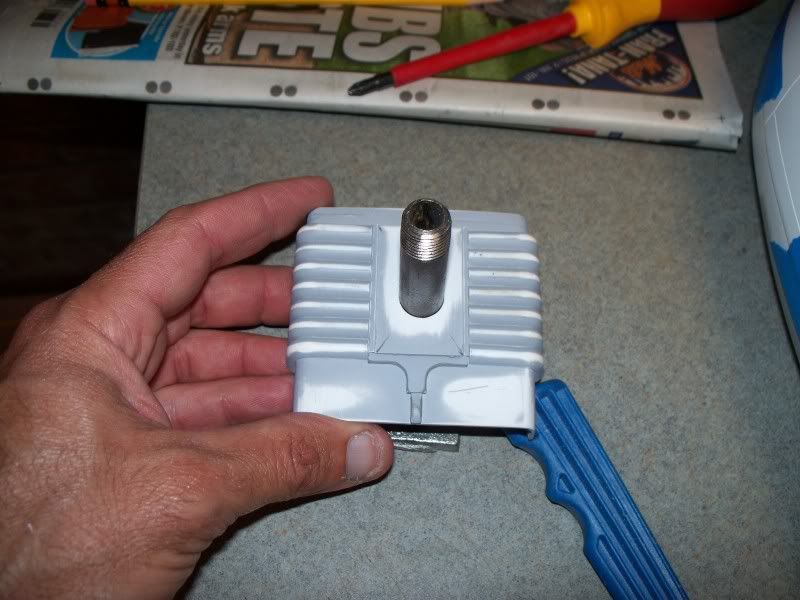
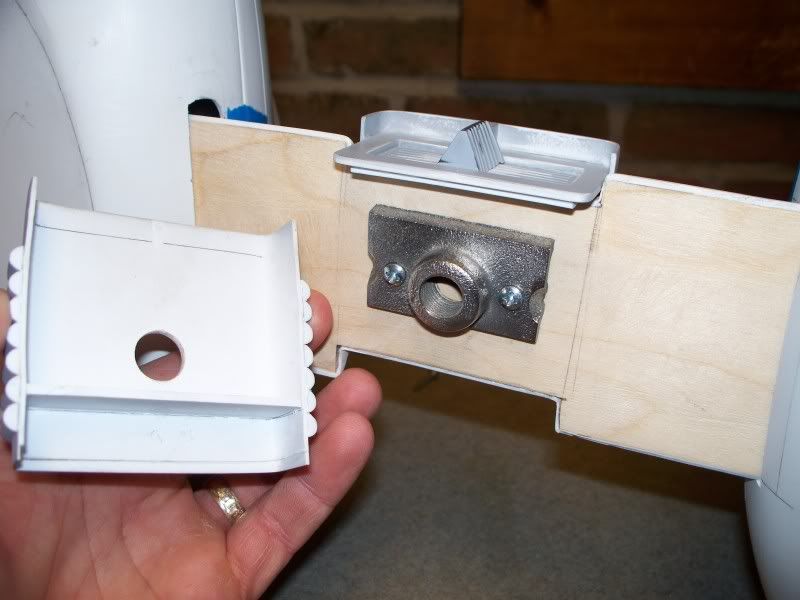
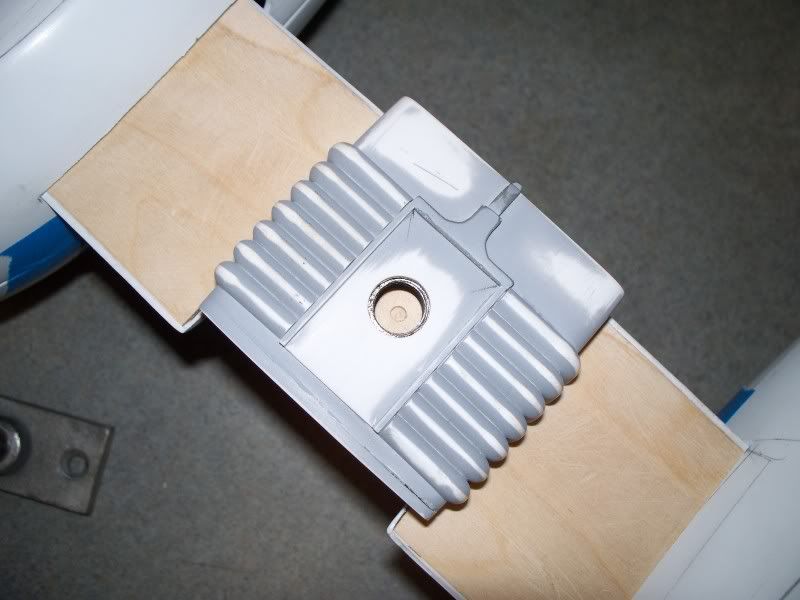
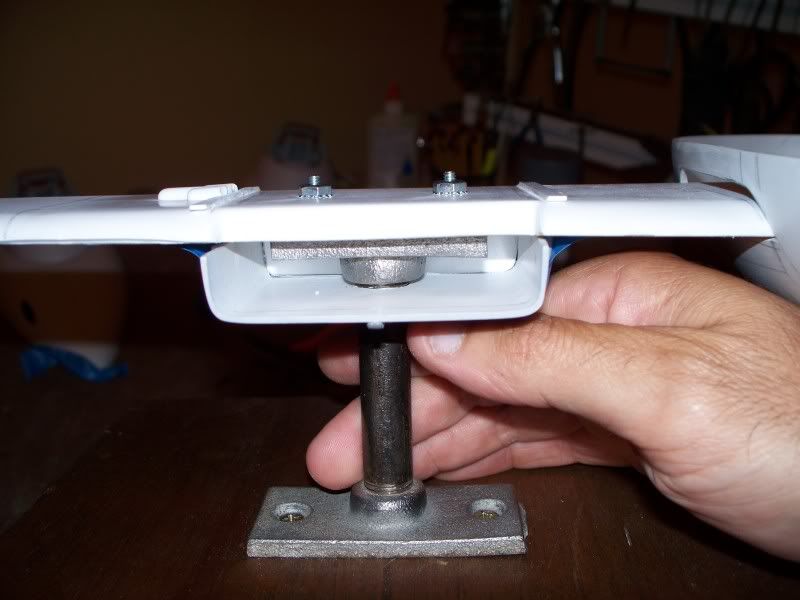
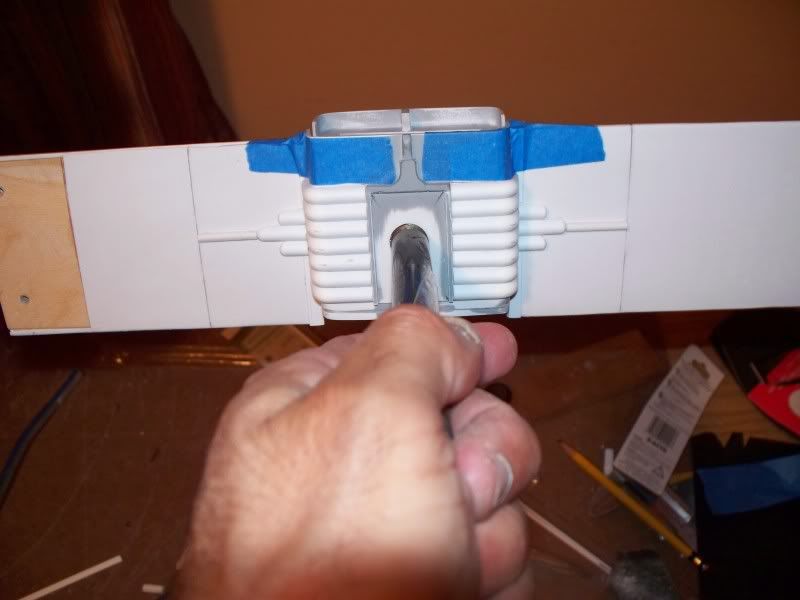
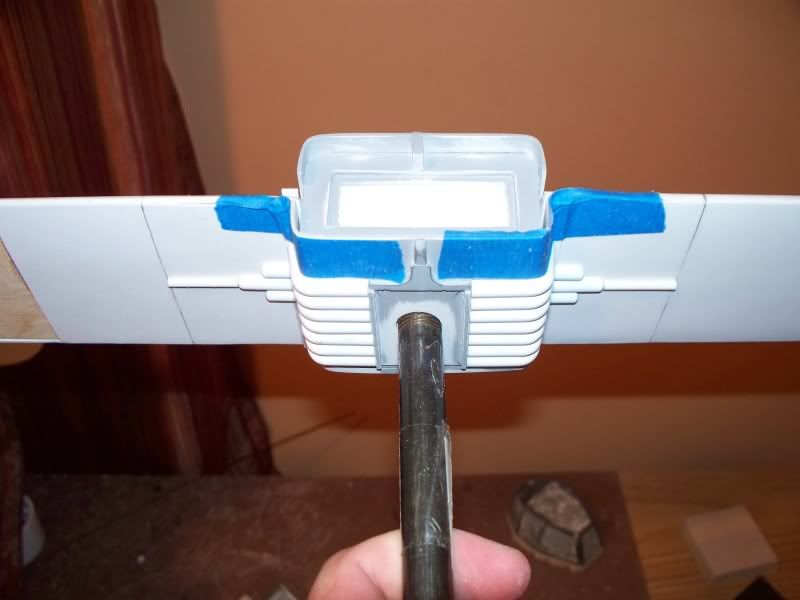
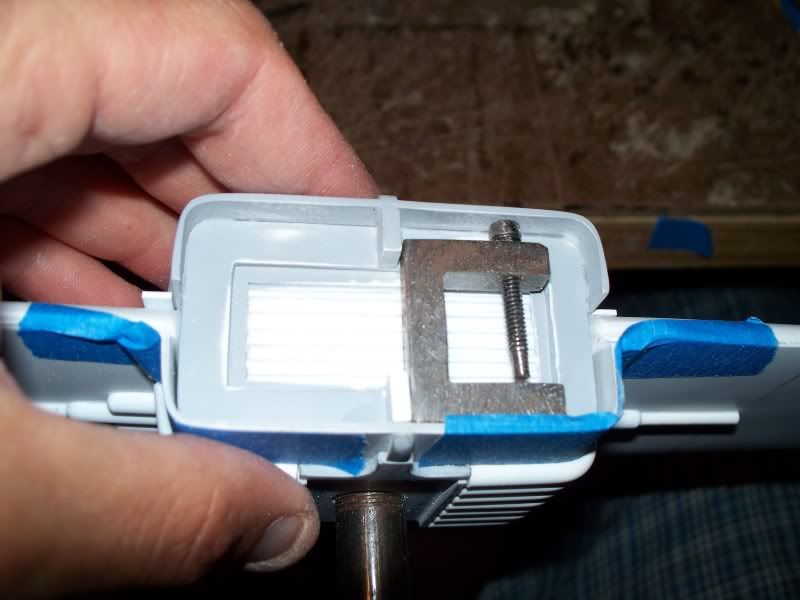
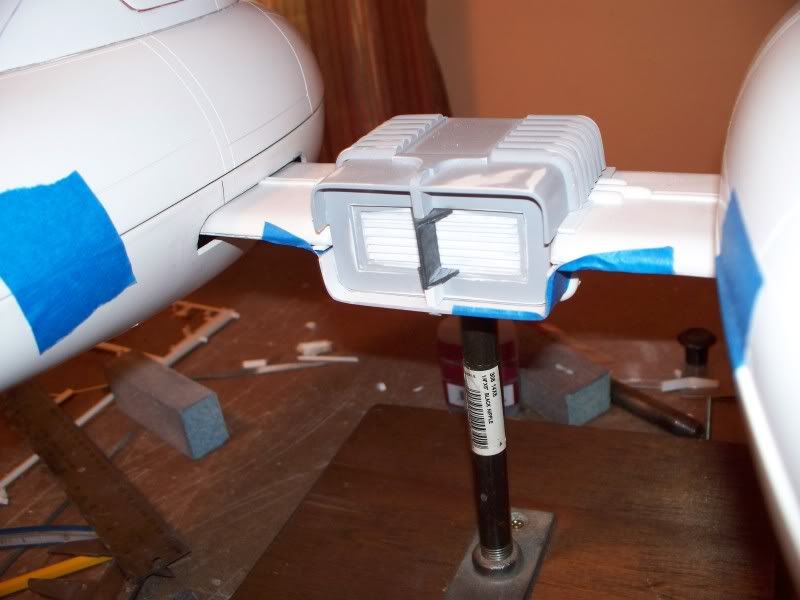
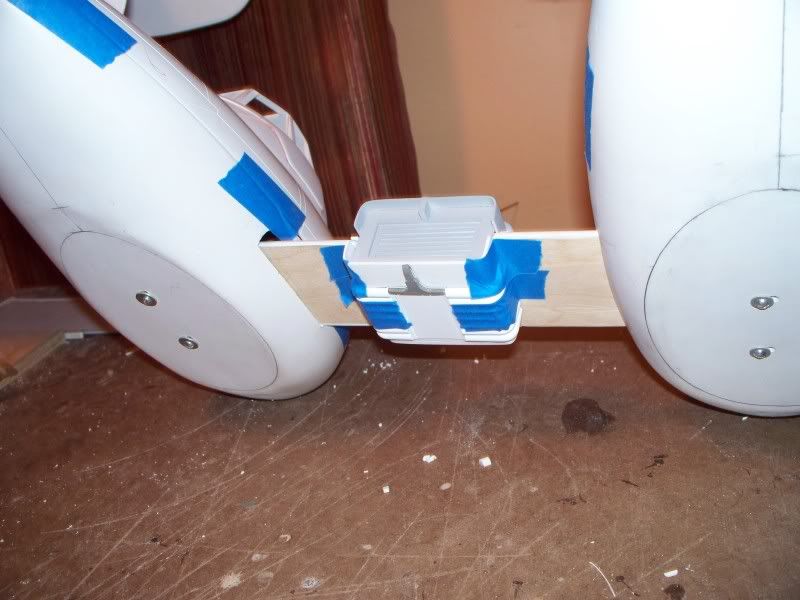
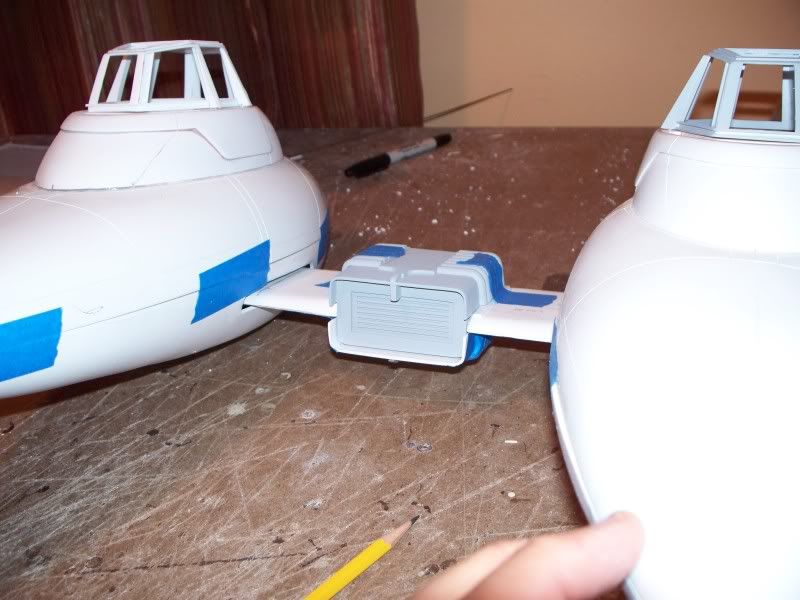
Now that's a secure attachment!
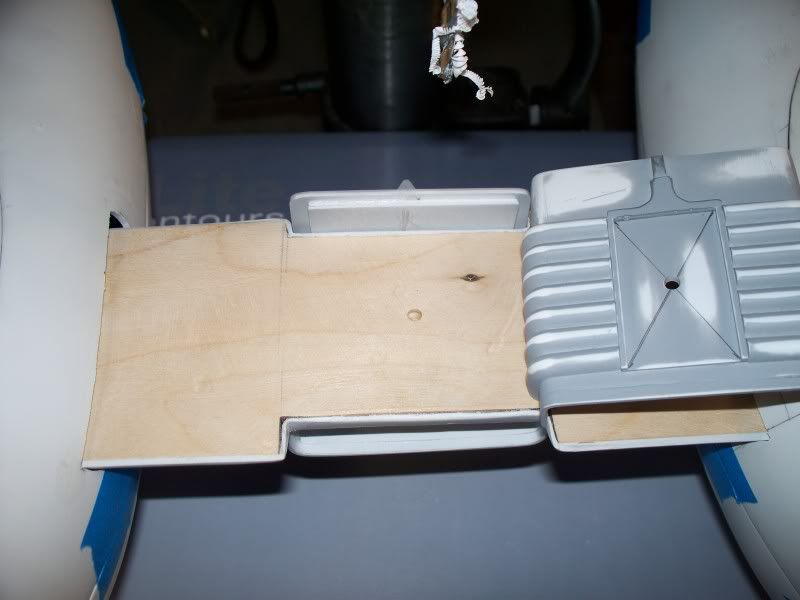
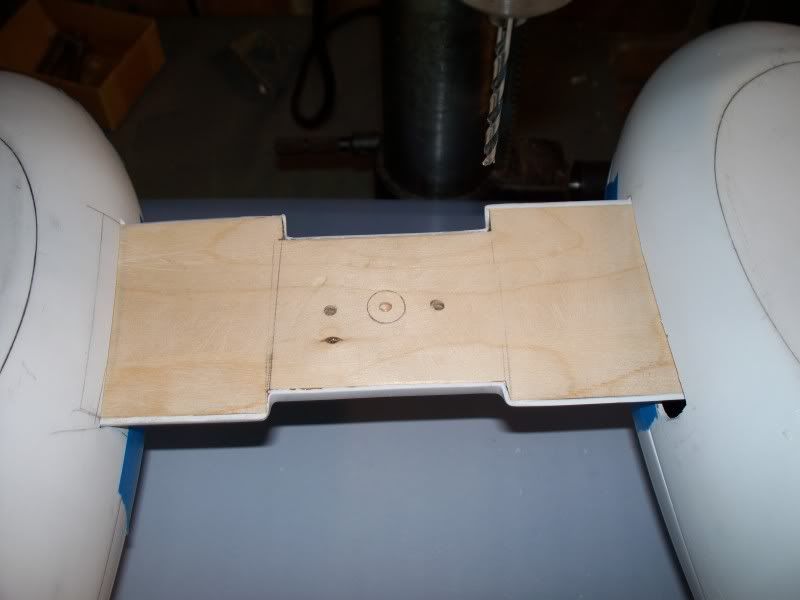
I forgot to post close-ups...here they are...I still can't figure out why there seem to be two different versions - it's the same model
thumbsdownNow that's a secure attachment!
I forgot to post close-ups...here they are...I still can't figure out why there seem to be two different versions - it's the same model
Now that's a secure attachment!
I forgot to post close-ups...here they are...I still can't figure out why there seem to be two different versions - it's the same model