modelerdave
Sr Member
So this is a different kind of kit in that it's cast in a material called Rigidyne Polyurethane rather than styrene or 3D printed resin. This stuff is very smooth, pretty heavy, and very easy to sand and drill into when needed. There are no sprues, but there is one drawback to this process I'll get into shortly.
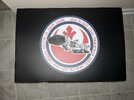
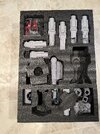
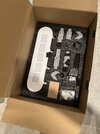
Here's the kit as it was delivered. It was a HUGE box, very well packed, with two levels of material. This included everything for the kit, a base, metal frame, engine lights, an Arduino, and a bonus escape pod model.
The detail is incredible. The one downside to using a casting creation method is that you can't have undercuts anywhere or you couldn't get anything out of the molds, which means the pipes on the tops of the engines have a solid wall or wing or whatever you want to call it underneath them. So I thought I'd be a crazy guy and try to carve out the material.
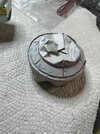
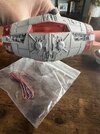
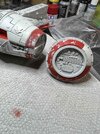
The pic below shows one of the pipes done, and one still to go. You can see the material connecting the pipe to the engine. You could paint it, I guess, but it would bug me, so I very carefully cut it out with a small rotary tool. There are 32 pipes in total so it took a while, but I was much happier with the results when I was done.
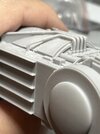
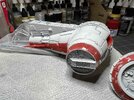
Finished engine.
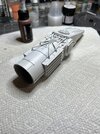
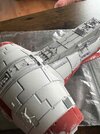
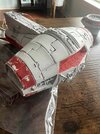
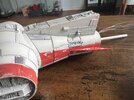
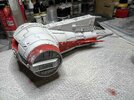
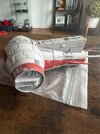
It took some time to get the frame assembled because you have to widen a few of the holes and there's some tricky assembly where you have to screw some pieces together within the central body part that comes as one piece (for rigidity), so it's hard to see what you're doing and difficult to get the tools where you need them. But I got it all assembled, at least this much.
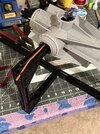
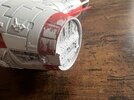
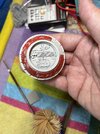
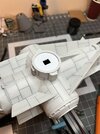
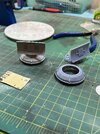
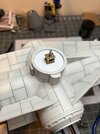
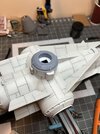
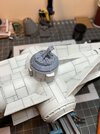
I am going to try to make the radar dish rotate on a small 5v motor. I have one that just fits into the available space. That is still a work in progress and I may give up on it but for now it's still on. I had to cut a piece out of the upper body but it will be covered regardless so if this doesn't work it won't affect the model if I leave the dish static.
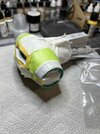
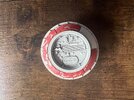
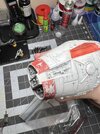
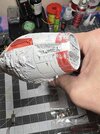
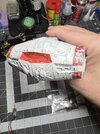
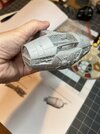
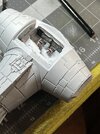
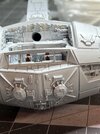
There was no good way to light the cockpit because they had to cast the head part as a solid piece. They did show on a build video that you could drill in from the cockpit side and the rear side and hope they met in the middle in order to run wires if you wanted to try it. I managed to make it work and have a short LED strip on the ceiling piece and a tiny red flashing SMD I mounted above the door to simulate a warning light. I tried to get video but it jut gets completely blown out.
The big hole drilled in the back will get covered with some styrene. You can't see much through the cockpit window when it's sealed up but it still gives it a bit of life. I have glass sides used for microscopes and may cut one down to form window glass for the front. If that doesn't work I'll use clear acetate. I know the studio model didn't have any glass but I like to think I'm making a model of the spaceship and not a model of the studio model. It would be like making an F-14 without canopy glass.
Here's the kit as it was delivered. It was a HUGE box, very well packed, with two levels of material. This included everything for the kit, a base, metal frame, engine lights, an Arduino, and a bonus escape pod model.


The detail is incredible. The one downside to using a casting creation method is that you can't have undercuts anywhere or you couldn't get anything out of the molds, which means the pipes on the tops of the engines have a solid wall or wing or whatever you want to call it underneath them. So I thought I'd be a crazy guy and try to carve out the material.
The pic below shows one of the pipes done, and one still to go. You can see the material connecting the pipe to the engine. You could paint it, I guess, but it would bug me, so I very carefully cut it out with a small rotary tool. There are 32 pipes in total so it took a while, but I was much happier with the results when I was done.

Finished engine.

It took some time to get the frame assembled because you have to widen a few of the holes and there's some tricky assembly where you have to screw some pieces together within the central body part that comes as one piece (for rigidity), so it's hard to see what you're doing and difficult to get the tools where you need them. But I got it all assembled, at least this much.

I am going to try to make the radar dish rotate on a small 5v motor. I have one that just fits into the available space. That is still a work in progress and I may give up on it but for now it's still on. I had to cut a piece out of the upper body but it will be covered regardless so if this doesn't work it won't affect the model if I leave the dish static.
There was no good way to light the cockpit because they had to cast the head part as a solid piece. They did show on a build video that you could drill in from the cockpit side and the rear side and hope they met in the middle in order to run wires if you wanted to try it. I managed to make it work and have a short LED strip on the ceiling piece and a tiny red flashing SMD I mounted above the door to simulate a warning light. I tried to get video but it jut gets completely blown out.
The big hole drilled in the back will get covered with some styrene. You can't see much through the cockpit window when it's sealed up but it still gives it a bit of life. I have glass sides used for microscopes and may cut one down to form window glass for the front. If that doesn't work I'll use clear acetate. I know the studio model didn't have any glass but I like to think I'm making a model of the spaceship and not a model of the studio model. It would be like making an F-14 without canopy glass.


Last edited:

