THE MOST ACCURATE REPLICA LUKE ANH LIGHTSABER YOU WILL EVER SEE has yet to be made. But in the meantime, here is mine.
Note: THIS IS THE TOO MUCH THREAD. TOO MANY PHOTOS, TOO MUCH INFORMATION. CAN YOU HANDLE IT?
Hey gang,
I feel like a Donny Dorko: you would think I was taking pics of a newborn baby with the effort I put in this thread (it was hard to choose the few I did out of 50 pics). I have literally spent hours canoodling this thing to try to get the best shots. It's been said you never forget your first Graflex, and that's especially true when you can't put the darn thing down for a second.
So pull up a chair, this thread is for me to show off my new baby, a vintage Graflex Luke, and discuss a bit about how it came to be.
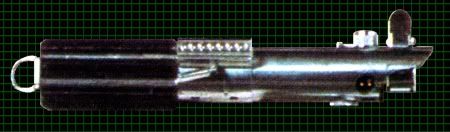
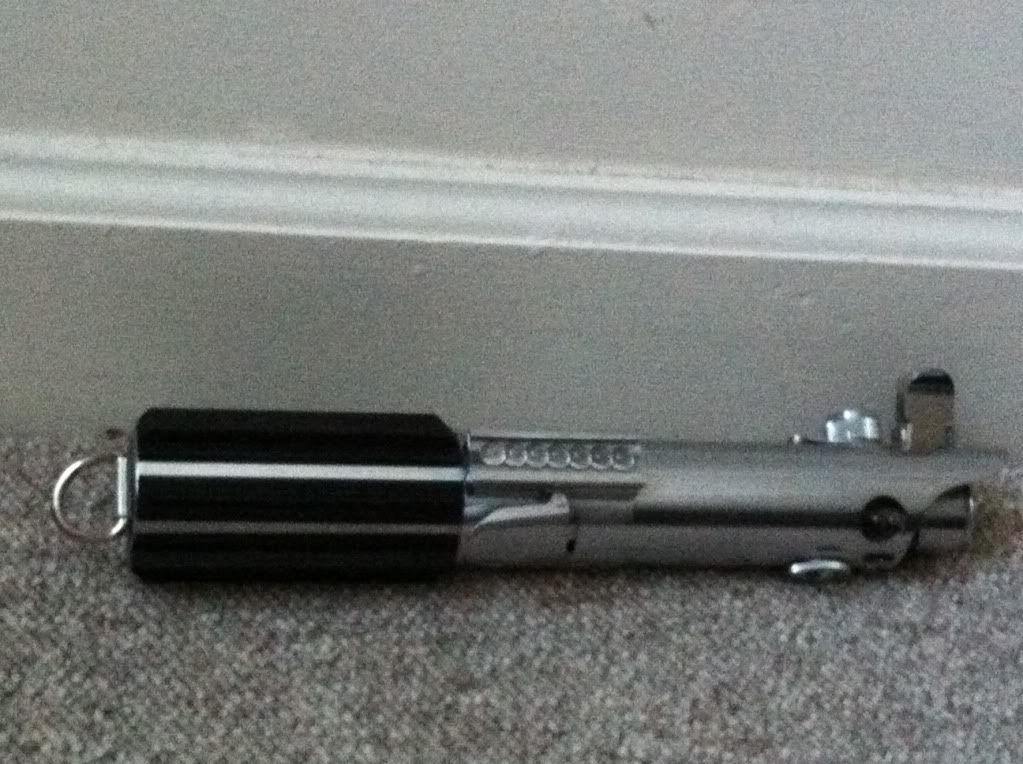
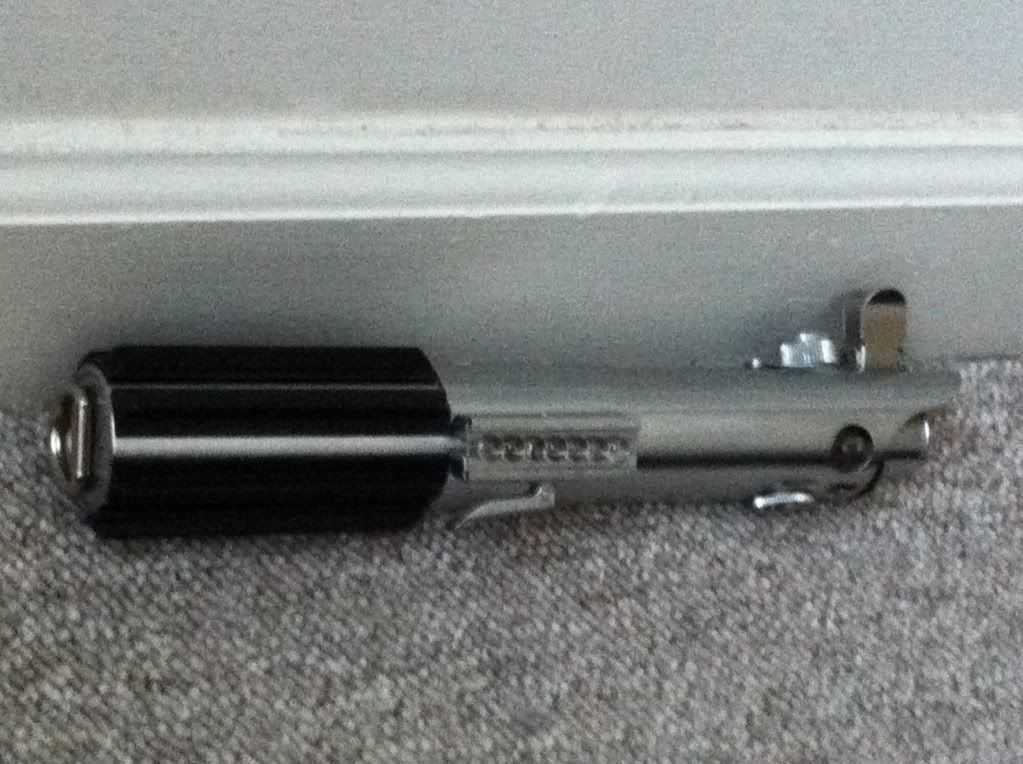
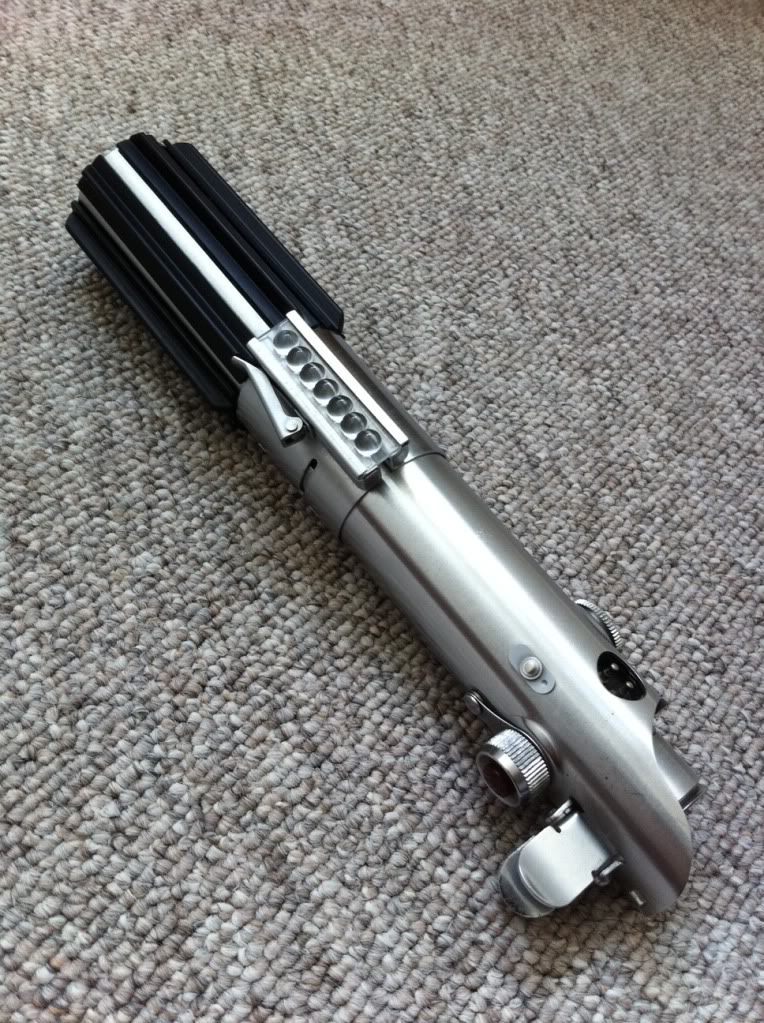
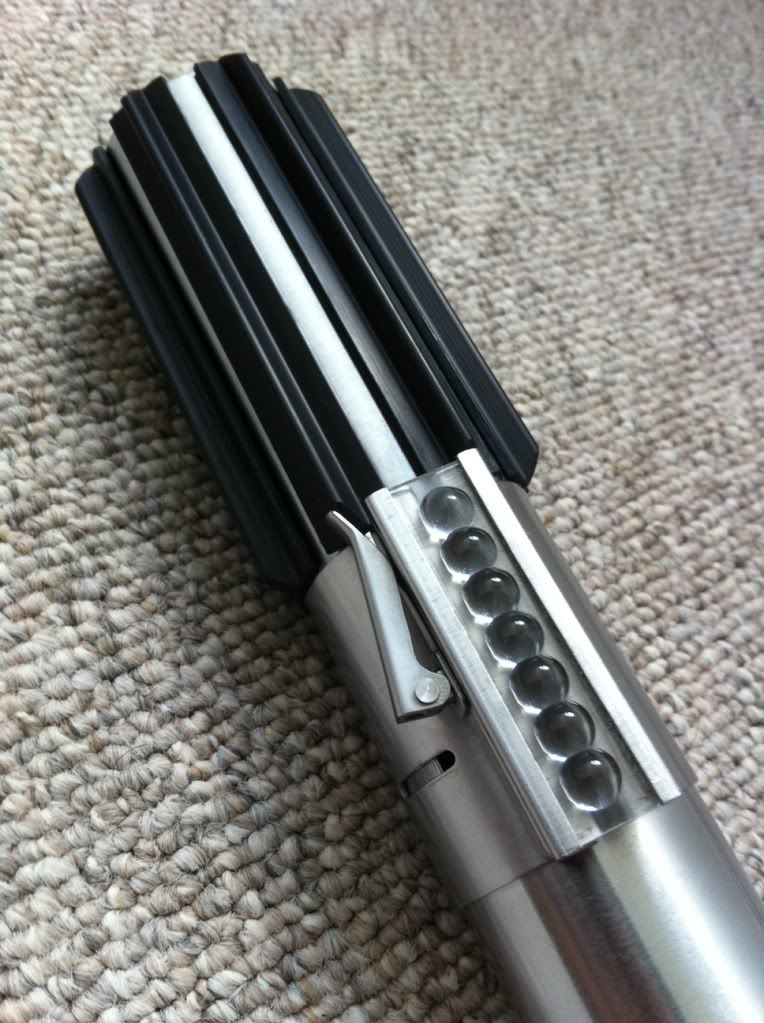
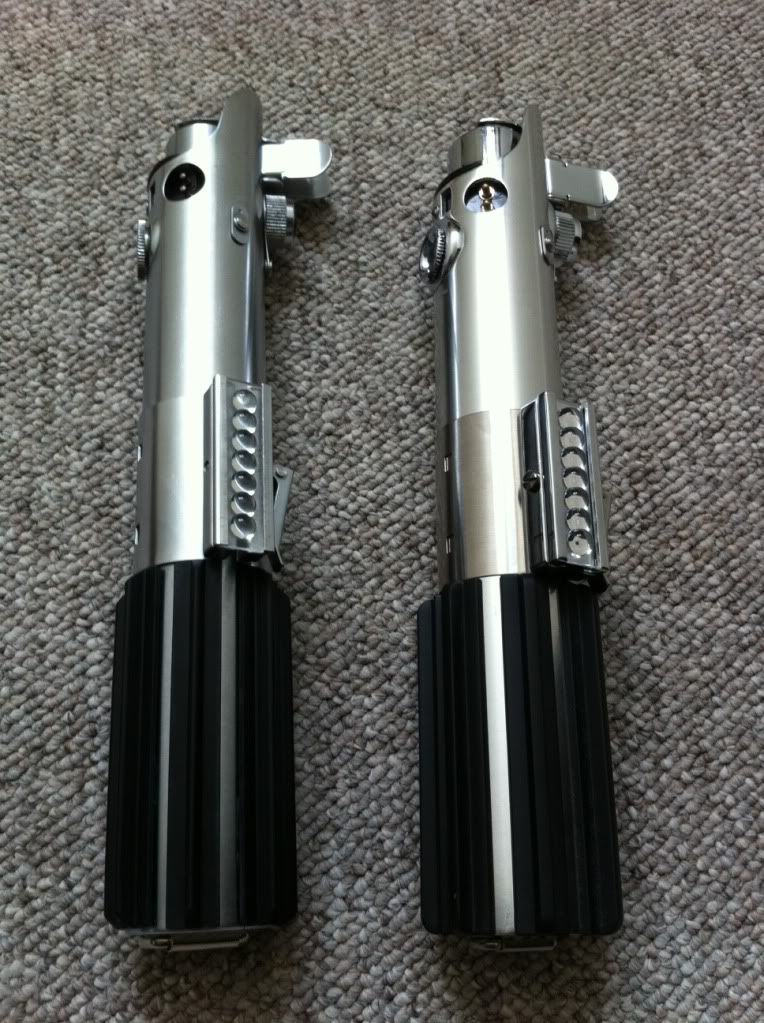
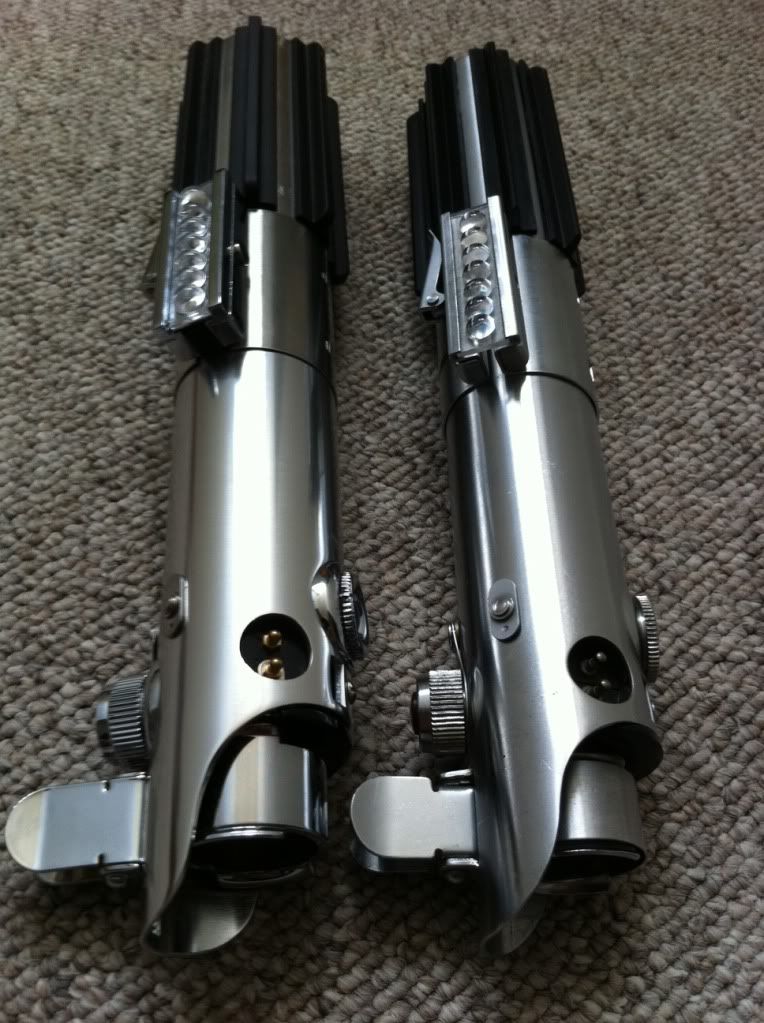
This saber contains an all real Graflex body, GINO grips, a vintage Exactra 20 Bubble strip, and a D-Ring that took me a month to settle on.
For those of you who don't know, this has been a labor of love and a few people on the RPF went above and beyond in helping me realize this piece.
Credit:
So huge thanks go to Chaim for his hours of advice, friendship and conversation, Clutch for his amazing hands-on help with my Exactra, Tarkin for dealing with my obsessive PMs and for doing the community a great service in finding a great D-Ring strap, parfaitelumiere for his guidance, and GINO for his above awesome grips. I would also like to thank lonepigeon and Parts of Star Wars (and for his indirect advice relayed by Tarkin), Ssdesigner, Darth Saber's 2002 lightsaber thread, the RPF as a whole, and planet Earth.
Planning:
The details are everything and also the pathway to being hugged by a straight jacket. I have spent the last month asking questions, gathering photo (joke for those who ever tried to look for Luke ANH saber pics), seeking information, and making decisions.
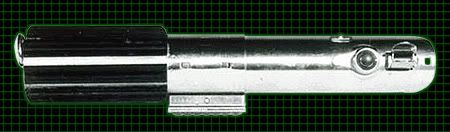
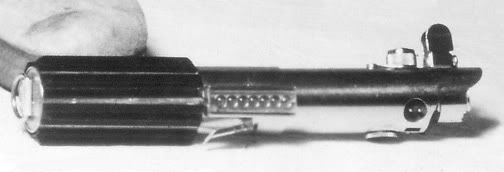
What you may not know, and many do, the Luke ANH is an elusive Star Wars prop. Yes, we have made tons of strides thanks to the likes of Chris POSW, and members here, but there are many questions that still exist about the back end of the saber, what the D-ring looks like, what it was made of, how did the strap look, was it a screw or rivet, what text is visible under the D-ring, etc.
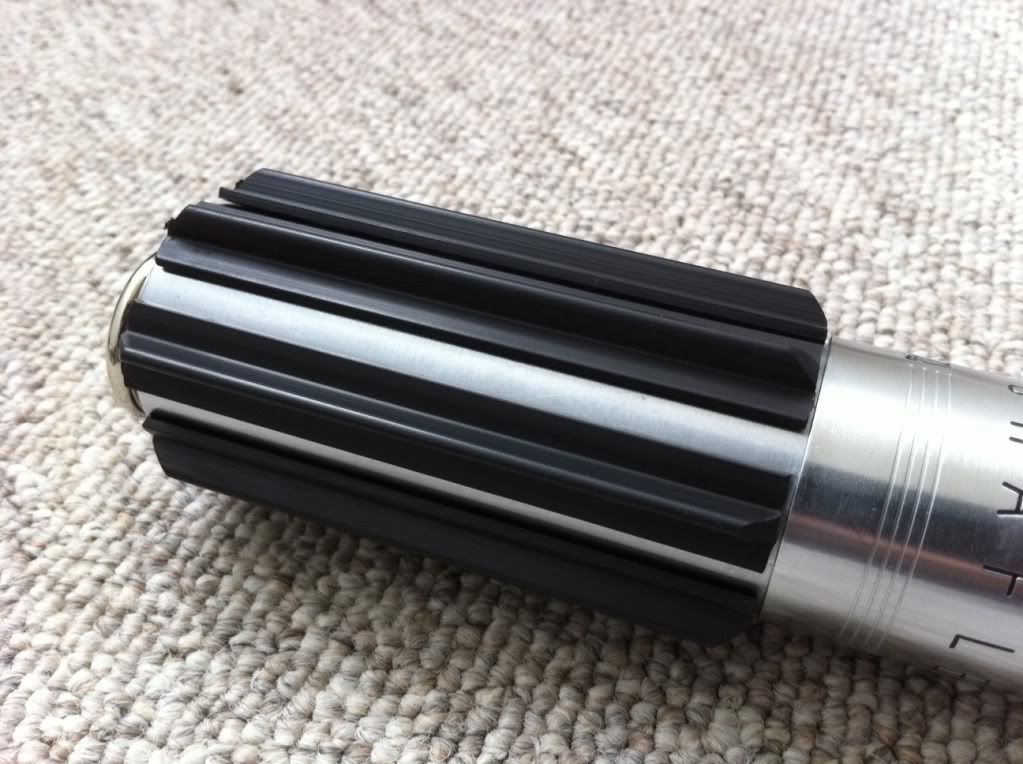
But there ARE many things we do know, like the amount of grips, what the were and how they looked, that the saber was a 3 cell Graflex, that the grips were unevenly cut, unevenly spaced, and were attached by Super Glue. We know there was a circular appearing D-Ring, we know the orientation of the Graflex.
With that said, I planned on a saber true to the “prop” saber, not true to Luke’s story saber. I wanted the grips to be uneven, I wanted a little glue residue, I wanted that “lived in” look Star Wars props share.
Construction:
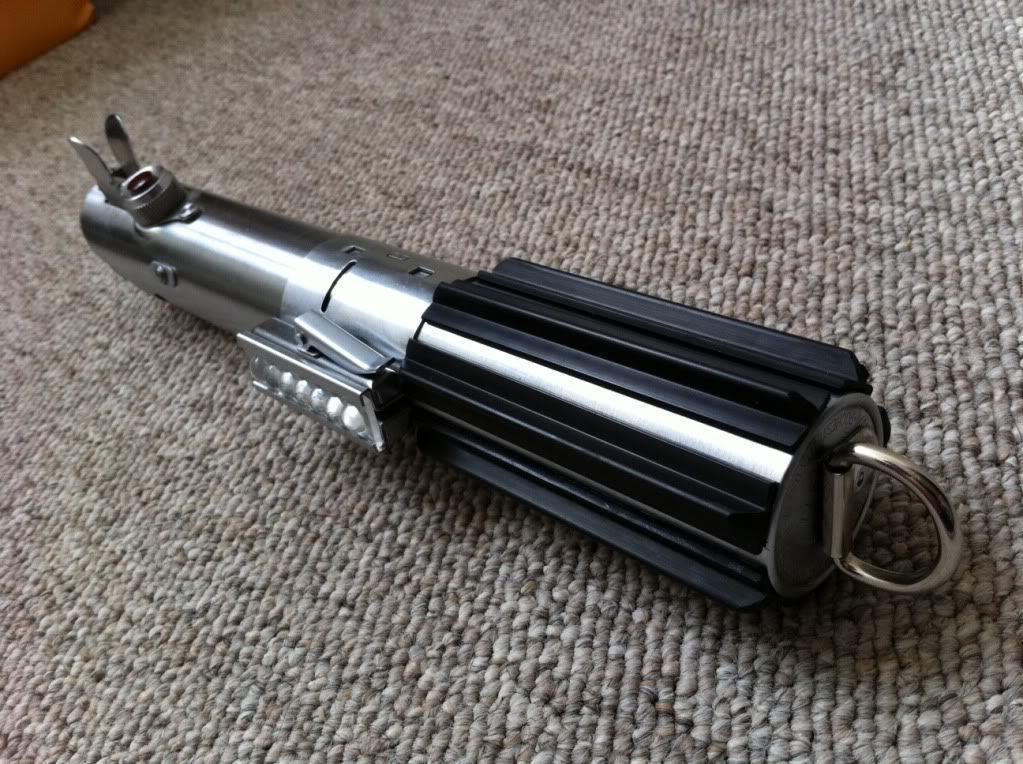
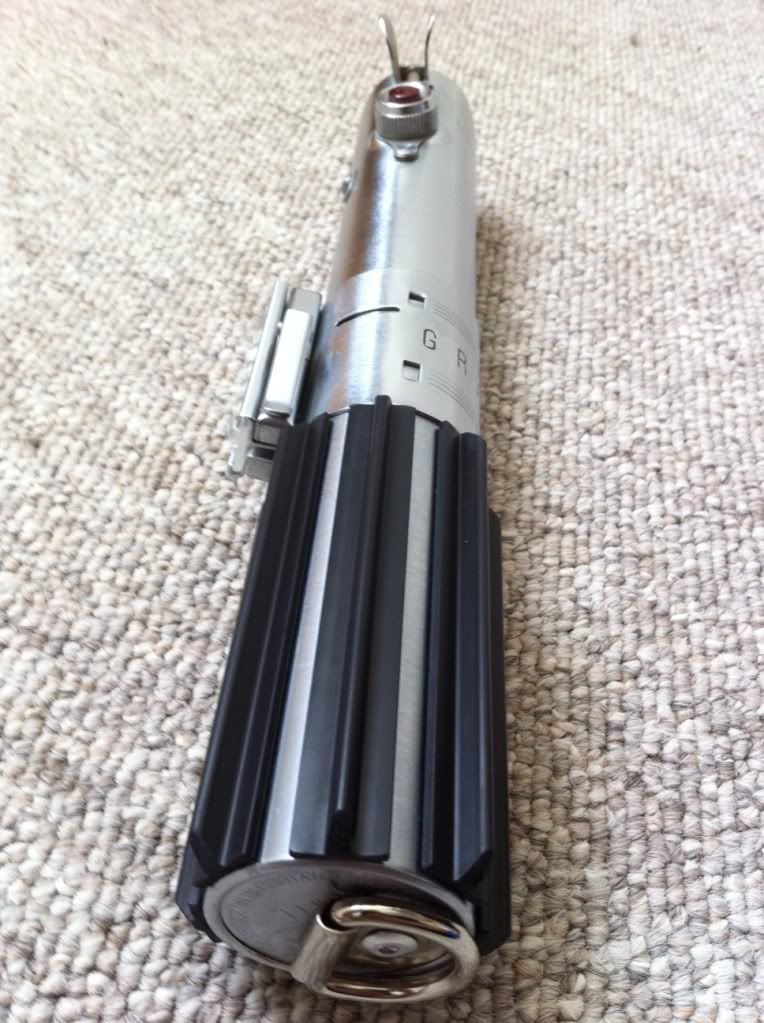
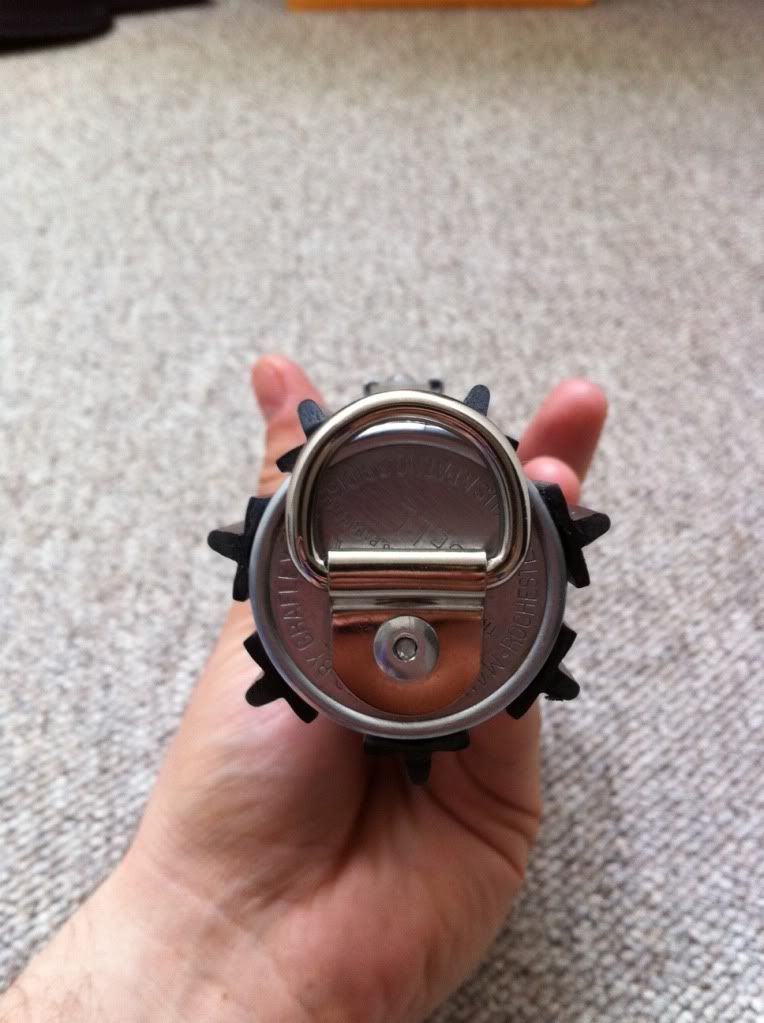
The first step I took was to attach the D-Ring. I oriented the saber in the fashion located in the diagram Chaim posted in Tarkin’s D-Ring thread and Ssdesigner posted in GINO’s Grip thread. (Bunny ears in the 4 o’clock position as compared with the bubble strip).
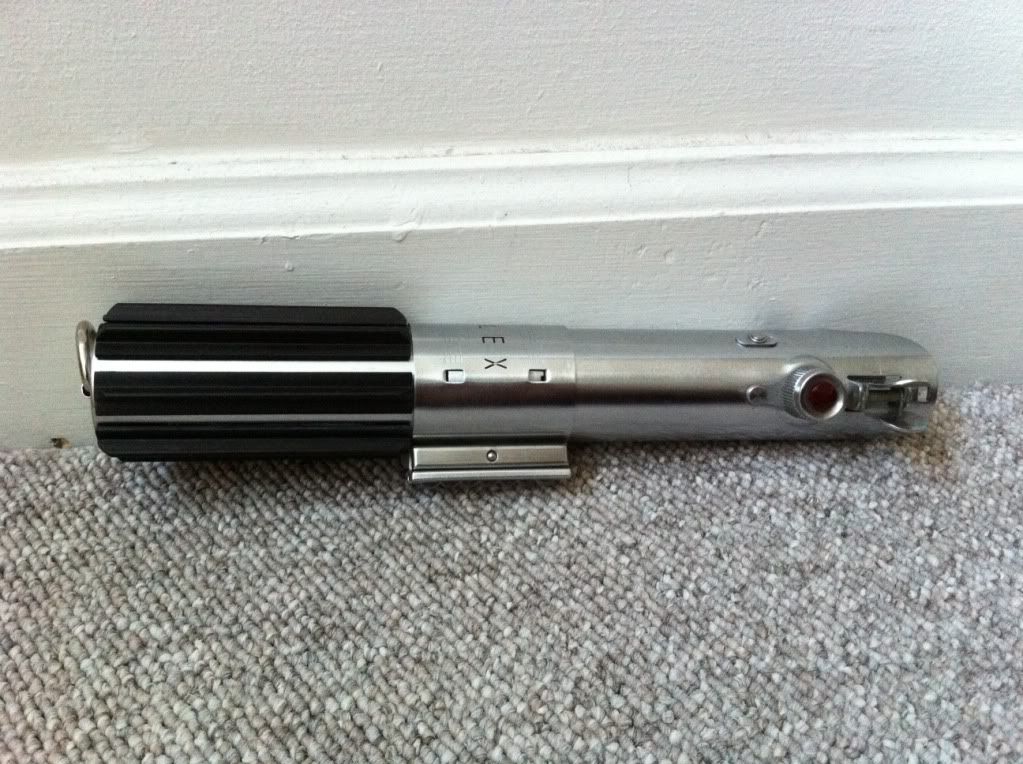
It is believed the D-ring’s strap is flush with the bubble strip, as far as we can tell. I also wanted my D-Ring to butt up against the rim of the Graflex like Chaim’s picture. So I lined it up, took out my trusty number 2 and marked a line as well as a dot in the hole. (Vintage photography collectors look away)
BUT WHEN I THEN PUT THE D-RING OVER THE HOLE IT WAS 1.5MMS AWAY FROM THE RIM. :sick. Why did that happen? First task and I blew it!!!!! Not sure if I misread the line, or the D-Ring slipped a little without me noticing. After thinking about it, I figured I wasn’t going for perfection, so I went with it. UGH, number 1.
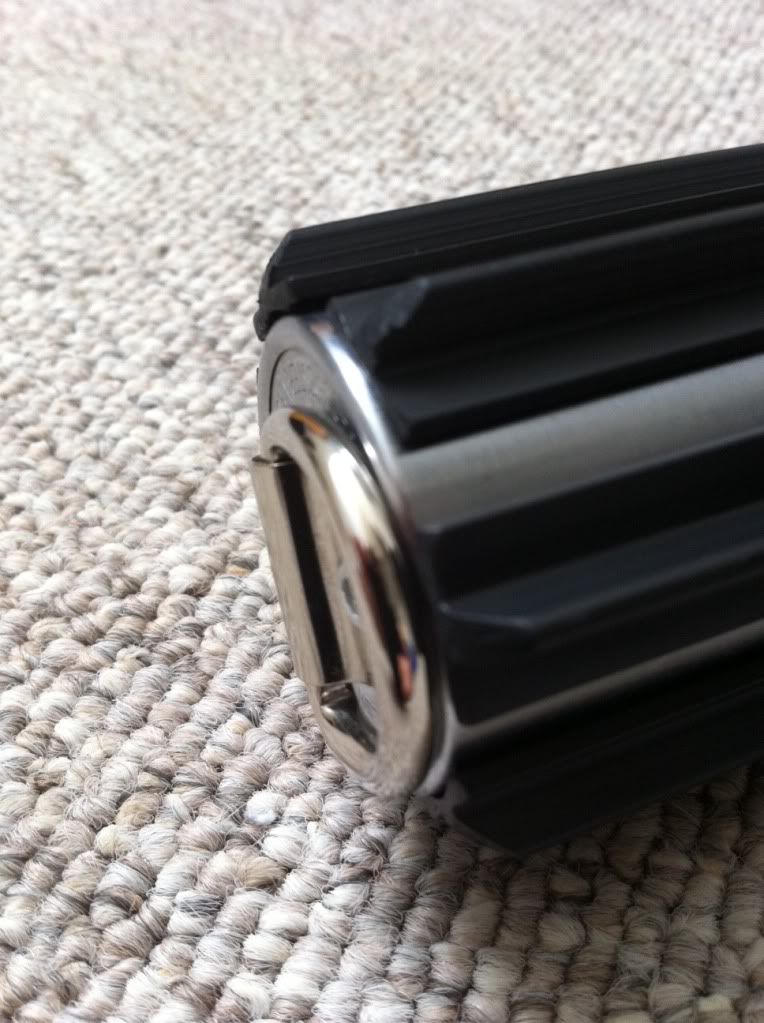
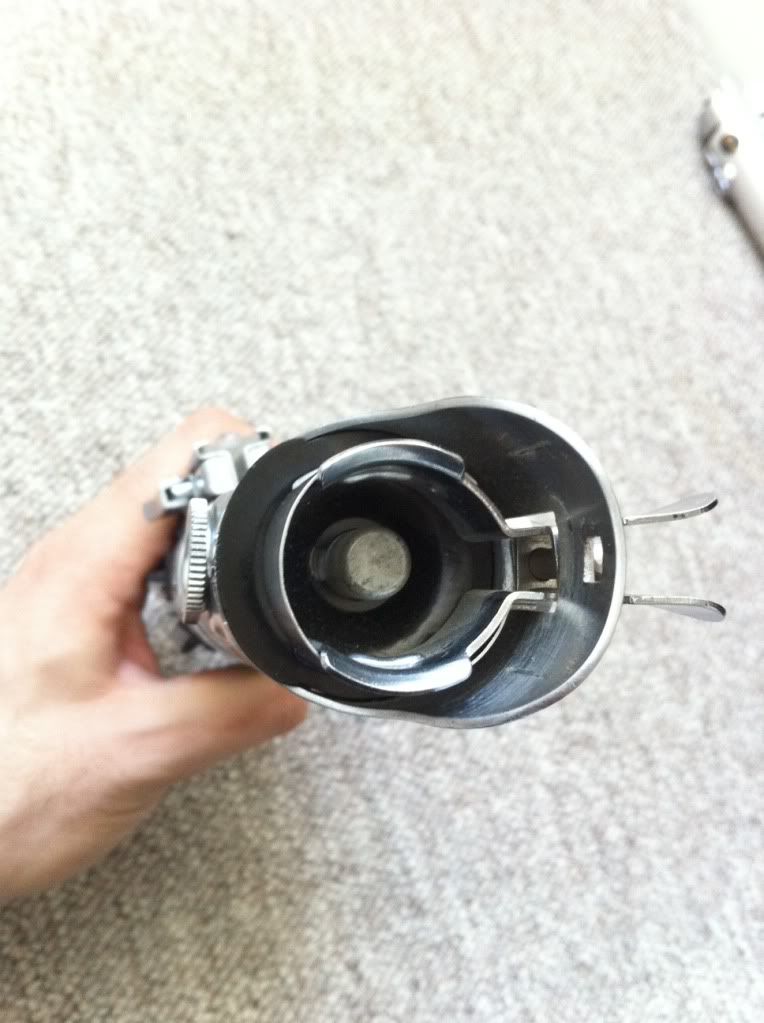
I then used my drill and bore a 3/32 of an inch hole in the bottom of the Graflex. I slipped in my rivet, and used a pop rivet gun to install it.
Next was the grips. Like I said, I didn’t go with a template as available on Parts of Star Wars because I didn’t want perfection. Instead I used the diagrams and I eyeballed it…BADLY.
Yes, I totally and utterly messed up. I started under the bubble strip and for some reason I ended up with a much wider gap, a distracting ugly gap under the strip, and all the other grips closer together. I used Super Glue which is a super pain when you fudge it up (only I didn’t say fudge).
With the glue dry, my grips looking too messed up for my liking, I slid clutch’s beautifully cut Exactra into the saber. I was done. BUT, it was not done with me. In bed, I tossed and turned. I just kept seeing that wide gap, and that Super Glue, laughing at me.
I got up, grabbed my saber and one by one CAREFULLY popped all the grips off. Yes. Thank you RPF. You officially made me one of THOSE guys.
So Now I was left with a Graflex bottom FULL of Super Glue gunk. A quick google and an E-how read later, I am rubbing acetone nail polish remover on my saber with a q-tip. For TWOOOOOO hours. I used a credit card to scrape away the excess, and a paper towel to quickly get rid of the evidence. Super Glue and acetone are interesting in combination. You can actually see the glue break down back to its liquid form, but if you’re not quick enough, or don’t wipe it at the right moment, the acetone evaporates and the glue dries again. It was maddening (Although maybe it was just the fumes).
When I finally got it clean, I washed it with soapy warm water (rinsed, lathered, repeated), wiped it down, and dried it thoroughly (important to prevent rust).
I then a little more carefully reapplied the grips. I cut out the previously mentioned template and simply cut out the “space” that goes between the grips. I then very roughly used that as a guide, starting with under the bubble strip. I was a bit sloppy intentionally, but at least now my saber doesn’t look like David Letterman smiling at me. Come on that’s funny.
I then used some acetone on a q-tip to clean a little bit of the glue residue that came out and said hello in between the grips. In retrospect, this violated my whole “rush prop” vibe that I was going for. In fact, my saber looks WAY cleaner than i originally intended it to. But if you look for imperfection, you will still find it. All the spacing and sizing of the grips are still off, and dare I say it, some residue is still there.
Don’t kill me GINO, but I tried a little acetone on one of the scrap pieces of grip to see if it would eat it alive. It actually had the affect of removing some of the shine, making them nice and dull as they appear to me in the film. So I actually rubbed all the grips with a q-tip and acetone before washing them to get that effect (affect is a verb, tsk for doubting me).
Advice:
So after that LONG winded intro (is anyone still reading?), here are a few pieces of advice for people interested in doing one of these (are you listening Tarkin?):
1. Super Glue really was awesome to use on the grips. It was fast drying, it feels hella secure, and that’s what was really used. It also DOES come off with some acetone which is nice.
2. Do print out the template and at least use the spacing as a guide lest you want to drive yourself crazy. Feel free to eyeball as much as you want, just not TOO far off.
3. Hold the D-Ring TIGHTLY and double, triple, quadruple check before you drill. The space under my strap is my biggest regret with the saber.
4. To cut my grips, I actually used a HEAVY duty pair of industrial snips (not the twisted beak ones, but the ones like scissors that cut pennies). I found if I cut quickly, I got no white stress lines on the plastic. When I did, VERY FINE waterproof sandpaper took them right out.
5. Use a metal file to create the angles on the grips for that “handmade” look.
6. IMPORTANT: IF YOU WANT TO BE ABLE TO OPEN THE BOTTOM PORTION OF YOUR SABER UNDER THE CLAMP, YOU MUST PUSH UP BEFORE GLUING YOUR GRIPS, AND BUT YOUR GRIPS AGAINST THAT leaving a tad of space. If you pull down on the bottom part, the grips will prevent you from having enough space to pull up and twist.
Alright so, ipppidy, ippiddy, dippy, that’s all folks. Let me know what you think (if you love it :lol), and enjoy the photos:

Note: THIS IS THE TOO MUCH THREAD. TOO MANY PHOTOS, TOO MUCH INFORMATION. CAN YOU HANDLE IT?
Hey gang,
I feel like a Donny Dorko: you would think I was taking pics of a newborn baby with the effort I put in this thread (it was hard to choose the few I did out of 50 pics). I have literally spent hours canoodling this thing to try to get the best shots. It's been said you never forget your first Graflex, and that's especially true when you can't put the darn thing down for a second.
So pull up a chair, this thread is for me to show off my new baby, a vintage Graflex Luke, and discuss a bit about how it came to be.
This saber contains an all real Graflex body, GINO grips, a vintage Exactra 20 Bubble strip, and a D-Ring that took me a month to settle on.
For those of you who don't know, this has been a labor of love and a few people on the RPF went above and beyond in helping me realize this piece.
Credit:
So huge thanks go to Chaim for his hours of advice, friendship and conversation, Clutch for his amazing hands-on help with my Exactra, Tarkin for dealing with my obsessive PMs and for doing the community a great service in finding a great D-Ring strap, parfaitelumiere for his guidance, and GINO for his above awesome grips. I would also like to thank lonepigeon and Parts of Star Wars (and for his indirect advice relayed by Tarkin), Ssdesigner, Darth Saber's 2002 lightsaber thread, the RPF as a whole, and planet Earth.
Planning:
The details are everything and also the pathway to being hugged by a straight jacket. I have spent the last month asking questions, gathering photo (joke for those who ever tried to look for Luke ANH saber pics), seeking information, and making decisions.
What you may not know, and many do, the Luke ANH is an elusive Star Wars prop. Yes, we have made tons of strides thanks to the likes of Chris POSW, and members here, but there are many questions that still exist about the back end of the saber, what the D-ring looks like, what it was made of, how did the strap look, was it a screw or rivet, what text is visible under the D-ring, etc.
But there ARE many things we do know, like the amount of grips, what the were and how they looked, that the saber was a 3 cell Graflex, that the grips were unevenly cut, unevenly spaced, and were attached by Super Glue. We know there was a circular appearing D-Ring, we know the orientation of the Graflex.
With that said, I planned on a saber true to the “prop” saber, not true to Luke’s story saber. I wanted the grips to be uneven, I wanted a little glue residue, I wanted that “lived in” look Star Wars props share.
Construction:
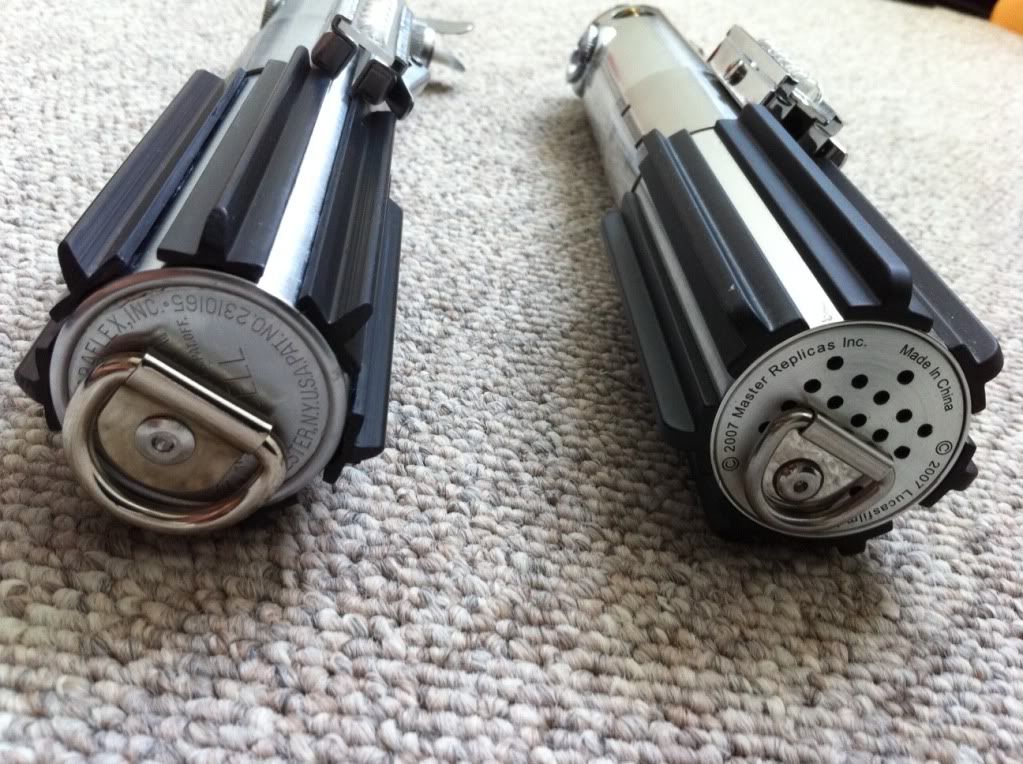
The first step I took was to attach the D-Ring. I oriented the saber in the fashion located in the diagram Chaim posted in Tarkin’s D-Ring thread and Ssdesigner posted in GINO’s Grip thread. (Bunny ears in the 4 o’clock position as compared with the bubble strip).
It is believed the D-ring’s strap is flush with the bubble strip, as far as we can tell. I also wanted my D-Ring to butt up against the rim of the Graflex like Chaim’s picture. So I lined it up, took out my trusty number 2 and marked a line as well as a dot in the hole. (Vintage photography collectors look away)
BUT WHEN I THEN PUT THE D-RING OVER THE HOLE IT WAS 1.5MMS AWAY FROM THE RIM. :sick. Why did that happen? First task and I blew it!!!!! Not sure if I misread the line, or the D-Ring slipped a little without me noticing. After thinking about it, I figured I wasn’t going for perfection, so I went with it. UGH, number 1.
I then used my drill and bore a 3/32 of an inch hole in the bottom of the Graflex. I slipped in my rivet, and used a pop rivet gun to install it.
Next was the grips. Like I said, I didn’t go with a template as available on Parts of Star Wars because I didn’t want perfection. Instead I used the diagrams and I eyeballed it…BADLY.
Yes, I totally and utterly messed up. I started under the bubble strip and for some reason I ended up with a much wider gap, a distracting ugly gap under the strip, and all the other grips closer together. I used Super Glue which is a super pain when you fudge it up (only I didn’t say fudge).
With the glue dry, my grips looking too messed up for my liking, I slid clutch’s beautifully cut Exactra into the saber. I was done. BUT, it was not done with me. In bed, I tossed and turned. I just kept seeing that wide gap, and that Super Glue, laughing at me.
I got up, grabbed my saber and one by one CAREFULLY popped all the grips off. Yes. Thank you RPF. You officially made me one of THOSE guys.
So Now I was left with a Graflex bottom FULL of Super Glue gunk. A quick google and an E-how read later, I am rubbing acetone nail polish remover on my saber with a q-tip. For TWOOOOOO hours. I used a credit card to scrape away the excess, and a paper towel to quickly get rid of the evidence. Super Glue and acetone are interesting in combination. You can actually see the glue break down back to its liquid form, but if you’re not quick enough, or don’t wipe it at the right moment, the acetone evaporates and the glue dries again. It was maddening (Although maybe it was just the fumes).
When I finally got it clean, I washed it with soapy warm water (rinsed, lathered, repeated), wiped it down, and dried it thoroughly (important to prevent rust).
I then a little more carefully reapplied the grips. I cut out the previously mentioned template and simply cut out the “space” that goes between the grips. I then very roughly used that as a guide, starting with under the bubble strip. I was a bit sloppy intentionally, but at least now my saber doesn’t look like David Letterman smiling at me. Come on that’s funny.
I then used some acetone on a q-tip to clean a little bit of the glue residue that came out and said hello in between the grips. In retrospect, this violated my whole “rush prop” vibe that I was going for. In fact, my saber looks WAY cleaner than i originally intended it to. But if you look for imperfection, you will still find it. All the spacing and sizing of the grips are still off, and dare I say it, some residue is still there.
Don’t kill me GINO, but I tried a little acetone on one of the scrap pieces of grip to see if it would eat it alive. It actually had the affect of removing some of the shine, making them nice and dull as they appear to me in the film. So I actually rubbed all the grips with a q-tip and acetone before washing them to get that effect (affect is a verb, tsk for doubting me).
Advice:
So after that LONG winded intro (is anyone still reading?), here are a few pieces of advice for people interested in doing one of these (are you listening Tarkin?):
1. Super Glue really was awesome to use on the grips. It was fast drying, it feels hella secure, and that’s what was really used. It also DOES come off with some acetone which is nice.
2. Do print out the template and at least use the spacing as a guide lest you want to drive yourself crazy. Feel free to eyeball as much as you want, just not TOO far off.
3. Hold the D-Ring TIGHTLY and double, triple, quadruple check before you drill. The space under my strap is my biggest regret with the saber.
4. To cut my grips, I actually used a HEAVY duty pair of industrial snips (not the twisted beak ones, but the ones like scissors that cut pennies). I found if I cut quickly, I got no white stress lines on the plastic. When I did, VERY FINE waterproof sandpaper took them right out.
5. Use a metal file to create the angles on the grips for that “handmade” look.
6. IMPORTANT: IF YOU WANT TO BE ABLE TO OPEN THE BOTTOM PORTION OF YOUR SABER UNDER THE CLAMP, YOU MUST PUSH UP BEFORE GLUING YOUR GRIPS, AND BUT YOUR GRIPS AGAINST THAT leaving a tad of space. If you pull down on the bottom part, the grips will prevent you from having enough space to pull up and twist.
Alright so, ipppidy, ippiddy, dippy, that’s all folks. Let me know what you think (if you love it :lol), and enjoy the photos:
Last edited:
")