JUSTINIAN'S Halo Mark VI Build

JUSTINIAN

Sr Member
RPF PREMIUM MEMBER
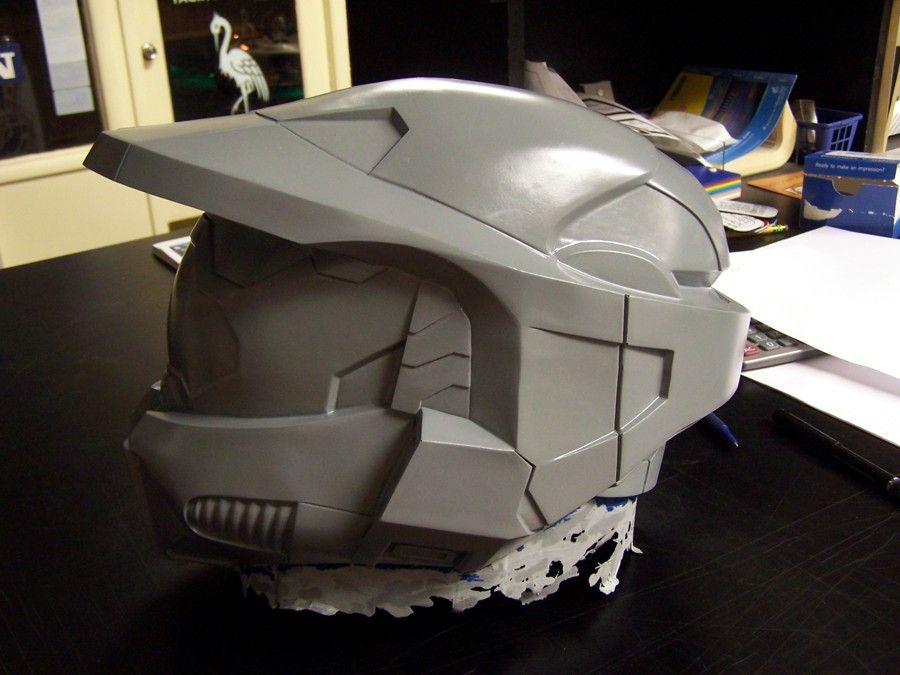
I have been wanting to do a Mark VI Master Chief build for many years now. Now I finally have a chance to do it. My deadline is for Dragon Con this summer, so I will have to do this pretty quick. I hope you enjoy the ride.


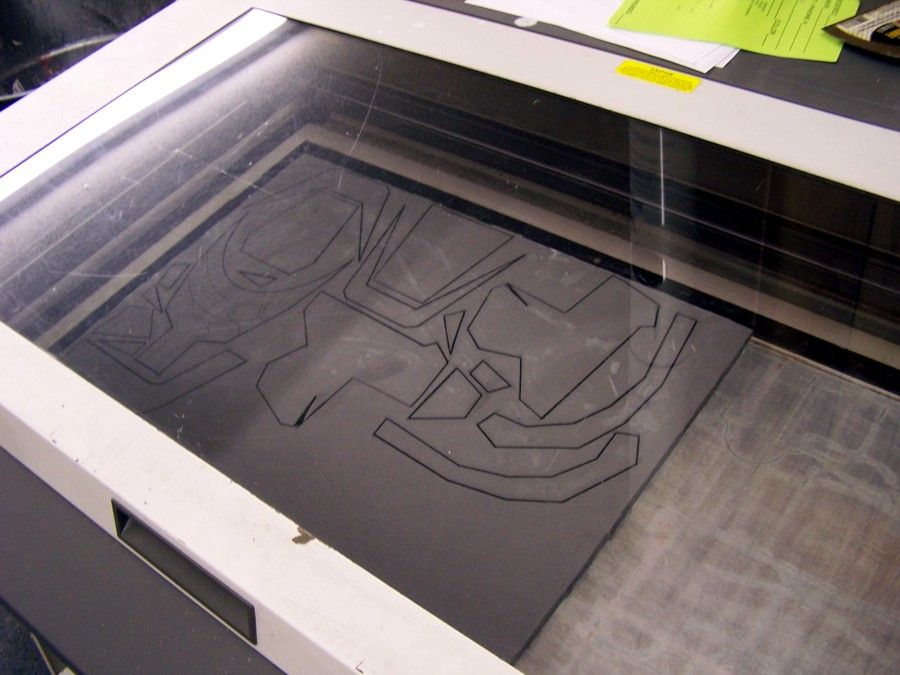
This is my first foam build, and from what I have done so far, I will be doing most of my future builds out of foam. I'm using a laser to cut out all of the parts, to save some time, and to make all cuts perfect. I am really pleased with the results.


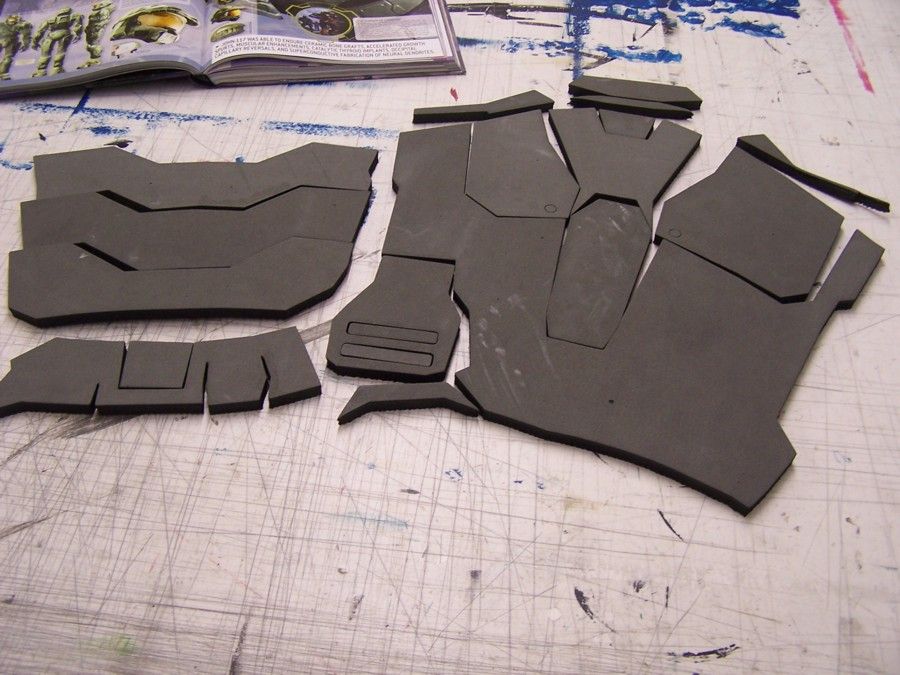
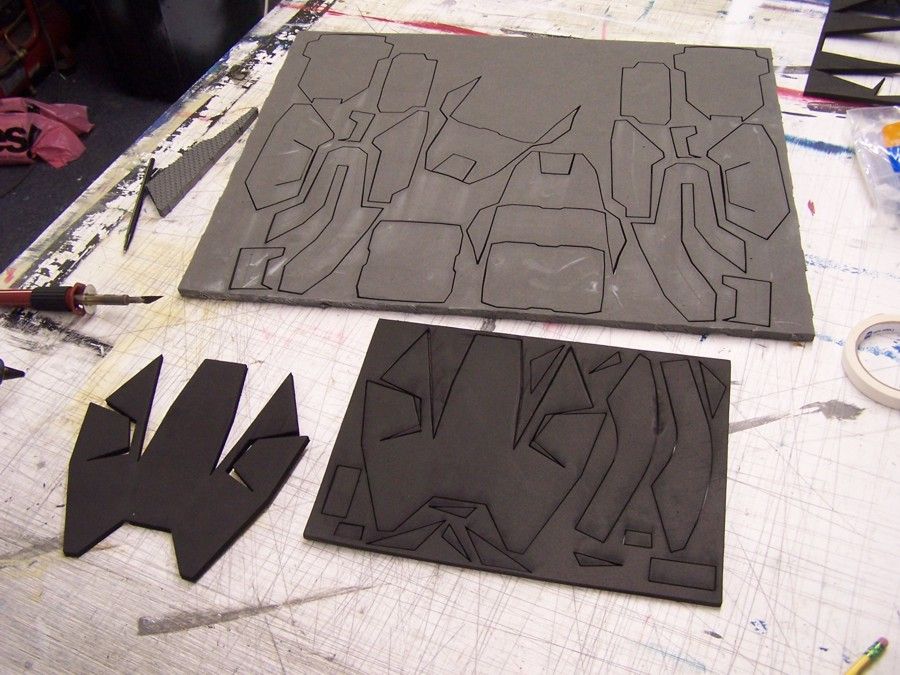
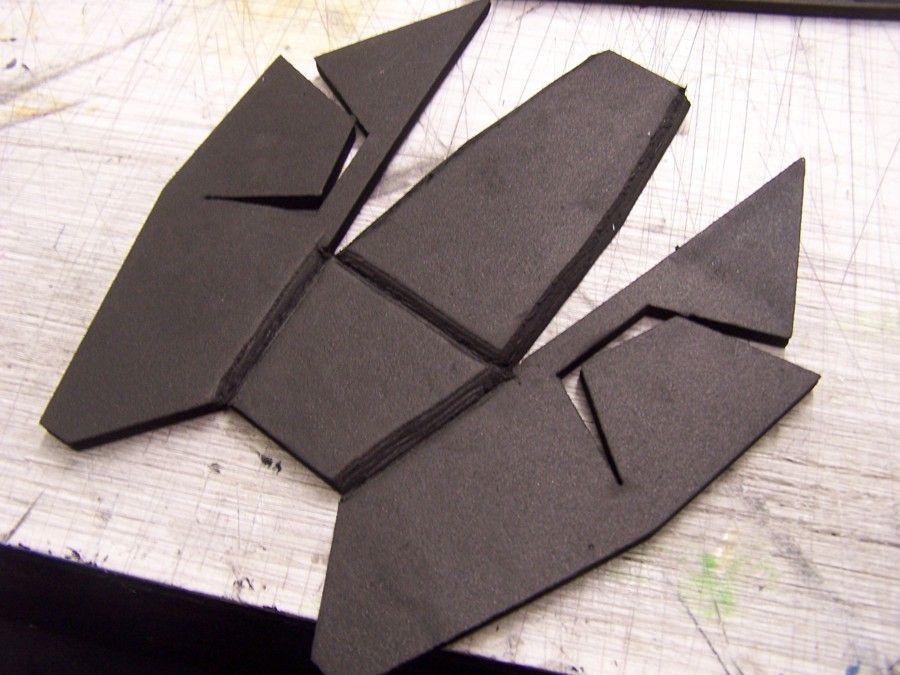
Here is the first sheet on the laser.
102_3873_zps591f0163.jpg


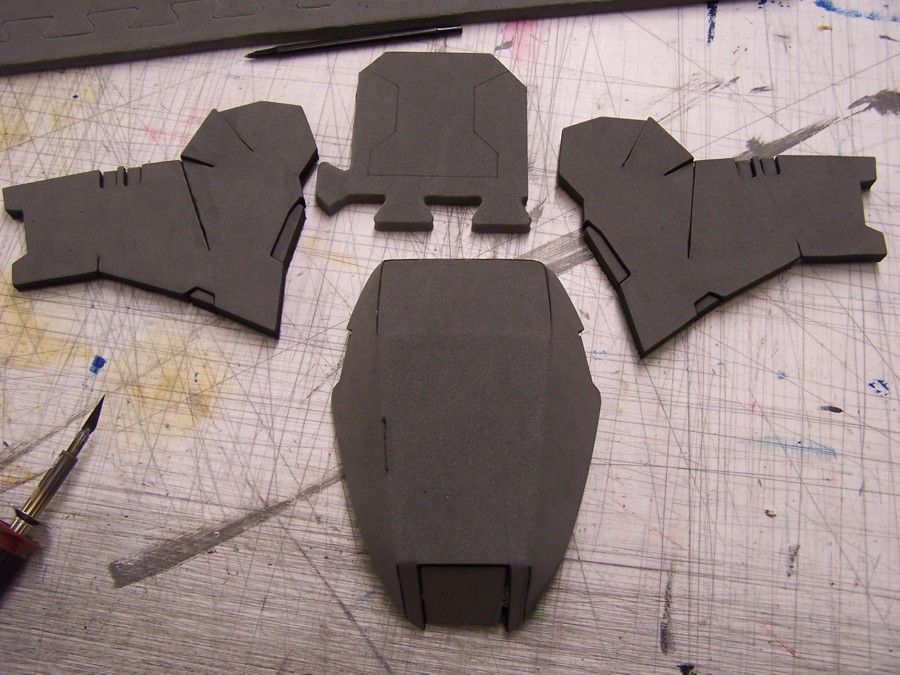
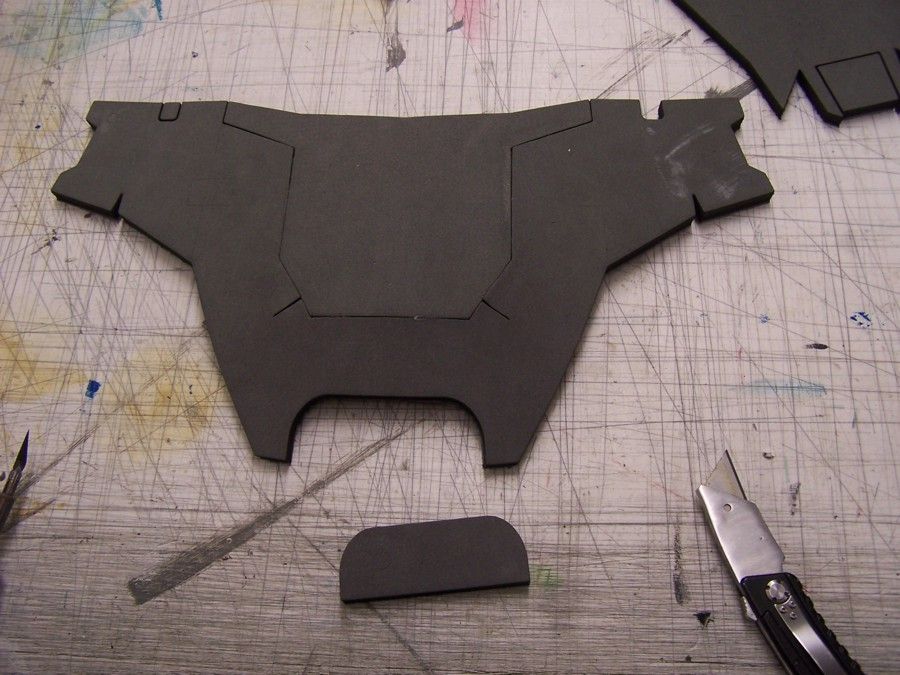
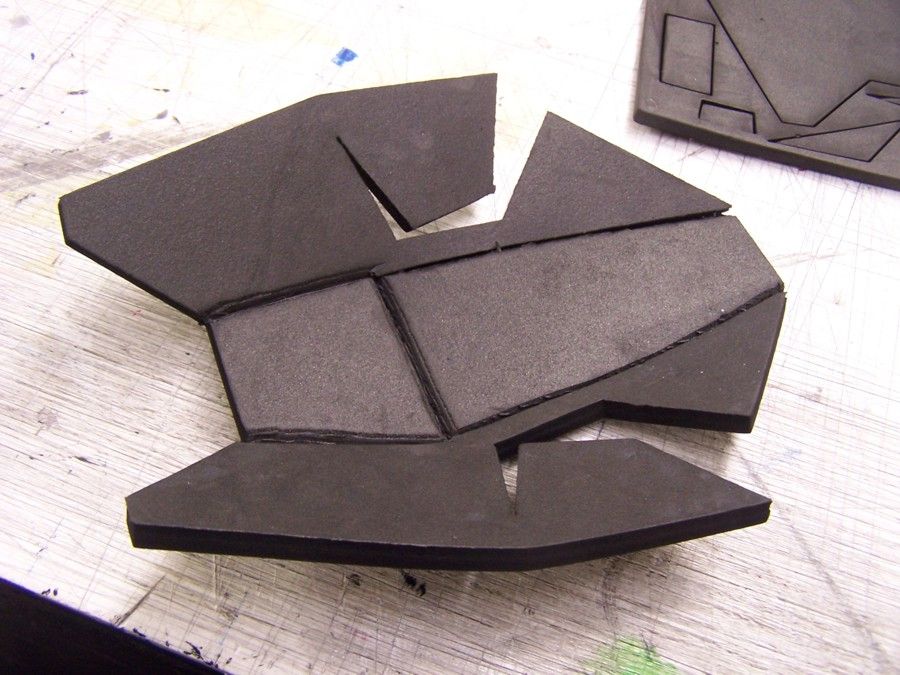
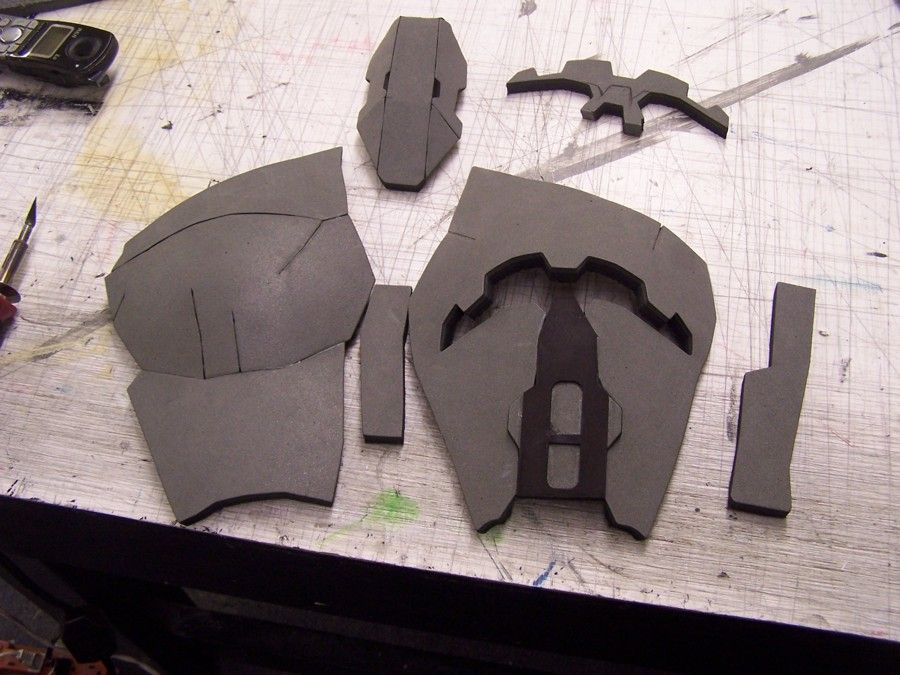
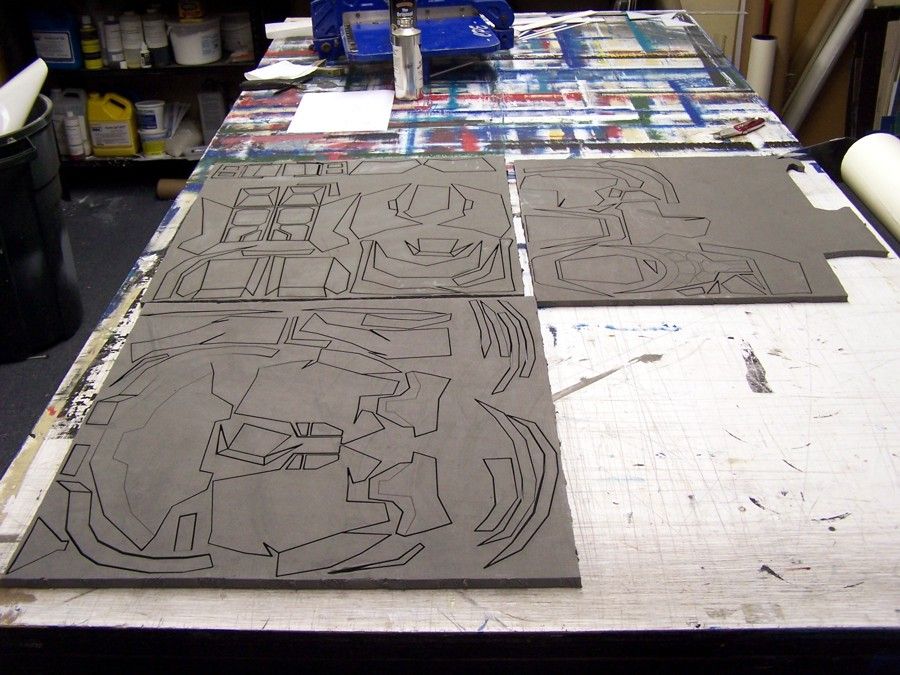
All 3 sheets for the torso.
102_3874_zpsef93e57b.jpg


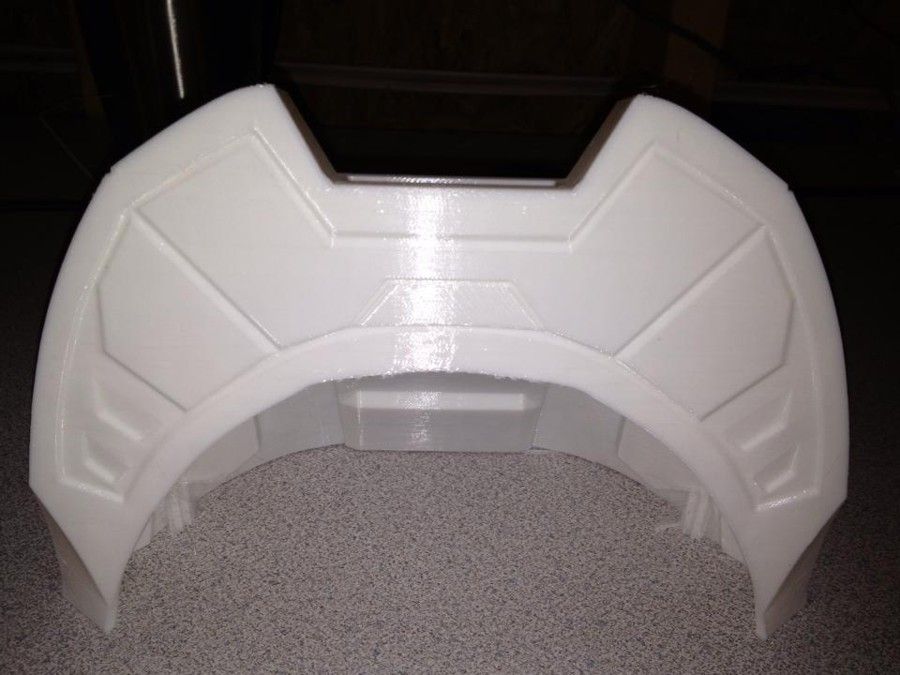
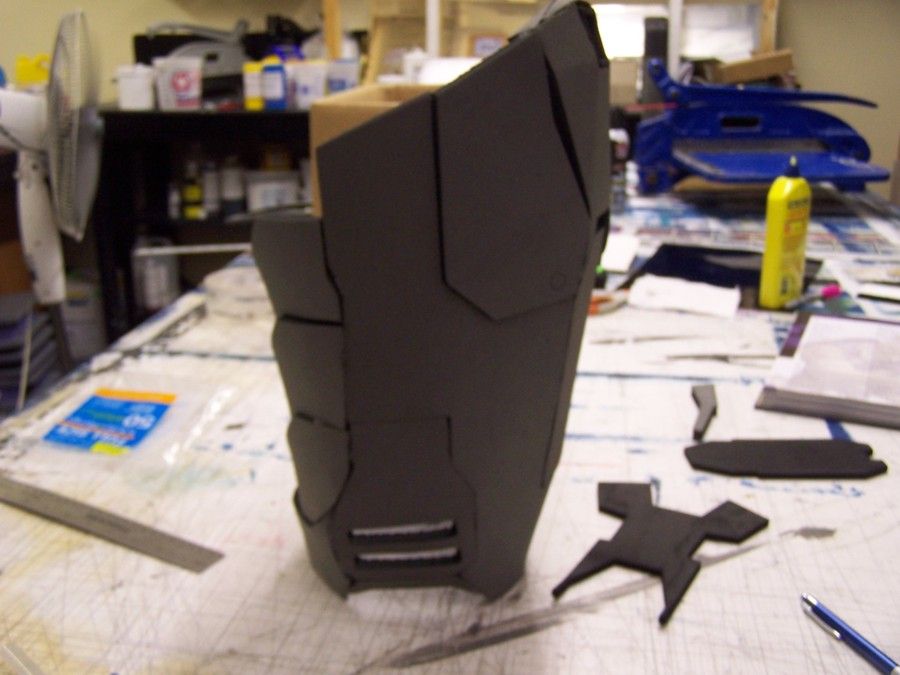
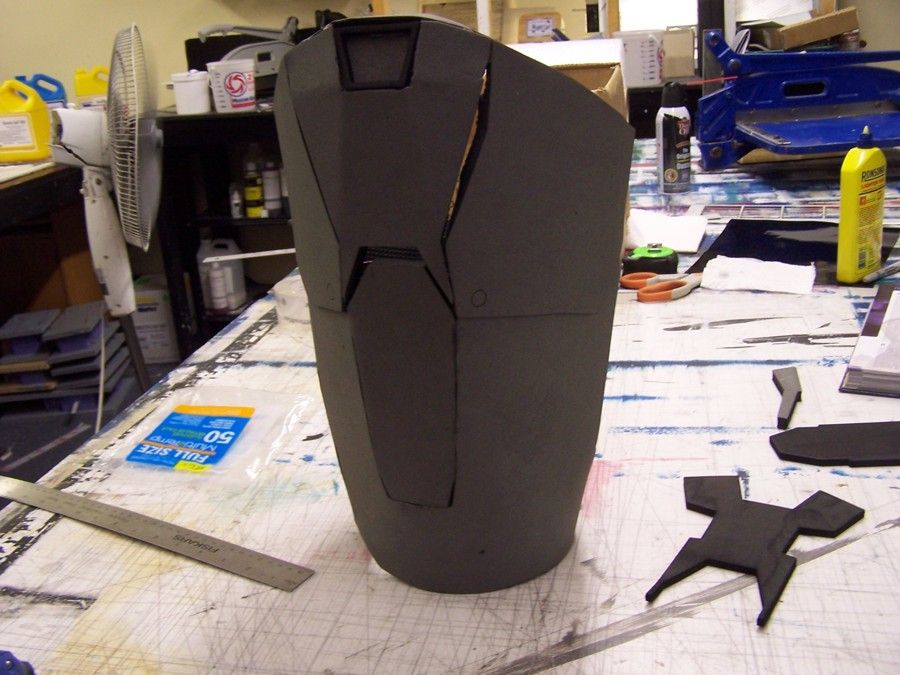
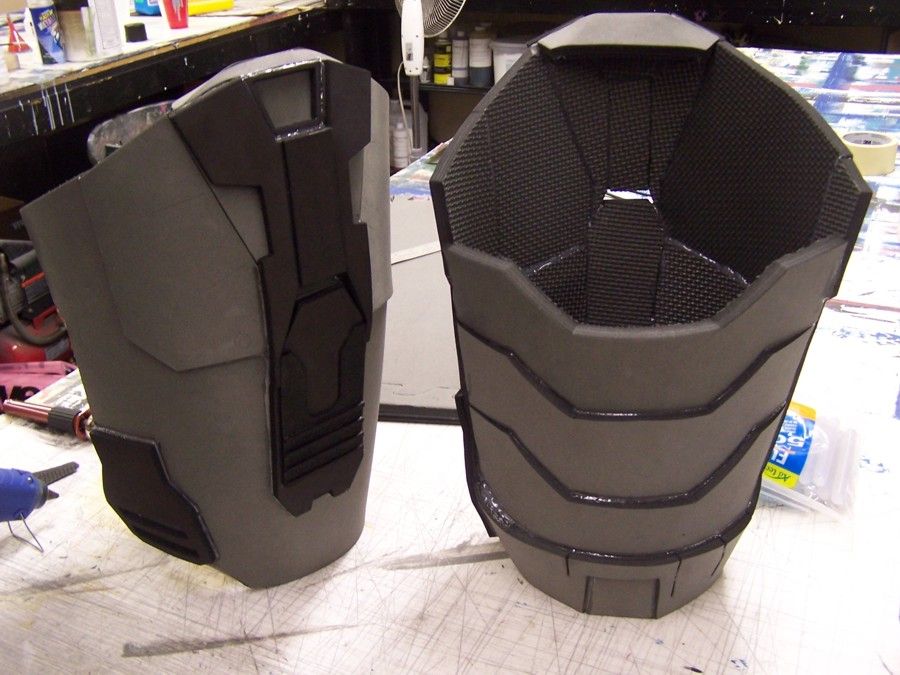
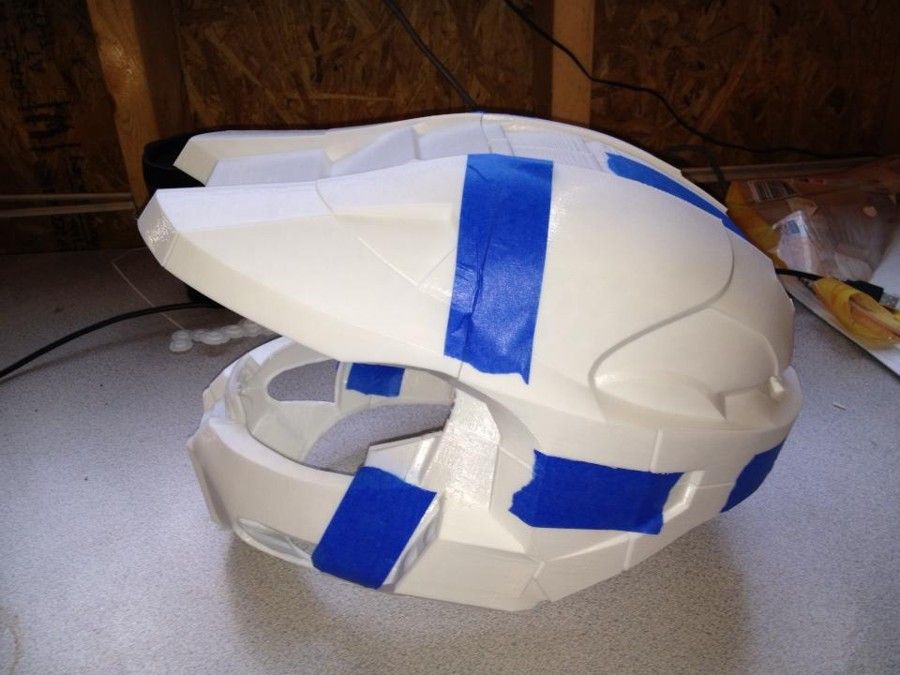
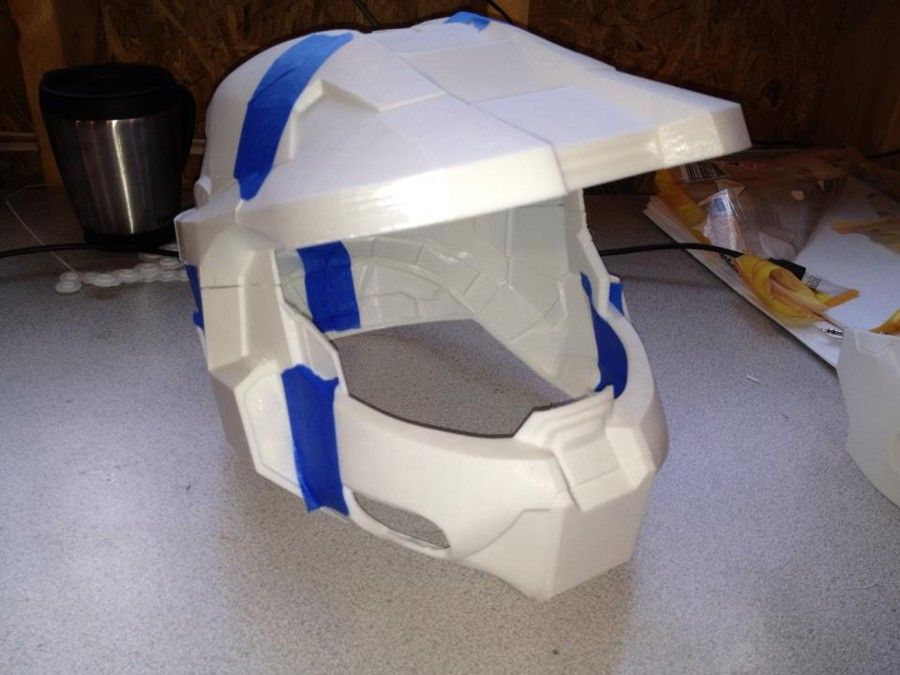
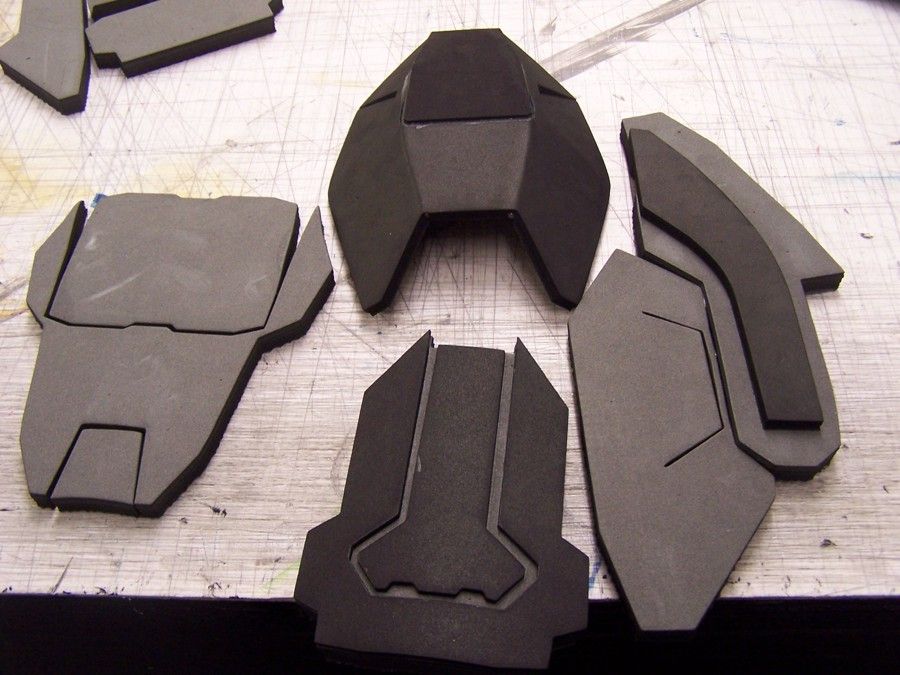
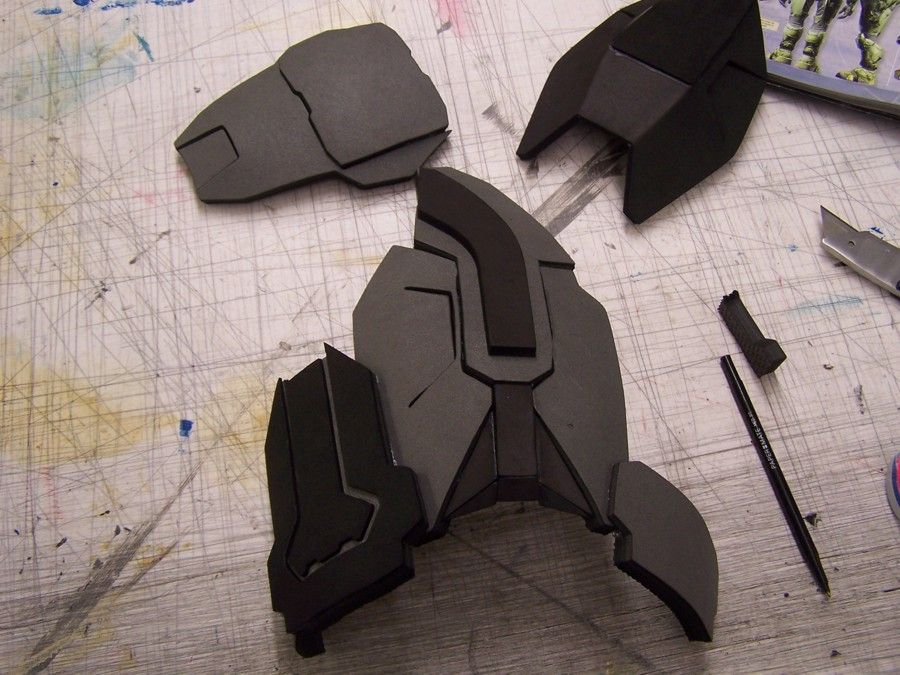
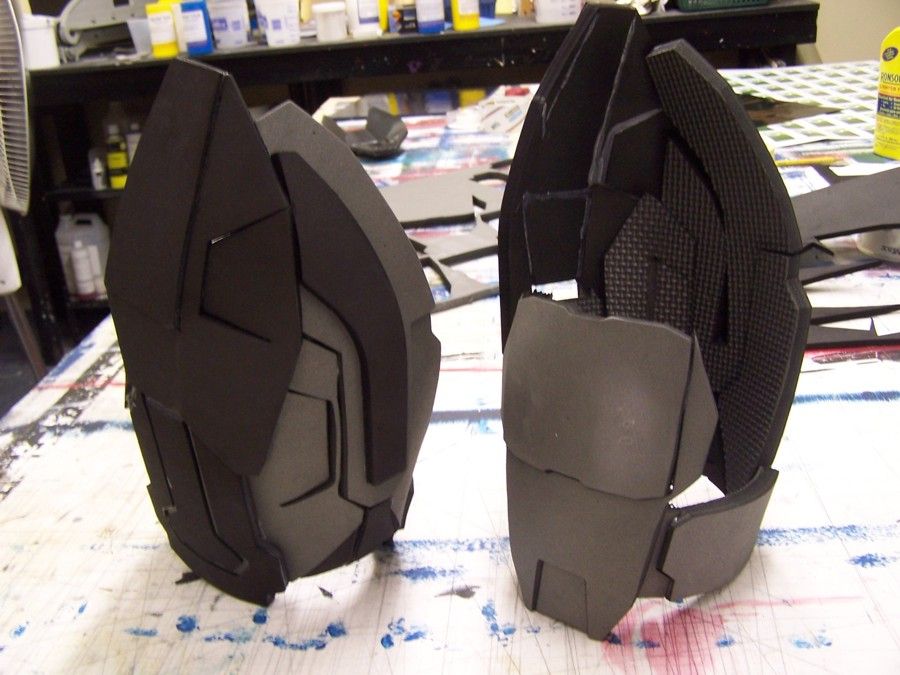
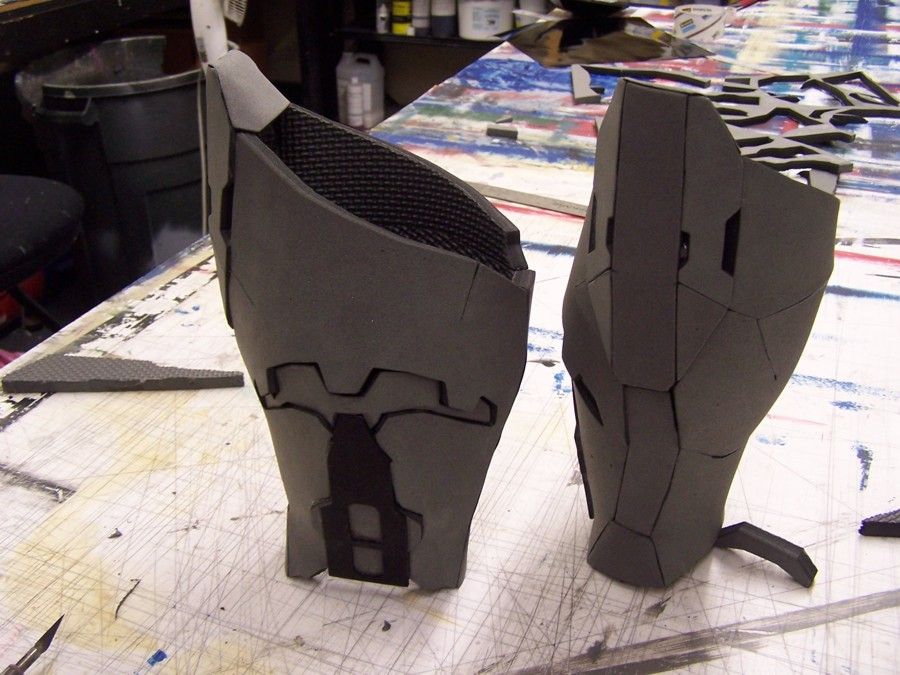
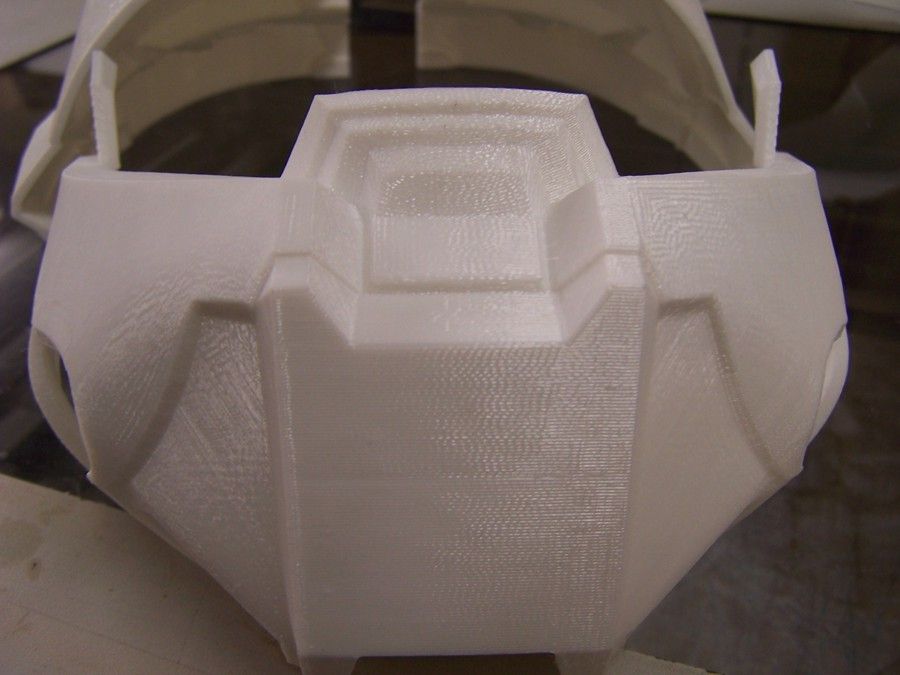
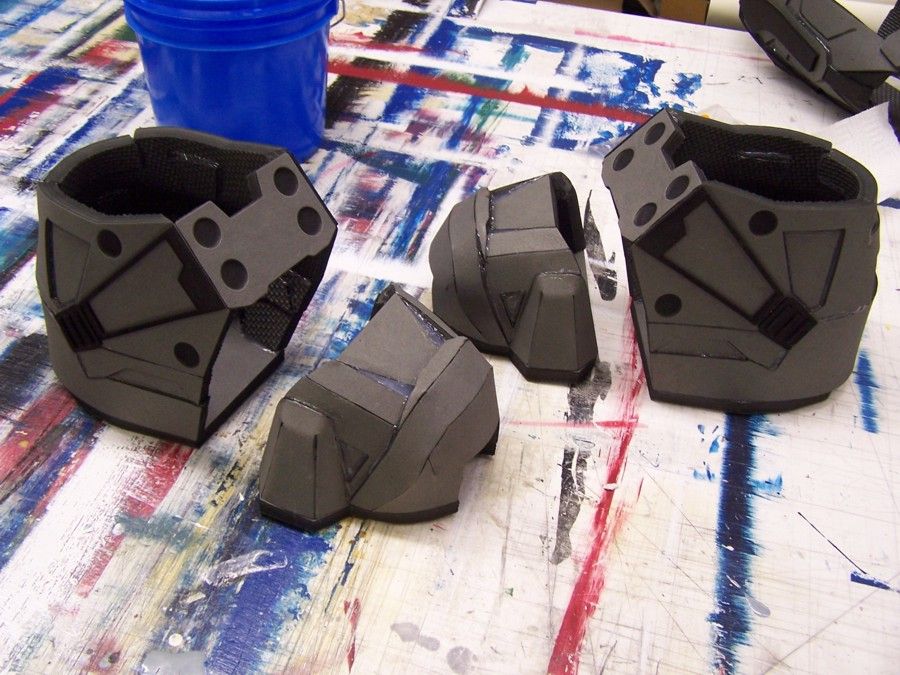
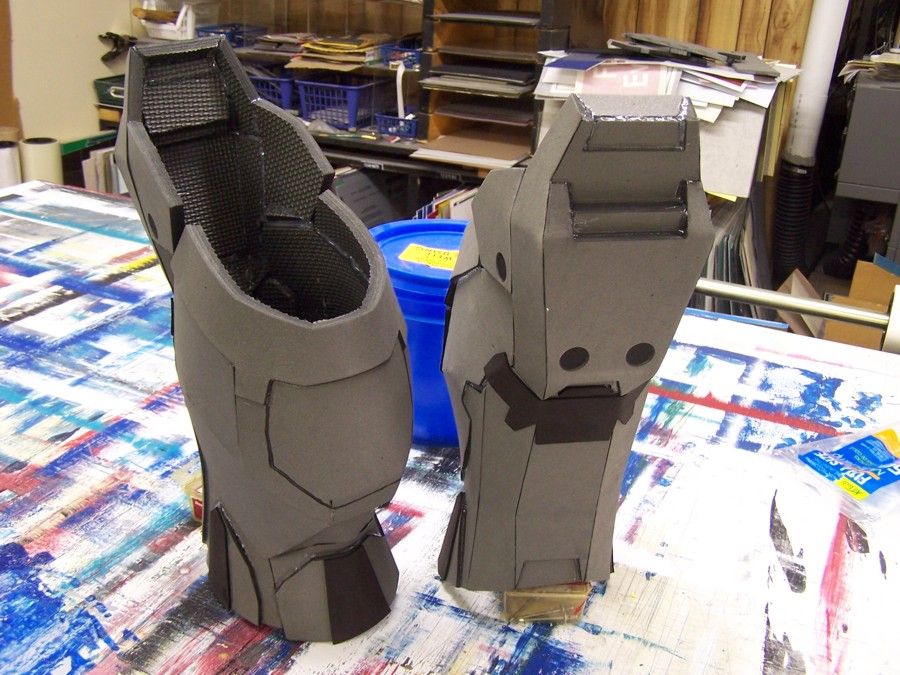
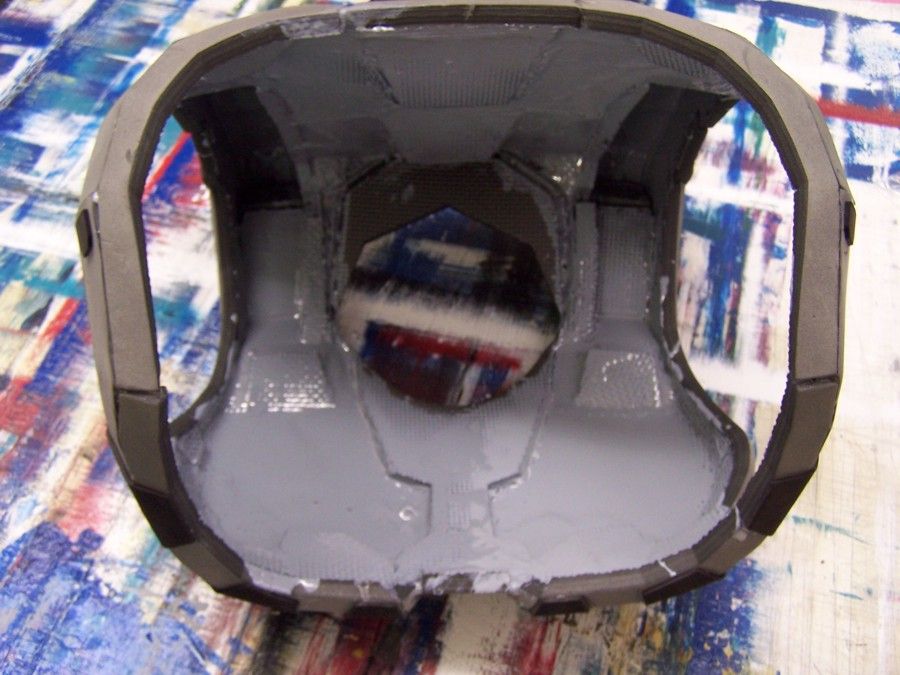
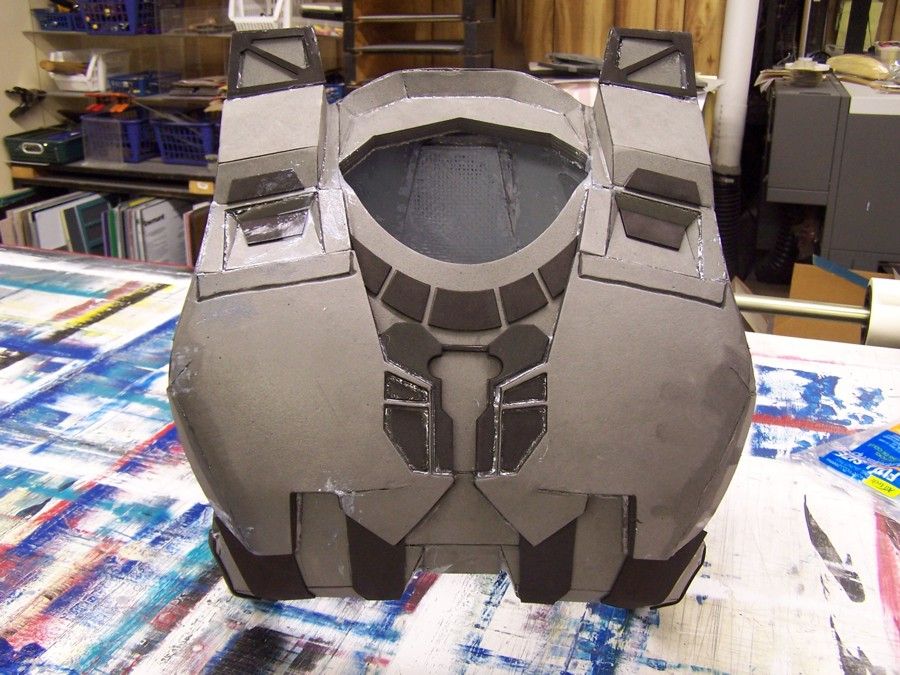
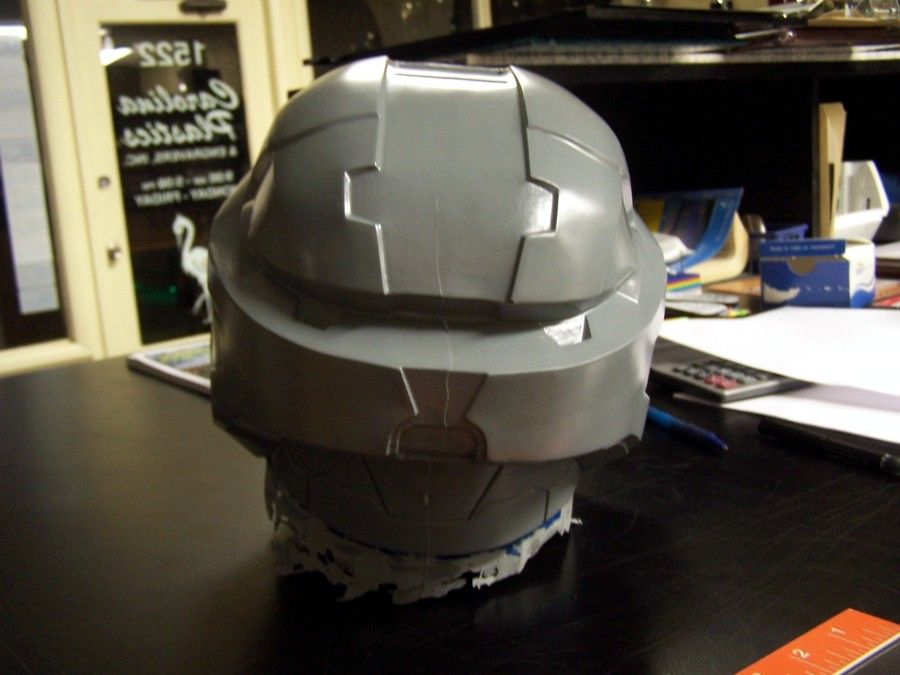
Here is the base of the finished torso.
102_3876_zpsd0ea83c8.jpg

102_3877_zps7ffcff8e.jpg


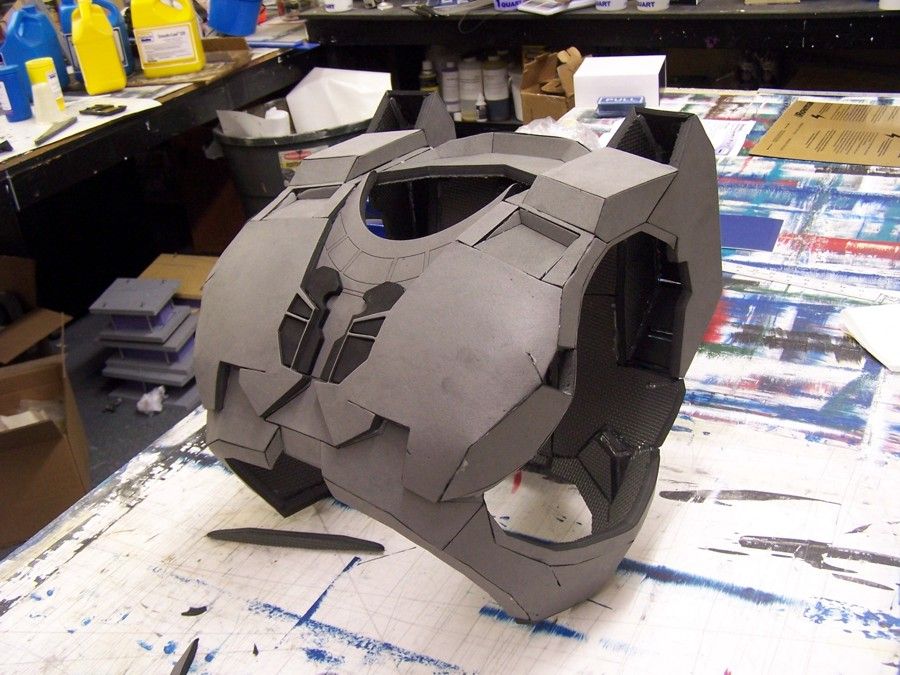
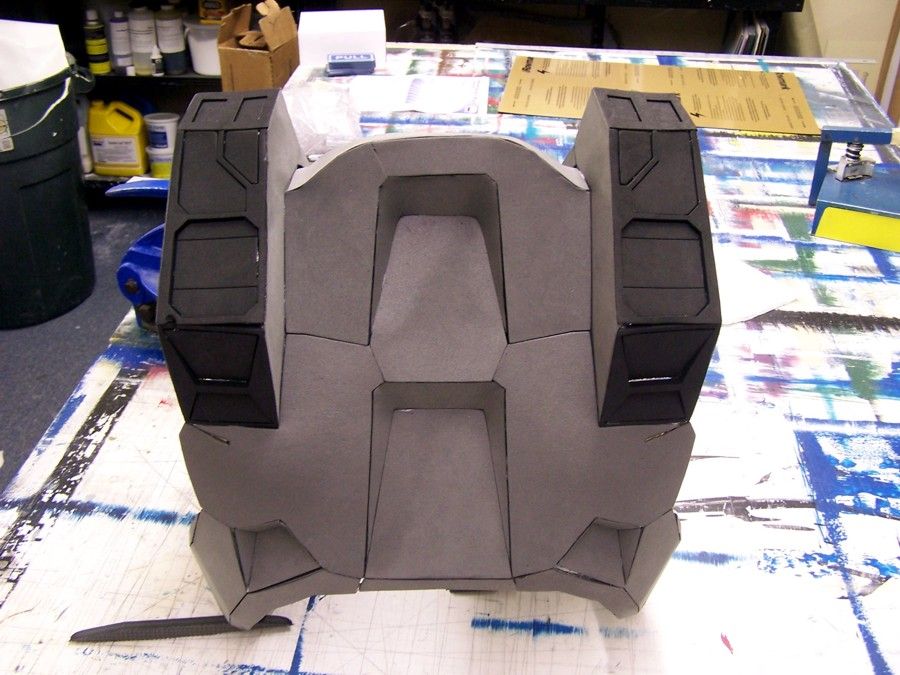
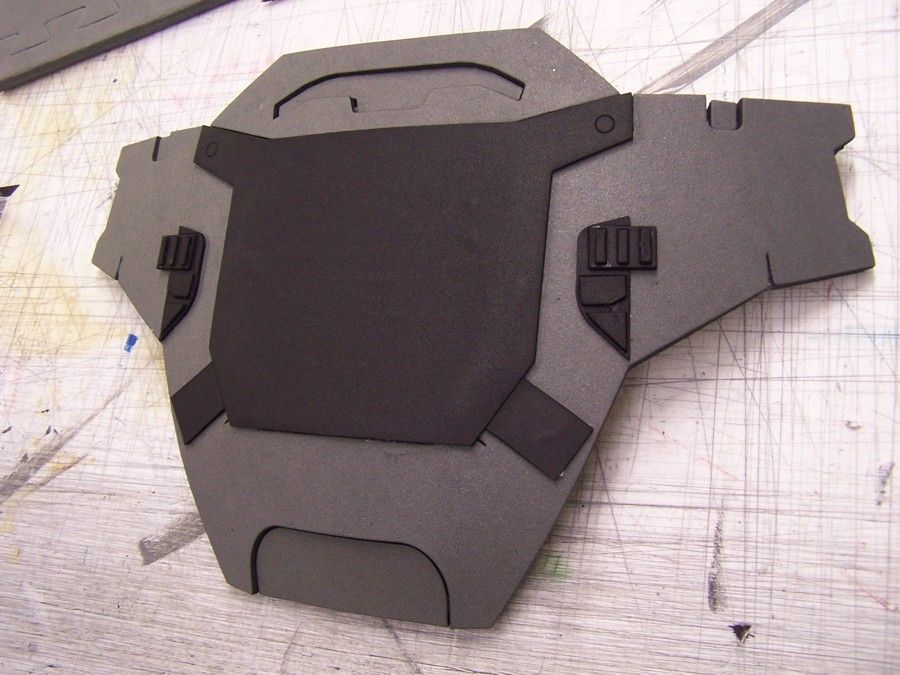
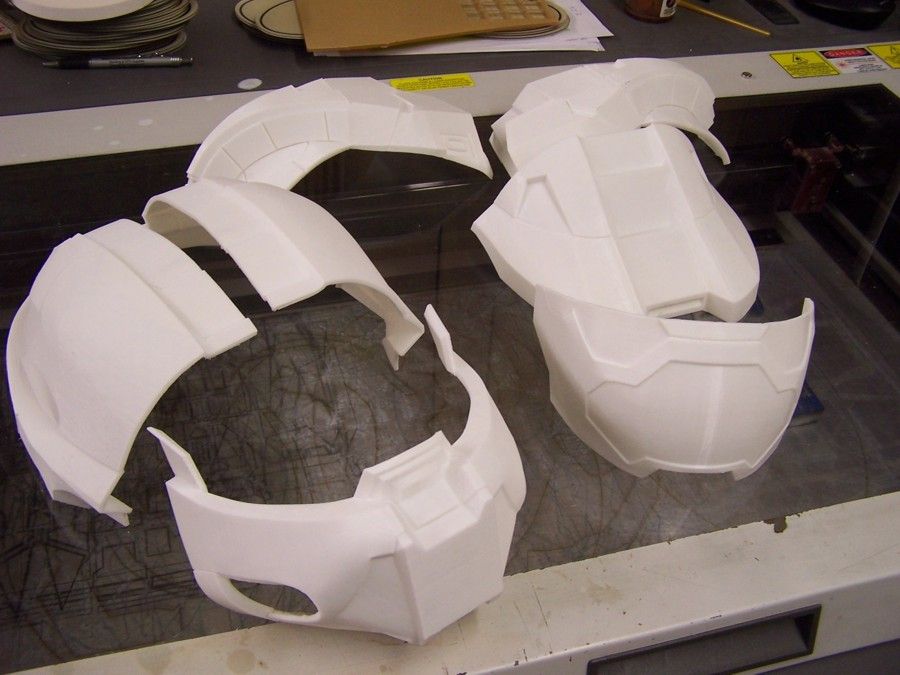
I started with a low def file, and will add the small details later. This took a few days to do.


Thanks for looking.
 
Last edited:
Re: JUSTINIAN'S Foam Mark VI Build

love it !!!

Take your time to add the details and you will get an awesome chest ;)

Nico
 
Thank you. It's time I get this thread back up and running.

Here is a bit of a teaser of something I have in the works. Can you guess what it is?
Print2_zpsd855460f.jpg
 
No replies?
I'm 3D printing the helmet.


Update time.

Progress has been going much slower than I wanted. I'm using some foam templates, but then also adding a lot of my own details from scratch. I'm pretty happy with the end results. Hopefully it will have as much detail as a fiberglass suit. Here are the thighs.
102_3977_zps36449413.jpg

102_3978_zpscaf9ecb8.jpg

102_3979_zpse8adba26.jpg

102_3980_zps7f3dd30f.jpg

102_4011_zpsde181a84.jpg


Here is the cod.
102_4007_zps5718de17.jpg

102_4009_zps1262e1dd.jpg

102_4006_zpsd7cd98da.jpg

102_4010_zpsa67b7a54.jpg

102_4008_zps5f52aa11.jpg


My helmet has been completely printed. I should have it by the weekend. I'm super excited.
Print7_zpsb7fdde77.jpg

Print5_zpsb96ead30.jpg


It's crunch time, so I really need to crank up the production. I need to have the rest of the suit built by the beginning of the week.
 
Dang! I don't know how I missed this thread earlier but it looks beast so far. Super crisp cuts from the laser I am super jealous! Looks amazing, 3D printing your own helmet is looking good to.

Again I just cannot believe how awesome the chest and thighs look!
 
Thank you. I actually had a friend 3D print the helmet for me. I haven't had a chance to get a printer yet.

Update time.
Wow, second update for the day. I hope progress continues like this. :) I'll go into detail on these shoulders.

I cut all all of the parts for both shoulders.
102_4012_zps7ea9443c.jpg


I figured out where the bends are going to be, and beveled them out, but not all the way through.
102_4013_zps451f166c.jpg


Then I started to glue the edges together.
102_4014_zpsf9e6578b.jpg


Then you get a part that looks very clean, like this.
102_4015_zps0e1a4f45.jpg


Then I worked on the other sections.
102_4016_zpsb41340c8.jpg

102_4017_zpsed4f8f82.jpg


Here are both of the completed shoulders.
102_4019_zpsca0119db.jpg


On to build the next parts...
 
Thank you.


Update again.
Last night I got the forearms done. And can I say that I absolutely hate doing the forearms on any build. It took me about 5 hours to do just these.
102_4020_zps21cd4a28.jpg

102_4021_zpsc7ebef51.jpg


This morning I did some tests with my paint. And I think I got it down pretty good. I will be using the same paint from my last suit. And with a little weathering, it completely changes the color to be what I need. The left one is just an extra FUD hand plate I had laying around, the right one is from my last suit, unweathered.
102_4023_zps09a22676.jpg


Let me know what you think.
 
I know how tedious forearms can be and that's without good angles.

The color looks good and looks perfect when weathered
 
Thank you. I am very pleased with the color. I will most likely do slightly less weathering though.


Not a huge update. I didn't get a chance to work on this at all this weekend.
Today I go the helmet in. And it looks absolutely amazing.
102_4026_zpsddcb2dec.jpg

102_4028_zps7d77ac46.jpg

102_4027_zps696caa84.jpg


I did some minor cleanup around the edges, and super glued the parts together. They fit very well.
102_4029_zpsca3932ff.jpg

102_4030_zpse45a8847.jpg

102_4031_zps53a9b844.jpg


There were a few small gaps along the seams, so I did some rondo to help fill them in.
102_4033_zpsf7400592.jpg


Then I did a coat of filler along the seams, and any spots that were kind of rough.
102_4034_zps278743f7.jpg


I was hoping to be able to get it sanded and put into primer tonight, but it is way too late. So I'm going to bed. I'll get more done in the morning.... well a few hours at this point.

Thanks for looking.
 
Just a question: what kind of glue do you use to put the foam parts together? And it holds well enough that it'll survive through some wear and tear?
 
Just a question: what kind of glue do you use to put the foam parts together? And it holds well enough that it'll survive through some wear and tear?
Hot glue and super glue work great on foam. They both adhere well. Sometimes I will glue the parts together with super glue, and then reinforce the backside with hot glue.


Update time. I spent the last 3 days non stop sanding this bad boy down. It looks absolutely fantastic!
102_4035_zps66088536.jpg

102_4036_zps154e2f41.jpg

102_4037_zps55ad389a.jpg


I'll let it dry overnight, and then in the morning the molding begins.....
 
Big update from this weekend.

I spent the rest of the week working on the mold for the helmet. Here is the print layer of Rebound 25.
102_4039_zps5c6589fe.jpg


After multiple coats, the thickness is starting to build up.
102_4041_zps9a3404c9.jpg


Here it is with the support shell done.
102_4042_zps1f778b95.jpg


I also got some boot made.
102_4046_zps8b1cfa0b.jpg


And some shins.
102_4047_zps281d7089.jpg


I also used some resin to strengthen some of the parts.
102_4043_zpsebe0f78d.jpg


And the chest is now fully detailed.
102_4044_zps84adf884.jpg

102_4045_zpse9d38f46.jpg


Sealing and painting comes later today. Only 3 days left to get this thing finished....
 
That's a stellar build you have going there. Looks very clean. Didn't see anywhere in the thread where you got these foam files from. I intend to redo my Mark VI in foam and your build is exactly what I am going for.
 
That's a stellar build you have going there. Looks very clean. Didn't see anywhere in the thread where you got these foam files from. I intend to redo my Mark VI in foam and your build is exactly what I am going for.
Thank you. I took the basic low def files, and did some cleaner unfolding for foam. Then I brought the files into my graphics program and did a ton of additional detail work, by hand.
Dang! That came out amazing!
Thank you.


I'm slowly getting there.

The plasti dip went on very well. I did 6 coats in 2 hours.
102_4052_zps76188495.jpg


I also got a test pull from the helmet mold. I am very pleased with the results.
102_4049_zps87e8c765.jpg

102_4050_zps8561fcbd.jpg

102_4051_zps245be877.jpg


I also got the chest buckles done.
102_4071_zpsb6a3acc1.jpg

102_4070_zpsa0263295.jpg

102_4076_zps8f29c0e2.jpg


And as if I wasn't too pressed for time already, I made a mold for my hand plate.
102_4078_zps482a6a2a.jpg


One day left. I think I may need to pull an all nighter tonight to get this finished in time.
 
Thank you. I will get it finished.


Well, I made it just in time for Dragon Con.... Barely. But before I get to any of that, let me get you guys caught up on what I did.

I have had a few people aske me how to install a visor, so here are my steps... because I had plenty of spare time to make a tutorial lol.

Cut the visor section out of the helmet.
102_4088_zps55587db9.jpg


Get a gold visor (or whatever color you want)
102_4089_zps297ca201.jpg


Be sure to inspect it for imperfections. This one was defective, and the gold film peeled right off. This was going to be a tutorial for a double layer visor, but now it is a single visor.
102_4092_zps35e79585.jpg


Neatly cover the visor with tape, front and back.
102_4090_zpsd8c10593.jpg


Place it in the helmet, and draw a line where it goes.
102_4094_zps3f60332e.jpg


Take it out and trim it to fit. I usually leave about 1/2 an inch around the line.
102_4095_zpsbe2f0b82.jpg


Put the visor back in place, and fill in any gaps with Bondo.
102_4098_zpse1f35933.jpg


Let the Bondo mostly cure. While it is still a little soft, you can remove the visor.
102_4099_zpsf281665c.jpg


Then sand down the bondo, so that it is completely flat with the helmet.
102_4100_zpsad697484.jpg


Test to make sure that the visor is a perfect fit.
102_4101_zps5b3a799a.jpg


Then you can peel the tape off, and glue it in place. I use some super glue to hold it down, and then use epoxy along the edges inside.


I also got my armor painted.
paint_zps7aecef32.jpg


I will upload more pictures in the morning.
 
This thread is more than 8 years old.

Your message may be considered spam for the following reasons:

  1. This thread hasn't been active in some time. A new post in this thread might not contribute constructively to this discussion after so long.
If you wish to reply despite these issues, check the box below before replying.
Be aware that malicious compliance may result in more severe penalties.
Back
Top