My first costume was based on Tron legacy with a little influence from the first film thrown in.
I had never worked with EL before, so armed with some electronics skills and a bucket load of enginuity, I set about finding the possibiltys and limitations of this really cool glowey stuff :thumbsup
I'm going to start with the wire first, as the choice of wire will dictate how long a connection can stand repetitive bending before the wire snaps through metal fatigue if its not properly secured, or coated.
I found that for the best results and flexibility, use test meter wire. It's stranded with much finer wires, and the sleeve is ultra flexible. It's normally used for multimeters, but can be bought online by the meter (I get mine from eBay *note, I'll be saying that a lot :lol).
For flat laying sections on costumes, you want about 25% more wire length than the distance from connection to connection to allow for a certain amount of shallow bending that may occur.
To gain acces to the contacts, and securing the wire and contact points, you'll need:
a sharpie or scalpel
EL tape/sheet
wire glue or cold solder (I bought mine on eBay)
a cocktail stick for applying the glue
some paper towel (wire glue can get everywhere if your not careful or tidy)
epoxy resin or firm curing glue to act as a protective coating for the wire glue (it's a little bit brittle when cured, so some kind of protective layer is needed)
electrical tape, or better still, brush on PlastiDip (love PlastiDip, so many uses :thumbsup)
Clear sealing tape (to prevent moisture from creeping in to the cut areas.
Start off by making a few simple templates that represent the angles, or shapes needed, then cut the tape accordingly.
Take your sharpie and very carefully cut a very small square or circle over the top I've the silver electrodes (just deep enough to go through the outermost layer, one for each is fine at ANY point along the electrodes), and gently remove the cut sections to expose the silver layer underneath.
Take your measured lengths of wire and tape just behind the exposed ends to sue cure in place.
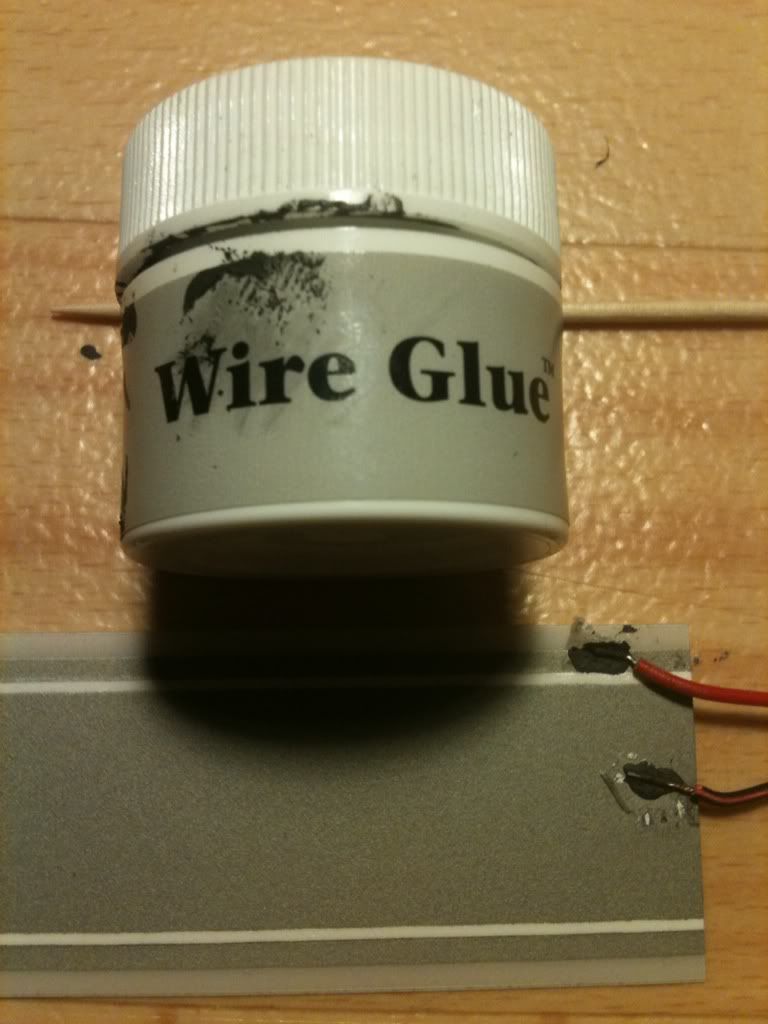
Give the wire glue pot a thorough shaking for a minute as the carbon molecules tend to settle on the bottom. Once shaken, carefully remove the lid and give it a gentle stir (WARNING! This stuff can get EVERYWHERE, so make sure the paper towels are handy).
Once the wire glue is dry, it'll start conducting electricity very well, but it's a little brittle, so mix up a small amount of epoxy and dab a peas worth of it over each connection point and allow to cure.
Finaly, secure any wires that won't move about by bending with PlastiDip or tape, and seal off any exposed cut sections of tape with clear to stop moisture from being absorbed (it won't like that).
End....
It's possible to make the tape thinner, shape it slightly, split it in half down the middle, or make holes in it as long as the centre electrode, and one of the two outer electrode tracks are still present along any part of the cut/shaped length of tape.
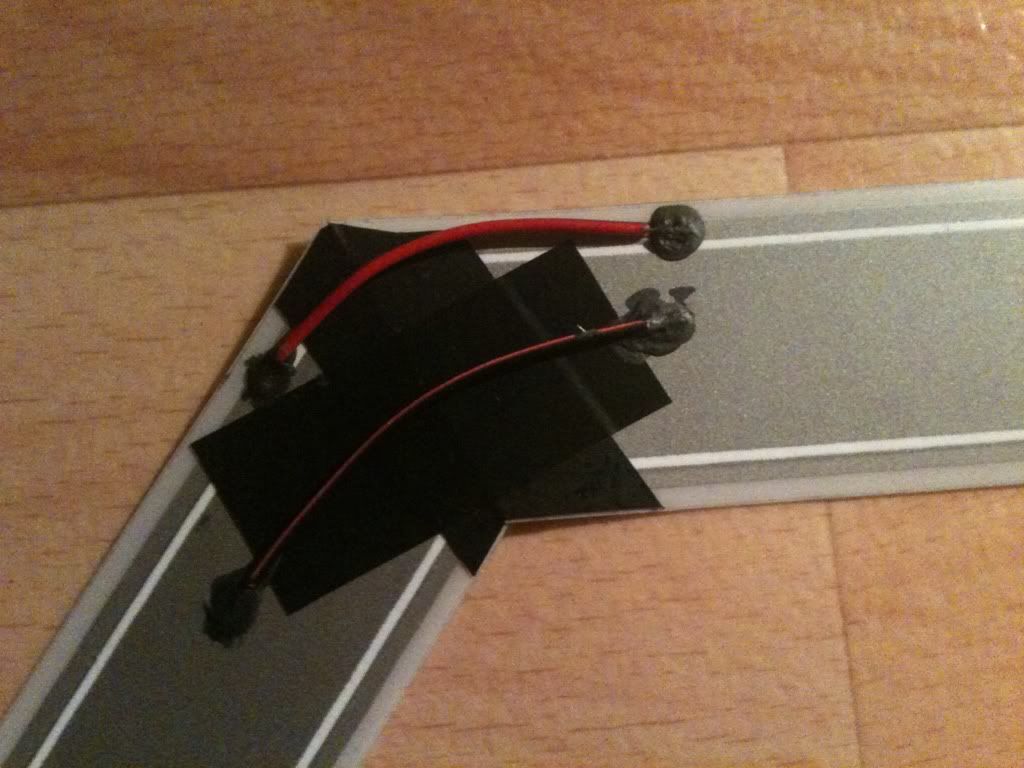
Here's an example I made*of the connections and join possibilities:
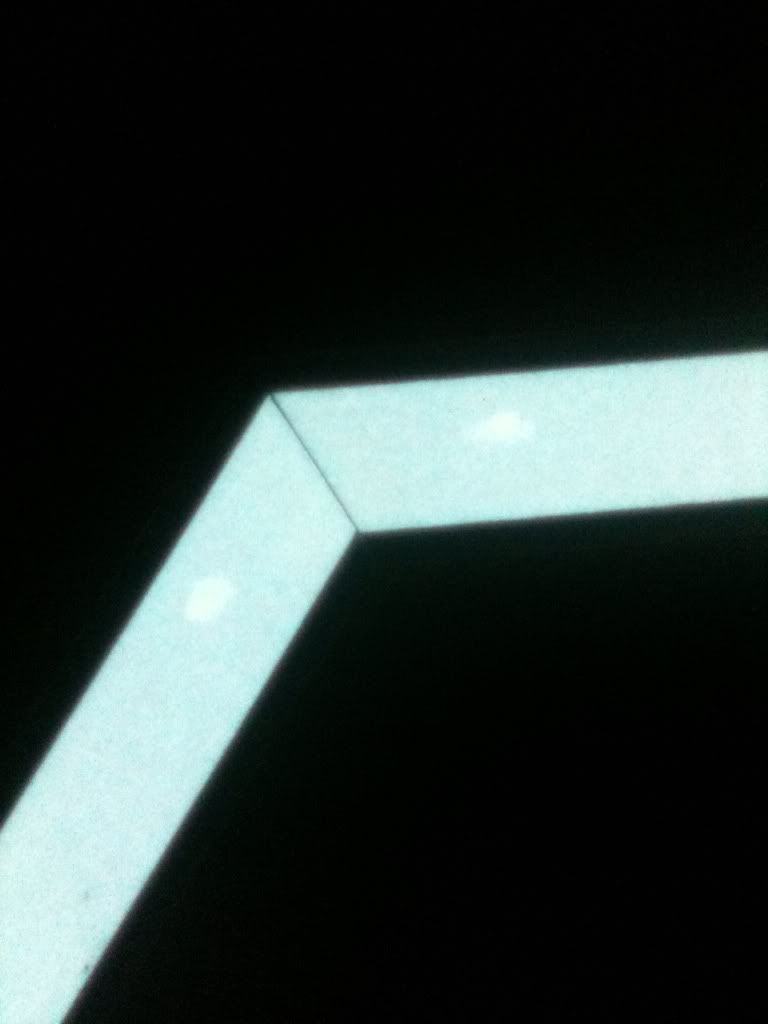
Here is a working example of one I joined together

...and the wire glue...
I had never worked with EL before, so armed with some electronics skills and a bucket load of enginuity, I set about finding the possibiltys and limitations of this really cool glowey stuff :thumbsup
I'm going to start with the wire first, as the choice of wire will dictate how long a connection can stand repetitive bending before the wire snaps through metal fatigue if its not properly secured, or coated.
I found that for the best results and flexibility, use test meter wire. It's stranded with much finer wires, and the sleeve is ultra flexible. It's normally used for multimeters, but can be bought online by the meter (I get mine from eBay *note, I'll be saying that a lot :lol).
For flat laying sections on costumes, you want about 25% more wire length than the distance from connection to connection to allow for a certain amount of shallow bending that may occur.
To gain acces to the contacts, and securing the wire and contact points, you'll need:
a sharpie or scalpel
EL tape/sheet
wire glue or cold solder (I bought mine on eBay)
a cocktail stick for applying the glue
some paper towel (wire glue can get everywhere if your not careful or tidy)
epoxy resin or firm curing glue to act as a protective coating for the wire glue (it's a little bit brittle when cured, so some kind of protective layer is needed)
electrical tape, or better still, brush on PlastiDip (love PlastiDip, so many uses :thumbsup)
Clear sealing tape (to prevent moisture from creeping in to the cut areas.
Start off by making a few simple templates that represent the angles, or shapes needed, then cut the tape accordingly.
Take your sharpie and very carefully cut a very small square or circle over the top I've the silver electrodes (just deep enough to go through the outermost layer, one for each is fine at ANY point along the electrodes), and gently remove the cut sections to expose the silver layer underneath.
Take your measured lengths of wire and tape just behind the exposed ends to sue cure in place.
Give the wire glue pot a thorough shaking for a minute as the carbon molecules tend to settle on the bottom. Once shaken, carefully remove the lid and give it a gentle stir (WARNING! This stuff can get EVERYWHERE, so make sure the paper towels are handy).
Once the wire glue is dry, it'll start conducting electricity very well, but it's a little brittle, so mix up a small amount of epoxy and dab a peas worth of it over each connection point and allow to cure.
Finaly, secure any wires that won't move about by bending with PlastiDip or tape, and seal off any exposed cut sections of tape with clear to stop moisture from being absorbed (it won't like that).
End....
It's possible to make the tape thinner, shape it slightly, split it in half down the middle, or make holes in it as long as the centre electrode, and one of the two outer electrode tracks are still present along any part of the cut/shaped length of tape.
Here's an example I made*of the connections and join possibilities:
Here is a working example of one I joined together
...and the wire glue...
Last edited:
")