A Fling with a B-Wing! Finished at last

Status
Not open for further replies.

Guy Cowen

Sr Member
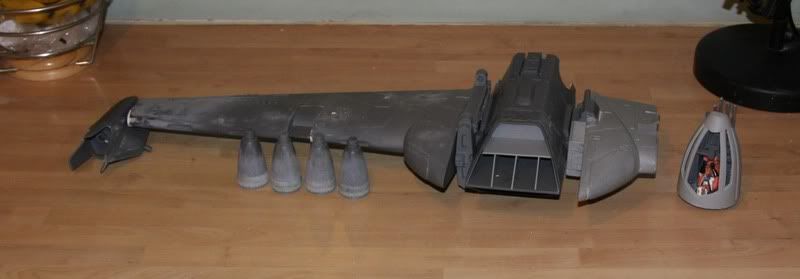
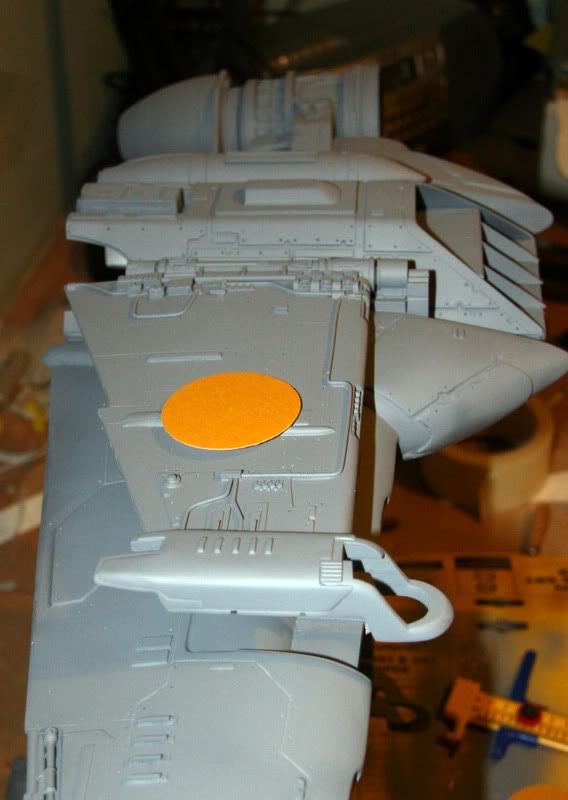
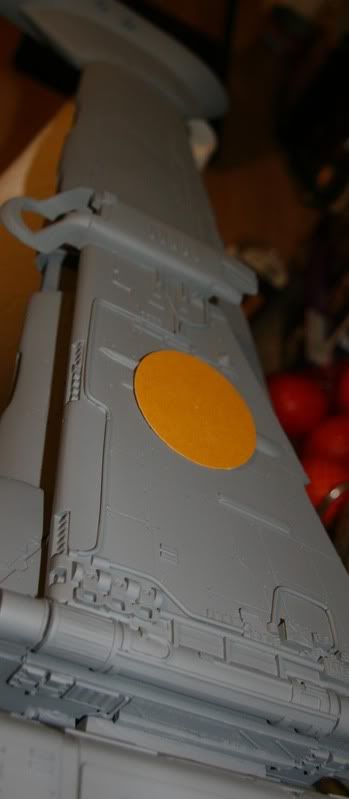
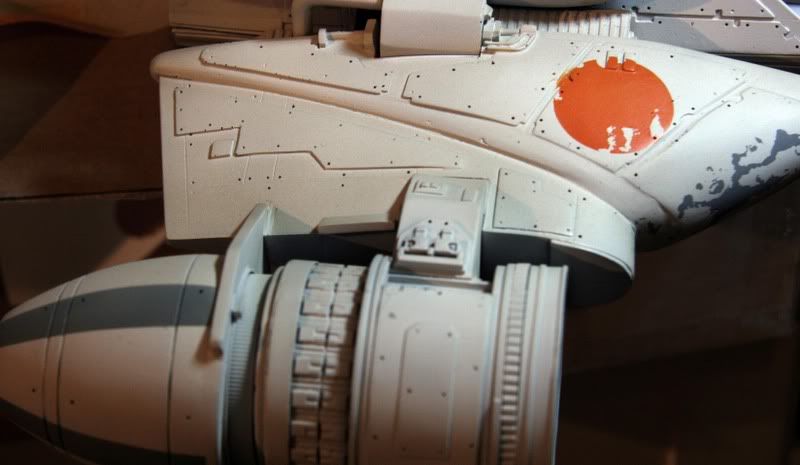
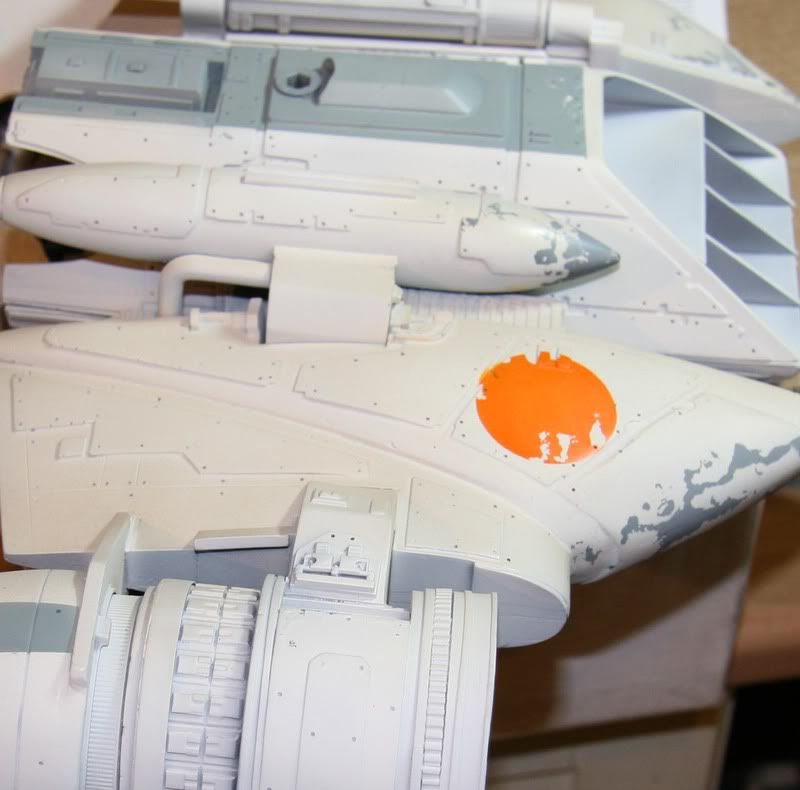
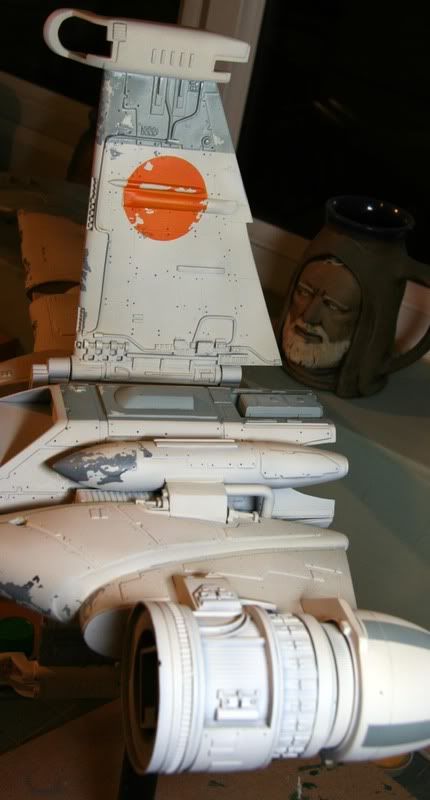
For the past 12 months or so I have had one build on my mind, the 1/24 B wing. At last I can say this has finally begun, I have 2 kits & am awaiting some replacement parts but this wont hold me back, I was going to do both at the same time but I will do my best to get one up & running & do the other as it comes together. I've decided to start with the Orange spot version as its the least common (ref material wise). I have been through this paint job in my head so many times that I think I could do it blindfolded...well maybe not :lol

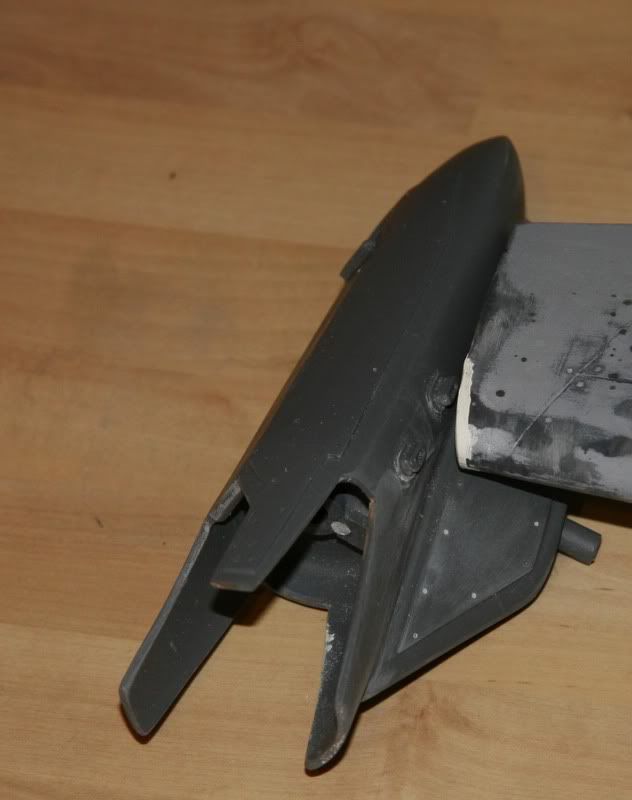
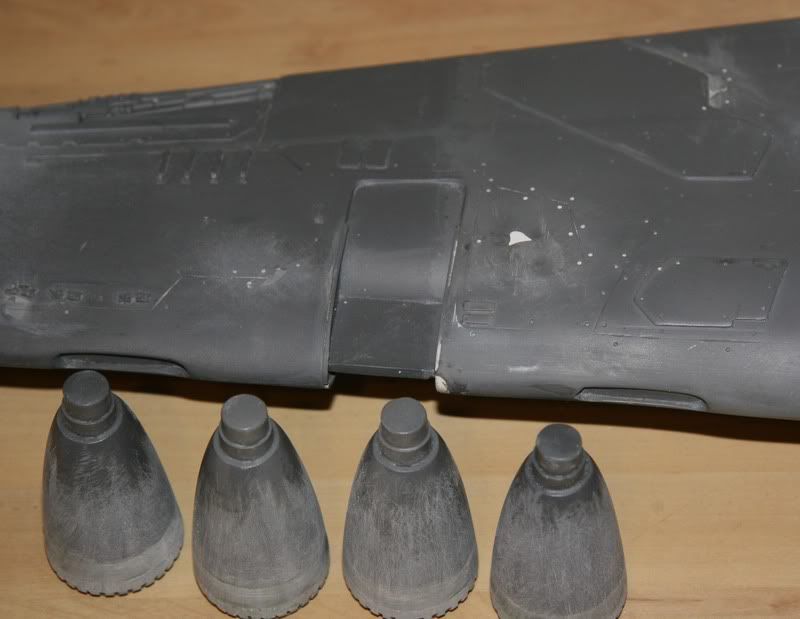
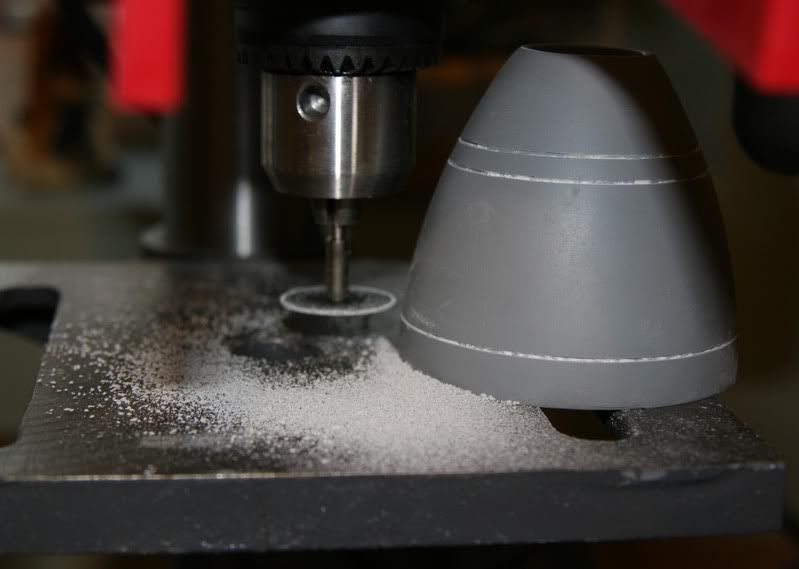
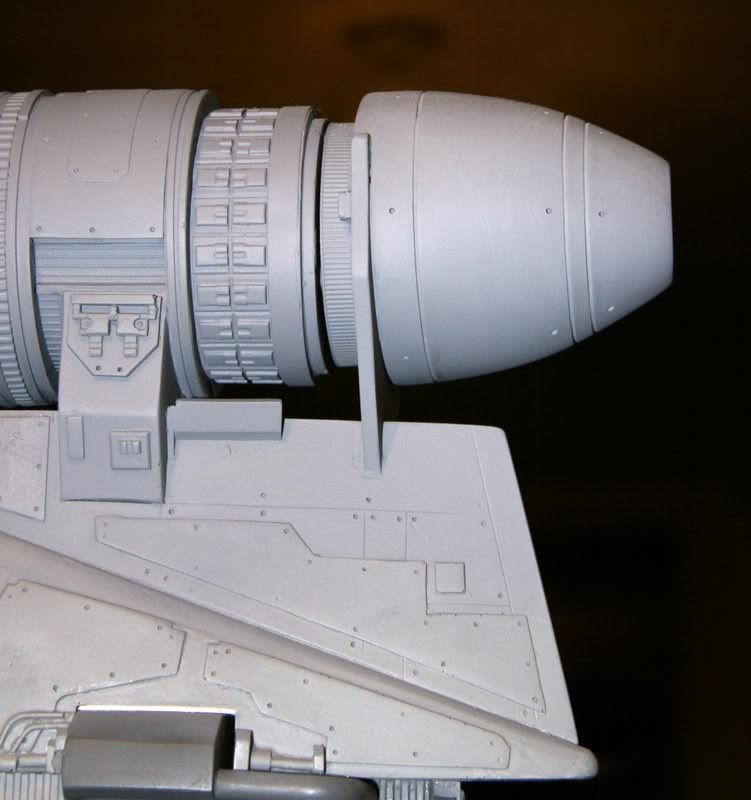
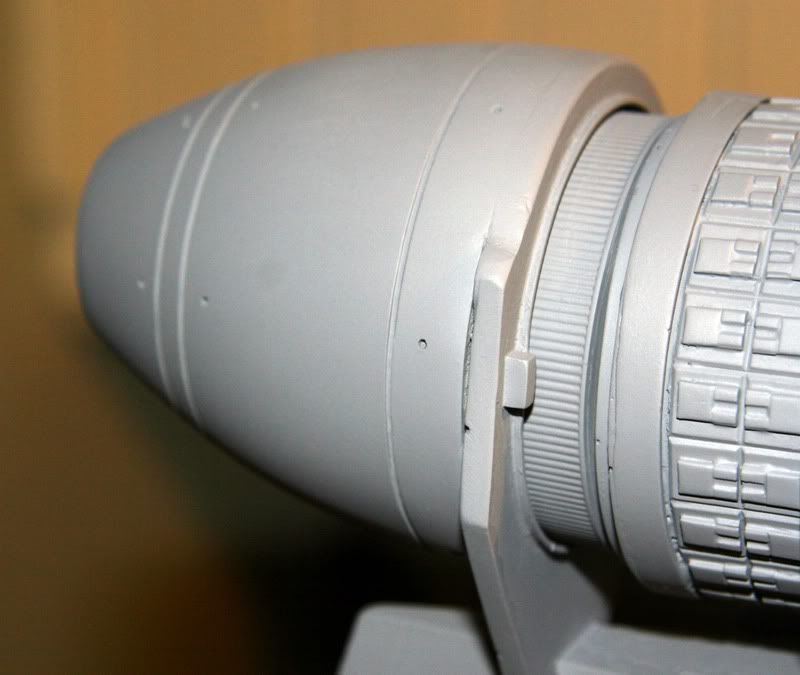
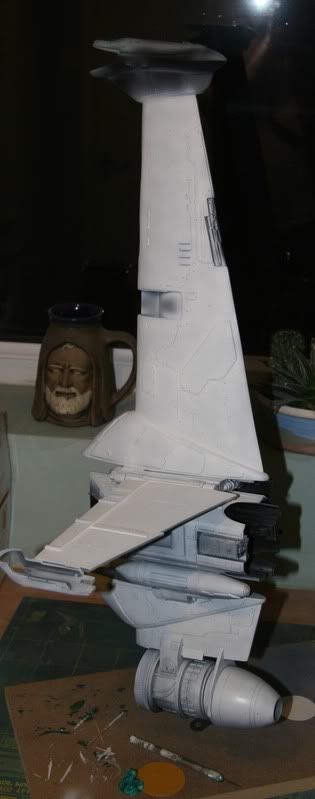
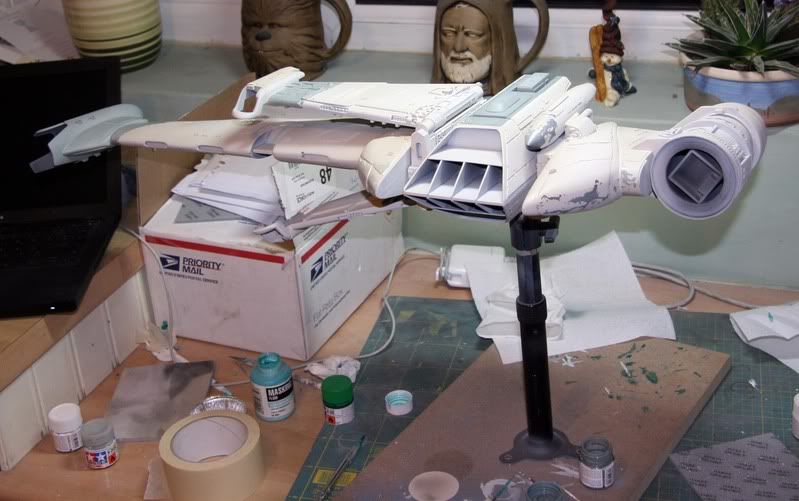
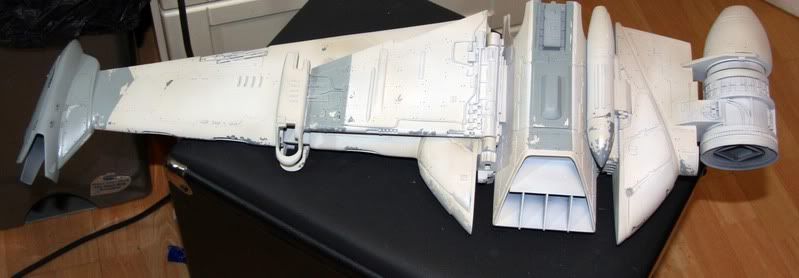
It would be great if the parts from Jeff turn up before the painting starts but it wont hold me back. I do have to say that as I took the kit out today to start the clean up that a lot of the casting is really nice, & overall pretty good. We all know about this so I'll leave it there. I'm still undecided about the display of this though, I may try & come up with a way to mount it at the engine part, don't know how but I'd love to be able to spin this 360 when finished???

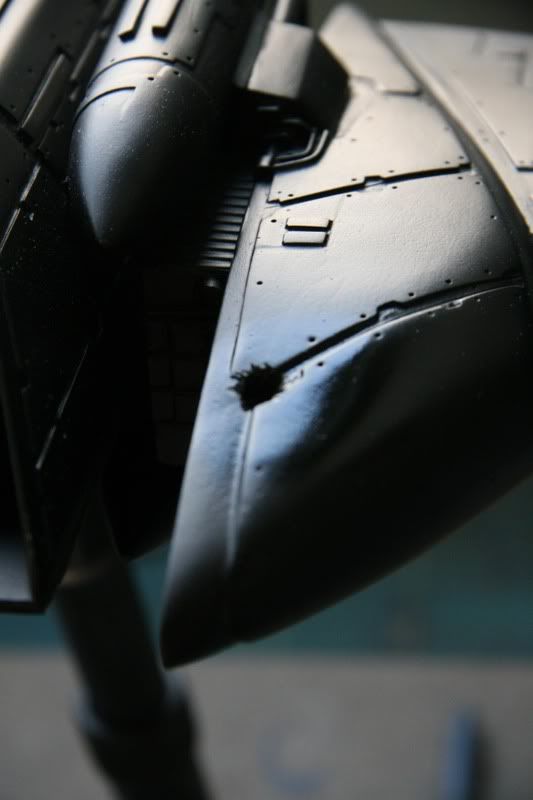
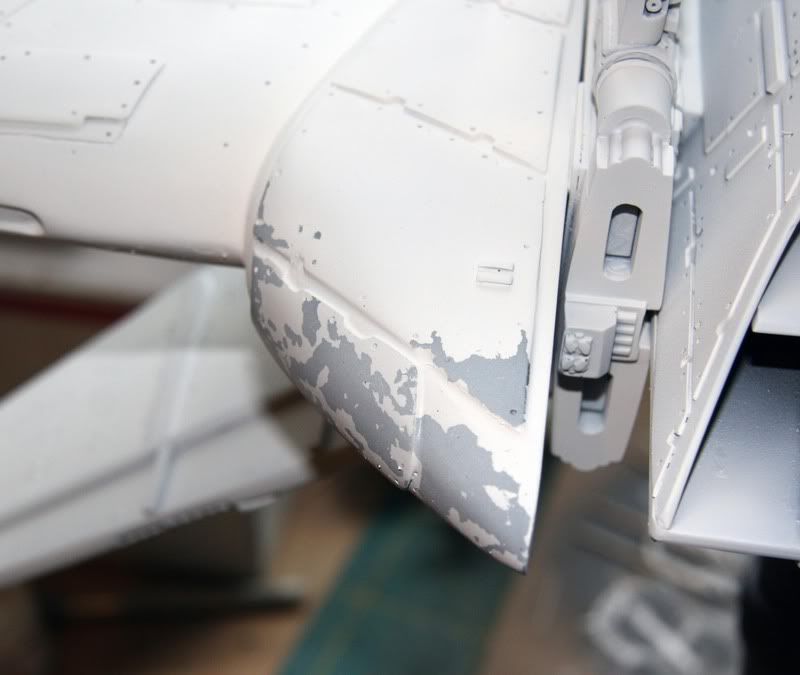
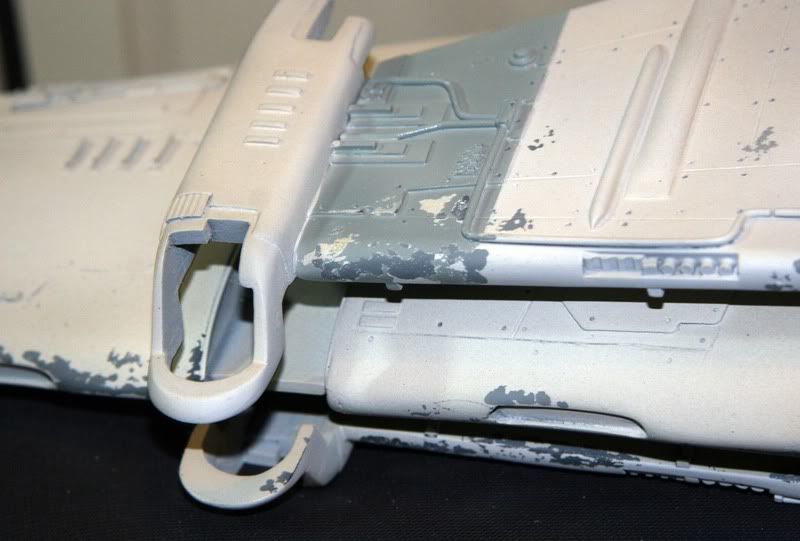
As it isn't a studio scale replica, I intend to paint it slightly different to the prop, where the paint chips are just brushed on on the prop I will do them with liquid latex so hopefully it will look a little more real world rather than replica. I'll try to stick to the correct colors & the correct weathering patterns & maybe throw a few of my own in? :love

I only have till the 7th Of Jan to get this completed so its going to be a challenge, but I cant wait.

No pics today, but the way I feel I could end up doing this on Xmas day I'm that excited.
 
Last edited:
Re: A Fling with a B-Wing!

:cry this is going to take a while, there's a lot more clean up & filling than I originally thought. Anybody got any tips on scribing panel lines :cry:cry:cry :confused :confused
 
Re: A Fling with a B-Wing!

Dymo tape, Olfa scriber, back of an Exacto blade. Make a few light passes until the line is set, then deepen as required. Going too deep too soon may cause the knife blade / scriber to jump away from the straight-edge.

Good luck and don't forget to post progress shots,
Cheers and Happy Christmas, JT
 
Re: A Fling with a B-Wing!

Guy, get a Tamiya/Olfa for sure, they rock! Curved surfaces, i use a piece of thin styrene bend it to the surface im scribing, then tape, or even blutack....then glide it over until your happy.
Youll get the knack in no time buddy, good luck, i have a feeling this will be THE B wing build to watch!

lee
 
Re: A Fling with a B-Wing!

Cheers guy's, this is one pain in the but to build, I'm discovering new problems every 2 mins. Lee do you know what shops may sell these as I need to get one tomorrow if possible, my supplier is closed till 5th Jan...Ahhhhhh. Maybe hobby craft?
 
Re: A Fling with a B-Wing!

Guy,

In Aussie the hardware shops sell the Olfa brand tools, also the drawing supplies shops (as well as hobby shops).

Cheers, JT
 
Re: A Fling with a B-Wing!

Guy, most craft/ model stores carry them,im not sure what you have in your neck of the woods my friend.
I know its not in your plans but Ebay always have them....tricky this side of Xmas bud, id send you mine but you would never get it in time...grrr!

lee
 
Re: A Fling with a B-Wing!

Well at last I've made some progress with this build, but not much. I have been sanding, filling, re shaping, generally pulling my hair out. I now understand the meaning of hidden void!!!!!. I dont have a lot of building history to relay on so I'm winging it quite a lot. As usual i've snapped good bits & destroyed the odd piece but it is coming together at last. Thanks to the OOT (Bob) build Ive managed to get a few problem's solved & generally used his build up as reference....nice one Bob. The armature is in & wasn't too tough to do to be honest, I ended up using a 4 mm threaded rod from B&Q, its a little thin but I didn't want to take any chances with a thicker one. The more I cleaned this beast up the more repair's I had to do so be aware its full of surprises, in some places I'm going to leave it scruffy rather than unearth a void....... a bit more battle damaged isn't a bad thing.

You can see the (white) Filler on nearly every piece
IMG_0001-2.jpg


Engines are nearly done, just a bit of cleaning & they're ready for primer.
IMG_0002-1.jpg


A quick test fit for Bigg's
IMG_0003.jpg


Sheet styrene is added to fill badly fitting area's, this will be needed to done in quite a few places before it assembled!
IMG_0004.jpg


more filler
IMG_0005.jpg


Its still great to see her take shape.
IMG_0007.jpg


I've still not managed to get a scribe so am a bit worried about doing the lines on the main body. Bugger
 
Re: A Fling with a B-Wing!

Eager to see more Guy, i know you will do her justice, thats not a lot of filler compared to some kits ive seen bud, your doing a great job, good to hear you have the armature in :thumbsup

lee
 
Re: A Fling with a B-Wing!

More to come! Lee, every little gun barrel, literally everything has had major fill work. I would've nearly had it ready for primer tonight but I just got told off so it will have to wait till the morn to start again :angel
 
Re: A Fling with a B-Wing!

Wow the castings look worse than you told me, that's a kolossal arbeit to get it right !

I also use Dymo tape and a home made scribbing tool (I always lose it so I have to rebuild one each time :D).

Cant wait to see more but knowing you, it will not be too long to wait... :love
 
Re: A Fling with a B-Wing!

I have to say no matter about the casting problems with this build when its all together it is incredibly impressive, I'm about 80% there with the build & it really is immense, although not studio accurate Alfred Wong did an incredible job, I cant wait to start painting this beauty. Hopefully I'll have an update tomorrow.
 
Re: A Fling with a B-Wing!

I'm getting excited now, not long till the painting starts, the primer is already going on whilst the final construction happens. I wanted to let you know how I got around the problem of putting the 3 panel lines on the back part of the cockpit structure. I really wanted this feature as its a really important part of the original prop & the more you can improve the look the better. I am rubbish at scribing ( I've decided that today) so I had to work a way of putting the 3 lines on a curved surface..... a lot of hmmm's & then it was easy! I put a dremel cutter into the bench drill then just placed the piece next to it & spun the piece. I cant believe it, it worked a treat & I didn't kill anyone in the process. Another little hint is if when your wing pieces are put together and there too loose ie: the wings don't hold there position, then a little trick I used to do with acoustic guitar bridge pins. Just put a few drops of super glue on the pins of the wing mount & then sprinkle it with resin dust, repeat a few times so it looks like the pin is wearing a jumper then just push it in the hole of the wing mount, you'll find it starts squeaking & becomes much more solid when assembled, & now my wings hold there position. Obviously if they are already tight you dont need to do this????

IMG_0008.jpg


& the end result
IMG_0011-1.jpg

IMG_0010.jpg


The glue is drying as I trype....Bring it on.
 
Re: A Fling with a B-Wing!

She's nearly all primed up & ready for the paint, a quick shot or 2 with the template test for the orange dot.

IMG_0015-1.jpg

IMG_0014-1.jpg


I'm hoping by midday this will be a mean black B -Wing with some serious paint mixing going on.
 
Re: A Fling with a B-Wing!

Well, its all happening today. I'm glad I got up early for a few reasons now!


Back to the B wing, I've had quite a few productive days. Its been painted with primer & then matt black before the base coat. This has caused a few problems as the base color I mixed needed so many coats to get rid of the black underneath. as with a few of my other builds I've added some of the patch weathering before the base coat then added the latex on top of the grey's, again before the base coat, by doing this it gives me around 3 shades of damage to the paint.

The base coat was a mix of Tamiya Flat white, Deck tan, medium grey with a few tiny drops of desert yellow.

Looking sexy in black, with the blast damage added to the front end.
IMG_0002-2.jpg


Grey patches added pre base coat, latex is added to this as well
IMG_0003-1.jpg


Base coat going on
IMG_0004-1.jpg


When the base coat has dried remove the latex & this is what you get
IMG_0005-1.jpg


& again with the variations is shade showing through
IMG_00111.jpg


On the bench & as she is now
IMG_0007-1.jpg

IMG_00081-1.jpg


I'm hoping to get the dots on tonight & get the cockpit area done as well.

Must work faster .............
 
Re: A Fling with a B-Wing!

Guy, how can you say that, your a machine, any faster youll go back in time LOL.
It is, looking very nice, and im eager to see that weather tech your so adept at utilised on this model, its going to be quite a sight!

Oh, and, shes a big girl....looks huge!

lee
 
Re: A Fling with a B-Wing!

Thanks Lee, I'm not sure when the weathering will begin, I'm waiting for some decal paper but dont know when it will arrive? If anyone has decals for this bird in 1/24 I'd be very keen to buy some asap. PLEASE?

Orange spot o'clock!
 
Re: A Fling with a B-Wing!

She looks fantastic - I am really surprised these were not presure cast though... that usually eliminates the "hidden void" issue.

Jedi Dade
 
Re: A Fling with a B-Wing!

Last update for the day, I coukld go on all night & may even sneak downstairs later!!!! Gunna get me in trouble but I'm having too much fun

The spots are on & I was bricking it, If I fuc*** these up it would be tough to re do em, only a tad of overspray from my template (nothing I cant handle) these will be dumbed down later as their not solid orange on the prop but they sure did come out OK. Also got the grey markings done on the cockpit rear, they were much harder!!!

IMG_00141.jpg

IMG_00151.jpg

IMG_00131.jpg

IMG_00161.jpg
 
Status
Not open for further replies.
Back
Top