1/6 Scale X-wing Cockpit Only

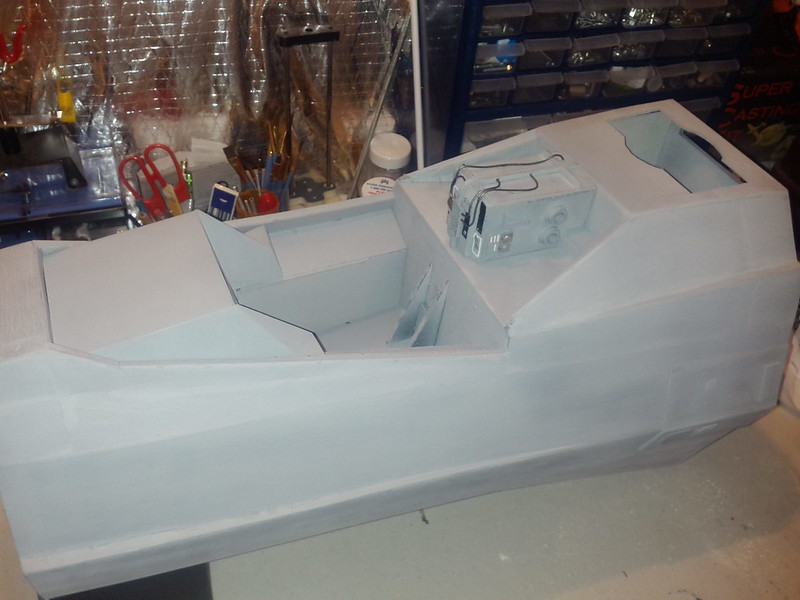
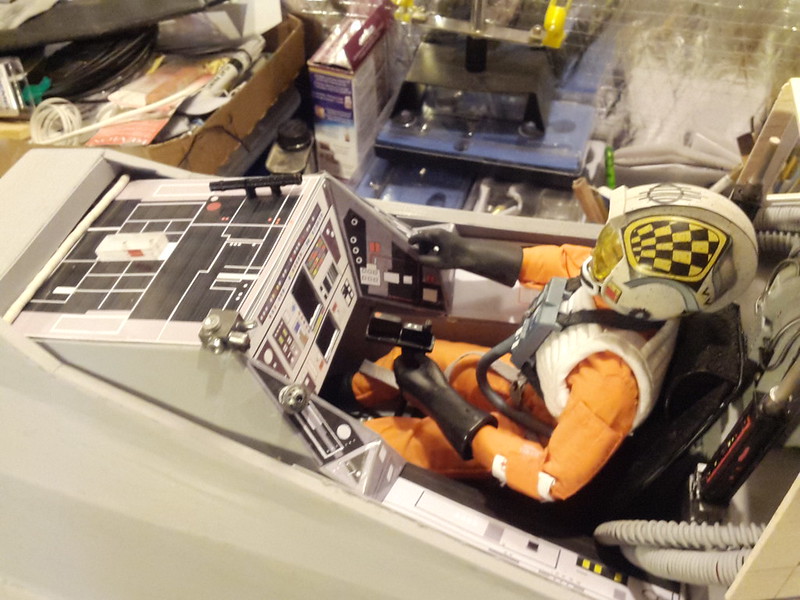
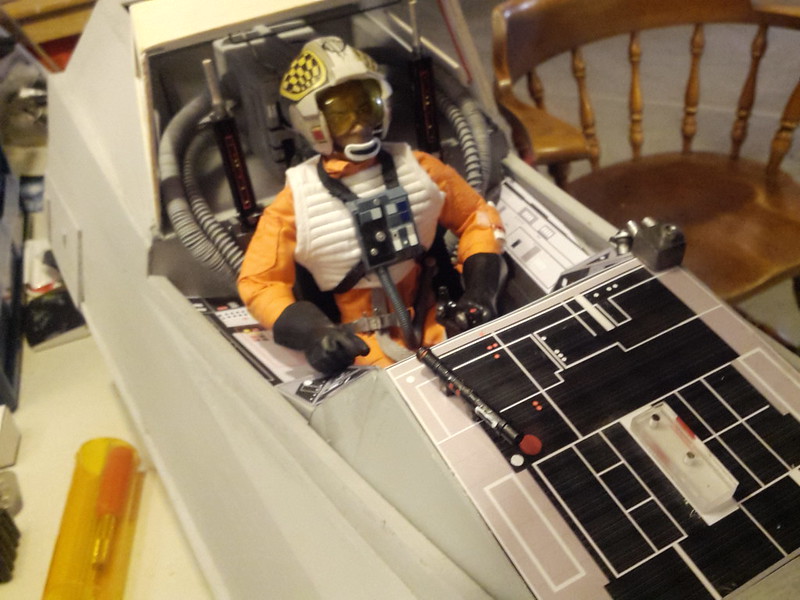
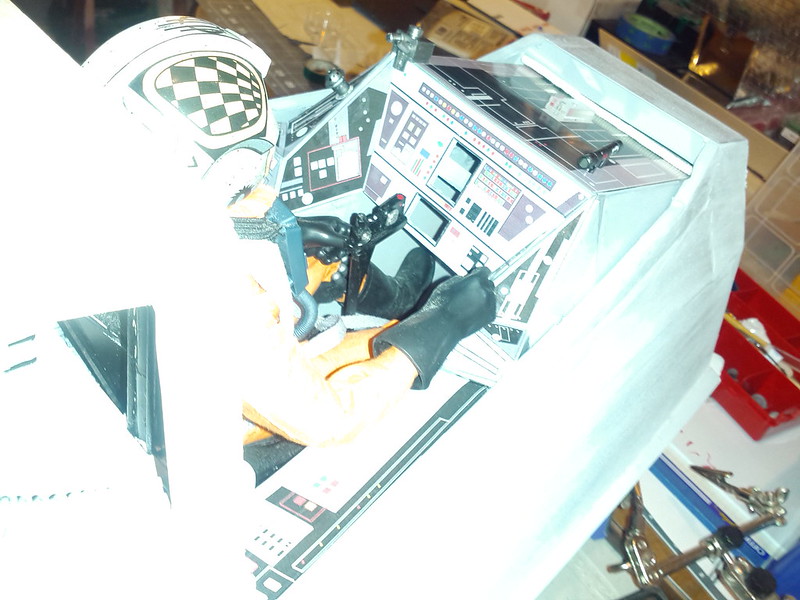
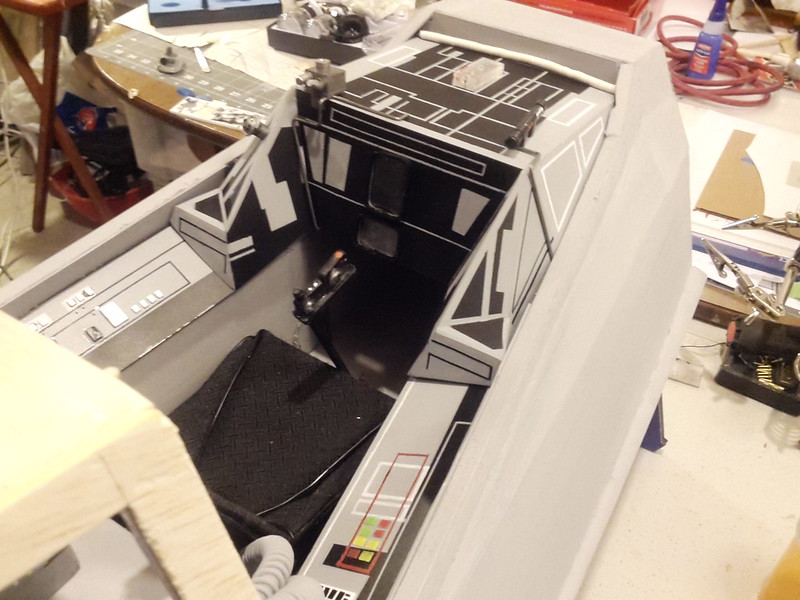
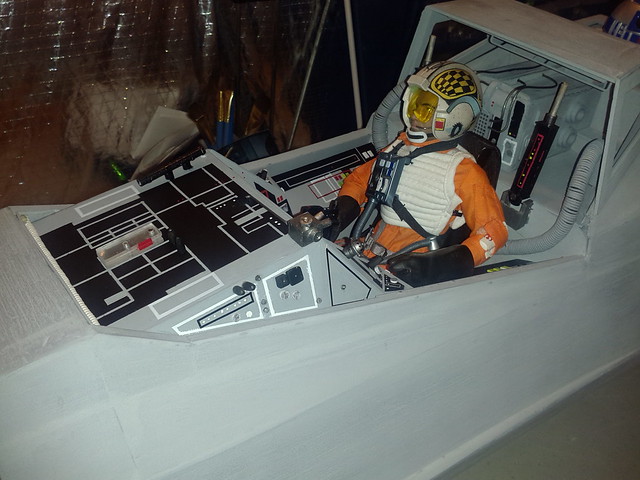
After looking at how much detail is need in a paint job that I want to have in the cockpit, I decided to make these *.png files into decals. I'll have to order some decal paper and solution to give it a shot. ;)

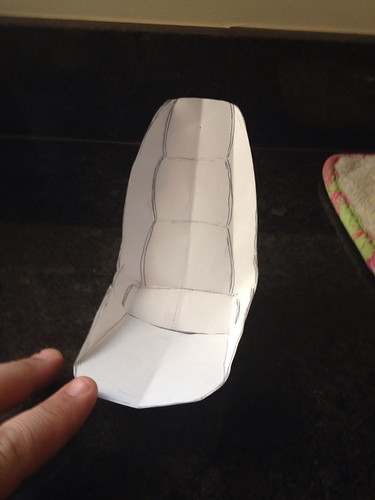
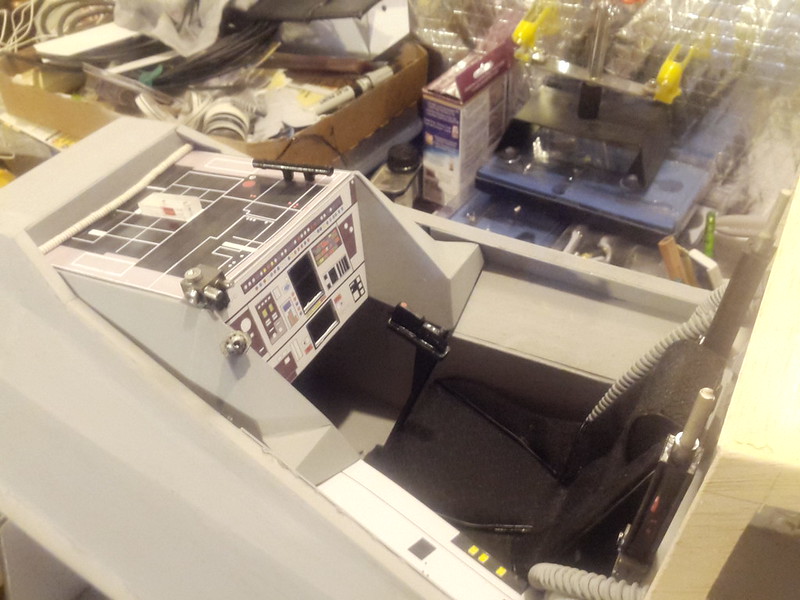
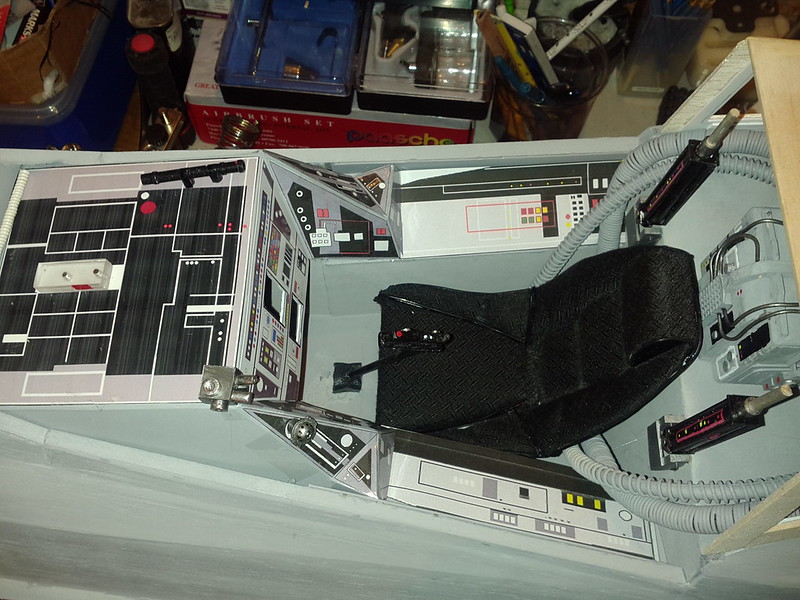
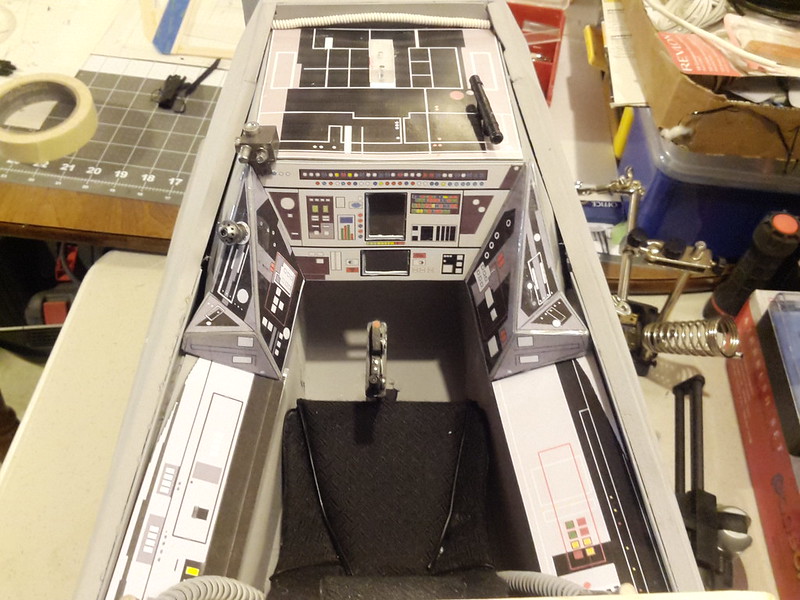
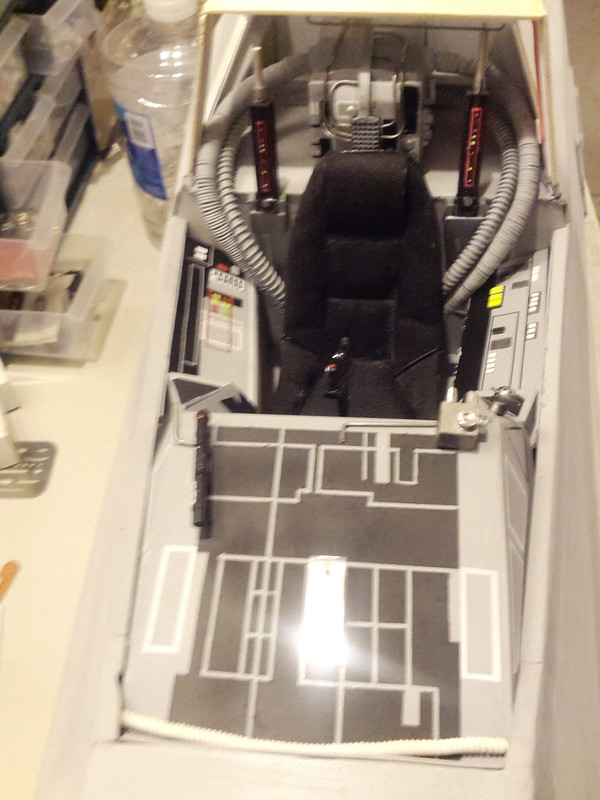
The right and left panel on the inside main cockpit area;

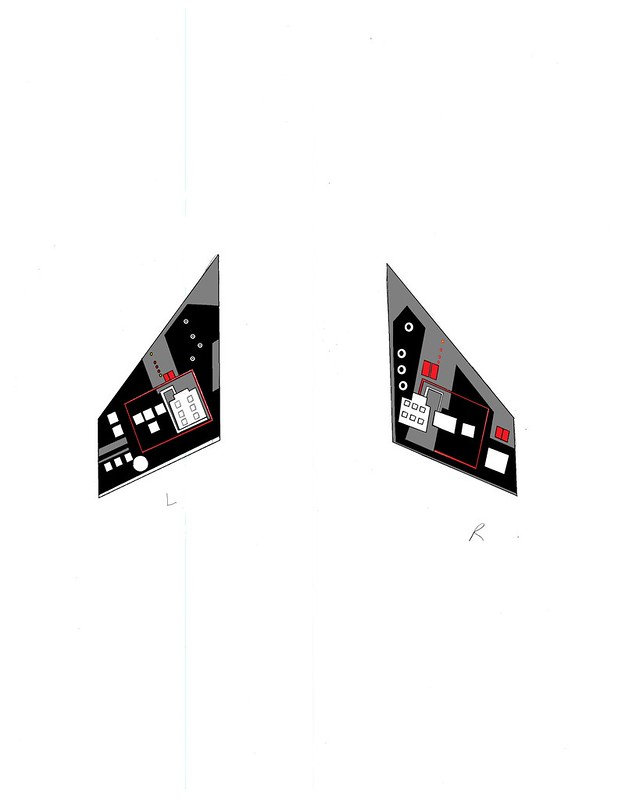
Inner side panel by i_melendez45, on Flickr

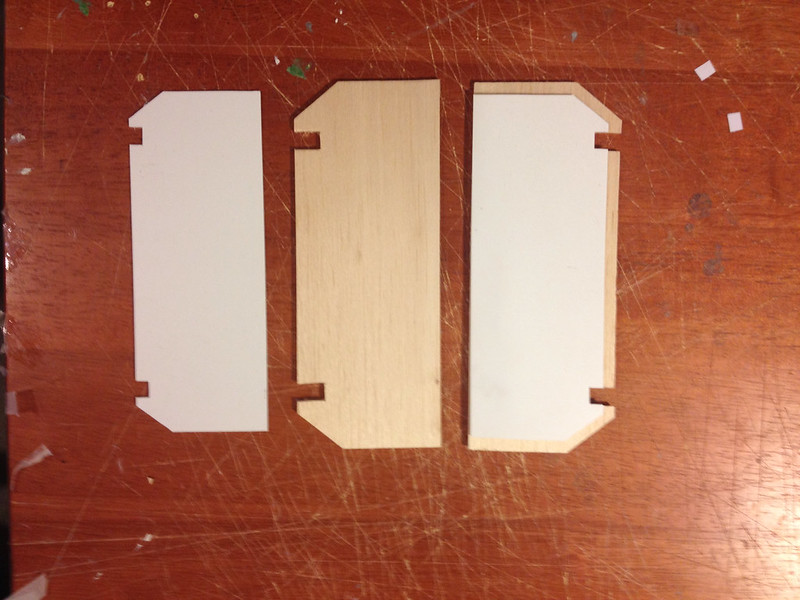
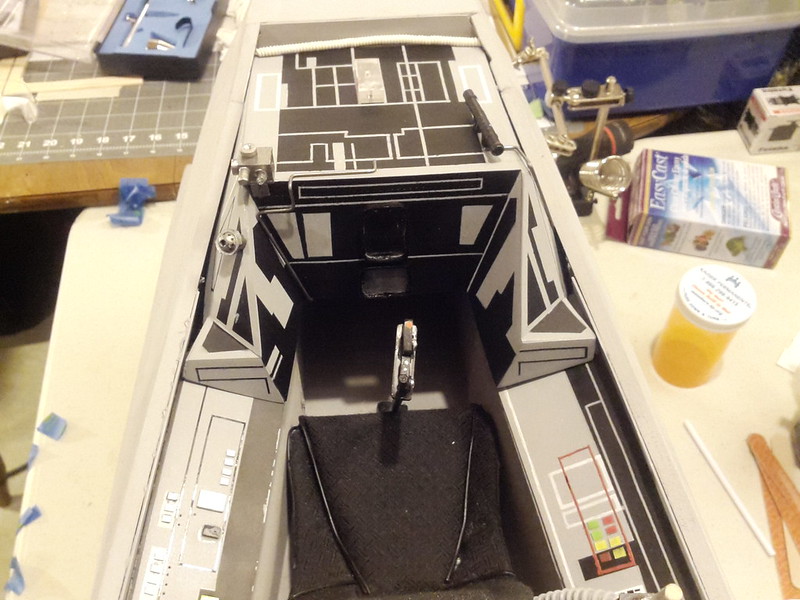
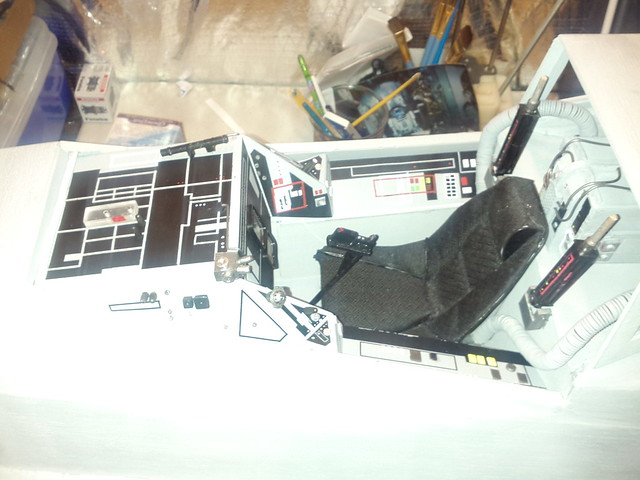
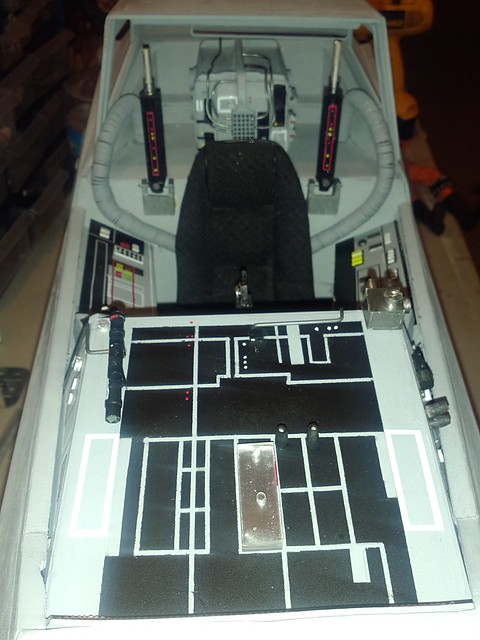
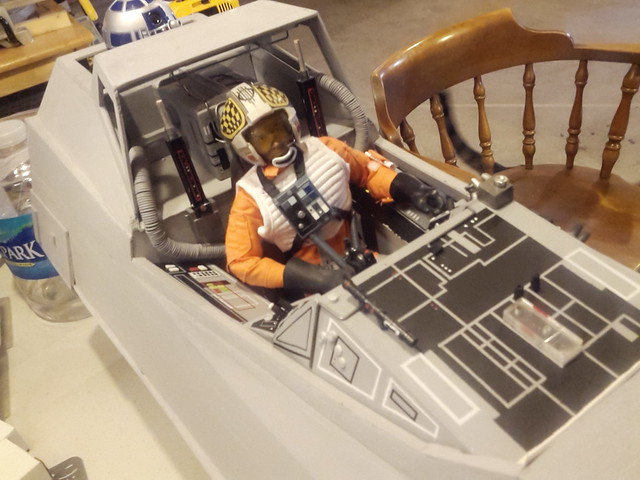
Right and left panels that lead up to the top of the front of the cockpit;

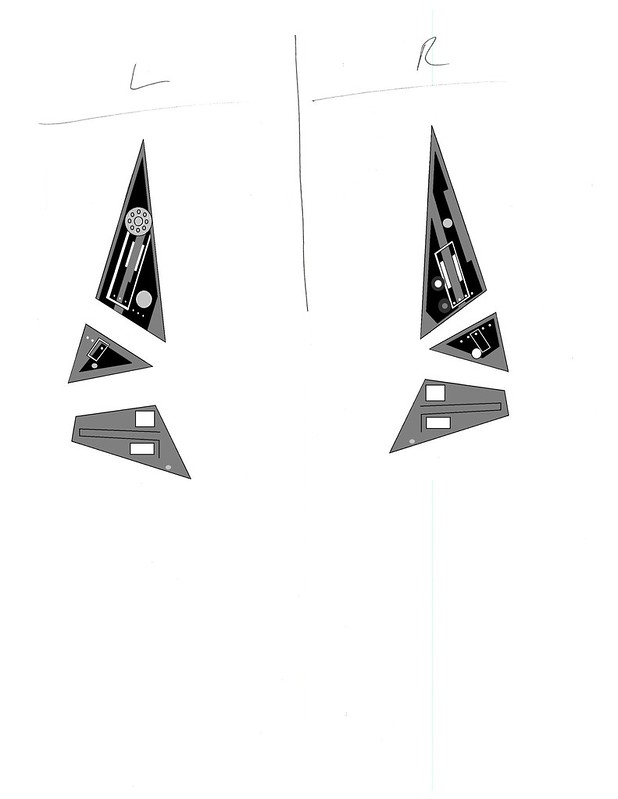
Midline panel by i_melendez45, on Flickr

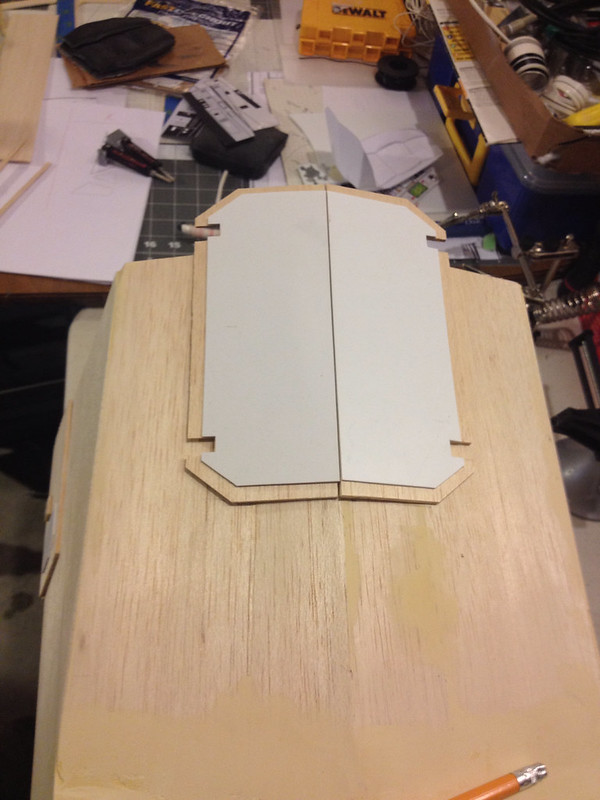
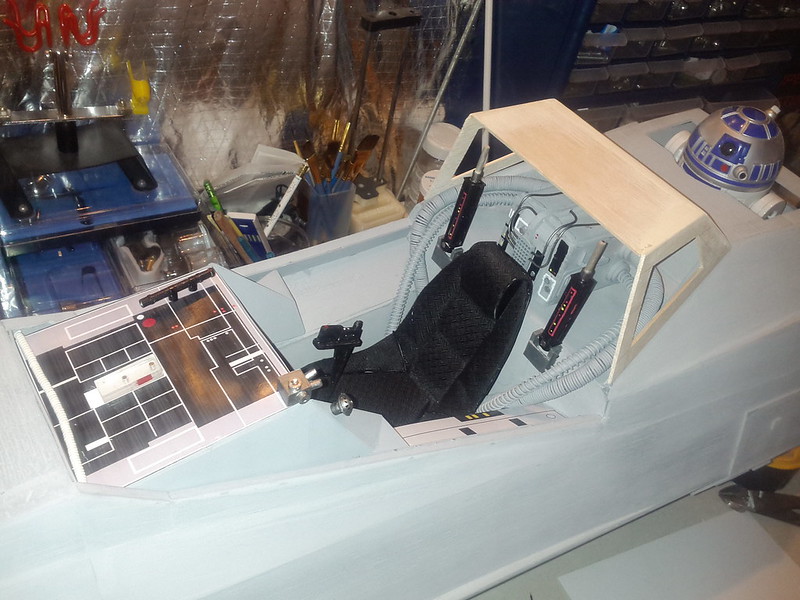
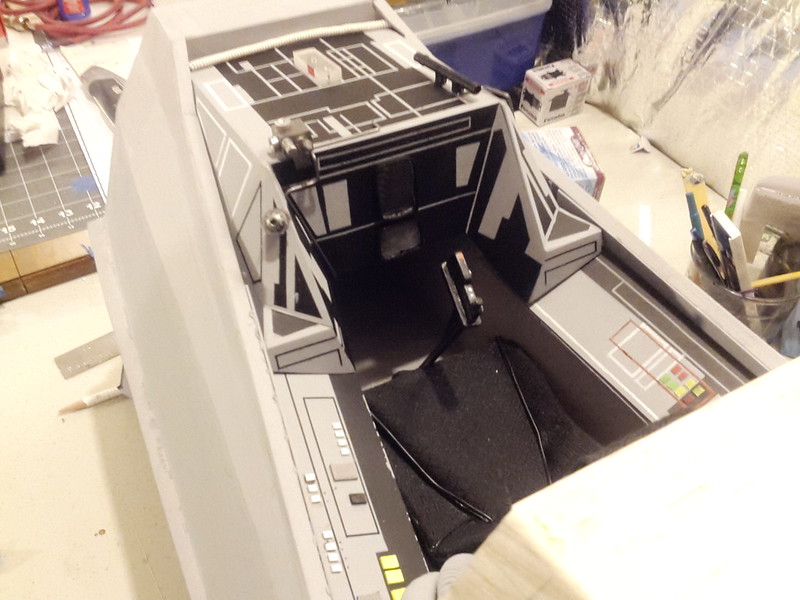
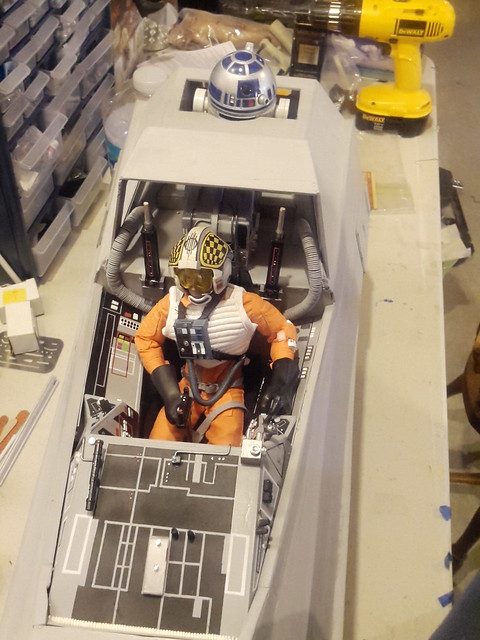
I know I will have to make a few more mods for the decals because white doesn't print, also will have to change the grey to white because the cockpit panels are already grey and no need to print it when it is already grey. :)
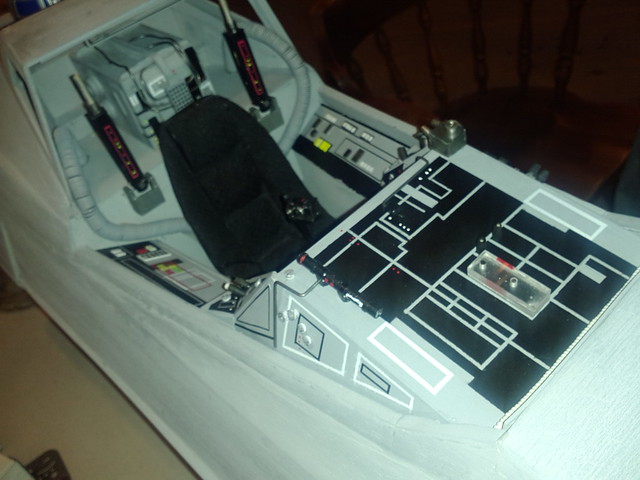
 
worked on the cargo door, hoses and painting(primer) :)

Here is the cut out and placing of the cargo door:

Cargo door by i_melendez45, on Flickr

Cargo door by i_melendez45, on Flickr

Here are the hoses painted. I'm not too worried about the paint cracking or chipping. Once I have them in the place I will glue them down, paint and weather them.

IMG_20150313_135142 by i_melendez45, on Flickr

Finally above 50 here so I got to prime the outer and inner ship with Primer filler. It will help me see the imperfections so I can go back and fix it. I think I will give it a light coat of glaze putty to help mask the grain look that you get from wood.
IMG_20150313_135230 by i_melendez45, on Flickr

IMG_20150313_135221 by i_melendez45, on Flickr

IMG_20150313_135212 by i_melendez45, on Flickr

IMG_20150313_135156 by i_melendez45, on Flickr

after a light sanding, I put it back in the basement to work on later.

IMG_20150313_144543 by i_melendez45, on Flickr

I know the X-wing color is not white. So what color is it? anyone know, Off white, Whibeldon white like R2- looks more of a tan white.... :confused
 
OH YEAH... the new chair is looking really good! Very excited to see more updates! :)

Well I finish the seat and I'm much happier with the results. :D
Here are a few photos of the process:

I made the side frame for the cushions:
Seat progress by i_melendez45, on Flickr

Seat progress by i_melendez45, on Flickr

Seat progress by i_melendez45, on Flickr

Both sides are in:
Seat progress by i_melendez45, on Flickr

Here is finished:

IMG_20150316_103503 by i_melendez45, on Flickr

IMG_20150316_104822 by i_melendez45, on Flickr

IMG_20150316_105002 by i_melendez45, on Flickr
 
VERY NICE! Love the piping as well! Fantastic! Did you decide what version you're going with or will it be a type of hybrid?
 
Last edited:
So I took some pics with the test decals on the inner cockpit to make sure they would fit right. I'm liking the way it's coming out. still need to add the test decals for the right and left outer cockpit area. Once everything is the way i want it I will print the real decals and add the greebles, display screen and piping that fits on the front of the cockpit. :) What do you think???

IMG_20150319_135710 by i_melendez45, on Flickr

IMG_20150319_135852 by i_melendez45, on Flickr

IMG_20150319_140007 by i_melendez45, on Flickr

IMG_20150319_140023 by i_melendez45, on Flickr

IMG_20150319_140038 by i_melendez45, on Flickr

IMG_20150319_140053 by i_melendez45, on Flickr
 
Excellent work. Is there a throttle for the X-wing? Normally throttles are on the left hand side on fighter aircraft, which usually forces the pilot to use the control stick with his right hand.

TazMan2000
 
Excellent work. Is there a throttle for the X-wing? Normally throttles are on the left hand side on fighter aircraft, which usually forces the pilot to use the control stick with his right hand.

TazMan2000

I haven't seen a throttle in any of the pics that I have. I'm doing my best to keep it as close to the movie as possible. :)
 
So after trial and error and fussing with the paint programs to make decals. I decided to go ahead and paint the consoles and interior cockpit. Its a pain but hopefully it will be worth it in the end. here is a pic of the left and right console. Still have some more work to do on the right side.
Console by i_melendez45, on Flickr
 
So I learn over the weekend that you don't mix thinner with acrylic paints to use in your airbrush. Turns out that it has the opposite effect, instead of thinning out the paint it made it thicker ( by the way, if you want to thin it out just use water). So, I will stick using paint that is made for airbrushing. I was able to mask and paint all the black and some of the white areas.

IMG_20150329_185256 by i_melendez45, on Flickr

IMG_20150329_185226 by i_melendez45, on Flickr

IMG_20150329_185156 by i_melendez45, on Flickr

IMG_20150329_185205 by i_melendez45, on Flickr

I need to find some red and white pin striping tape, when I get the funds.
 
EXCELLENT! I am SO GLAD you went with the painting and not the decals. I think the paint adds so much more life. Love it!
 
EXCELLENT! I am SO GLAD you went with the painting and not the decals. I think the paint adds so much more life. Love it!

I know what you mean.:)
Still going. worked on adding greebles today. :D I also fixed the position of the hoses. Still need to add a few more.
IMG_20150330_145816 by i_melendez45, on Flickr

IMG_20150330_162334 by i_melendez45, on Flickr

IMG_20150330_162356 by i_melendez45, on Flickr
IMG_20150330_162411 by i_melendez45, on Flickr

And now with the pilot:
IMG_20150330_162540 by i_melendez45, on Flickr
IMG_20150330_162550 by i_melendez45, on Flickr
IMG_20150330_162601 by i_melendez45, on Flickr
IMG_20150330_162616 by i_melendez45, on Flickr
 
This thread is more than 7 years old.

Your message may be considered spam for the following reasons:

  1. This thread hasn't been active in some time. A new post in this thread might not contribute constructively to this discussion after so long.
If you wish to reply despite these issues, check the box below before replying.
Be aware that malicious compliance may result in more severe penalties.
Back
Top