SteveNeill
Sr Member
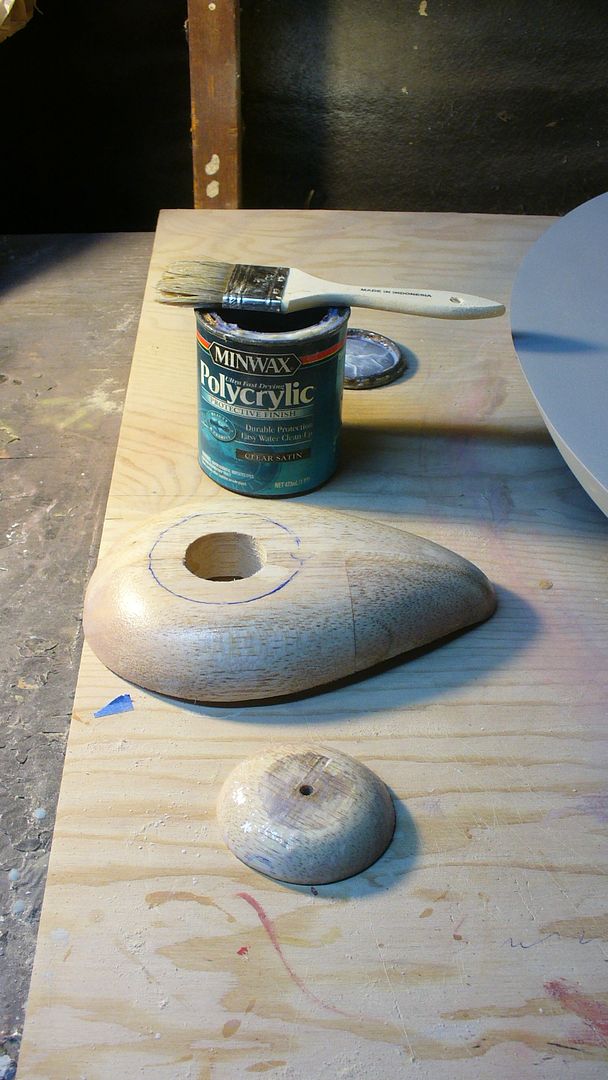
Not sure Bondo. It's just an expression for improve the overall form. Preening comes to mind as well. Primer? Well even though I have a big compressor and several airbrushes these nothing like 3.49 a can Rustoleum gray primer. It's thick and fills scratches. Dries super fast and sands well.
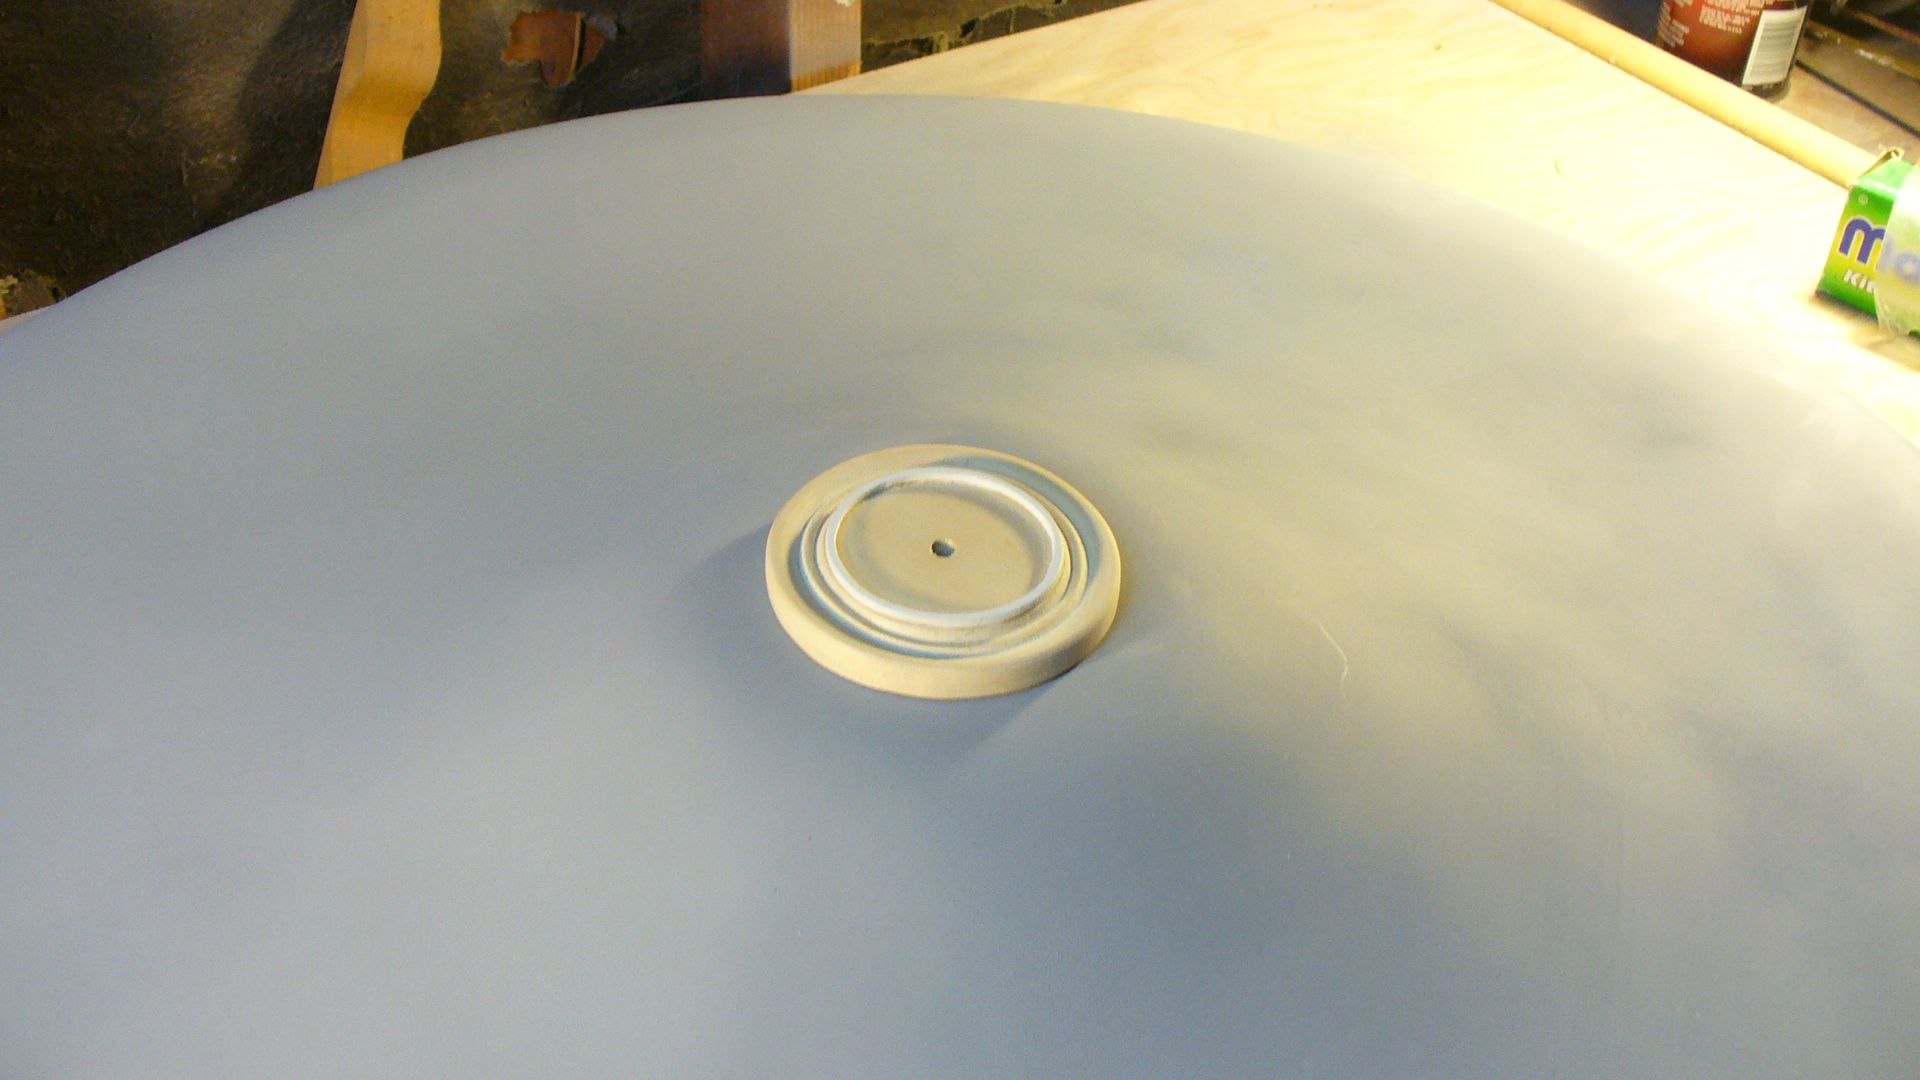
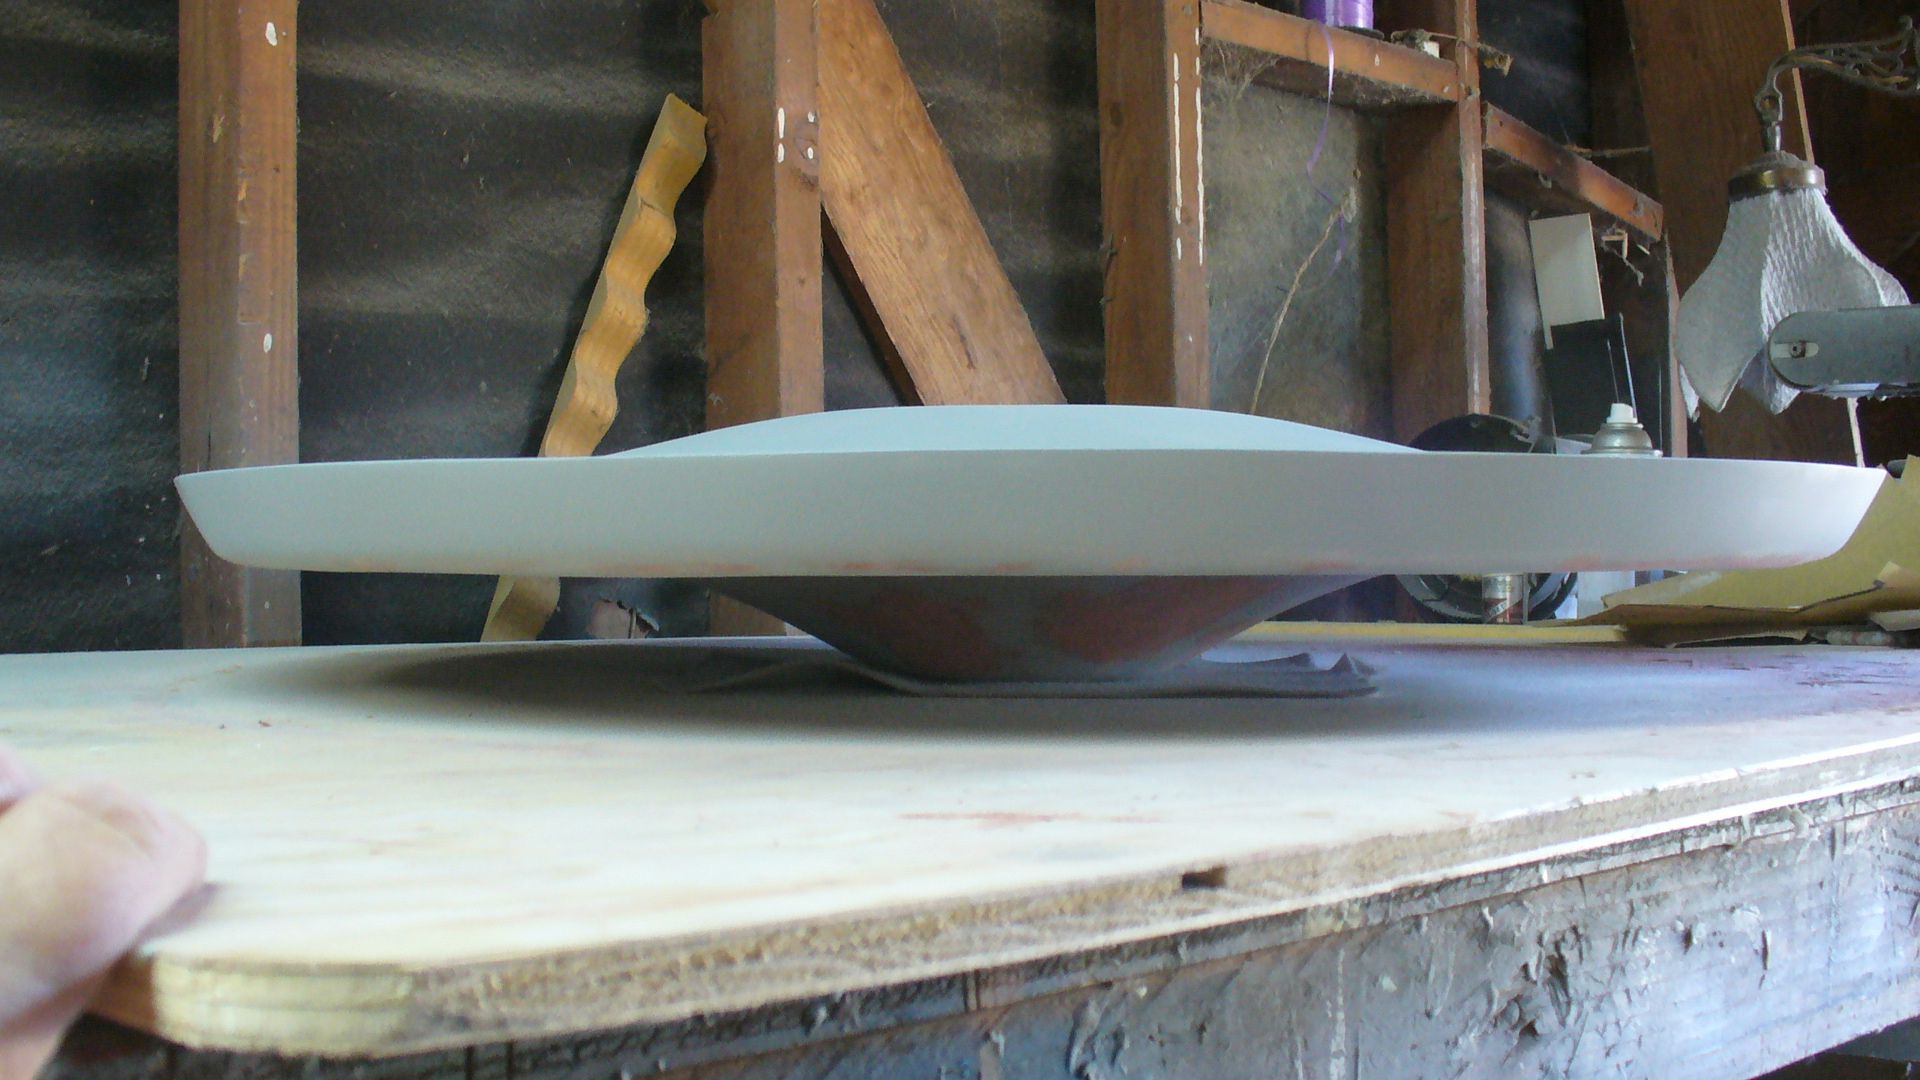
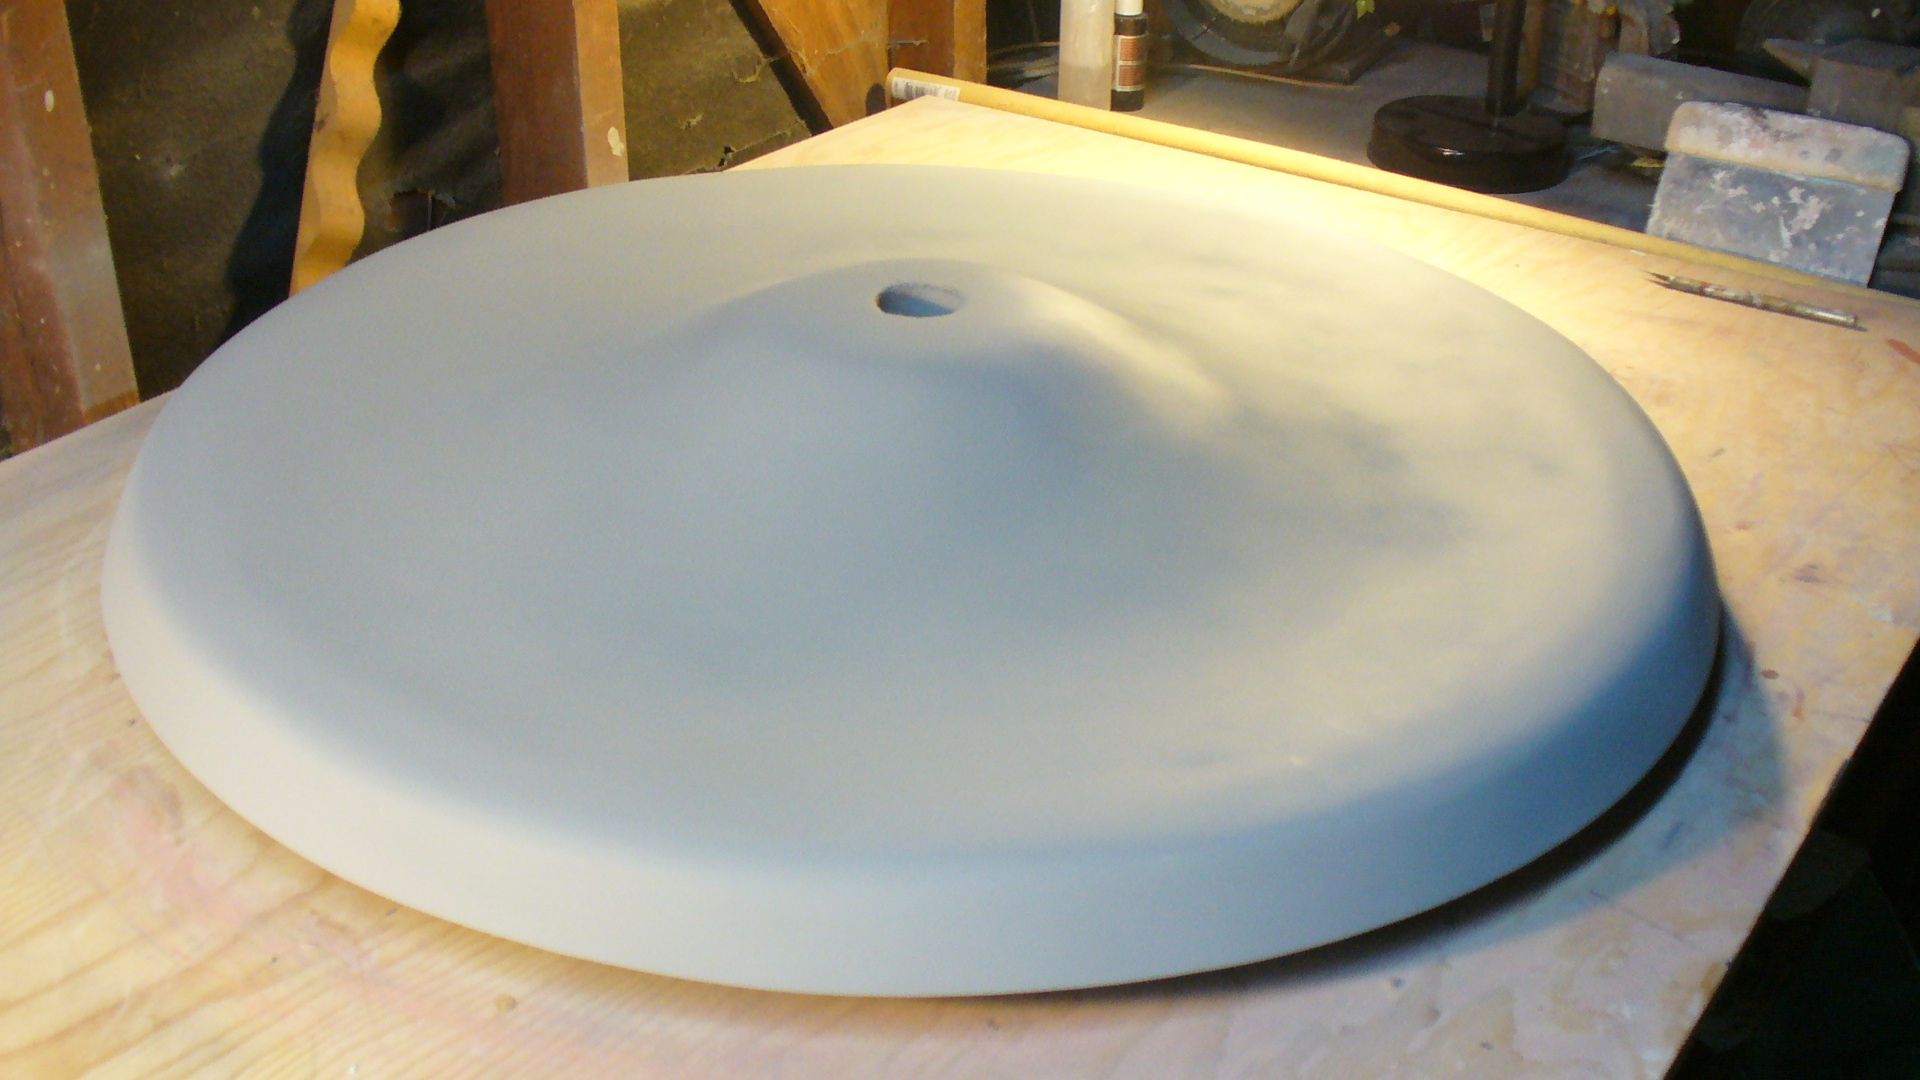
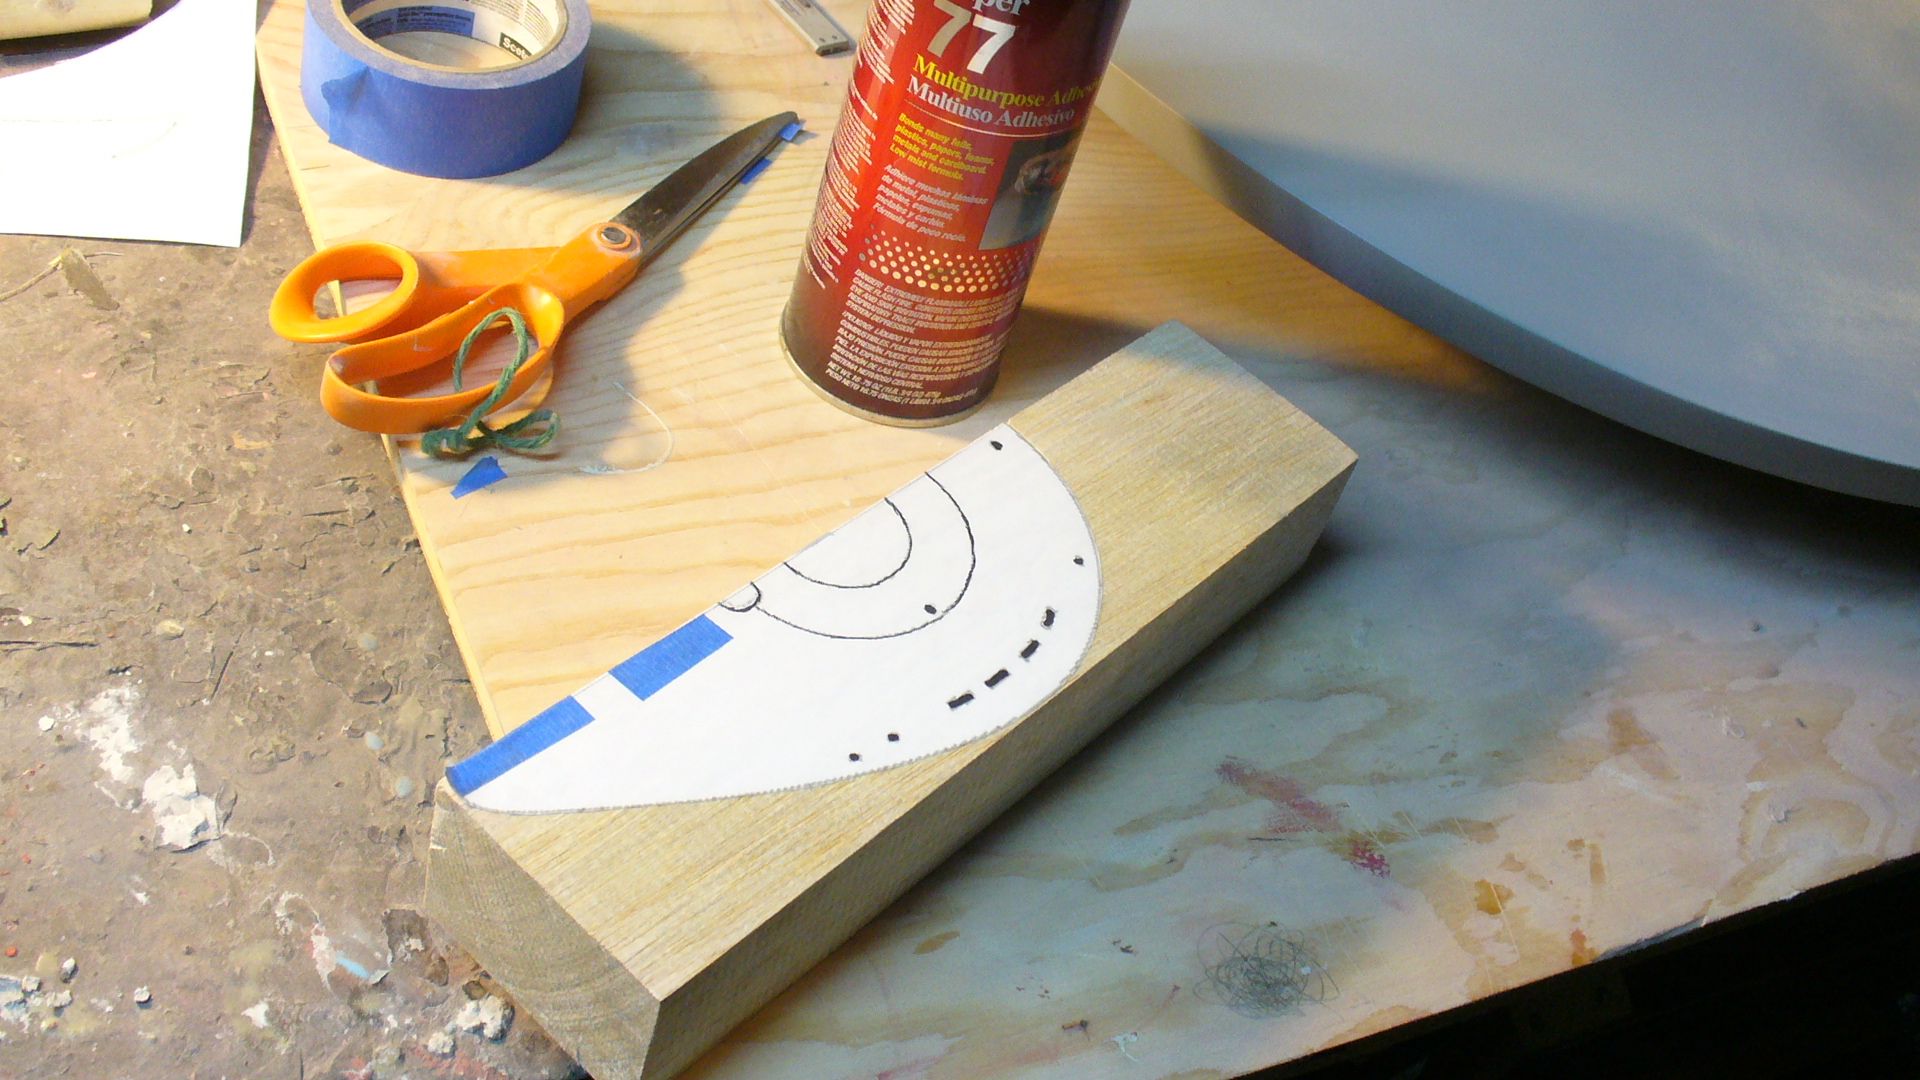
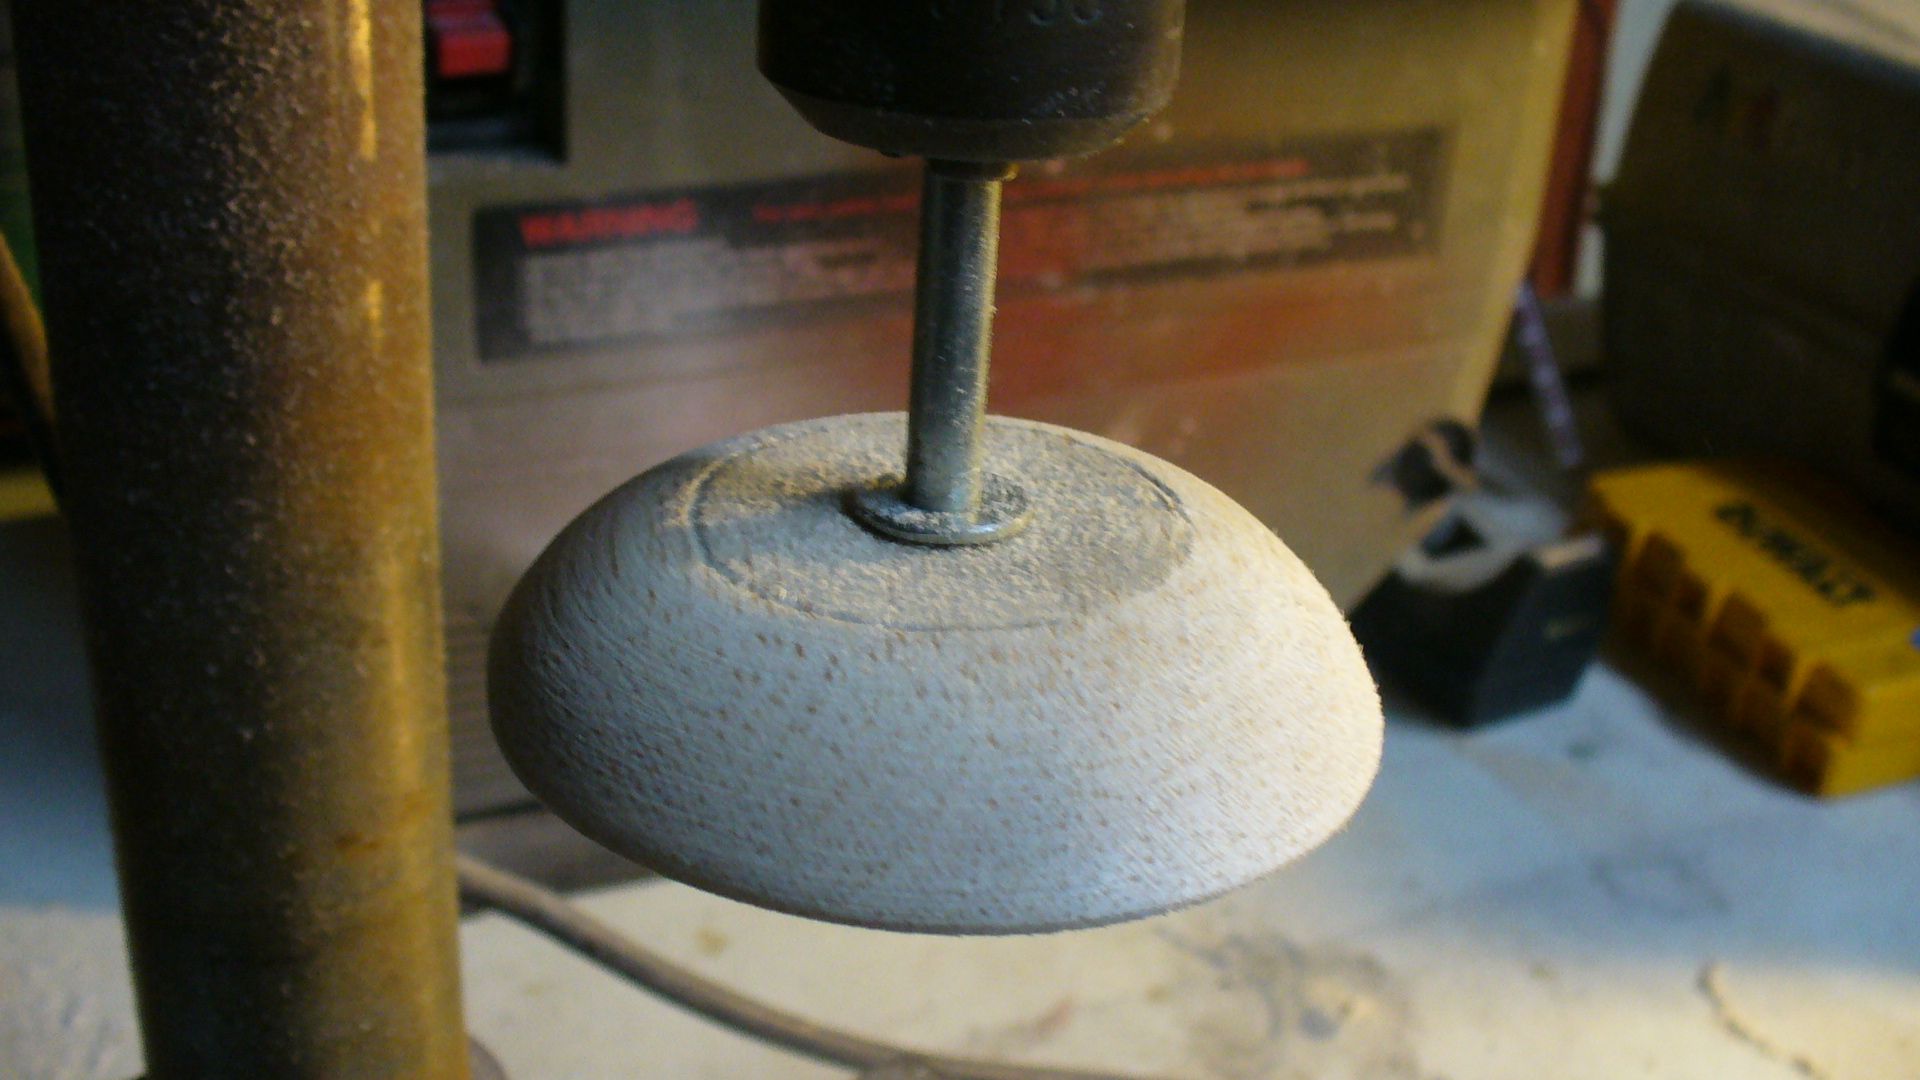
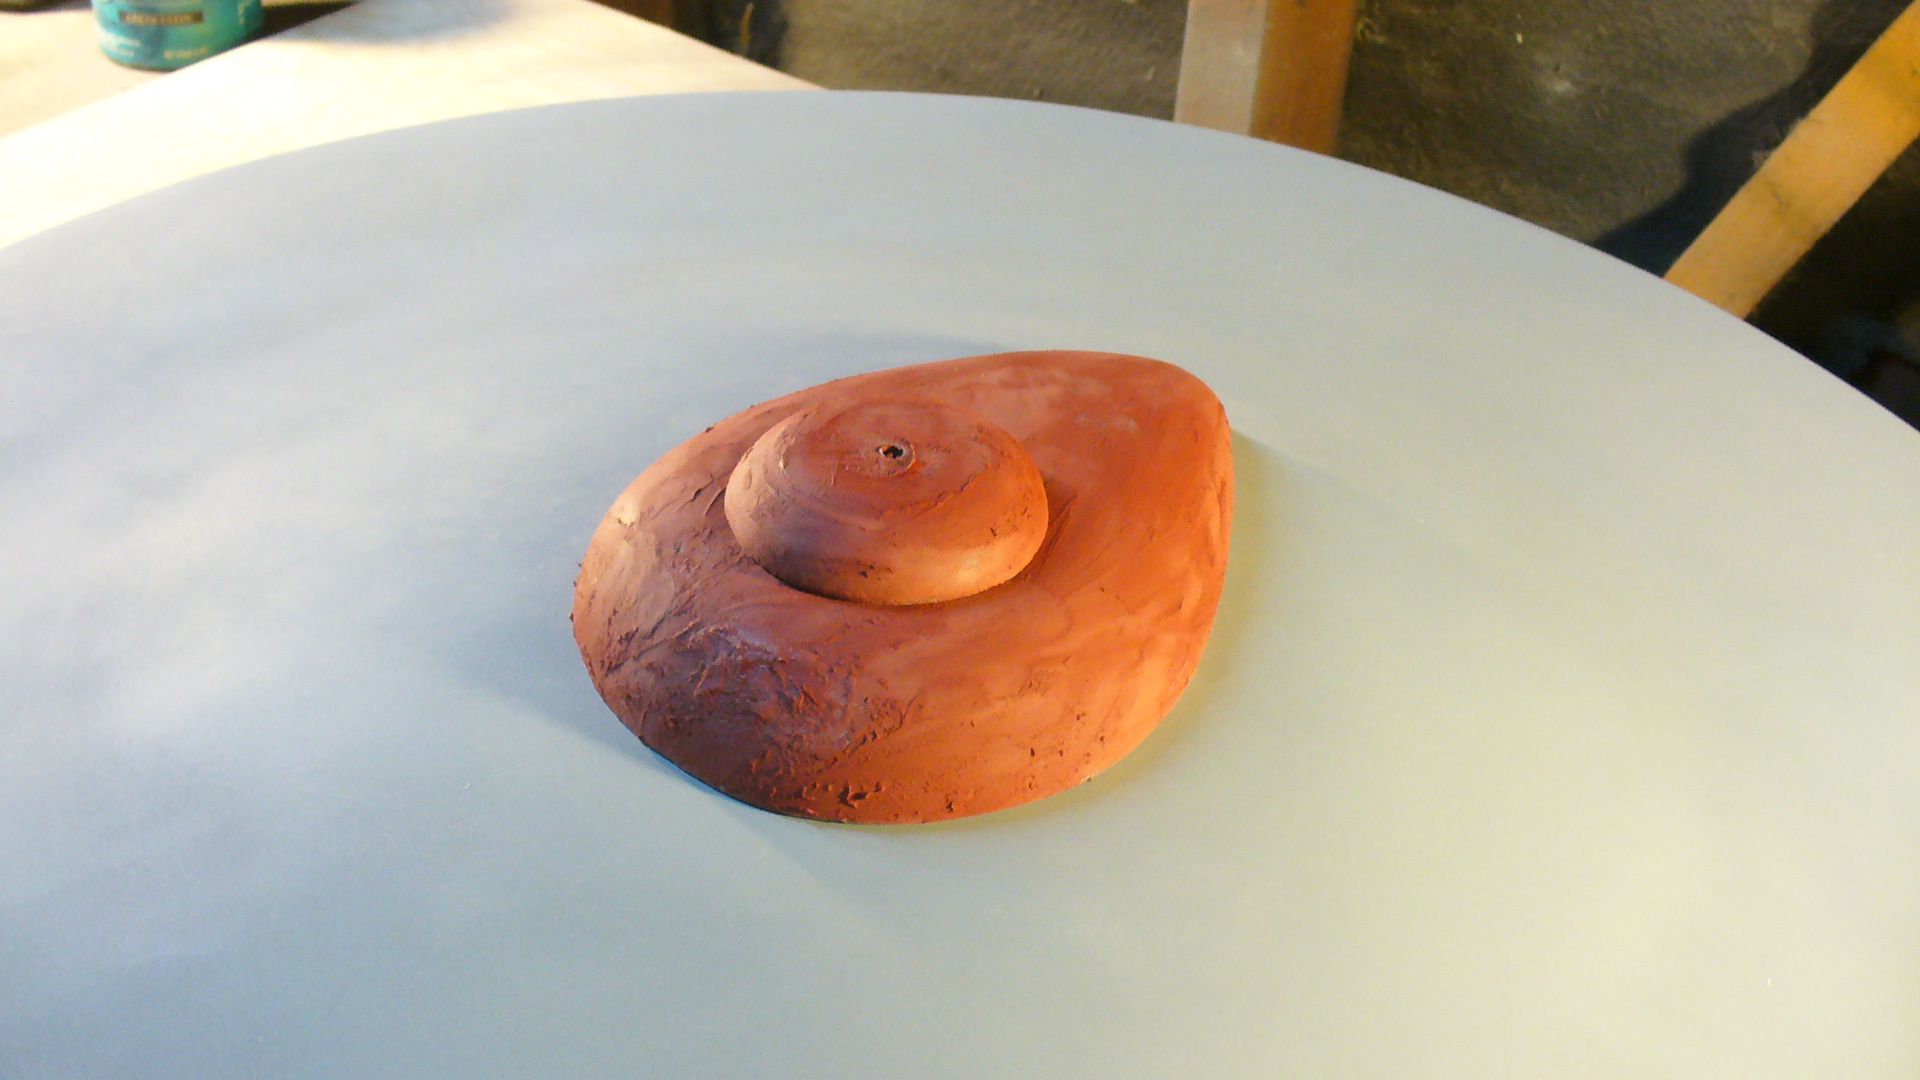
So I got the saucer section hull master finished for now. Good enough to move on to the bridge and other saucer section parts and details. I took a trip to my favorite hobby store and picked up some nice pieces of balsa. Balsa works great for this kind of thing. Sculpts like clay and forms very symmetrical. Once I have the part formed to my liking it’s easy to seal the balsa, primer and detail. After all the orignal 11 foot model was formed from wood.
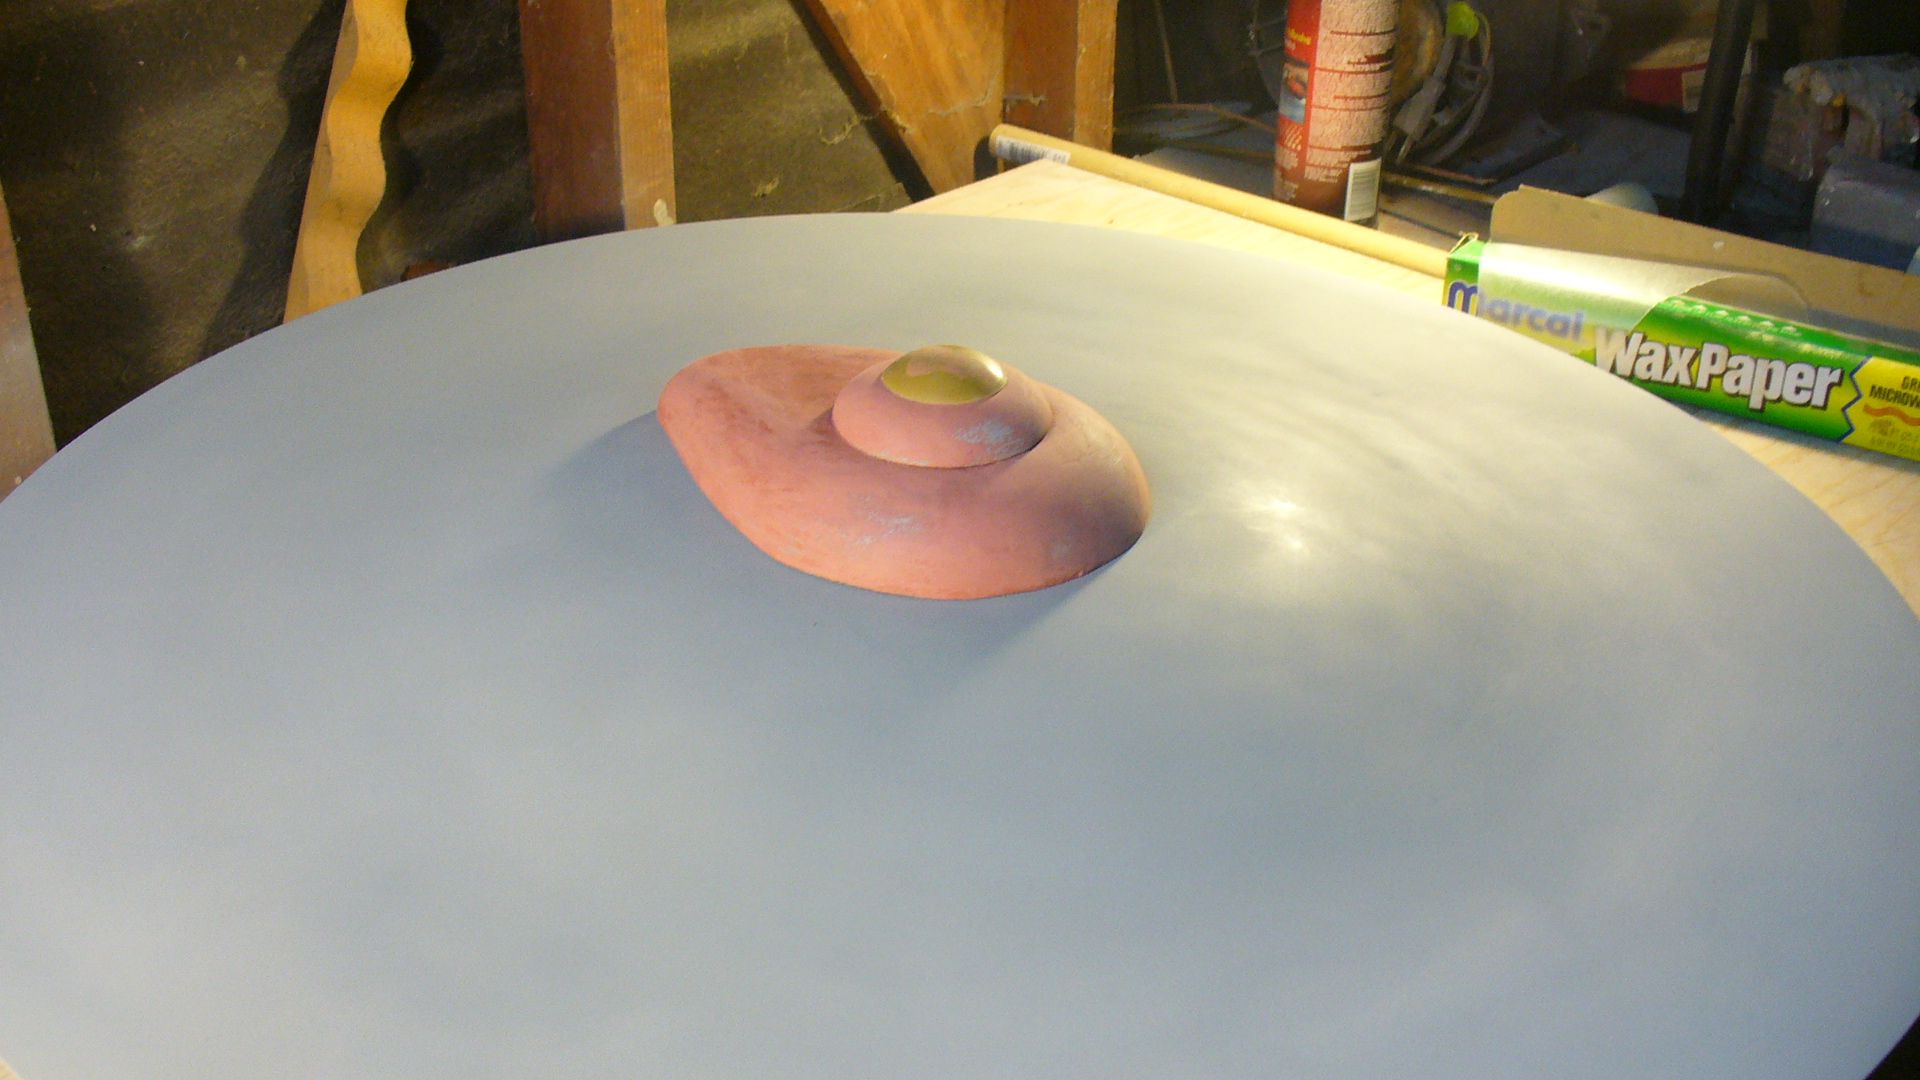
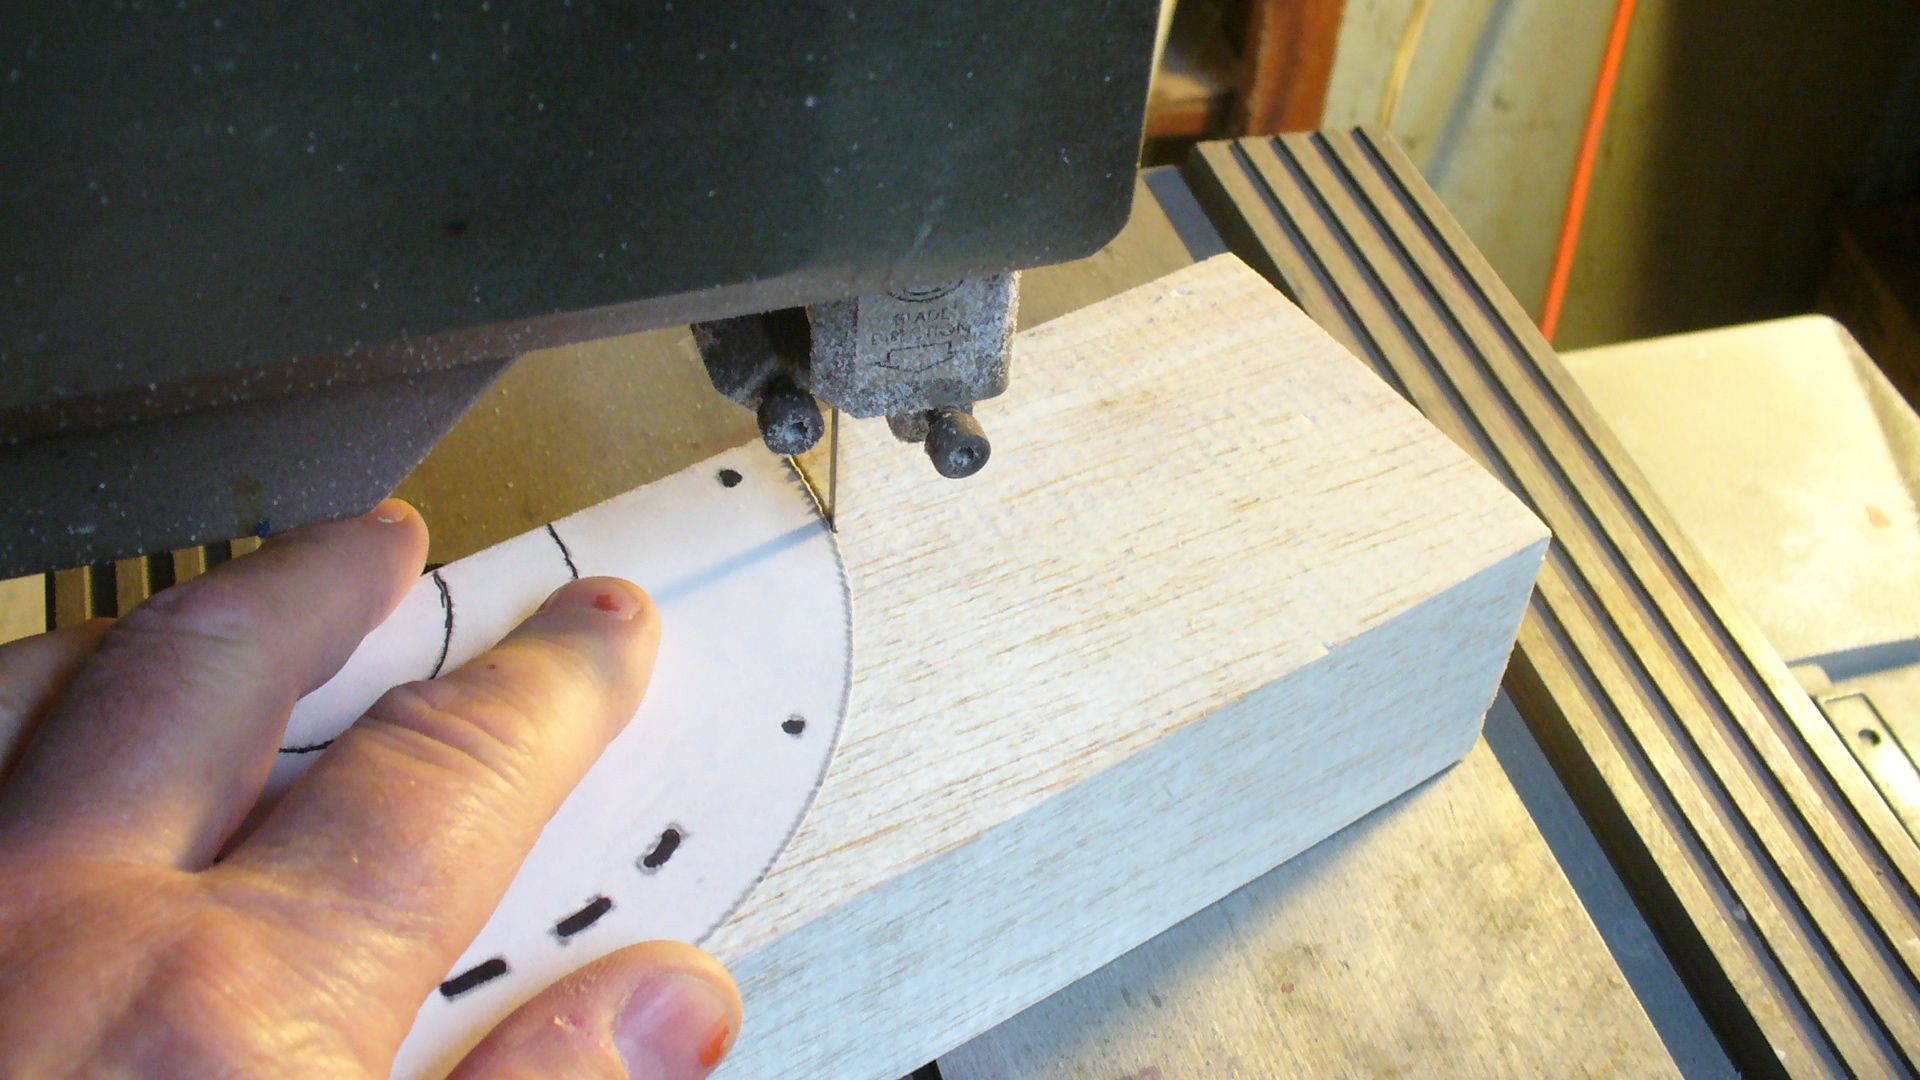
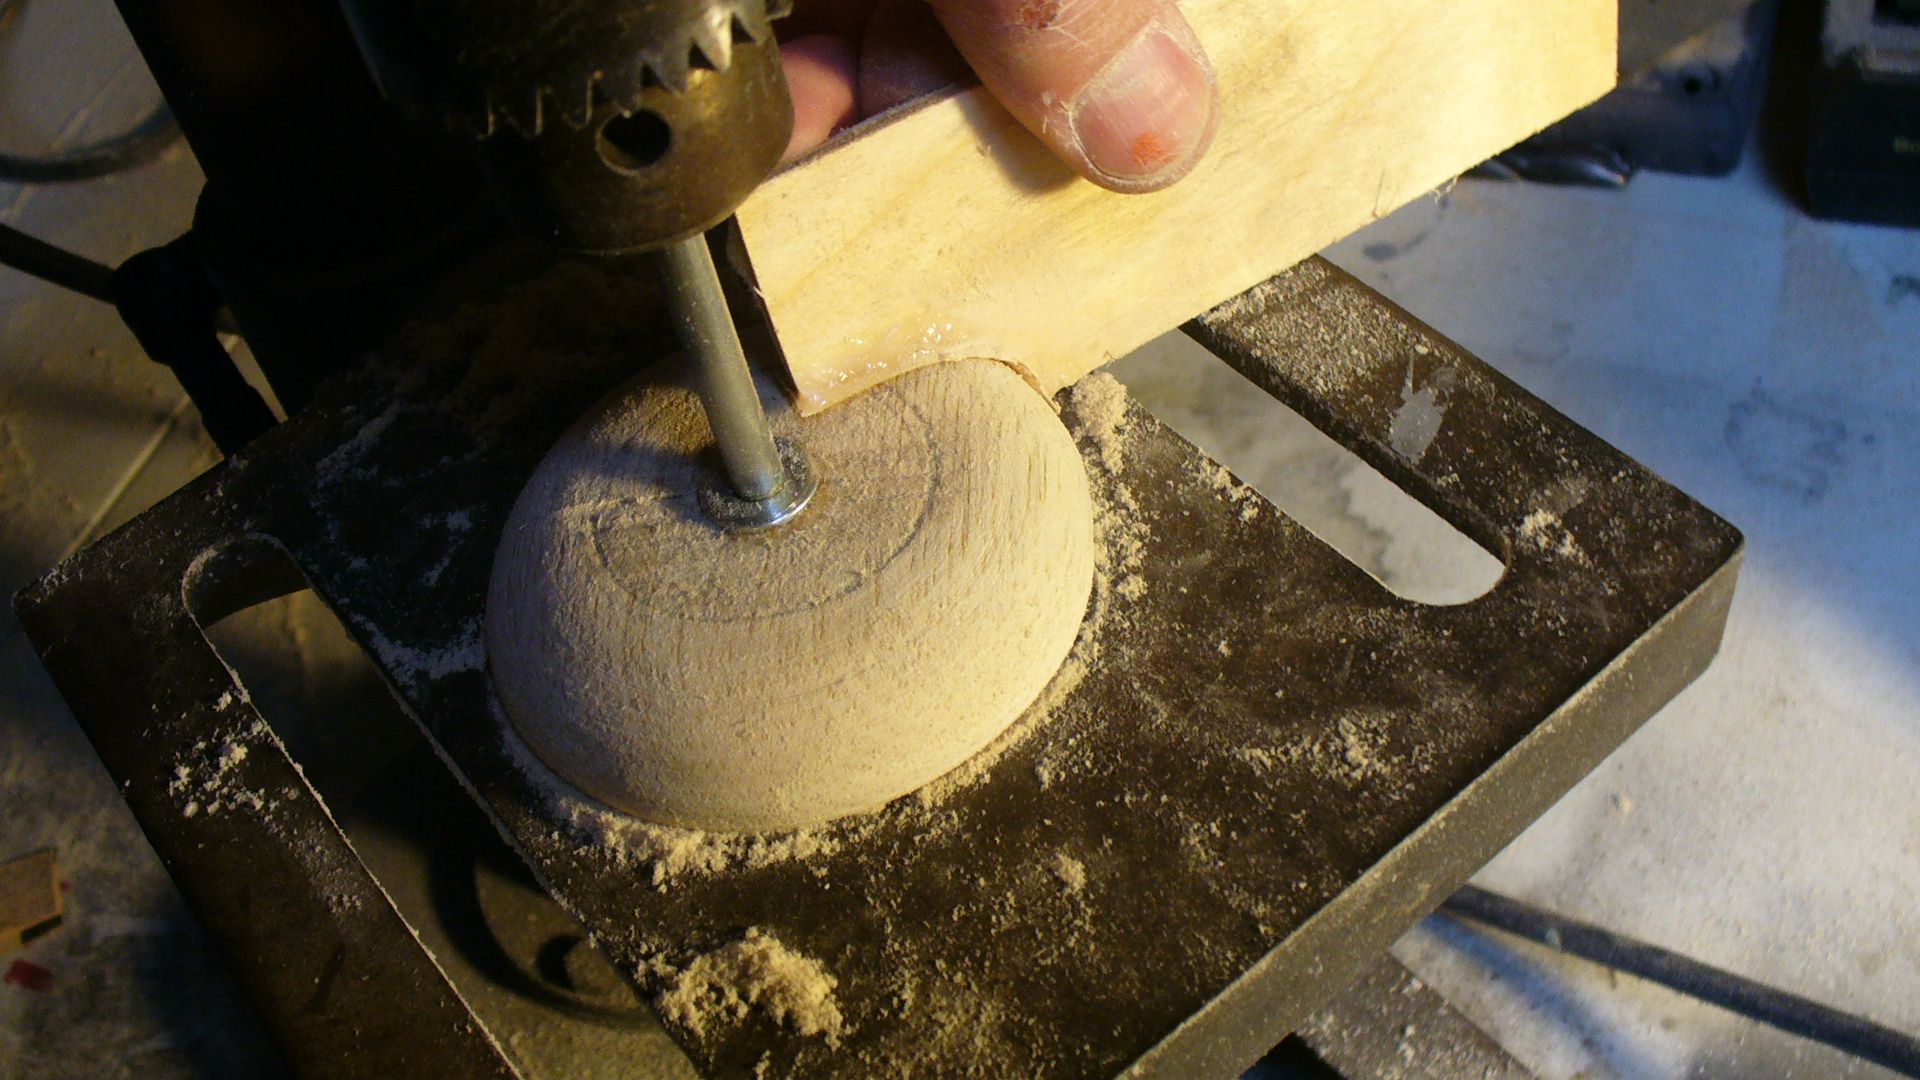
Using my plans I made a nice contour tool to check the shape. I used a band saw and a scroll saw to cut the bridge base using a top and side view. Then eye balling the original and using the contour tool gave it the basic shape. Time ran short tonight and I’ll finish the other side tomorrow. Hoping to get to the bridge itself too and the dome that I will later vacuum form.
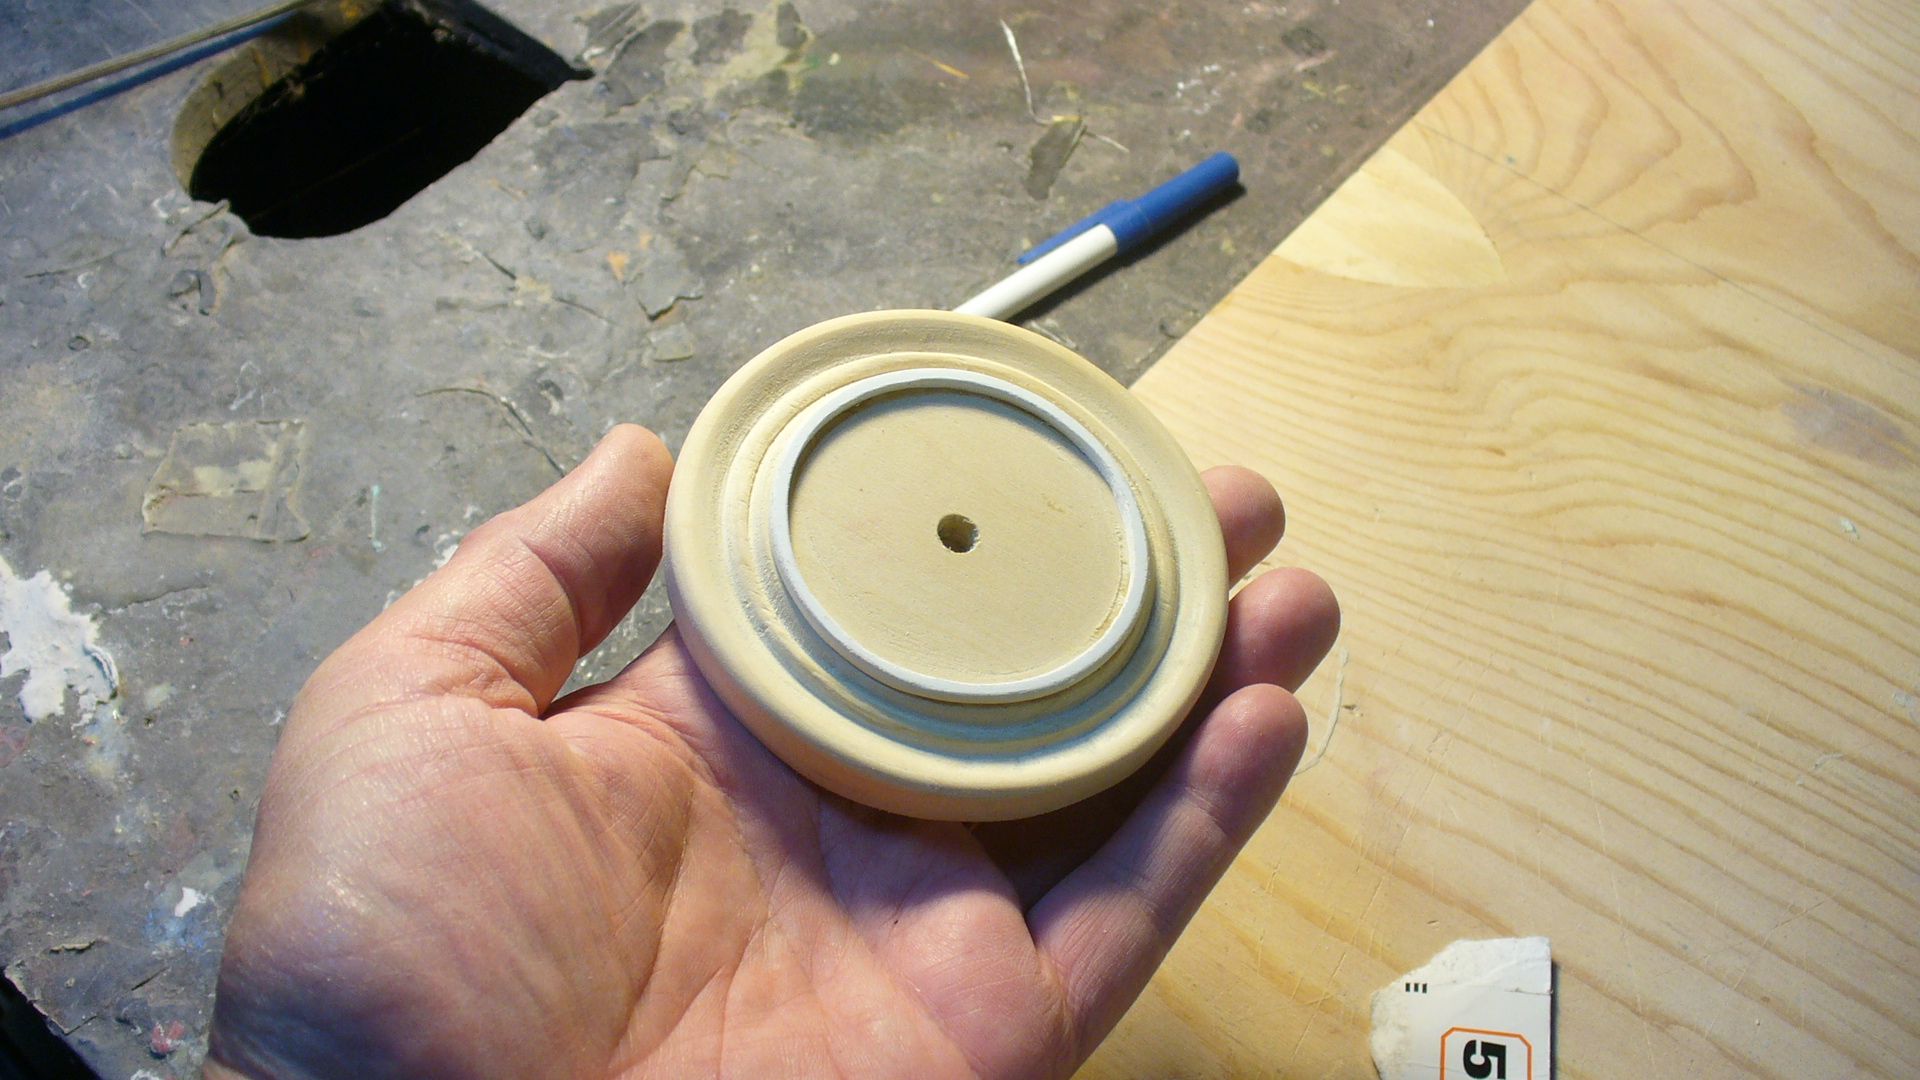
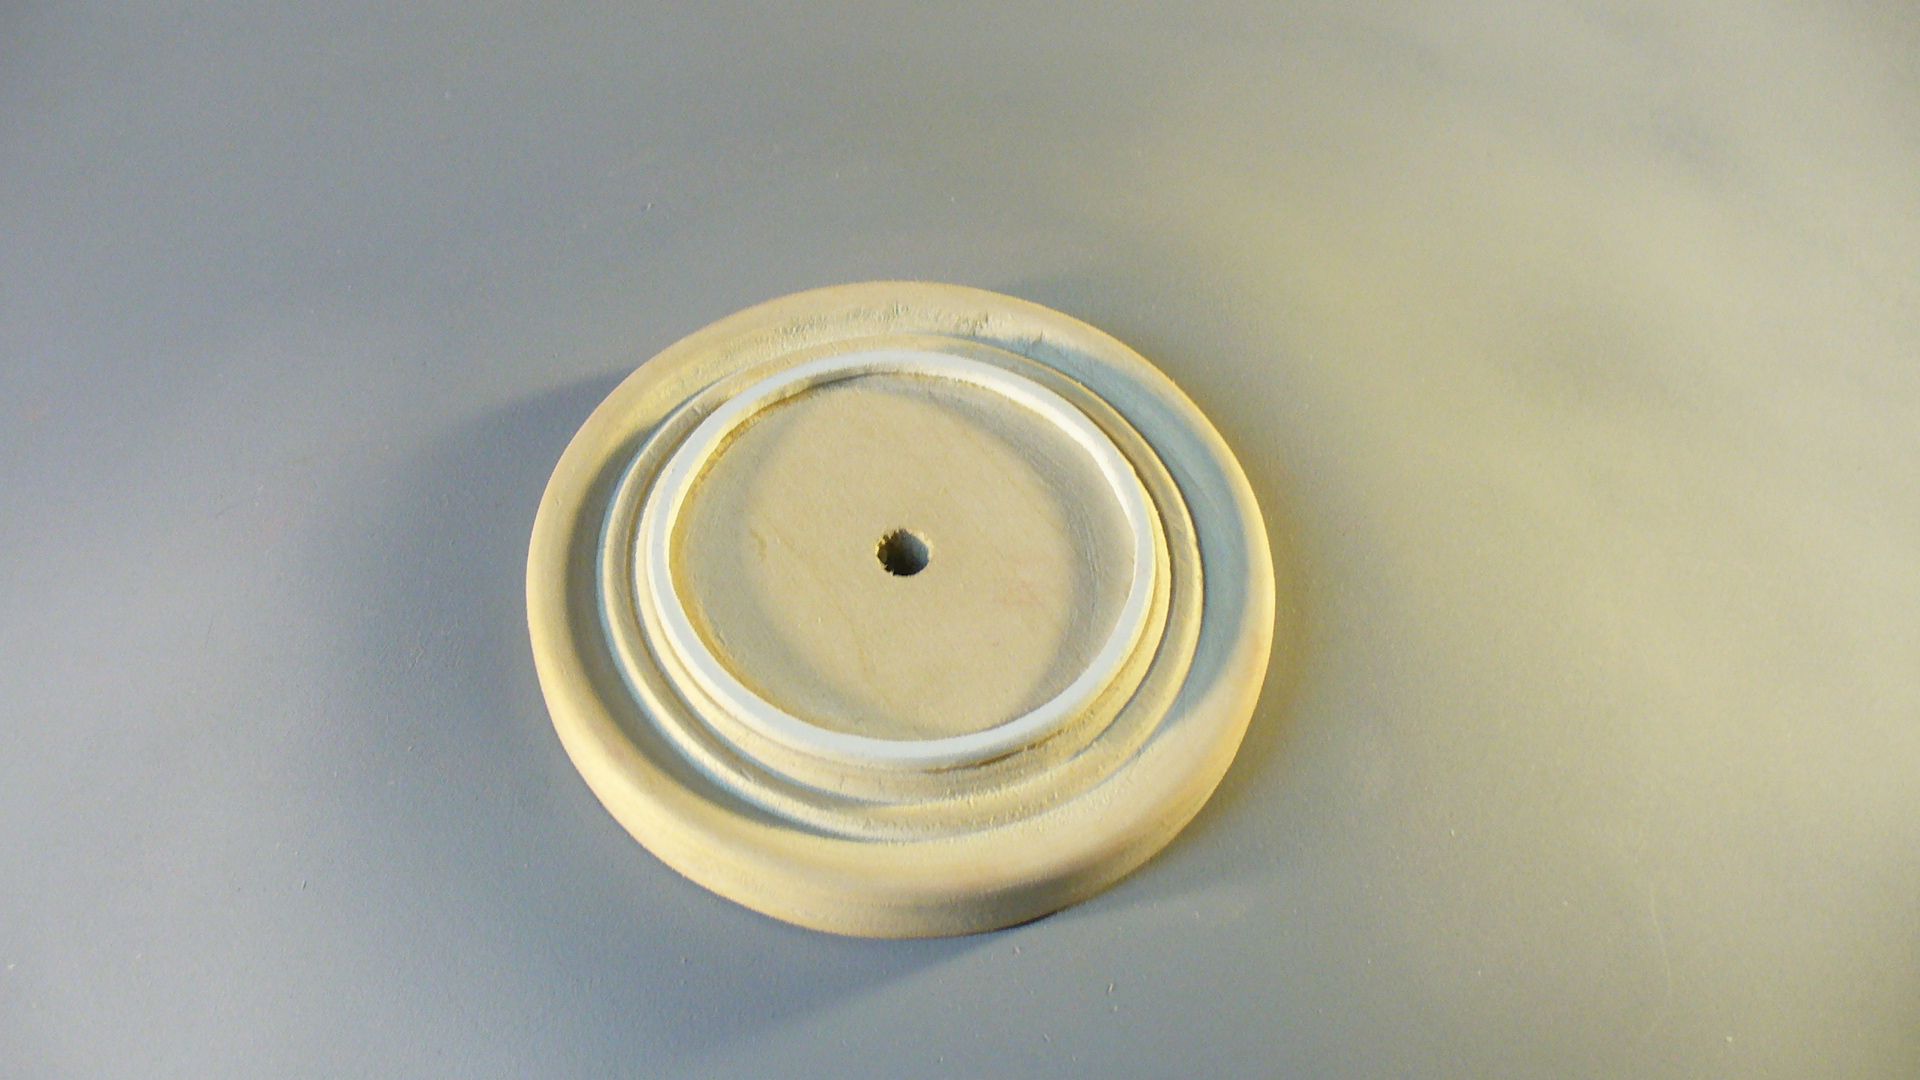
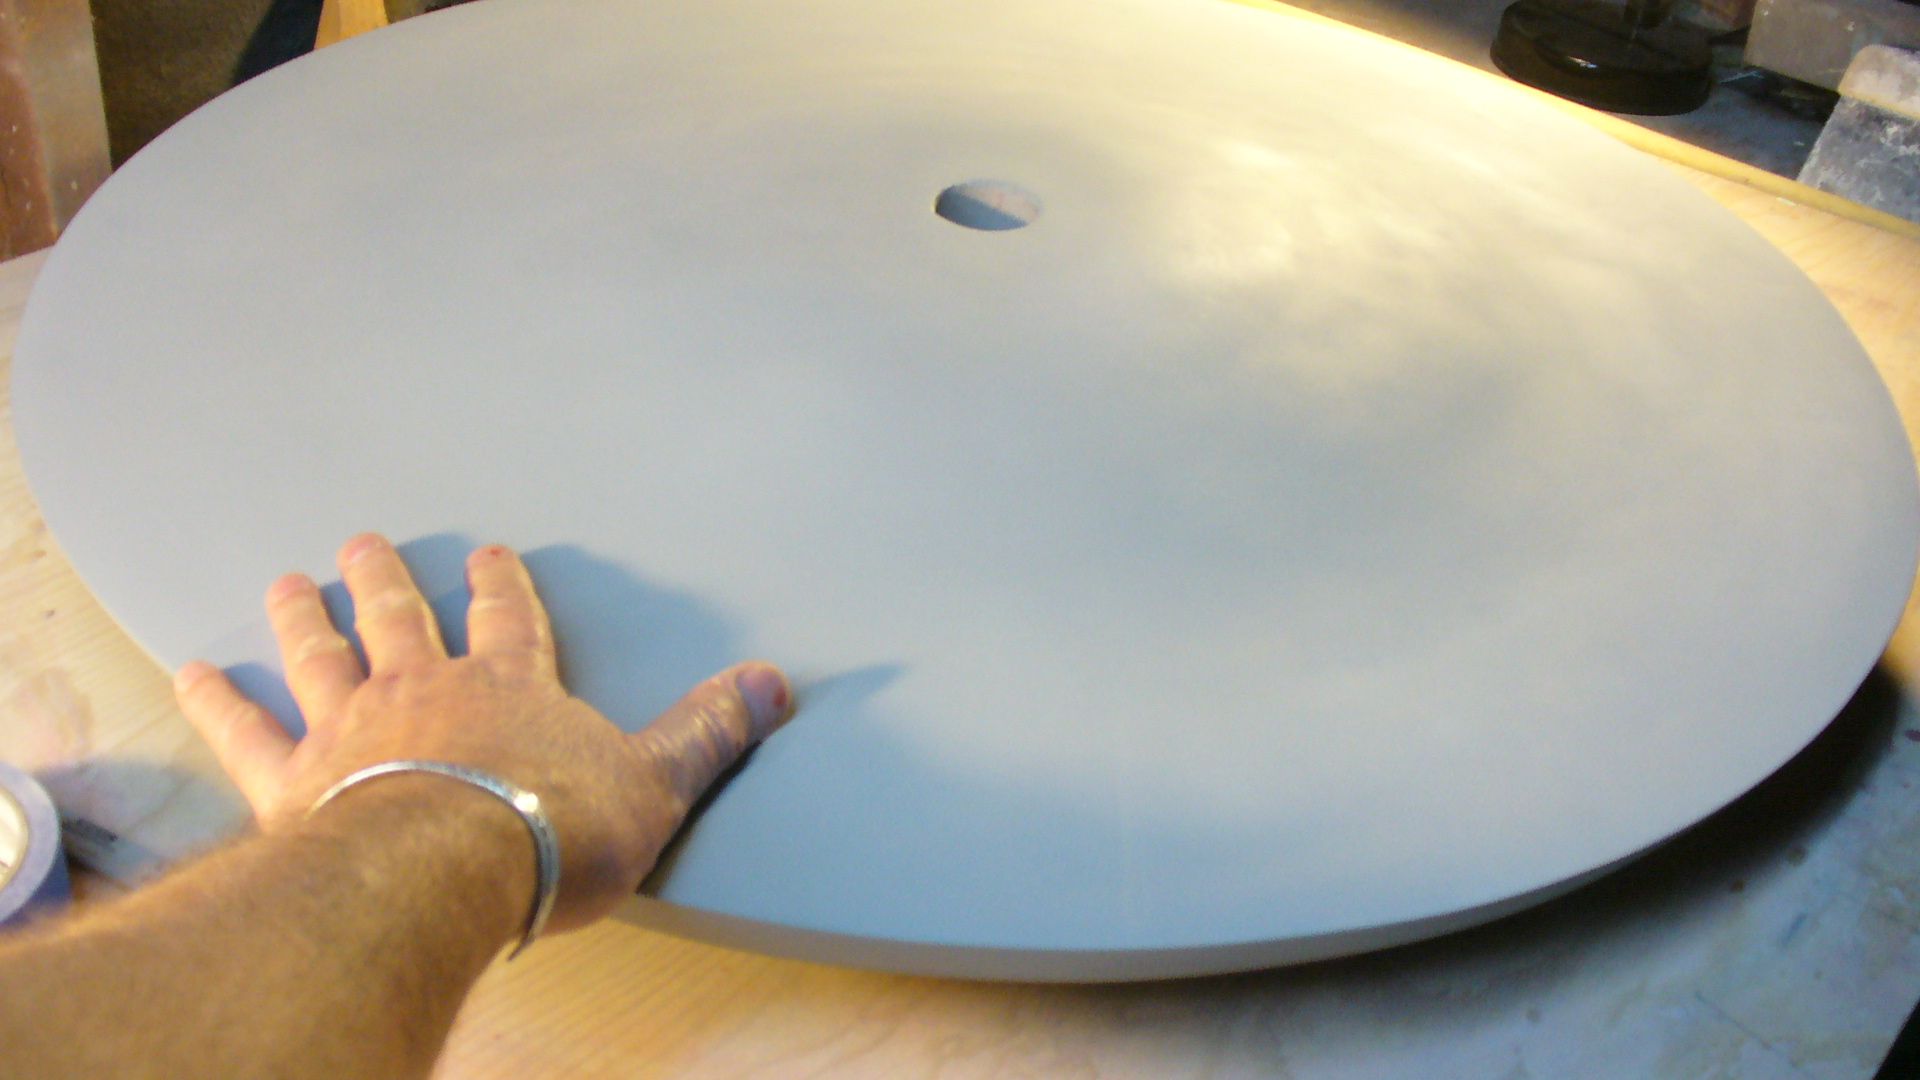
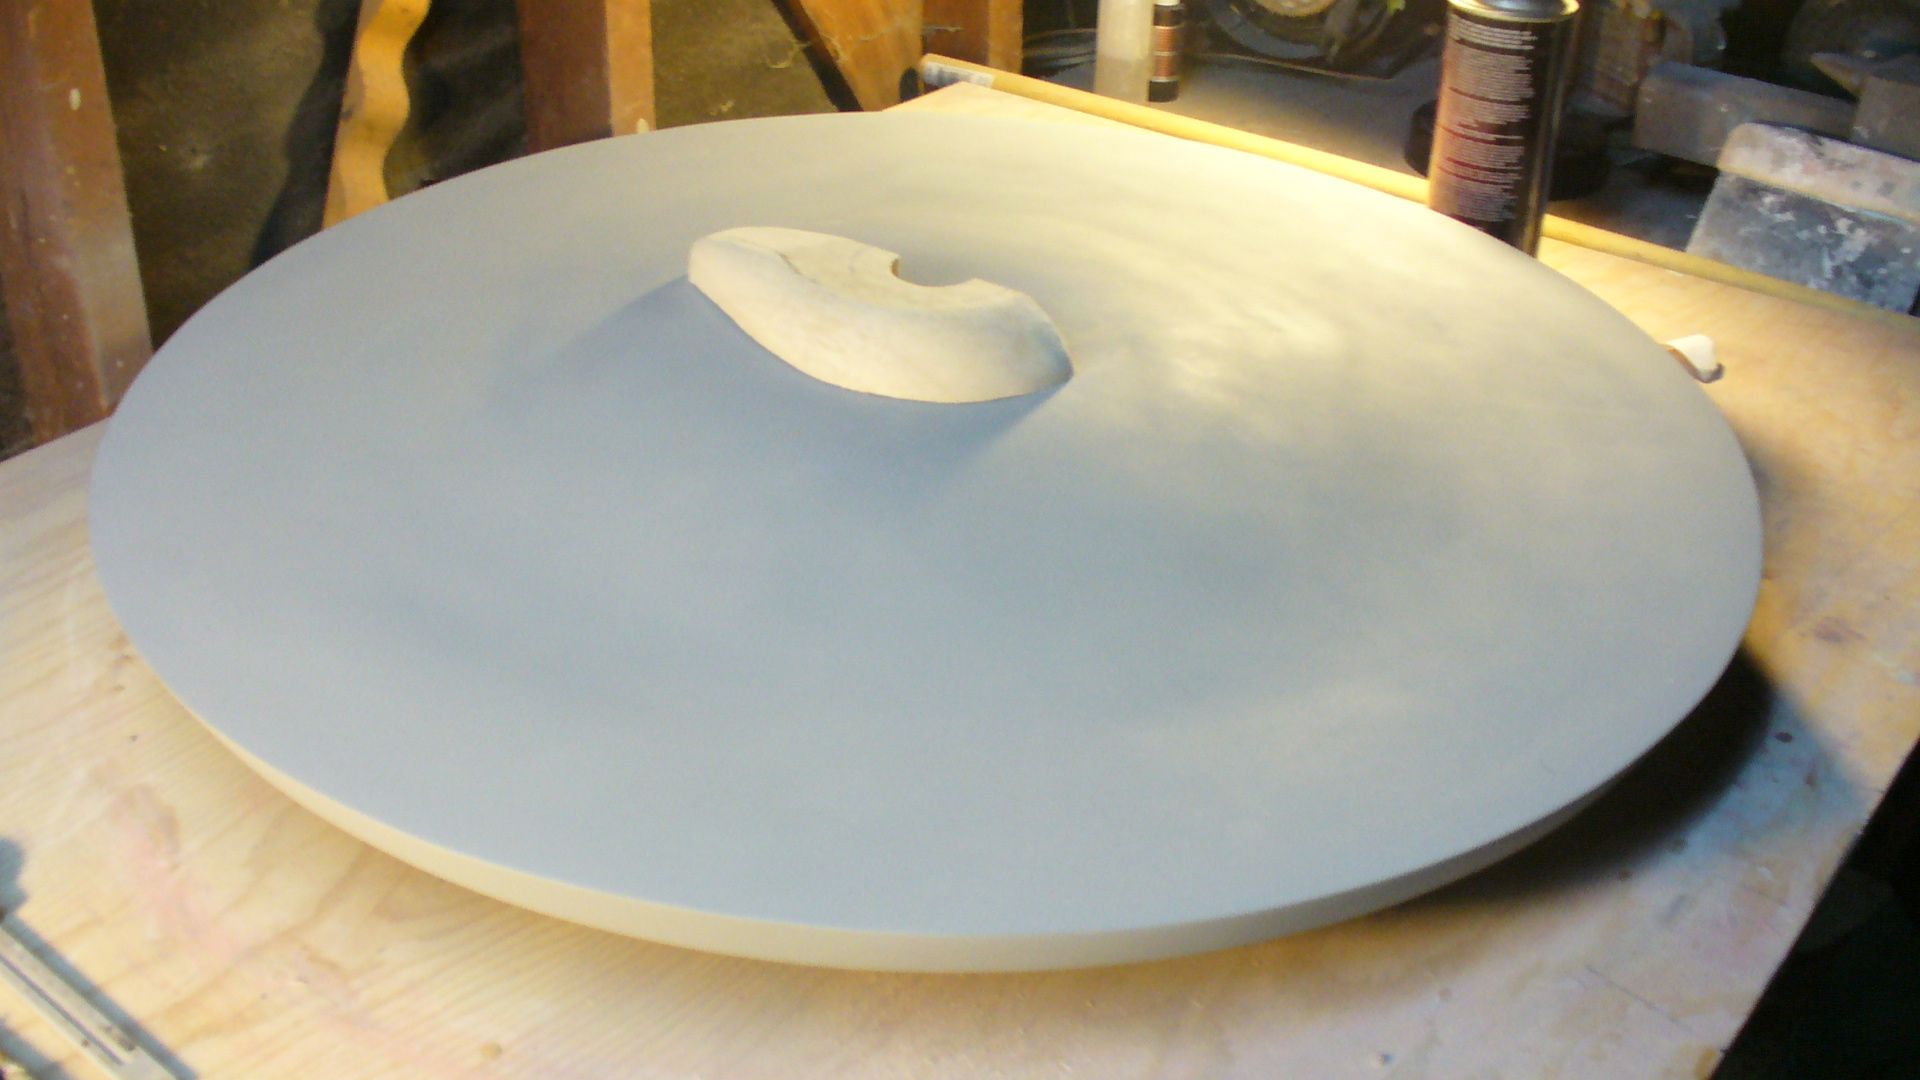
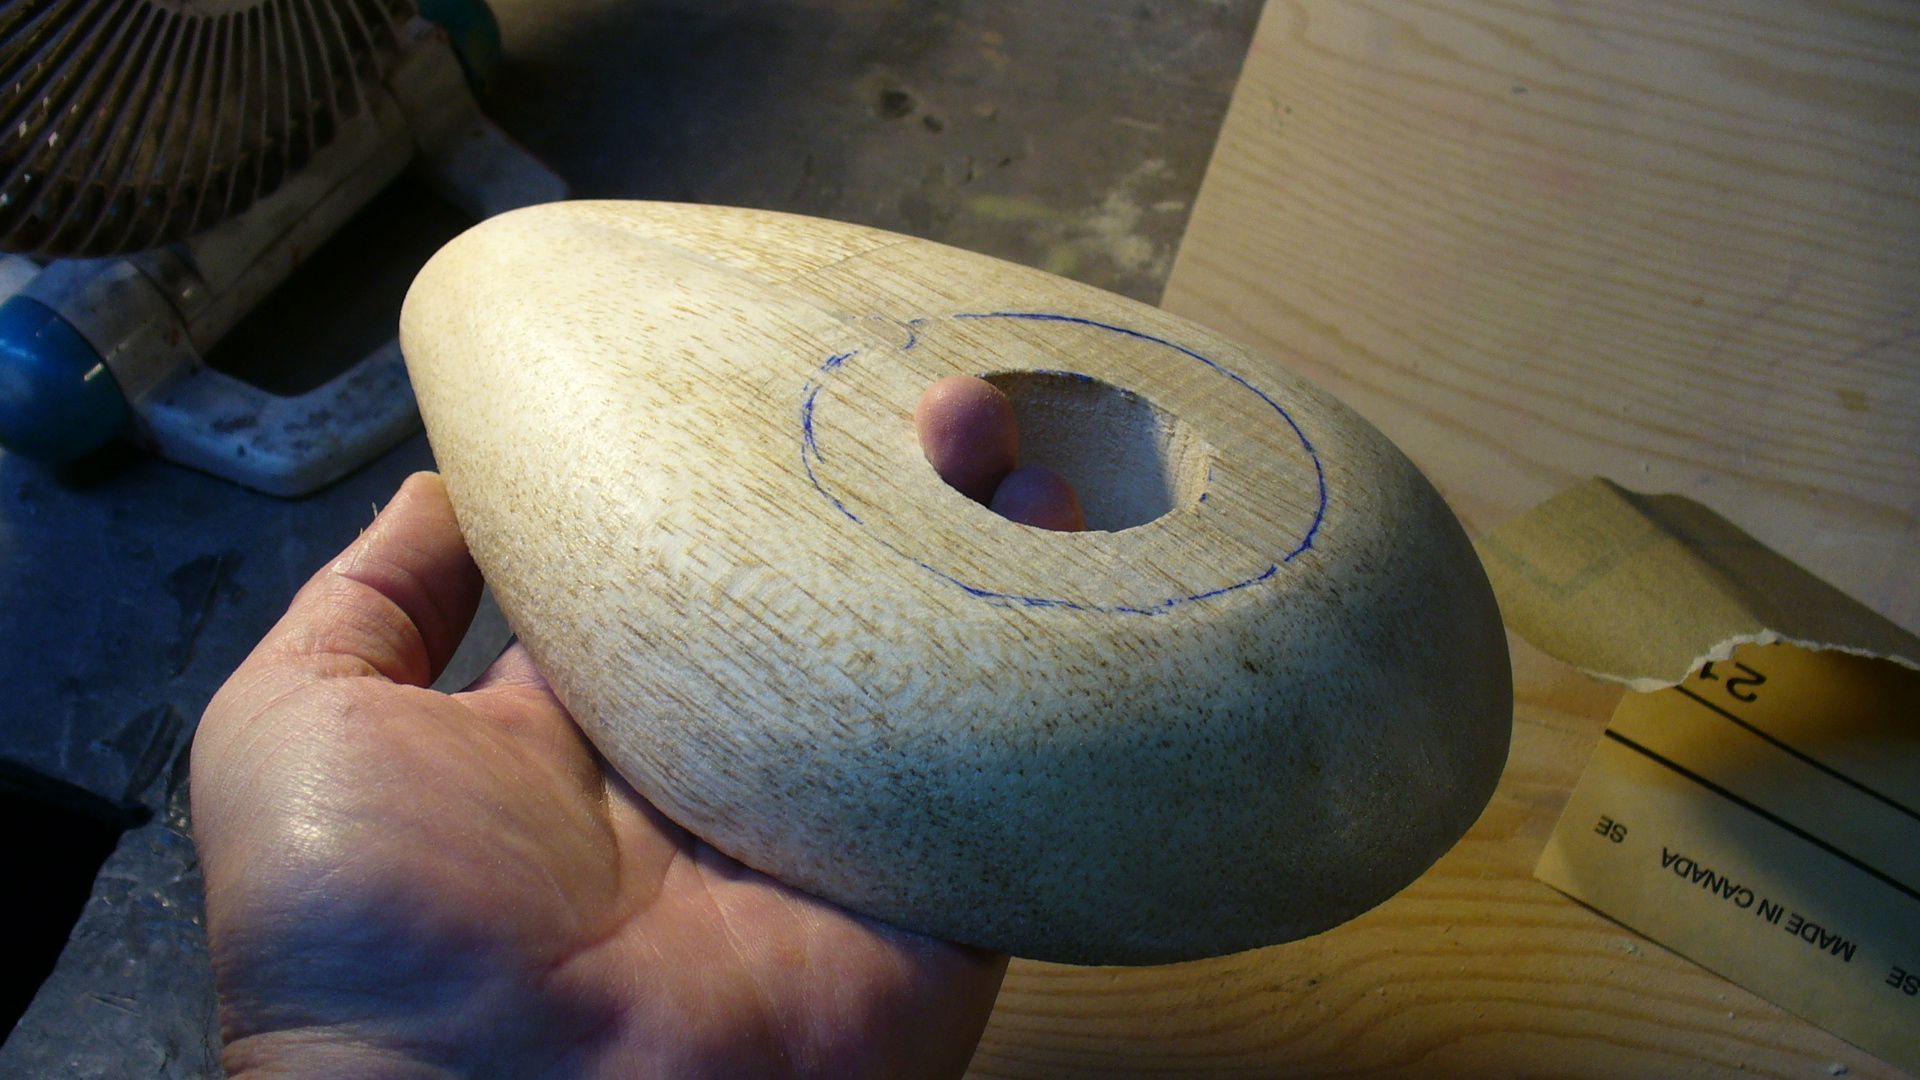
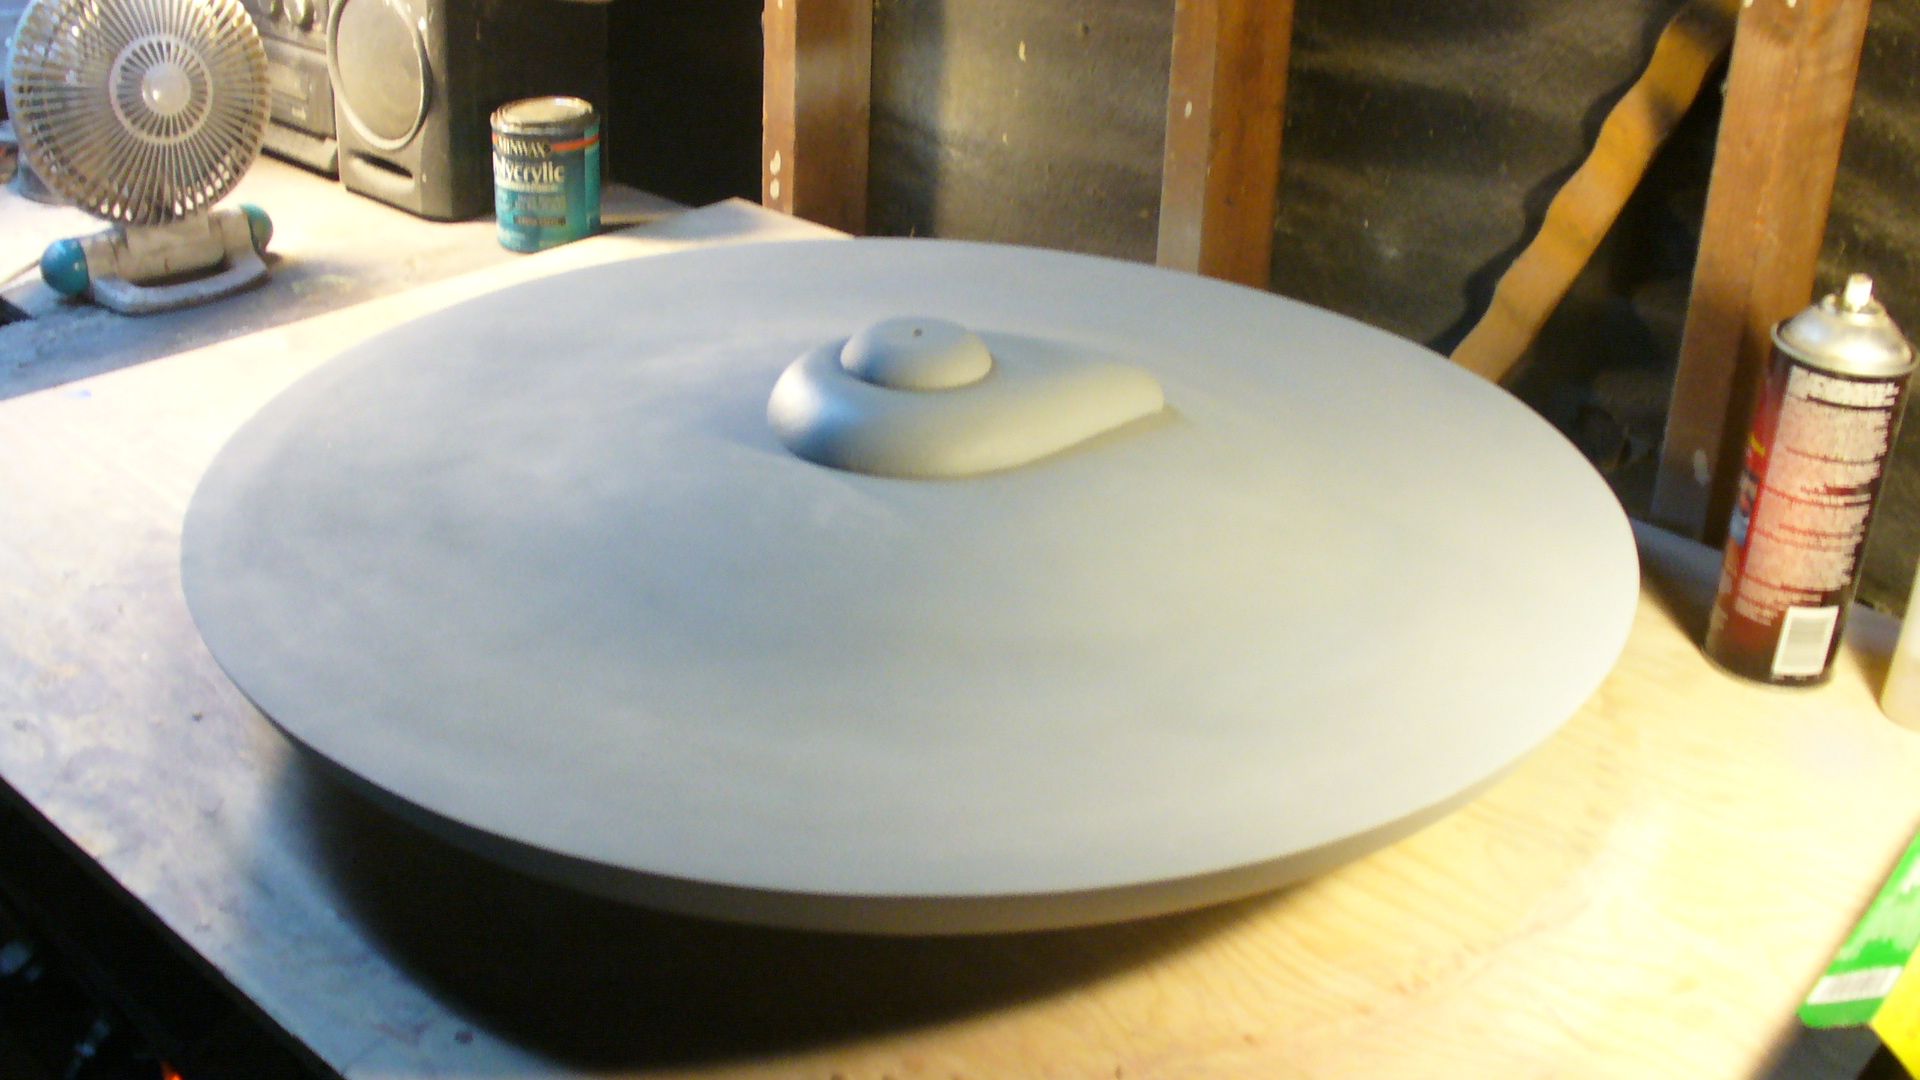
Here’s some pictures of the finished saucer hull and a hand for size reference. This is a nice big model!
Steve

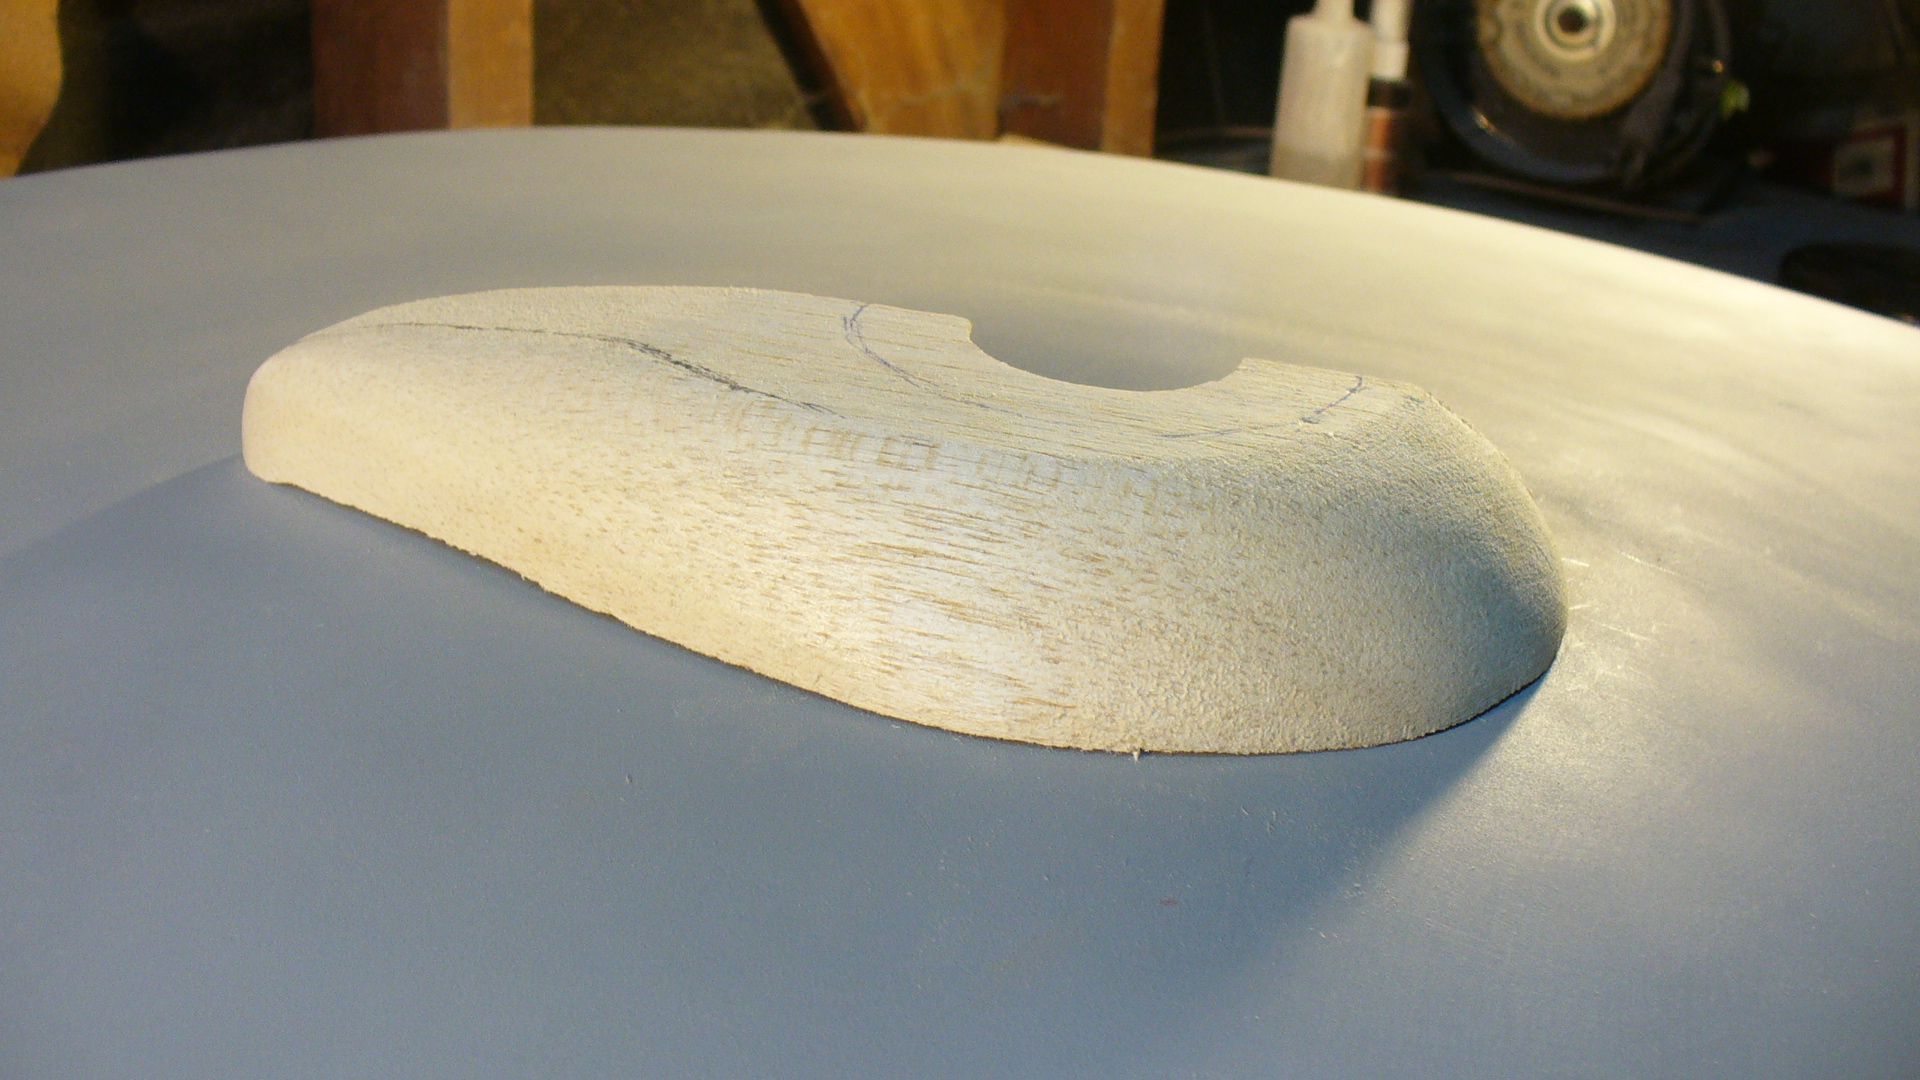
So I got the saucer section hull master finished for now. Good enough to move on to the bridge and other saucer section parts and details. I took a trip to my favorite hobby store and picked up some nice pieces of balsa. Balsa works great for this kind of thing. Sculpts like clay and forms very symmetrical. Once I have the part formed to my liking it’s easy to seal the balsa, primer and detail. After all the orignal 11 foot model was formed from wood.
Using my plans I made a nice contour tool to check the shape. I used a band saw and a scroll saw to cut the bridge base using a top and side view. Then eye balling the original and using the contour tool gave it the basic shape. Time ran short tonight and I’ll finish the other side tomorrow. Hoping to get to the bridge itself too and the dome that I will later vacuum form.
Here’s some pictures of the finished saucer hull and a hand for size reference. This is a nice big model!
Steve
")