You are using an out of date browser. It may not display this or other websites correctly.
You should upgrade or use an alternative browser.
You should upgrade or use an alternative browser.
Tron Legacy Costume
- Thread starter Rook 3
- Start date
-
- Tags
- tron legacy

eddieadryr
New Member
Crap! On my iPhone. Wanted to post my El Wire job per Eddie's instructions. My comp. caught a virus and I am reinstalling Windows. One of those virus that the anti virus scans just can't find.
Anyways, I want to post my pic of my work to show you all. Will have to wait till tomorrow. I want Eddie to check it out to see if I got it right. I think
I did looks better in photos then just looking right at it and different ISO settings on your camera will make a difference too. Will post my pics later!
Awesome! can't wait to see it.
TheLadyNerd
Well-Known Member
Came across this site yesterday...buttons 3, 4 and 5 are filled with wallpaper size, good to high res photos!
Thanks so much for that link! It's extremely helpful!

madcat
Active Member
well if you dont breath dont eat the night before you put it on just maybe:lolIn a men's size Small (about 5ft 6in tall, 39 chest, etc).. useless to those of us that actually hit the gym and eat meat. :cool
games001
Well-Known Member
how do you get the full size pics I can one get thumbnails ???
Just copy from here if you need to. Gave me no issues on size. Just use this page if you need a work around: http://translate.google.com/transla...&u=http://www.kinogallery.com/films/?id=tron2
http://www.kinogallery.com/img/wallpaper/kinogallery.com_tron_legacy_39_1600.jpg
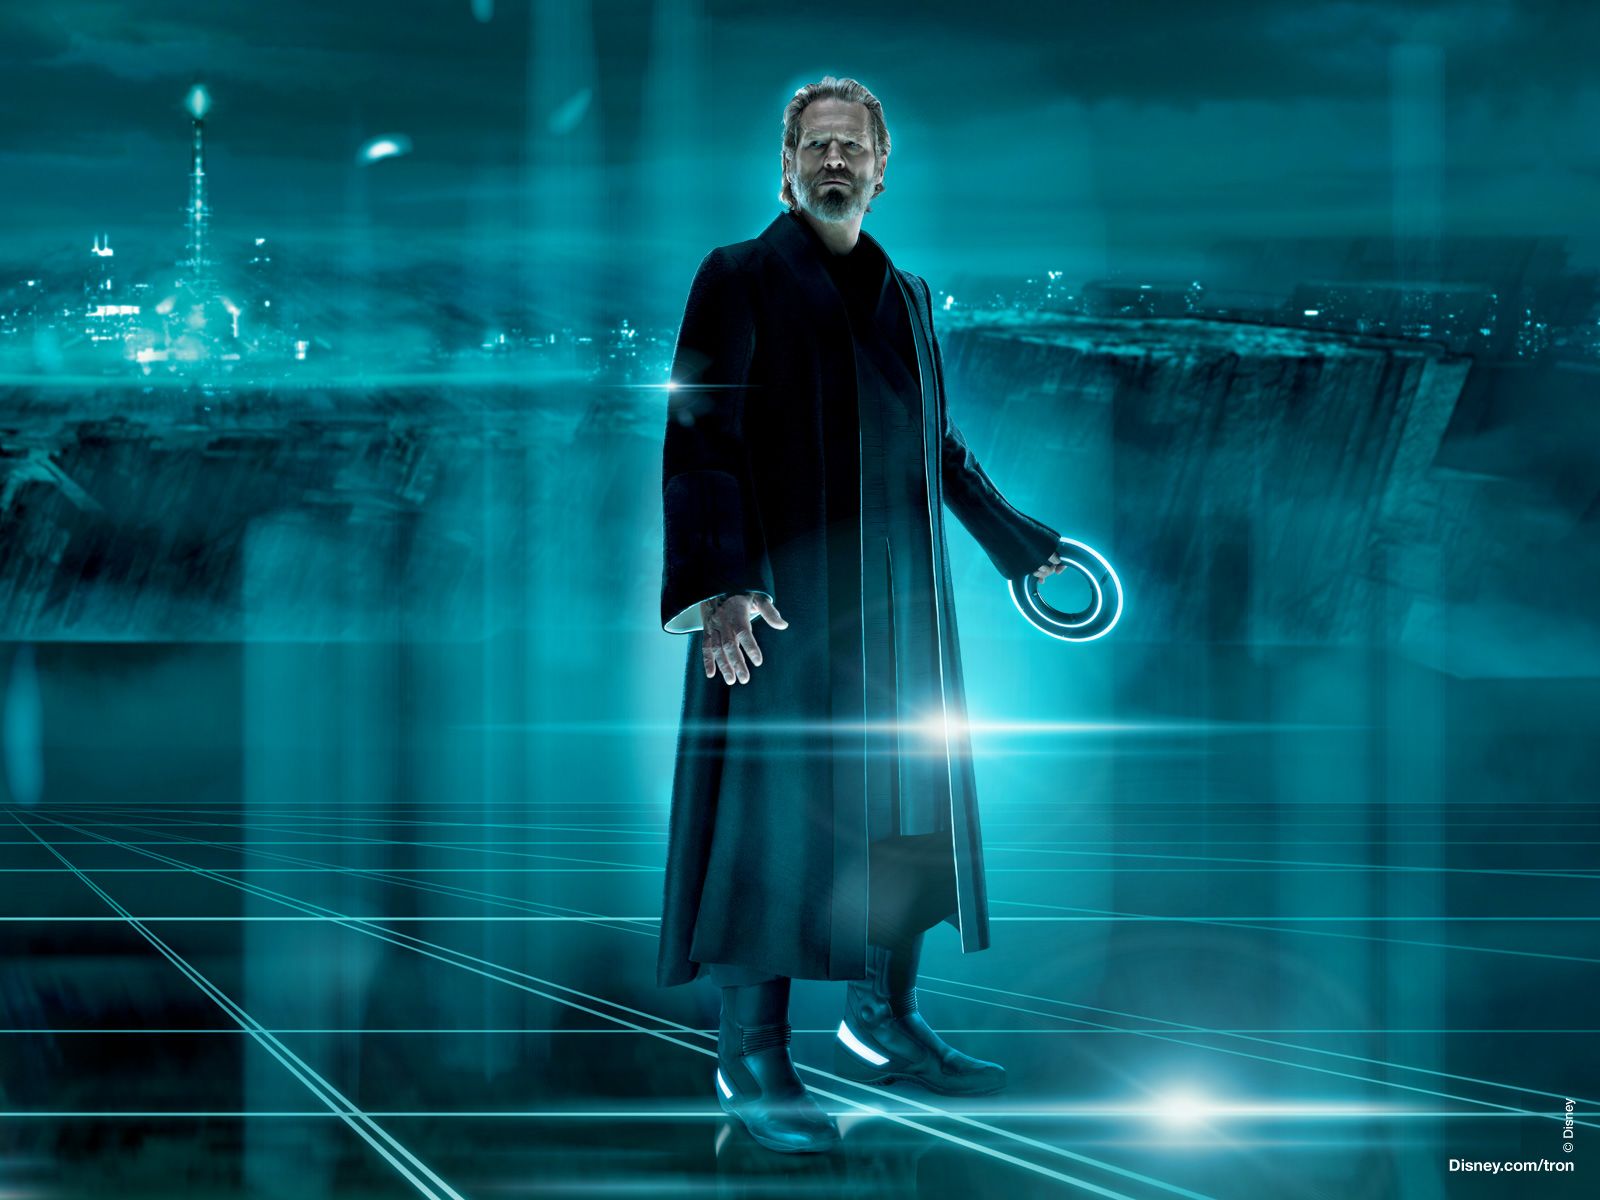
Am I mistaken, or does the image seem to suggest a raw silk material with a satin trim on the collar/breast and along the right arm, a slight look of 'squared off' areas?
As to the cos suit.. I would have to drop 20 more lbs, lose an inch or two in stature, and then still not take a single breath the whole night. :unsure
Last edited:
aelynn000
Well-Known Member
how do you get the full size pics I can one get thumbnails ???
woops! i forgot to edit... in the kino website, when you click the really, really large files and just get the small picture, right click and select view image and you can view it in its full size.
Annisse
Sr Member
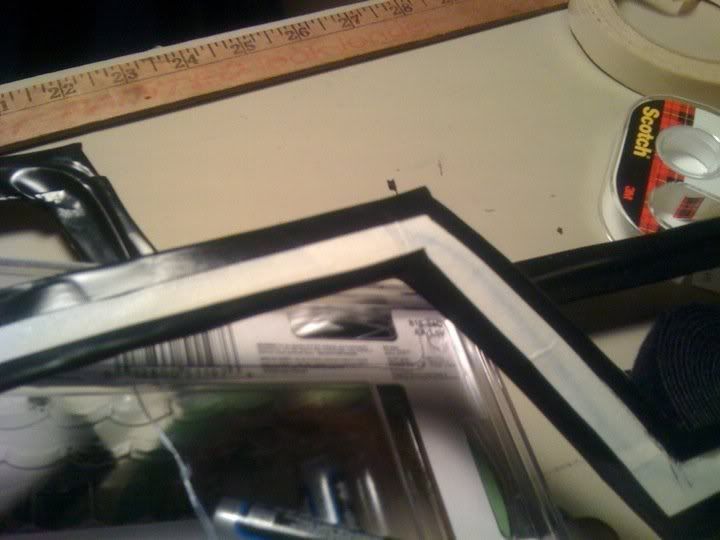
OK here is my El Wire work following Eddie's instructions. Actually I used this diffused label printer sheet I found, is sticky on the opposite side and held my wire in place then put clear masking tape over it. Used these items in place of the transparency paper since I don't have any right now. Then put the white masking tape over that. That backing has the white poster board.
Eddie, does this look right to you? Is this how yours looks close up when you made yours? I just want to make sure I am doing it right. Oh and I decided to do the double wire for the strip like you did not the one.
When you indicated the sides outside the el wire are black on your diagram you posted did you mean the black parts are the tape you will use to hold everything in place? That is what my black is on here, black masking tape. Wasn't sure what you meant by these parts are black on your picture.
Also I noticed in photographer, different ISO settings make a difference on the look of the light "strip"
The 1st pic is takeen with a ISO setting of 200, then 400 then finally 800.
I am liking the look of the ISO 800 setting. The "strip" looks more soild.
My work is pretty sloppy here, it was late and I was working fast it will look much cleaner on the real job I do for my suit.
Let me know what you all think thank you!
Eddie, does this look right to you? Is this how yours looks close up when you made yours? I just want to make sure I am doing it right. Oh and I decided to do the double wire for the strip like you did not the one.
When you indicated the sides outside the el wire are black on your diagram you posted did you mean the black parts are the tape you will use to hold everything in place? That is what my black is on here, black masking tape. Wasn't sure what you meant by these parts are black on your picture.
Also I noticed in photographer, different ISO settings make a difference on the look of the light "strip"
The 1st pic is takeen with a ISO setting of 200, then 400 then finally 800.
I am liking the look of the ISO 800 setting. The "strip" looks more soild.
My work is pretty sloppy here, it was late and I was working fast
it will look much cleaner on the real job I do for my suit.Let me know what you all think
thank you!
Last edited:
aelynn000
Well-Known Member
OK here is my El Wire work following Eddie's instructions. Actually I used this diffused label printer sheet I found, is sticky on the opposite side and held my wire in place then put clear masking tape over it. Used these items in place of the transparency paper since I don't have any right now. Then put the white masking tape over that. That backing has the white poster board.
Eddie, does this look right to you? Is this how yours looks close up when you made yours? I just want to make sure I am doing it right. Oh and I decided to do the double wire for the strip like you did not the one.
When you indicated the sides outside the el wire are black on your diagram you posted did you mean the black parts are the tape you will use to hold everything in place? That is what my black is on here, black masking tape. Wasn't sure what you meant by these parts are black on your picture.
Also I noticed in photographer, different ISO settings make a difference on the look of the light "strip"
The 1st pic is takeen with a ISO setting of 200, then 400 then finally 800.
I am liking the look of the ISO 800 setting. The "strip" looks more soild.
My work is pretty sloppy here, it was last and I was working fast
Let me know what you all think
Nice!!! Gotta ask you too, what width/voltage are you using??? I should really just get around and experiment with mine but I get so ridiculously inspired and then disheartened when I see everyone elses, 'cause mine seems so dull in comparison. ARGH!.... will probably have to buy a different kind.
Annisse
Sr Member
Nice!!! Gotta ask you too, what width/voltage are you using??? I should really just get around and experiment with mine but I get so ridiculously inspired and then disheartened when I see everyone elses, 'cause mine seems so dull in comparison. ARGH!.... will probably have to buy a different kind.
I used a 2.3mm white el wire for this, but I may be purchasing the 2.5mm high bright el wire. I am deciding on this and ordering 2nite. It is powered with a 12V battery holder. 8 AA batteries. Much more powerful than the 9V and my inverter (driver) chargers up to 30 feet I believe??? It was an old one I already had I will have to verify on the cool neon website....
OK just checked
here is the one I have powers up to 35 feet of el wire. Also, this driver has been updated with an on and off switch, constant and blinking mode. My old one does not have this so this is SWEET!Fish Driver with Switch (DFS)
and here is the 12V battery cage which will hold your 8 AA batteries....
8 AA Battery Cage (#AC8AAL)
and I recommened this to power your arm armor and boot. This will make life alot easier you can stuff this driver down the top of your arm and boot to hold it in place, it is small, powers up to 5 feet of wire. Get 3 of them. Two for your arms and and one for the light Quorra has going down her right boot leg. Her left leg has the baton holder on the outside so you don't need a driver for that side.
1 AA Driver (#D1AA)
For the tiny little parts on her costume that light up like the center chest, the back neck top area and the boots front and back, I am just using reflective tape. It will be a royal pain in the rear trying to travel the el wire to those little parts so forget it. For once I am learning to be NOT so anal. HAHA
twinight
Active Member
I haven't had much luck with heat molding foamies with a hairdryer. Even over a stovetop, it seems to require a lot of heat. Plastazote on the other hand, is very moldable. It just starts to soften and curl as soon as it gets up to temperature. I used a stovetop, but haven't tried a hairdryer on this stuff. I think 285* is the temp.
eddieadryr
New Member
You got it! you are on the right track, I used black electrical tape for the black parts. Also I recommend using the widest masking tape you can find, so that that the finished strip is as solid as possible.OK here is my El Wire work following Eddie's instructions. Actually I used this diffused label printer sheet I found, is sticky on the opposite side and held my wire in place then put clear masking tape over it. Used these items in place of the transparency paper since I don't have any right now. Then put the white masking tape over that. That backing has the white poster board.
Eddie, does this look right to you? Is this how yours looks close up when you made yours? I just want to make sure I am doing it right. Oh and I decided to do the double wire for the strip like you did not the one.
When you indicated the sides outside the el wire are black on your diagram you posted did you mean the black parts are the tape you will use to hold everything in place? That is what my black is on here, black masking tape. Wasn't sure what you meant by these parts are black on your picture.
Also I noticed in photographer, different ISO settings make a difference on the look of the light "strip"
The 1st pic is takeen with a ISO setting of 200, then 400 then finally 800.
I am liking the look of the ISO 800 setting. The "strip" looks more soild.
My work is pretty sloppy here, it was late and I was working fast
Let me know what you all think
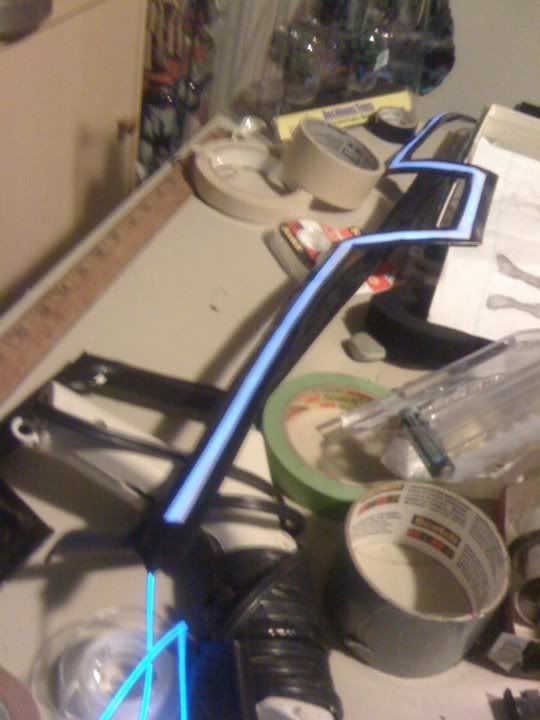
Here is a close up of one of the legs pieces.
Rinzler
Well-Known Member
I haven't had much luck with heat molding foamies with a hairdryer. Even over a stovetop, it seems to require a lot of heat. Plastazote on the other hand, is very moldable. It just starts to soften and curl as soon as it gets up to temperature. I used a stovetop, but haven't tried a hairdryer on this stuff. I think 285* is the temp.
Hey Twinight I spent $20 and bought a heat gun ( i plan on making more foam costumes in future anyway so worth outlay), I tested it on a 3mm piece of EVA and worked fine, it didn't mould as neat as I thought but then I was conforming it to my upper arm & shoulder which aren't perfect formed anyway
Am buying more black EVA foam tomorrow to start on the arms as I expect my reflective tape to be in this week along with rare earth magnets for holding ID disk on back.
Annisse
Sr Member
You got it! you are on the right track, I used black electrical tape for the black parts. Also I recommend using the widest masking tape you can find, so that that the finished strip is as solid as possible.
Here is a close up of one of the legs pieces.
Awesome! Thank you Eddie! Then I am on my way. Just gotta wait for my latex to get here. Gonna build the armor to fit me perfect then the El Wire to that.
Oh, did you use velcro on your suit and lighting build to hold all the lighting to your chest, arms and legs? Or did you glue the strips on?
I was thinking of using velcro but not sure if it will hold well on the latex unless I cemented it on there.
Dei
Member
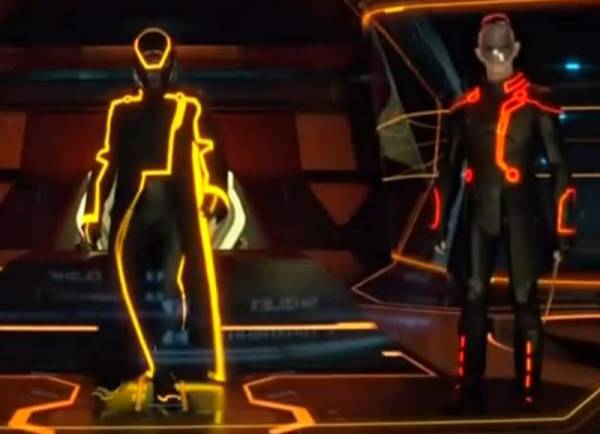
Here are some shots of our Tron Legacy Daft Punk costumes They're not 100% complete yet as we haven't installed the EL wire/tape and added in more details like the proper reflective sheeting and minor sewing patterns,here and there. I haven't installed the electronics into the helmets yet either.
We based the designs off the figures that are gonna be released soon.


They're not 100% complete yet as we haven't installed the EL wire/tape and added in more details like the proper reflective sheeting and minor sewing patterns,here and there. I haven't installed the electronics into the helmets yet either.We based the designs off the figures that are gonna be released soon.
^ kewel!
Similar threads
- Replies
- 1
- Views
- 1,175
- Replies
- 1
- Views
- 1,116
- Replies
- 20
- Views
- 3,426