Obi ANH Sabers: What do you have?

Here's my recently acquired Russ Rep parts:


Bolted the emitter to the brass grenade section with a bit of old hosepipe connector that's been pressed in (found an old brass button that I though looked cool so that's covering the bolt head). Antiqued the brass parts with a blow-torch and then dipped in oven cleaner for 2 minutes and satin black sprayed the frag body (to be weathered later).

Got a booster coming soon, so just need to scavenge the other parts!
 
Last edited:
Will keep an eye out for a cap for you.

Thank you Marv. That is very cool!

btw, here's what happened with Kenobis saber after his death (SWwiki):

The lightsaber fell into Darth Vader’s possession, who stored it in his personal retreat on Vjun as a trophy. After the Jedi Order was recreated under Luke Skywalker, several of his students, led by Tionne Solusar and Ikrit, arrived at Bast Castle to search for relics and artifacts contained within. Their arrival coincided with the efforts of Orloc, a false Darksider who relied on technological gimmicks to convincingly mimic Force abilities. While the Jedi found Kenobi’s lightsaber and the Asli Krimsan's holocron first, Orloc managed to steal both in the subsequent encounter, threatening Ikrit with the lightsaber. However, Orloc’s unfamiliarity with the many passages and traps of Bast Castle nearly got him killed, and allowed the Jedi to reclaim the lightsaber and the holocron.[29]

The holocron and the lightsaber were left in Luke Skywalker’s quarters for him to examine later. However, Uldir Lochett, a non-Force sensitive attempting to become a Jedi, stole both artifacts and fled to Exis Station to meet with Orloc, hoping the false adept could teach him how to use the Force. Lochett’s fellow students chased after, confronting Orloc. Solusar telekinetically retrieved Kenobi’s lightsaber and the holocron. The lightsaber changed hands several times during the ensuing battle, finally coming to Anakin Solo, who used it to destroy the devices on Orloc’s costume and exposing him as a charlatan. Orloc escaped, while the lightsaber was returned to the Jedi praxeum.

full story: Obi-Wan Kenobi's third lightsaber - Wookieepedia, the Star Wars Wiki

- - - Updated - - -


I like the inside of the emitter.
 
What transistors are exactly on the clamp? TO-39, TO-99.. Some go with the Motorola logo on top of it, and some without them and lettering around the side.

Another question, the photos of the original, in which books are they depicted. What chronicles book is it, and what's the other one?
 
The plate is very cool. Currently did a relic on a dueling saber for a guy
 

Attachments

  • commisioned1.jpg
    commisioned1.jpg
    188.1 KB · Views: 148
  • commisioned 3.jpg
    commisioned 3.jpg
    224.3 KB · Views: 119
Last edited:
Finally got my parts assembled

BWezaCoCQAAUbao.jpg


All real parts. The emitter is one of Roman's corrected balance pipes. Just need to trim the bubble strip and attach my transistors. I dont think I'm going to add a d-ring to this.
 
Hi every body. here is my obi saber. all real. i took off the russ transistors no real transistors as of yet. and i don't think im going to add the d ring yet either.
 

Attachments

  • IMG_6825copy.jpg
    IMG_6825copy.jpg
    108.6 KB · Views: 206
The last two sabers are really great, too.
KhalDrogo, in seeing that red paint in the middle of the gren body it seems there were reddish colored grenade bodys? Mine was a cream colored one.

Hey Luke. Great that you've joined therpf. Where have u found your derwent engine pipe? Have u polished it up to it's shine or is it out of a box?
 
Dummy? Now you're just being mean. I think its pretty smart for a inert hunk of steel.

In all seriousness, I have no idea what the color means. I would think something painted red, if it indeed was, wouldnt be a good indicator thats something NOT dangerous.
 
The last two sabers are really great, too.
KhalDrogo, in seeing that red paint in the middle of the gren body it seems there were reddish colored grenade bodys? Mine was a cream colored one.

Hey Luke. Great that you've joined therpf. Where have u found your derwent engine pipe? Have u polished it up to it's shine or is it out of a box?

Hey buddy. I got my grenade and BP from a collector in the UK. and no i didn't Polish it. I dont know why it looks like that in the pic. its actually very dull in person.
 
This is kind of turning into an "all real parts replicas" thread--I hope it's okay to post about a partial real parts/partial replica parts build:)
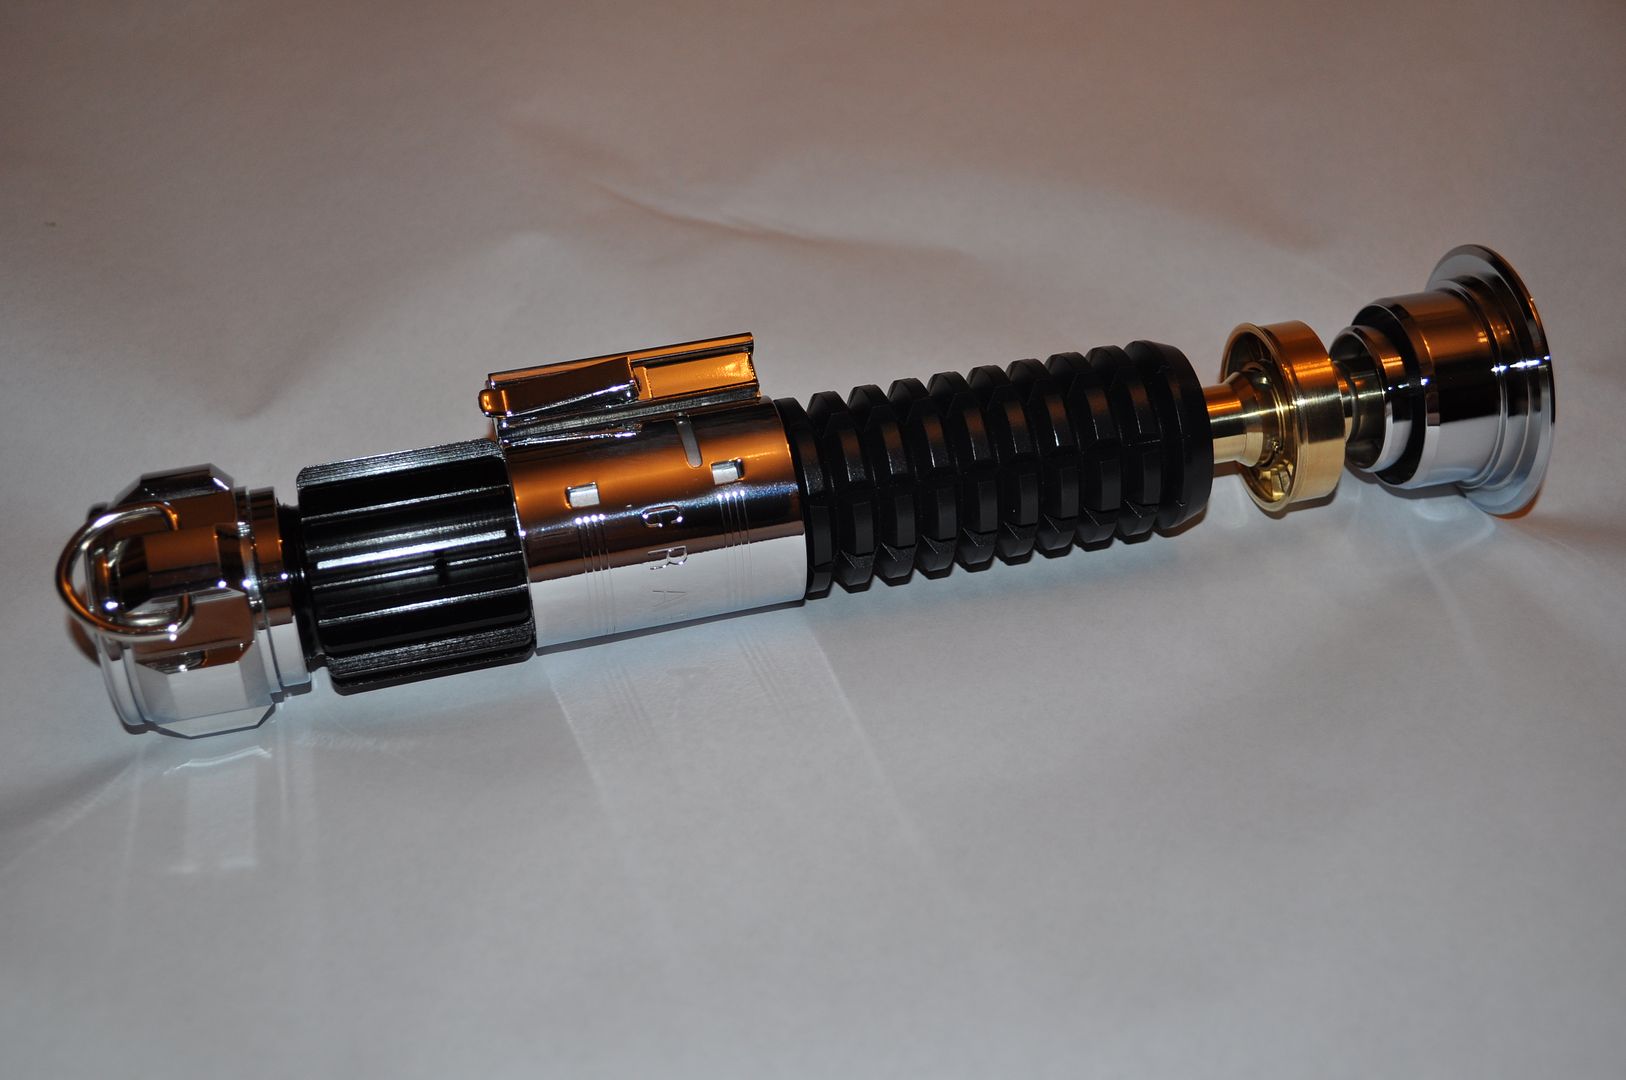
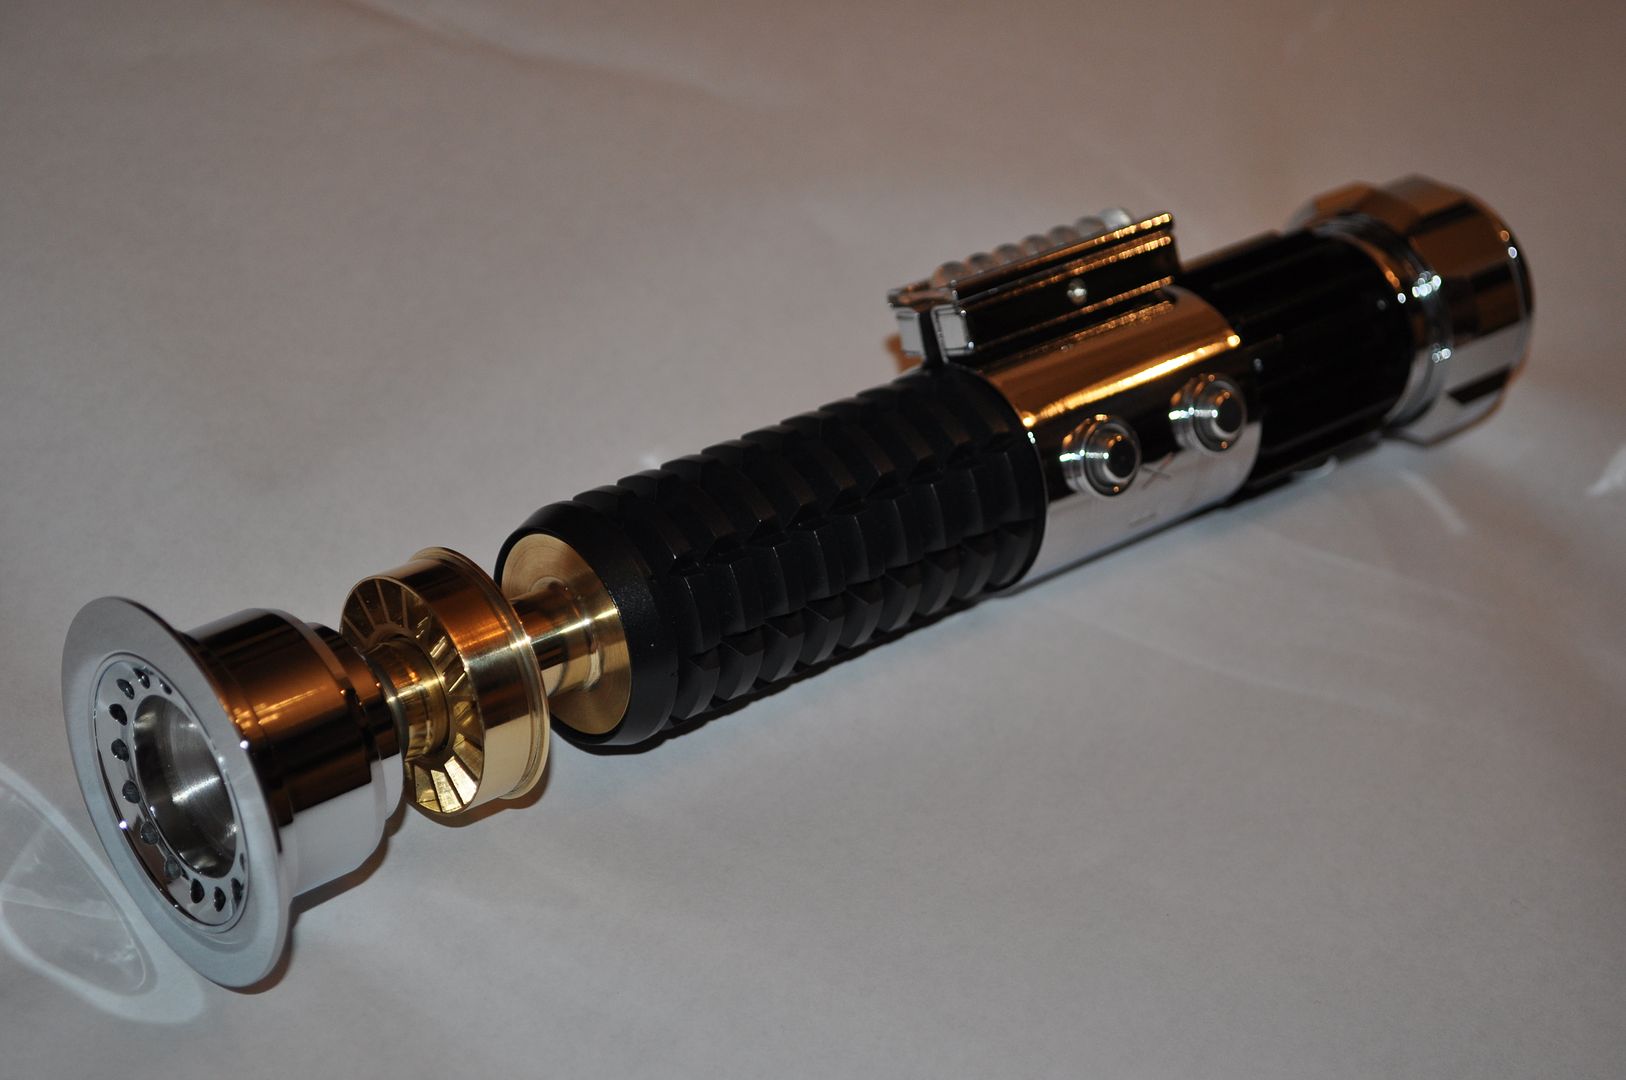
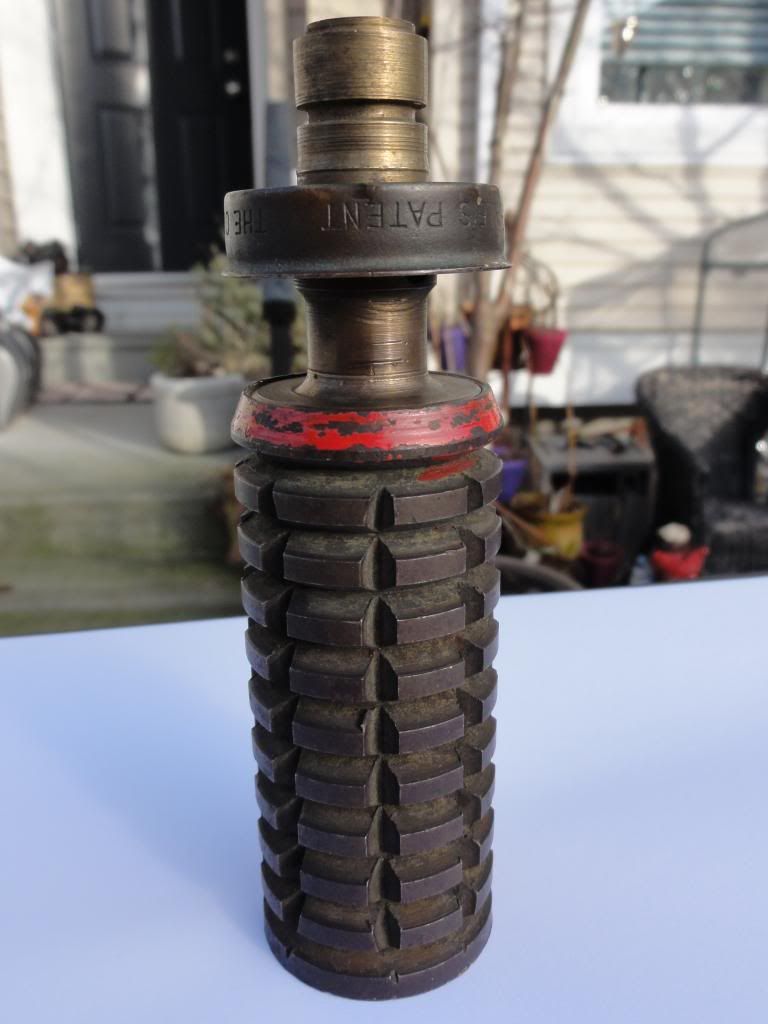
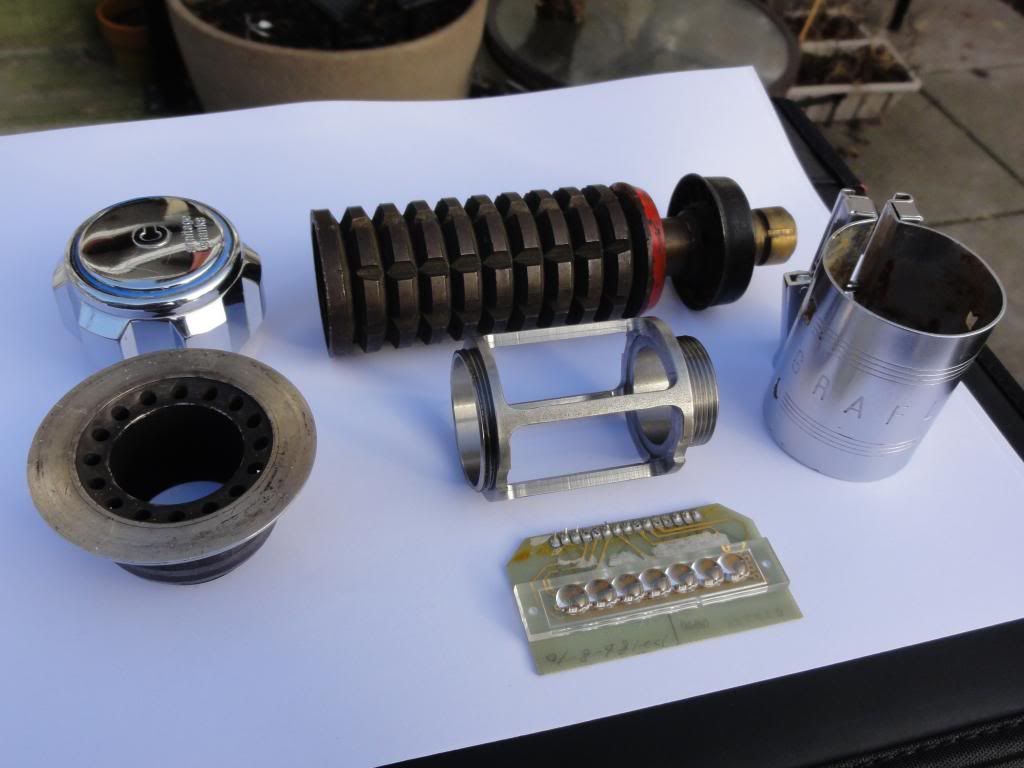
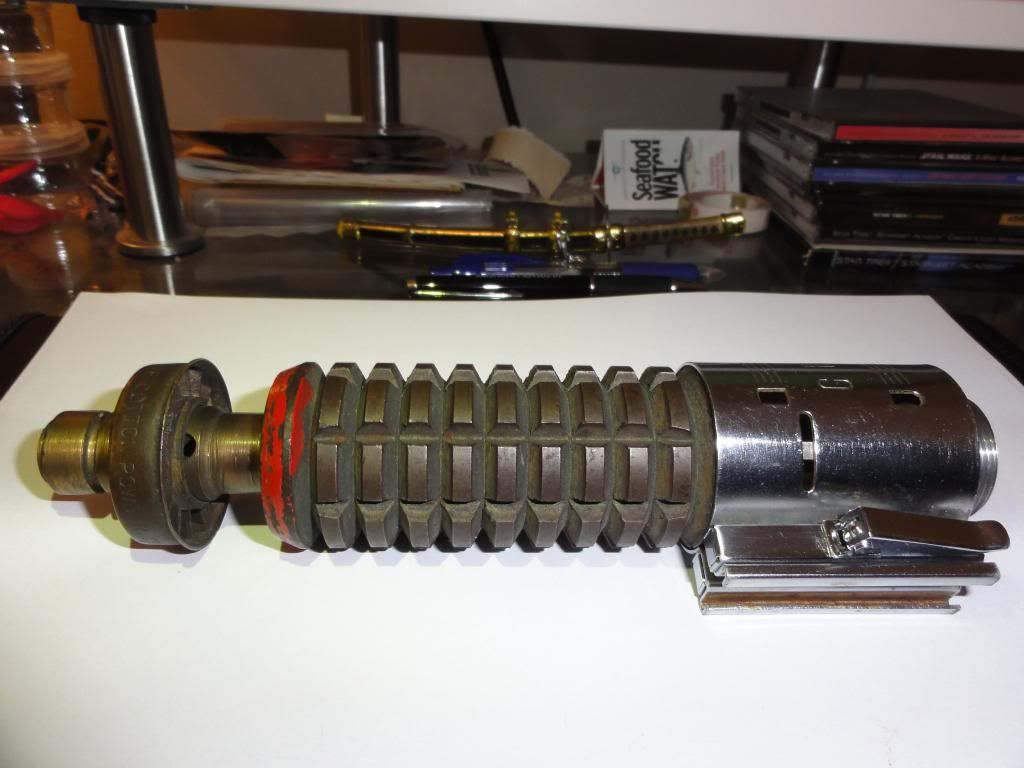
Anyway, this saber has been about a year in the making, starting with some leftover spare parts from my Luke ANH saber build, namely an original Graflex clamp and real Exactra bubble strip. I found some close vintage transistors (numbers aren't exact, but they're the right height and have the Motorola M on top), then signed up for various Russ Rep parts runs. While waiting for the Russ parts, I was able to find a Parks (I think) brass windvane ring/collar with the stamped on lettering, which I prefer over the plain variety. I also was able to acquire a couple of original vintage AS handwheels: one missing an endcap but with original chrome still intact on two of the parts, and just recently I got a rechromed vintage handwheel from a member here and cobbled together a complete handwheel from the best parts of the two. The new spacer/adapter from Russ just arrived today, so now my ANH Obi-Wan saber is complete except for a little tweaking here and there (until I find more real parts...uh, oh...). Here are some photos:
IMG_0257_zps81167e6b.jpgIMG_0258_zpsdedf071c.jpgIMG_0262_zps225f46eb.jpgIMG_0260_zps43965f6b.jpgIMG_0261_zps52a340b4.jpg

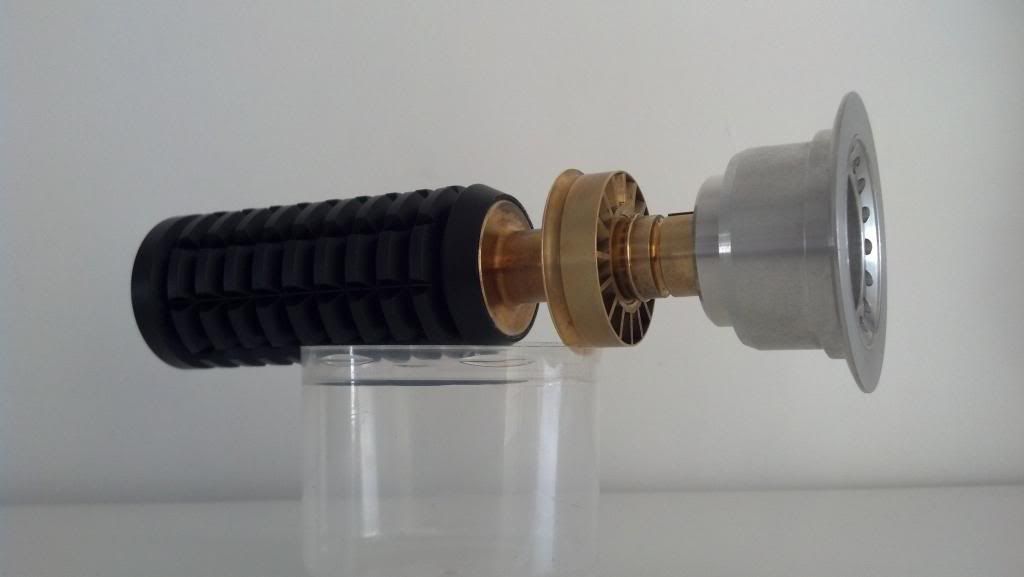
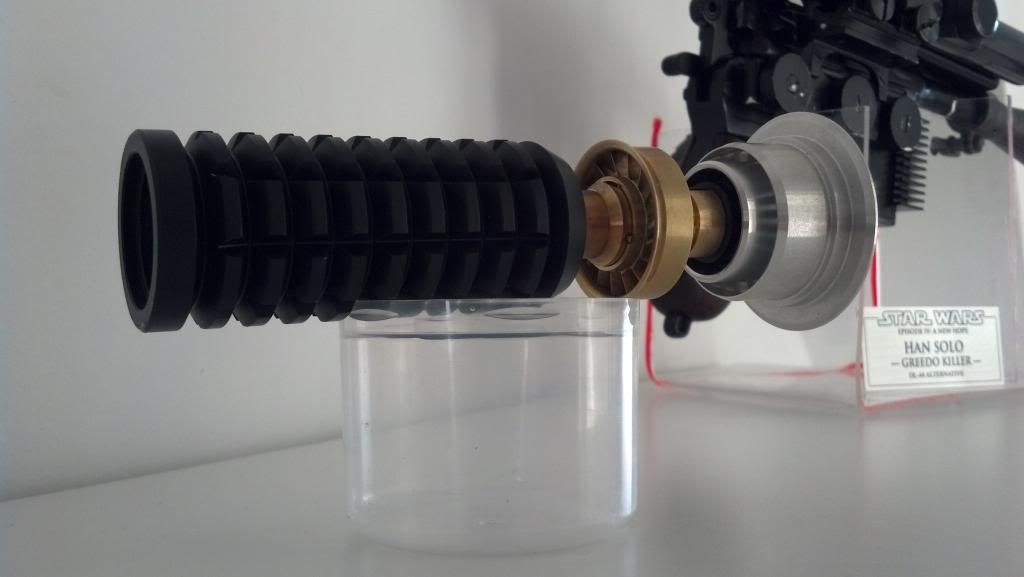
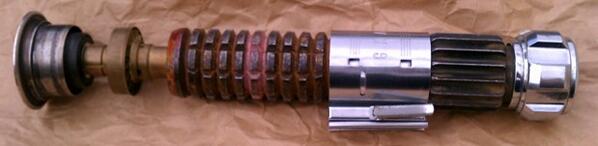
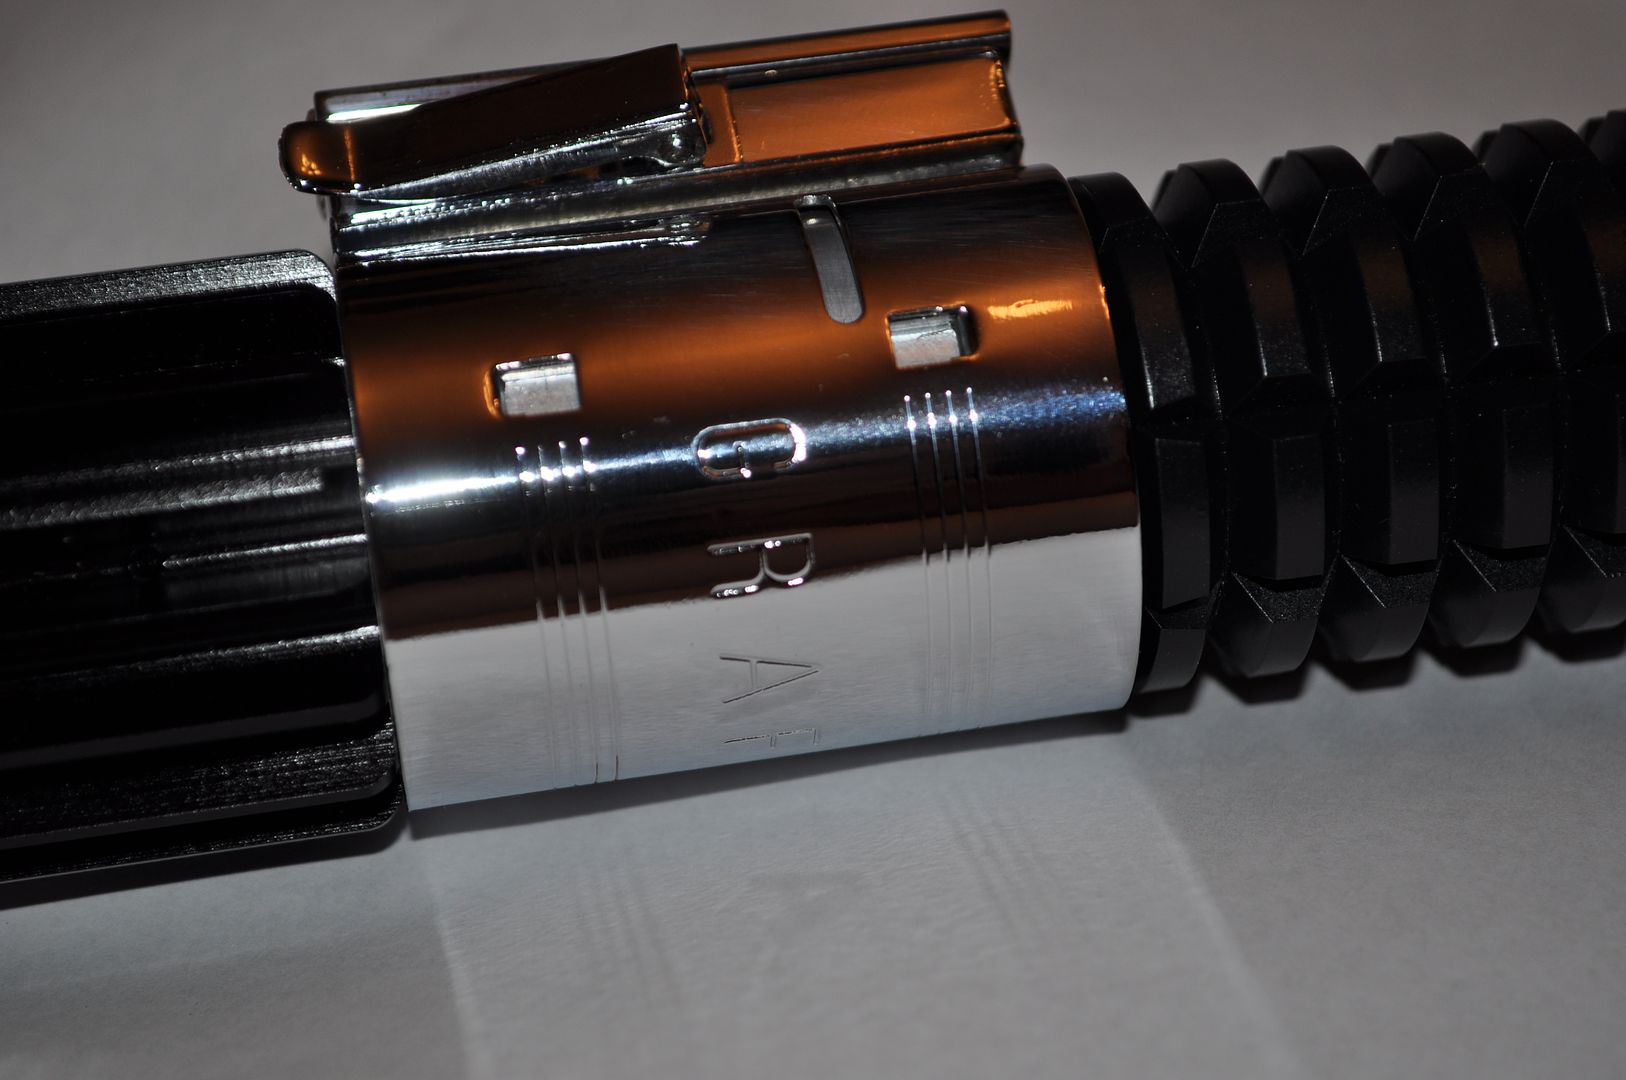
- Russ Rep Emitter - Inner part darkened with Blue Wonder gun blue, outer part weathered/detailed with Birchwood Casey Perma Blue, then mounted on an electric drill and partially sanded while spinning, followed by application of black acrylic paint by hand which was also partially sanded scraped away while spinning. Some hammering with metal tools in places for more weathering.
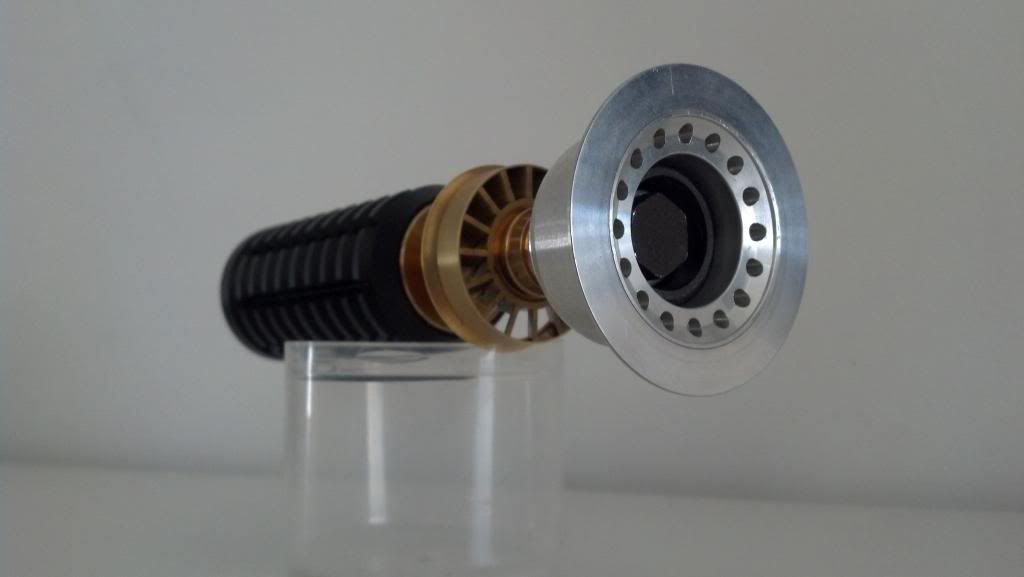
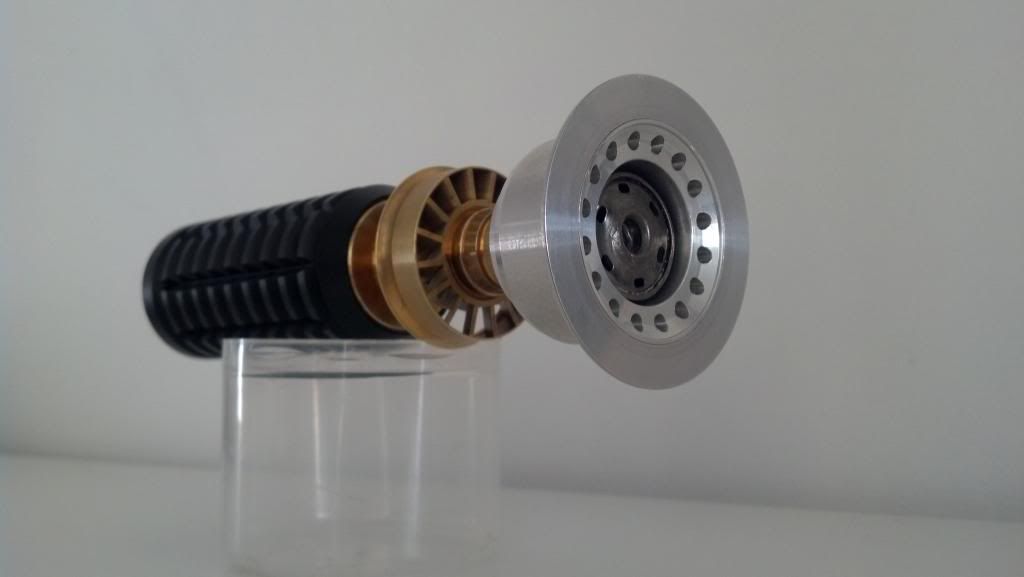
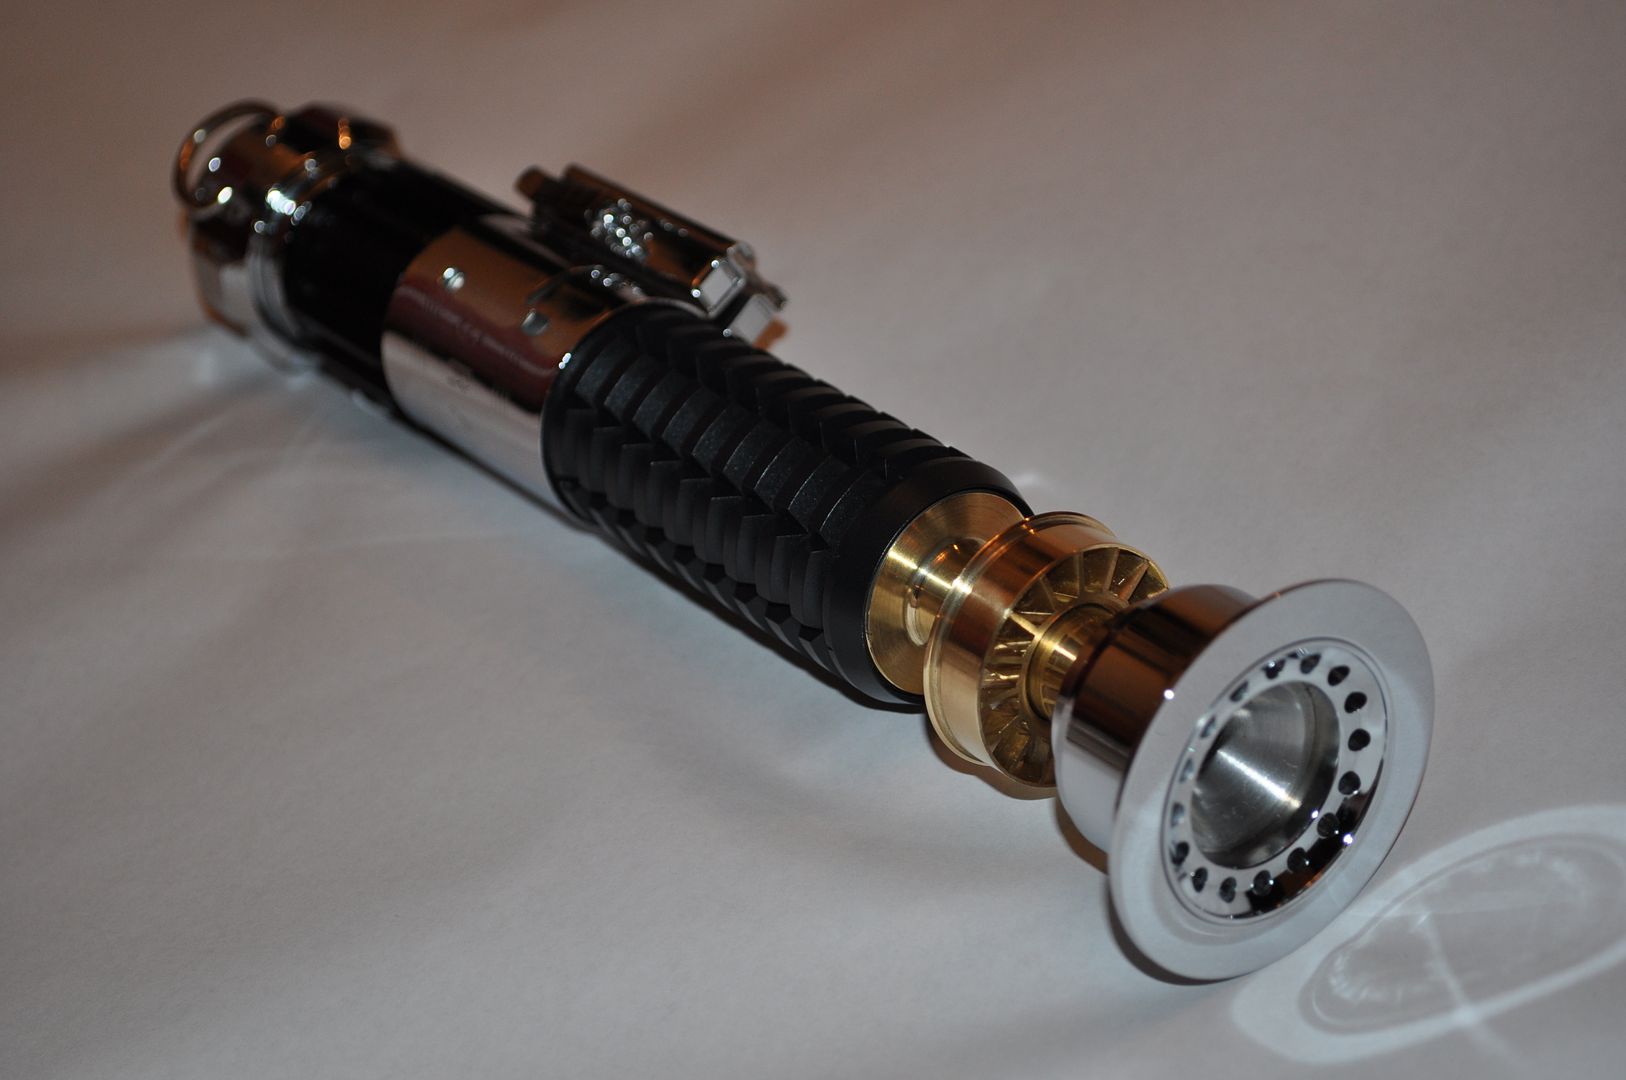
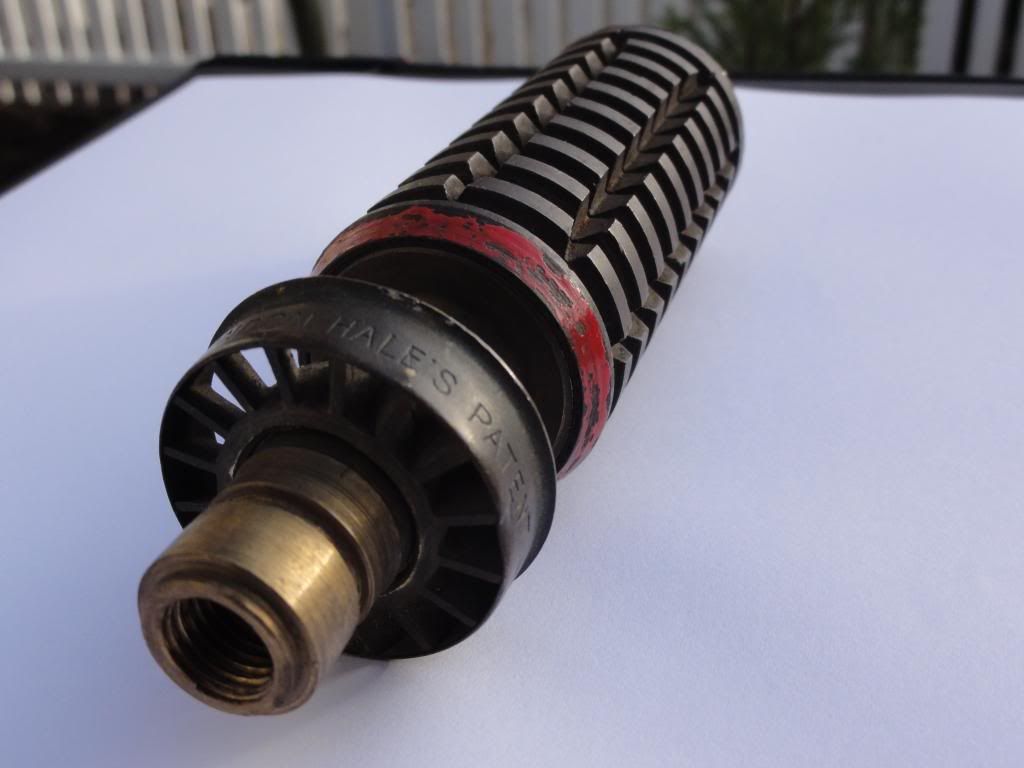
- Parks(?)/Russ Rep windvane - dinged with tools, weathered/aged by immersing for months in a sealed jar of dirt/mud from the yard mixed with a little ammonia.
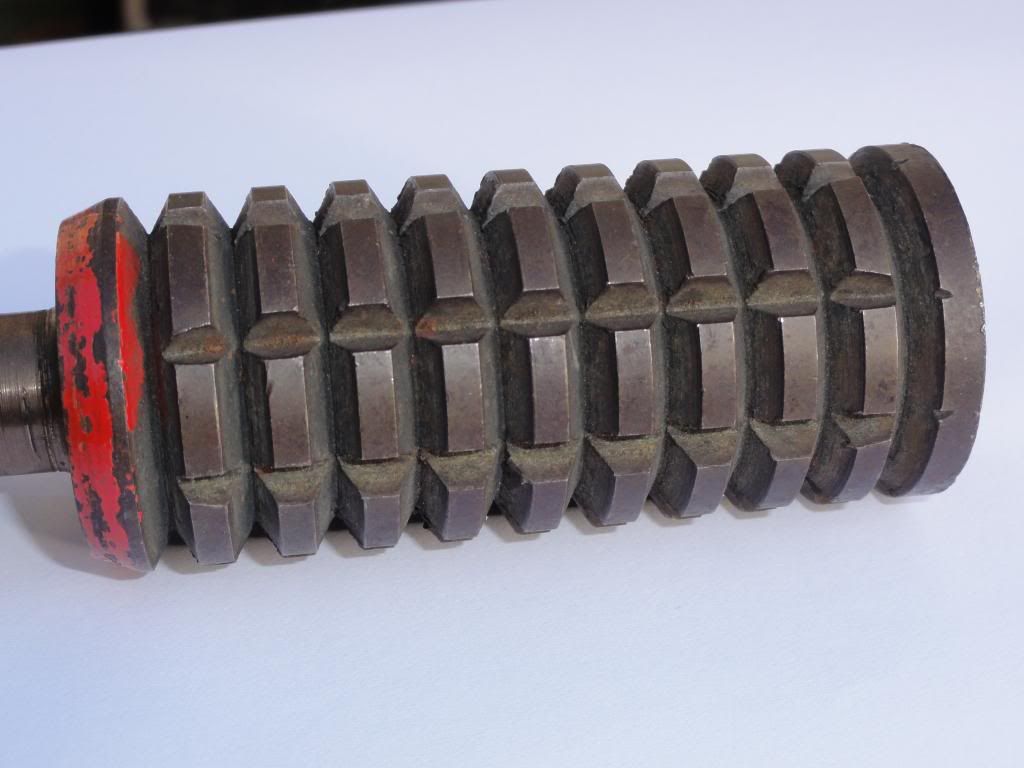
- Russ Rep grenade body - again, dinged up with a hammer in spots, dropped on concrete a bit, then dunked in a bath of Birchwood Casey Plum Brown (which turned the piece copper-colored...yikes!) followed immediately by a soak in old, used B.C. Perma Blue. This ended up looking fantastic in person, with a very lightly rusty brown in all the crevices and a worn mottled brownish blue on all the outer surfaces.
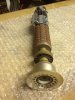
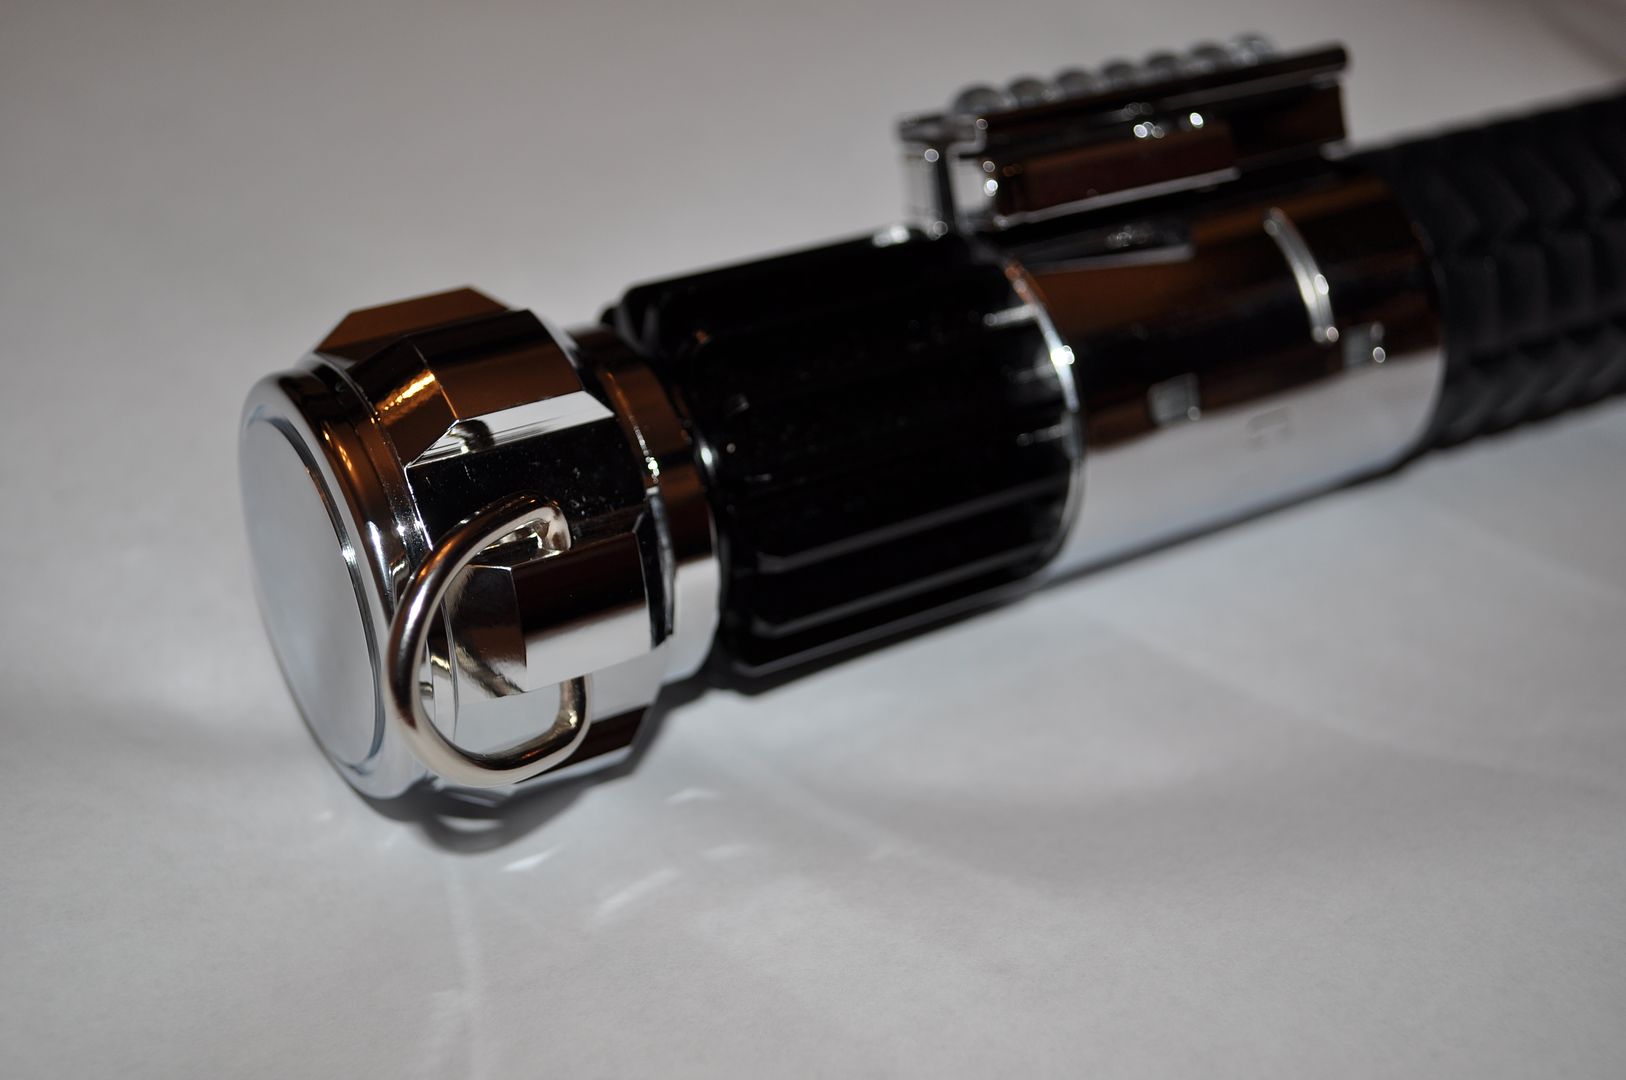
- Original Graflex clamp, transistors (with leads threaded through the clamp holes, bent, trimmed and then epoxied in place from the underside of the clamp), exactra bubbles on a new Russ Rep spacer with washers from somewhere I can't remember. I added a piece of black electrical tape to the spacer so that the clamp's horizontal slot doesn't show silver underneath.
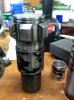
- Russ Rep Black Oxide steel booster-I may add some metal washers/spacers inside so that when it threads on it allows the clamp to sit at the correct height on the grenade.
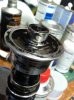
- Original partially rechromed (cube ring and endcap) Armitage Shanks handwheel. The handwheel is secured with a bolt that threads into a nut I potted/epoxied with lots of JB Weld inside the booster.

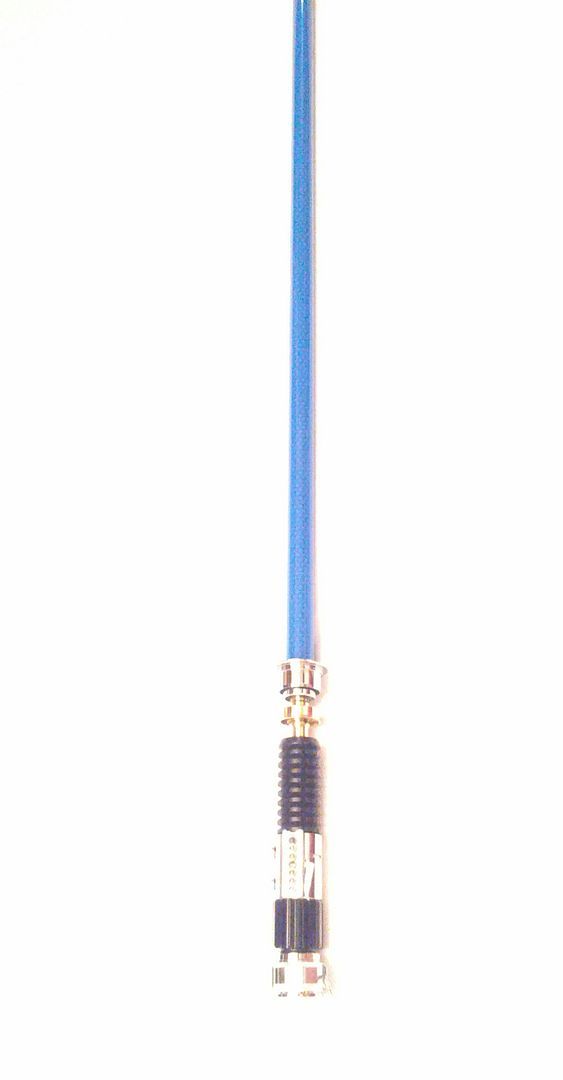
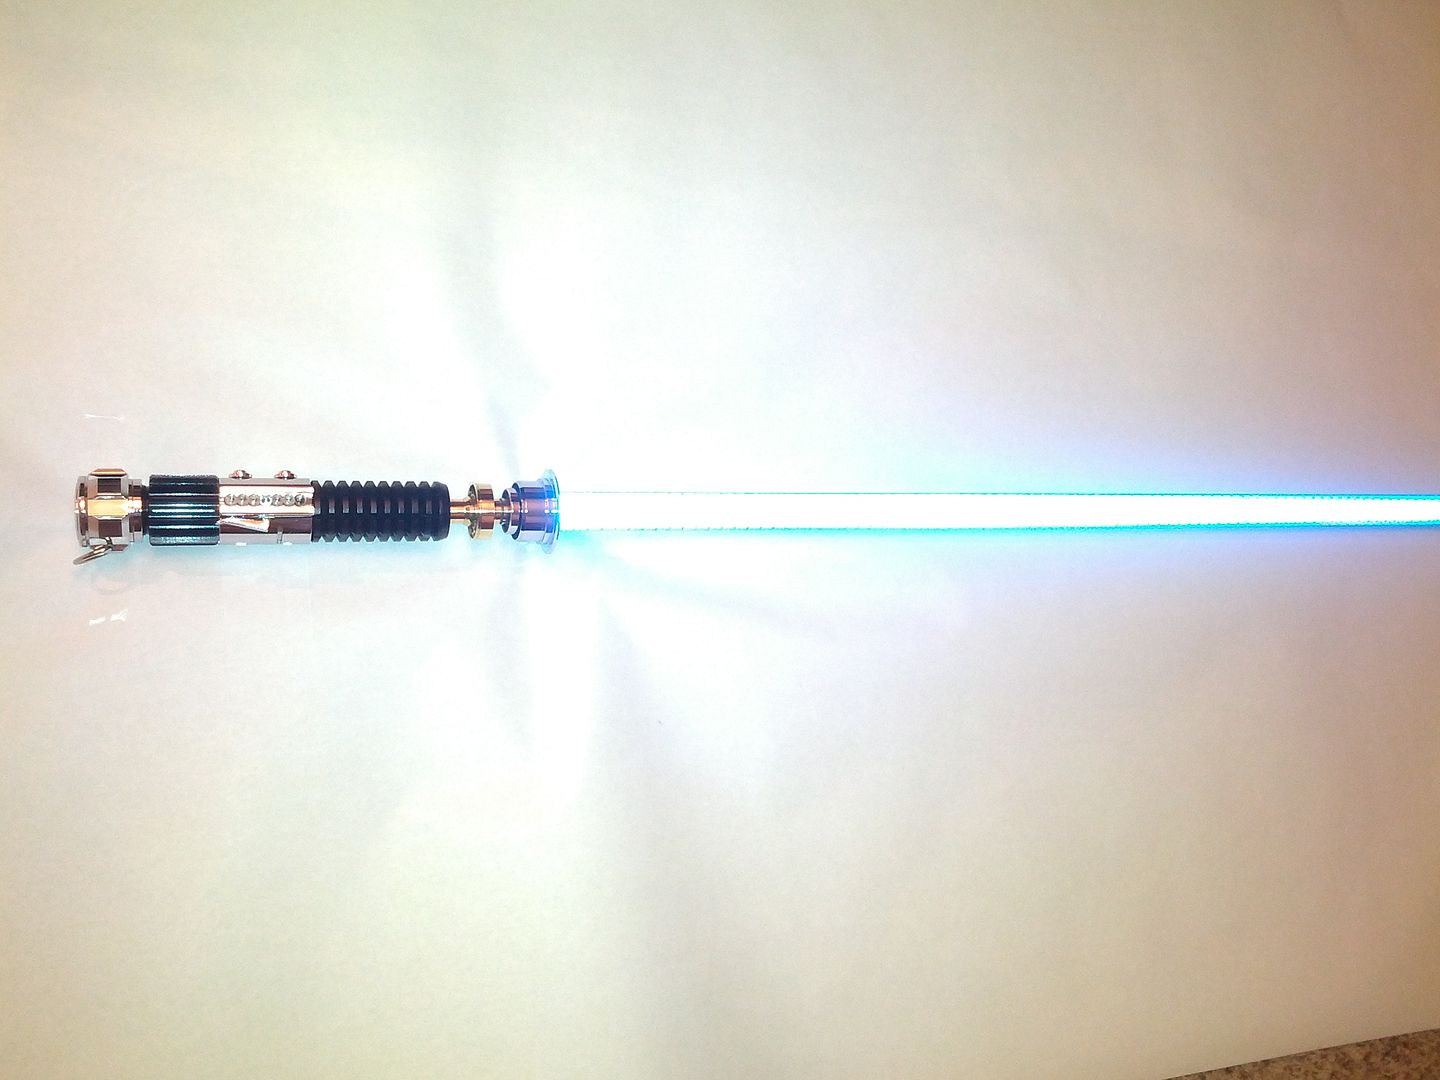
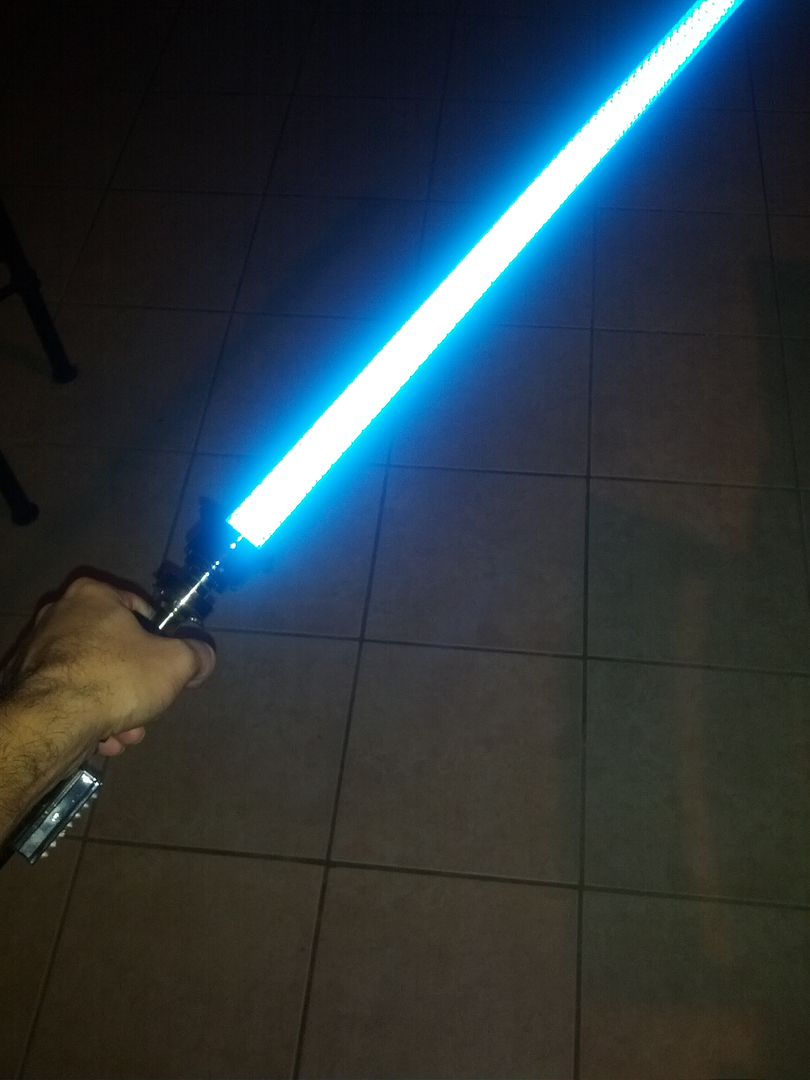
Pretty happy with the replica overall!
 
Upgraded my previous Franken-Obi to Roman's newest parts! I pre-ordered it back in September hoping to have it for Halloween. There were some unavoidable production delays, and we were coming down to the wire. I reached out to Roman to see what he could do, and he was able to put together a complete AFBB for me in time, using one of his previous grenade replicas. Now that the festivities are over with, I'm going to switch that grenade out for one of his new, super accurate ones :)

Roman was a joy to work with on this, and I'll hopefully be purchasing more from him in the future!

DSC_0830_zps2d906496.jpg


DSC_0820_zps477a0bbf.jpg


DSC_0832_zps7508660d.jpg


DSC_0837_zps34b84da6.jpg


DSC_0842_zps7ea8031f.jpg


I also took a cue from James Kenobi 1138 and picked up a polycarbonate blade from The Custom Saber Shop and some retroreflective tape in blue. The tape goes on the outside of the blade, which gets anchored on to the saber using a threaded rod. Roman's hilt is all built around a 3/8" threaded rod, so I got a 36" 3/8" rod and placed rubber grommets on it, which were held in place by nuts. The blade slips over the longer rod and is held in place by the grommets and pressure. The effect is quite remarkable!

IMG_20131101_010334_zps1c81c6ee.jpg


IMG_20131031_233535_zps0f1044a9.jpg


IMG_20131031_000349_zps247abcc2.jpg


Roman's latest batch of parts are the most accurate, most readily available... Definitely the way to go if you can't get your hands on the real deal!
 
Ok... had to post this as a big shout out and thank you to Chris (Teecrooz) for sourcing this out for me. I don't know where he found it or how he ever resisted the urge to keep this for himself, but I'm glad that he did and I am forever grateful!!

Chris, if you're ever in my neck of the woods or vise versa... I owe you a beer... or 10! :thumbsup

I just picked up this beauty yesterday from the post office. I know that Chris posted pictures of it in his Obi build thread but I don't think any picture can do it justice. I cannot believe the condition of this grenade considering that it's almost 100 years old. It obviously never saw any combat because the frag body is absolutely pristine with sharp edges all the way around. The windvane is perfect as well. And the colour... I know Roman stripped his down and re-weathered his, but I'm keeping mine as is. It's a beautiful dark brown and the brass has a nice darkness about it as well.

Chris posted pictures of the complete grenade... here's what it looks like stripped down to the "essentials"

DSC00807_zpsa4480e1f.jpg

DSC00808_zps30e16dc6.jpg

DSC00810_zps611dd1d9.jpg


And here's a picture of all of the puzzle pieces that I have so far waiting for that one last elusive piece... that I'll be racing Scott and Patrice for ;)

DSC00811_zpse7a13045.jpg


And one last shot or the work in progress:

DSC00814_zps1ee535c5.jpg


Thanks again Chris! I owe you one!!

And special thanks to Charlie (Serenity) as well... he's been *my* Obi Wan throughout this journey with sage advice time and time again!!

Here's hoping I'll be able to post about my complete Obi saber soon :)
 
Duuudee....

nice! Looks like the same shape as mine. More paint though.

Your wind vane has the right little detail too it seems. Mine is more smooth flared.

Ugh... that booster! NEED IT
 
This thread is more than 3 years old.

Your message may be considered spam for the following reasons:

  1. This thread hasn't been active in some time. A new post in this thread might not contribute constructively to this discussion after so long.
If you wish to reply despite these issues, check the box below before replying.
Be aware that malicious compliance may result in more severe penalties.
Back
Top