My employer happens to be host to the Star Wars: Where Science Meets Imagination Exhibit. I knew I'd never forgive myself if I didn't seize the opportunity to build something that is in the exhibit. This is my first effort in the Studio Scale world and quite frankly I'm not sure I'm ready to take the plunge with a major ship. Sorry guys! While I do love scale modeling and have been doing so since I was a kid my SW collection is modest to say the least. I'm a huge ANH fan... so the choice to build the Jedi Training Remote was obvious.
Special thanks to BrundelFly; none of this would be possible without his research:
Training Seeker
I was lucky and picked up one of Frank's rotocast kits. I thought this would be a piece of cake. I could color match to the real deal since its just a stroll upstairs to the exhibit with some paint chips. This turned out to be harder than expected. Off the shelf model paints didn't quite match. That was, until I found the railroad section.
If you want your Training Remote to match the original you'll need:
Floquil:
Reefer White
Freight Car Brown
The grey is a tough call. The following is a testors paint that matches the 3 square panels:
Flint Gray
I initially thought Grime was a match for the off-white. It did, but it was barely too dark on my paint sample. Grime matched the overall color of the remote, but if you were to paint a remote Grime and then weather it, the end result would be too dark.
So all I have to do now is paint my kit. Except that when I spent all of that time matching paint and looking at the photos that I took of the real deal I pretty much decided that I wanted the whole experience of building one from scratch. It is really because the FC kit is too good. Even the truck rims were sharper and more evenly coated with chrome than the originals I sourced later. But mainly, I wanted hollow hatches and cupolas. I want my remote to be as close to the original as possible. To me building anything is more rewarding then shelling out mad loot for something I know I could have executed better myself.
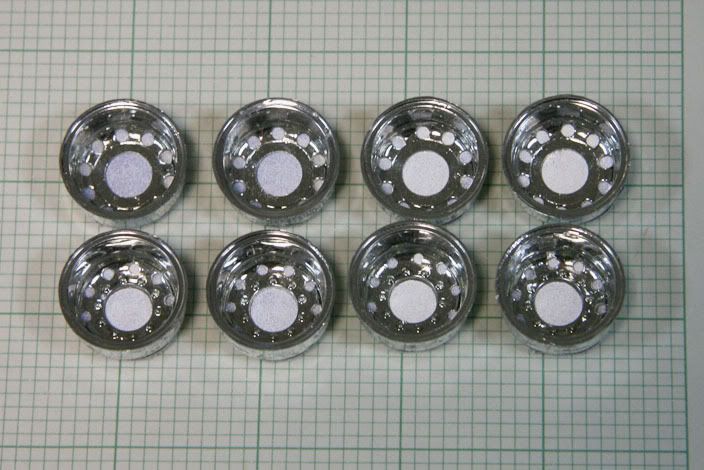
I'm still waiting on a T600A for axel brackets. An AMT Midnight Express had 10 truck rims (4 with lugs 6 without) but no axel brackets. I'm still not convinced there isn't one AMT kit that has both axel brackets and enough truck rims of both varieties. Then again, there are only a few truck kits that aren't collectible these days. The remote does indeed feature rims that perfectly match 1/25 scale rims from early AMT kits. What do I mean early? Well if you look really close at your chrome rims from your newish Kenworth T600A you'll see that the lugs are less detailed than the older version. A comparison that can only be made by having both side-to-side, and a difference that is nearly undetectable by a regular camera.
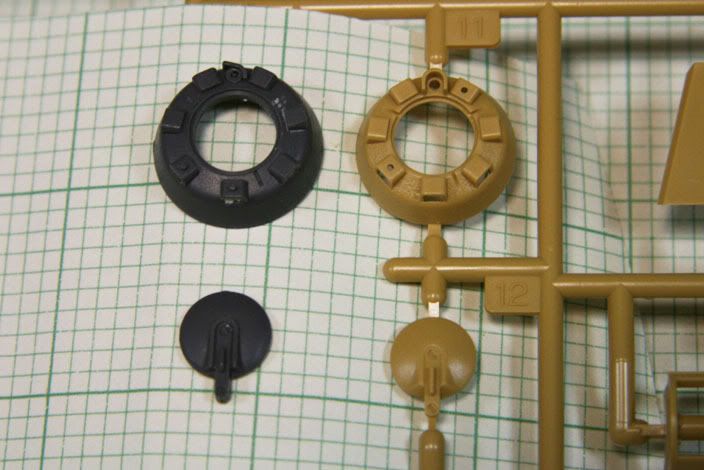
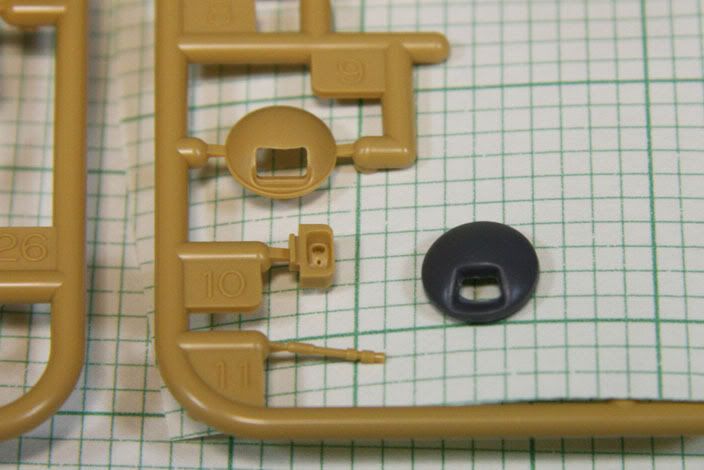
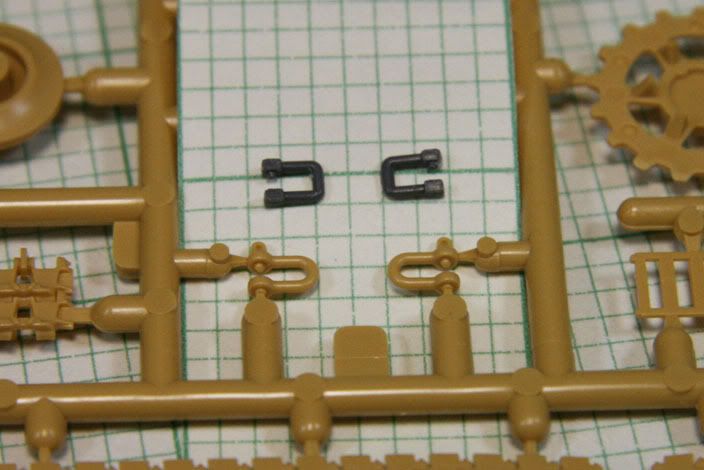
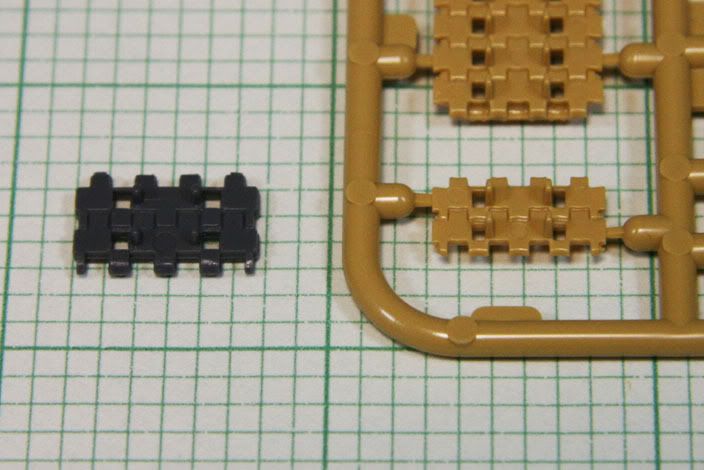
Speaking of newer kits being different than old kits... I bet you think this thing is going to easy because you searched ebay and found many 1/48 Tamiya Panther G kits. The problem here is that the kit parts are only slightly different than the old Bandai/Fuman Panther G. Still, if anyone is looking to build their own without having to make molds of any parts, just order 8 of the Tamiya kit. These parts are barely inaccurate and would actually add detail to the prop. I will address this later as I'm leaving this open as an option for myself. We'll be talking kits more later when 2 arrive this week.
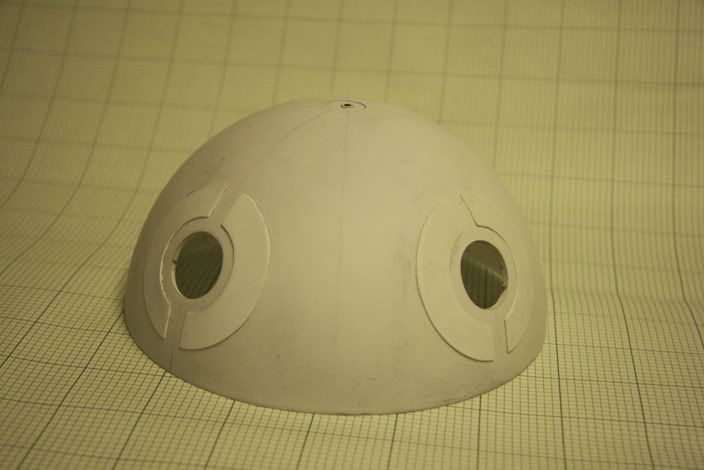
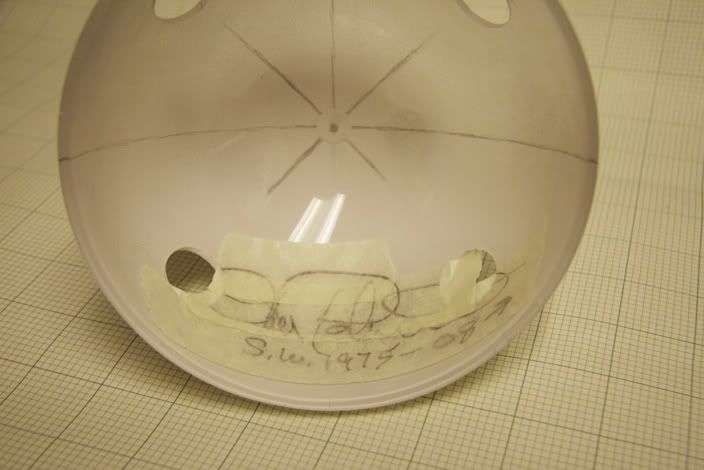
This is all I have so far:


Please check back with updates as there will be many in the next few weeks. I plan on having this thing completed before the exhibit leaves on May 4th.
Coming up tomorrow:
How to drill holes in a hemisphere while preserving a signature inside.
EDIT: Trimming the fat.
Special thanks to BrundelFly; none of this would be possible without his research:
Training Seeker
I was lucky and picked up one of Frank's rotocast kits. I thought this would be a piece of cake. I could color match to the real deal since its just a stroll upstairs to the exhibit with some paint chips. This turned out to be harder than expected. Off the shelf model paints didn't quite match. That was, until I found the railroad section.
If you want your Training Remote to match the original you'll need:
Floquil:
Reefer White
Freight Car Brown
The grey is a tough call. The following is a testors paint that matches the 3 square panels:
Flint Gray
I initially thought Grime was a match for the off-white. It did, but it was barely too dark on my paint sample. Grime matched the overall color of the remote, but if you were to paint a remote Grime and then weather it, the end result would be too dark.
So all I have to do now is paint my kit. Except that when I spent all of that time matching paint and looking at the photos that I took of the real deal I pretty much decided that I wanted the whole experience of building one from scratch. It is really because the FC kit is too good. Even the truck rims were sharper and more evenly coated with chrome than the originals I sourced later. But mainly, I wanted hollow hatches and cupolas. I want my remote to be as close to the original as possible. To me building anything is more rewarding then shelling out mad loot for something I know I could have executed better myself.
I'm still waiting on a T600A for axel brackets. An AMT Midnight Express had 10 truck rims (4 with lugs 6 without) but no axel brackets. I'm still not convinced there isn't one AMT kit that has both axel brackets and enough truck rims of both varieties. Then again, there are only a few truck kits that aren't collectible these days. The remote does indeed feature rims that perfectly match 1/25 scale rims from early AMT kits. What do I mean early? Well if you look really close at your chrome rims from your newish Kenworth T600A you'll see that the lugs are less detailed than the older version. A comparison that can only be made by having both side-to-side, and a difference that is nearly undetectable by a regular camera.
Speaking of newer kits being different than old kits... I bet you think this thing is going to easy because you searched ebay and found many 1/48 Tamiya Panther G kits. The problem here is that the kit parts are only slightly different than the old Bandai/Fuman Panther G. Still, if anyone is looking to build their own without having to make molds of any parts, just order 8 of the Tamiya kit. These parts are barely inaccurate and would actually add detail to the prop. I will address this later as I'm leaving this open as an option for myself. We'll be talking kits more later when 2 arrive this week.
This is all I have so far:


Please check back with updates as there will be many in the next few weeks. I plan on having this thing completed before the exhibit leaves on May 4th.
Coming up tomorrow:
How to drill holes in a hemisphere while preserving a signature inside.
EDIT: Trimming the fat.
Last edited:

