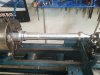
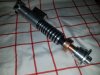
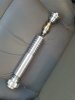
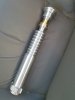
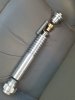
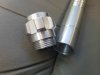
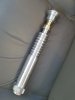
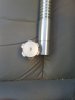
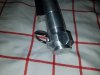
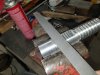
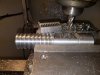
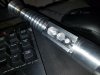
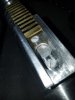
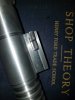
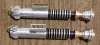
I have started making a ROTJ Luke Lightsaber, for a near future run.
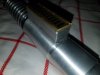
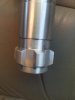
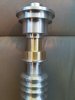
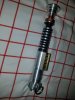
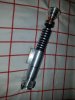
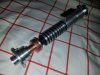
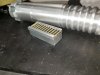
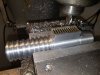
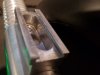
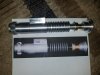
This is 100% manually machined out of Aluminum brass and steel. I am doing full detailed build videos so you can see how they were made.
Primary goals:
1. Complete video log of the entire process
2. Accuiracy
3. Durability and everything being positively affixed (ie no glue)
4. Additional features like room for electronics
Full Playlist:
https://www.youtube.com/playlist?lis...hPi3IHoex9p5zb
Latest Video:
Attachments
-
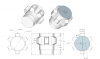 ROTJ pommel.png99.2 KB · Views: 364
 -
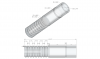 ROTJ Grip.png188.3 KB · Views: 364
 -
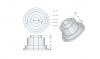 ROTJ Emitter.png121.1 KB · Views: 385
 -
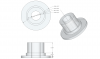 ROTJ Coupler.png111.8 KB · Views: 306
 -
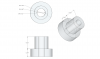 ROTJ Brass.png73.3 KB · Views: 301
 -
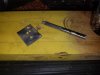
 20180417_193740.jpg4.7 MB · Views: 305
 -
 20180417_181117.jpg1.8 MB · Views: 271
 -
 20180422_221516.jpg1.4 MB · Views: 321
 -
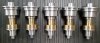 20180429_151431.jpg1.7 MB · Views: 298
Last edited: