Re: Sheet plastic: polypropelyne, polyethelye, other?
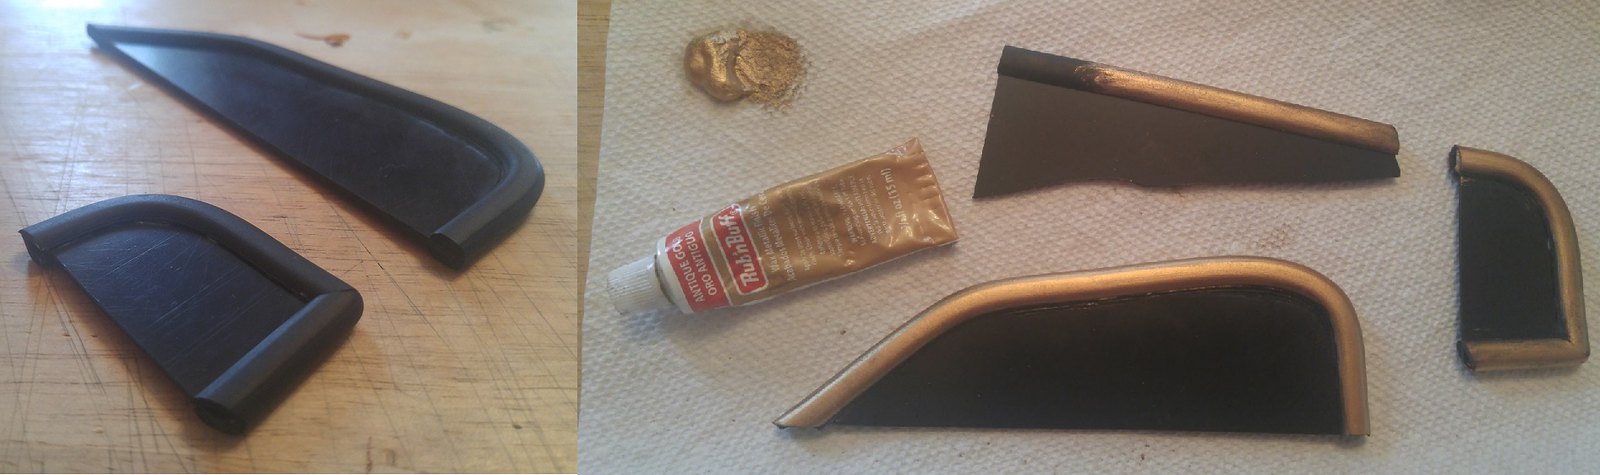
Thank you again for the replies. I did some reading yesterday and it was suggested on a few resources that Weld-on #3 could do the job. I've done extensive scratch building with Polystyrene so I have a ton of Weld-on#3 and am familiar with it's use. I have the needle tip bottles, the medicine "syringes" from when my daughter was little, and other applicators. Should do nicely. I'll practice on some scraps first of course.
I just want to say thank you so much Imgill & Darth Lars for all your attention and advice on this thread.
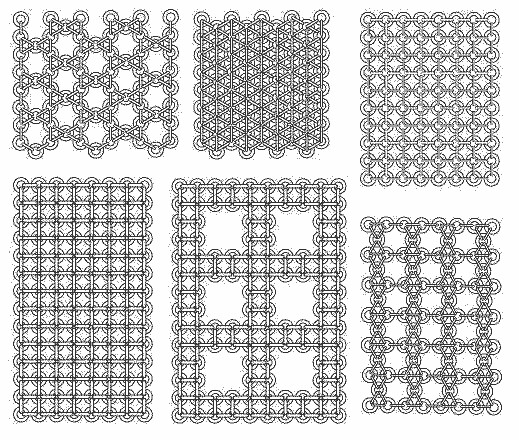
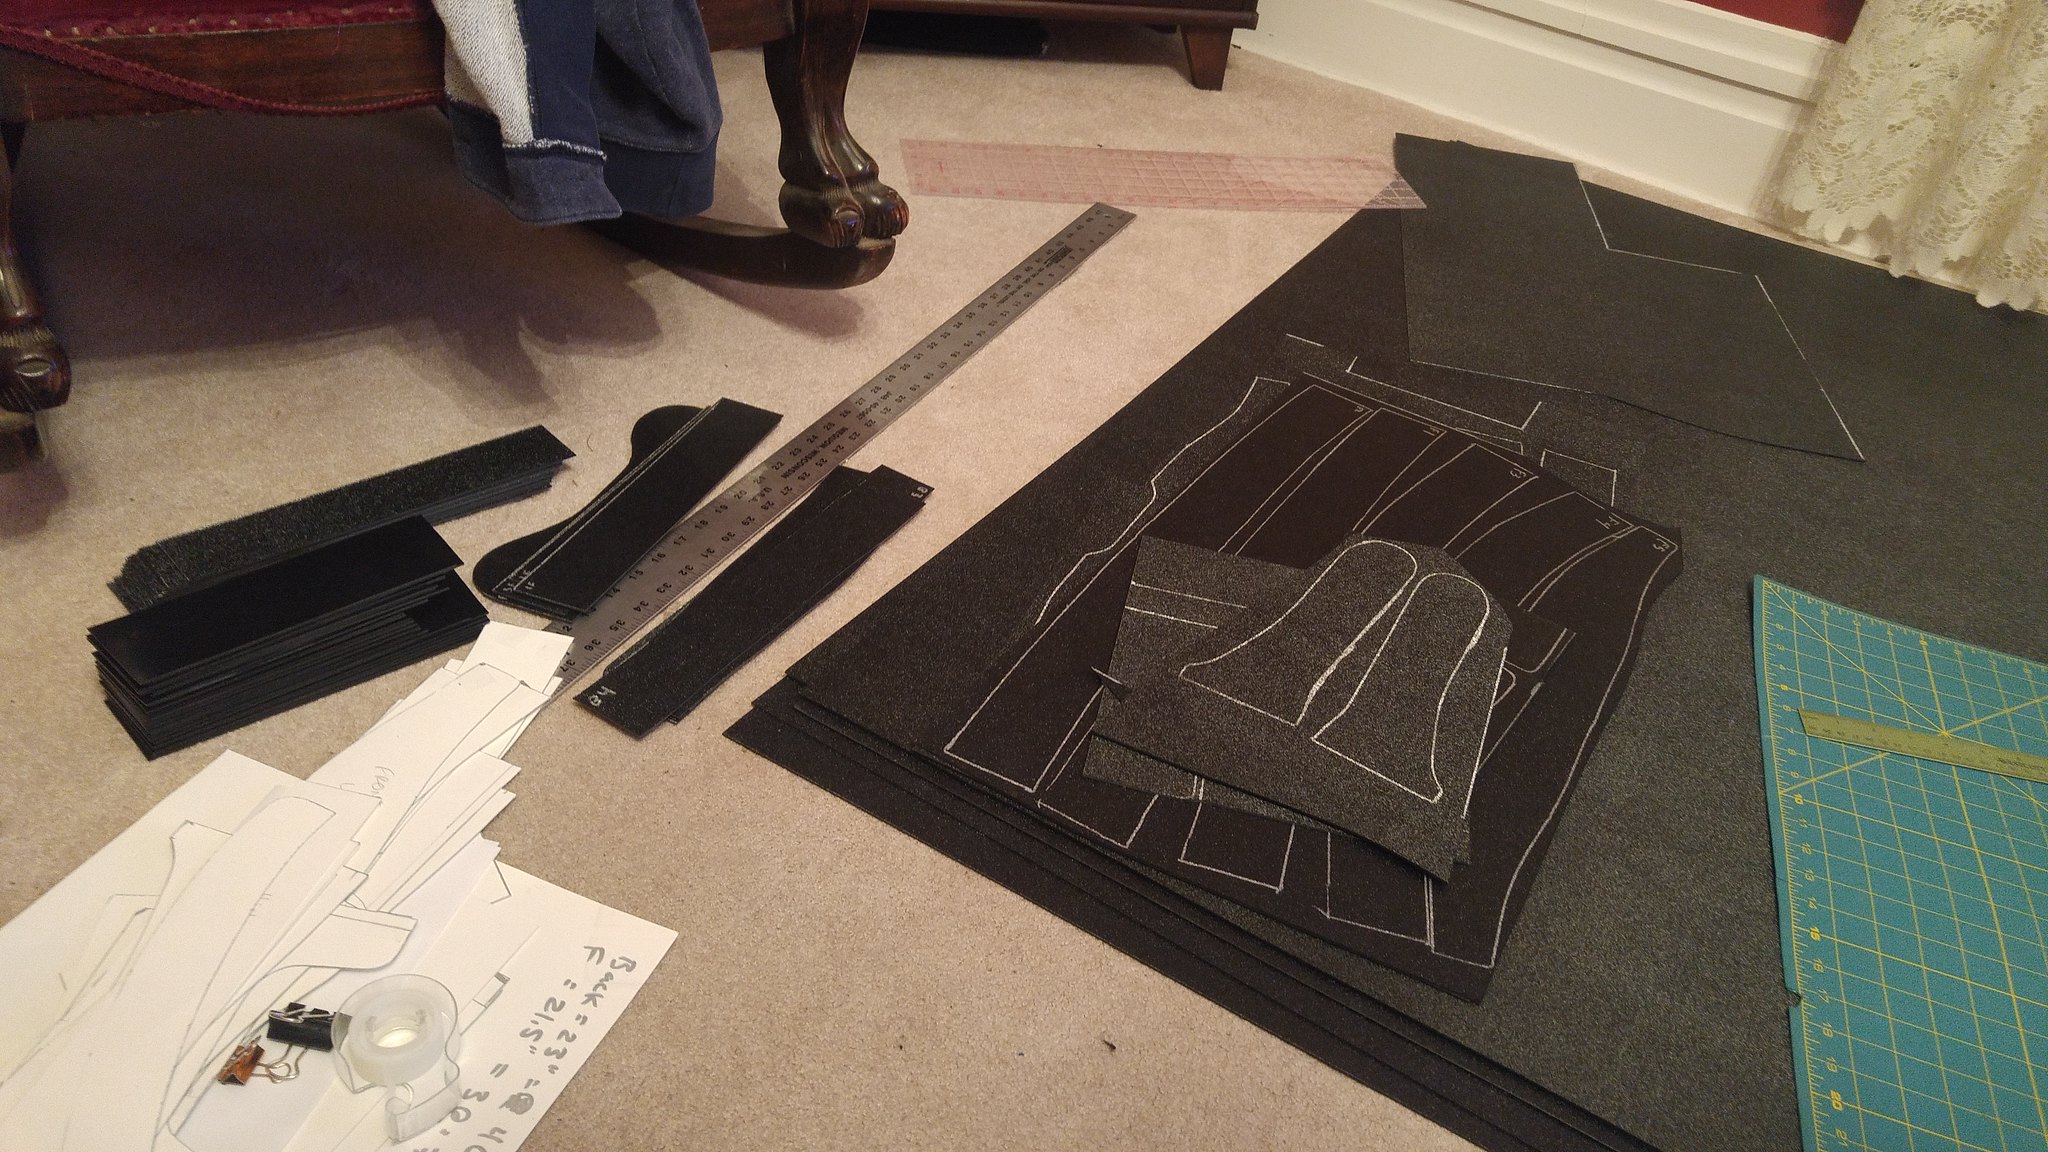
 (I have no idea if it's accurate or not, my guess is that it's not)