I've made 3 Enterprise jumpers before from my own patterns. This time I am working with Alex and Kate's (of Bad Wolf Costume's) patterns and tutorials. This will not be a critique of their patterns. Here at the beginning of the post I will fully endorse Bad Wolf Costumes though. Their work is superb and their patterns are professional and their tutorials and costume analysis are free and comprehensive!
~~~~~~~~~~~~~~~~~~~~~~~~~~~~~~~~~~~~~~~~~~~~~~~~
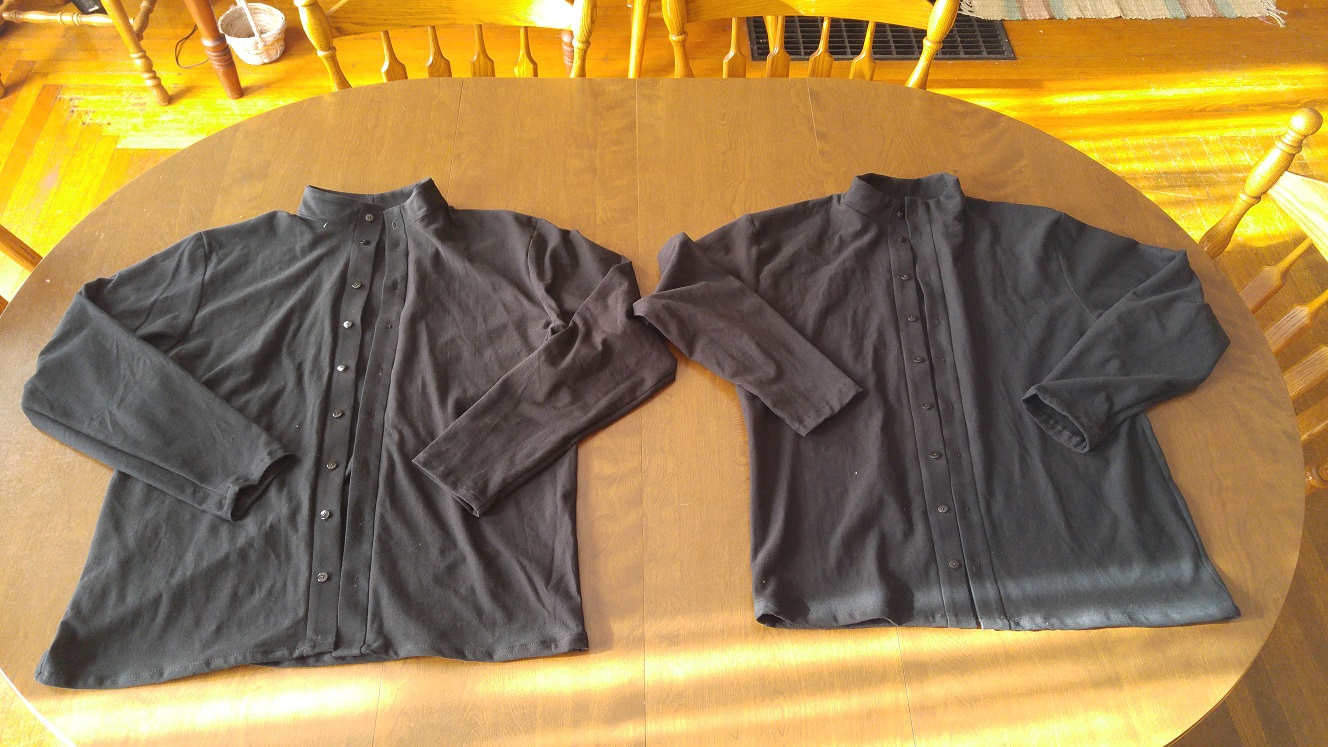
I am starting with their Enterprise undershirt. As a test I am making this shirt strait from the XL pattern size. I can already tell that I'll have to make a second to accommodate my larger neck size and longer arms. (I usually wear a LT or XLT with a 17-17.5 neck size - all US sizes). That means this first shirt may go up for sale when I am done.
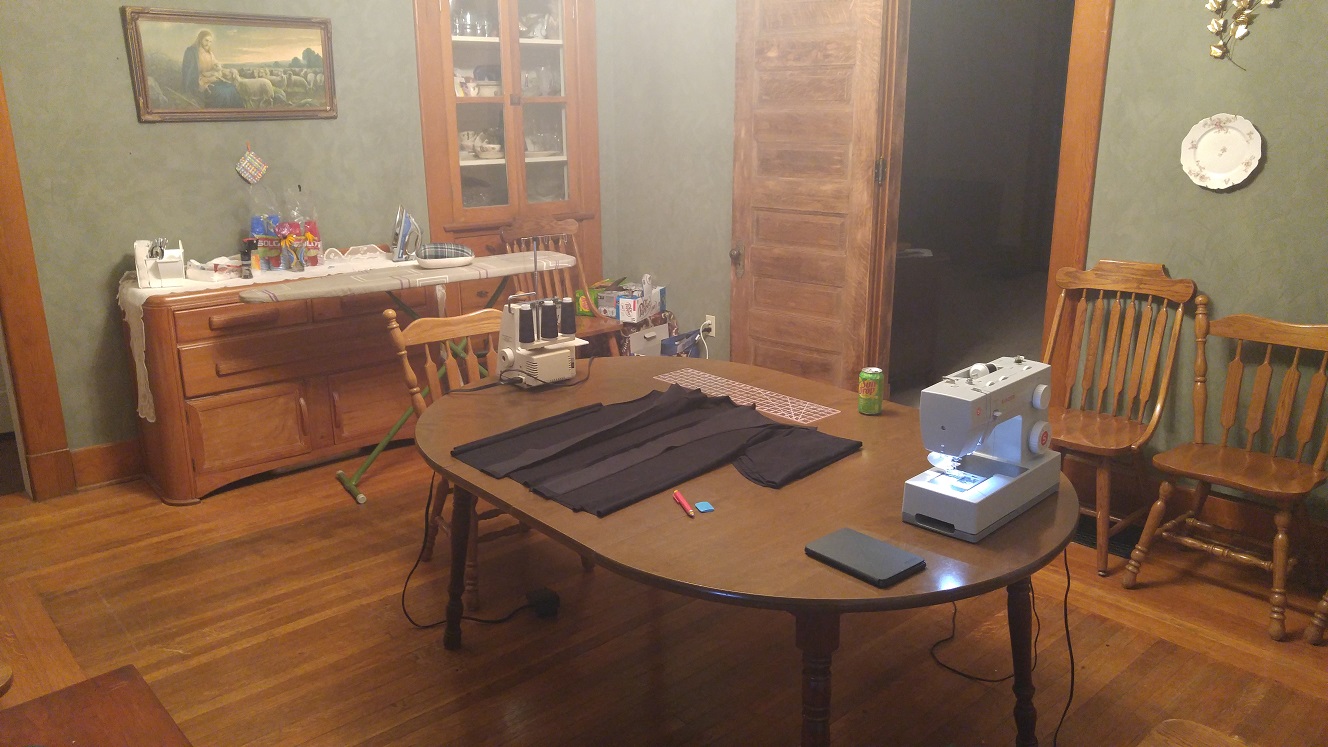
The hobby room is on the top floor of the house and has exposed beams. We are getting the roof redone so I have taken over the dining room for this project while the hobby room is dismantled temporarily.
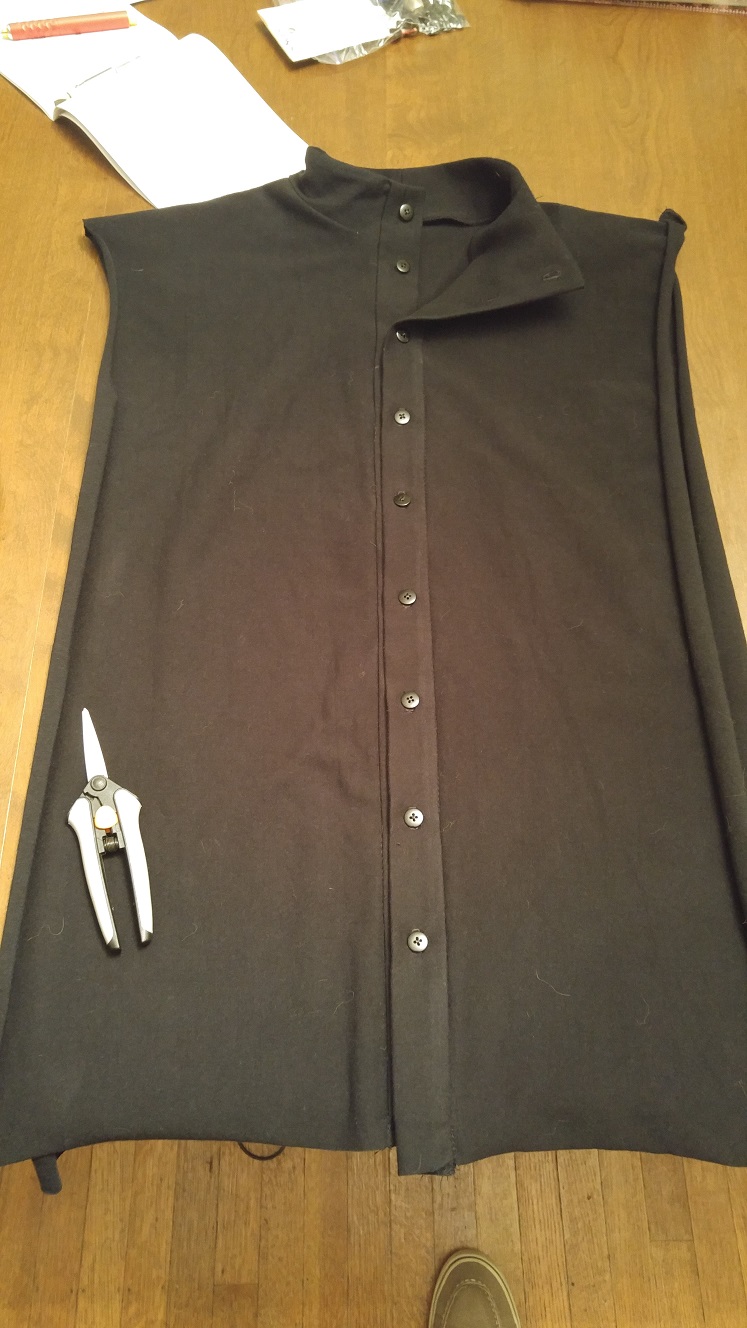
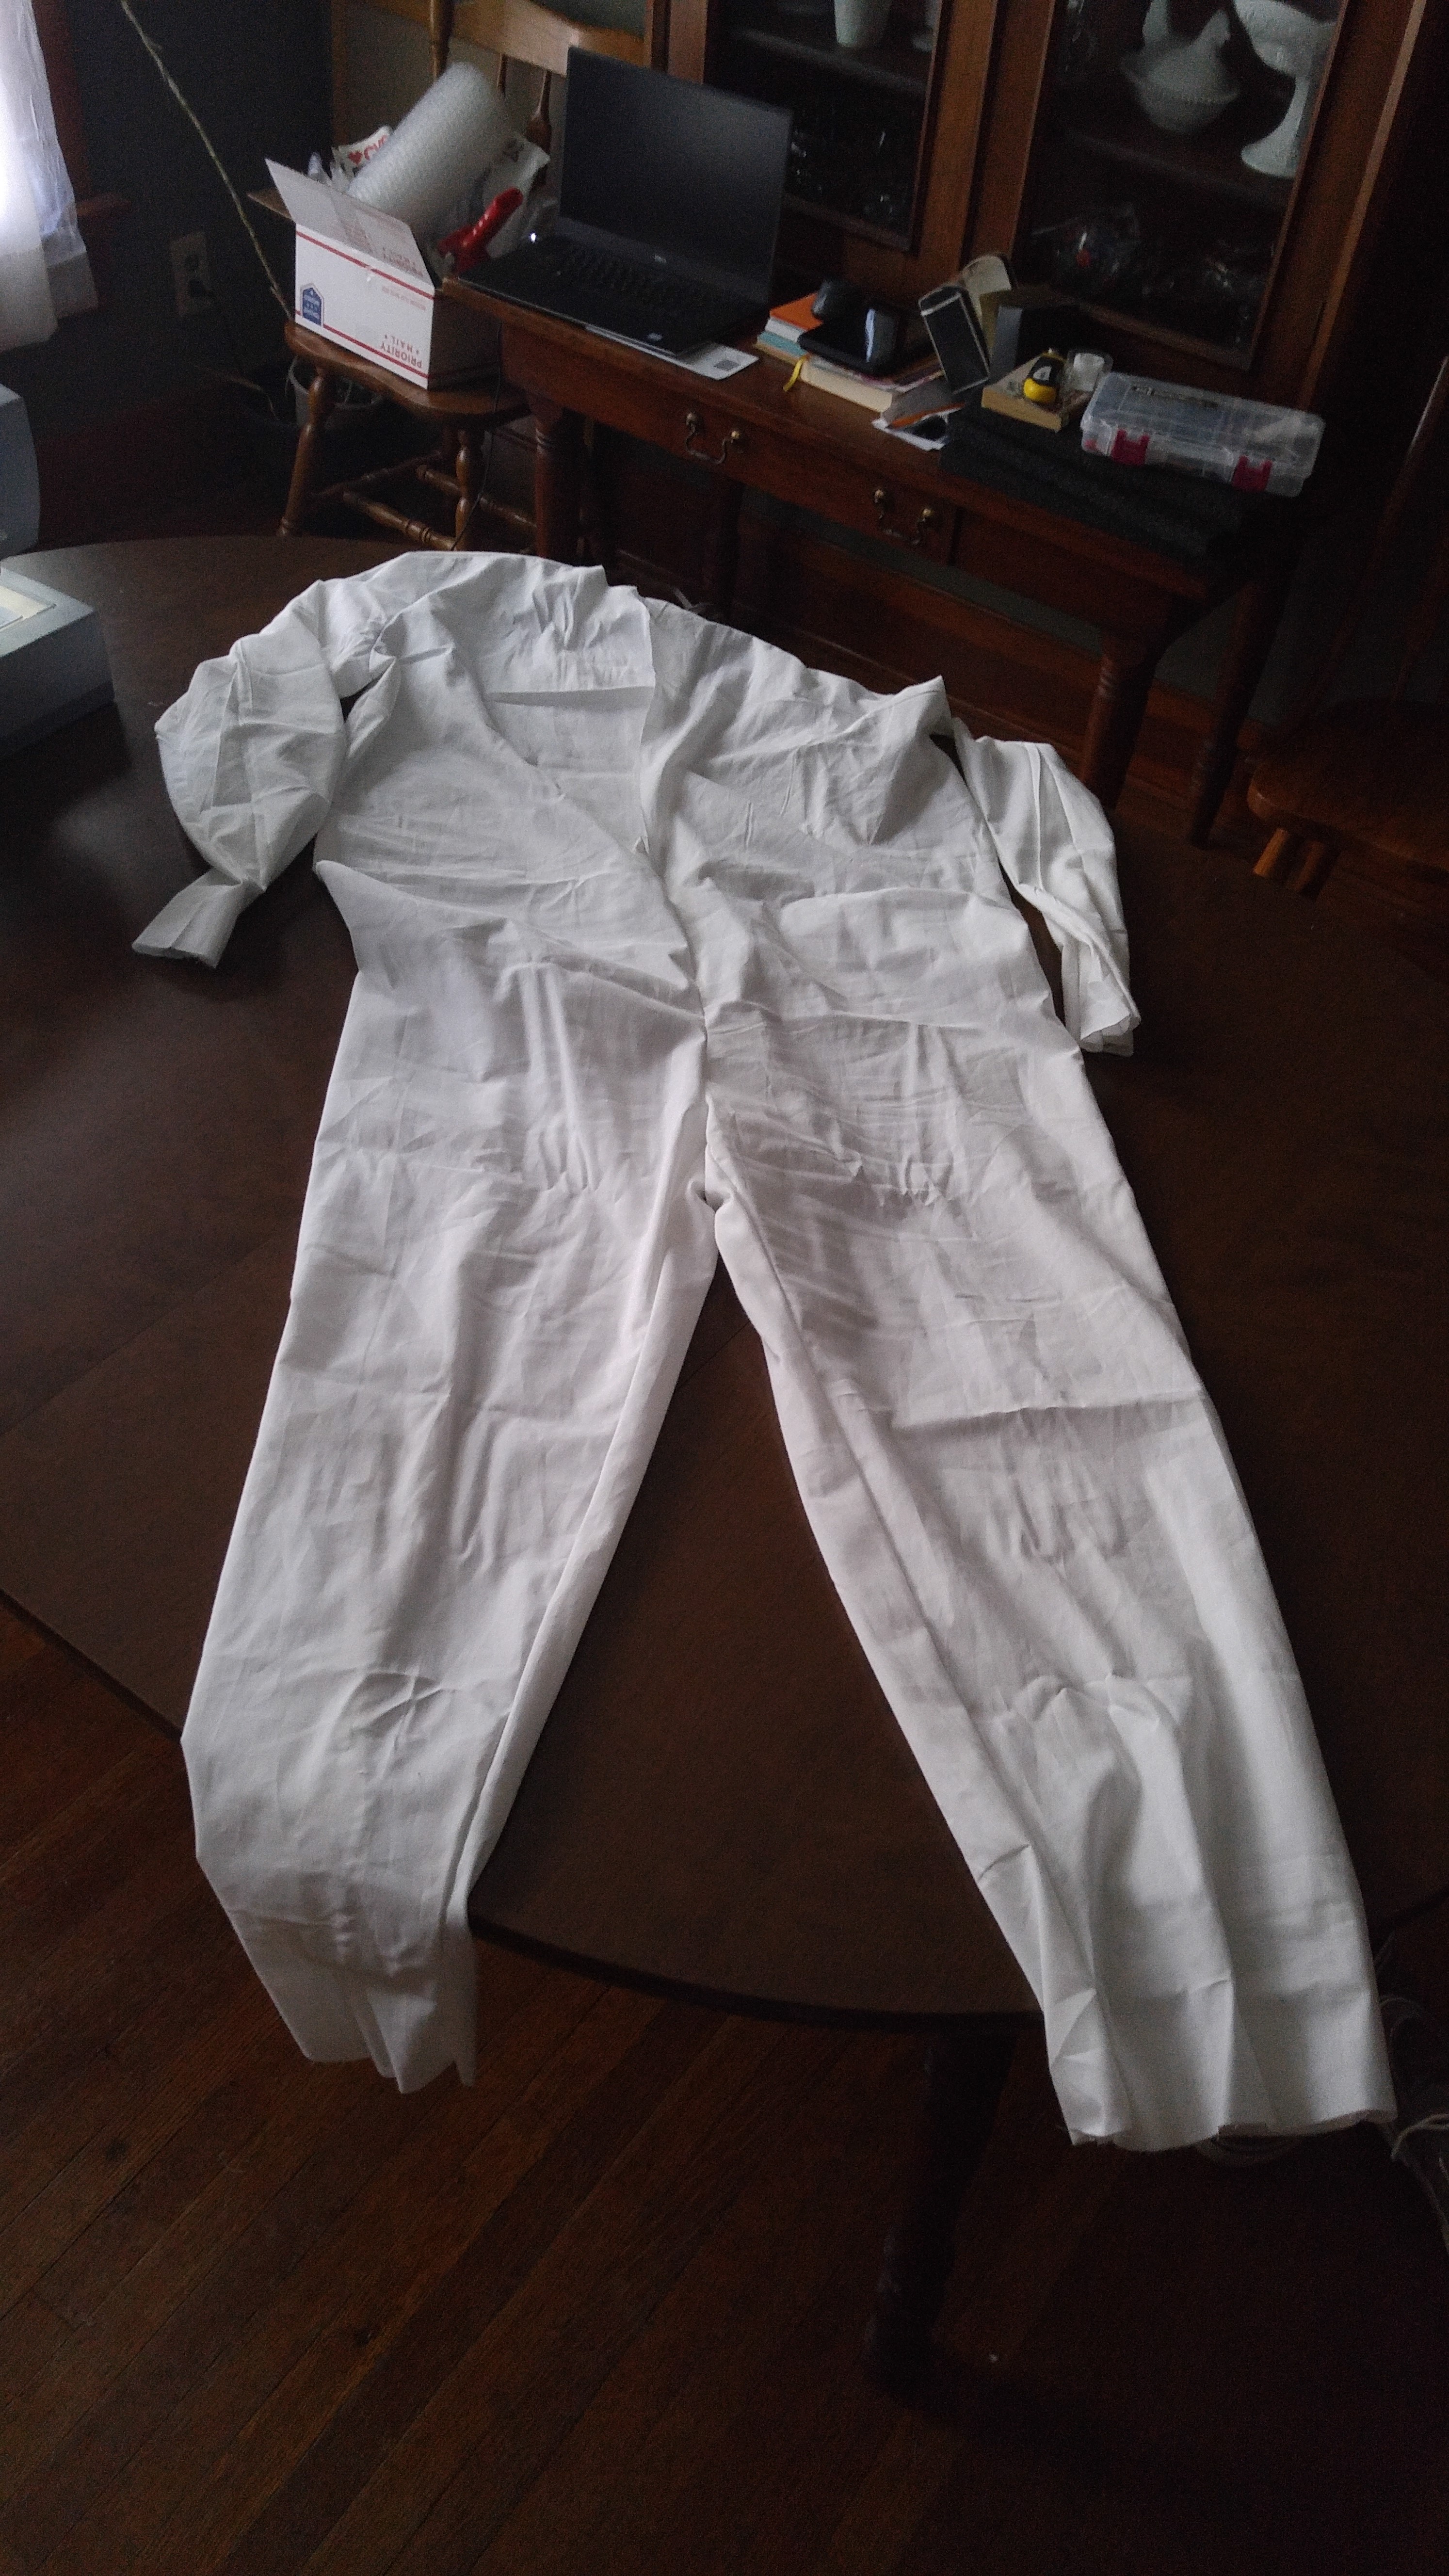
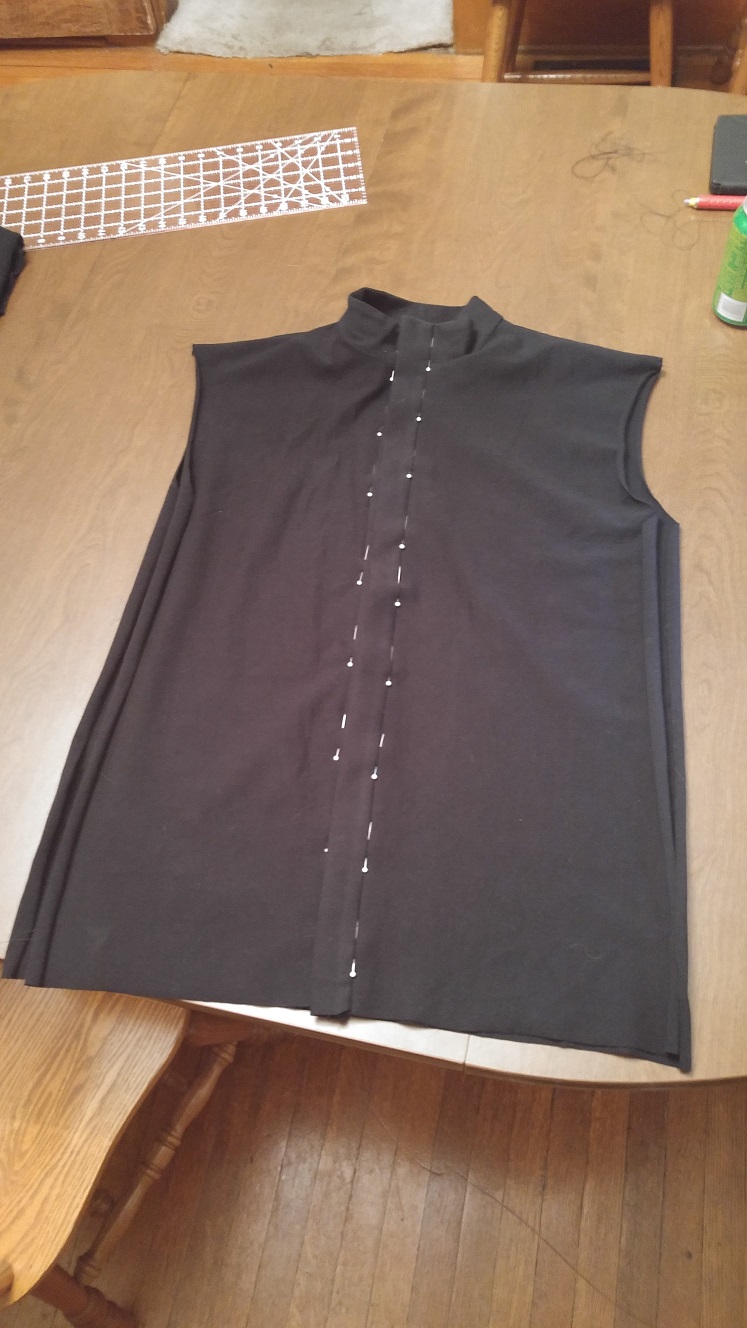
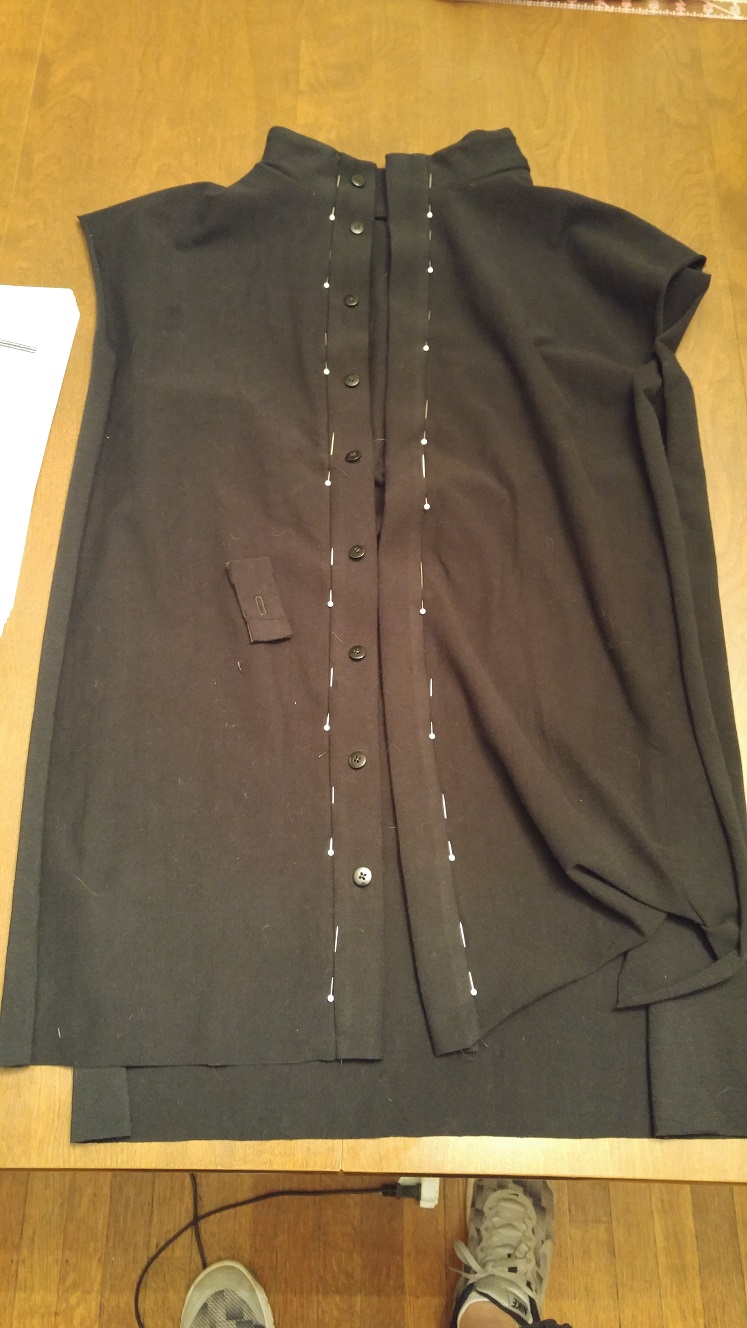
Here are some current progress shots. As of now the body panels are assembled, the facing is attached and the collar is done. I spent last night hand sewing the buttons in place. Tonight I hope to at least get the button holes done.
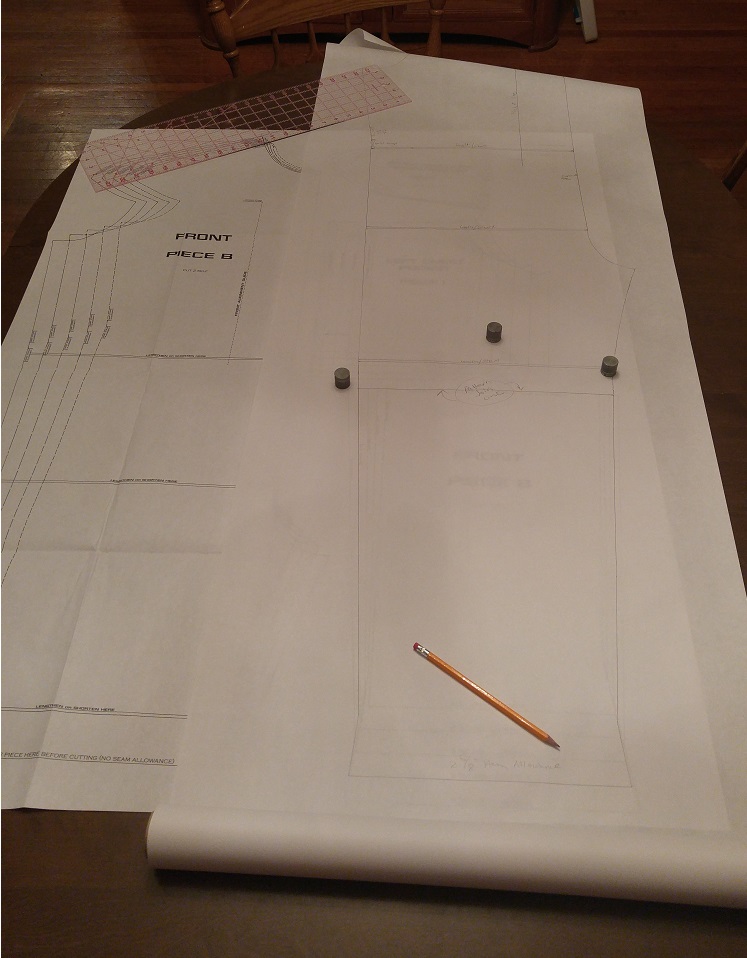
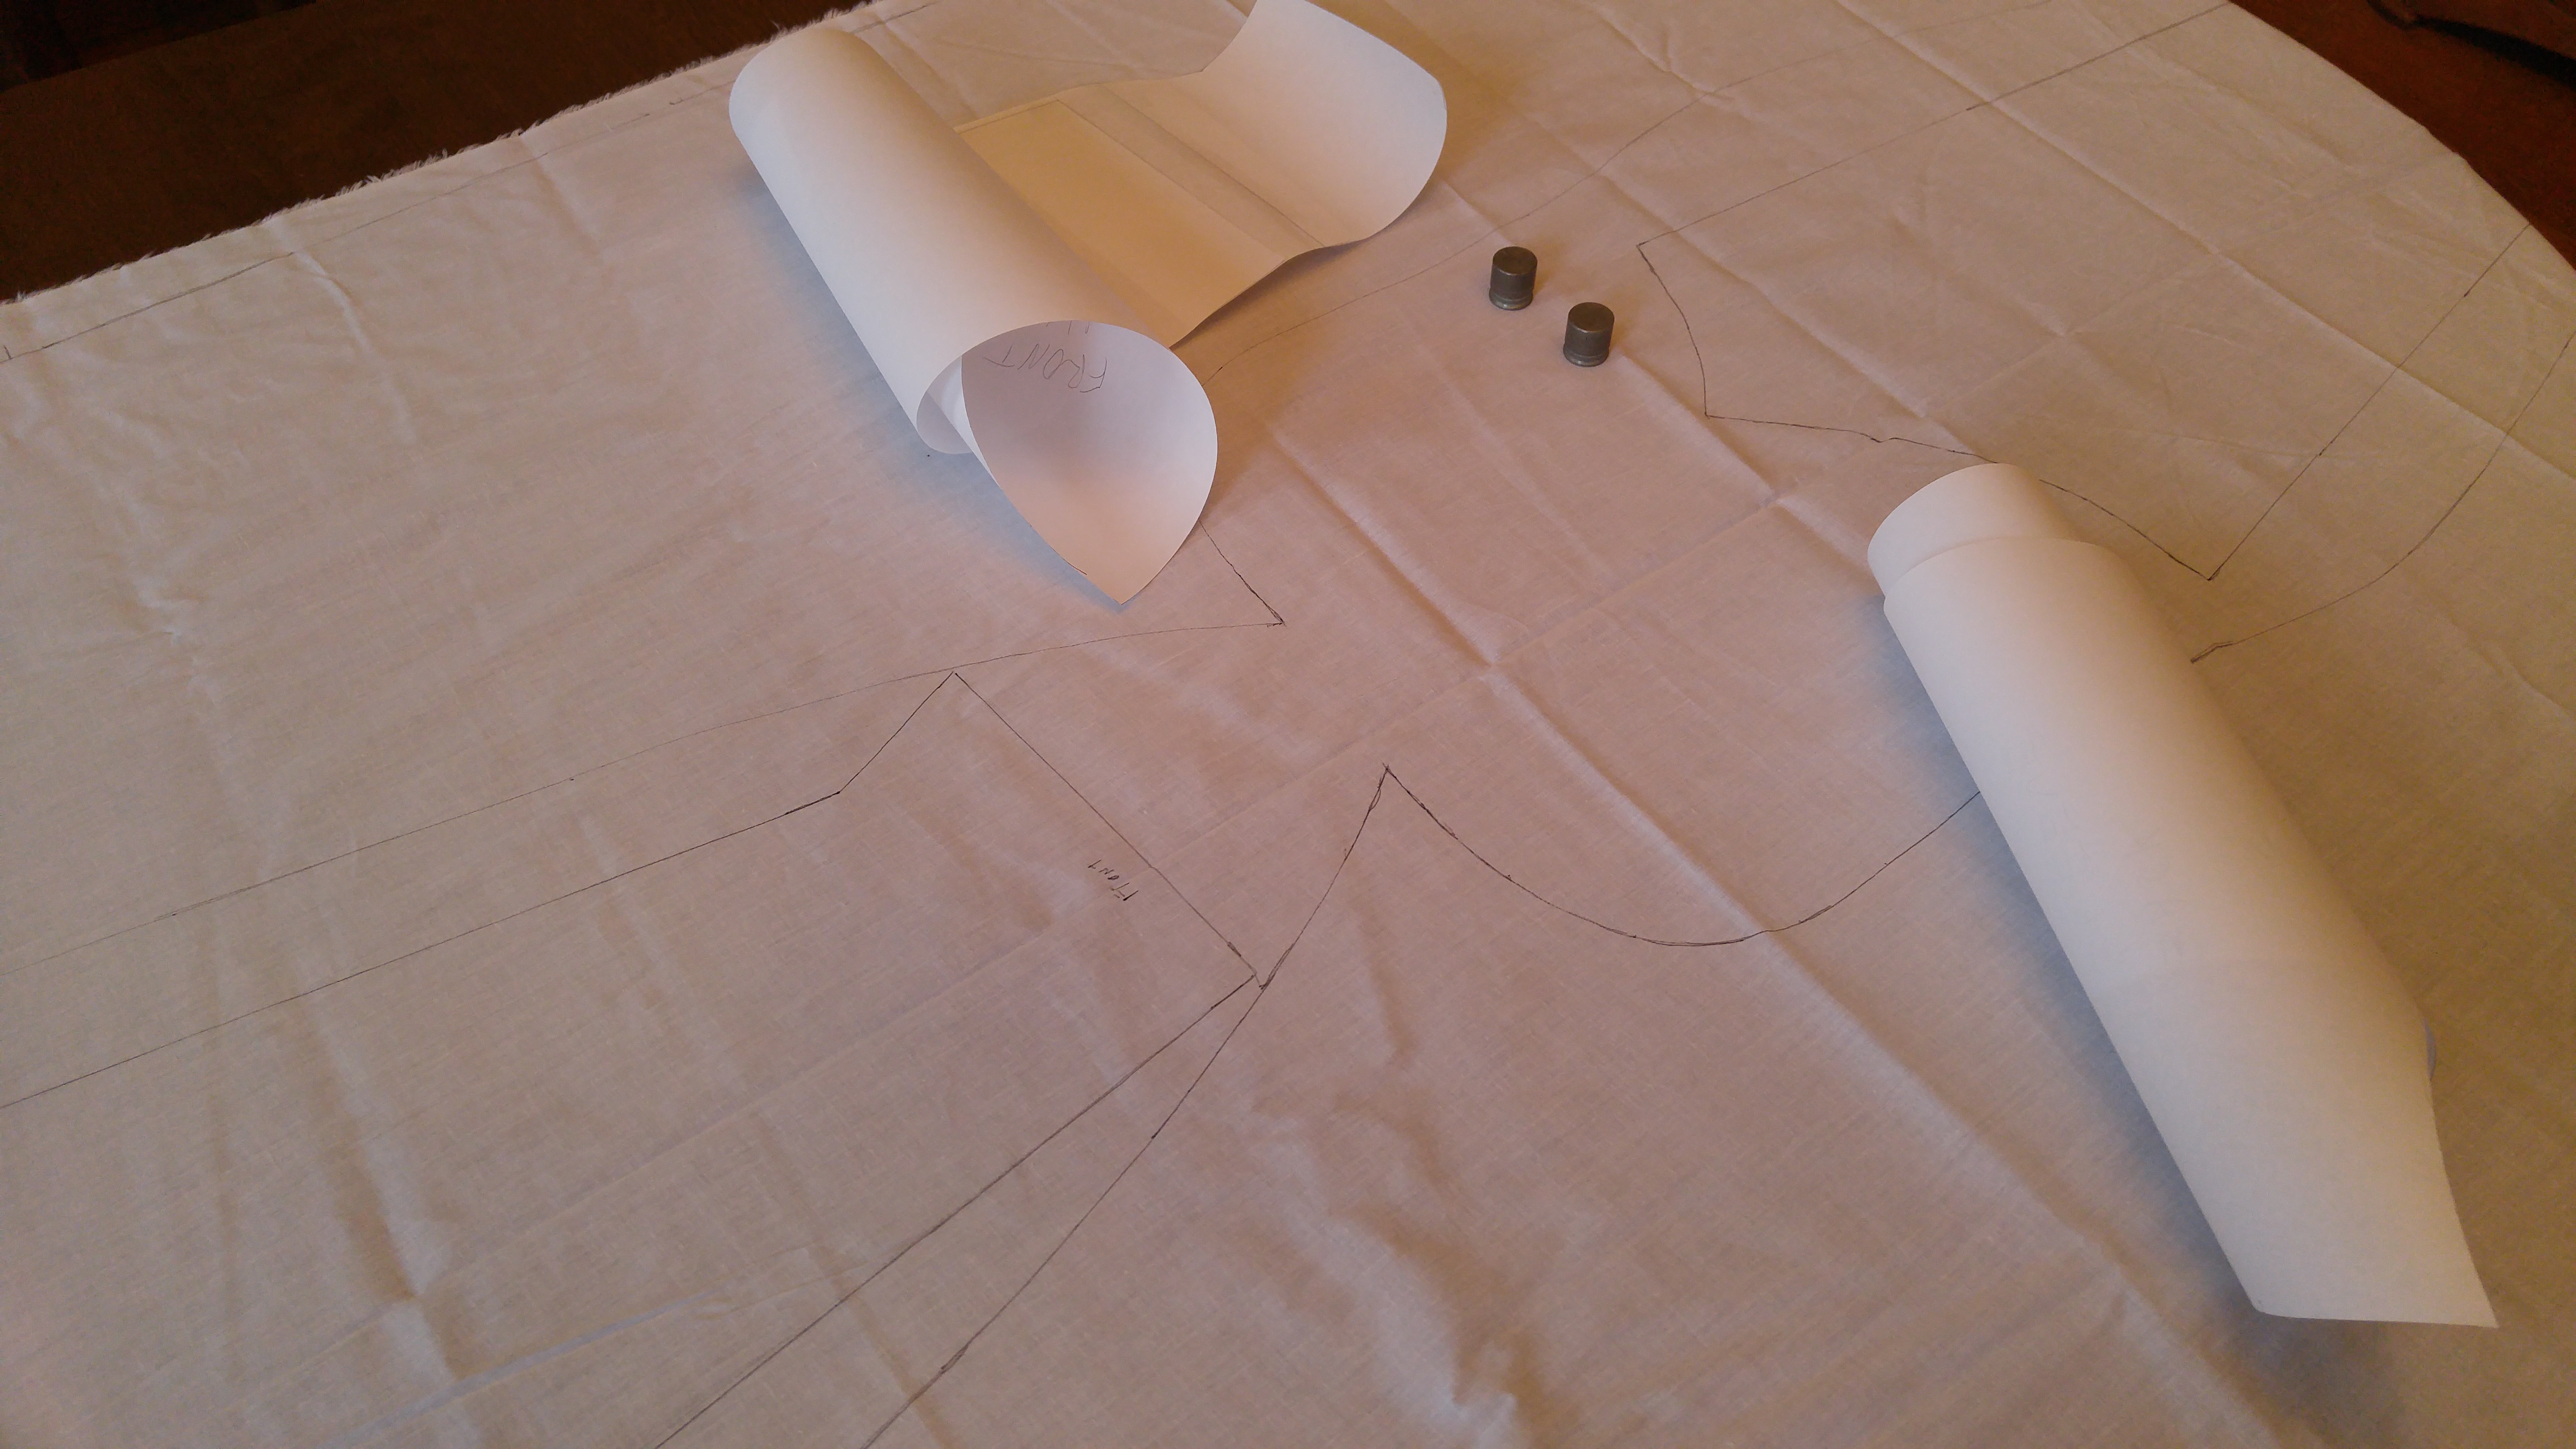
I traced the patterns onto my own paper in order to conserve the original copy.
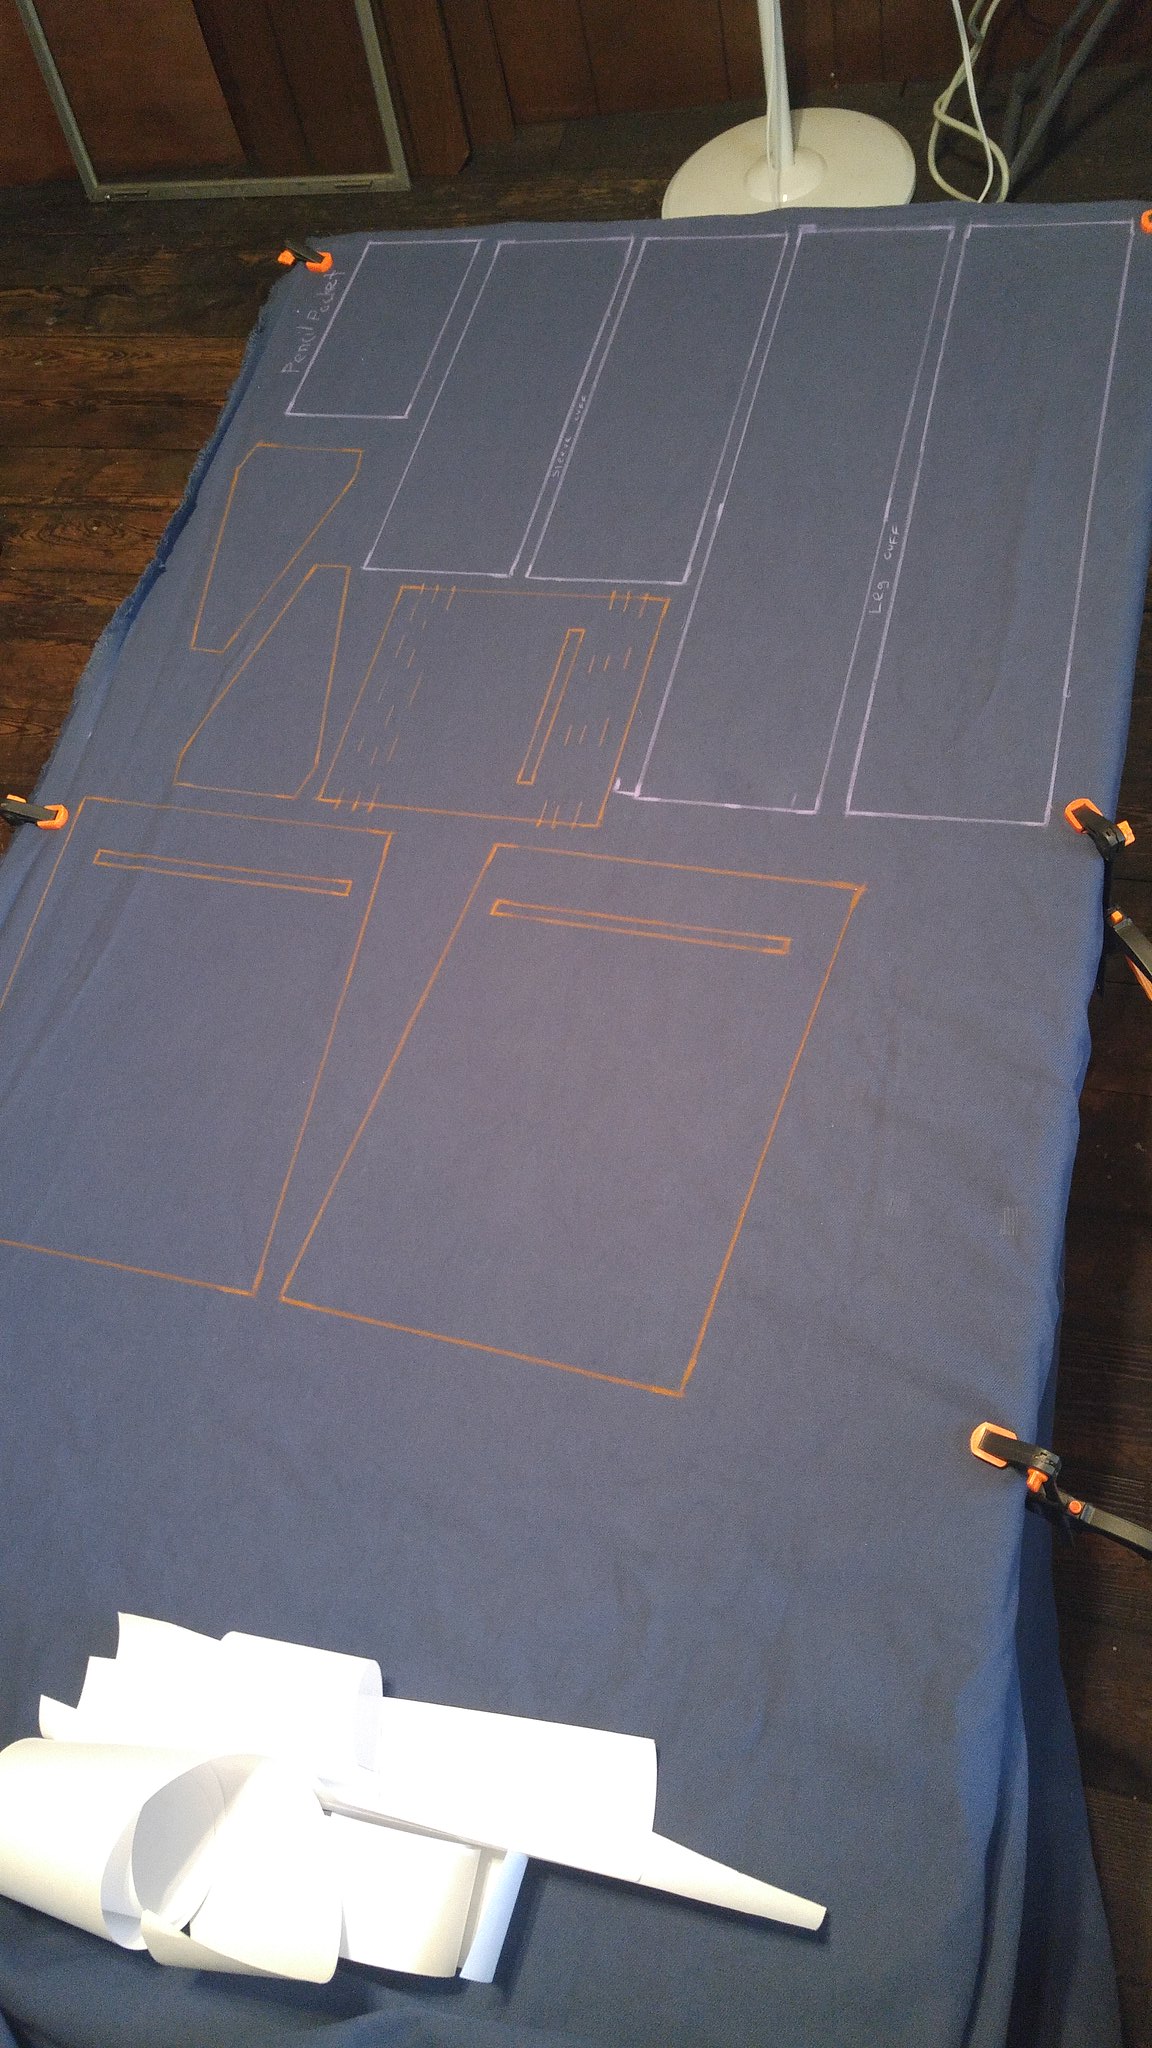
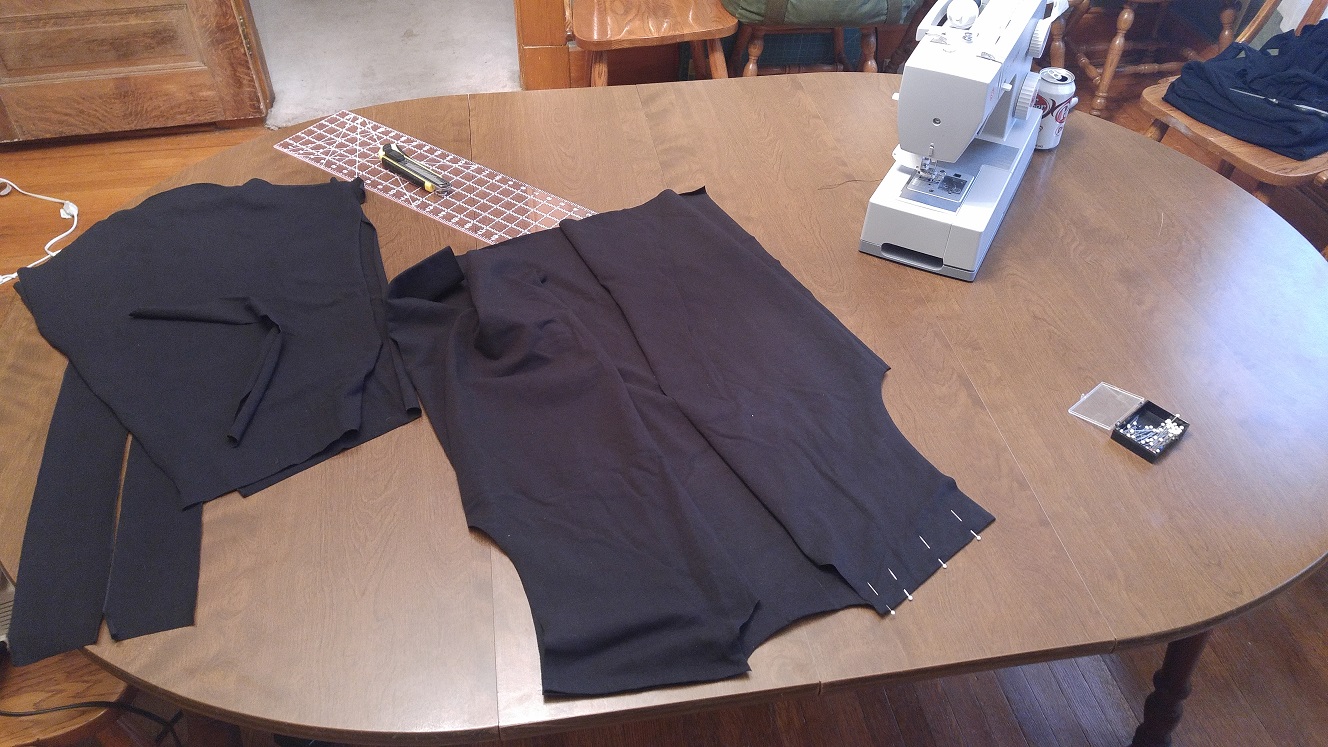
Marking out the pattern on the fabric.

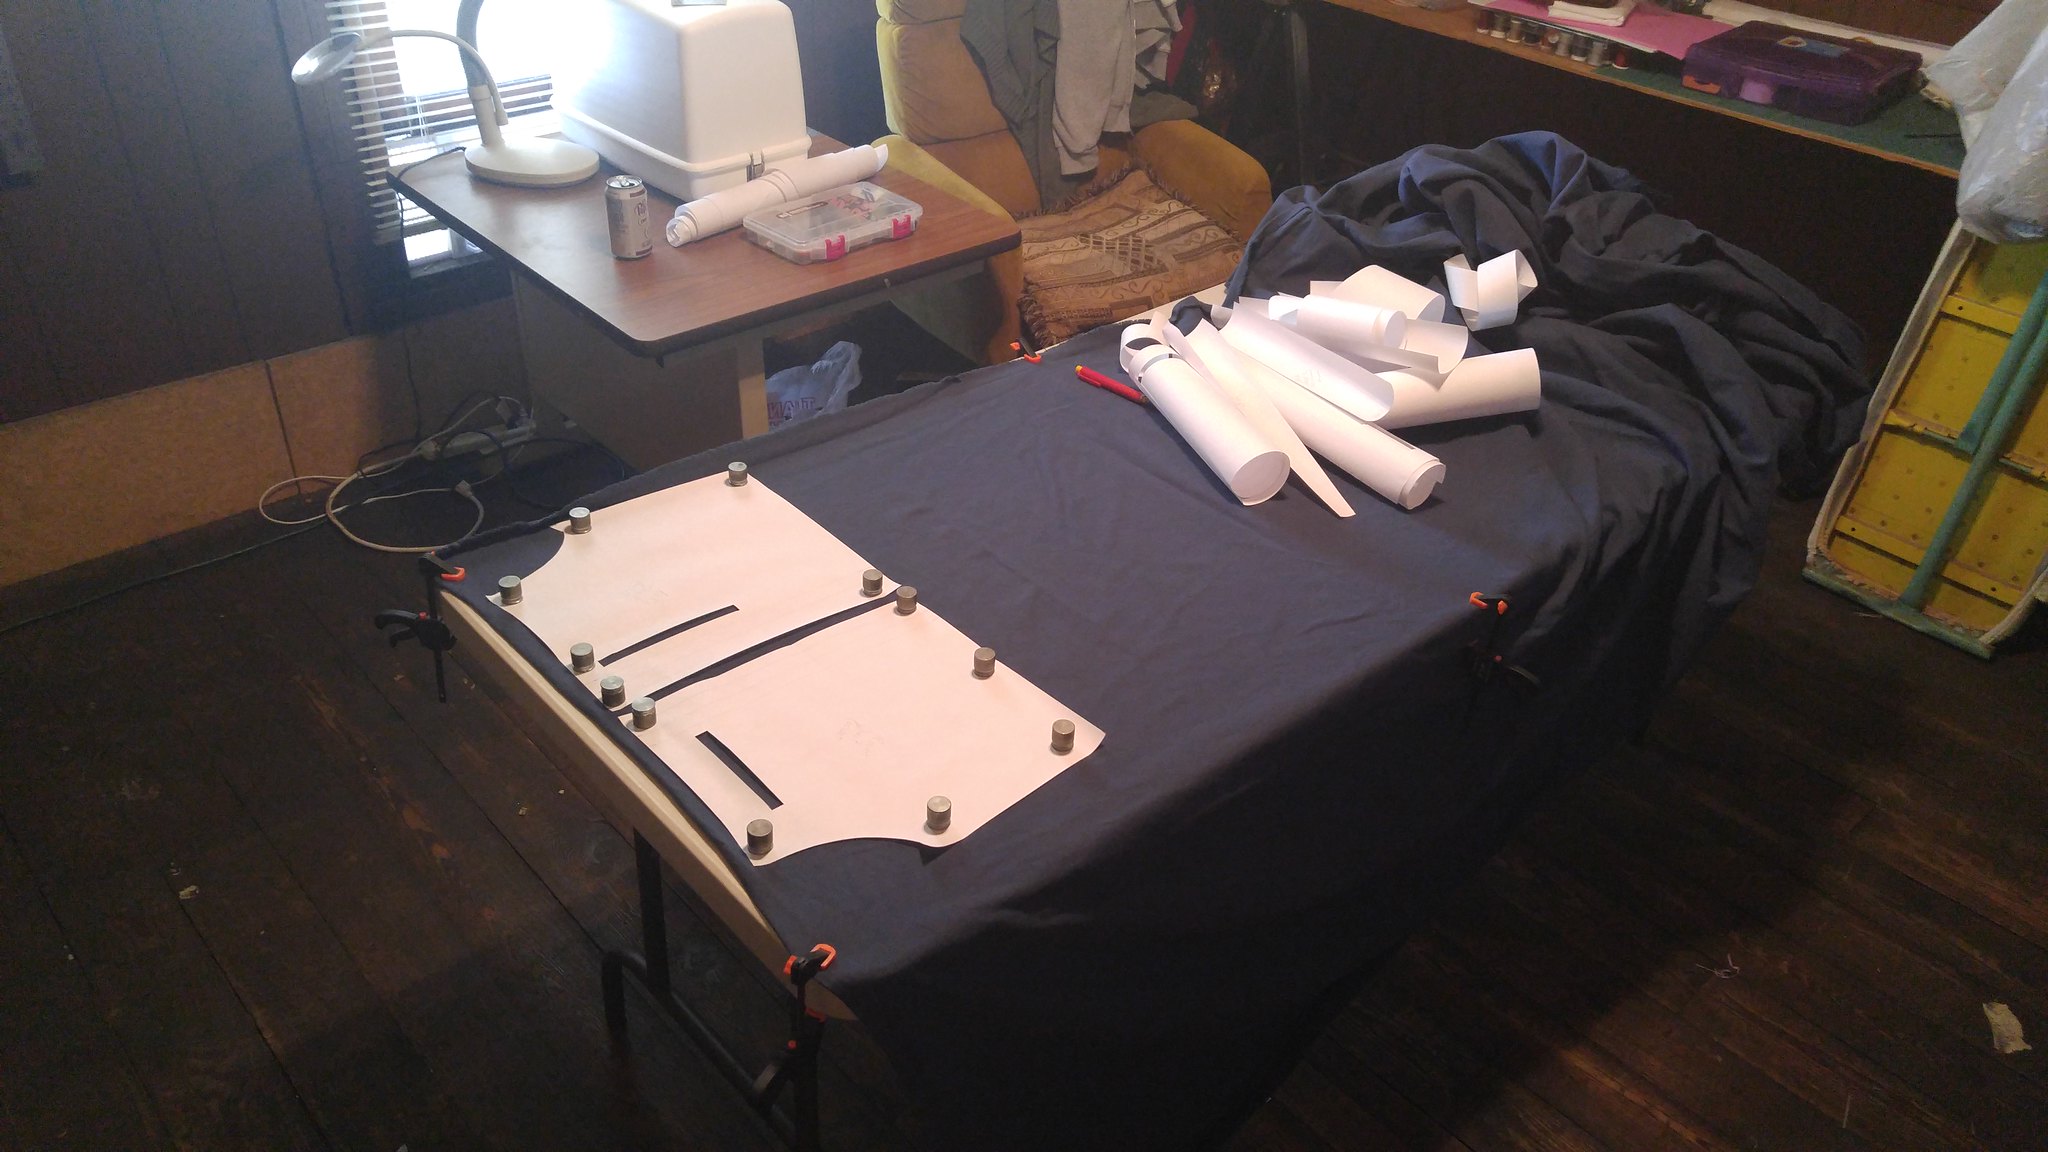
First step, pinning and sewing the front and back panels together, then serging the seam allowance and pressing.
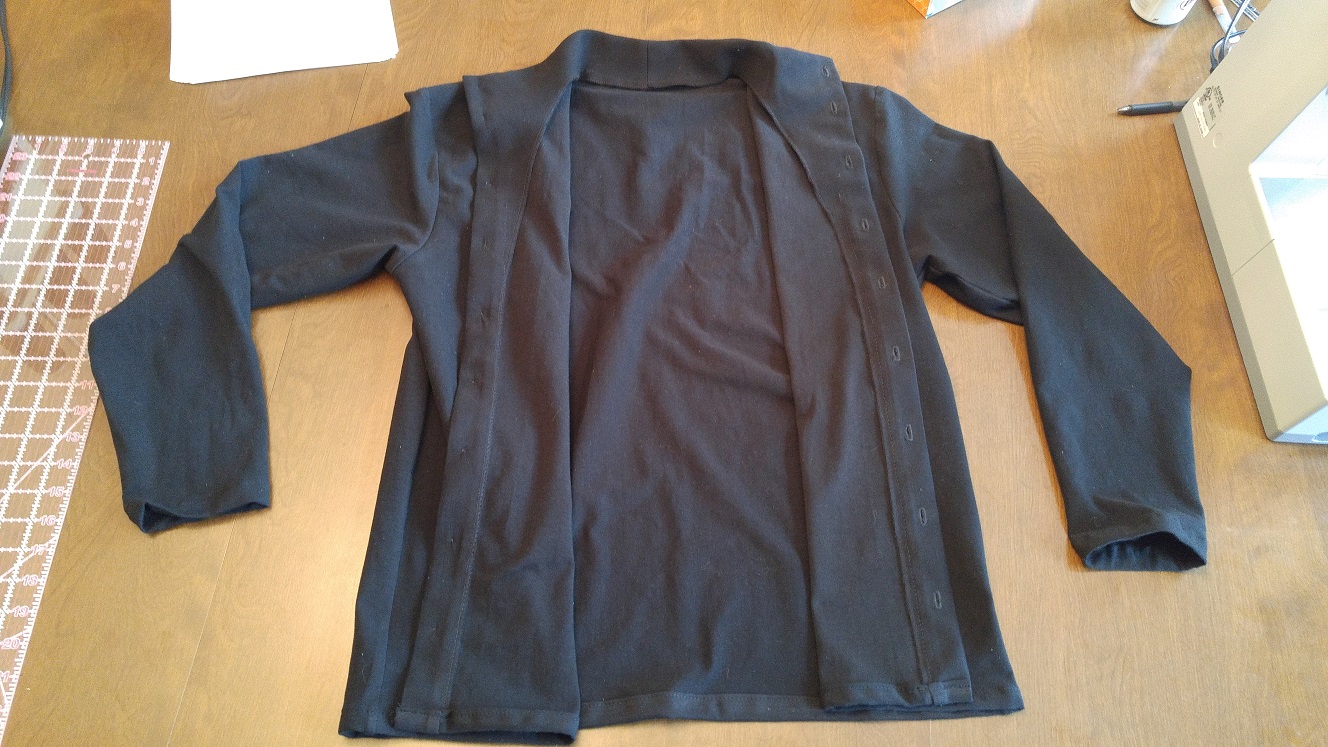
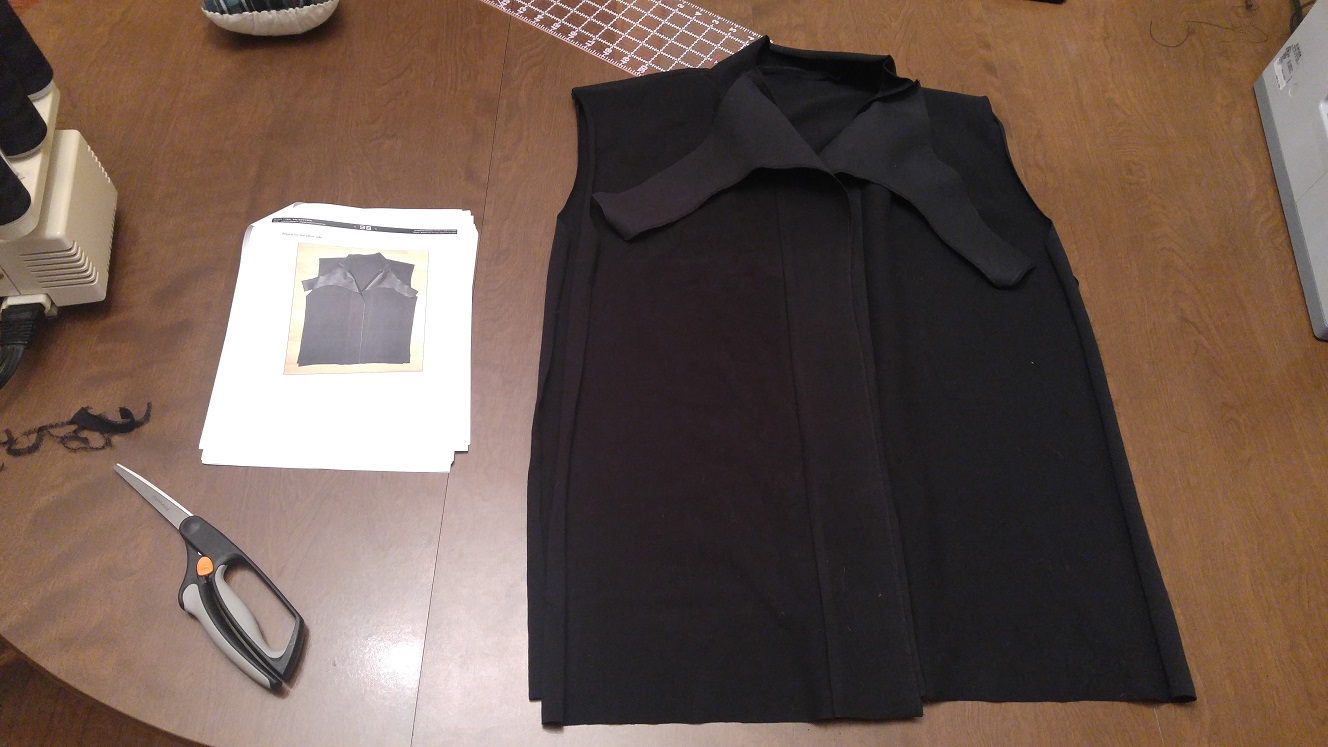
Skipping ahead a bit, here is the shirt with the interfaced facings added with seam allowances serged and pressed.
Finally, as of last night, the facings have been pressed in, the collar fully assembled with the facing and the buttons hand sewn. Next: the button holes and sleeves.
~~~~~~~~~~~~~~~~~~~~~~~~~~~~~~~~~~~~~~~~~~~~~~~~
I am starting with their Enterprise undershirt. As a test I am making this shirt strait from the XL pattern size. I can already tell that I'll have to make a second to accommodate my larger neck size and longer arms. (I usually wear a LT or XLT with a 17-17.5 neck size - all US sizes). That means this first shirt may go up for sale when I am done.
The hobby room is on the top floor of the house and has exposed beams. We are getting the roof redone so I have taken over the dining room for this project while the hobby room is dismantled temporarily.
Here are some current progress shots. As of now the body panels are assembled, the facing is attached and the collar is done. I spent last night hand sewing the buttons in place. Tonight I hope to at least get the button holes done.
I traced the patterns onto my own paper in order to conserve the original copy.
Marking out the pattern on the fabric.
First step, pinning and sewing the front and back panels together, then serging the seam allowance and pressing.
Skipping ahead a bit, here is the shirt with the interfaced facings added with seam allowances serged and pressed.
Finally, as of last night, the facings have been pressed in, the collar fully assembled with the facing and the buttons hand sewn. Next: the button holes and sleeves.