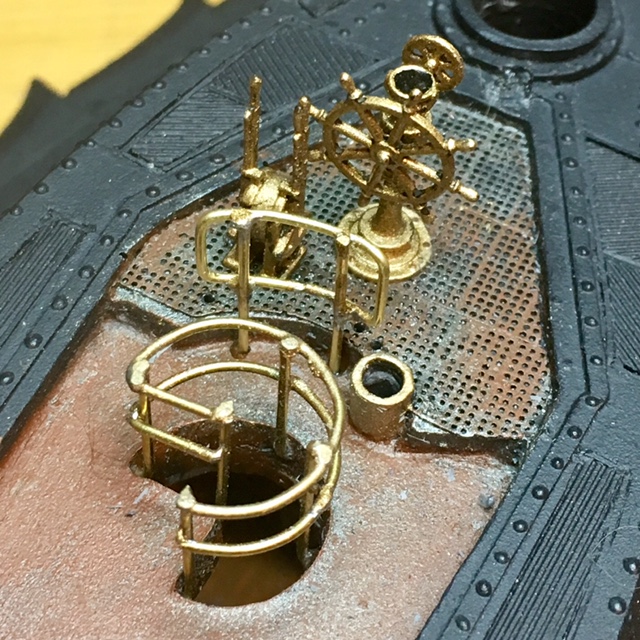
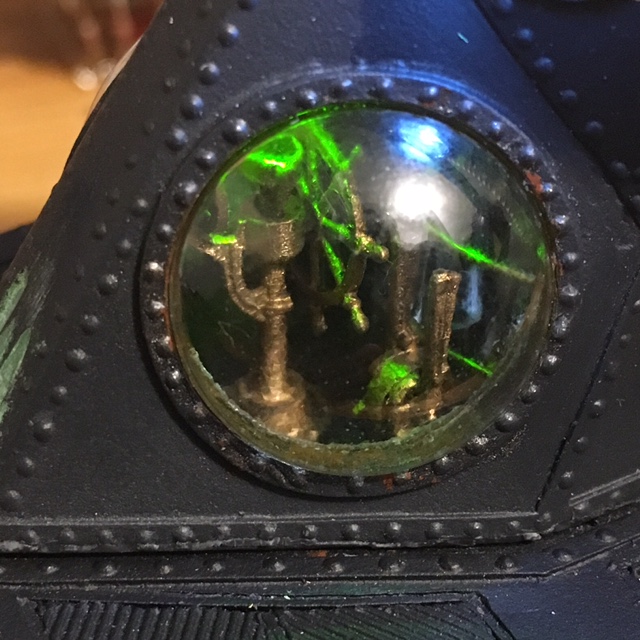
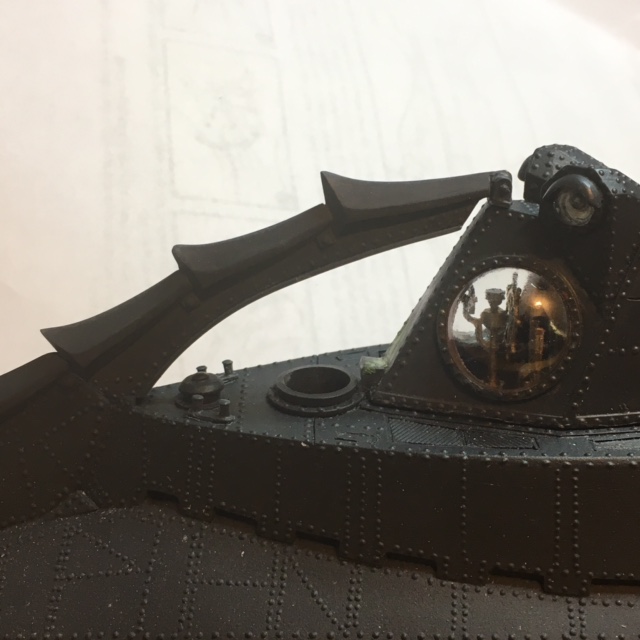
Another round of updates. First, I put the wheelhouse on, to do a lighting test with the green LED in the roof. I noticed (and you can see it in this photo) that I had somehow knocked the handles off of the top of the dive levers. I'll have to scratch-build some tiny replacements. Grrr....
http://stevedockery.com/nautilus/46.jpg
Looking awesome dude! I'm trailing right behind you. I did spend some time yesterday building a room for under the rear hatch and installing those flicker LED's. I put a couple of greeblie parts in there so it would like like things in the outer engine room, looks pretty good I guess. I don't have pics as yet. I did have some trouble with the wheel house lighting wires. Had to drill a few sets of holes and trench the bottom surface for the wheel house to run them rearward. because of the chart room I built, the wires couldn't go straight down, duh! Going to take the same approach with the propeller. I also thought of motorizing it, but I think I'd be a pain to find one that turned slow, you know. just going to make able to spin free. Also going to pre-mask the wheel house bubble windows while I can still get a finger behind to hold them, as well as the eyes on the lights but they're not going anywhere.
Are you painting separately, or all together? I considered both ways...definitely going to do the hull halves separate since you can't see the mating surfaces once assembled.
I'm going to try the Bob Martin weathering approach with the oxidizer...just have to be surgical if I do the top hull with the wheel house off. Still mulling that one. The other factor of doing the hulls separately is the salon window frames...I reckon I can get them to match later cause you know they won't if done separately.
Not looking forward to sizing the other small salon window lights though

.........what a drag
I decided on the painting technique I'm going to use. After priming the sub, I'll paint a base coat of this Tamiya metallic gray acrylic. On top of that I'll uses washes and possibly weathering powders, to bring out the detail and give it the rusty finish we expect. here you can see the propeller primed and painted with the metallic gray. I think I'm going to switch gears and use black primer instead of the light gray I'm using, it'll make the metallic gray cover more easily.
http://stevedockery.com/nautilus/47.jpg
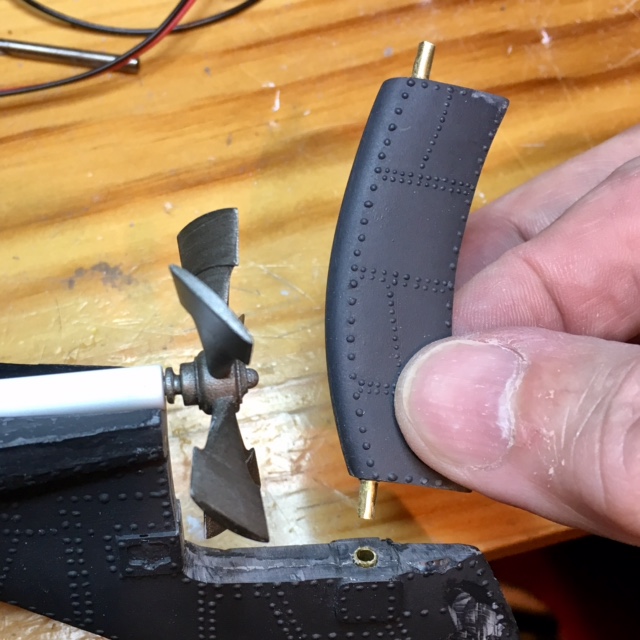
I replaced the tiny, fragile plastic pivot pins in the rudder with brass rod, and embedded a socket for the pins, made of brass tubing, in the upper and lower tail fins. Here you can also see the propeller and its mount being test-fit in place.
http://stevedockery.com/nautilus/48.jpg
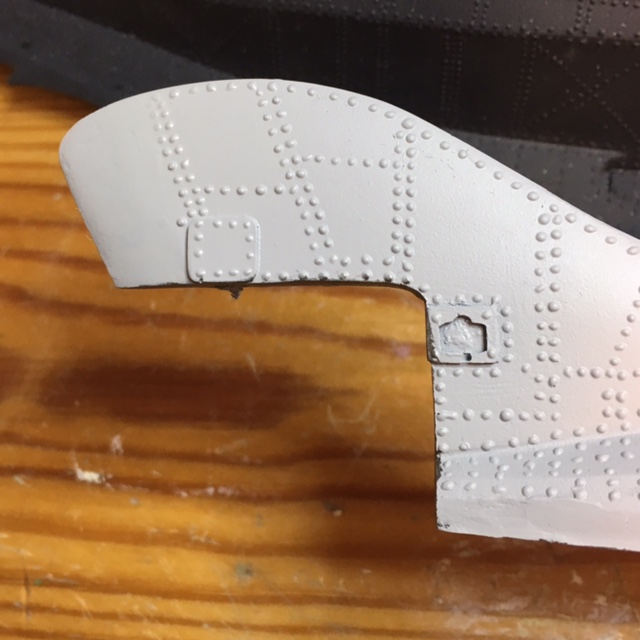
I finished repairing the defect on the side of the lower fin - just need to re-apply the rivet detail. Here you can see the light gray primer - it would be annoying to try to cover it without too many coats of the metallic gray.
http://stevedockery.com/nautilus/49.jpg
Lastly, I contacted Masterpiece Models, and they're going to replace some of the small parts like the hand wheels, hoping I'll get some usable ones. They also pointed out that the arch actually does fit (barely) if you shift it forward - but that does leave a gap under the wheelhouse end of it that I will need to fill. That won't be a huge project to accomplish.
http://stevedockery.com/nautilus/50.jpg