Rick and Morty Portal Gun Question About Finish...and Prop Finishes in General...

Gimpdiggity

Master Member
Hey guys.

I need some input. My wife really wants to go as alternate dimension Rick Sanchezes...Sanchezi...eeerrrrrmmmm...Ricks...from Rick and Morty for Halloween. I'm good with this because it's a relatively easy costume to put together, and with infinite universes there are literally infinite amounts of Rick, probably even some female Ricks so she can do her costume up however she wants.

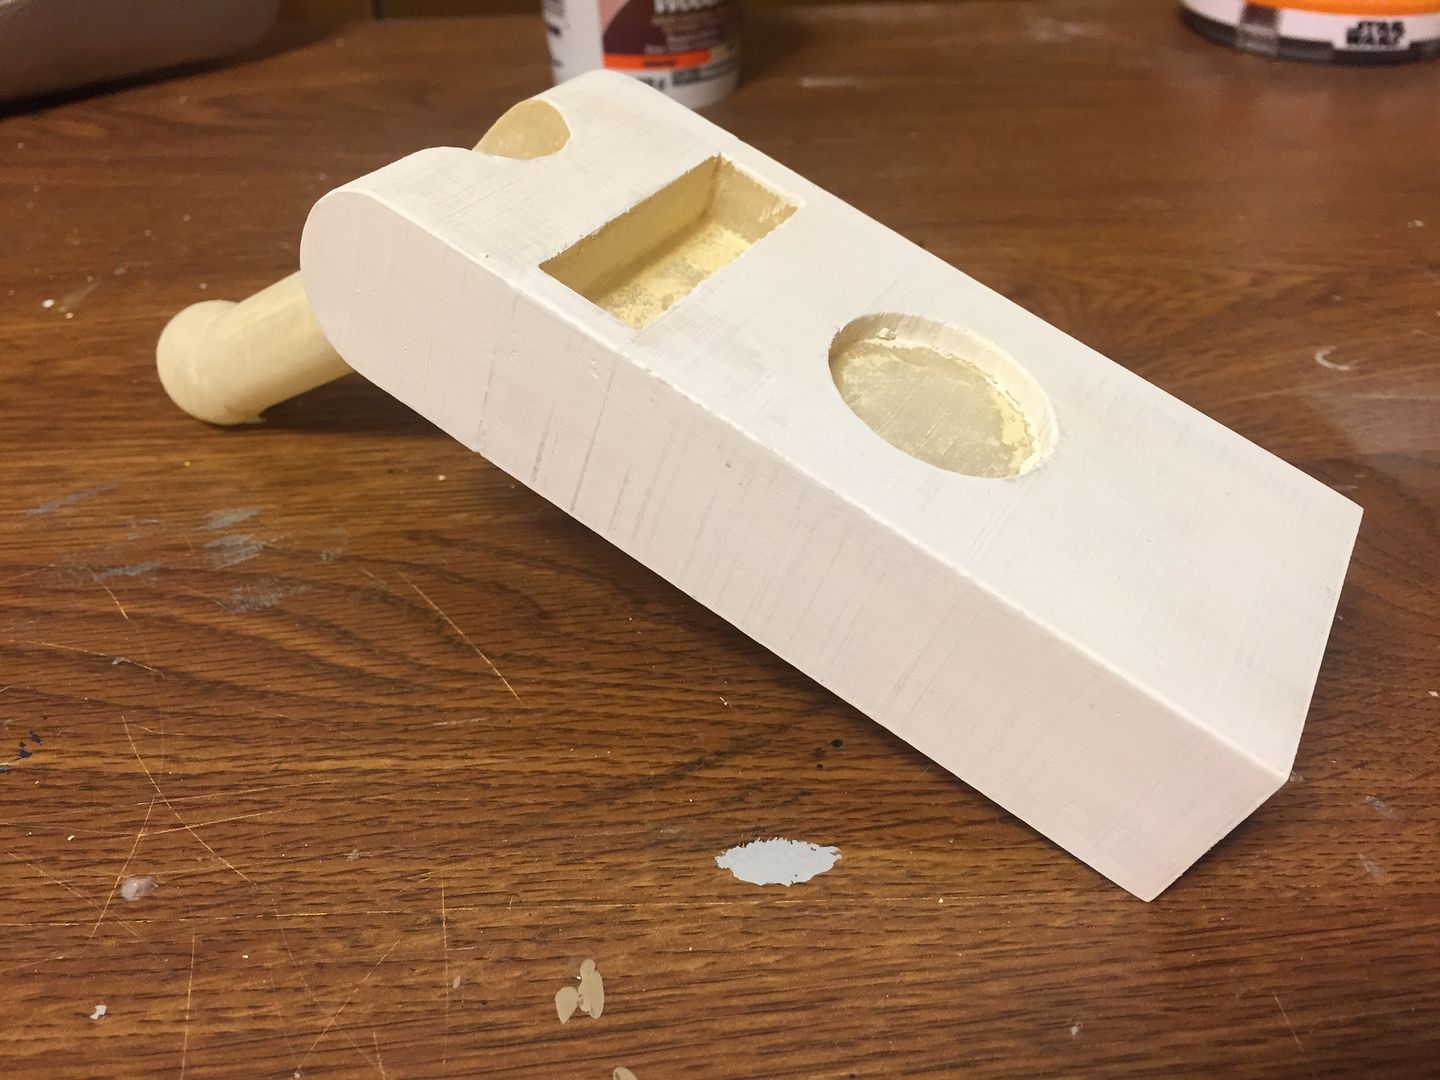
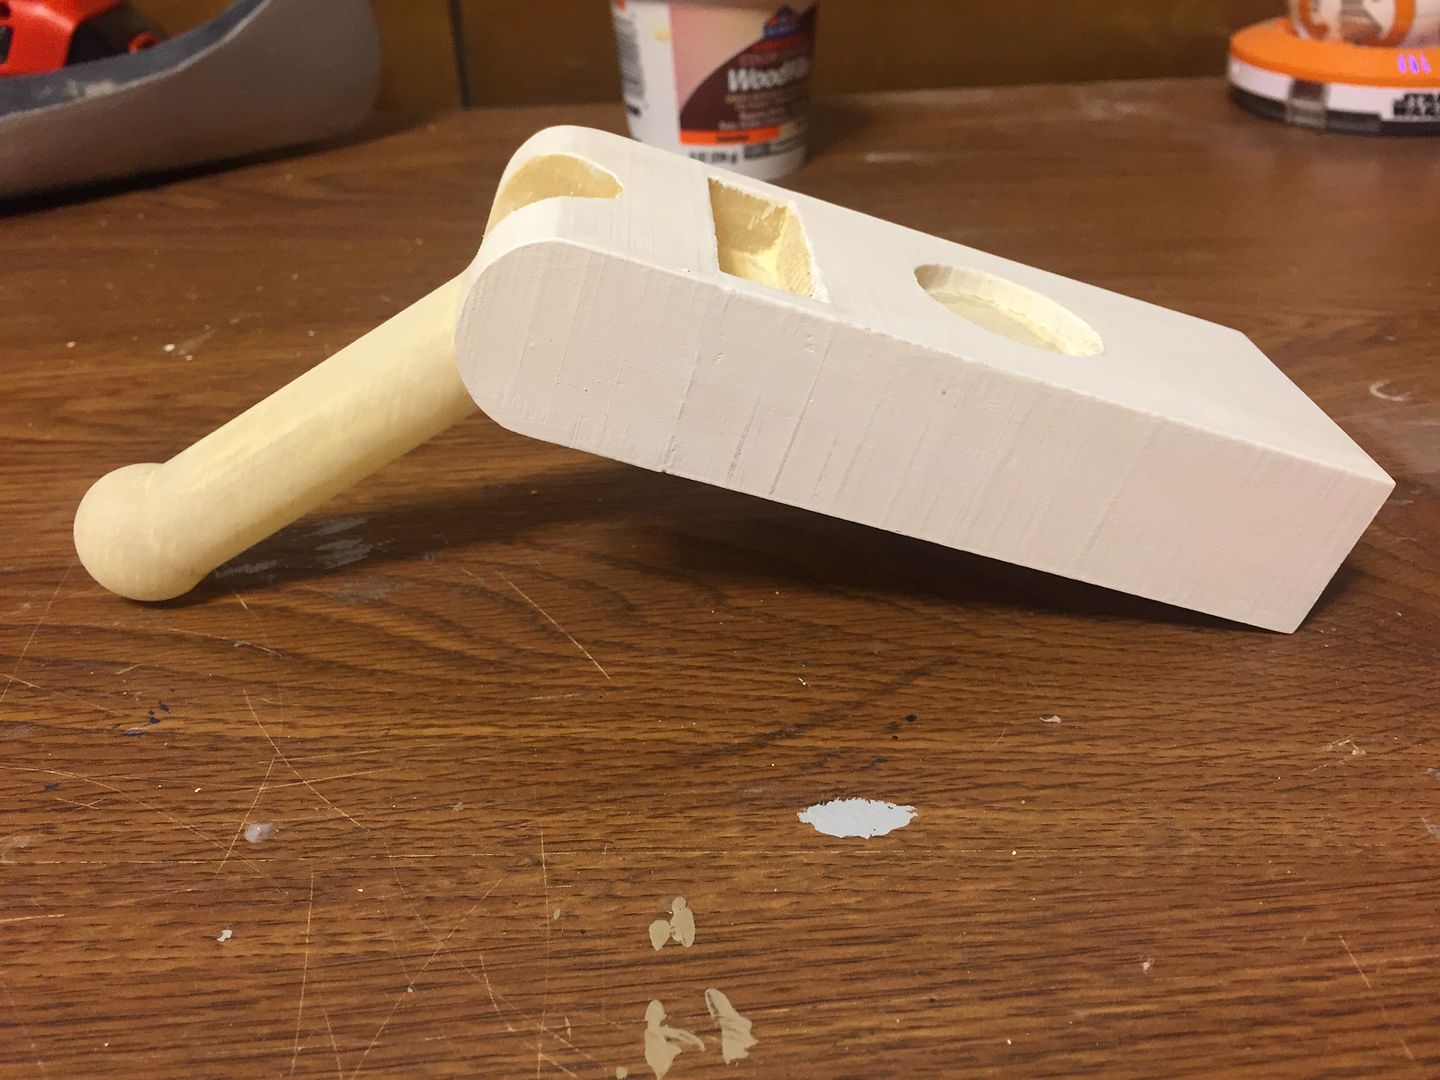
Anyway...I'm in the process of building us a couple of portal guns. Easy builds, 3D printed with no working lights or sounds or anything like that, as the party we'll be taking them to is pretty busy and I'd rather not worry about something with a bunch of electronics in it (and therefore $$$$) getting broken or misplaced.

So, I have a quick question for you guys...for a basic prop build for a costume that will probably be worn once and then never again, would you guys put a ton of effort into the miniscule details of the prop? For instance, I have all the parts printed for one already, and I could assemble it and paint it and just call it a day without worrying about anything else and pretty much be done with one...or...I could also take the time to smooth out the print lines, sand it down, paint it, clear coat it, and then potentially do a bit of weathering.

So, what say you? Put all the effort into the finish, or just get it the right colors and leave the print lines and call it a day???

If you were making a prop for any costume that would be used one time, would you put all your effort into it, or would you get it "good enough" and be done with it?
 
I think it really just comes down to how much you want to put into it. I personally never use any of my props for anything like that they just go on a display in my house. I put as much effort as I can into them just because I like the satisfaction and I have so much fun painting and sanding and such. If you want to do it quick and easy by all means do! Just remember you asked the forum that nitpicks guns for the sake of 100% screen accuracy haha so others may do it different. I personally would go all out on it but it's your prop so really only you can decide. Regardless what you do I bet you'll have a schwifty Halloween!
 
I think it really just comes down to how much you want to put into it. I personally never use any of my props for anything like that they just go on a display in my house. I put as much effort as I can into them just because I like the satisfaction and I have so much fun painting and sanding and such. If you want to do it quick and easy by all means do! Just remember you asked the forum that nitpicks guns for the sake of 100% screen accuracy haha so others may do it different. I personally would go all out on it but it's your prop so really only you can decide. Regardless what you do I bet you'll have a schwifty Halloween!

Thank you sir.

I'm leaning towards doing it up at least a bit, seeing as I have a good several months before I'll be using them for anything. Worst case scenario it took less than a day to print it all, so if it comes down to the wire and it's not close to being finished I can just print two new ones and go with as basic as possible.

What worries me is the cost creep...I feel that if I start trying to do it all up and make it look good, the next thing I know I'll have a different model entirely with a bunch of functional LEDs and an LCD screen and stuff.

All of this while knowing that Funko is releasing one with lights and stuff for about $15 in August...granted, it's clearly a toy, but it looks like with a bit of work it could be pretty solid. I just kind of wanted to do as much of it myself as I can...
You know if I'm being honest I've never done anything with electronics like that. It would certainly be a great learning experience to do something like that and I think it would look great, but also you could just sand down the print lines and get it the best you can without all the electronic stuff seeing as you seemed a little concerned about that. Now that I think of it that's probably what I would do in your position. Just so it looks nice and crisp but it isn't to the point where you have to take delicate care of it while in costume, you know?

Sent from my SM-J700T using Tapatalk
 
There is a life sized prop replica coming out in Nov for $14. It would be perfect but the timeline is off.

To answer your question, I always put in my best effort. I would sand it down, fill, sand again and paint. You can cannibalize electronics from a cheap kids toy in the bargain bin for lights.
 
There is a life sized prop replica coming out in Nov for $14. It would be perfect but the timeline is off.

To answer your question, I always put in my best effort. I would sand it down, fill, sand again and paint. You can cannibalize electronics from a cheap kids toy in the bargain bin for lights.

Yeah that one for $15 from Funko looks like it could be modified a bit to be really nice. The lights shine through the plastic body pretty bad, but that's an easy fix. Like you said the timeline is off though. There IS a chrome version of that one releasing at San Diego Comic Con, but it looks like it'll be $50.

There re is a guy on Etsy that makes a fantastic one...to the tune of $250. It's got all kinds of sounds, the light for the tube is selectable, it's got an LCD display for the numbers, and actual water in the tube. It's awesome...but I certainly don't want to spend that much.
 
Put in the effort, when someone asks your wife where she got her portal gun, and she replies "my husband made it", gotta love the look on their face.
Really good for the ego :cool
 
I started filling the first Portal Gun today. Got one coat down and sanded it...it did a pretty good job. My printer recently got a firmware update and the print lines are much smoother just on their own than they were before.

I may do one more More coat with the filler, then I'm going to hit it with some high fill primer and I think it will be pretty good.

I also have have an idea for a single inexpensive light to go in the tube on the top, just to give it a bit of added flare!! I'll start a build thread in the next few days.
 
After a little sanding and some primer it's looking pretty good. I need to get some more high fill primer to hit it with a few coats of that, then some sanding and I think I'll be in business. I decided I'll do most of the work to the body of the gun...the other pieces are smaller and therefore a bit of a pain to do a ton of work to. I MAY try coating the smaller bits with epoxy and letting that cure. It works really well for smoothing print lines.

I may may actually try doing an entire gun smoothed with epoxy. The last couple times I did a large piece with this method though I ended up with a few spots that didn't cure well. After like three months they were still tacky. I figure I didn't mix it well enough and those areas had very little hardener.
 
Here's a couple of the gun without the actual primer on it. I was just messing with some old Tamiya acrylic to see how smooth it seemed after just the filler.

C21B8A90-0458-4066-91DC-6B7F734D0744_zpsxsyunf3h.jpg


0536524B-1B68-4F8C-9A9D-78BC5716EB9A_zpsjaayuiz3.jpg


What's strange is that those lines that look like they are showing aren't nearly as noticeable with the actual primer on the piece. I think they are basically areas where the filler laid differently, and the Tamiya paint was adhering differently to the filler (wood) than it was to the plastic. They are still noticeable with the primer, just not nearly as prevalent.
 
Last edited:
Still plugging away. I've been testing some colors for the parts that would be basically LEDs on the front. I also tried smoothing a few pieces with the epoxy, and it didn't work out very well at all.

I'm currently printing all of the little parts for the second portal gun, and once I get them printed I will start my build thread...mainly because I forgot to take pictures of a lot of the raw parts before I started working on finishing them, so the "build" portion of the thread wouldn't be very interesting. :)
 
This thread is more than 6 years old.

Your message may be considered spam for the following reasons:

  1. This thread hasn't been active in some time. A new post in this thread might not contribute constructively to this discussion after so long.
If you wish to reply despite these issues, check the box below before replying.
Be aware that malicious compliance may result in more severe penalties.
Back
Top