torsoboy
Sr Member
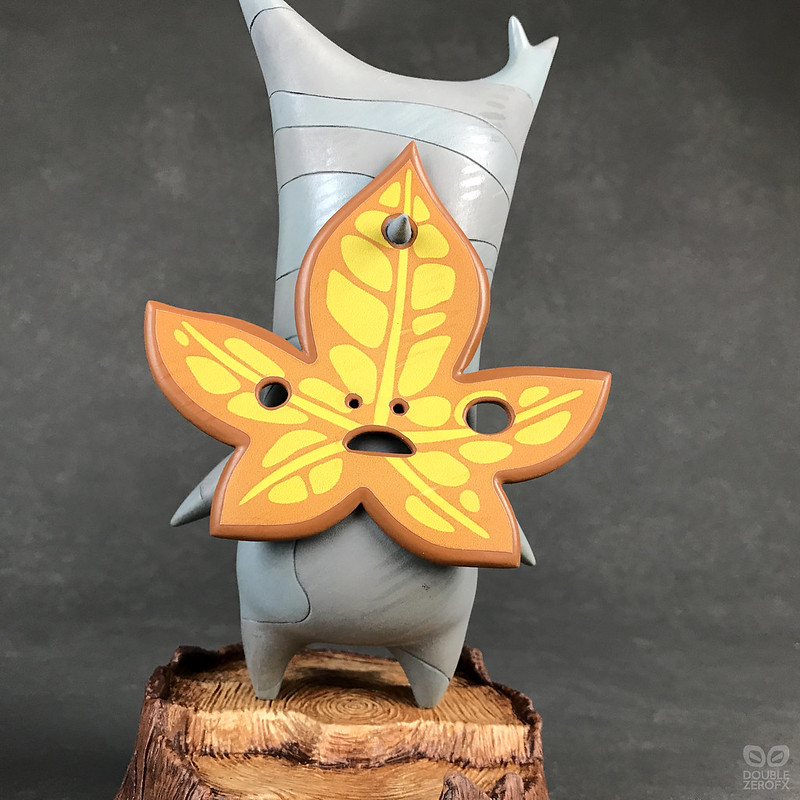
This is my second build from Legend of Zelda: Breath of the Wild, though this little guy in particular also shows up in Windwaker.
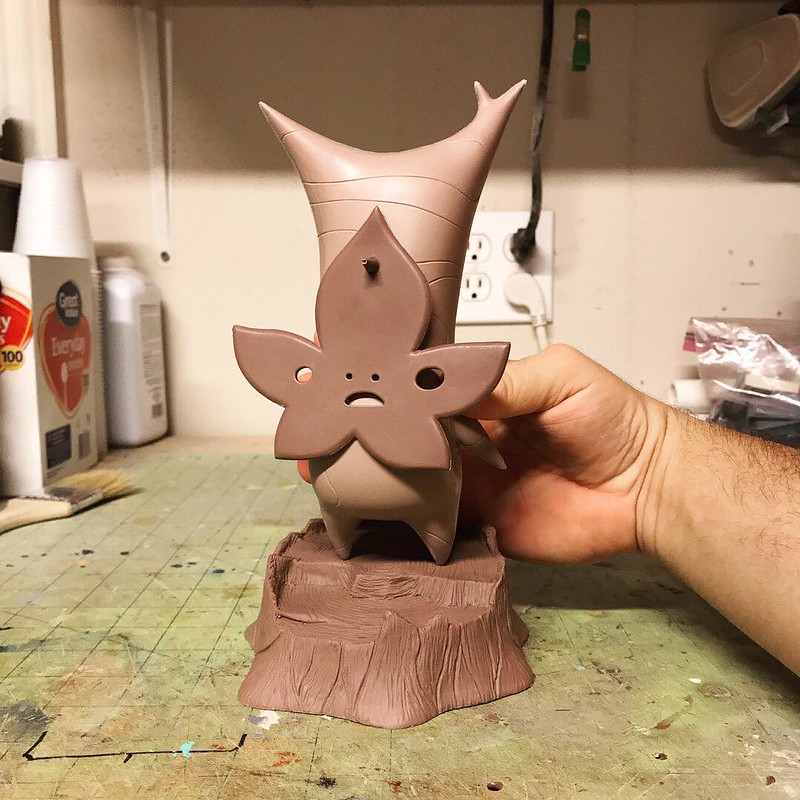
I wanted something to build along side my Sickle build, but also something I could perhaps display at work or on a shelf. Since I first started playing the game, I knew I wanted a Korok, but I didn't know what kind of end-product I wanted. I decided on a little statue, but because of the tiny, pointed feet, it would need a base to attach to.
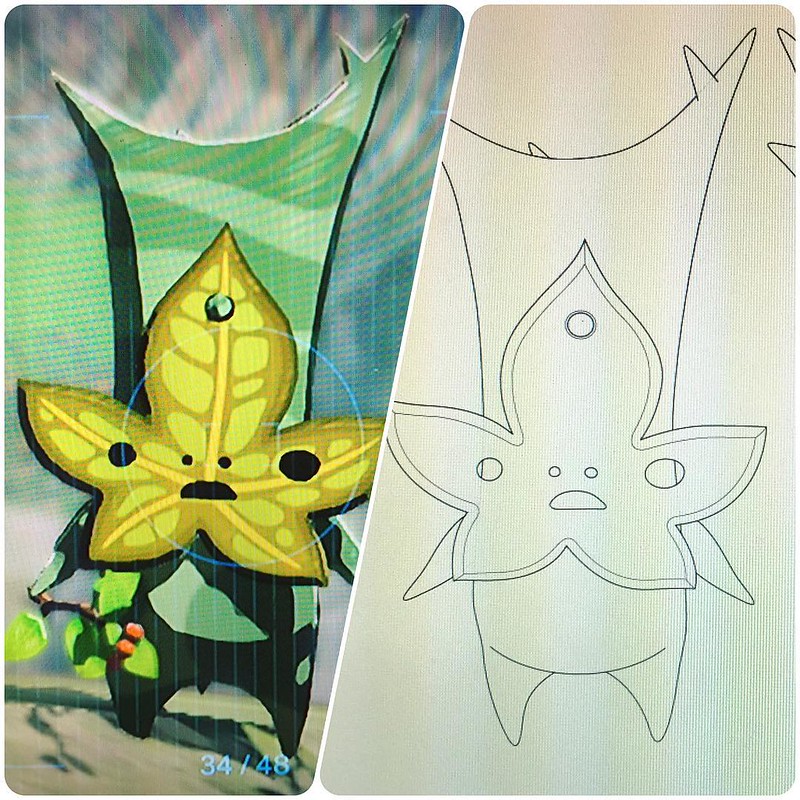
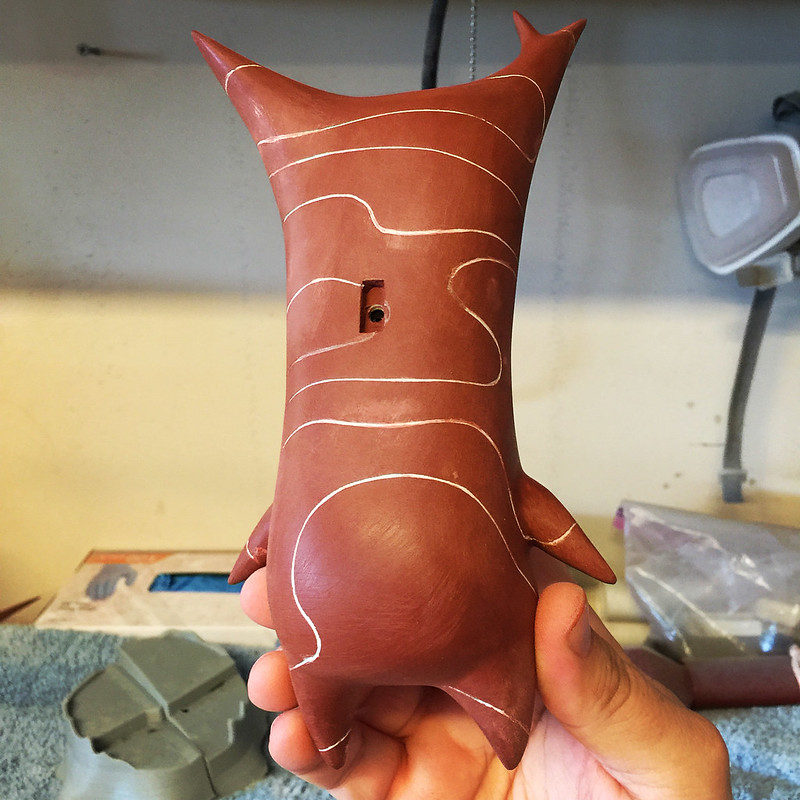
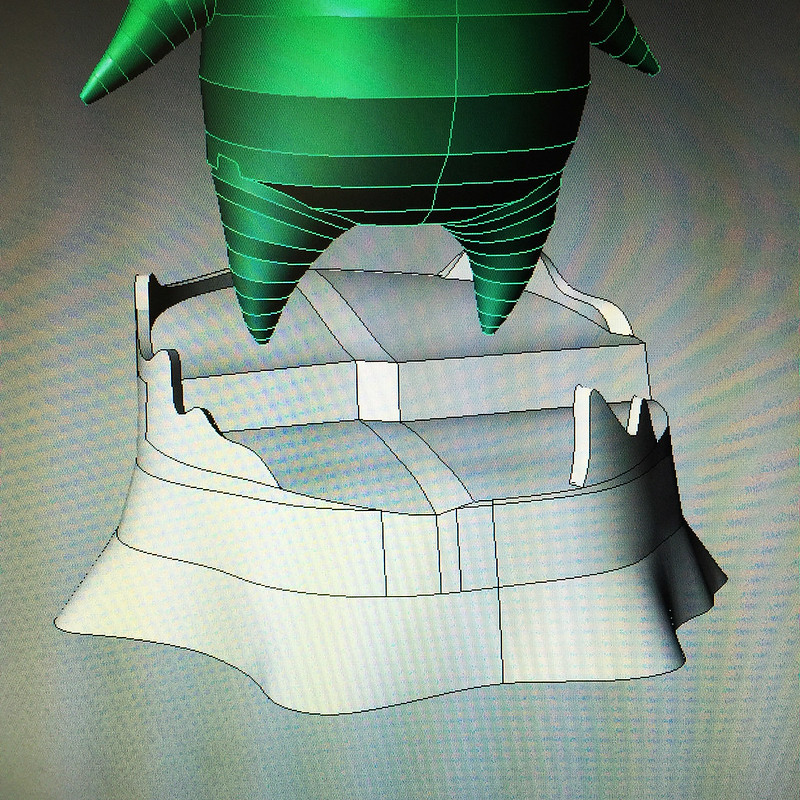
After drawing out a front and side view in Adobe Illustrator, I made a rudimentary 3D model of it in Rhino. I knew I wanted to skin it in Apoxie Sculpt and carve details in, so I kept the 3D model and subsequent 3D print rather simple. I don't have any photos of just the 3D print, though. I moved to the Apoxie Sculpt stage pretty quickly after taking it off my 3D printer.
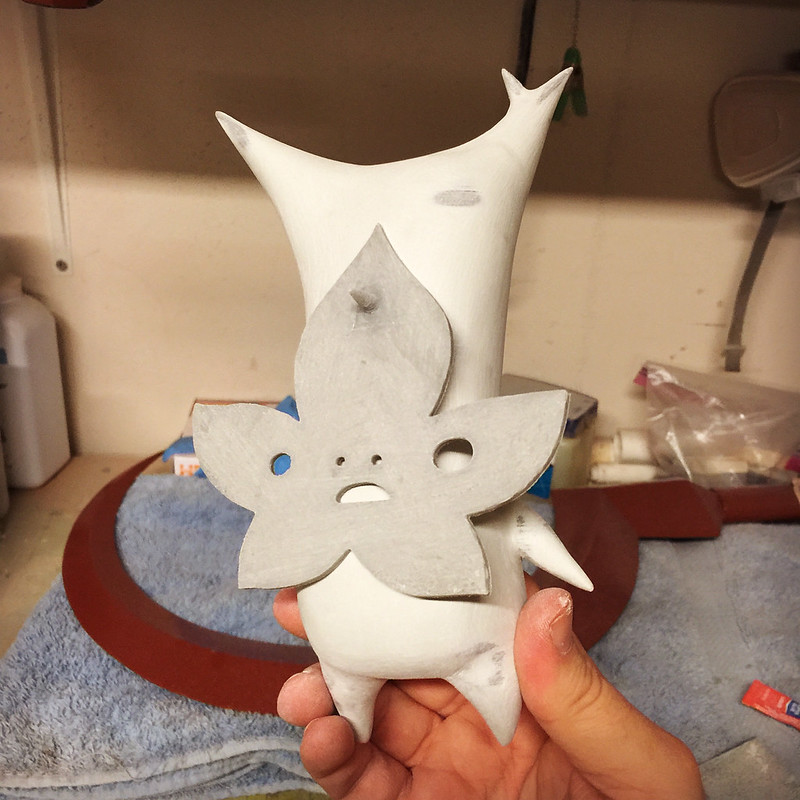
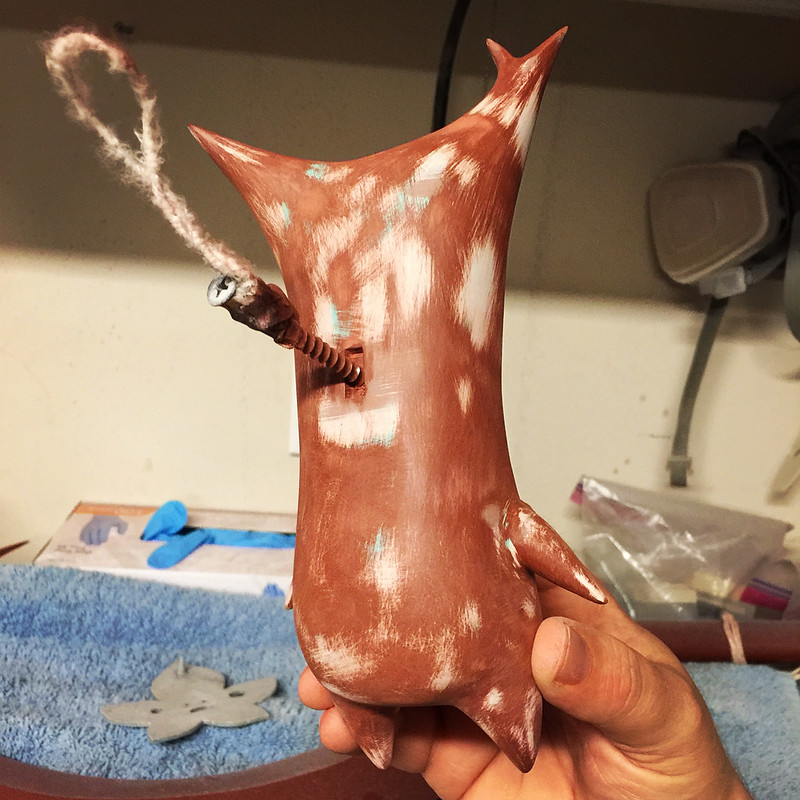
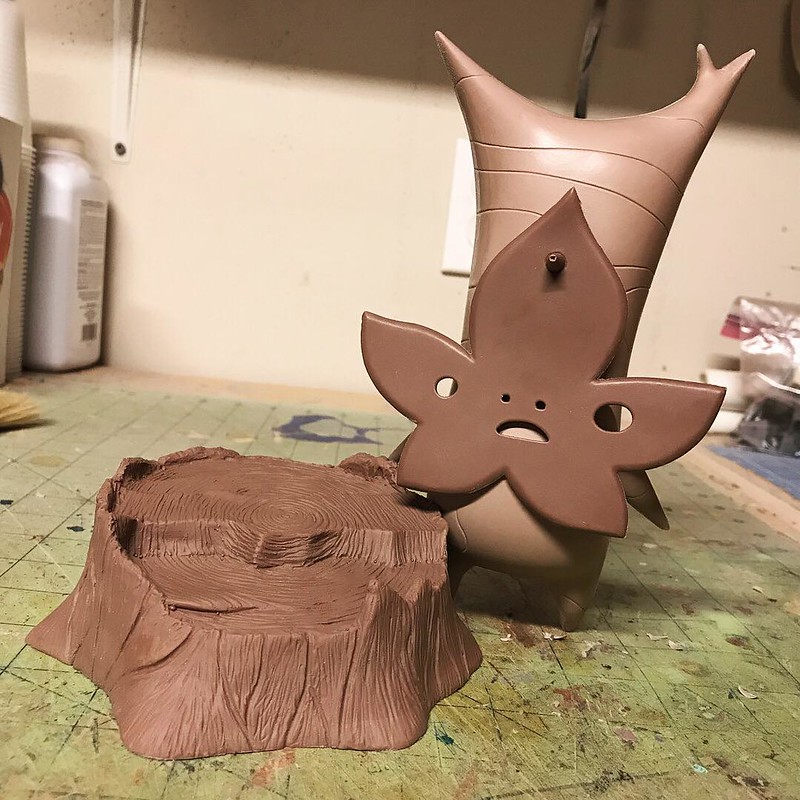
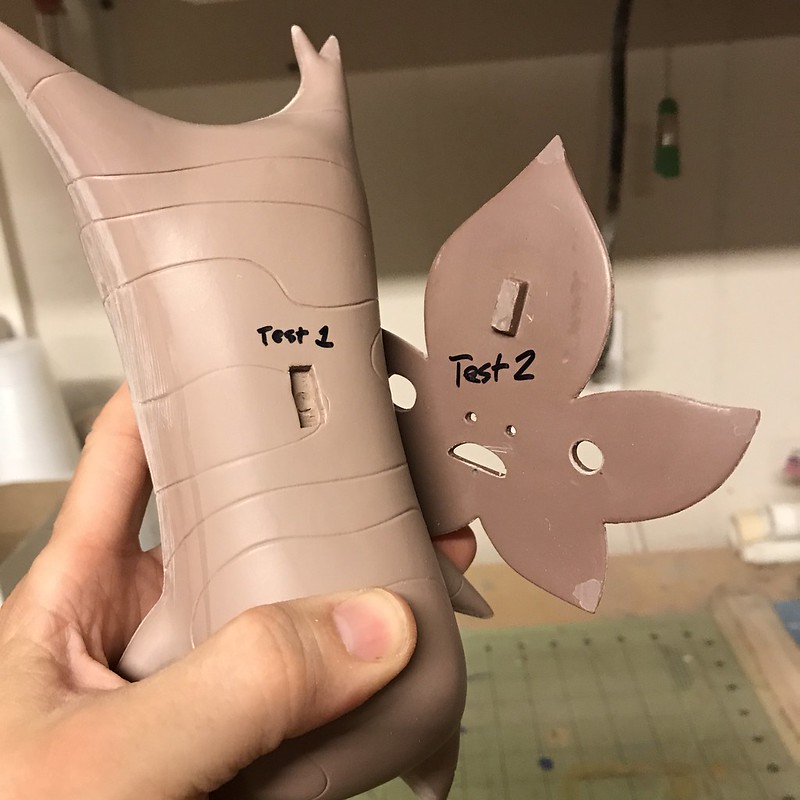
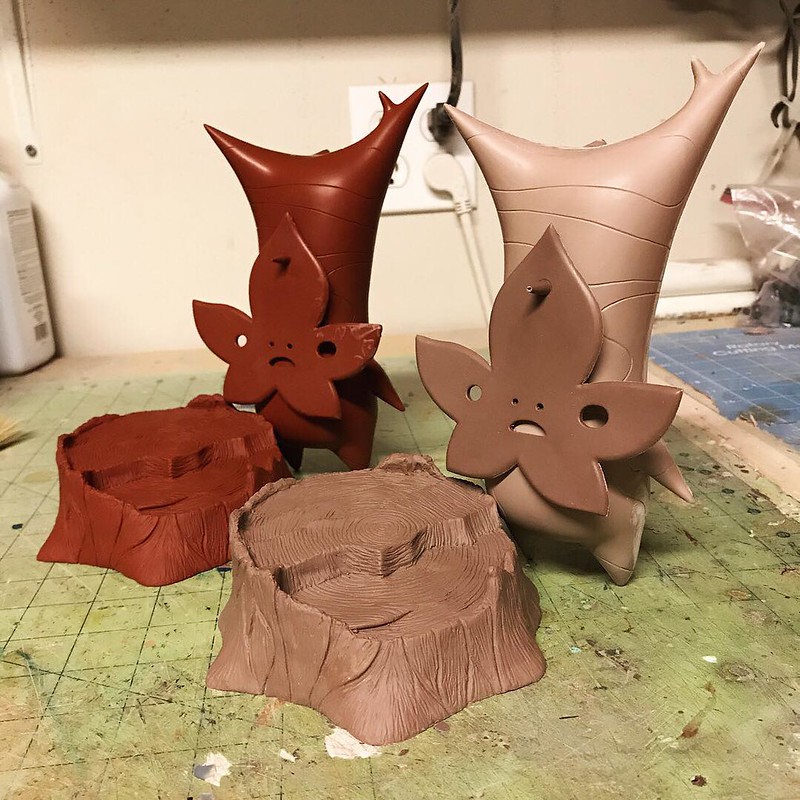
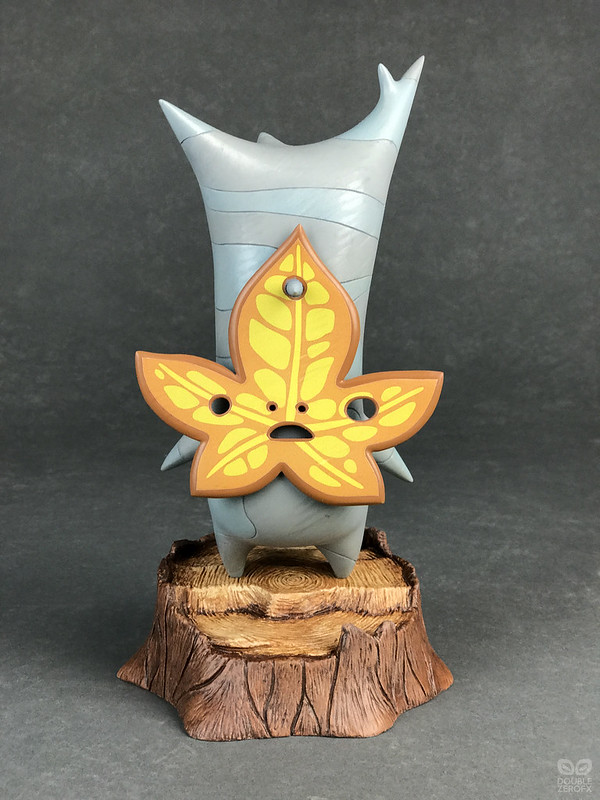
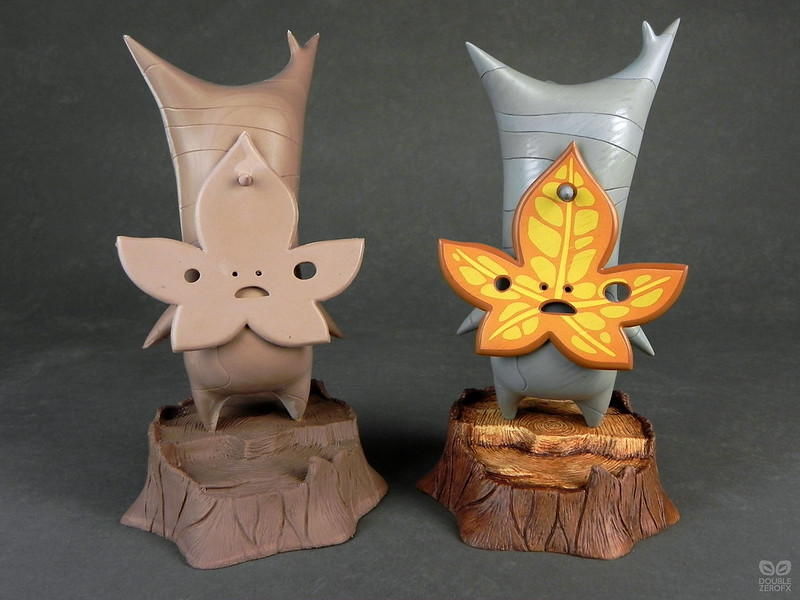
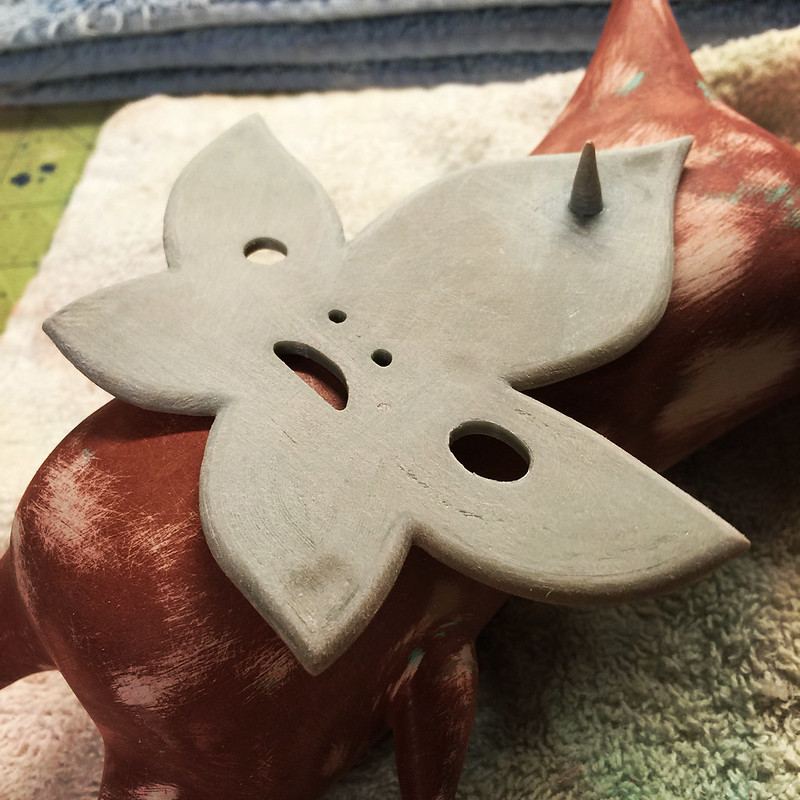
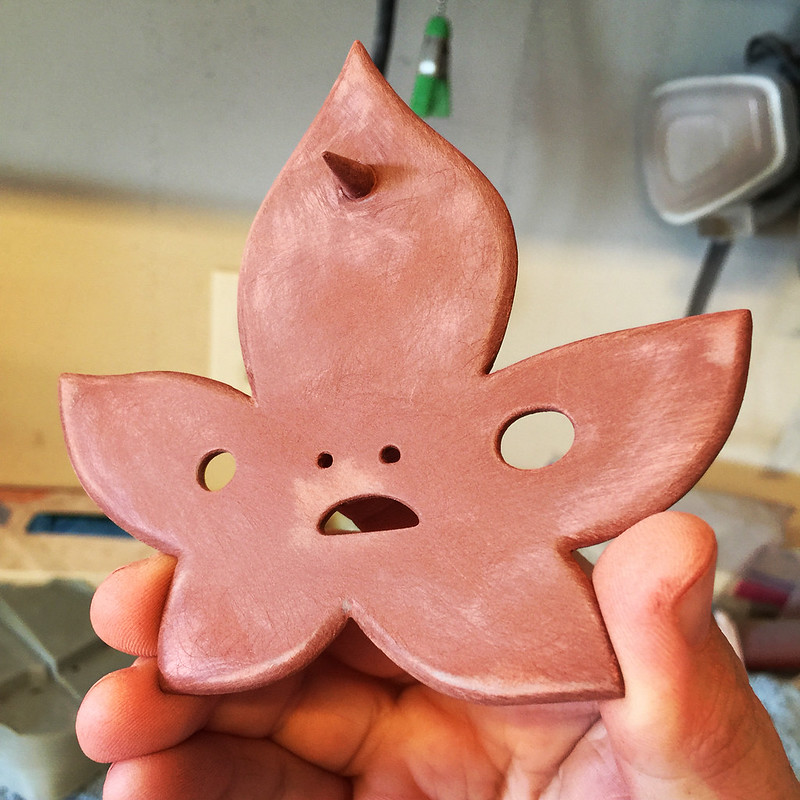
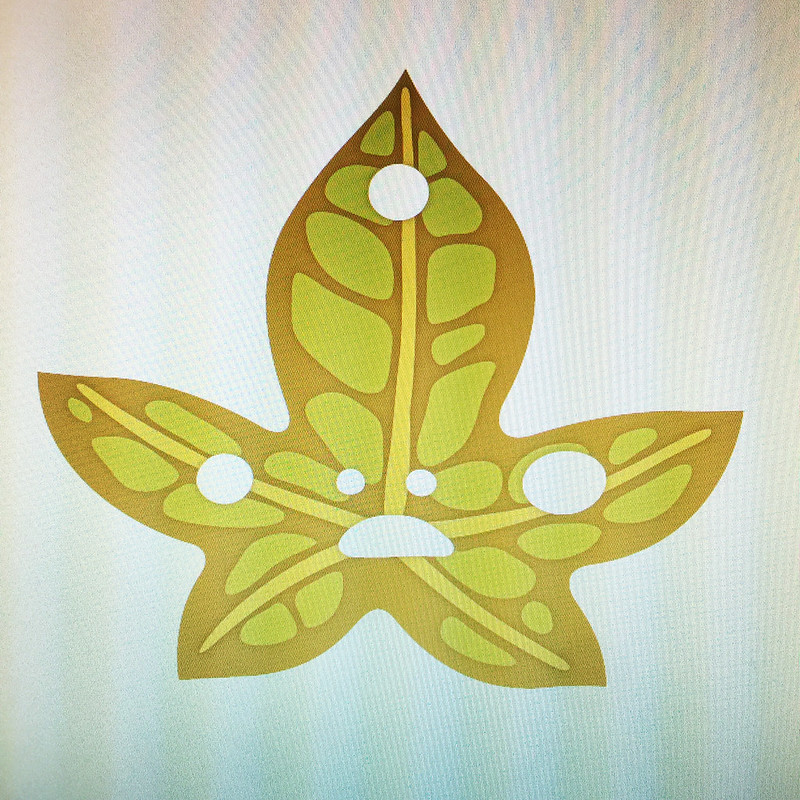
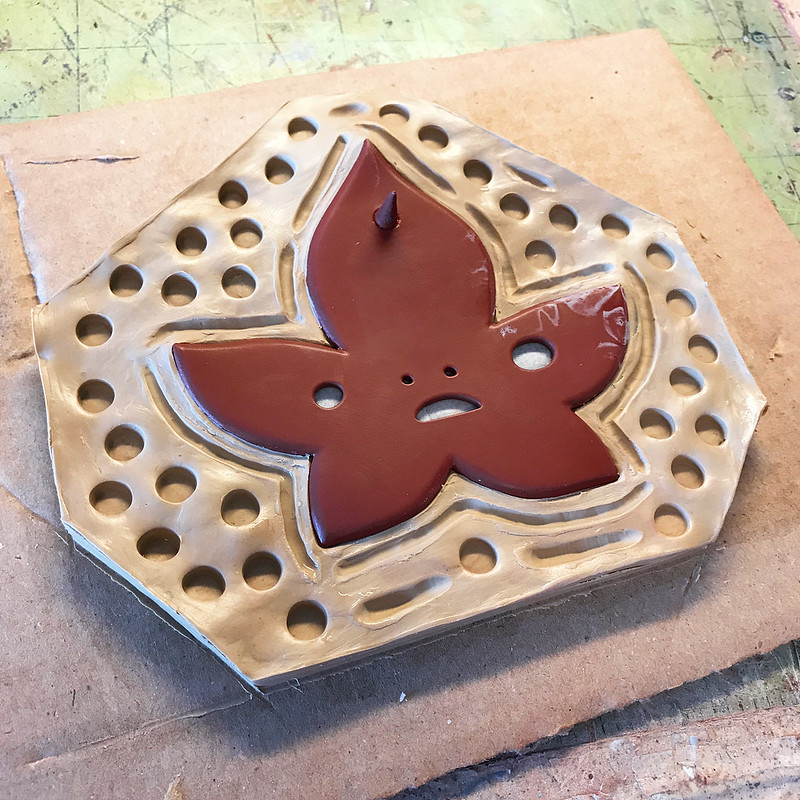
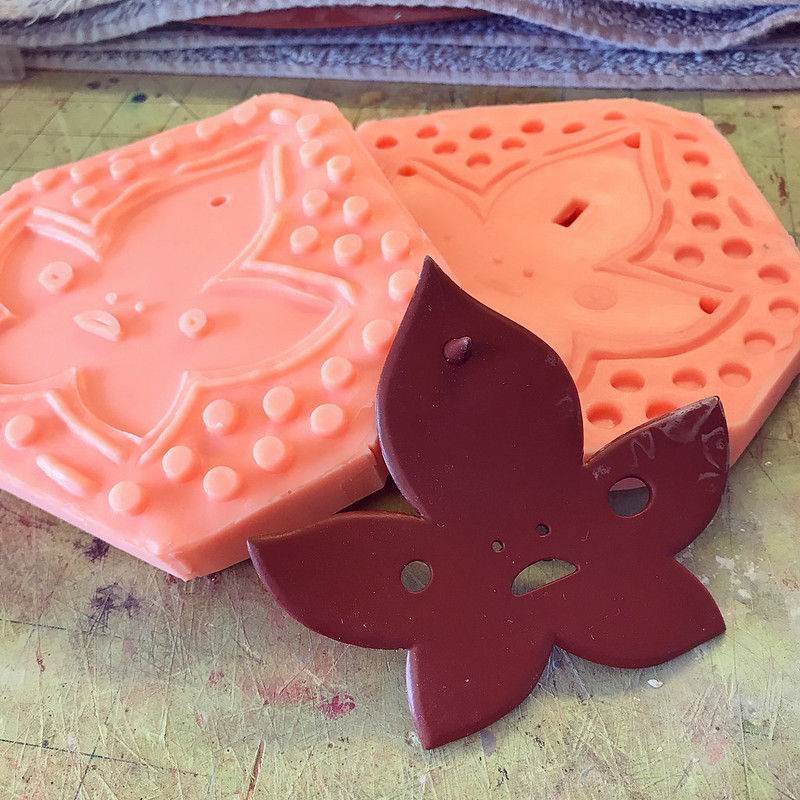
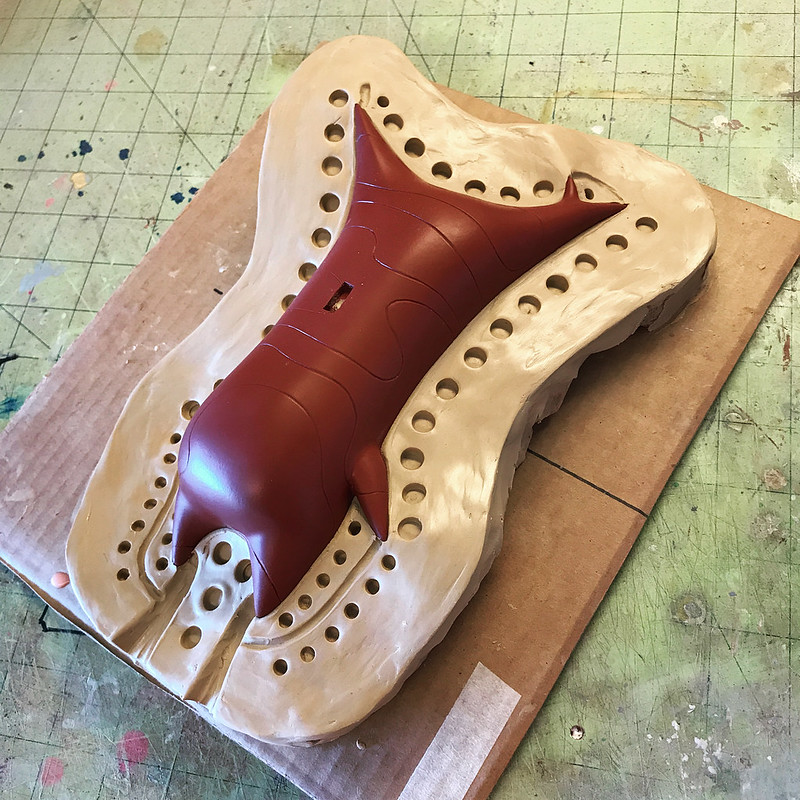
From the onset, I decided I'd build this in kit form, with the intention of offering multiple face leaf parts. So I designed the faces to tab into a slot in the body (pictured above). This would allow the end builder an easy way to correctly place the face leaf relative to the basically amorphous body. As of this post, I haven't made any other leaf faces, but that's the idea. I also intended to make things even easier for the end builder by way of making the faces a printed decal, so that all the complex coloration was already provided.
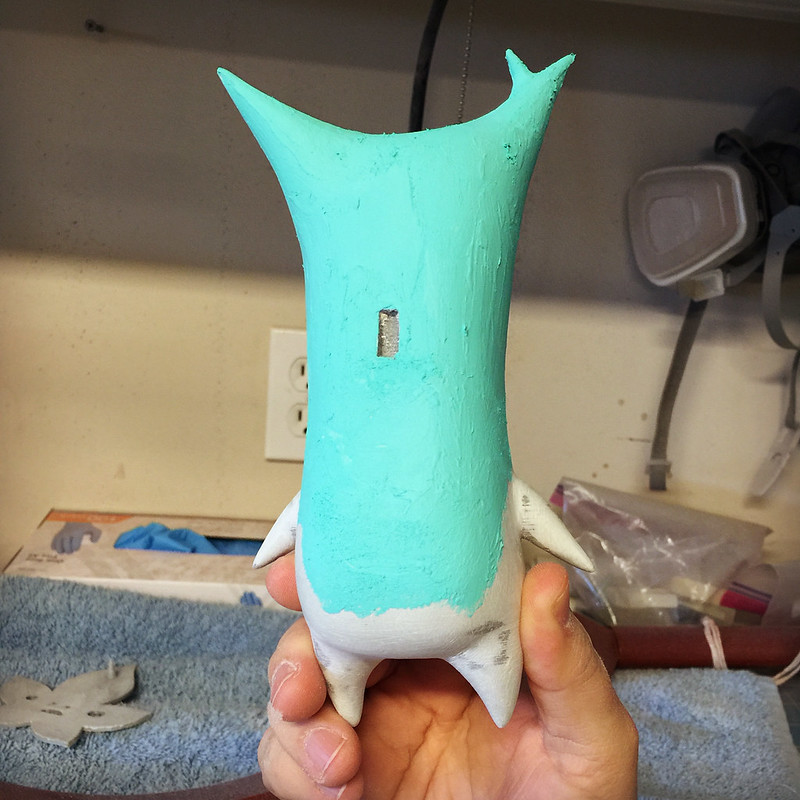
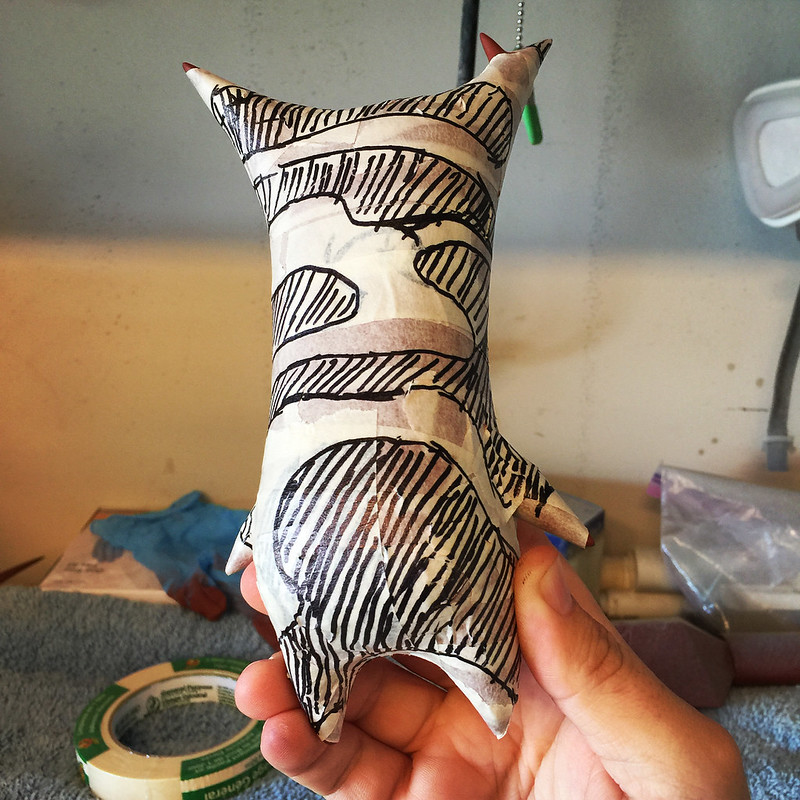
In-game, the body has virtual zero surface detailing other than colored striping. Again, thinking toward making an easy-to-build kit, I wanted to scribe in the lines of those stripes. So I mapped them out in a layer of masking tape, then sliced into those lines with an X-Acto blade. Then I used those X-Acto blade cuts as guides for a scribing tool, and later smoothed out all the line work with sandpaper and filler putty.
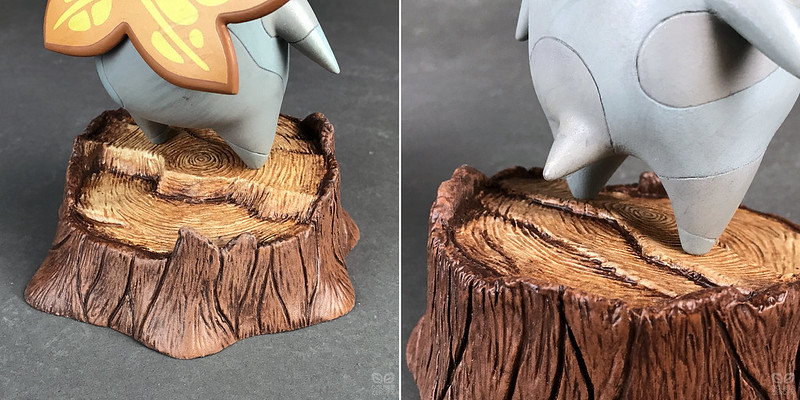
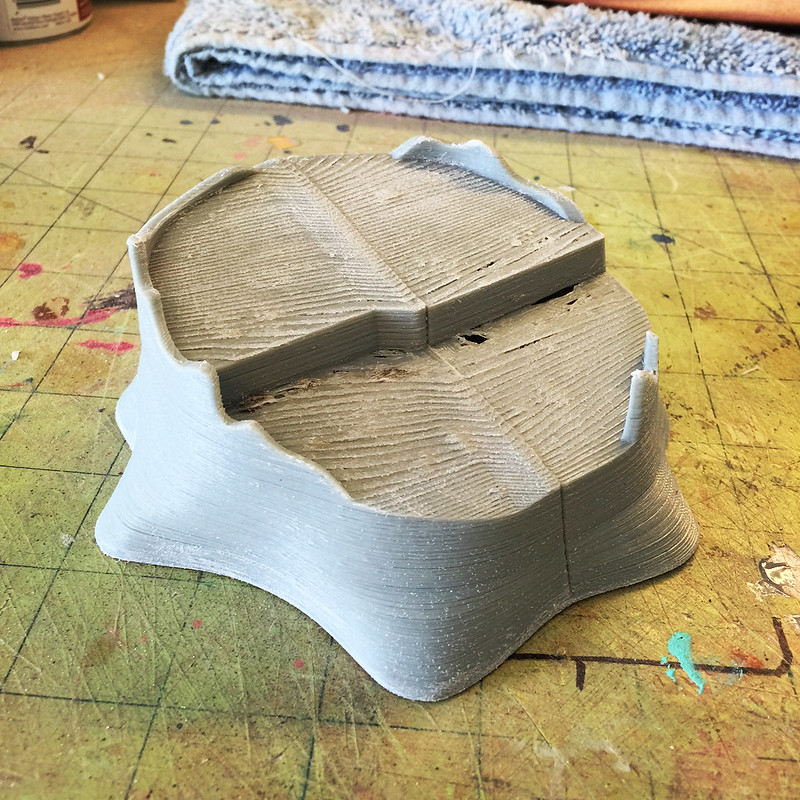
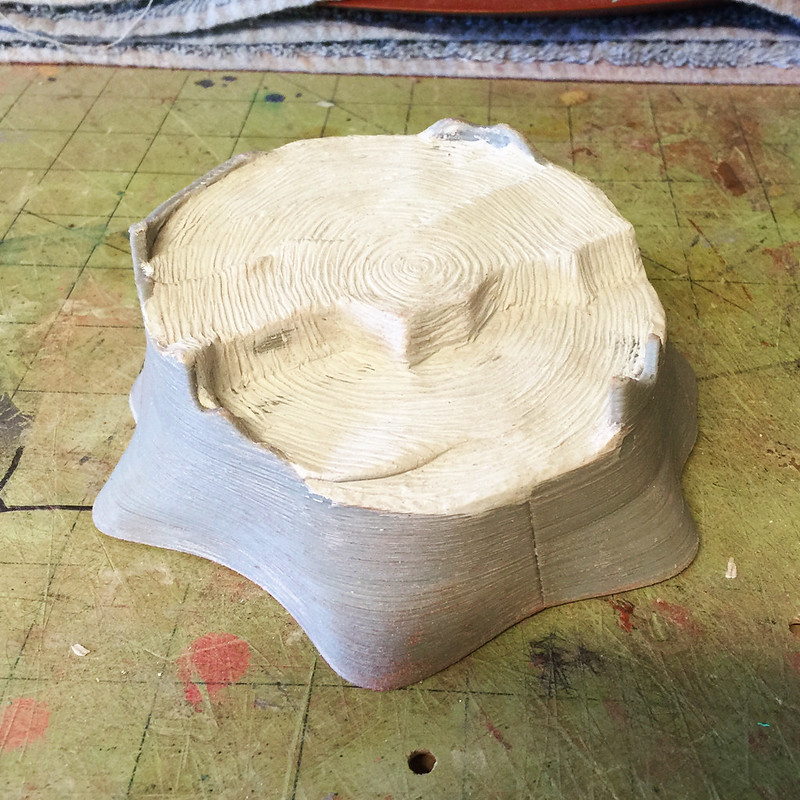
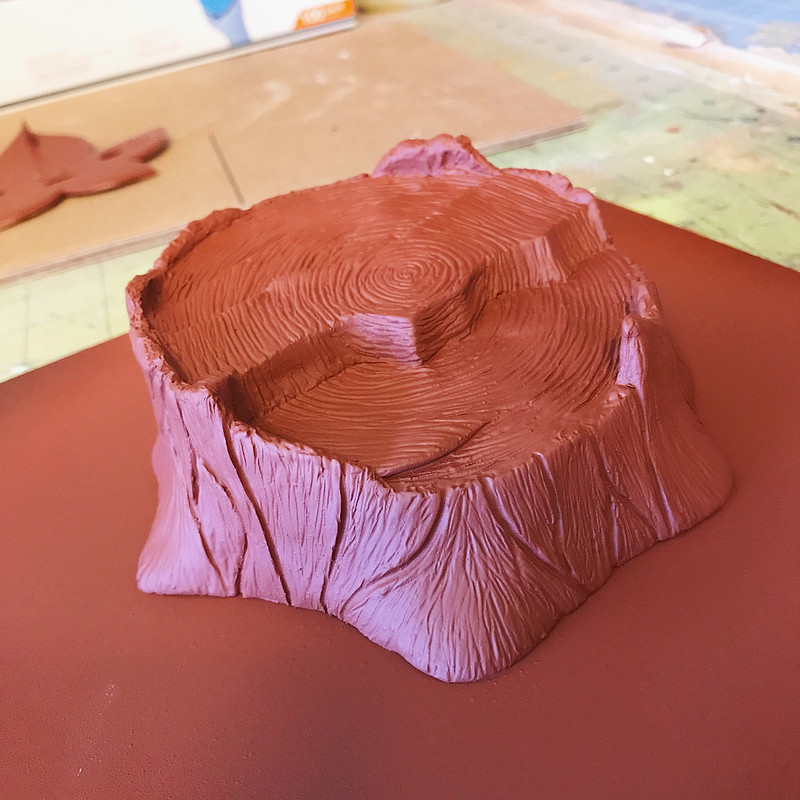
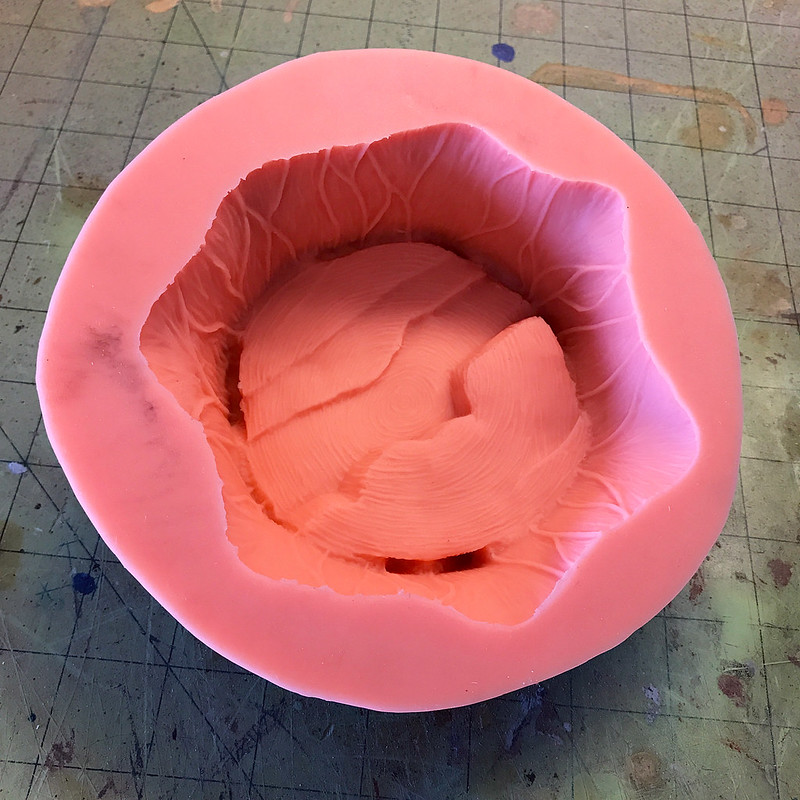
I decided to make a tree stump as the base. It wouldn't be in-scale with the Korok, but it would be a nice in-game element to provide a sturdy base. Like the Korok body, it was 3D printed and later sculpted over with Apoxie Sculpt.
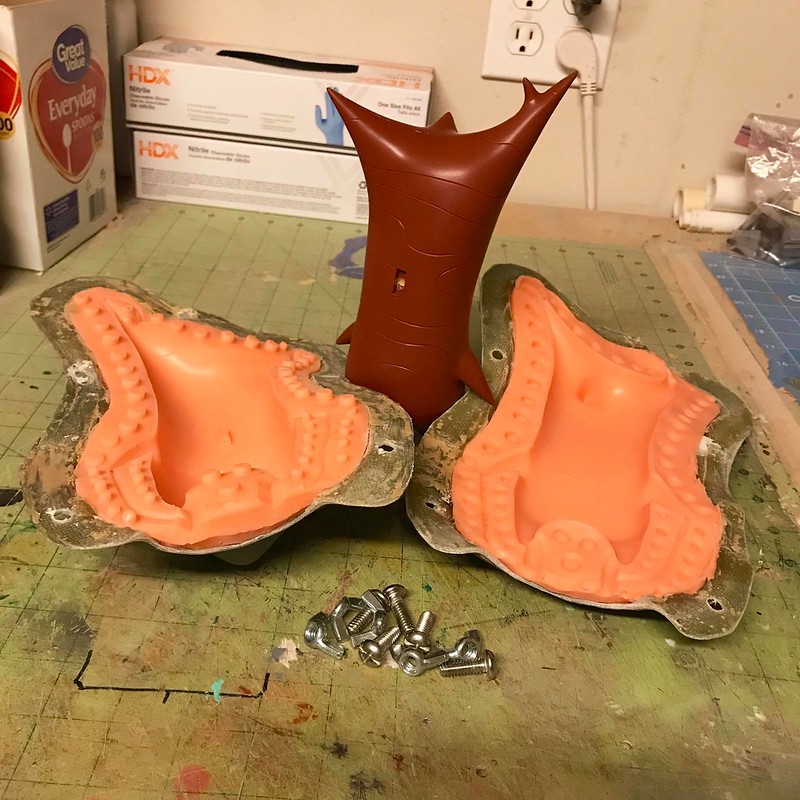
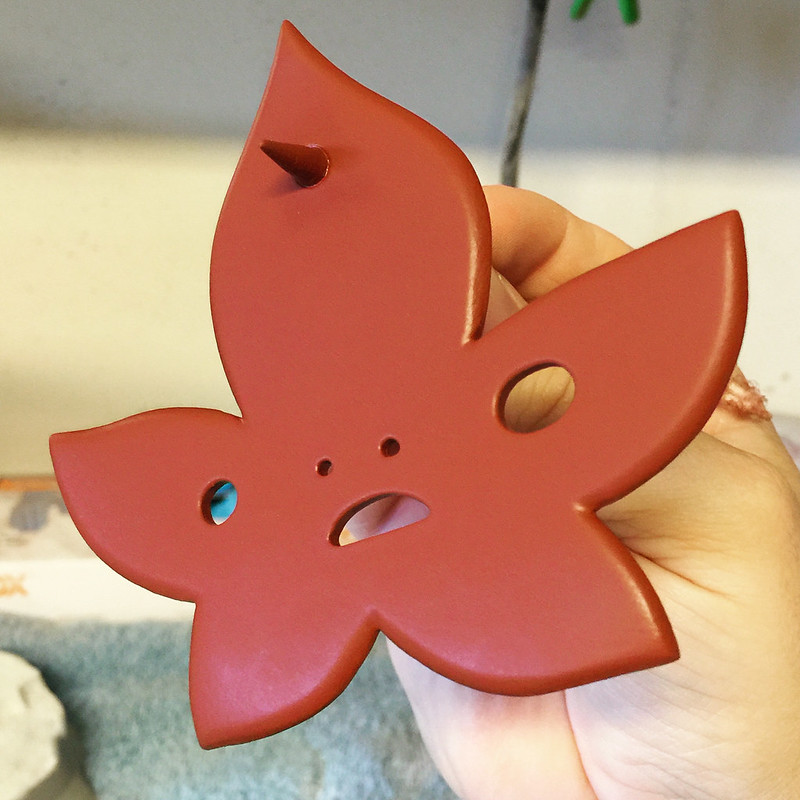
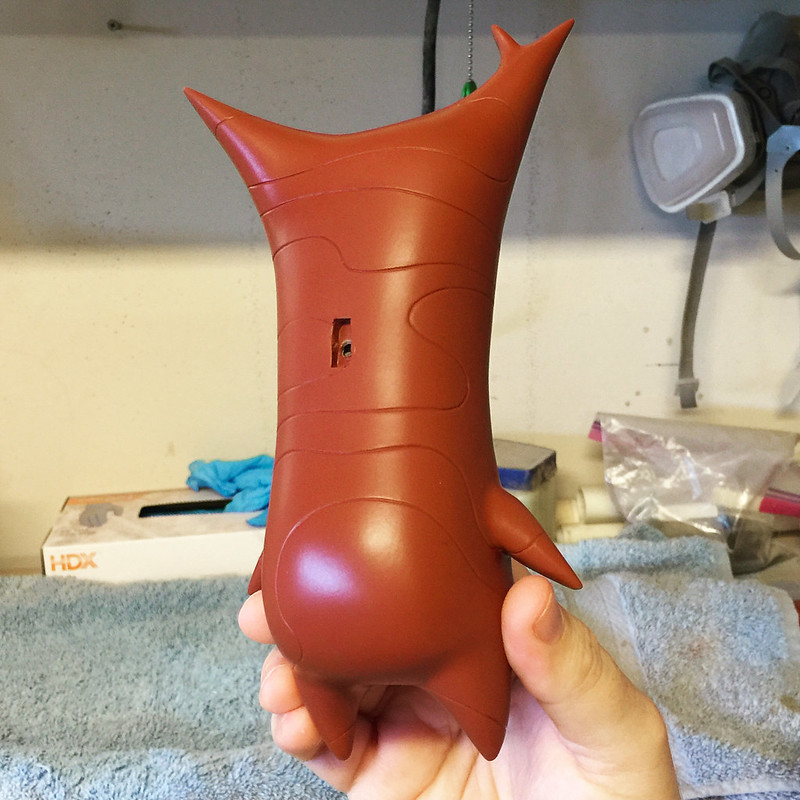
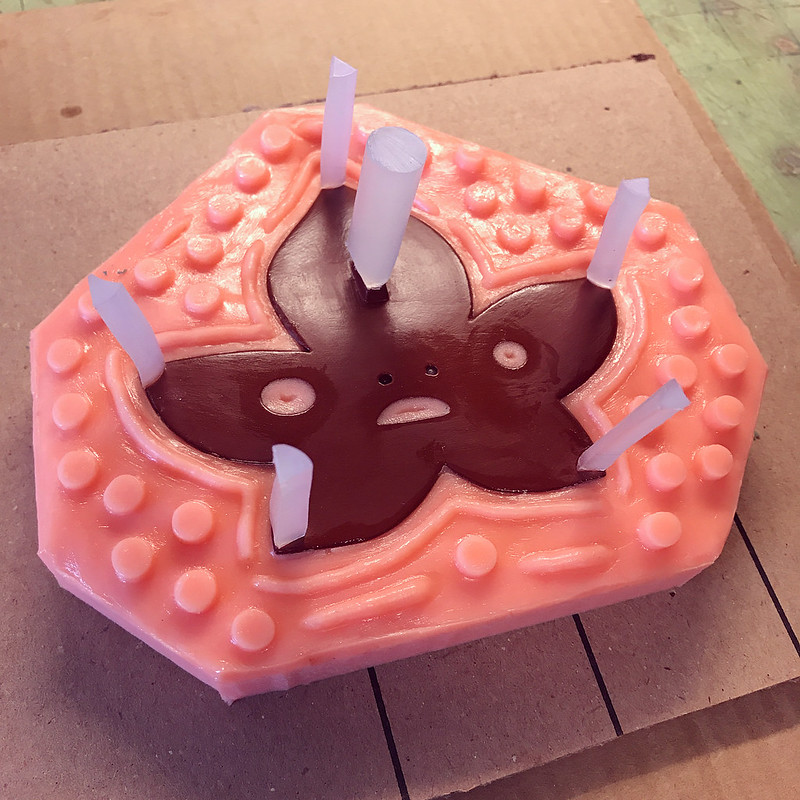
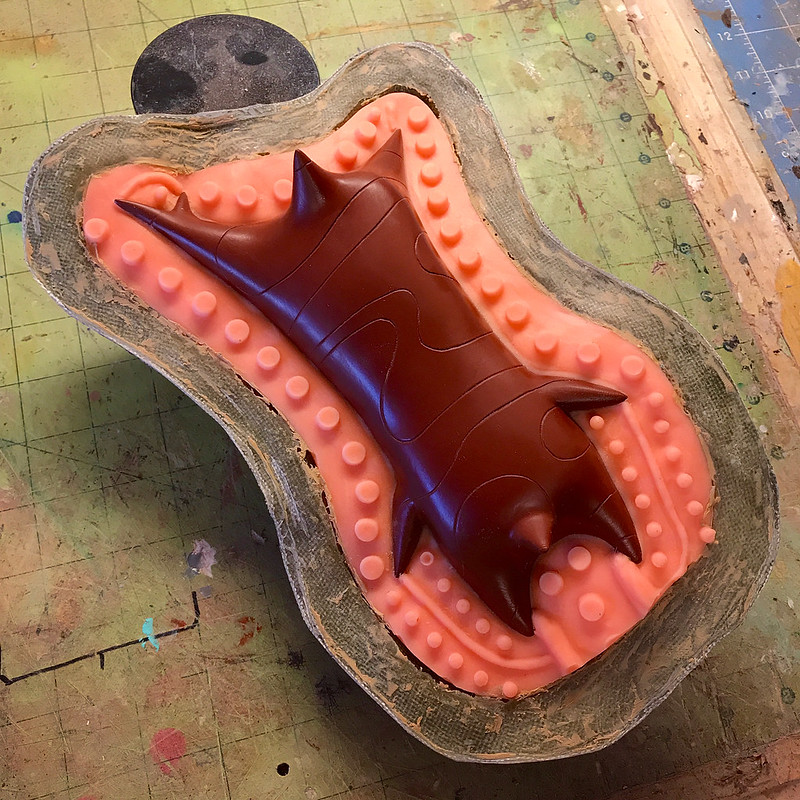
Next came molding. The face was first, but I encountered a bit of a hiccup when the rubbing alcohol I used to smooth the clay seam wall caused some fogging on the face's clear coat. I attempted to fix it, but it would ultimately be painted over and covered with a big decal anyways, so I let it slide and continued molding.
The body mold is still in progress, and I have to modify what I've already done to accommodate the pouring gates. As of this post I still need to make the second part of the body mold, and I estimate I'll have it done by the end of the week if I stick with it.
- - - Updated - - -
Admins - please move to the appropriate forum if needed. I realized after posting this that it's less of a prop and more of a scale model.
I wanted something to build along side my Sickle build, but also something I could perhaps display at work or on a shelf. Since I first started playing the game, I knew I wanted a Korok, but I didn't know what kind of end-product I wanted. I decided on a little statue, but because of the tiny, pointed feet, it would need a base to attach to.
After drawing out a front and side view in Adobe Illustrator, I made a rudimentary 3D model of it in Rhino. I knew I wanted to skin it in Apoxie Sculpt and carve details in, so I kept the 3D model and subsequent 3D print rather simple. I don't have any photos of just the 3D print, though. I moved to the Apoxie Sculpt stage pretty quickly after taking it off my 3D printer.
From the onset, I decided I'd build this in kit form, with the intention of offering multiple face leaf parts. So I designed the faces to tab into a slot in the body (pictured above). This would allow the end builder an easy way to correctly place the face leaf relative to the basically amorphous body. As of this post, I haven't made any other leaf faces, but that's the idea. I also intended to make things even easier for the end builder by way of making the faces a printed decal, so that all the complex coloration was already provided.
In-game, the body has virtual zero surface detailing other than colored striping. Again, thinking toward making an easy-to-build kit, I wanted to scribe in the lines of those stripes. So I mapped them out in a layer of masking tape, then sliced into those lines with an X-Acto blade. Then I used those X-Acto blade cuts as guides for a scribing tool, and later smoothed out all the line work with sandpaper and filler putty.
I decided to make a tree stump as the base. It wouldn't be in-scale with the Korok, but it would be a nice in-game element to provide a sturdy base. Like the Korok body, it was 3D printed and later sculpted over with Apoxie Sculpt.
Next came molding. The face was first, but I encountered a bit of a hiccup when the rubbing alcohol I used to smooth the clay seam wall caused some fogging on the face's clear coat. I attempted to fix it, but it would ultimately be painted over and covered with a big decal anyways, so I let it slide and continued molding.
The body mold is still in progress, and I have to modify what I've already done to accommodate the pouring gates. As of this post I still need to make the second part of the body mold, and I estimate I'll have it done by the end of the week if I stick with it.
- - - Updated - - -
Admins - please move to the appropriate forum if needed. I realized after posting this that it's less of a prop and more of a scale model.
Last edited:
 Can't wait to see the end result!