Thorssoli's T-60 Power Armor Build from Fallout 4

Awesome stuff.

I am curious though; what's the application of the "light red" paint prior to making a mold for? Is it just one last coat of shinny paint to try and spot imperfections? A buffer layer in case the mold process goes awry; so you may only get paint ripped off instead of master model?
 
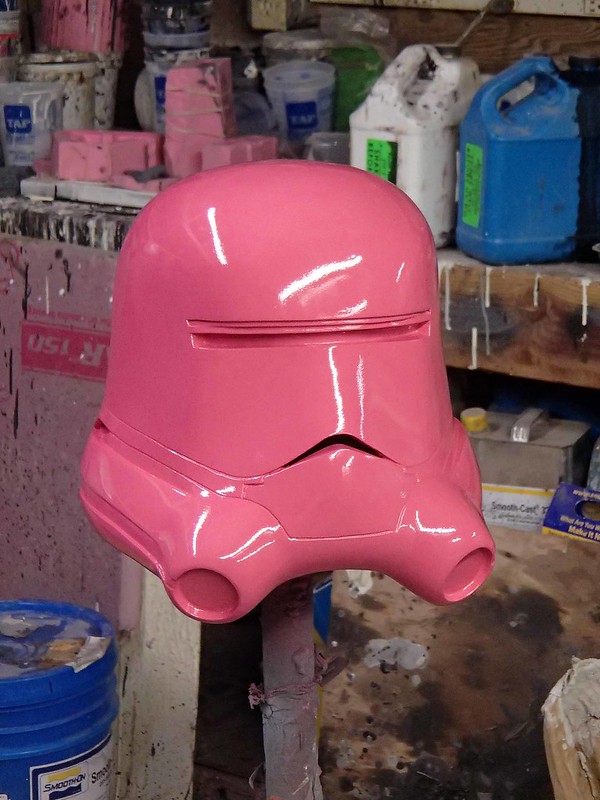
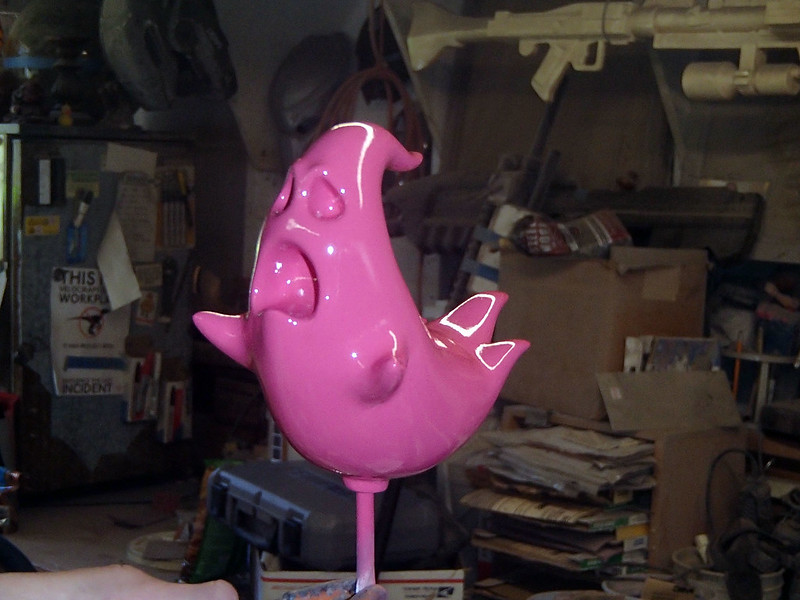
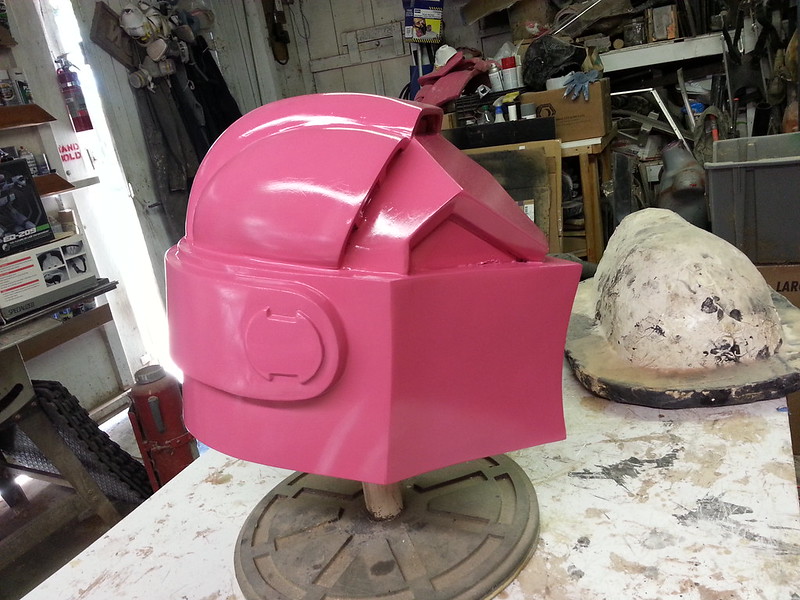
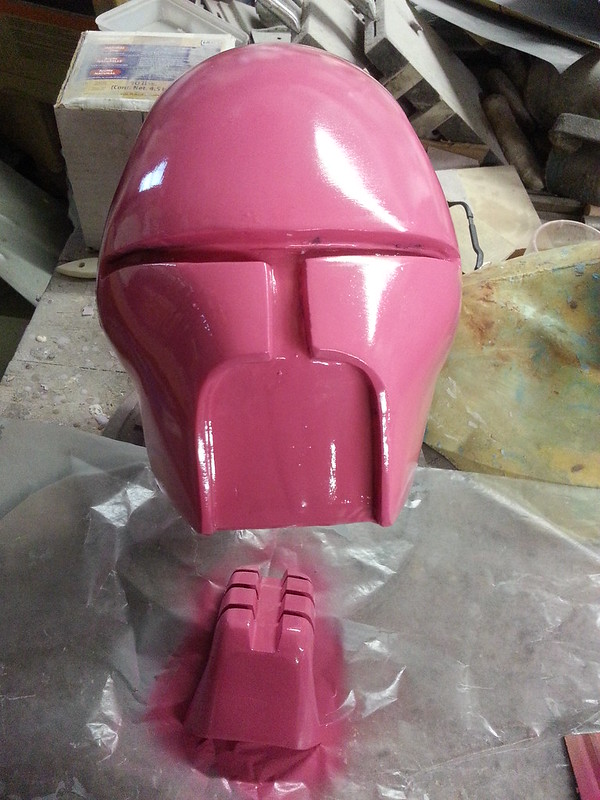
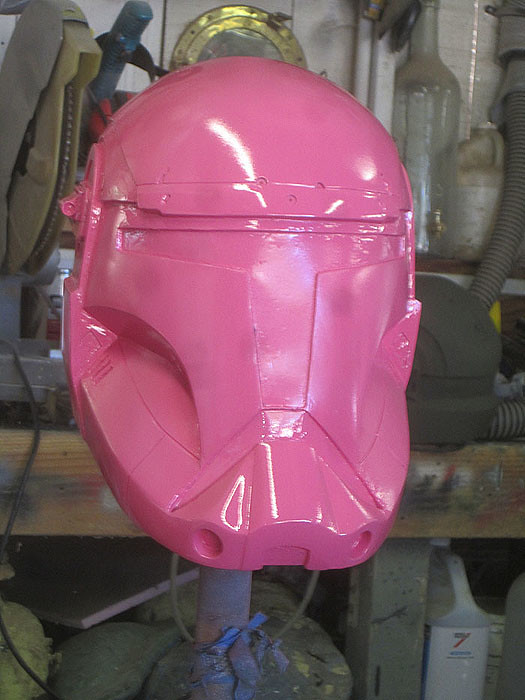
All that shiny pink silliness and not a single comment? You're slipping, folks.

I hate to say it, but this project has been teetering on the edge of the backburner while I've been trying to wrap up a few other things. But I've got another event coming up in a few weeks where I'd like to have this thing walking around. So it's time to start making some serious progress again.

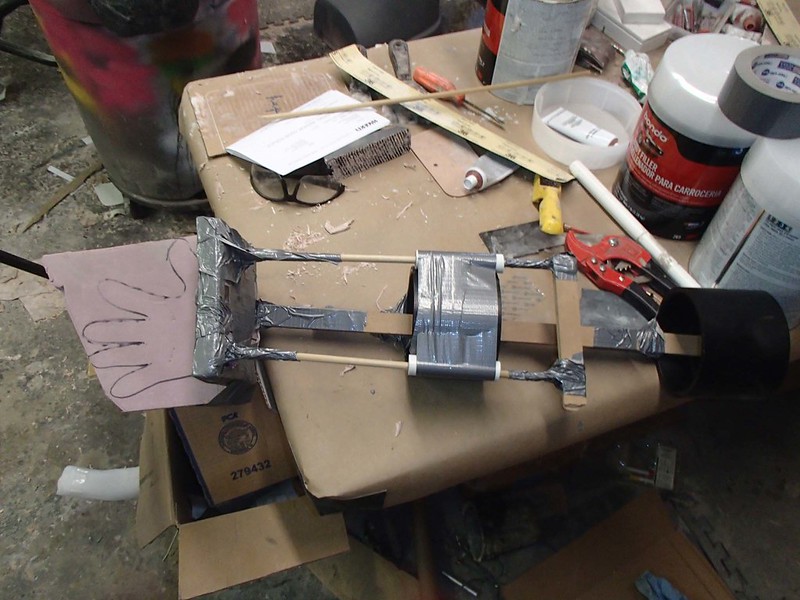
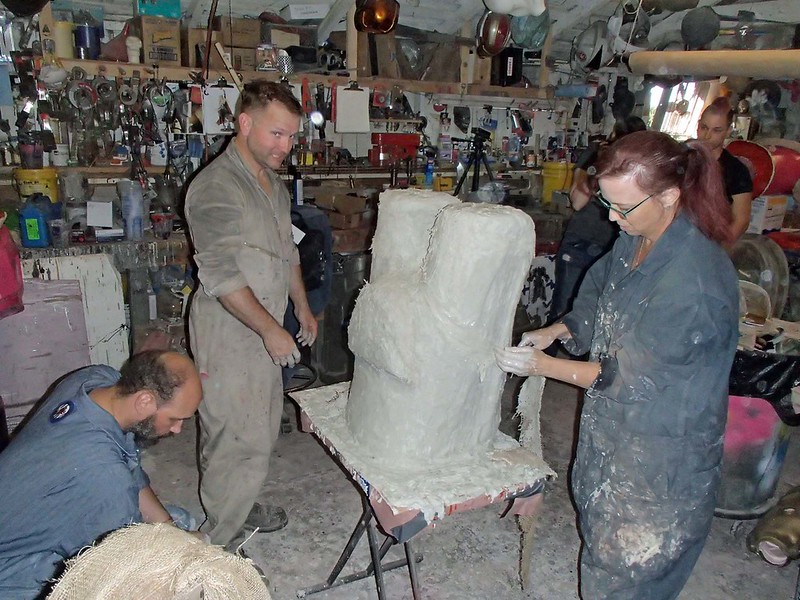
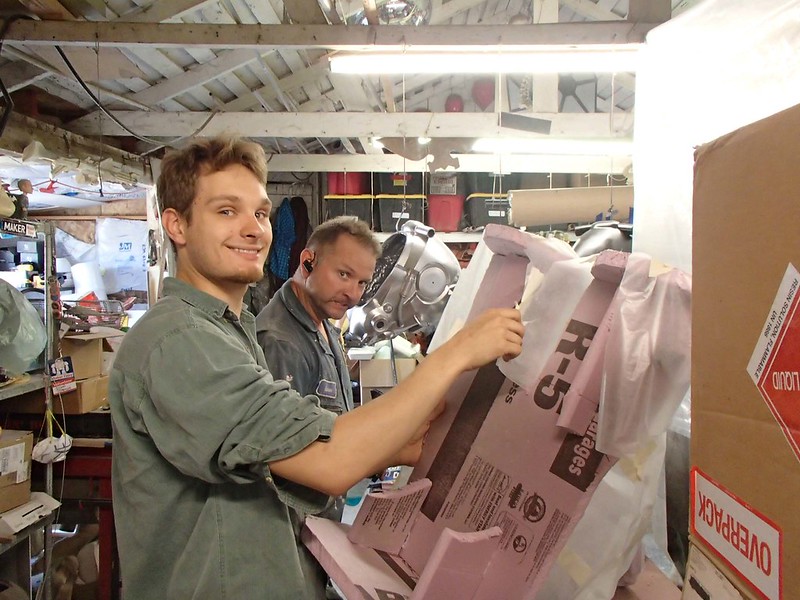
The biggest thing left on the to-do list at this point is the rubber parts for the waist, knees, elbows, and shoulders. So I started out by making some foam sculpting armatures to rough out the shapes. The process begins with cutting out outlines in 1" insulation foam sheets, then gluing them up like so:


Then I had my friend Freddy tape some wax paper to the edges:


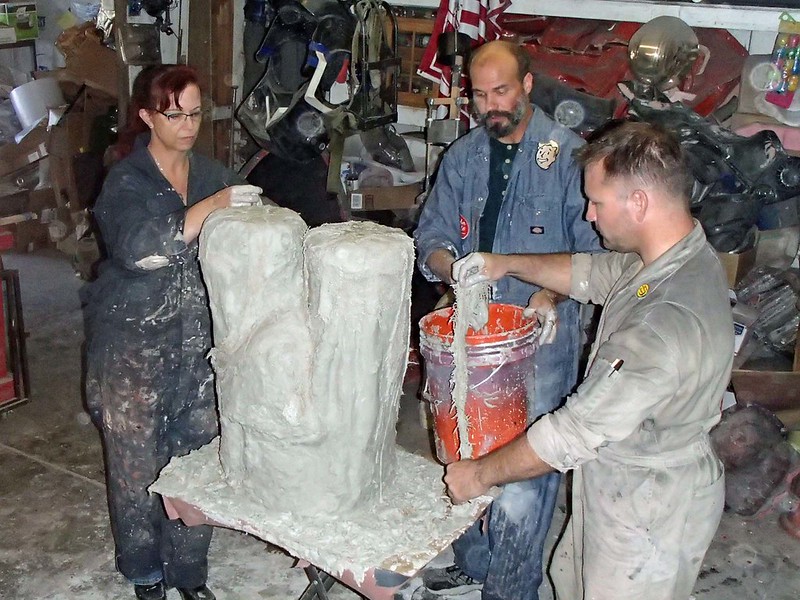
Then it was a matter of pouring on some expanding foam:


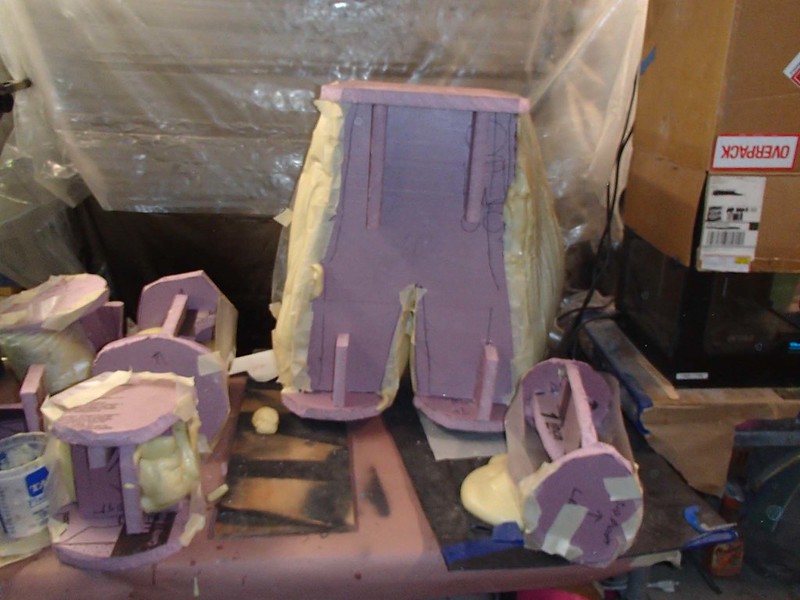
Once the foam had cured on one side, I flipped the parts over and added more expanding foam:


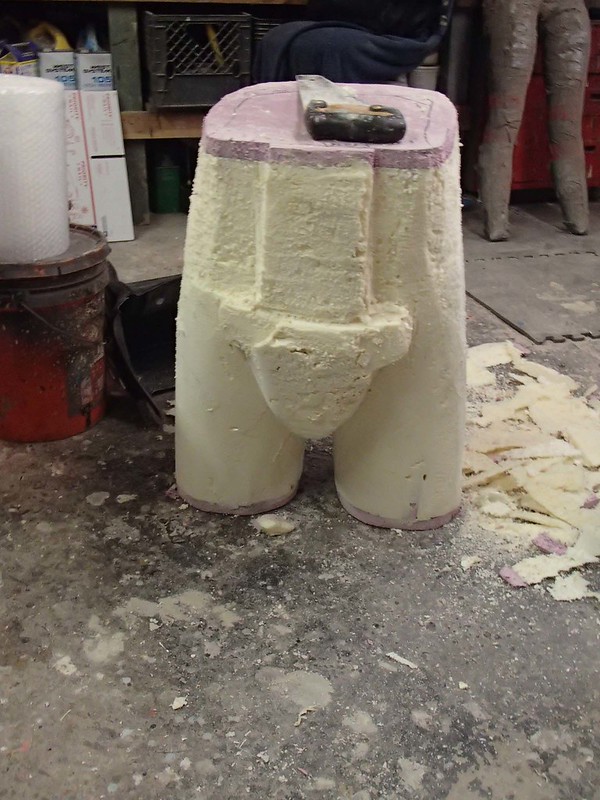
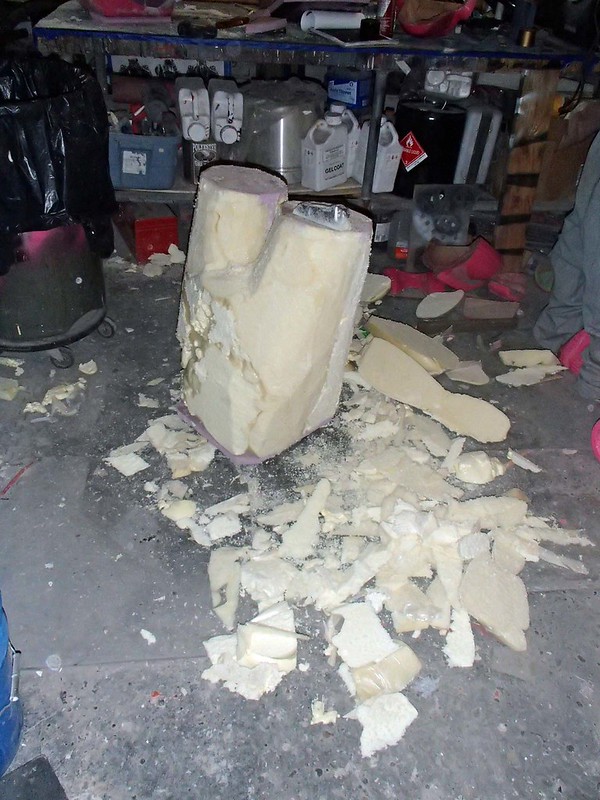
The next time I got a chance to work on this, it was time to rough out the shape of the foam using a hand saw and some body rasps:


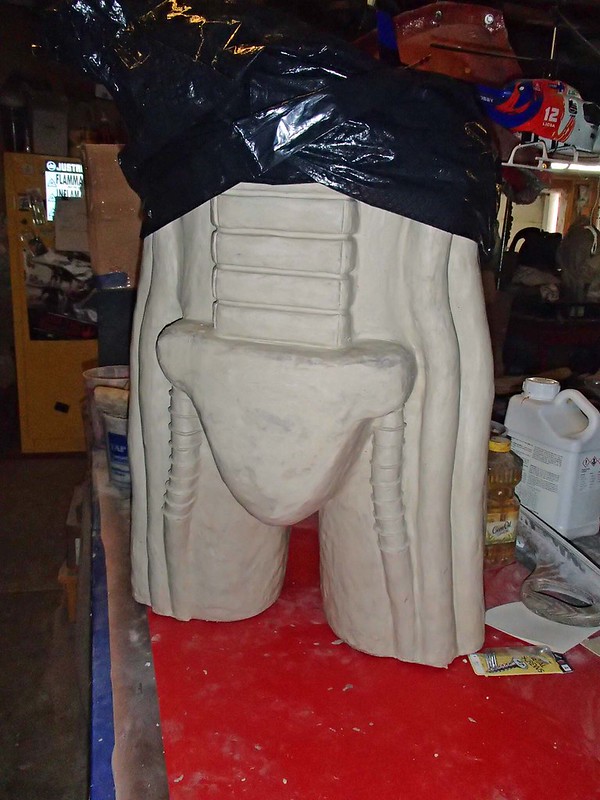
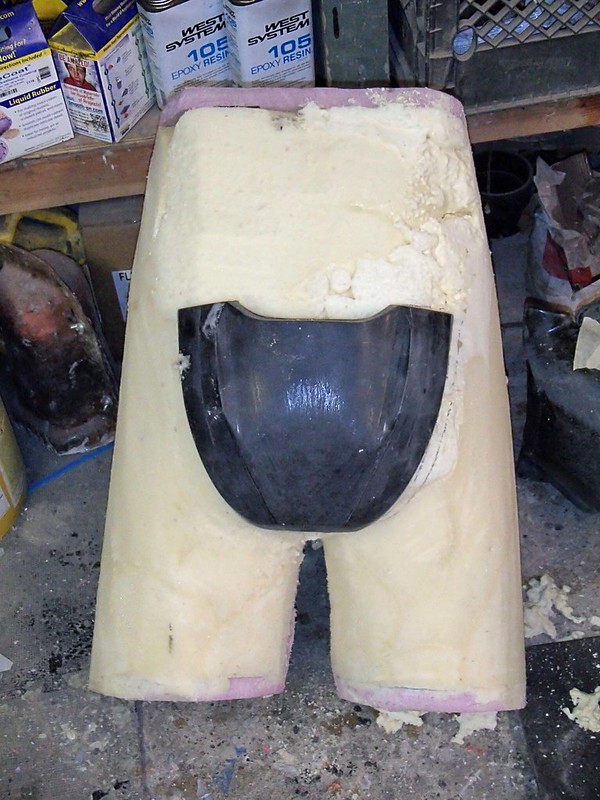
Here's the final result with the codpiece in place:


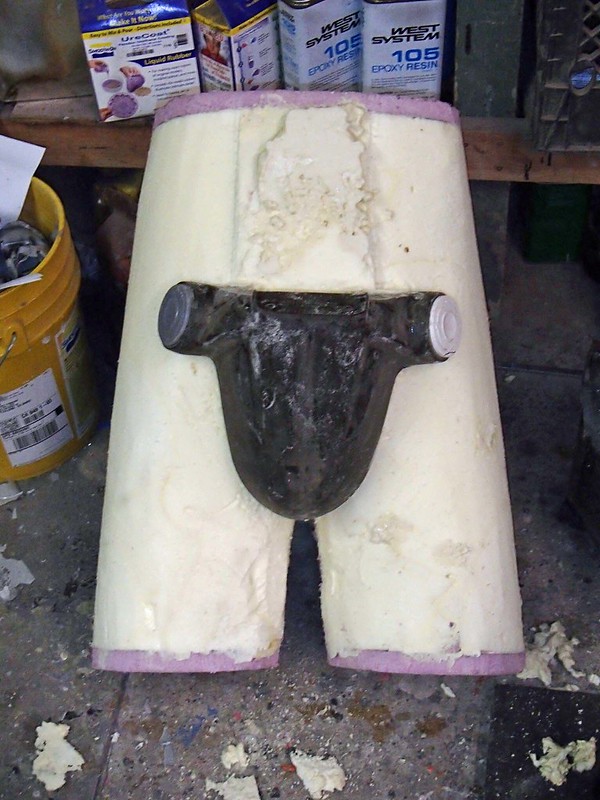
And the backside with the buttplate in place:


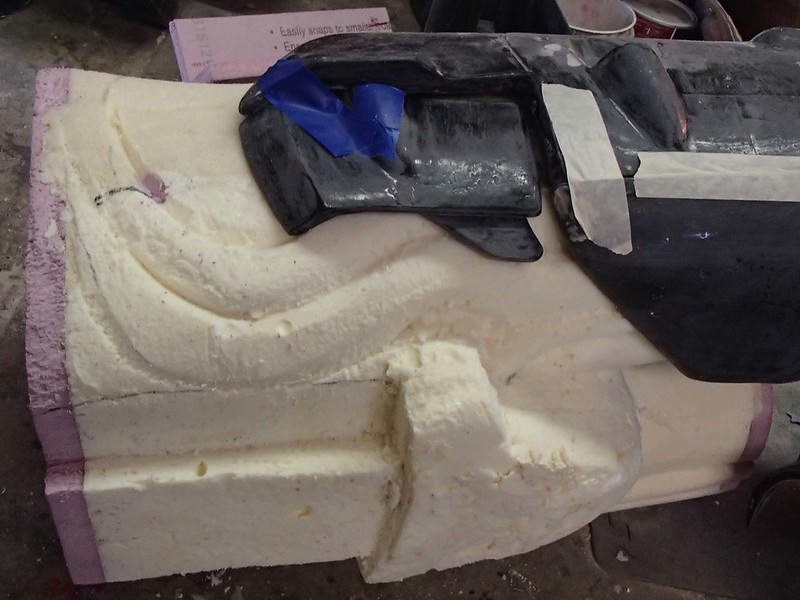
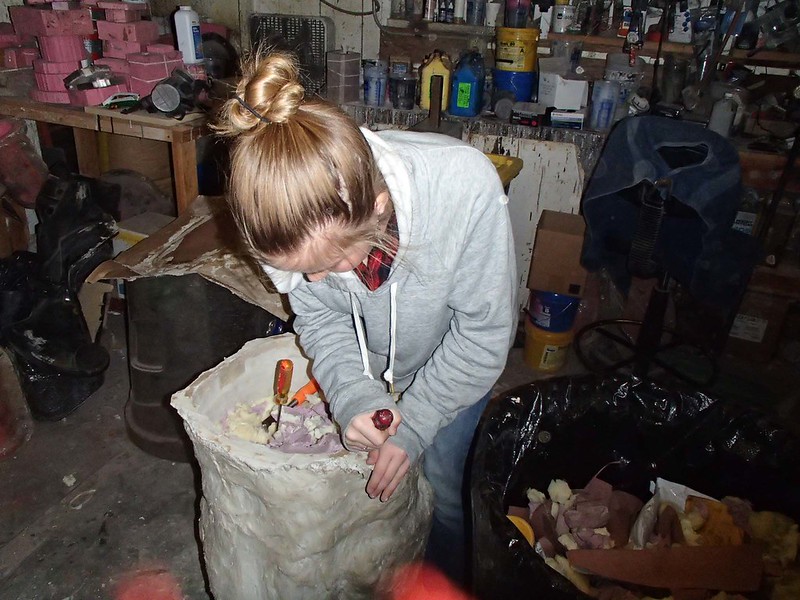
With that done, it was time to start work on the knees:


Lewis did most of the shaving and shaping to get the knees to fit properly in the thighs and the lower legs:


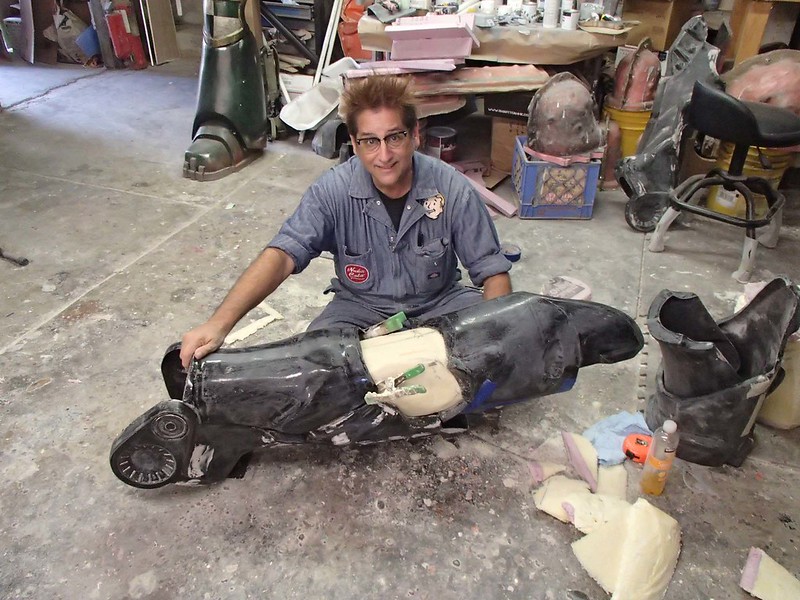
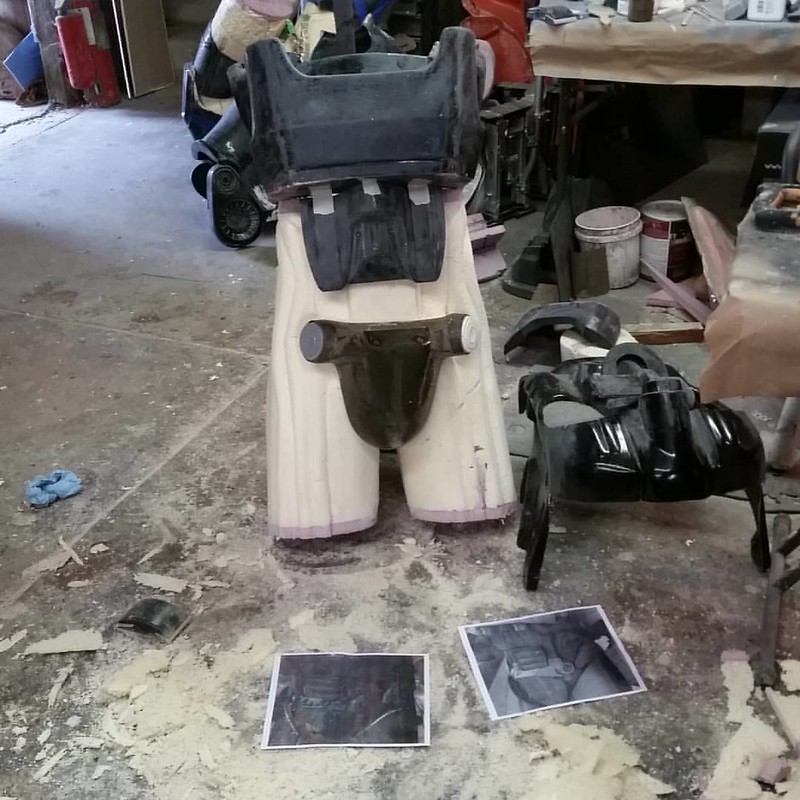
Here he's trying out the fit for the knee and hips/shorts:


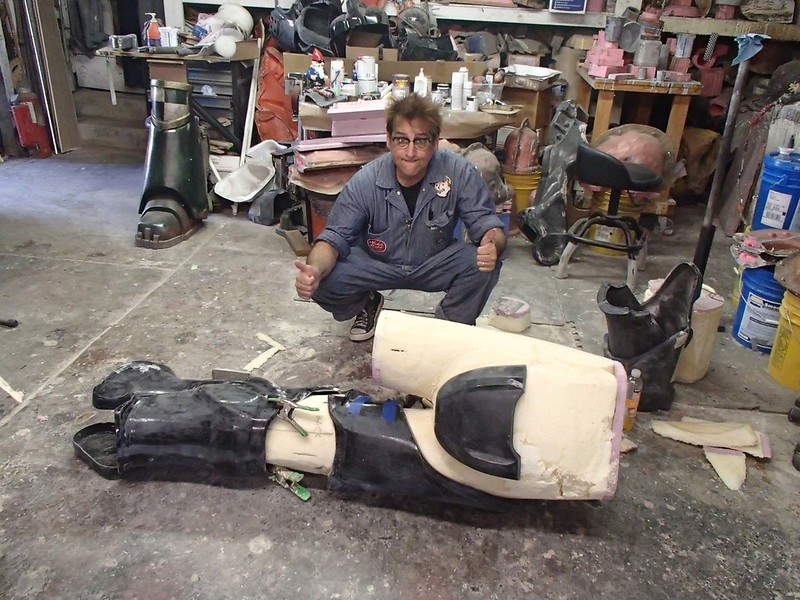
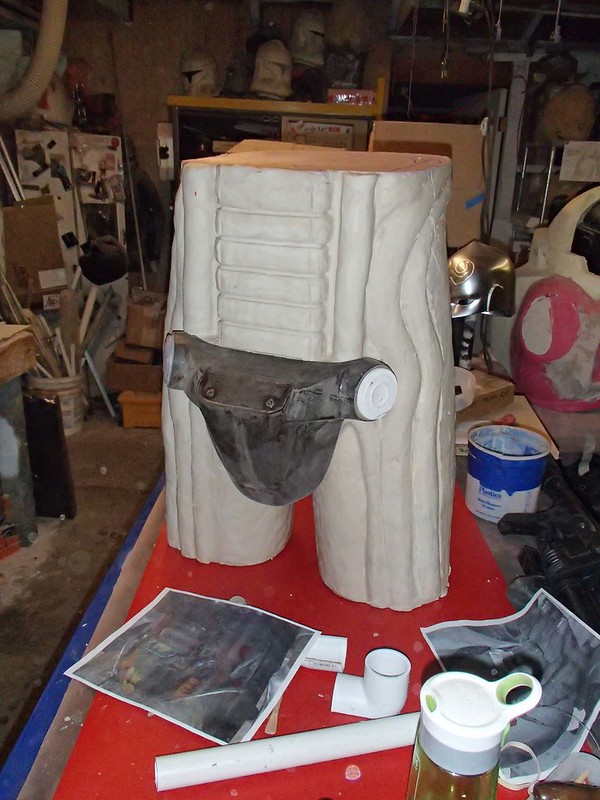
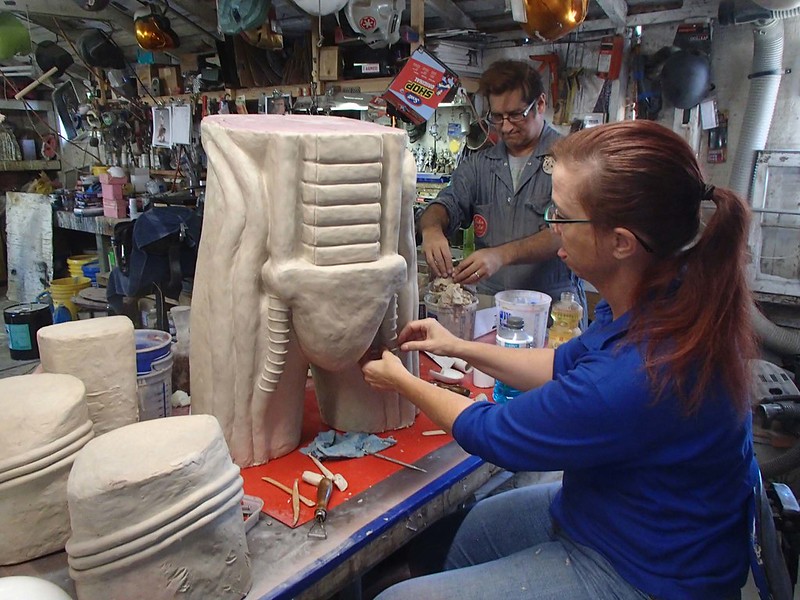
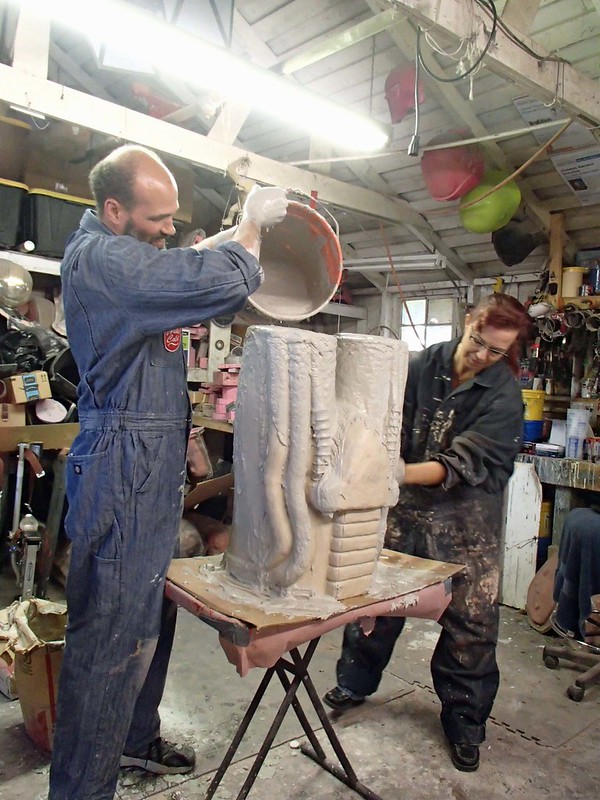
With the foam carved and shaped to the point where it fits properly, the next step will be to add a layer of clay over the foam and sculpt the texture onto the surface. Then it'll be a matter of pulling a mold and making some copies in rubber. At that point we'll be well on our way home with this whole project.

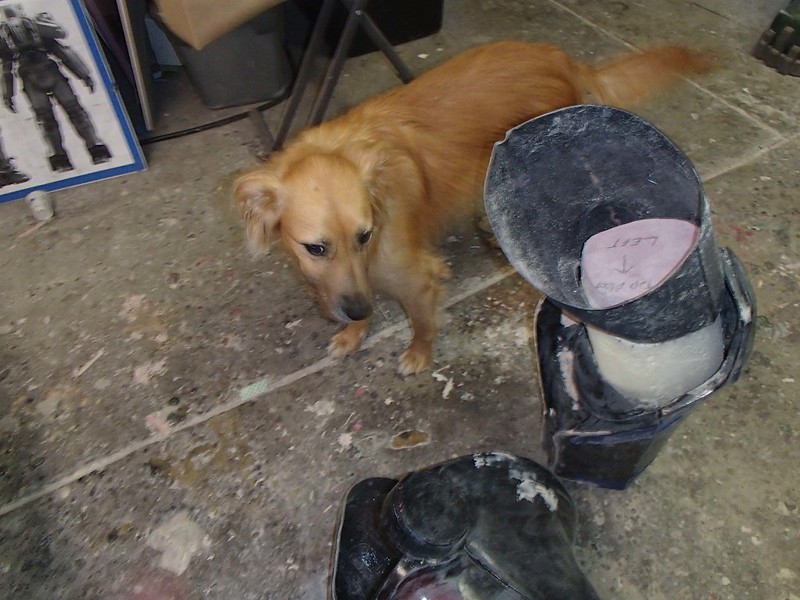
We've got the elbow pieces roughed out too, but the only photo anybody took was this snapshot of Leeloo inspecting our work:


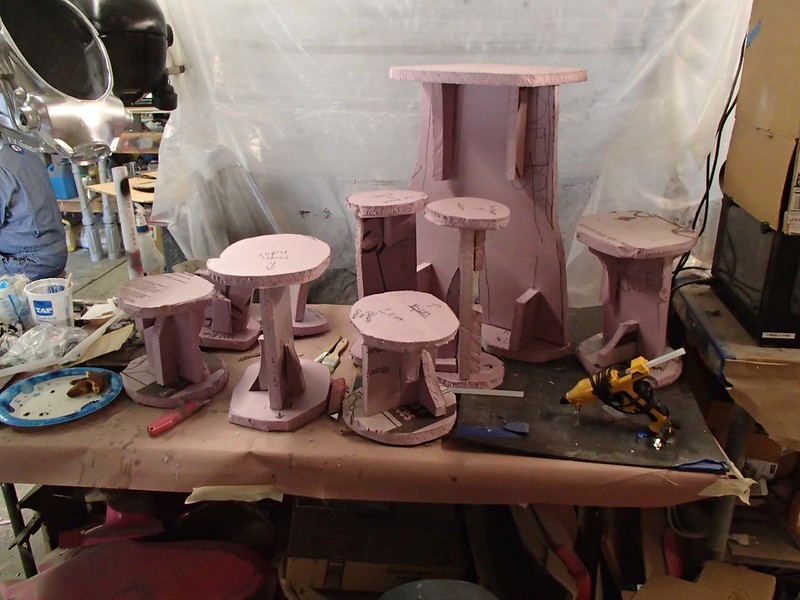
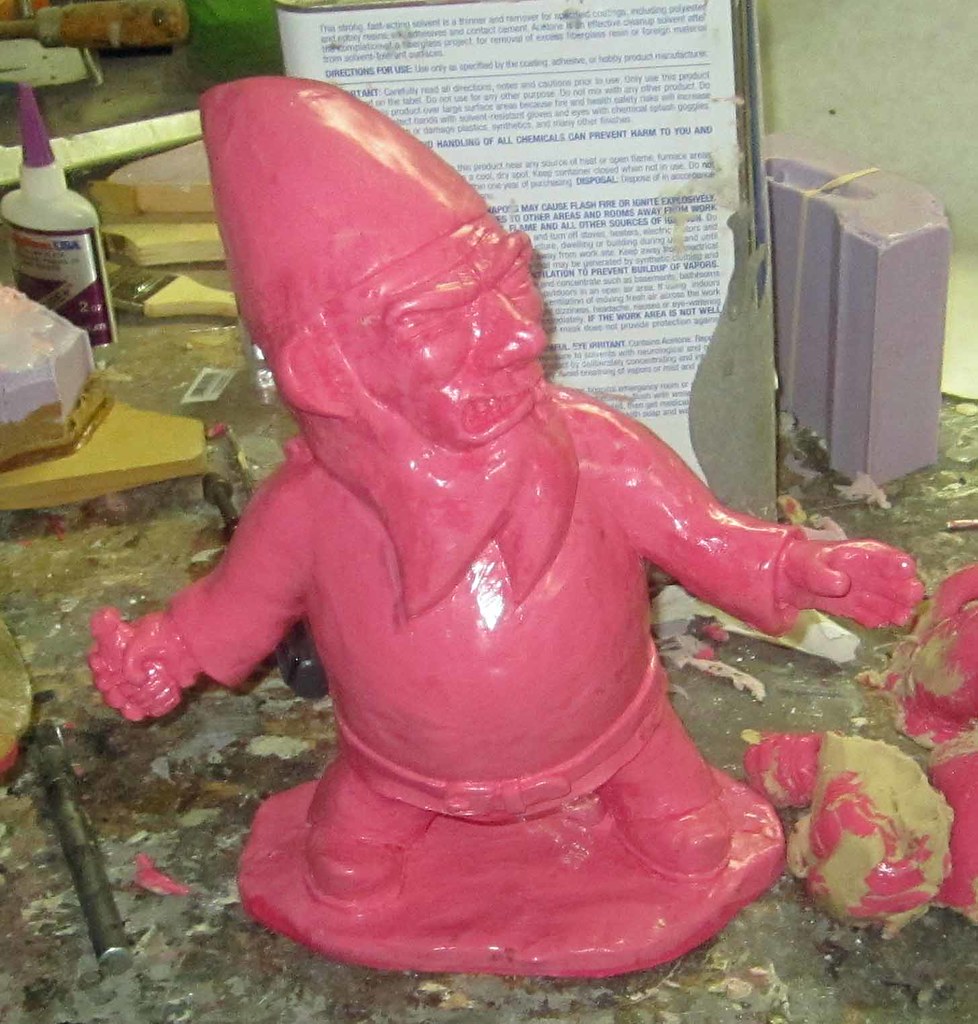
In other news, I got tired of having the huge pile of giant, lightish red prototype parts laying around on the floor, so I asked Freddy to nail them all together:


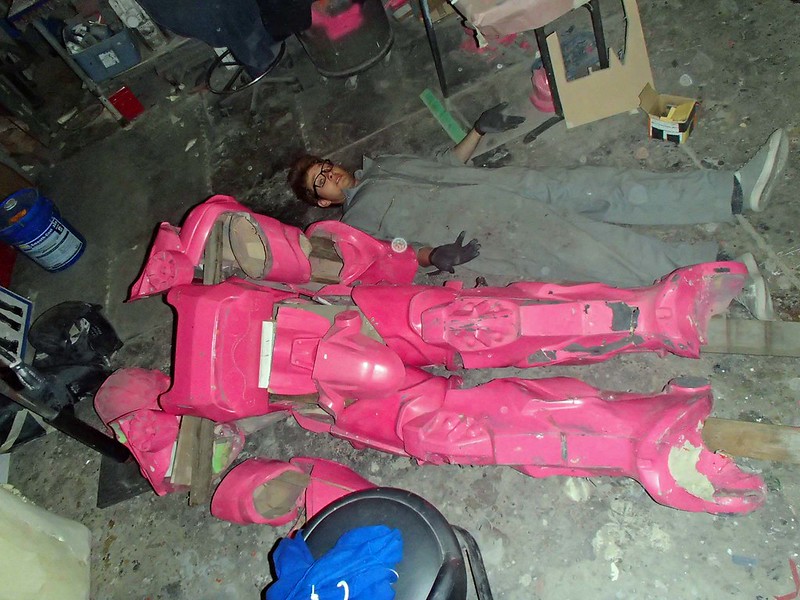
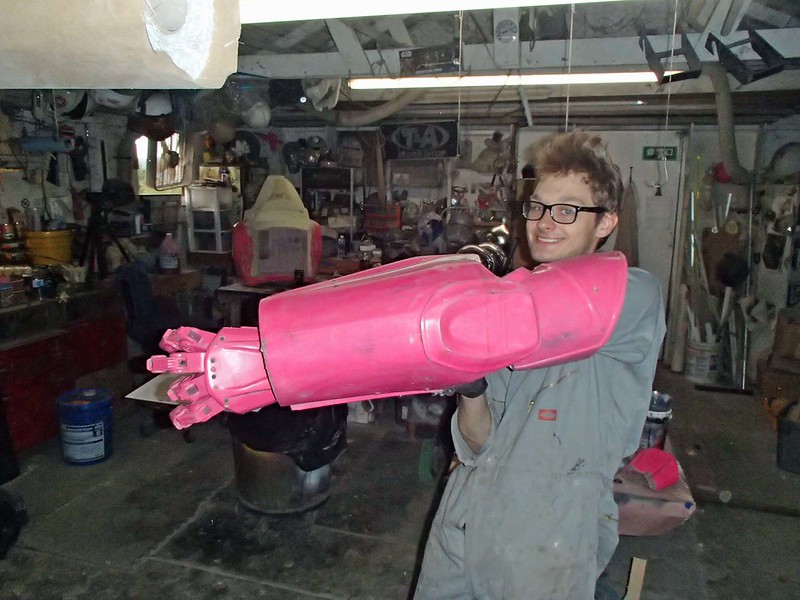
He got a bit silly along the way:


But at the end of the day I've got this guy standing guard just inside the door the the workshop:


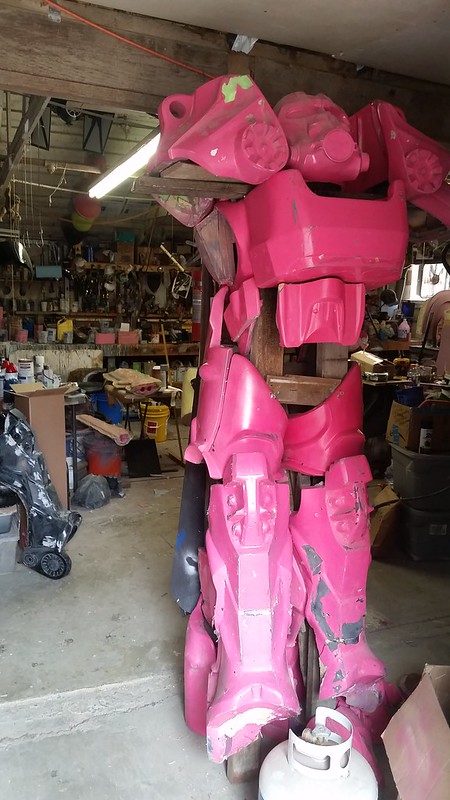
Still working on exactly what I want to do with it next. More on that as we make progress.
 
Sean I know I speak for a lot of people on here when I say you are an inspiration, the work you do is amazing, but your willingness to share your craft with the rest of us is what impresses me the most. Your book is great by the way, I never understood the whole casting process until your book, so again, thank you sir for all you do and keep up the good work on this absolute beast
 
I just found this thread this morning. DARN IT, I couldn't read just a few posts. Your work is just too friggin' awesome.

You and the Crew certainly seem to have fun working together. I made it to Maker Faire a few years back when you previewed ED-209. The fun factor certainly made it to the display.

I did notice in your pictures of you laying up fiberglass that your mask doesn't seem to have filters. Am I mistaken? Was it timing? Just curious. I know you always stress safety when working with harsh chemicals and powertools.

Keep up the awesomeness!!

Ted.
 
Your book is great by the way, I never understood the whole casting process until your book...

Thanks for that. I'm pretty proud of the book. So much so that I'm actually just now starting on a sequel.

Dude...this thing is HUGE!

It is, but perspective makes it look even bigger in the picture of Freddy laying next to it on the floor.

I did notice in your pictures of you laying up fiberglass that your mask doesn't seem to have filters.

I had the organic vapor cartridges in place as usual. I do not usually use the particulate pre-filters. I'm worried about fumes, not dust.

UPDATE TIME!

Yesterday I made a bit more progress on the rubber shorts:


With the overall shape worked out, I started carving in some of the details:


So here's how they look right now:


Today I'm hoping to build up some clay on the surface so I can get the textures sorted out. Then molding begins!

Stay tuned.
 
We've been making slow progress on sculpting the rubber parts. Now that the foam is carved to size, it's just a question of adding the details and textures to the surface. Here's about how the waist/hip section looks right now:


Lewis has been putting in a lot of hours to get this thing together. This is the first time I've had him sculpting anything by hand, so he's still learning how to properly use the tools:


In other news, I've finally gotten around to printing the cylinder that slots into the back of the armor:


I'm not 100% certain, but I think that's the last thing...
 
Yes, last thing...kinda. Now to put all of that together, straps, paint, etc...lots of work still, but eager to see those next pics!
 
How the hell did I miss this awesome project thread!!!

Amazing work considering your CNC is really just a glorified engraver.
 
Amazing work considering your CNC is really just a glorified engraver.

The same thing could be said for pretty much any CNC machine if we're being honest.

I know I said the tank for the back was the last part I was going to have to print, but it turns out I was wrong. Instead, the last piece I needed to print was the strut that the shoulder will be mounted on:


It still needs to be smoothed out and have some details added, but at least I now have a plan for attaching the shoulders.

In other news, I did some rough tinkering to determine exactly how I want to make the hands work. I'm finally at the point where I like my plan for the wrist movement. Here's the mockup:


In case it's not clear, the wearer's arm will slide into the black collar on the right and grip the crosspiece attached to two actuating rods that will move the wrist. The finished version will have better tolerances and something more durable than duct tape for the joints, but it will allow for pretty full movement of the wrist. I'll also be adding a brake handle with a cable to actuate the fingers on the finished version. More on that later. Hopefully with video.

Finally, the sculpt for the rubber shorts is stalled while all of the local natural disasters have my crew and I focused elsewhere. For right now it looks like so:


Hopefully things will calm down soon here and we'll be able to knock out what's left of this build.
 
Made the Ultracal 30 mold for the rubber underwear today:


Tomorrow I'll be digging the sculpt out from inside and it'll be time to pour in some rubber and see how it worked.

Stay tuned...
 
I think that, if you continue like that (building big, huge costumes), you'll need a bigger workshop for sure. Eager to see the result!
 
Work has begun on removing the sculpt from the mold for the rubber shorts:


So it'll be a minute, but we'll be making real progress again soon.
 

Your message may be considered spam for the following reasons:

If you wish to reply despite these issues, check the box below before replying.
Be aware that malicious compliance may result in more severe penalties.
Back
Top