JonnyT
Active Member
Back in March this year I bought a resin cast of a Star Lord Helmet from RPF user Crank729 aka L.E. Props via his Etsy store. It arrived, I got excited and then felt uneasy about the amount of work I had to do to it. It was, after all, a blank kit and needed a lot of work to make it look good and I have absolutely ZERO experience with building or making. And so it sat in it's box for months until my wife bought me tickets for my birthday at the start of September for the London MCM Comic Con which was at the end of October. I had just 2 months to get it ready!
Here's my build thread, if you have any questions or comments please feel free to chip in.
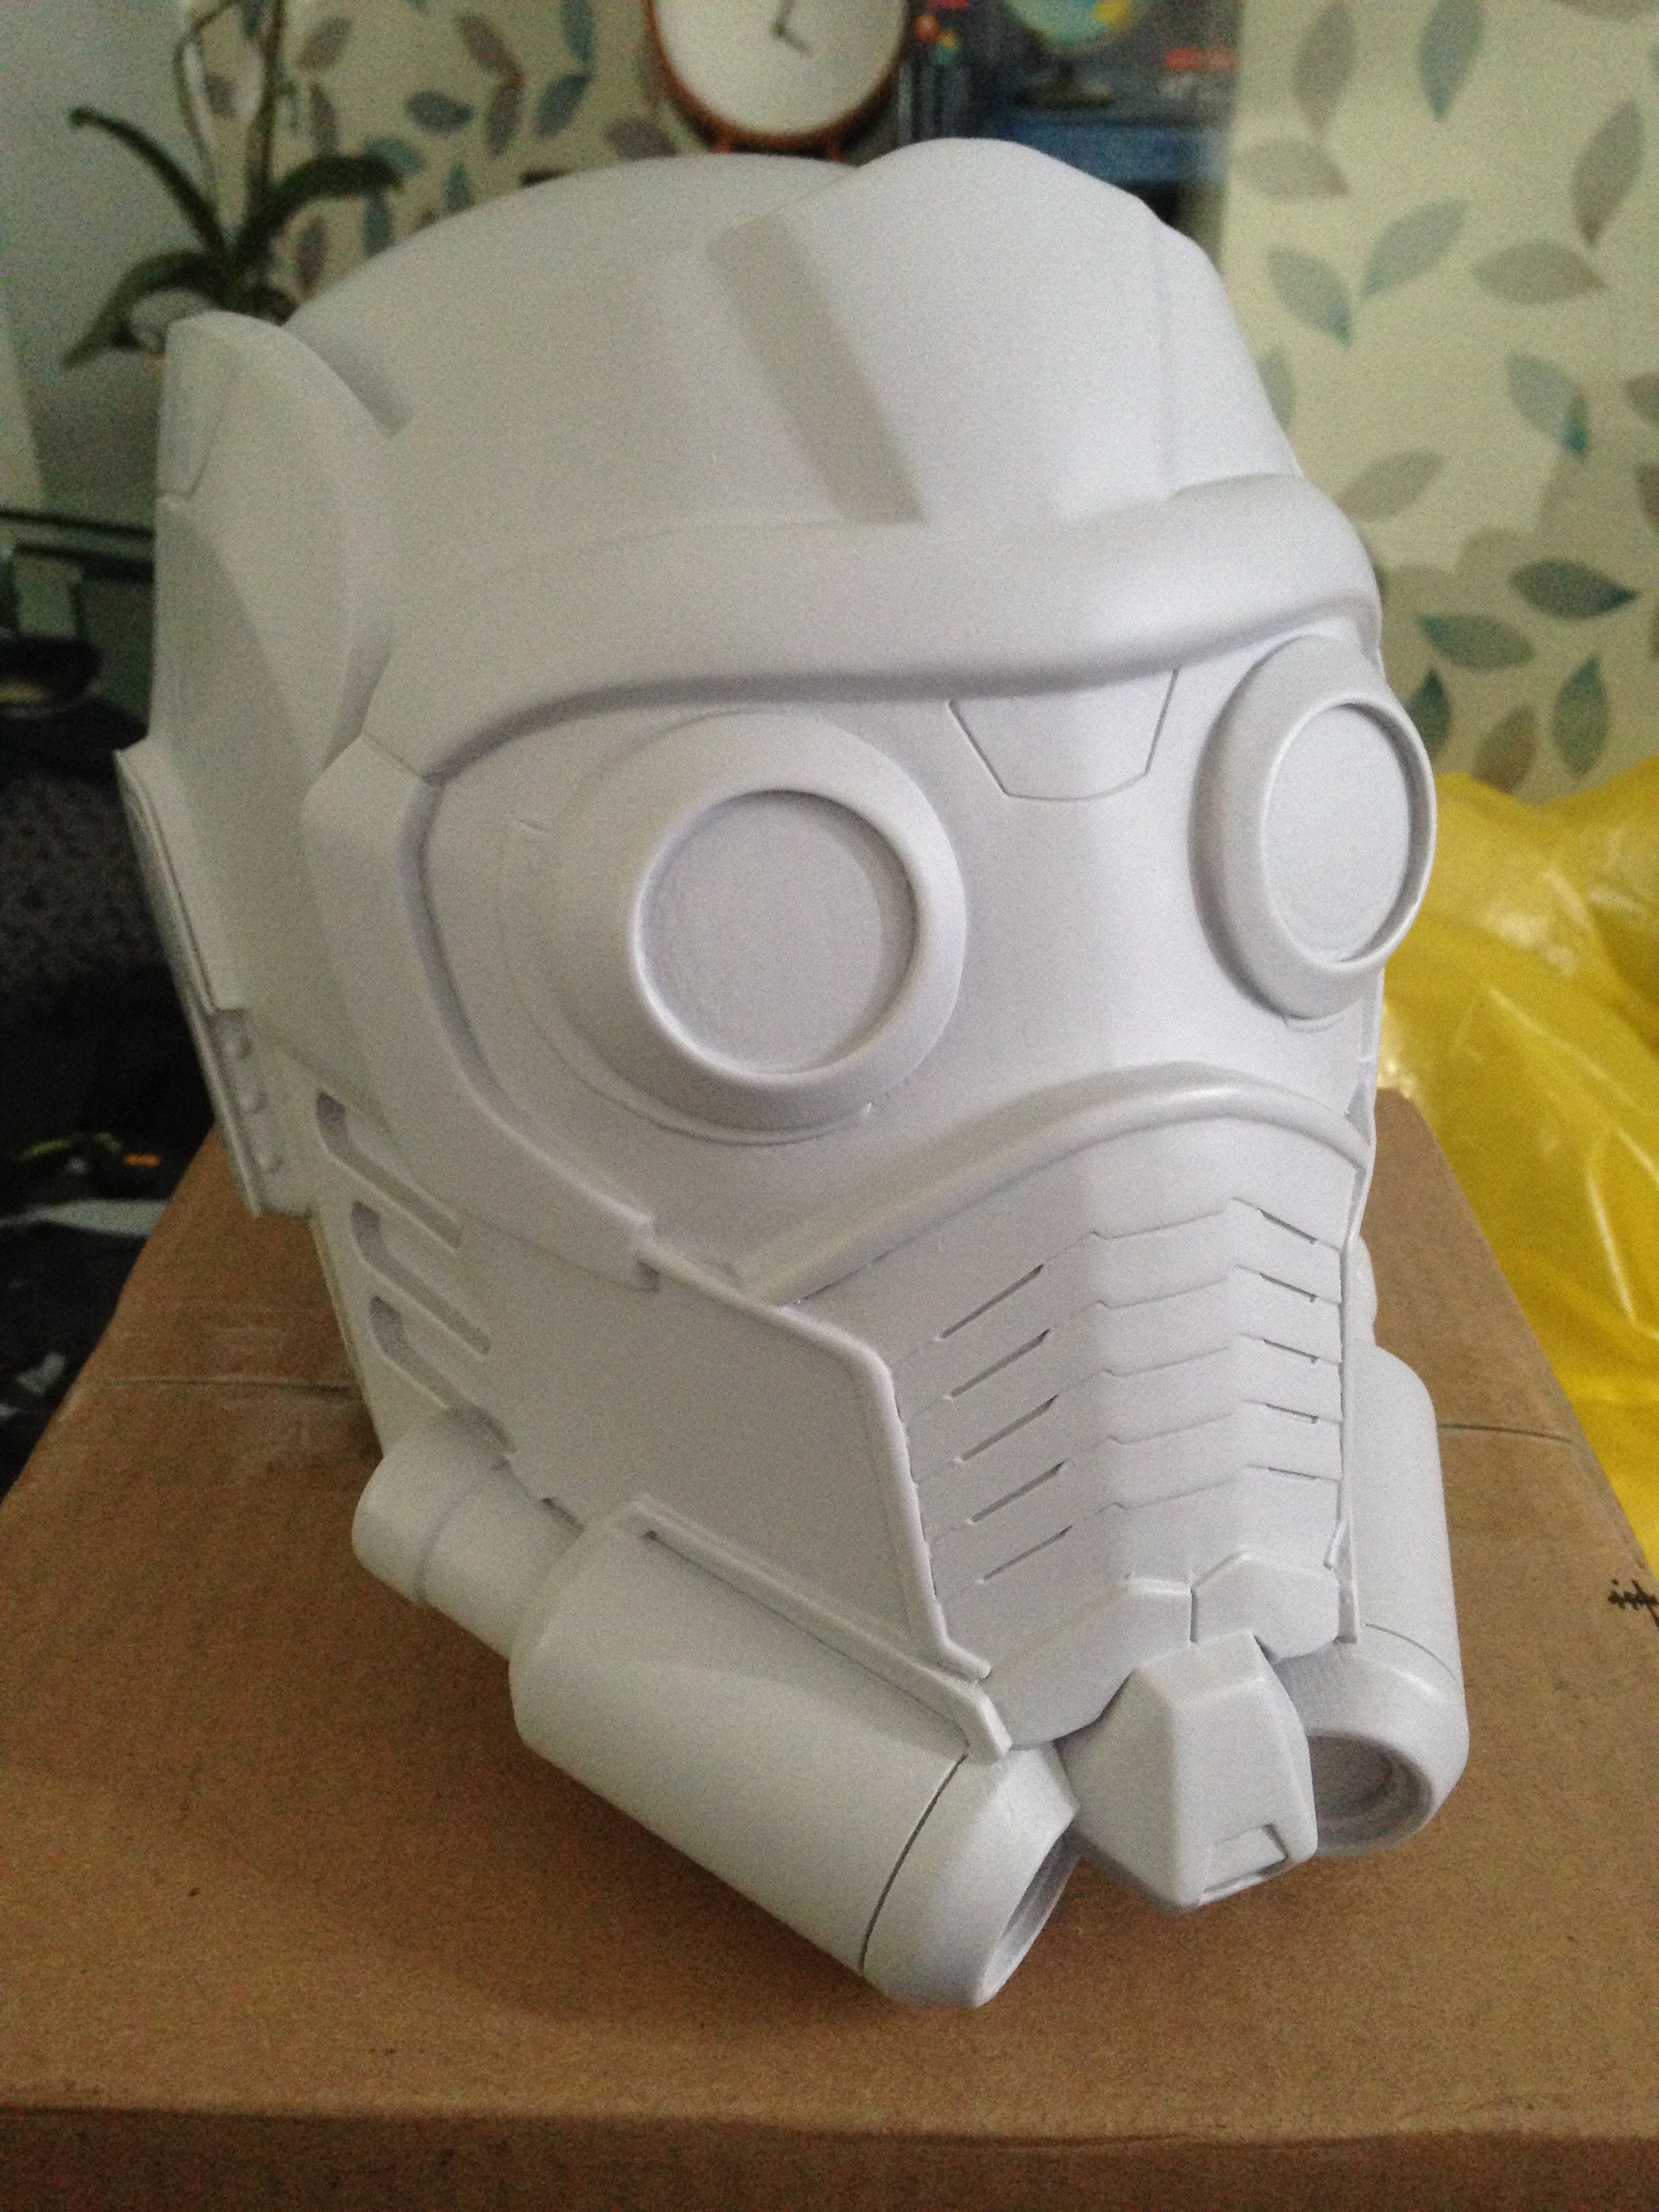
Here's the cast as it arrived from Crank:
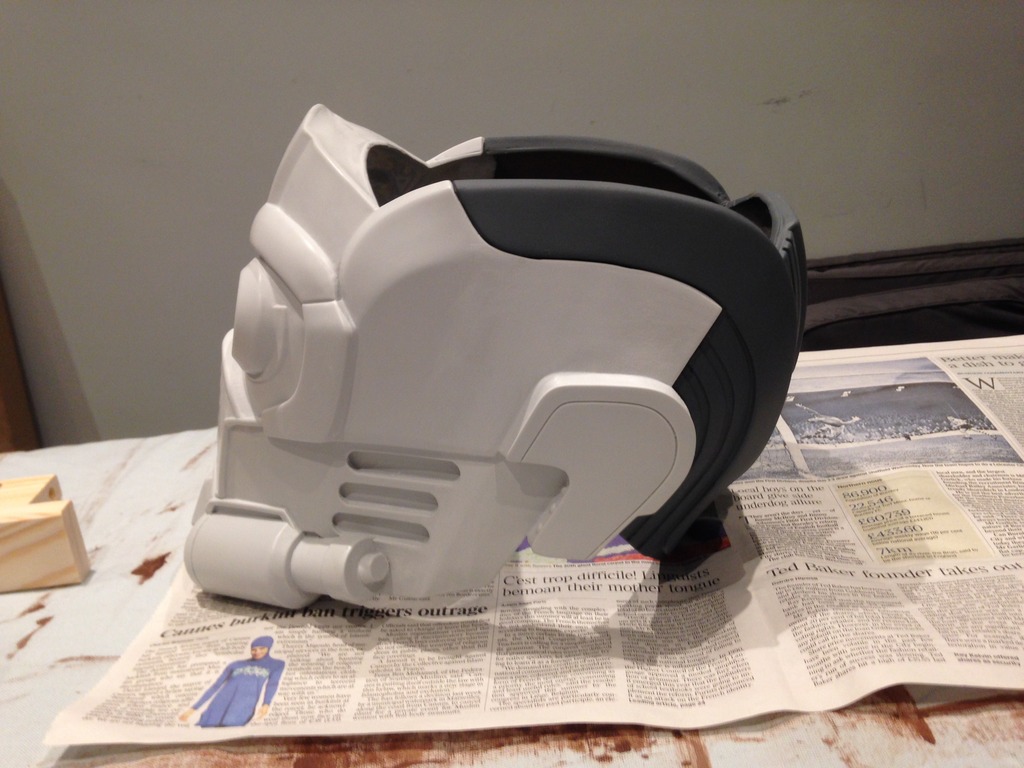
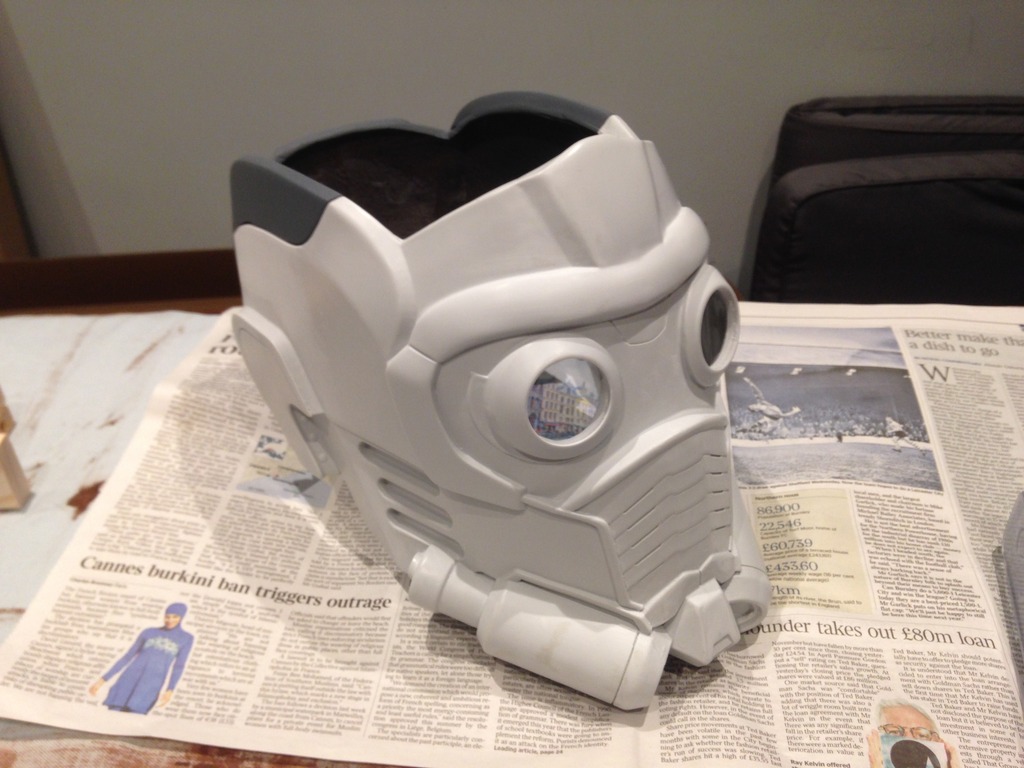
Once I got the crown cut out the top of it, the eyes roughly cut out and the excess resin at the base cut away it looked a little something like this:
To my dismay, once I had got all the excess material cut away I still couldn't get it on over my head as a once-piece, my head was just too big. I've seen Crank wearing them as a once piece, I'm guessing I've just got a much bigger head
This caused me some sleepless nights as I knew I was going to have to cut it in half and make it a two piece if I was ever going to wear it.
After giving it some serious thought I ordered some small, but powerful earth magnets and bought a fibreglass resin kit from my local Halfords.
My plan was simple but terrifying: Cut through one side of the helmet, leaving it semi rigid and still holding it's shape quite well. Then use fibreglass to add an internal panel that spans both front and rear panels, embedding earth magnets to hold it all together securely in the end.
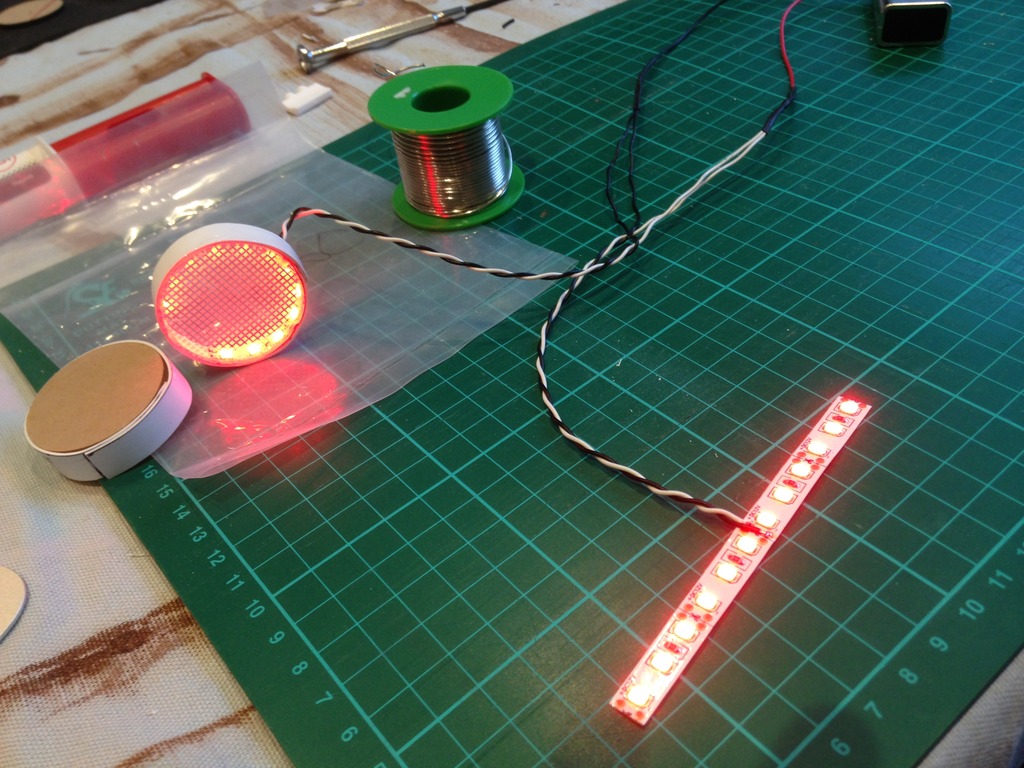
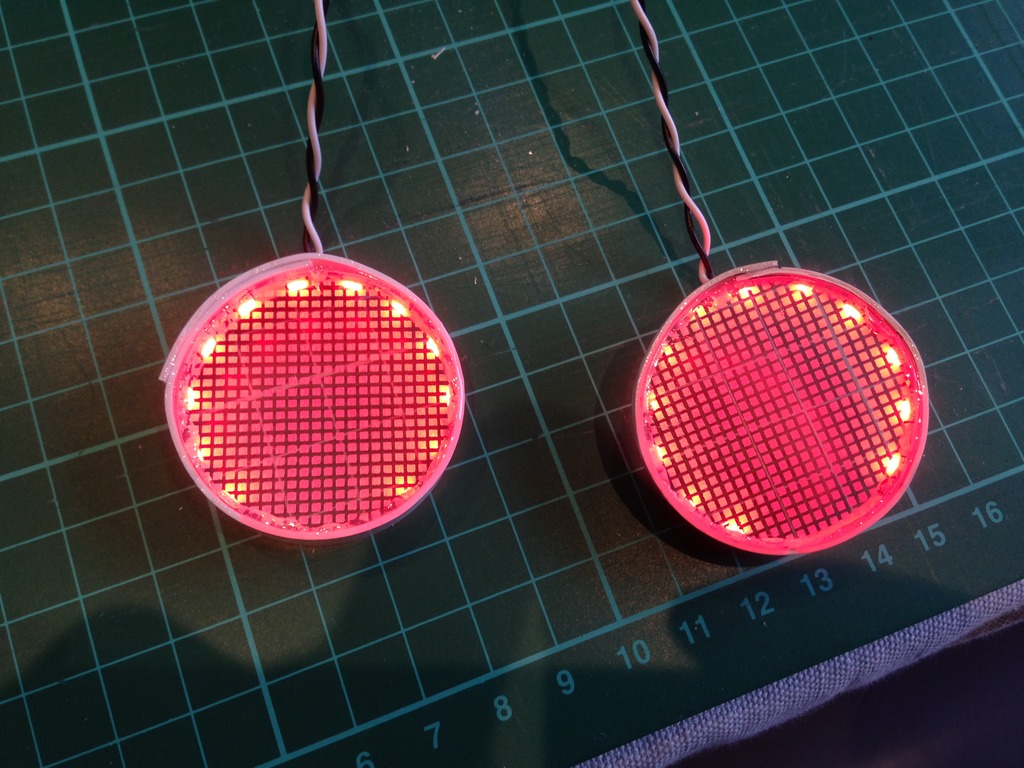
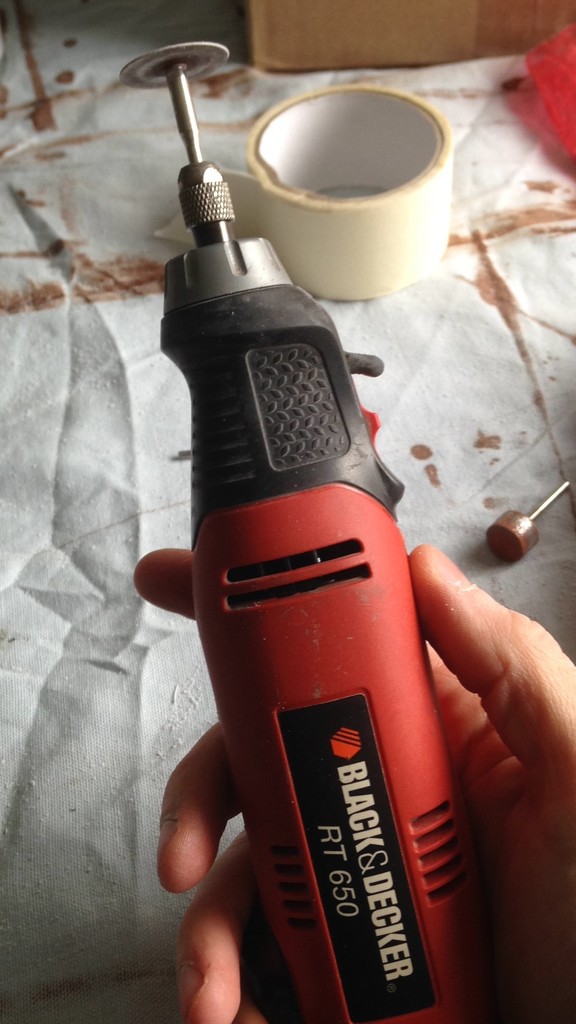
I used one of these:
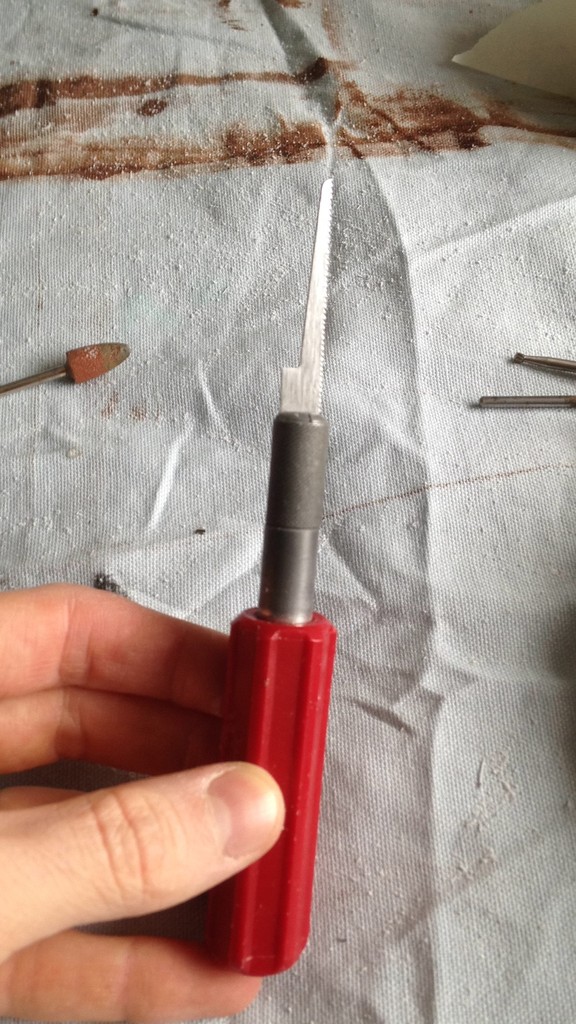
And one of these:
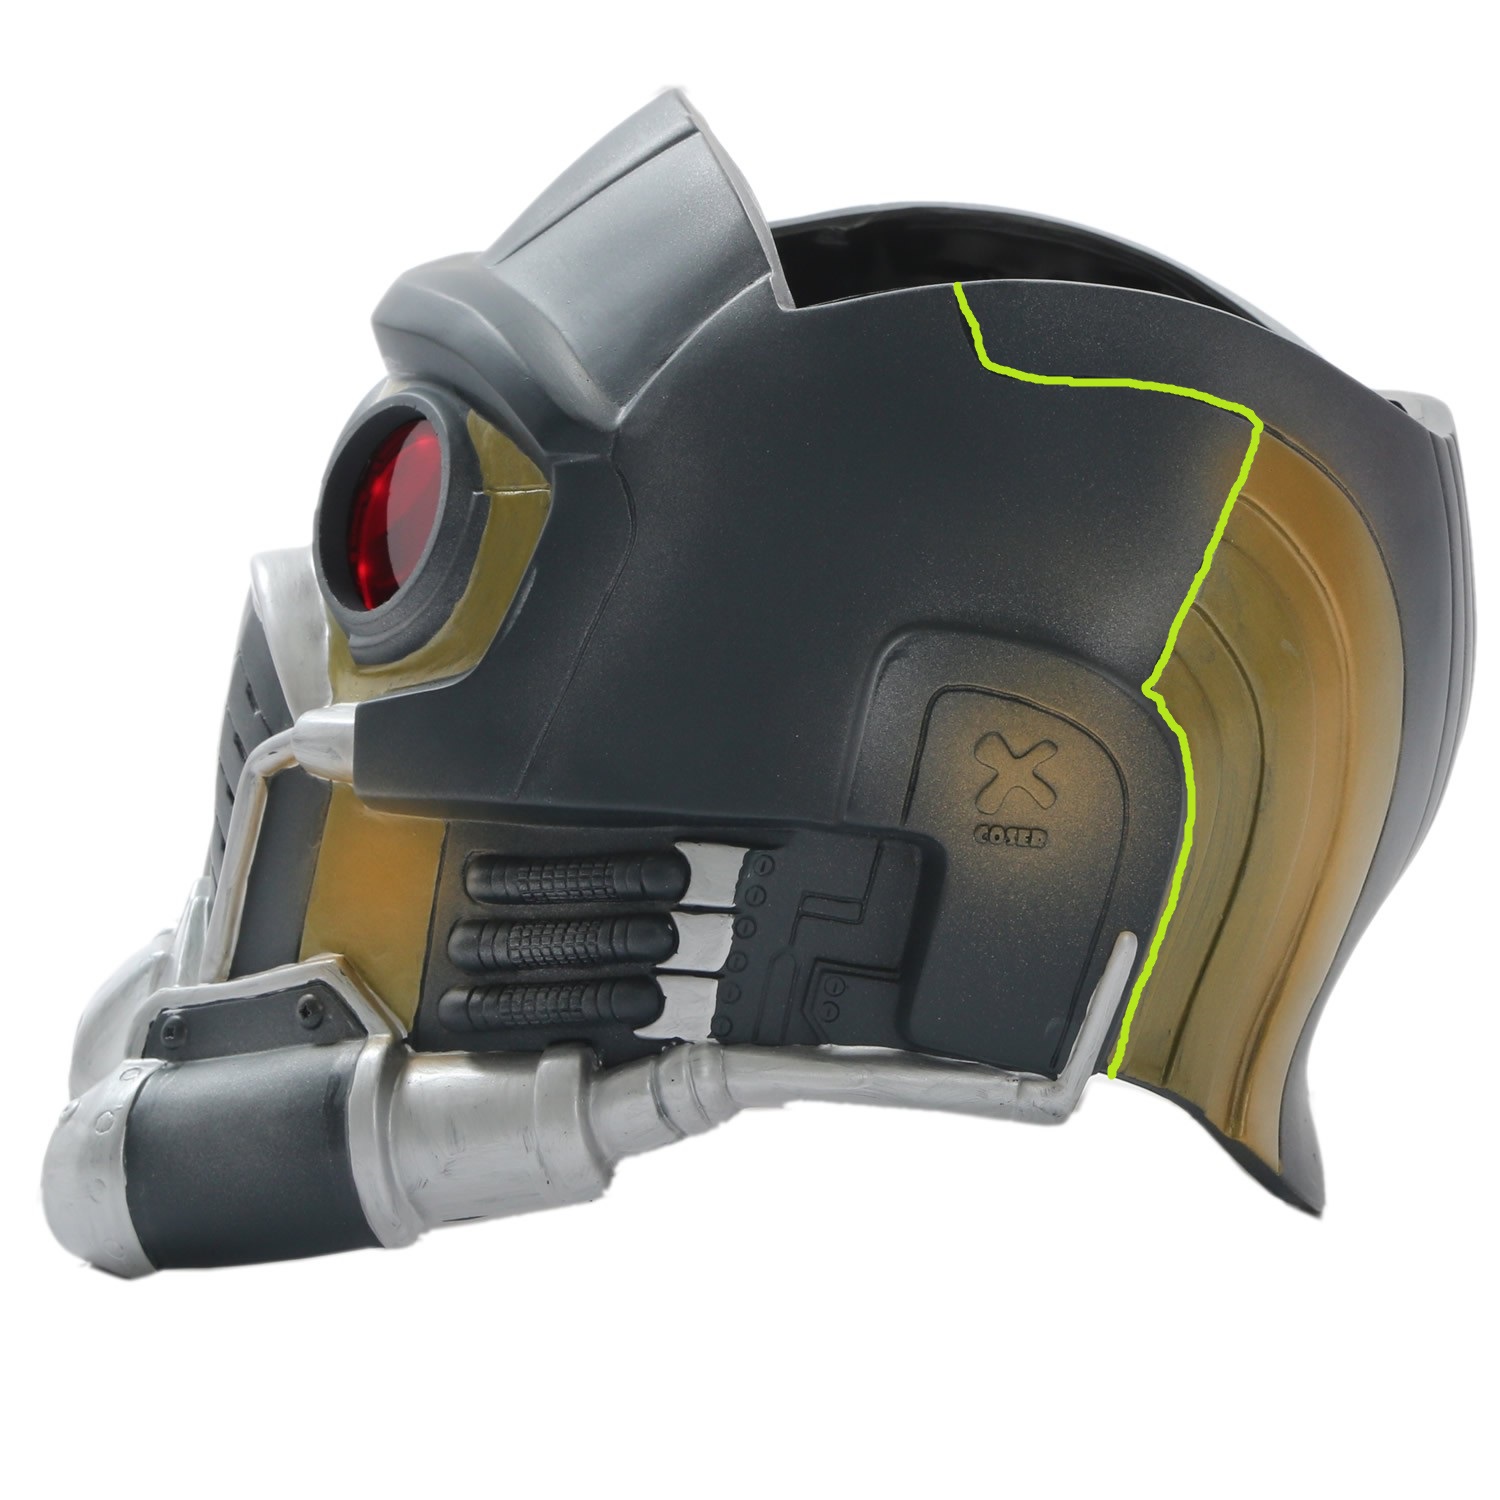
And made a cut from top to bottom following a natural line (I've attached a picture below of what the "natural line" is, but this is NOT my helmet)
Once I had made the cut I glued two small earth magnets to the front inside section of the helmet, close to the cut. To ensure I had good adhesion between the magnet and the inside of the helmet (both of which have very smooth surfaces) I used a bit of sand paper to rough up one side of the magnet and the spot on the helmet where it was to be glued. This should help prevent the magnet being ripped away from the helmet by the other magnet during use (earth magnets are very strong so use a very good glue or epoxy).
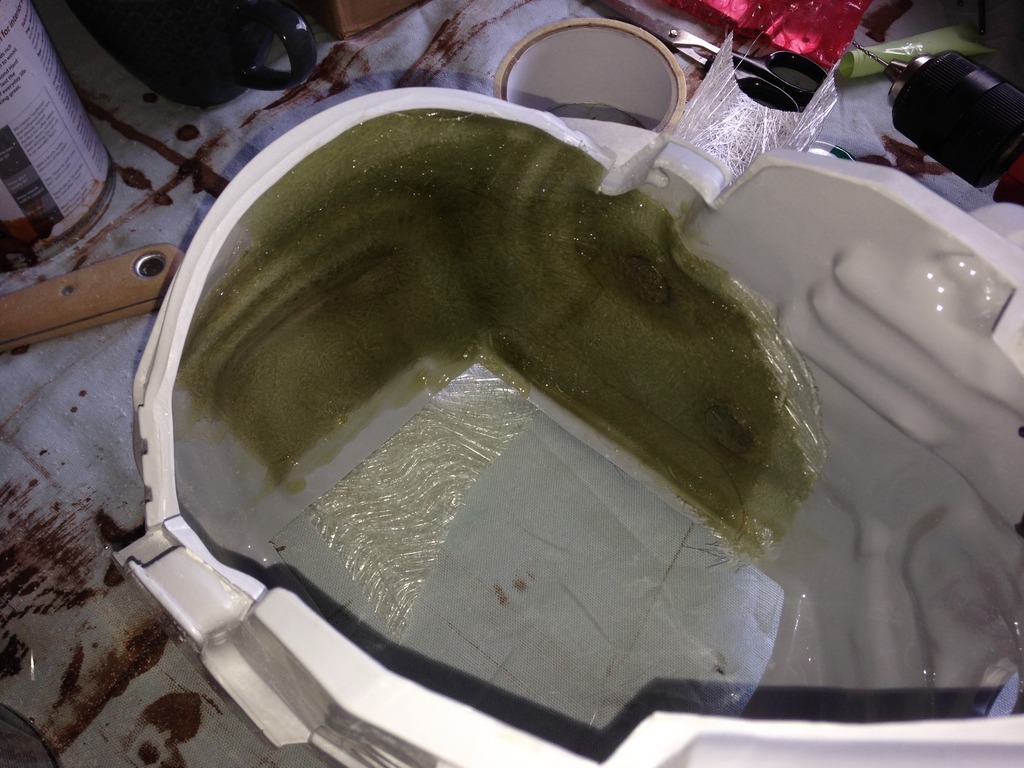
I then coated the front part of the inside of the helmet with vaseline and used sandpaper to rough up the rear inside part of the helmet. Then I applied a layer of fibreglass and resin to cover the cut, my thinking being that it should stick to the roughed up rear section but only form the shape of the front section and pull away from it easily due to the vaseline.
I also embedded the other earth magnets into the fibreglass resin above the ones glued to the front section.
This was the first time I had worked with resin and the first time I had ever used fibreglass so I was pretty concerned at this stage about cocking it up. I Googled and YouTube'd a lot prior to this.
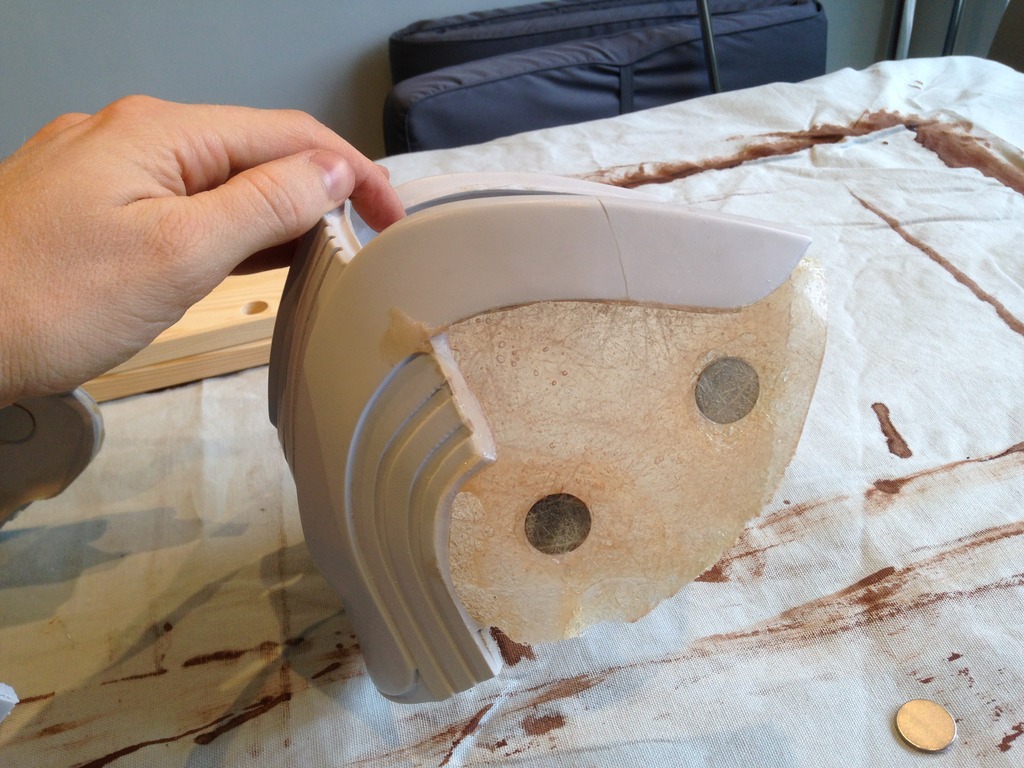
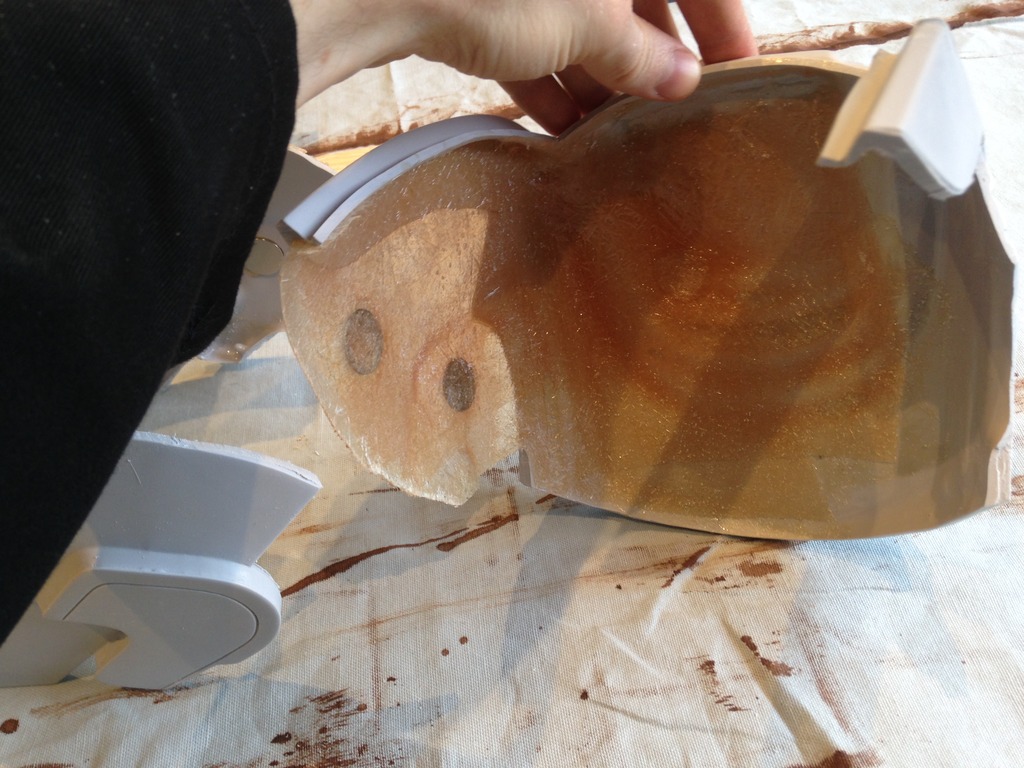
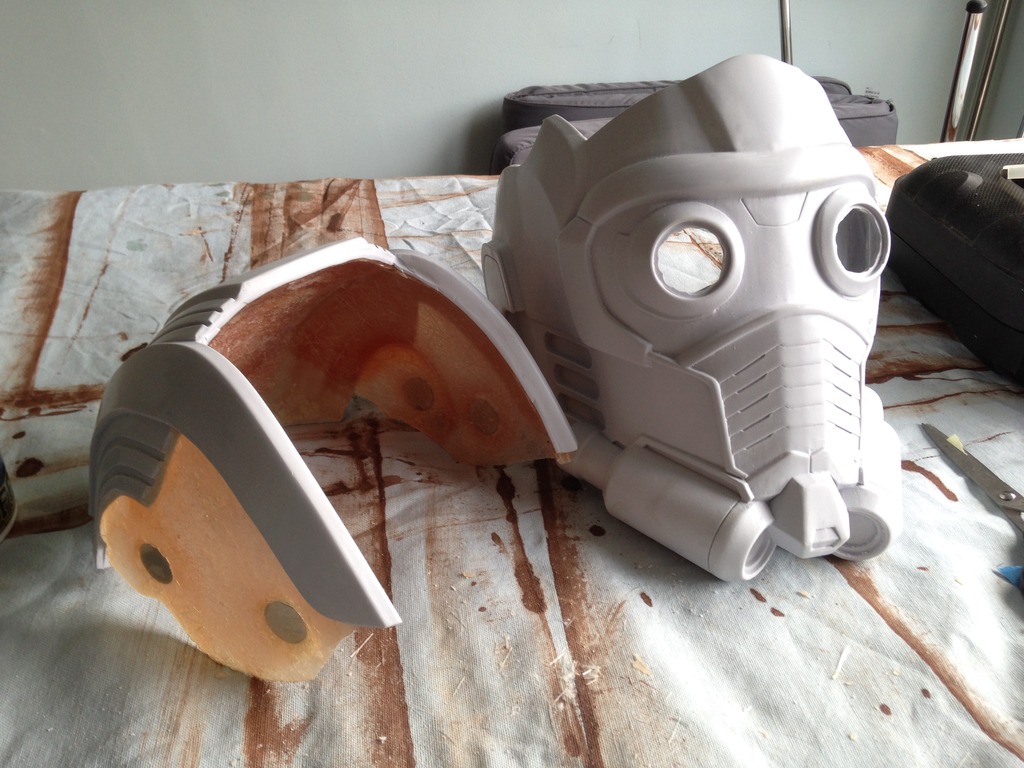
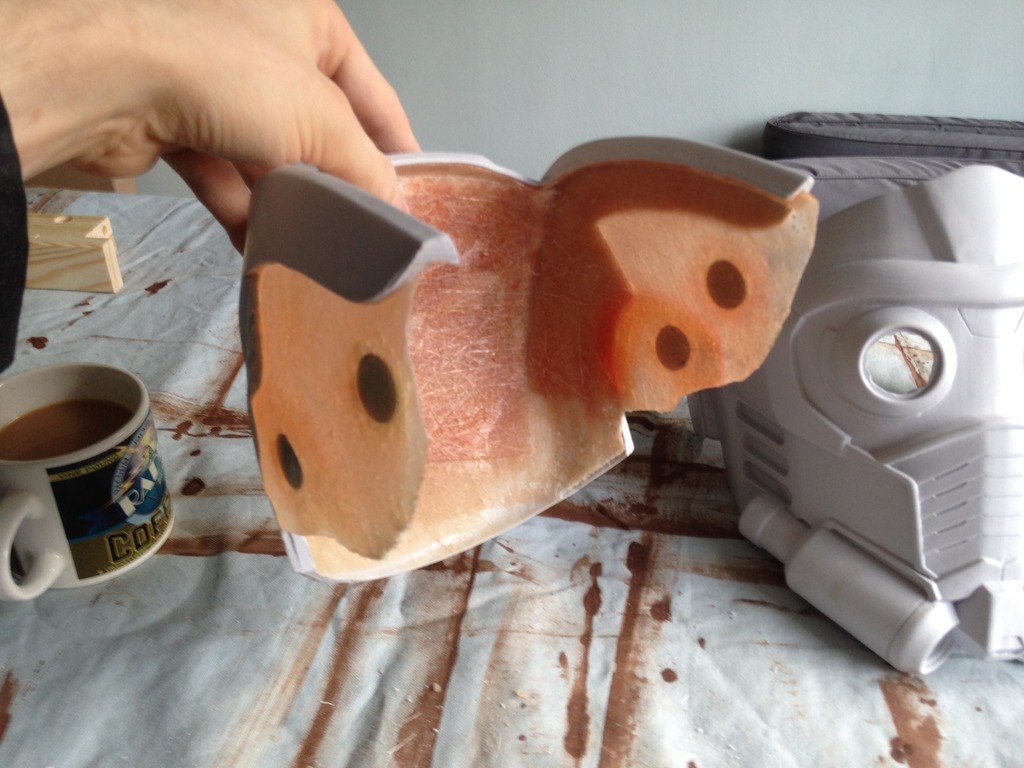
Once this had dried and the helmet was fully rigid again I cut the other side of the helmet along the natural line. I was then able to see if my vaseline plan had worked. It took a little bit of gentle persuasion but eventually the back half came away from the front section and my fibreglass panel remained intact attached to the rear section:
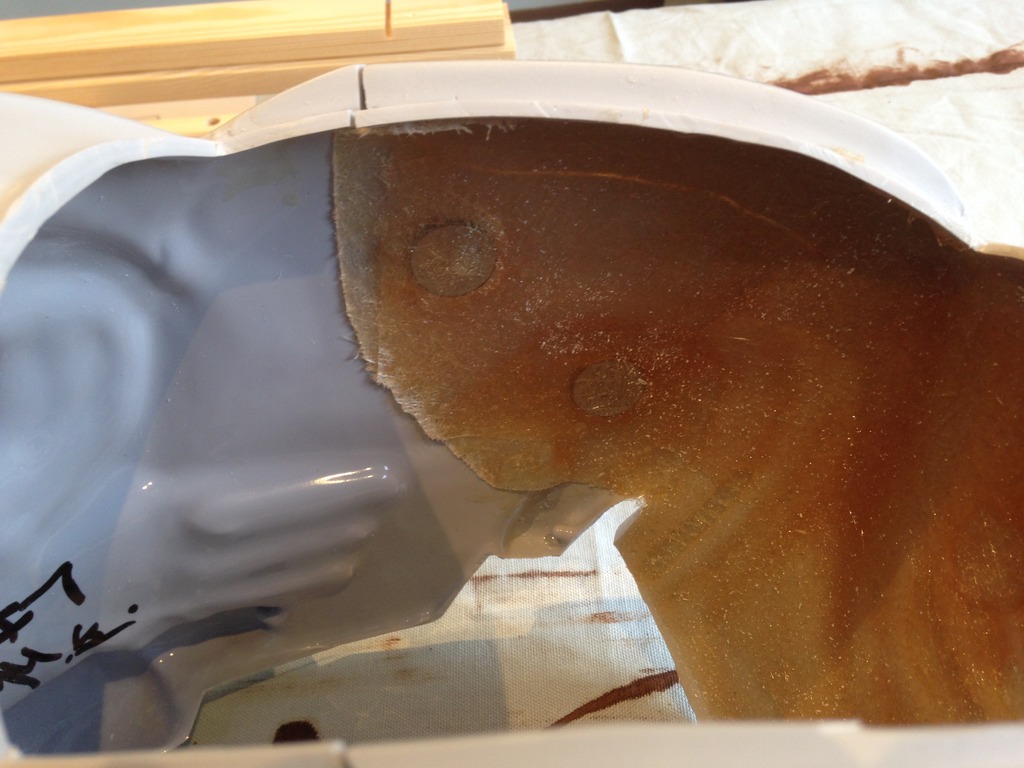
Here's the magnets on the inside of the helmet:
After repeating the process on the other side of the helmet I was left with a helmet that could be pulled apart easily enough, but was strong enough to hold together really well.
Once I had the back off I found it SO MUCH EASIER to get into the intricate areas of the helmet and clean up all my rough cuts. Sanding things down and removing excess resin was a fairly straightforward task at this stage.
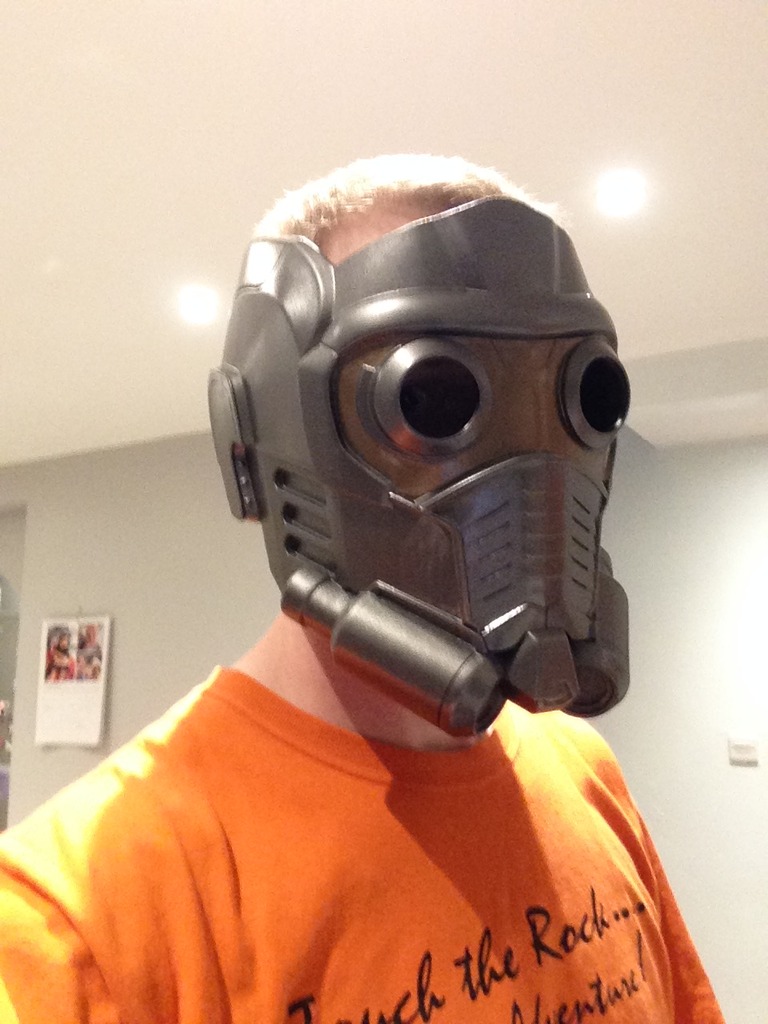
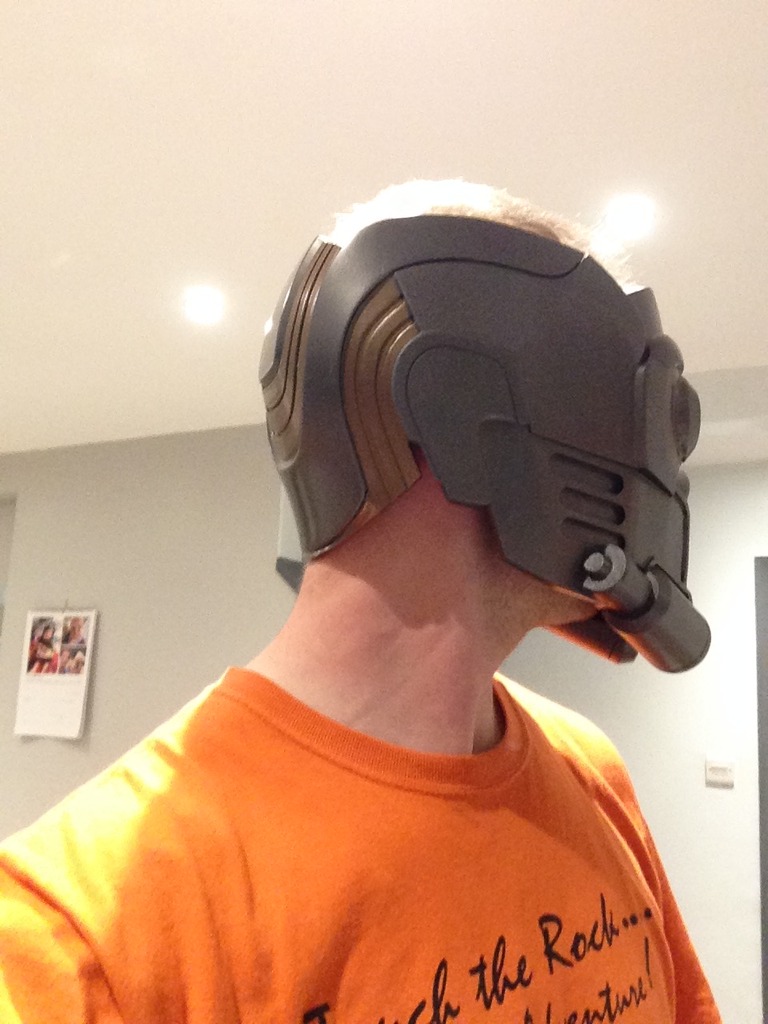
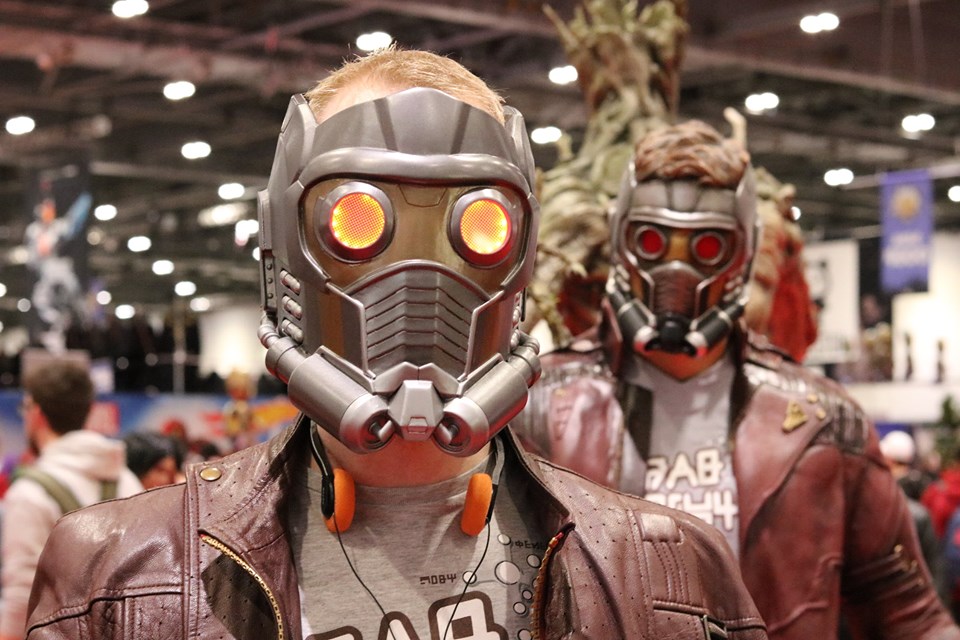
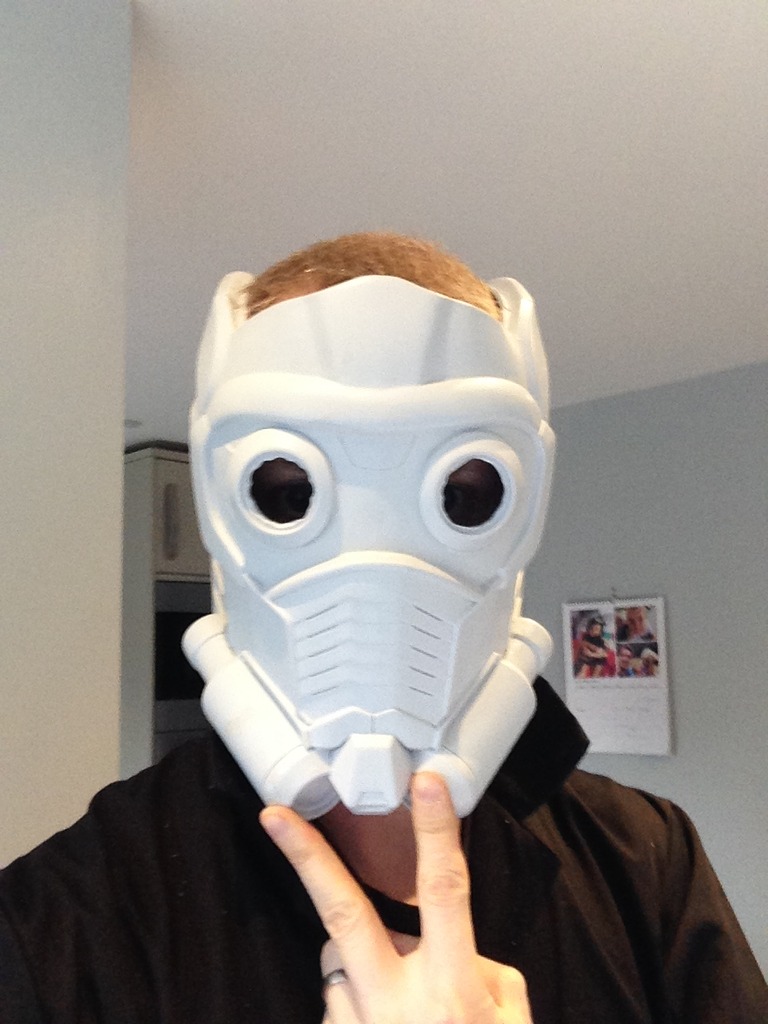
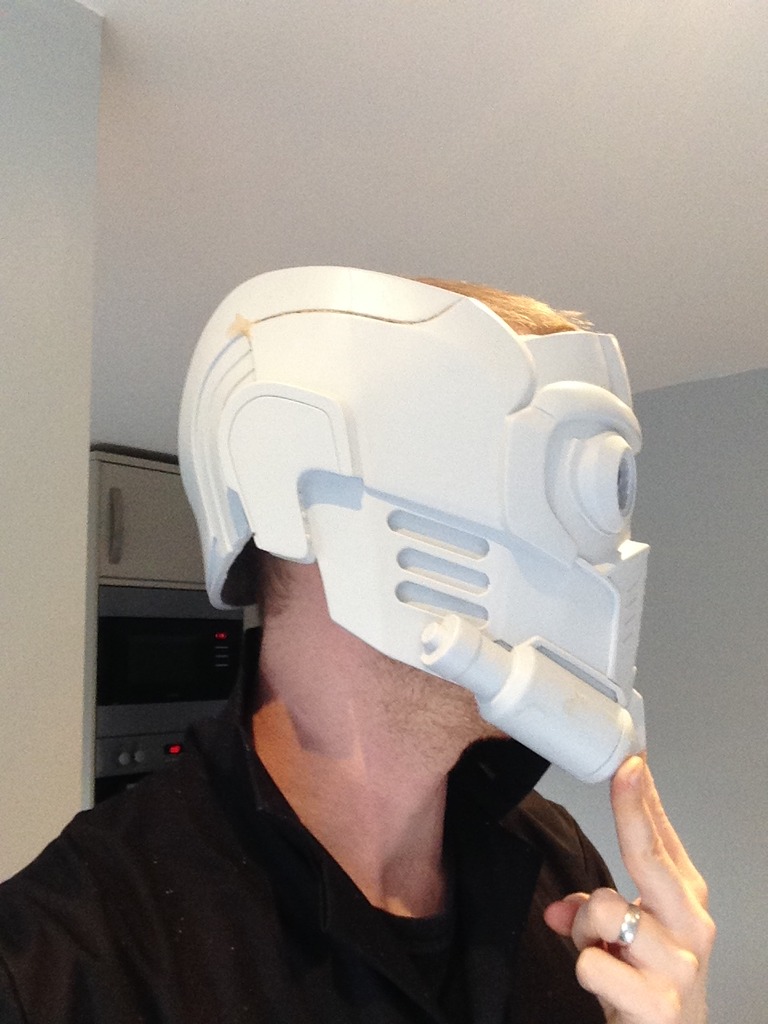
But perhaps most importantly, I was able to actually get the bucket on my head for the first time!
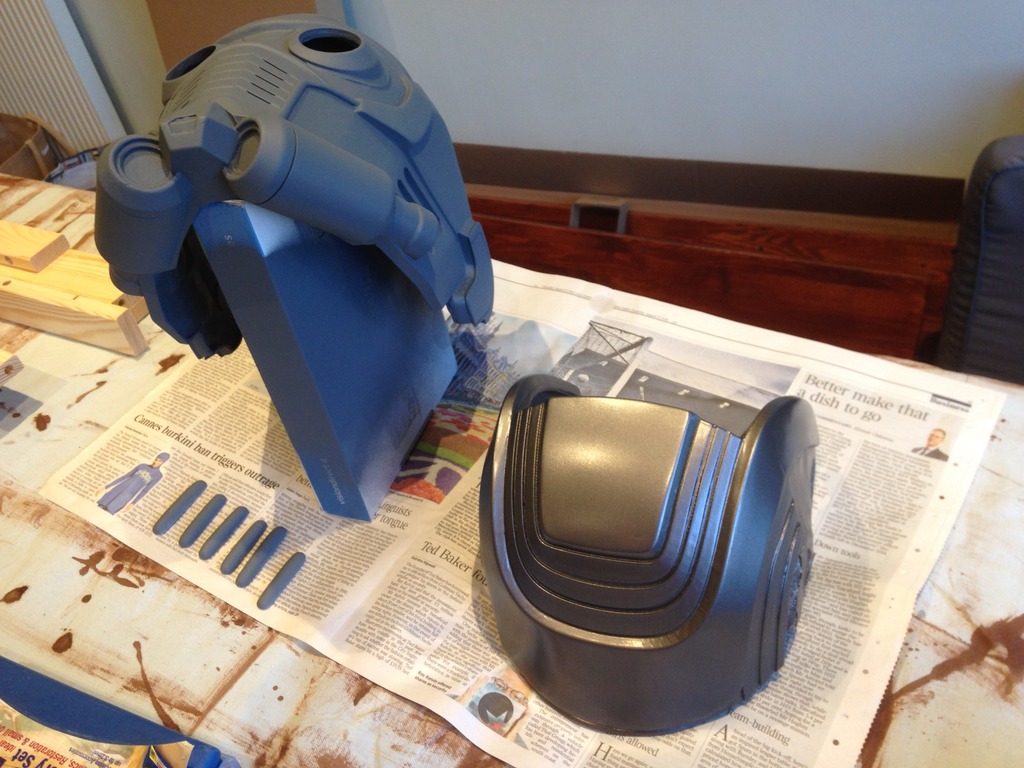
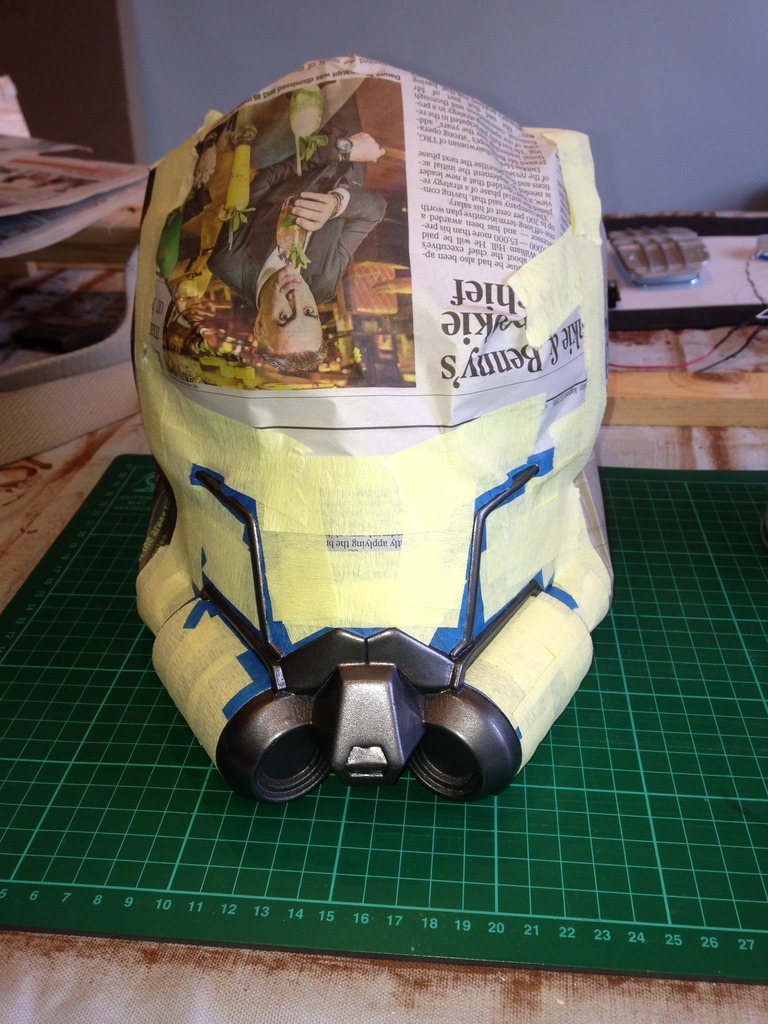
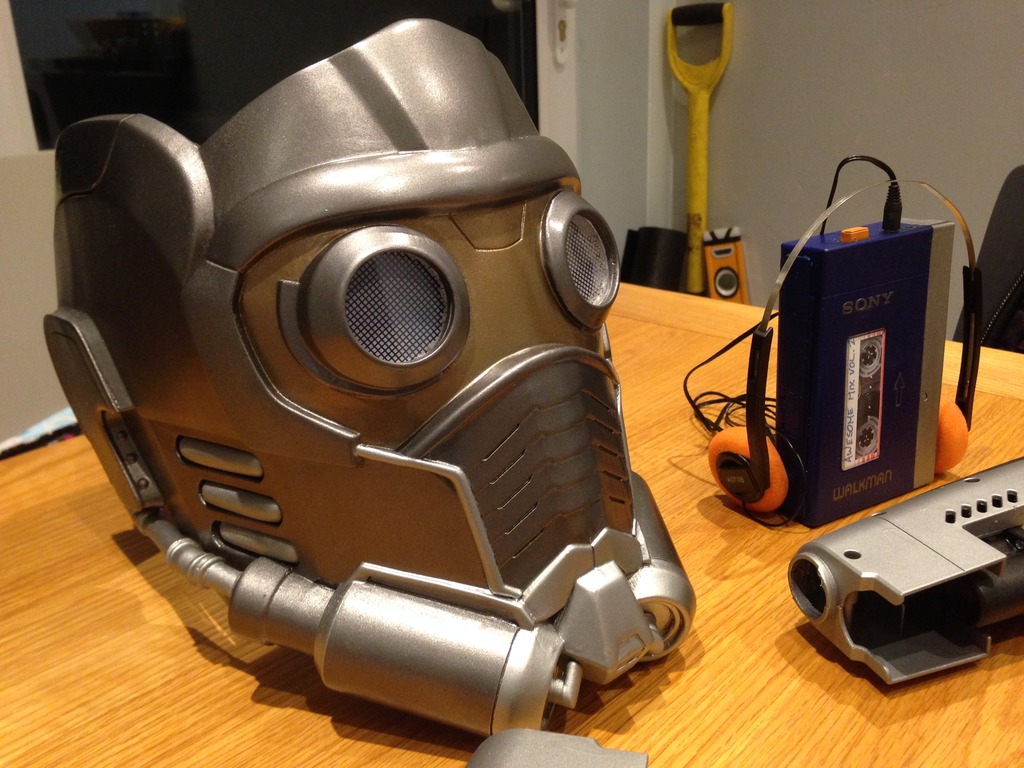
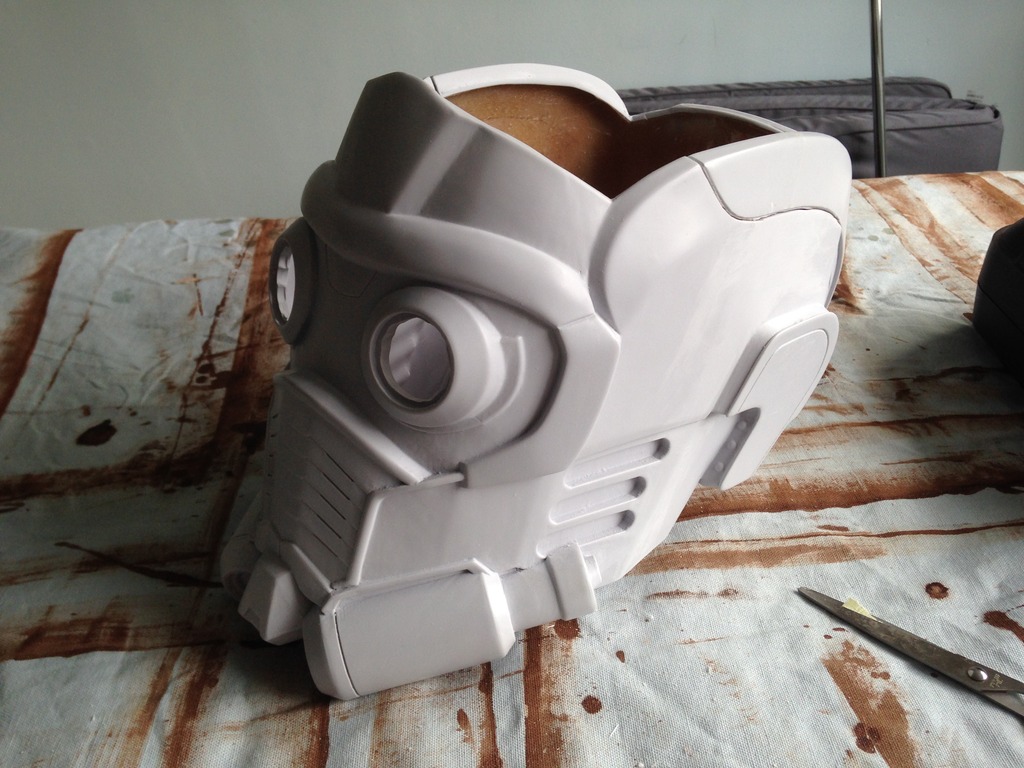
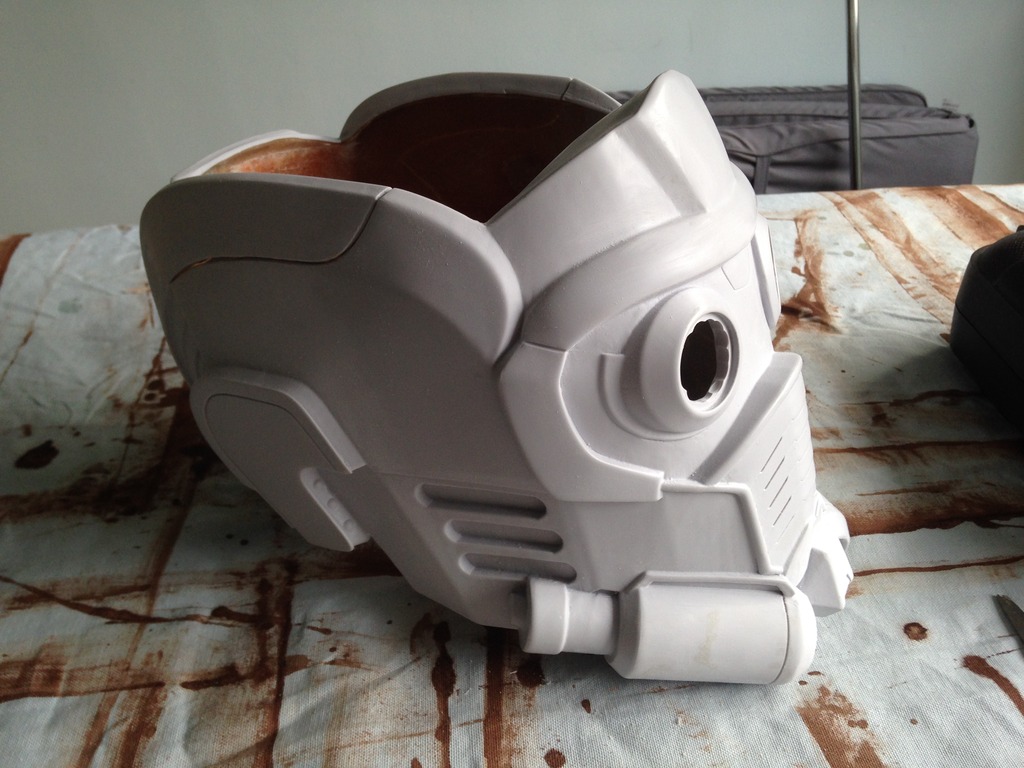
So now it was a two piece I was able to get into all those intricate nooks and tight areas and get them cleaned up and sanded, I also cleaned up the fibreglass and rounded off the edges of the resin, then it was time for paint! I started off with a primer for the whole helmet.
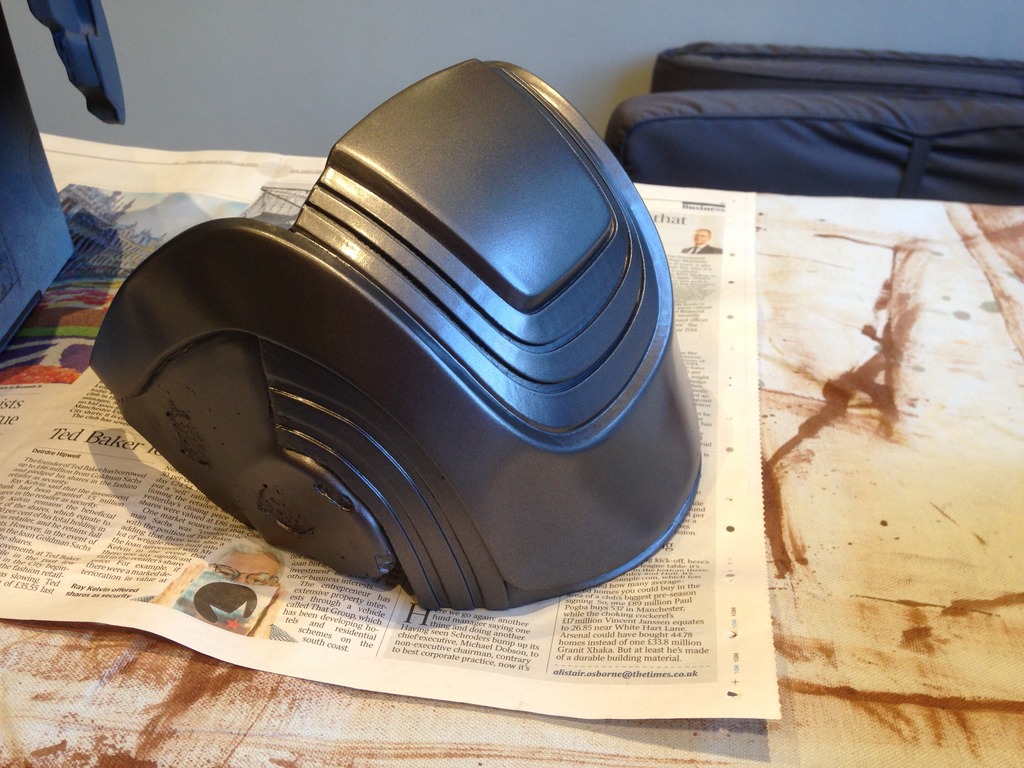
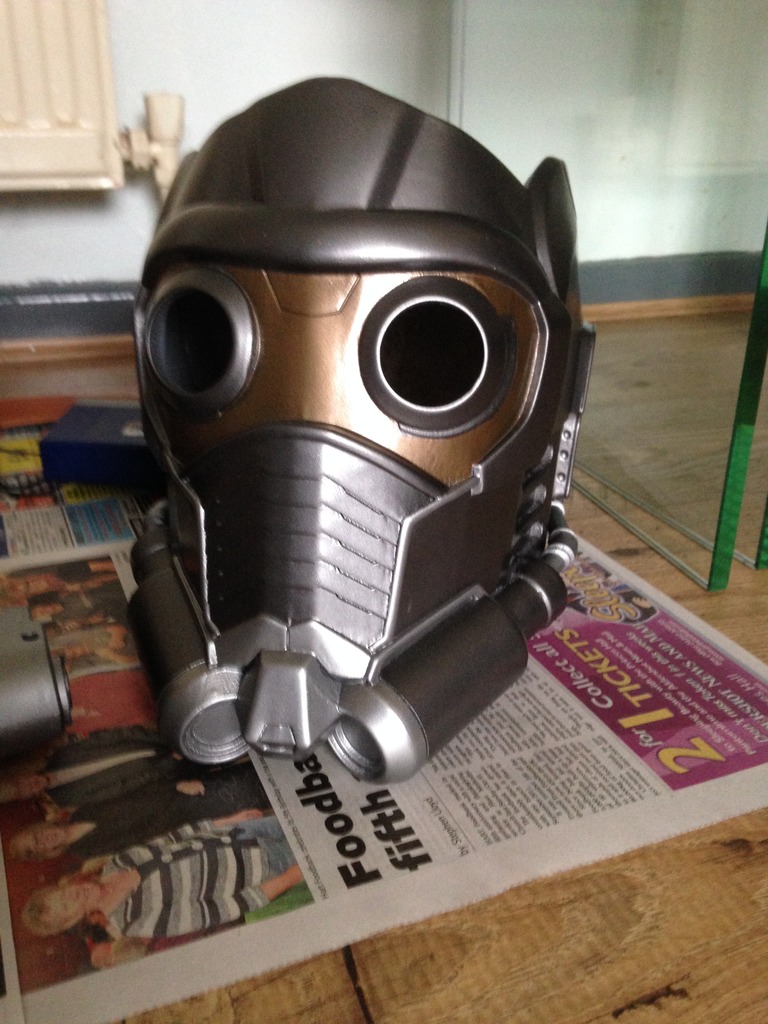
In the next post I started to add the base colour which was a gunmetal grey. Scroll on to PART 2 for more!
Here's my build thread, if you have any questions or comments please feel free to chip in.
Here's the cast as it arrived from Crank:
Once I got the crown cut out the top of it, the eyes roughly cut out and the excess resin at the base cut away it looked a little something like this:
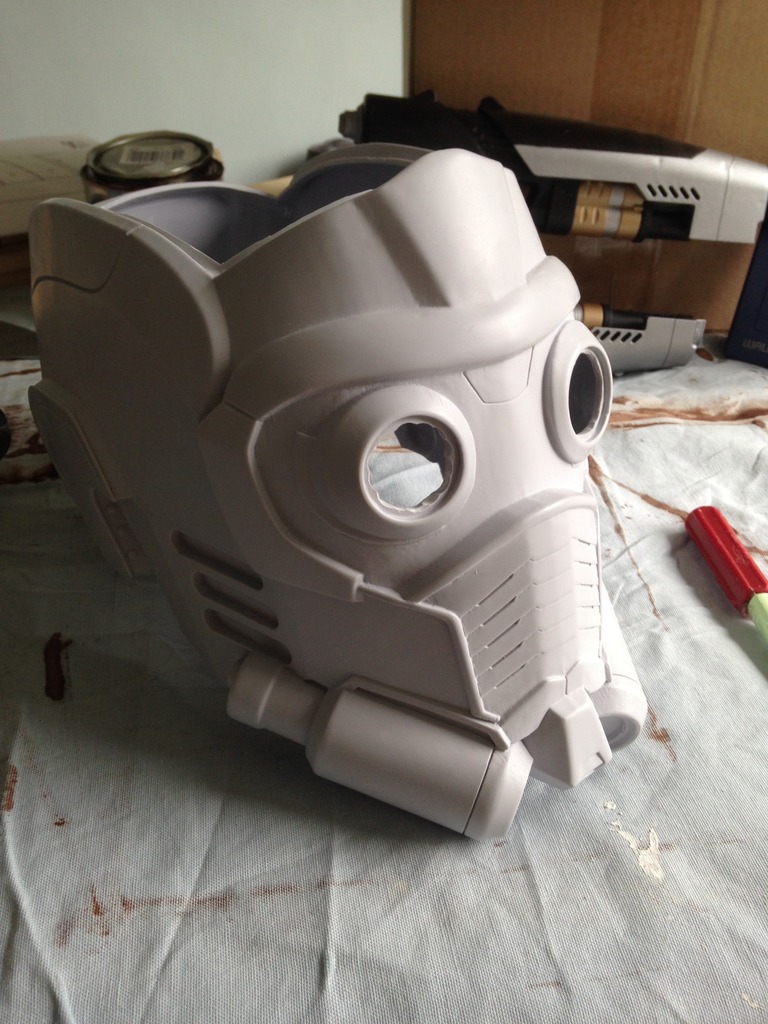
To my dismay, once I had got all the excess material cut away I still couldn't get it on over my head as a once-piece, my head was just too big. I've seen Crank wearing them as a once piece, I'm guessing I've just got a much bigger head
This caused me some sleepless nights as I knew I was going to have to cut it in half and make it a two piece if I was ever going to wear it.
After giving it some serious thought I ordered some small, but powerful earth magnets and bought a fibreglass resin kit from my local Halfords.
My plan was simple but terrifying: Cut through one side of the helmet, leaving it semi rigid and still holding it's shape quite well. Then use fibreglass to add an internal panel that spans both front and rear panels, embedding earth magnets to hold it all together securely in the end.
I used one of these:
And one of these:
And made a cut from top to bottom following a natural line (I've attached a picture below of what the "natural line" is, but this is NOT my helmet)
Once I had made the cut I glued two small earth magnets to the front inside section of the helmet, close to the cut. To ensure I had good adhesion between the magnet and the inside of the helmet (both of which have very smooth surfaces) I used a bit of sand paper to rough up one side of the magnet and the spot on the helmet where it was to be glued. This should help prevent the magnet being ripped away from the helmet by the other magnet during use (earth magnets are very strong so use a very good glue or epoxy).
I then coated the front part of the inside of the helmet with vaseline and used sandpaper to rough up the rear inside part of the helmet. Then I applied a layer of fibreglass and resin to cover the cut, my thinking being that it should stick to the roughed up rear section but only form the shape of the front section and pull away from it easily due to the vaseline.
I also embedded the other earth magnets into the fibreglass resin above the ones glued to the front section.
This was the first time I had worked with resin and the first time I had ever used fibreglass so I was pretty concerned at this stage about cocking it up. I Googled and YouTube'd a lot prior to this.
Once this had dried and the helmet was fully rigid again I cut the other side of the helmet along the natural line. I was then able to see if my vaseline plan had worked. It took a little bit of gentle persuasion but eventually the back half came away from the front section and my fibreglass panel remained intact attached to the rear section:
Here's the magnets on the inside of the helmet:
After repeating the process on the other side of the helmet I was left with a helmet that could be pulled apart easily enough, but was strong enough to hold together really well.
Once I had the back off I found it SO MUCH EASIER to get into the intricate areas of the helmet and clean up all my rough cuts. Sanding things down and removing excess resin was a fairly straightforward task at this stage.
But perhaps most importantly, I was able to actually get the bucket on my head for the first time!
So now it was a two piece I was able to get into all those intricate nooks and tight areas and get them cleaned up and sanded, I also cleaned up the fibreglass and rounded off the edges of the resin, then it was time for paint! I started off with a primer for the whole helmet.
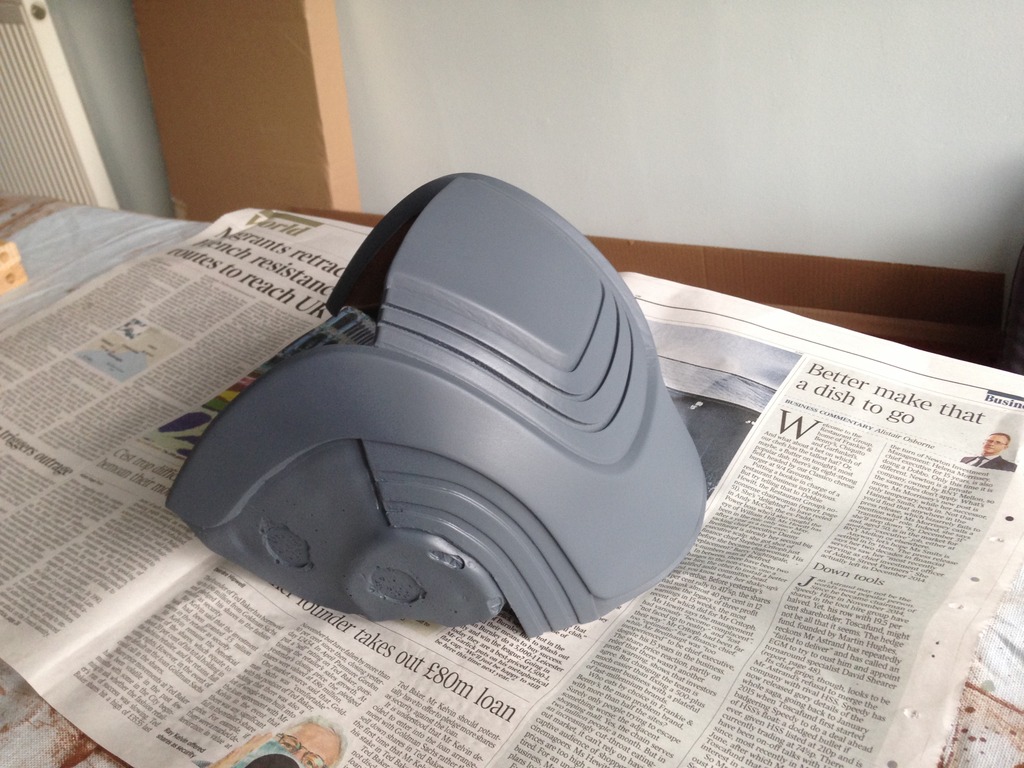


In the next post I started to add the base colour which was a gunmetal grey. Scroll on to PART 2 for more!
Last edited: