Oblivion Inspired Office Build

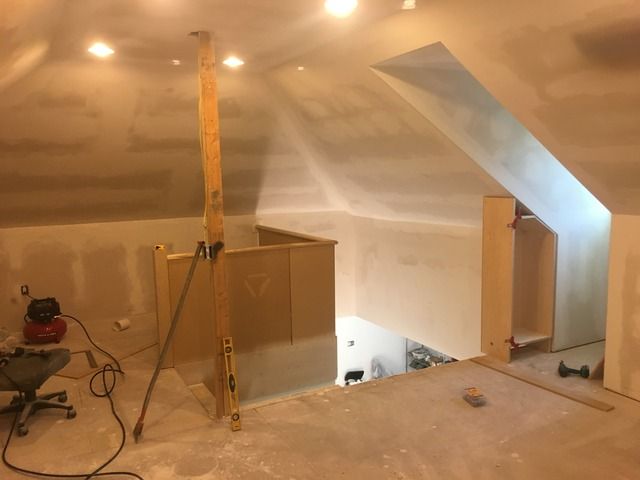
The lighting in the room as well as the paint scheme is something I have been struggling with.

The main floor of the Skytower is very bright due to all the windows. This room has only one window. It is more representative of the workshop level where the only window was the one in the main door. The colors are darker and the lighting is dim compared to the main floor.

That being said, the architectural elements I am using are more representative of the main floor. My goal is to take as much from each level of the Skytower and blend it into one room. I have six recessed lights in the ceiling and am working on a color scheme still. I don't want it to be painted as dark as the workshop, but I know it will never be as bright as the main floor.

-Eric

- - - Updated - - -

I love to see a good sci-fi themed room!


Thanks! I appreciate the comments.
 
For the last month, I have been working on commissions; took my R2 down to Dallas Fan Expo; had a reunion to go to; went to Star Wars Celebration in Orlando; and then your general life commitments that get stacked up along the way. All of this kept me away from this project. But, now I am home and back at it.

Before I started traveling, I was able to make the newel post for the railing to terminate in to. It took a bit of time to figure out how I wanted it look and know that it would be stable. I could have easily went and bought a 4" square aluminum tube, but it was much cheaper to laminate a couple 2x4's together and skin in 1/2" MDF. The bottom has some "L" brackets that mount the post to the floor and the 1/2" slides over it covering the brackets.

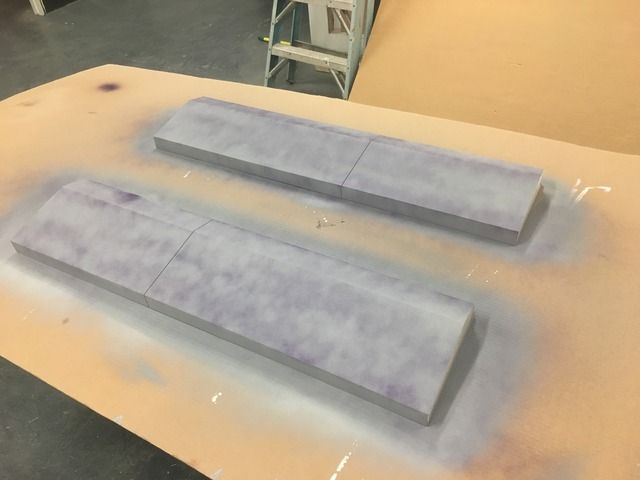
Next, while waiting for paint to dry on other projects today, I was able to work on the railing for the banisters. Where most everything has been cut or fabricated in my shop, the railings were purchased and shipped to my door.

I didn't have to do much to them. I cut a 3/4" deep plow into the bottom that was a 1/2" wide. This allowed the banisters to slide into the railing and keep everything straight. Once everything passed the initial fitting, I trimmed a little off each end so they would fit nice and tight.

I also created a little rosette to mount to the wall where the railing ended.

E3464469-4683-4F95-ACB8-DCCFD7022444_zpsfzdxclmq.jpg


69480F1B-2FD1-478E-911E-2A130606EFF0_zpsrlxgrs4d.jpg


I am starting to have second thoughts about having the Tet logo in the banisters. When I did it, I was convincing myself to go all the way in the design, but now I am thinking it may be too much.

I still have a ways to go before I paint and I will flip/ flop on which way to go over and over I am sure.

-Eric
 
Thanks! I may end up leaving the logos in there and just design everything where it could be swapped out if I change my mind. In hind sight, I should have just done a vinyl decal. Much easier to change my mind.
 
Great work, I noticed the R2 horseshoes in the earlier post. Subscribing for inspiration.
 
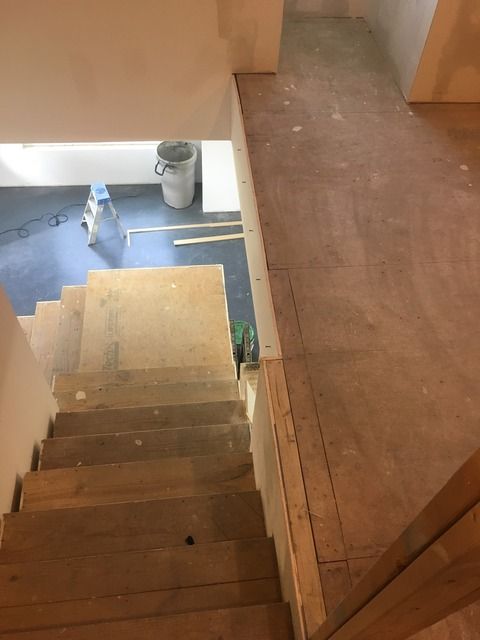
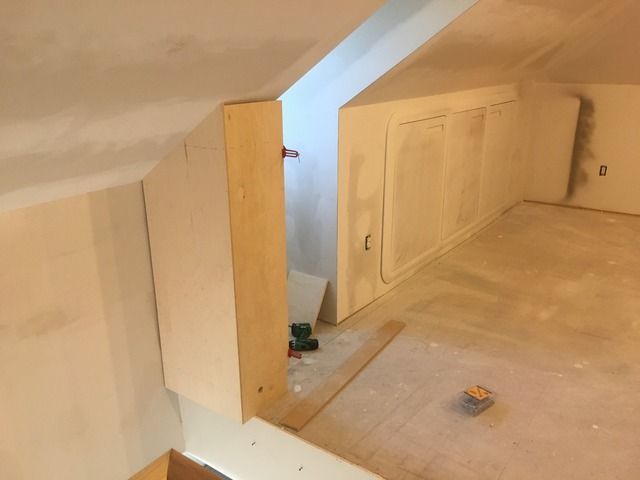
I have been wrestling with this spot for a while.


It is on the other side of the stairwell from where I just installed the banisters and railing. Initially, I had intended to do the same thing and keep it simple. I even went as far as building the skirts that would cover all the mount points for the railing.


They were similar to the covers on the railings in the skytower. However, the floor cap that was going to be installed would have ended up 14" wide! When I cut the piece and started to install it, it just didn't look right and I ended up scrapping the entire idea.

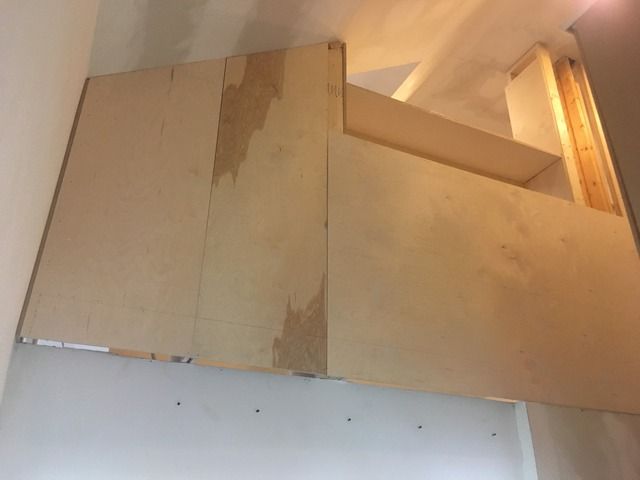
Instead, I have opted to go with a Room Divider design. Essentially, it will be a cabinet that will provide a little more storage upstairs and include an in-wall TV.

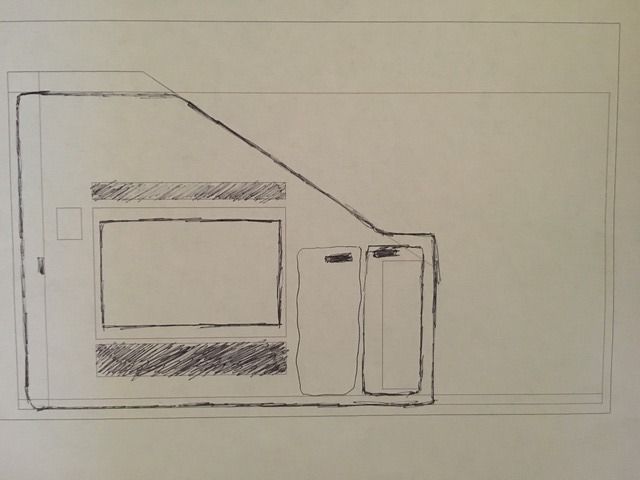
I have yet to master 3D renderings in tools like Sketch-Up, but I did do a 2D drawing of the wall and then sketched in some details to give you an idea of what I have in mind. The areas with pen markings around it is the divider, the rest is the sheetrock that is already installed.

The cabinet will have the same edges to the trim as my other cabinets and doors I have made. On the far right is two cabinet doors that will provide storage. Then there is the opening for a TV and then room for a Speaker Bar below and a vent above. To the left I am thinking I could mount an iPad flush with the wall itself.


(This shot is supposed to be rotated counterclockwise 90 degrees, but Photobucket won't do it)

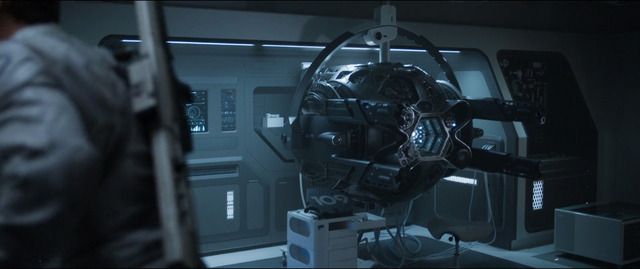
I am using this shot as my inspiration for this wall.

 
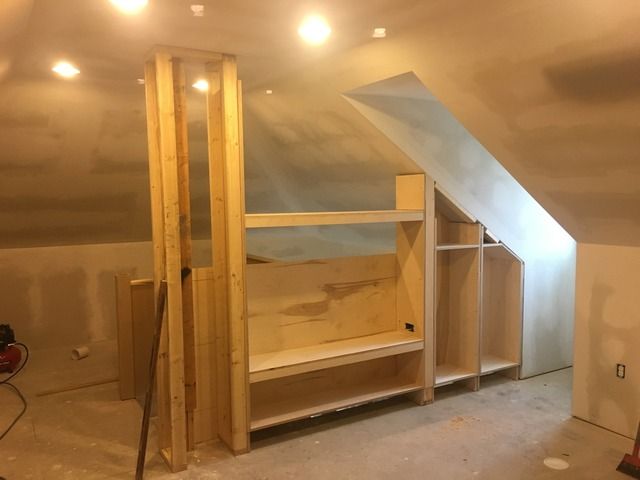
Small amount of progress over the weekend. I have the first of the cabinets built for the room divider.


I have two more cabinets to make and then I need to skin the whole thing and get it ready for paint.
 
I didn't get as much done as I had hoped. I ended up getting sick and spent the rest of the weekend laying in bed.

I did get all the boxes for the room divider built and installed. I did frame up around the cabinets with some 2x4's as well. They don't provide any additional support and were used more for spacing between cabinets and they are cheap. The only drawback is that they are not always straight. The cabinets are made from Baltic Birch plywood and will be "skinned" in MDF to provide a smooth surface.

I also ran the power to the cabinets for the TV and AV cabinet. I don't expect to have a lot of equipment in there, but I have room for an X-Box at least. :)


4C52ABF9-B13D-40BA-91B1-401E8B143711_zpsdol8gfkg.jpg


Now to get to feeling better.

-Eric
 
This thread is more than 4 years old.

Your message may be considered spam for the following reasons:

  1. This thread hasn't been active in some time. A new post in this thread might not contribute constructively to this discussion after so long.
If you wish to reply despite these issues, check the box below before replying.
Be aware that malicious compliance may result in more severe penalties.
Back
Top