hey Mark,
ramble? not at all. many times there's useful info in a persons "ramblings", and it sounds as if this has been a life long thing for you. You can't be much older than me if you're interested in this to that extent. Sorry to hear that you're having difficulties, I am as well but for me it's the lower back and one of my knees. Hands are still pretty good, however my eye's aren't what they once were up close...but I can still "hit a running rabbit with a 3 dollar pistol"
I was 12 or 13 when SW opened, loved it then, love it now. Bought my first falcon when I was about 35 and it sat in the closet for years. Flat thankfully. Now I've got a closet full and each one is better than the last.
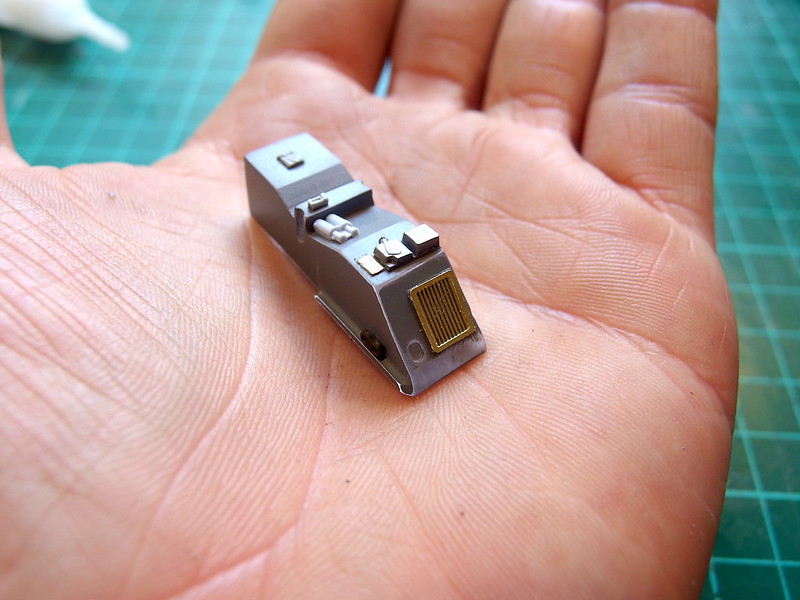
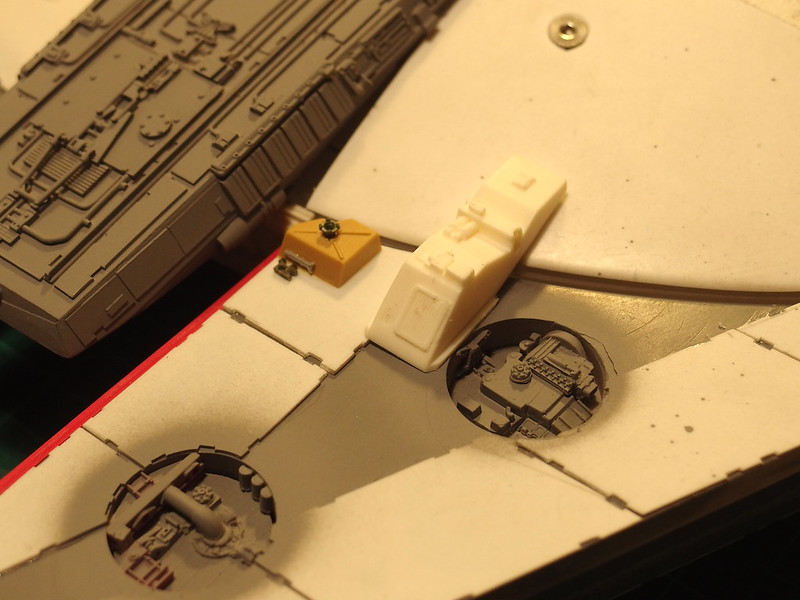
I've pretty much hammered out everything I don't care for with the MPC kit thanks to HH and Tony, BUT, there's one more thing that like a bug in the ***...the cockpit. Needless to say, the MPC cockpit looks mighty small as opposed to what you see on screen. Saw where one fella cut the corridor from the upper hull, raised it some, and then used what looked like a piece of slightly larger PVC pipe for the cockpit and tapered it to fit the Shapeways cone. of course he had to remake all the hull plating for the tube and corridor. I'm past that point in this one, but thought of trying something similar on the next one. it's obvious that you have an advanced knowledge of the ships proportions, so what your opinion on correcting this for the MPC? I realize the answer could be complicated but I'd be very interested in what you think. Good hearing from you Mark, thanks
Ross
UOTE=Darth Humorous;4262010]Hey Ross, he seemed very appreciative of the info. As I said, the comments are visible for the 1/144 docking cone page for all to see, toward the bottom of the page. So far, I haven’t seen a second update yet.
O.K., “short” version of my build. After nearly 40 years of trying to decipher this thing, I am still a student of the “5-footer”. That being said, I have gotten extremely close to solving the general hull shape EXCEPT for the hull landing gear boxes. Ironically, my original plan was to fit the interior into the exterior, like Bob Brown had “eventually done” tho I was unaware of him at the time. Of course there was no internet when I started all this. Anyway, to make the interior fit into the exterior, I needed to have accurate b/p’s of each. None existed so I set out to create my own. I began to collect every book, “official” b/p, fan-made b/p, photos, etc. I could get my hands on. The goal was to mod my MPC to my exterior b/p’s, and then scratch an interior for it based on my interior b/p’s. At some point, a fellow modeler convinced me to go for broke and make the “5-footer”, especially since the MPC model was really like a ruined wet dream. So far, I have a blue ton of self made b/p’s and very few parts. I had actually been drafting several of the greeblies for this fellow modeler, which, of course would help me as well. At that point in time, there was no shapeways, and model kits for greeblies were stupidly expensive on ebay. Since I have the training to draft and am (was) good with my hands, I planned to scratch the greeblies I could not afford. It is a given that I would have to scratch the hull as hollow so as to fit the interior. I didn’t want to start the build until I was satisfied with all my hull b/p’s…which I am not—yet.
I am up in years, and unfortunately, my health has become very poor, and I spend more time in doctors’ waiting rooms than anywhere else it seems. Though they still work somewhat, my fingers are becoming deformed, so I don’t know if I will ever be able to pull it off. Nonetheless, I still love the modeling hobby, and viewing other modelers’ progress is more of a vicarious experience. I try not to post too much except when I see the need to point something out or answer a question that no one else seems to know.
Sorry for the ramble.
Mark[/QUOTE]