You are using an out of date browser. It may not display this or other websites correctly.
You should upgrade or use an alternative browser.
You should upgrade or use an alternative browser.
Mark 46 build 3D print
- Thread starter TKCC71
- Start date


")
Thanks, paint was done with Dupli Color Metalcast Red and Dupli Color Sunburst red.
Great build! Just wondering. What 3d printer do you have? Thinking of getting one just. Thanks
TKCC71
Well-Known Member
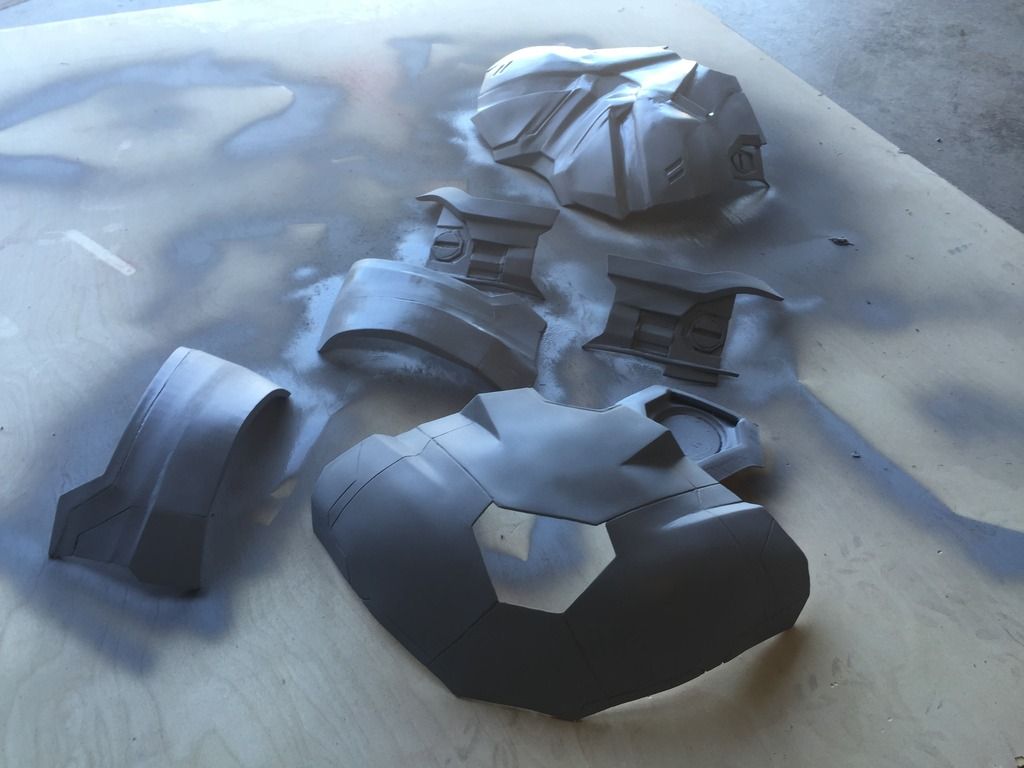
Thanks, Tigerbalm, Im using the Robo3DR1+. Printer has now been going 24/7. Change my print to .20 layer thickness and 20% infill. Takes a little longer but think I'm going to have a little less work in the finishing stages.
Here's the progress to date. Hopefully I will have the back and chest completely done this weekend for finishing.
Here's the progress to date. Hopefully I will have the back and chest completely done this weekend for finishing.

creative stress
Well-Known Member
Thanks, Tigerbalm, Im using the Robo3DR1+. Printer has now been going 24/7. Change my print to .20 layer thickness and 20% infill. Takes a little longer but think I'm going to have a little less work in the finishing stages.
Here's the progress to date. Hopefully I will have the back and chest completely done this weekend for finishing.
http://i1081.photobucket.com/albums...7-F7B9-4AB4-90BD-77F3D08769EC_zpsufjm4ksf.jpg
looks cool how long print time
TKCC71
Well-Known Member
Thanks Leylander,
My print bed is 8x9x10 inches.
For the facemask I did a plane cut about 1 inch just below the eyes. It printed much better in 2 as opposed to doing it in one go. Just had to do a little sanding and add some body filler to cover up the cut.
My print bed is 8x9x10 inches.
For the facemask I did a plane cut about 1 inch just below the eyes. It printed much better in 2 as opposed to doing it in one go. Just had to do a little sanding and add some body filler to cover up the cut.
Hi,
Really nice helmet, great work!
I have a question, what size bed do you have and how did you allign the faceplate and such?
I have a bed of 20x20x18cm and the faceplate won't fit in one go. (helmet width of 195)
TKCC71
Well-Known Member
looks cool how long print time
Thanks creative, I'm basically doing it shell by shell. Average print time is anywhere's from 4-11 hours so far.. I started the chest on Sunday and have been printing 24/7. I could speed it up by doing a lower layer height but trying to save me a little more time in the finishing stages.
Leylander
Active Member
Thanks Leylander,
My print bed is 8x9x10 inches.
For the facemask I did a plane cut about 1 inch just below the eyes. It printed much better in 2 as opposed to doing it in one go. Just had to do a little sanding and add some body filler to cover up the cut.
Thanks, I'll print it in 2 pieces as well.
How did you meisure the chest piece? I found a tutorial to use a simple body scan as a reference. But that does not result in a clean mesh to use as a dummy.
TKCC71
Well-Known Member
Thanks, I'll print it in 2 pieces as well.
How did you meisure the chest piece? I found a tutorial to use a simple body scan as a reference. But that does not result in a clean mesh to use as a dummy.
I used the Xbox 360 Kinect and scanned a full body shot of myself via Skanect. However you right, the mesh was not the greatest unless you pay for the full program but it does give me a good starting point. So I also use NETFABBs point to point measurement feature and calipers to validate and measure the other parts.


TKCC71
Well-Known Member
Does anyone have any suggestions on how to mount the Chest Peice and back together. Magnets? Or could provide a link to someone who has done it before? Also I did the helmet with some rare earth magnets at Harbor Freight but they really don't seem strong enough. Open to some suggestions.
TKCC71
Well-Known Member
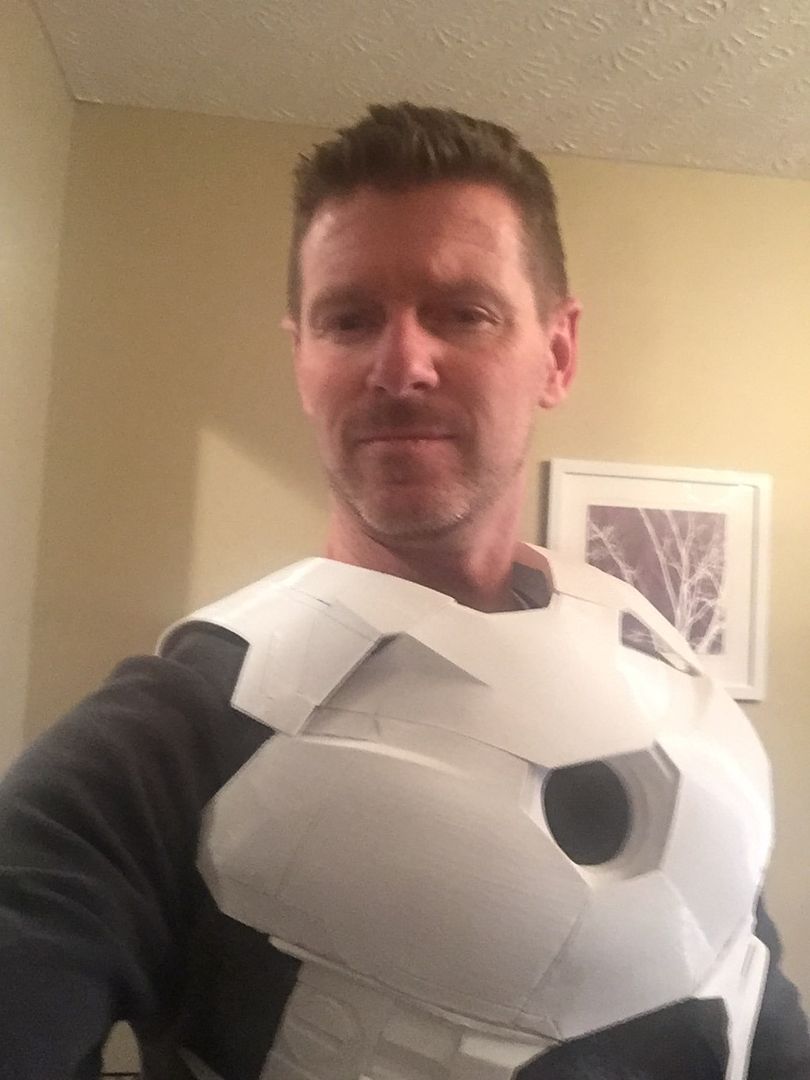
Thanks for the tips guys, will give the buckels and magnets a try this weekend. Hopefully will put the chest and back all together this weekend. Been doing a little body work to the individual pieces for both the chest and back. Still a little more work to go (Details lines etc..)but I think this is finally coming along. The back will have some more work with a touch up here and there after this dries. Also need to remove the flaps for adding the servos which will cause some more body work.

creative stress
Well-Known Member
Its coming along nicely buddy this is the fun & sometimes stressfull part lol cant wait to see more [emoji106]Thanks for the tips guys, will give the buckels and magnets a try this weekend. Hopefully will put the chest and back all together this weekend. Been doing a little body work to the individual pieces for both the chest and back. Still a little more work to go (Details lines etc..)but I think this is finally coming along. The back will have some more work with a touch up here and there after this dries. Also need to remove the flaps for adding the servos which will cause some more body work.
[url]http://i1081.photobucket.com/albums/j360/Tjsailosullivan/2F156309-0134-4852-AC02-BDBF0C206414_zpspar5tlrl.jpg[/URL]
Sent from my SM-G900F using Tapatalk
Similar threads
- Replies
- 3
- Views
- 628
- Replies
- 2
- Views
- 1,753
- Replies
- 4
- Views
- 2,426