I looked for lamp posts back when I did it, but by then, the lamps just weren't around anymore, same with the end caps.
In canada our sink pipes are only 6 inches for some reason... I had to get 12 inche pipes from the states...
https://farm3.staticflickr.com/2931/14330535515_5d38ca31d5_c.jpg
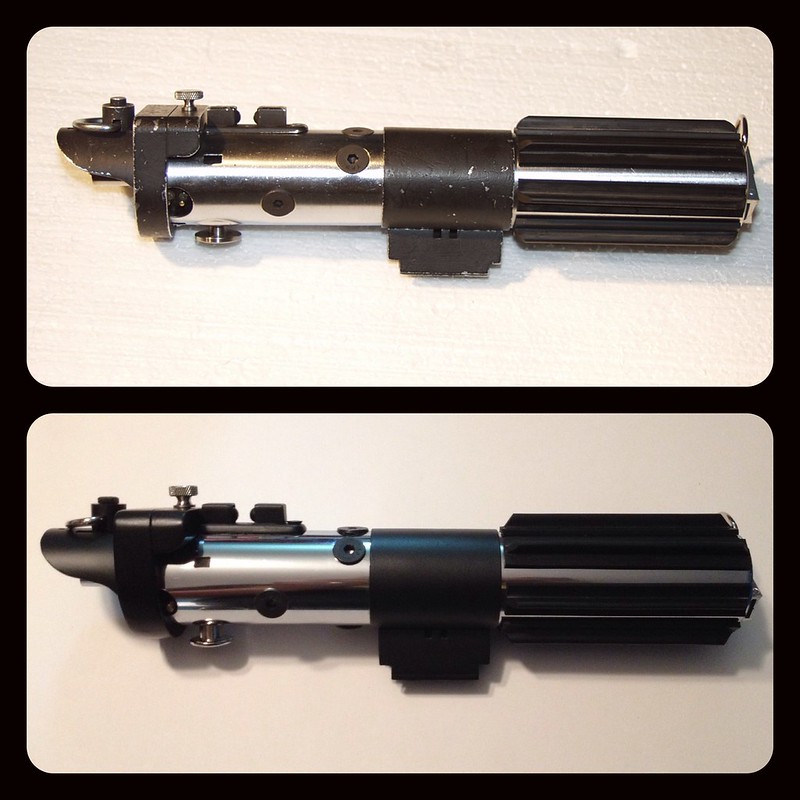
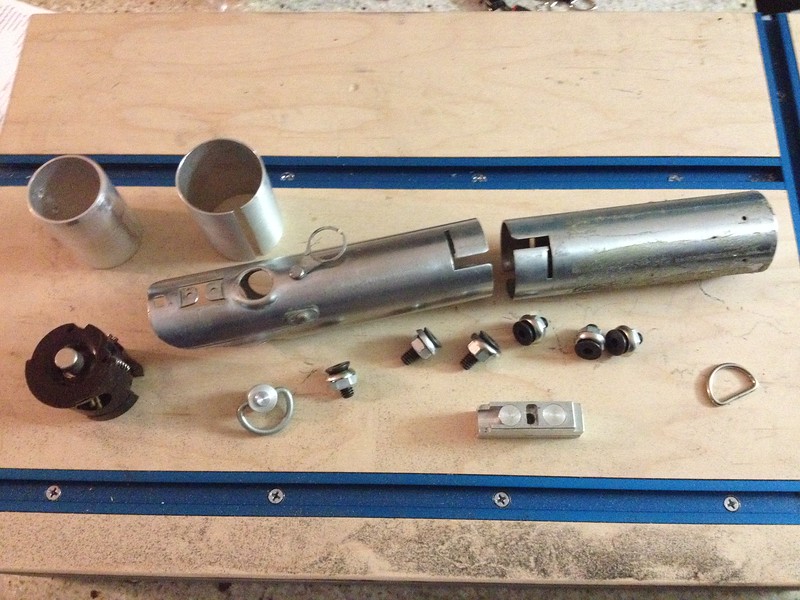
and then for an endcap I bought steel disks from etsy with the right diameter. I lightly tapped around the outer rim with a hammer until the lip curled in enough, then dropped and glued the disk in place...
https://farm6.staticflickr.com/5318/14307405886_d861acaff7_c.jpg
https://farm6.staticflickr.com/5117/14117335528_04cc558125_c.jpg
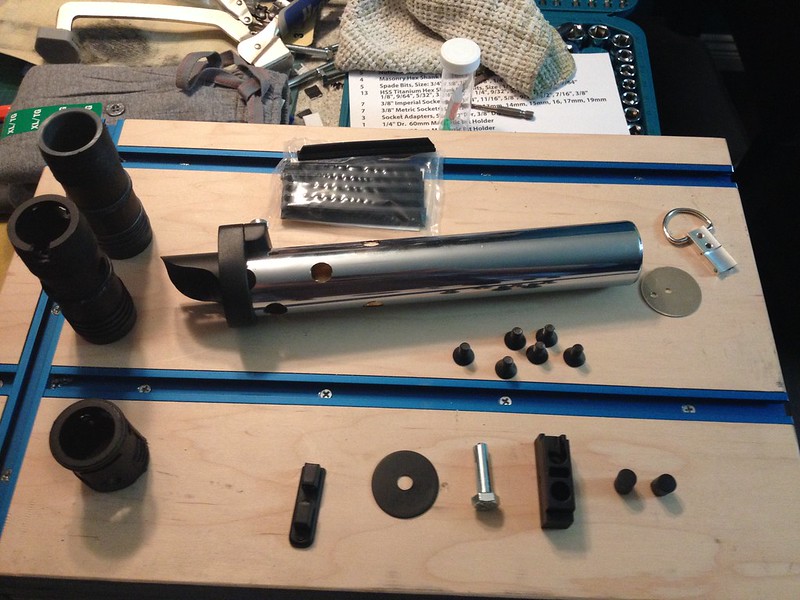
I ordered the D-ring from Blastech I believe... Roy at Wannawanga sells them now though...
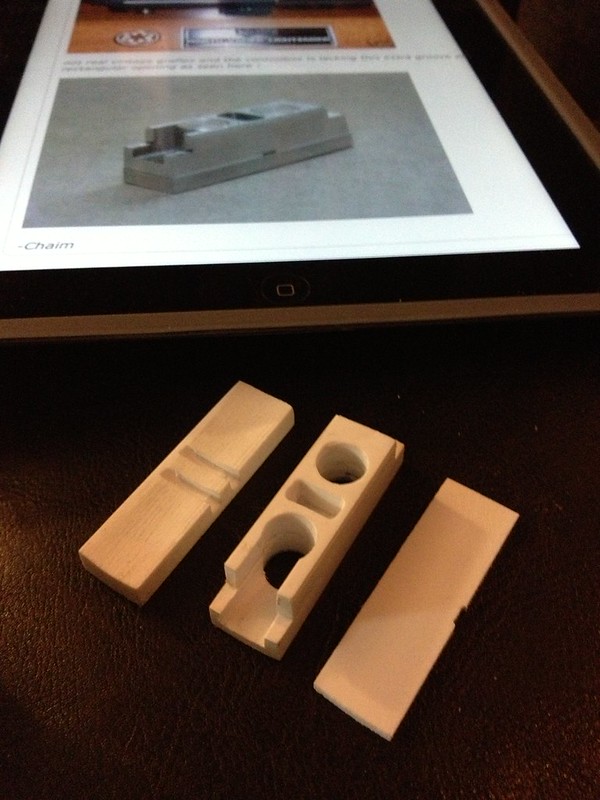
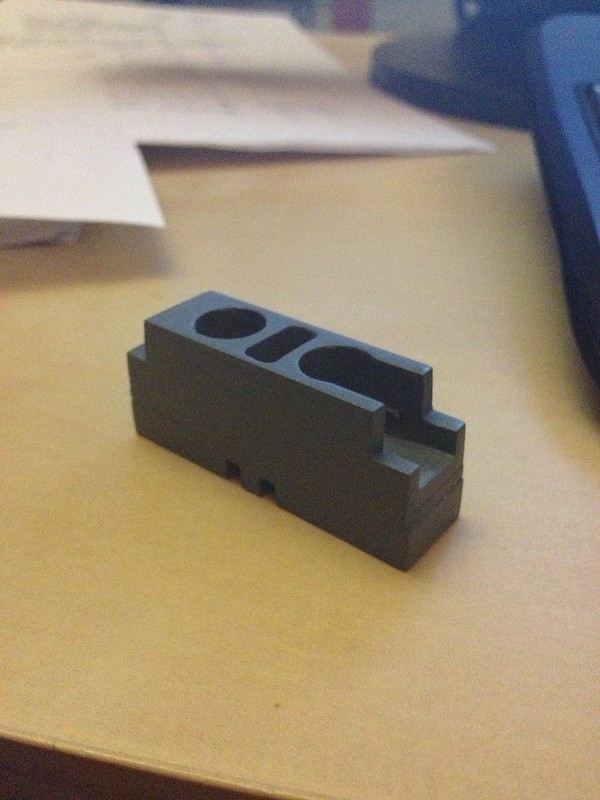
As for the box, I eyeballed dimensions, and used the ones from the tutorial, and made a super complicated version out of styrene. It's pretty accurate in the end, but what a pain. I can't even explain the process and I overthought it and there's gotta be a better way.
I mean it was in 4 parts.
https://farm4.staticflickr.com/3759/9959849746_efbc166f1e_c.jpg
https://farm4.staticflickr.com/3769/9959934343_81a9fed3d1_c.jpg
Looking at these pics I realized I have a full build thread from back in the day for this tutorial...
http://www.therpf.com/showthread.php?t=191787&highlight=vader+mom+rotj