Bandai R5-D4 painted seam question

youngwm

Active Member
Hi to all the great model builders.. I admire all the work in the General Model section of this site..

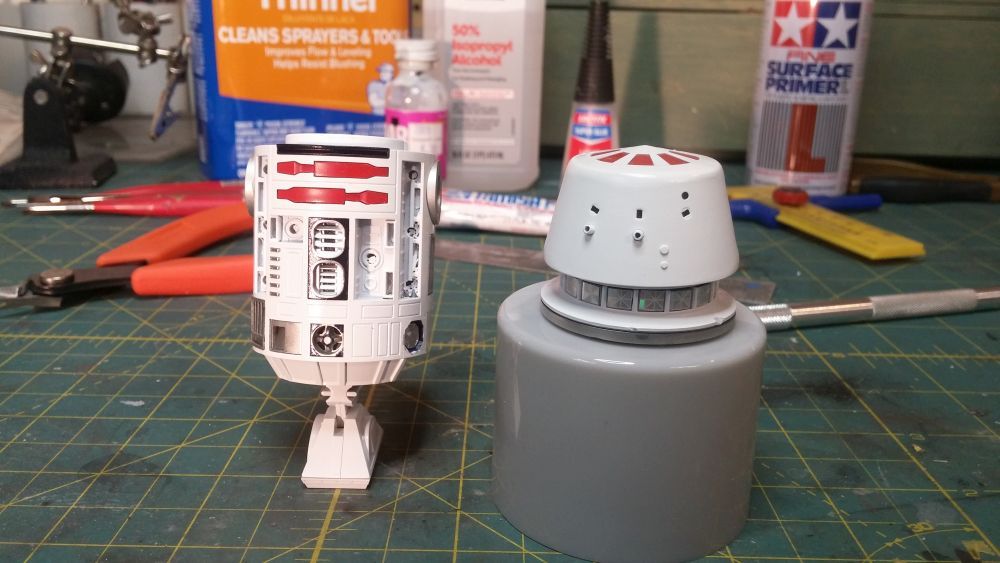
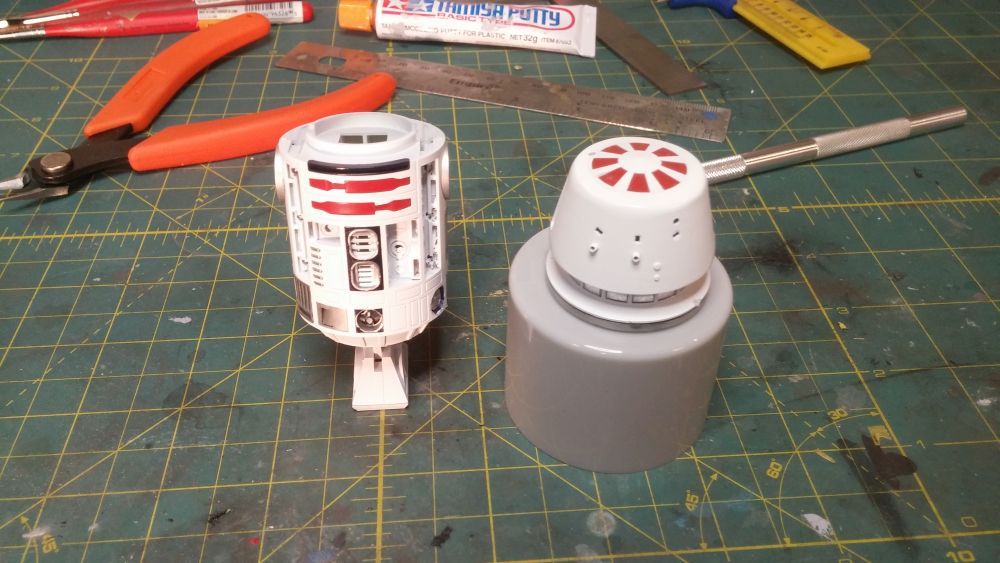
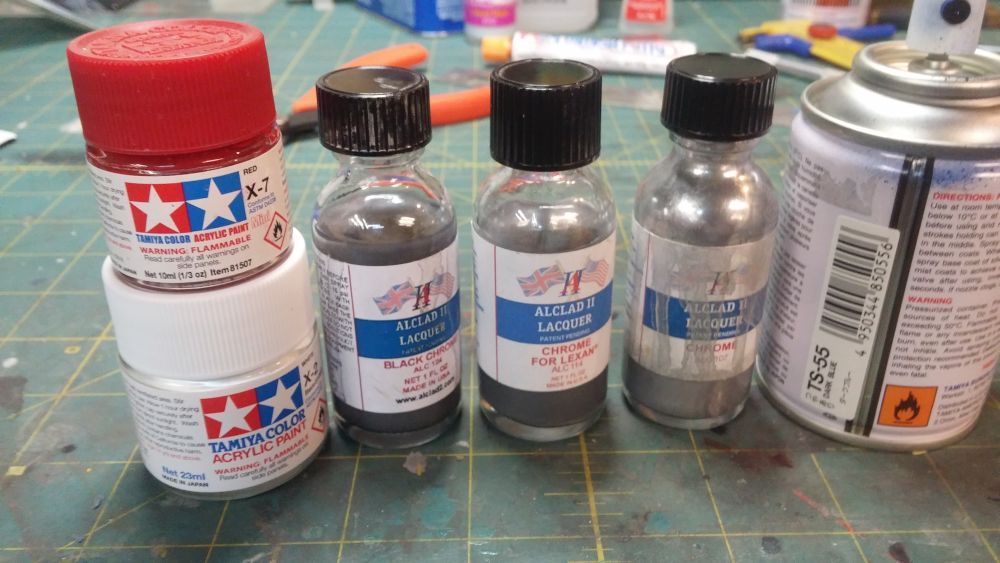
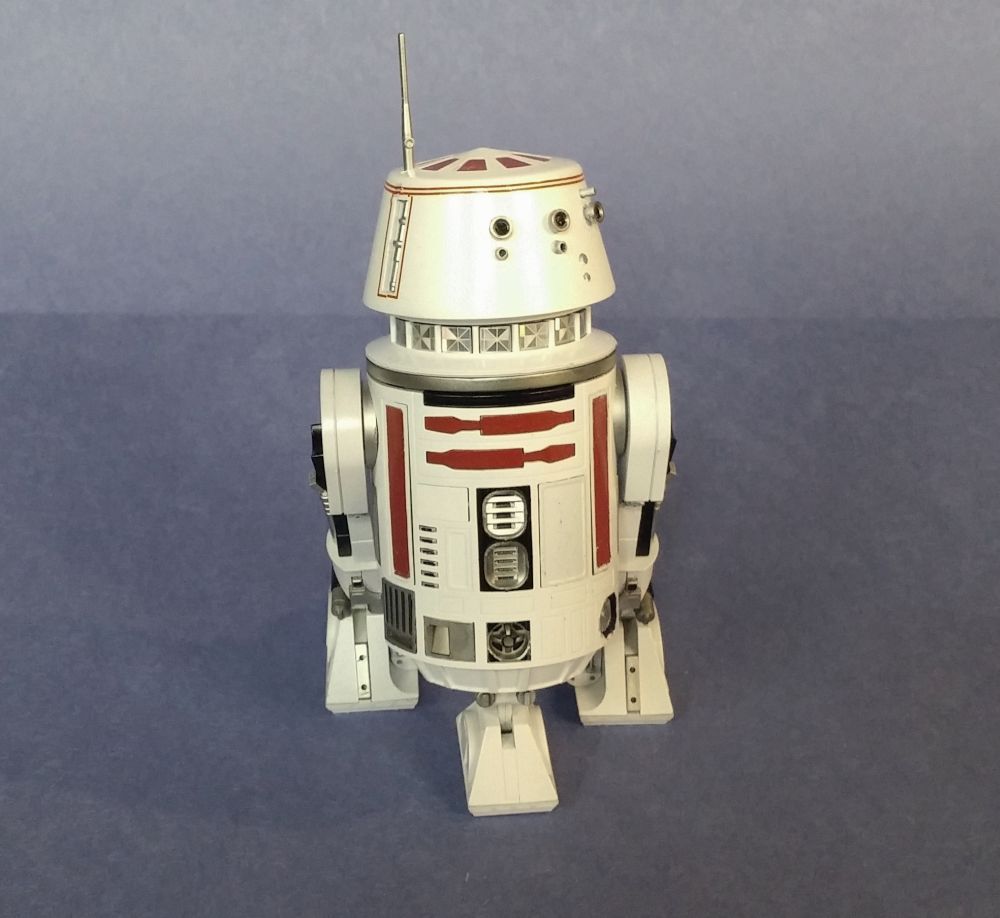
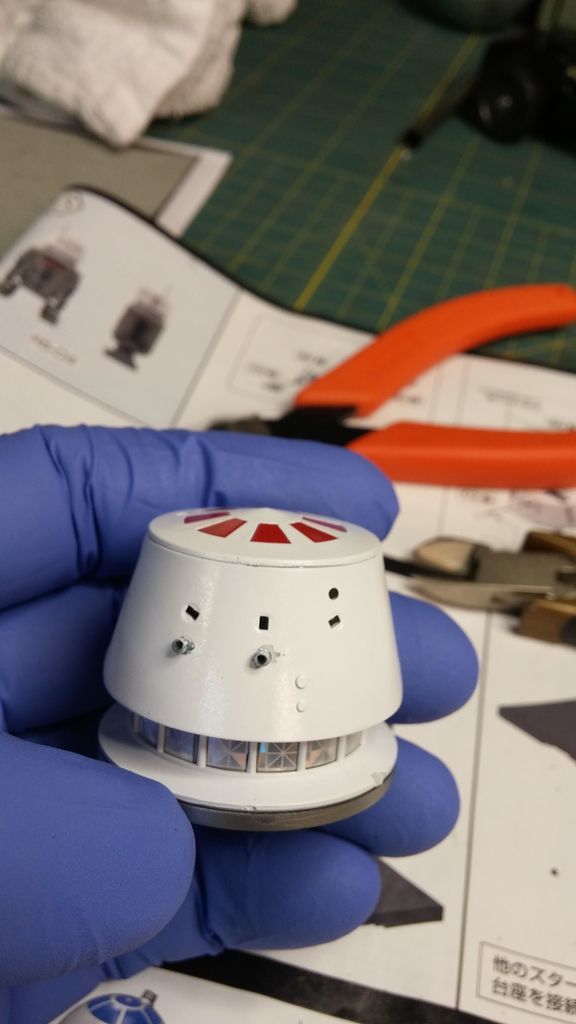
I was wondering if anyone ever filled a seam on a painted part. After painting I have a small seam on the lid. I noticed that the fit in general was really tight after the parts were painted these Bandai kits are as everyone says a good fit. I just wondered if I wanted to fill the top seam if it was possible to use either a little super glue or Tamiya putty. Lightly sand a bit have every thing masked and repaint the Tamiya white. I know the best thing is to prime and fill but I thought I would get a better fit.. Or in this situation do you guy's strip the paint and start over? I was trying to paint some of this cutting down on the masking.


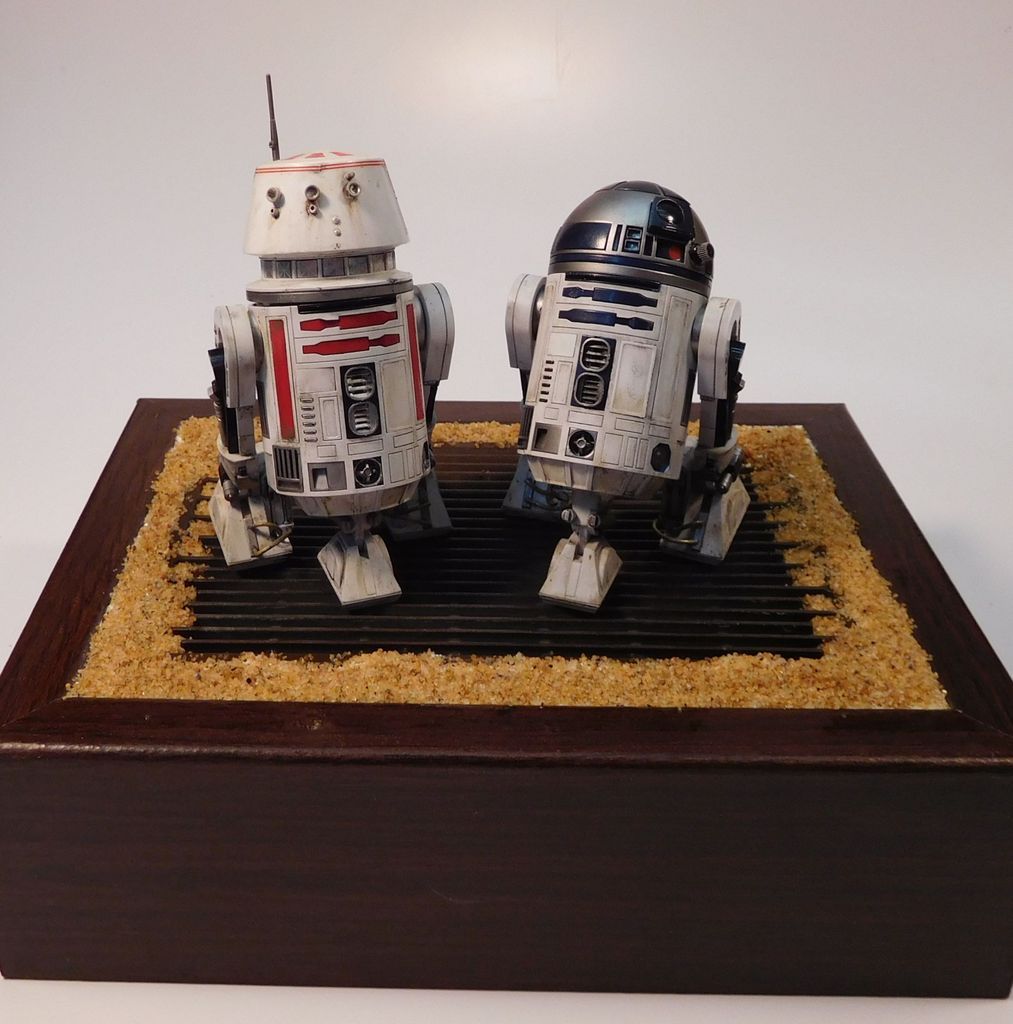
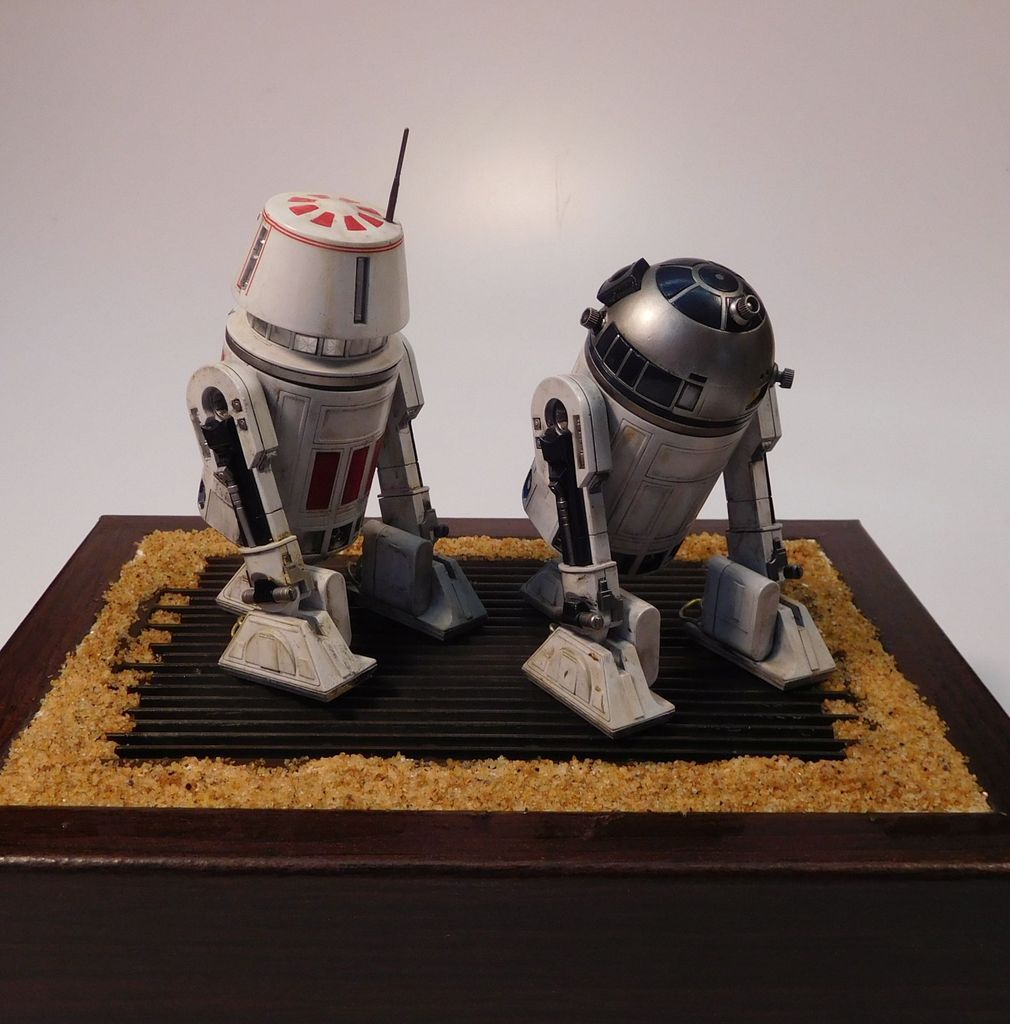
My plan is to start the R2 after this is finished and make a sand based diorama including a scratch jawa.. I just purchased a cloak on ebay and right now I'm looking for a figure that I can cut up sculpt or what ever fit in the cloak in the correct scale and with the face being so dark sculpt something and light the eyes. Well that is the plan I will see how it comes together.

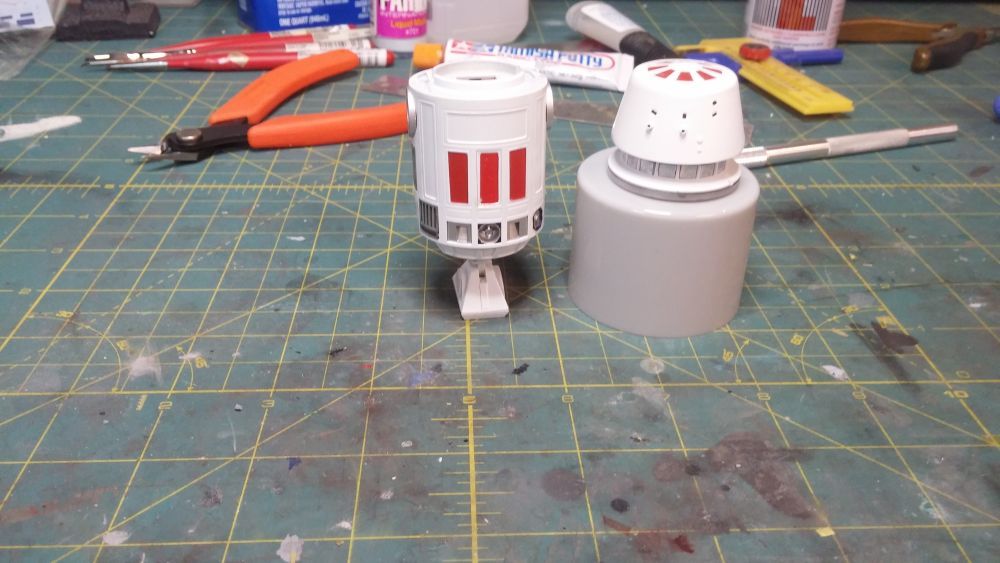
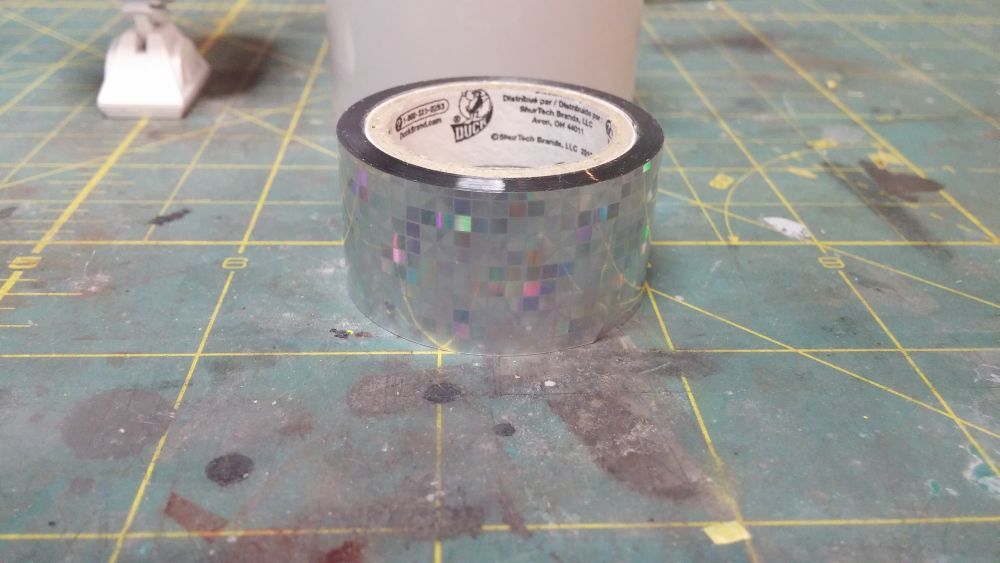
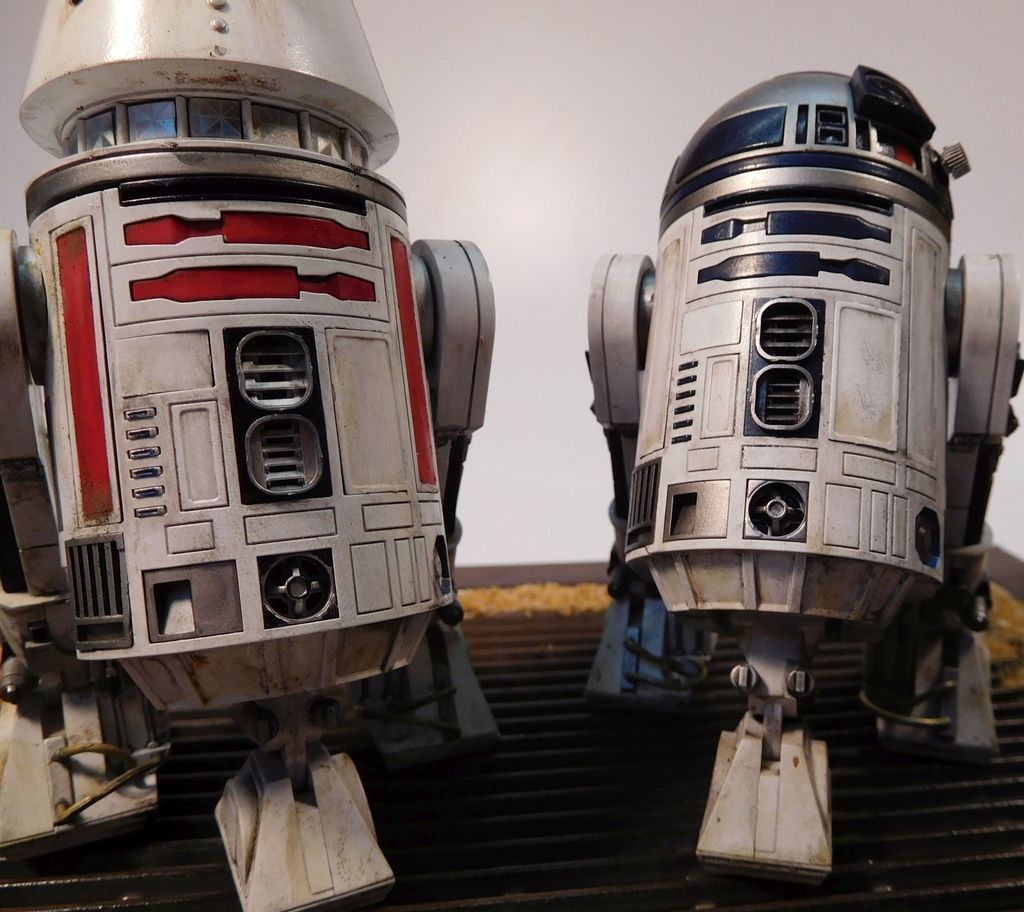
I hollowed out the front pipes and found tape that looked better than the decals or more accurate than the provided decal.

Thanks!

Mike

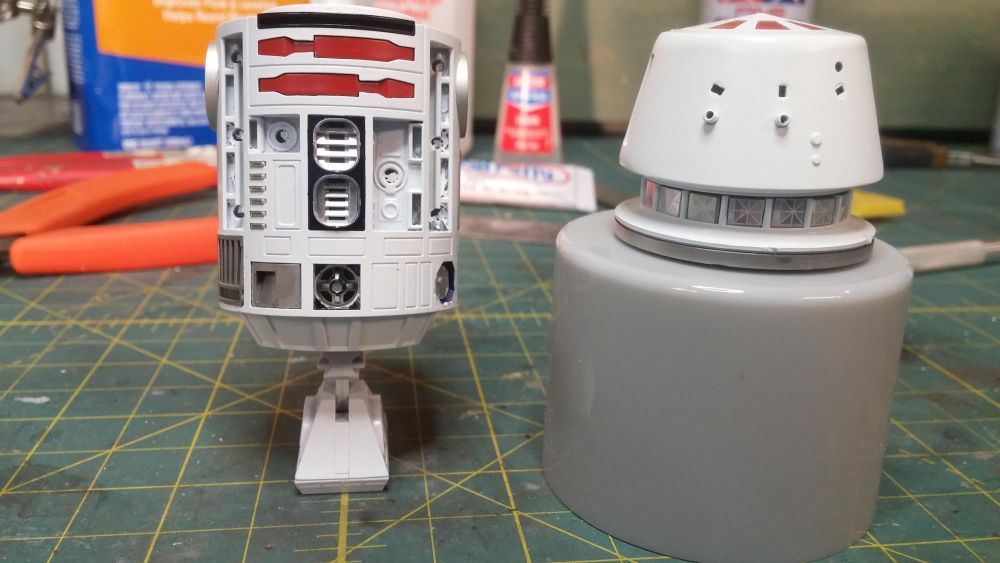
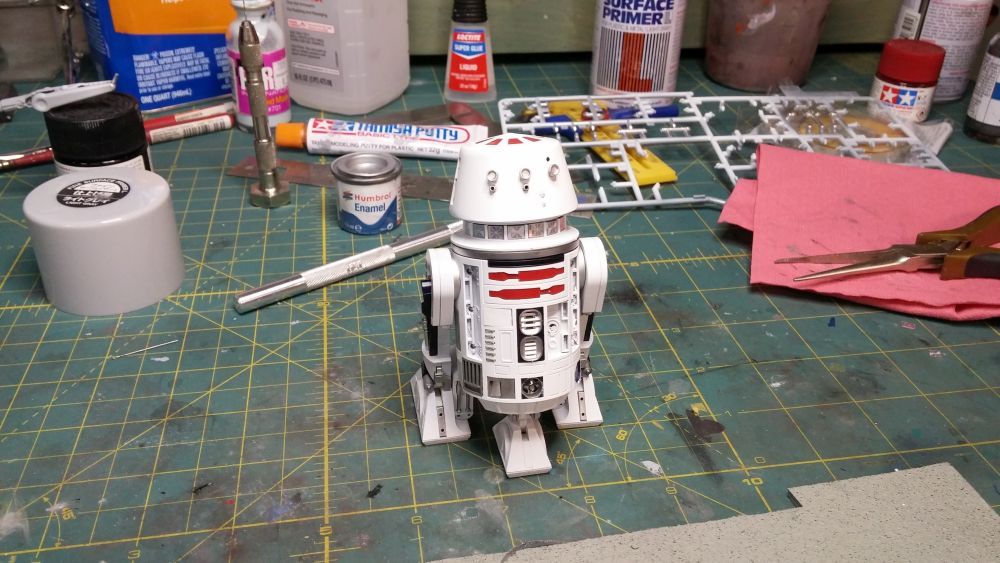
Here is my start on R5

r5-d4%20model_zpsswl3f3ow.jpg
 
Last edited:
This particular droid has some thin pinstripes there. Depending on how carefully the decal is applied, the seam may be less noticeable.
 
This particular droid has some thin pinstripes there. Depending on how carefully the decal is applied, the seam may be less noticeable.

Thanks Mike, I agree.. but I guess I decided that it would always bother me when I looked at the model and managed to get the white cap off with out damage this morning and currently the droid head is dunked in some Scalecoat II Wash Away... I have used this on other Bandai parts with out damage. I will post picks when I get the R5 together. My compressor motor died and will have a new one in few days.

Thanks
 
You could apply a small drop of super glue to the seam and when dry, lightly scrape it flush with a new sharp blade. Then maybe lightly smooth it with 4-600 sandpaper. If the two halves line up and fit without a 'step' that's how I would do it. Hope that helps!
 
I used Tamiya putty on these droids with excellent results. I had never used putty of any kind before but got advice here, watched a couple of tutorials on youtube and had no problem. If you go this route, I would recommend getting the gray (not white) putty, which I found at Hobby lobby. As I said, the gray Tamiya is only putty I've ever used but all the research that I did said to avoid the white if at all possible.

Good luck.

Sidenote - I used the putty to fill the seam on R2's dome and this took a little tinkering with the parts. Basically you have to cut down the internals a little bit to slide in all the blue parts. If you don't you will putty up the seam and then discover that you can't get all the parts into the dome. Luckily a few members here alerted me to this before I started. Gotta love the model masters at THERPF...:)
 
You could apply a small drop of super glue to the seam and when dry, lightly scrape it flush with a new sharp blade. Then maybe lightly smooth it with 4-600 sandpaper. If the two halves line up and fit without a 'step' that's how I would do it. Hope that helps!

Thanks and I gave this some thought and almost gave this method a shot.. I was worried that the paint would come up in some places and would be a bit uneven.

I used Tamiya putty on these droids with excellent results. I had never used putty of any kind before but got advice here, watched a couple of tutorials on youtube and had no problem. If you go this route, I would recommend getting the gray (not white) putty, which I found at Hobby lobby. As I said, the gray Tamiya is only putty I've ever used but all the research that I did said to avoid the white if at all possible

Thanks Jimmer and I have used different types of putty and Tamiya is my go to. In my experience in the past even using Tamiya putty sometimes I still had problems with seams. I really gave it some thought this time and tried a little bit of a different method that I would like to share. What I was up against in filling seams was I would fill the seam and sand but often either I would still see the small indentation after allowing putty to dry or sometimes I seemed to sand the putty right out. This was really a set back for me as if you don't give the putty time to dry it crumbles and allowing time and having to refill/sand sometimes was slowing my building down.

So this is a little different method that I tried and I'm sure others may already use this method of filling seams. So first I managed to take the lid off and disassemble the parts as luckily I only used a small amount of super glue. I then dunked the model in this stuff in the pic below and it does not effect even the Bandai styrene.

r53_zpsmgqhibbl.jpg


What's nice about this stuff is that it doesn't have much of a odor and you can reuse it. I scrubbed the parts in water shortly after with a old tooth brush. I then repainted the red top part and only painted white of the very top of the lid of the droid and let it dry for a day or two. Once I assembled I cut a circle in the masking tape and pulled it off my work bench on and off to take away some of the tack of the tape. I applied it to cover the white and red parts then I used super glue on the seam. After about 20 min or so I sanded the glue down and then applied Tamiya putty and used a little rubbing alcohol to thin it down a bit. Waited a few hours and then sanded . It really did the trick. Unlike some of my past experience where after sanding I find places where the seam is still showing here and there.

Here is some pictures of where I am at now and the paint used. I also snapped a pic of the tape I used that I bought at Michaels for like 2 dollars.

Thanks guys again I will post some more pic's and I'm just about ready to start the R2 and thanks for the dome advise Jimmer I will look at what I need to cut.

Mike

Some pictures of where I am at and some smooth seam work that this time ended up not being that much work..

r5use_zpsblogeg09.jpg


r57_zpsvs8wxzws.jpg


r5-2_zpskio4jmzs.jpg


r54_zpsbxozegdn.jpg


r5paint_zpswnk1vkrz.jpg


r51_zpsgopu3ark.jpg
 
Last edited:
More work completed as far as using pencil on the panel lines what type of pencil do you guys use?


Thanks,

Mike

r5about_zpsmrqxkrfo.jpg
 
I have used one of the fine Gundam panel line pens. I used gray for white models, to keep the lines subtle. Additionally, it can be wiped off while wet.
 
Thanks Jake I always enjoy looking at your threads and find the work you do... Pretty amazing.

I have used one of the fine Gundam panel line pens. I used gray for white models, to keep the lines subtle. Additionally, it can be wiped off while wet.

Thanks again Mike I will check Amazon for the Gundam pens.

R5 is about complete I picked up some supplies for a base and will begin working on the R2..

Ready for a light coat of Pledge Future then wait to weather both droids at the same time

Thanks for all the help and suggestions.

949_zpsntwxyhoq.jpg
 
Last edited:
Since my over sanding altered poor R5's dome.. I ordered another kit and my original plan was to scratch build another astromech dome.. I spent a lot of time and different methods and figure I either need to work on learning a 3D modeling program or learn to vacumform parts. But I continued to press on with R2 and R5 and made a base. Here are some pic's having a bit of fun with a new camera it really beats using a smart phone. Hope these droids (R5) look a little better now..

Thanks,

r24_zpszqchlzeb.jpg


r25_zps19yzmxlm.jpg


r26_zps1lyks6cl.jpg


r28_zps5mdqd5tc.jpg
 
Nicely done.
They both look great
Love the base too, effective and doesn't distract from the droids.
 
Last edited:
This thread is more than 8 years old.

Your message may be considered spam for the following reasons:

  1. This thread hasn't been active in some time. A new post in this thread might not contribute constructively to this discussion after so long.
If you wish to reply despite these issues, check the box below before replying.
Be aware that malicious compliance may result in more severe penalties.
Back
Top