Game of Thrones: Jorah Mormont Leather Armor Build

FPLeatherCo

Well-Known Member
RPF PREMIUM MEMBER
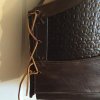
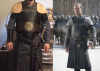
After updating my Jorah sword and scabbard to high-quality leather (http://www.therpf.com/showthread.php?t=232235) I'm setting my sights on rebuilding the armor in leather. I originally made it out of EVA foam with leather and vinyl coverings (http://www.therpf.com/showthread.php?t=228404) but now I want to make it completely out of vegetable tanned leather as the "original" would have been.


attachment.php


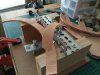
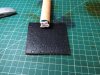
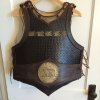
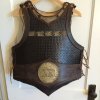
The armor consists of the chest and back plates which will be a base of leather tooled/stamped to the woven pattern with leather overlays around the top/bottom and sides, the two bicep guards, the bracer, and the pauldrons. Lots of pieces to glue together and tool. I'll have to make some custom stamps to get some of the patterns. It's a bit daunting but since I've already made one I think I have most of the design and details worked out and just need to transfer it to the leather. We'll see how it goes.


attachment.php


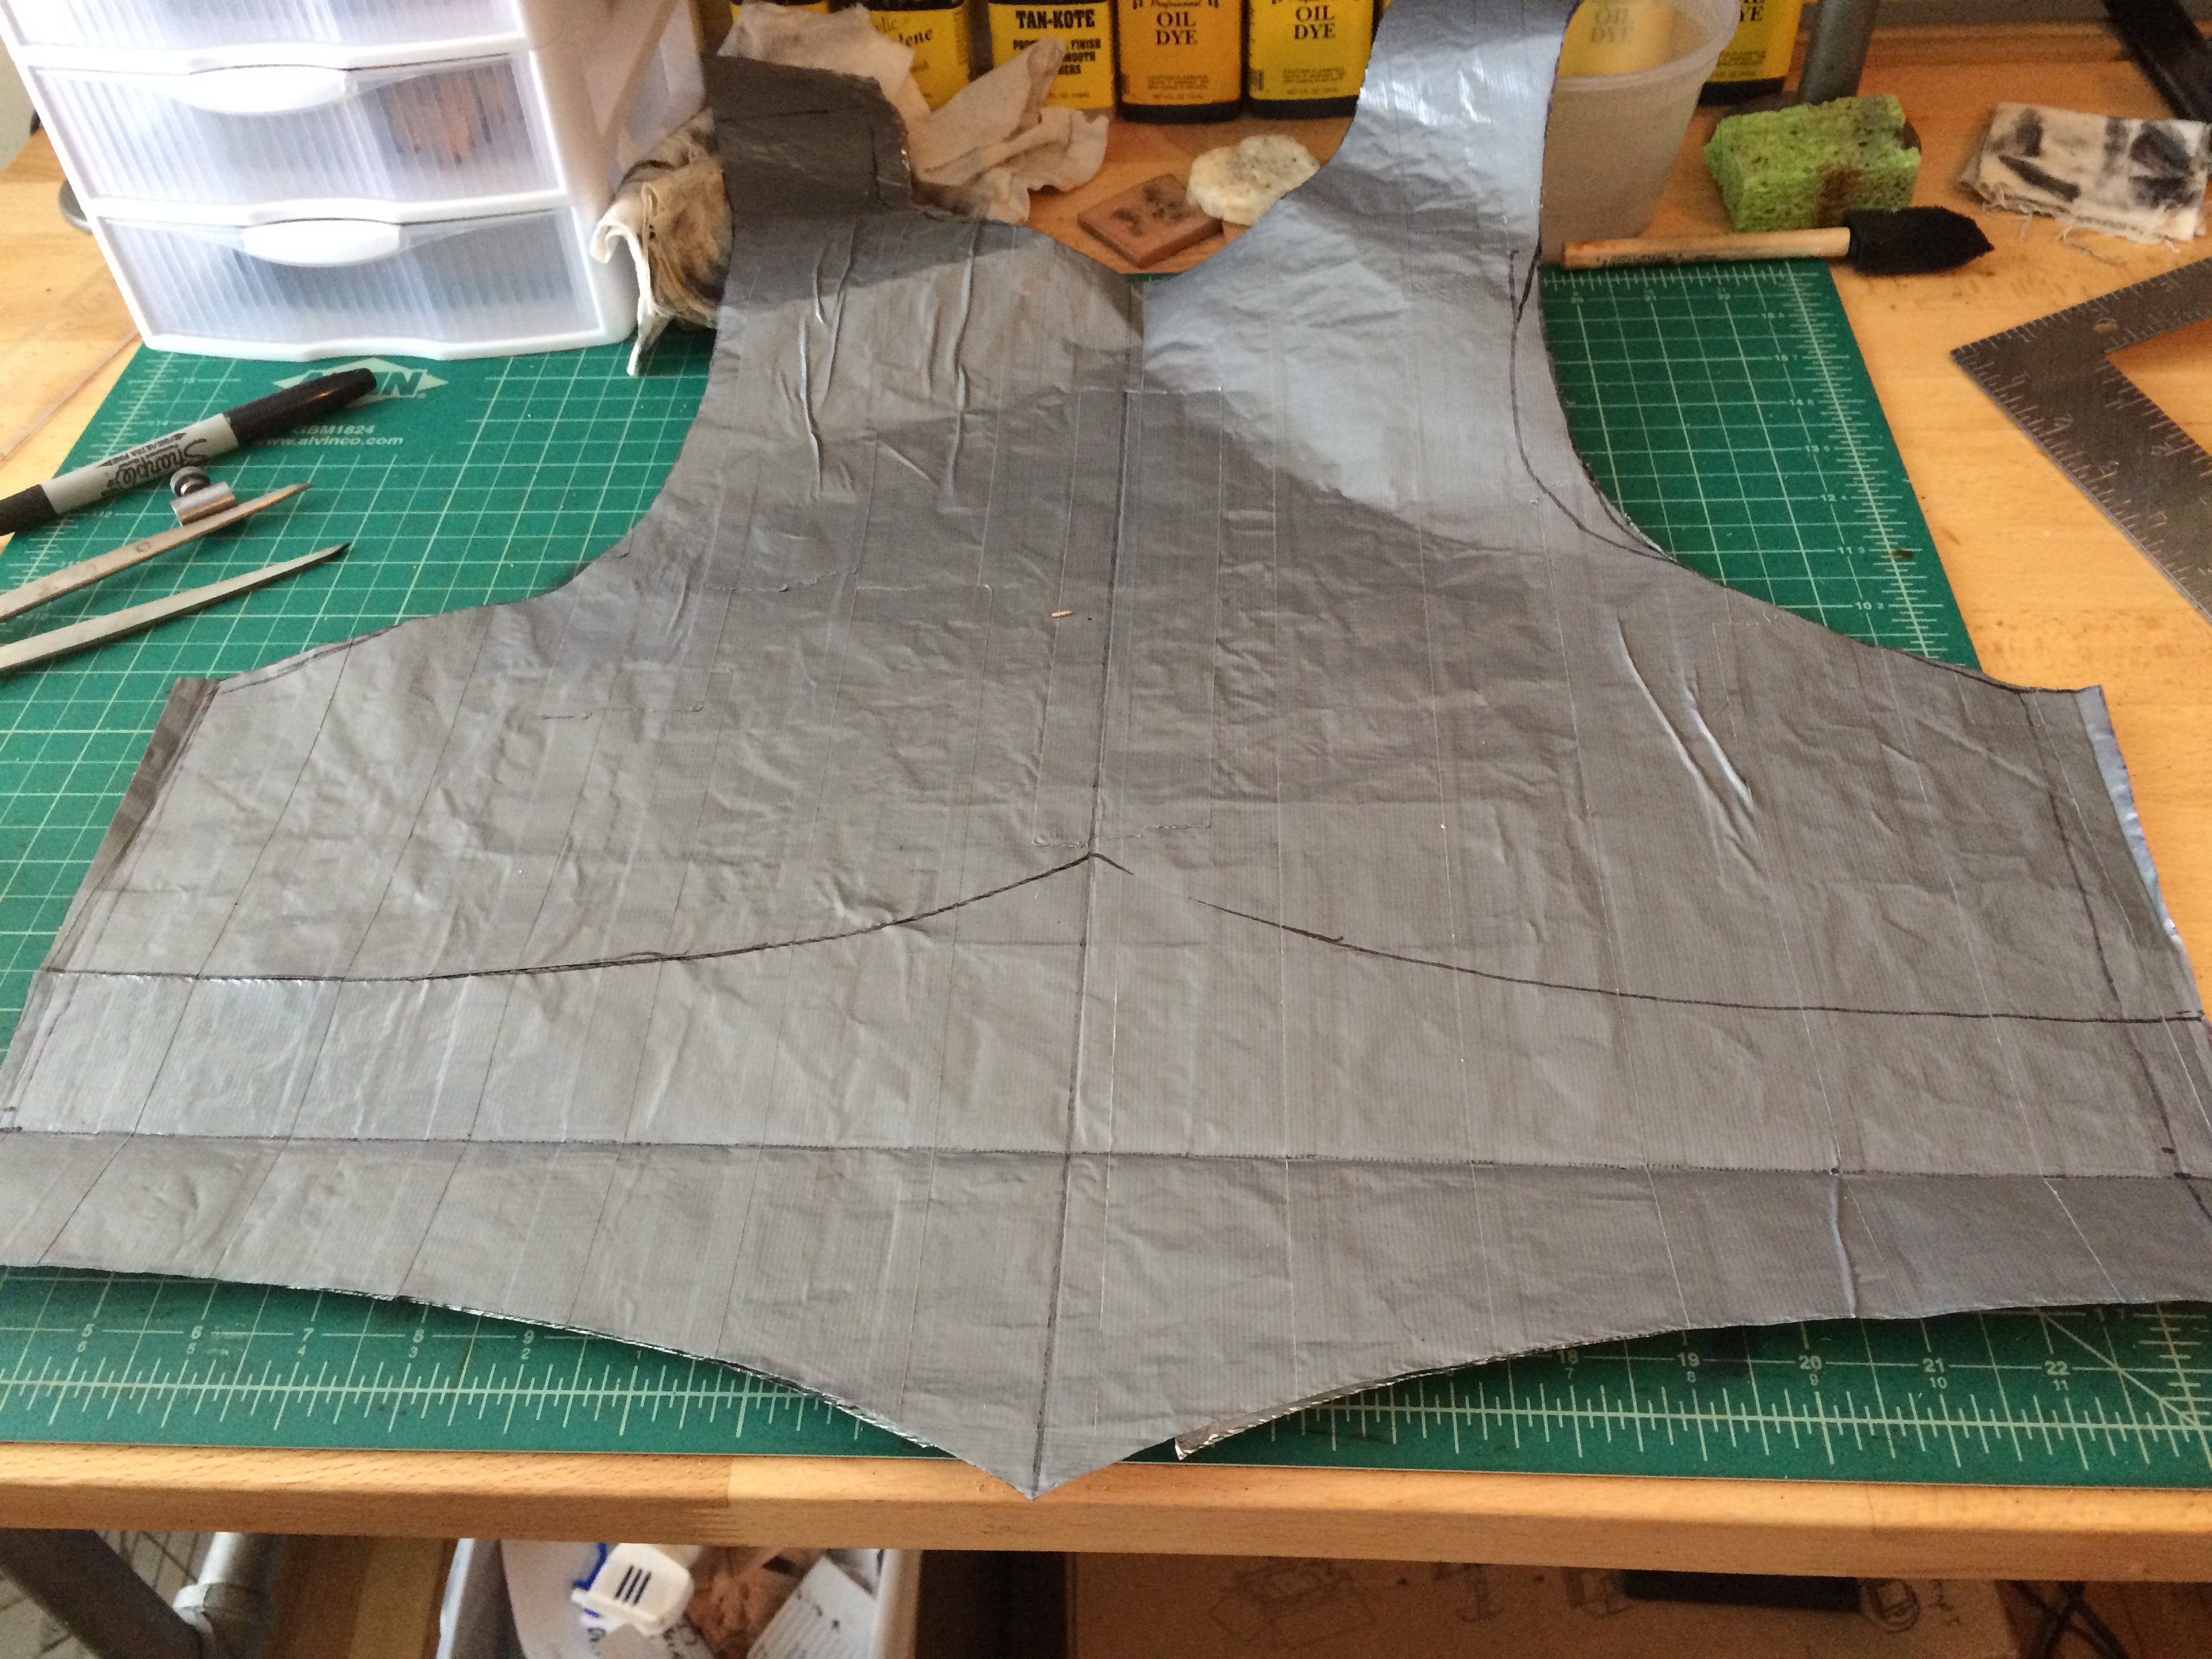
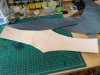
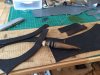
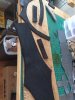
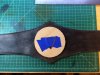
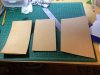
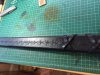
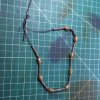
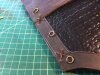
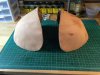
I first made templates for the front and back of the breastplate out of aluminum foil and duct tape. I used the old armor as a guide and updated the shape where needed. I can trace these patterns onto the leather and also cut them down for templates for the leather rims around the outside. I already drew on some of the addition pieces which I'll cut out eventually.


attachment.php


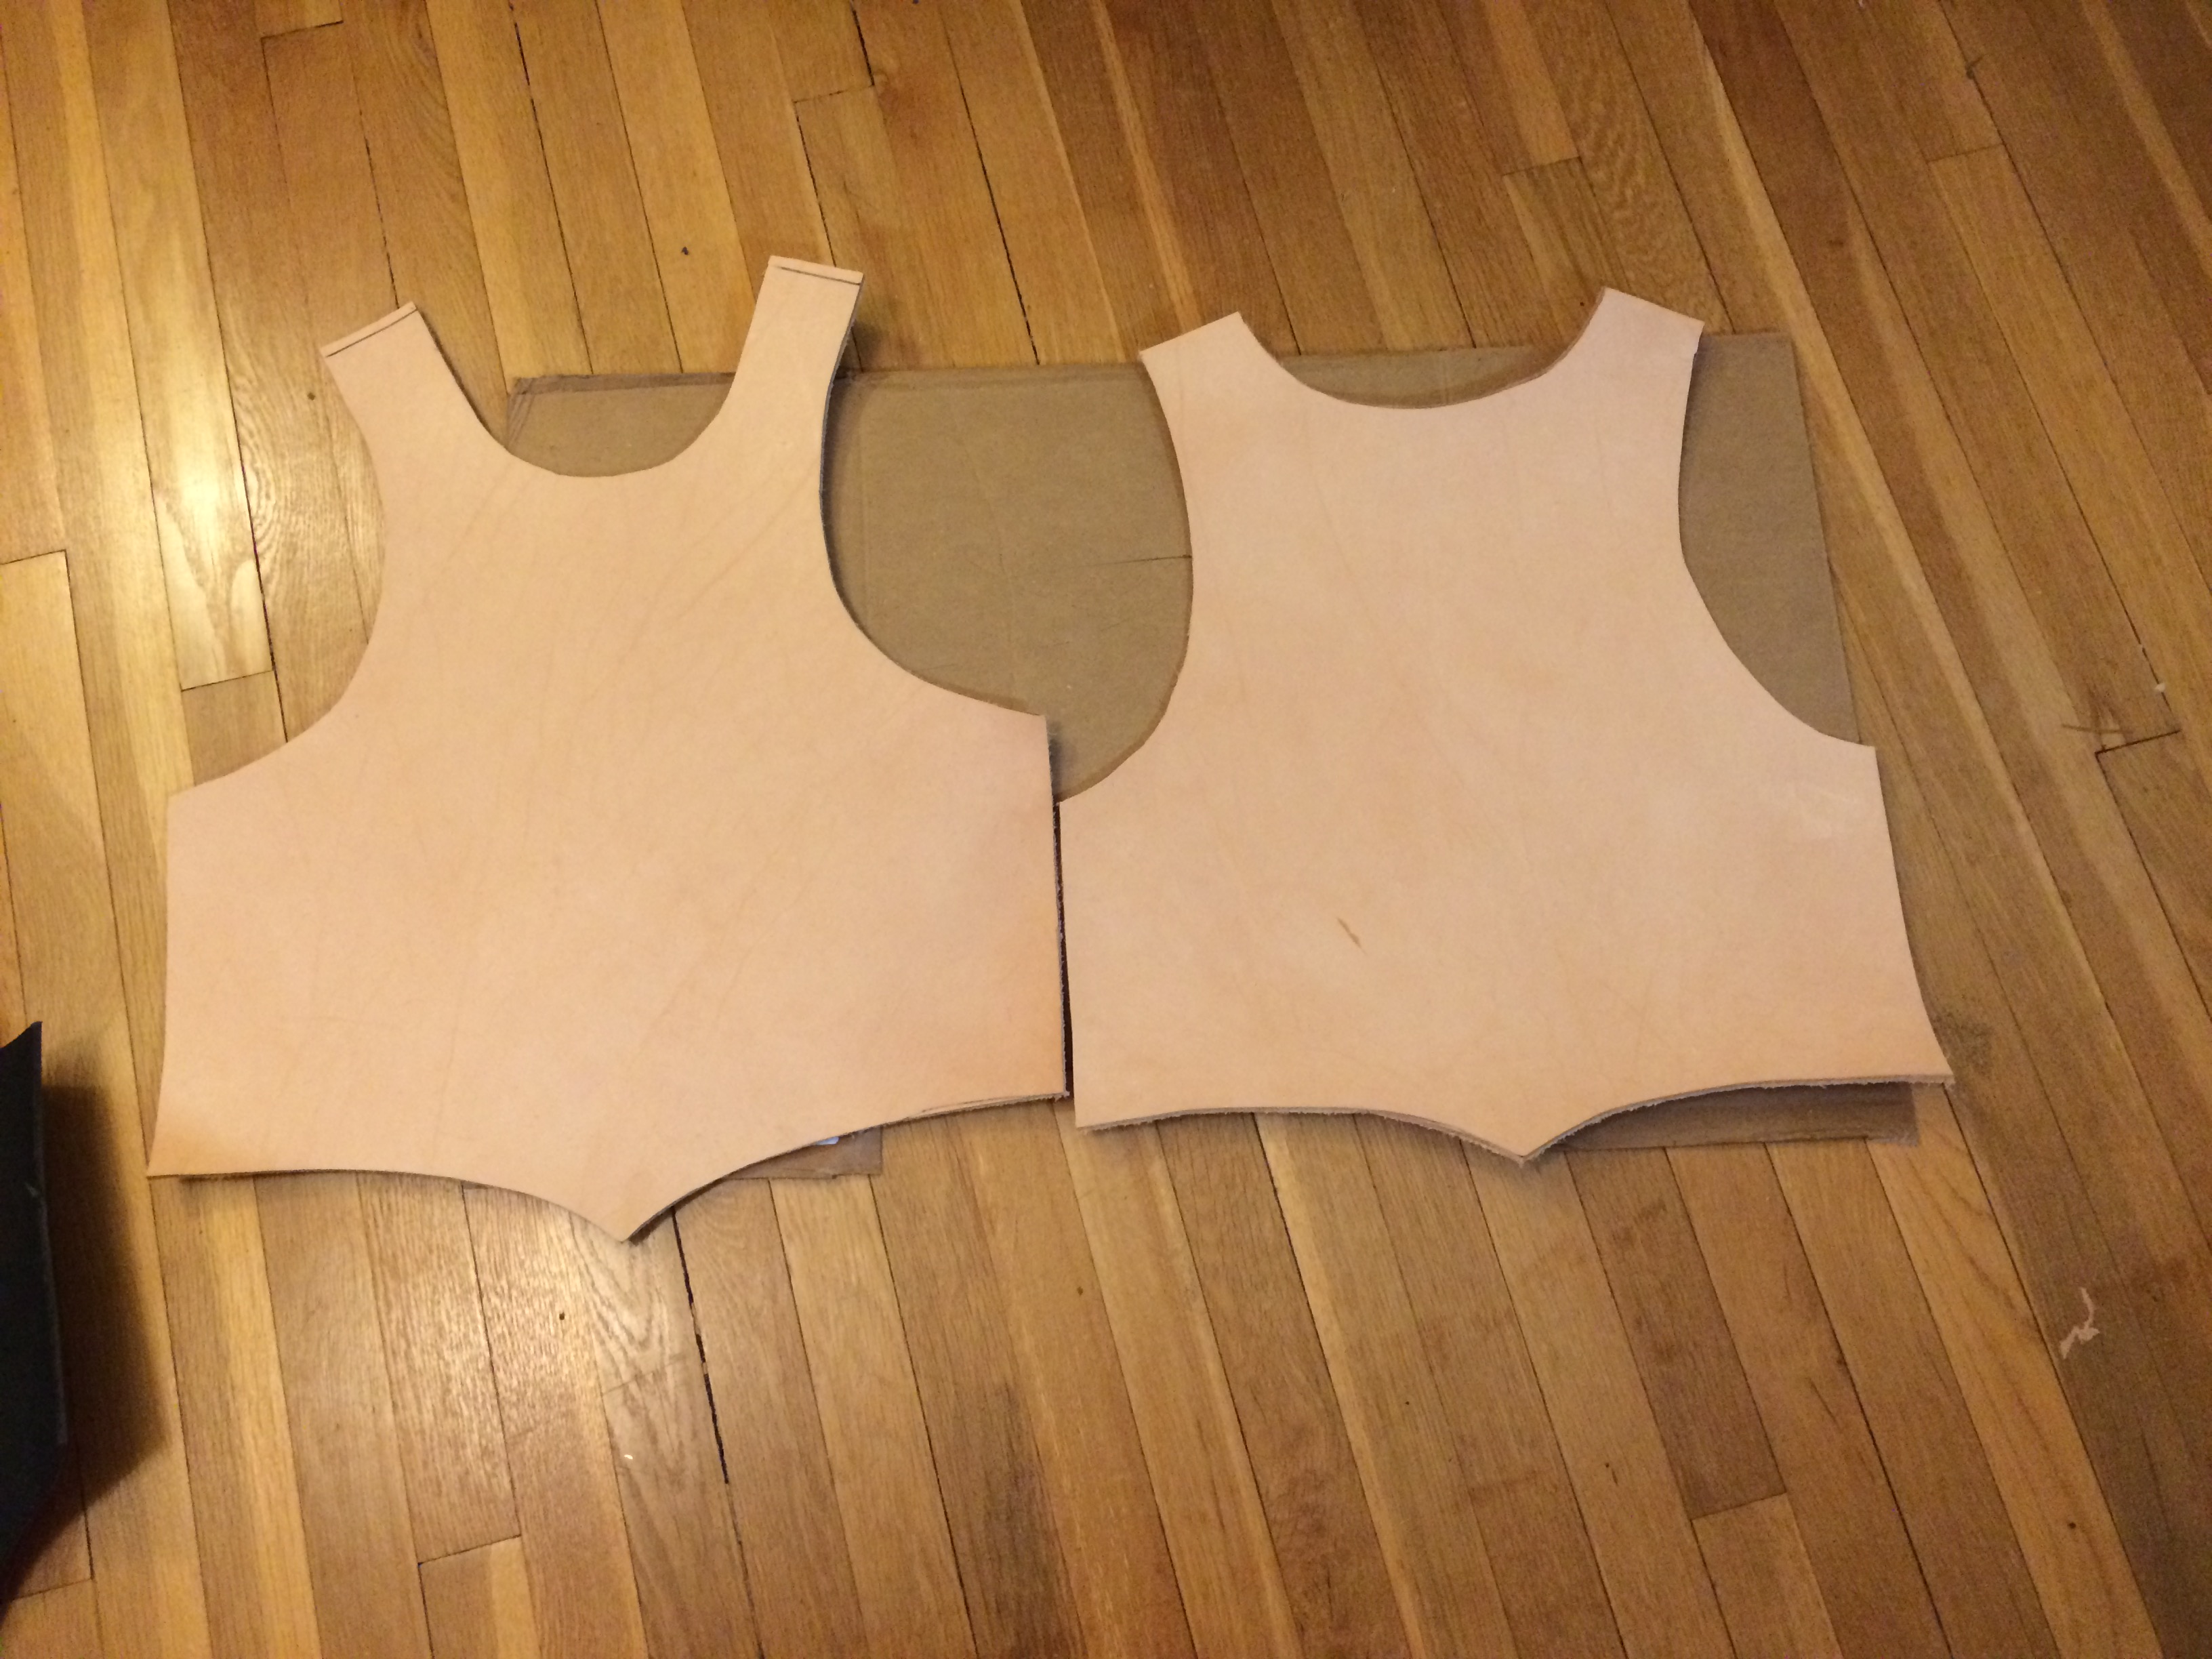
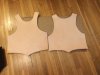
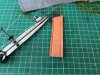
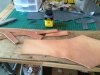
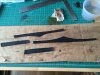
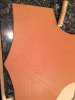
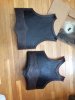
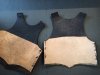
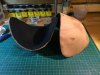
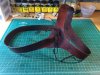
Here they are cut of of some 9/10oz leather from a double shoulder. I'll be using that and some heavier 12/14oz leather for most of the pieces.


attachment.php
attachment.php


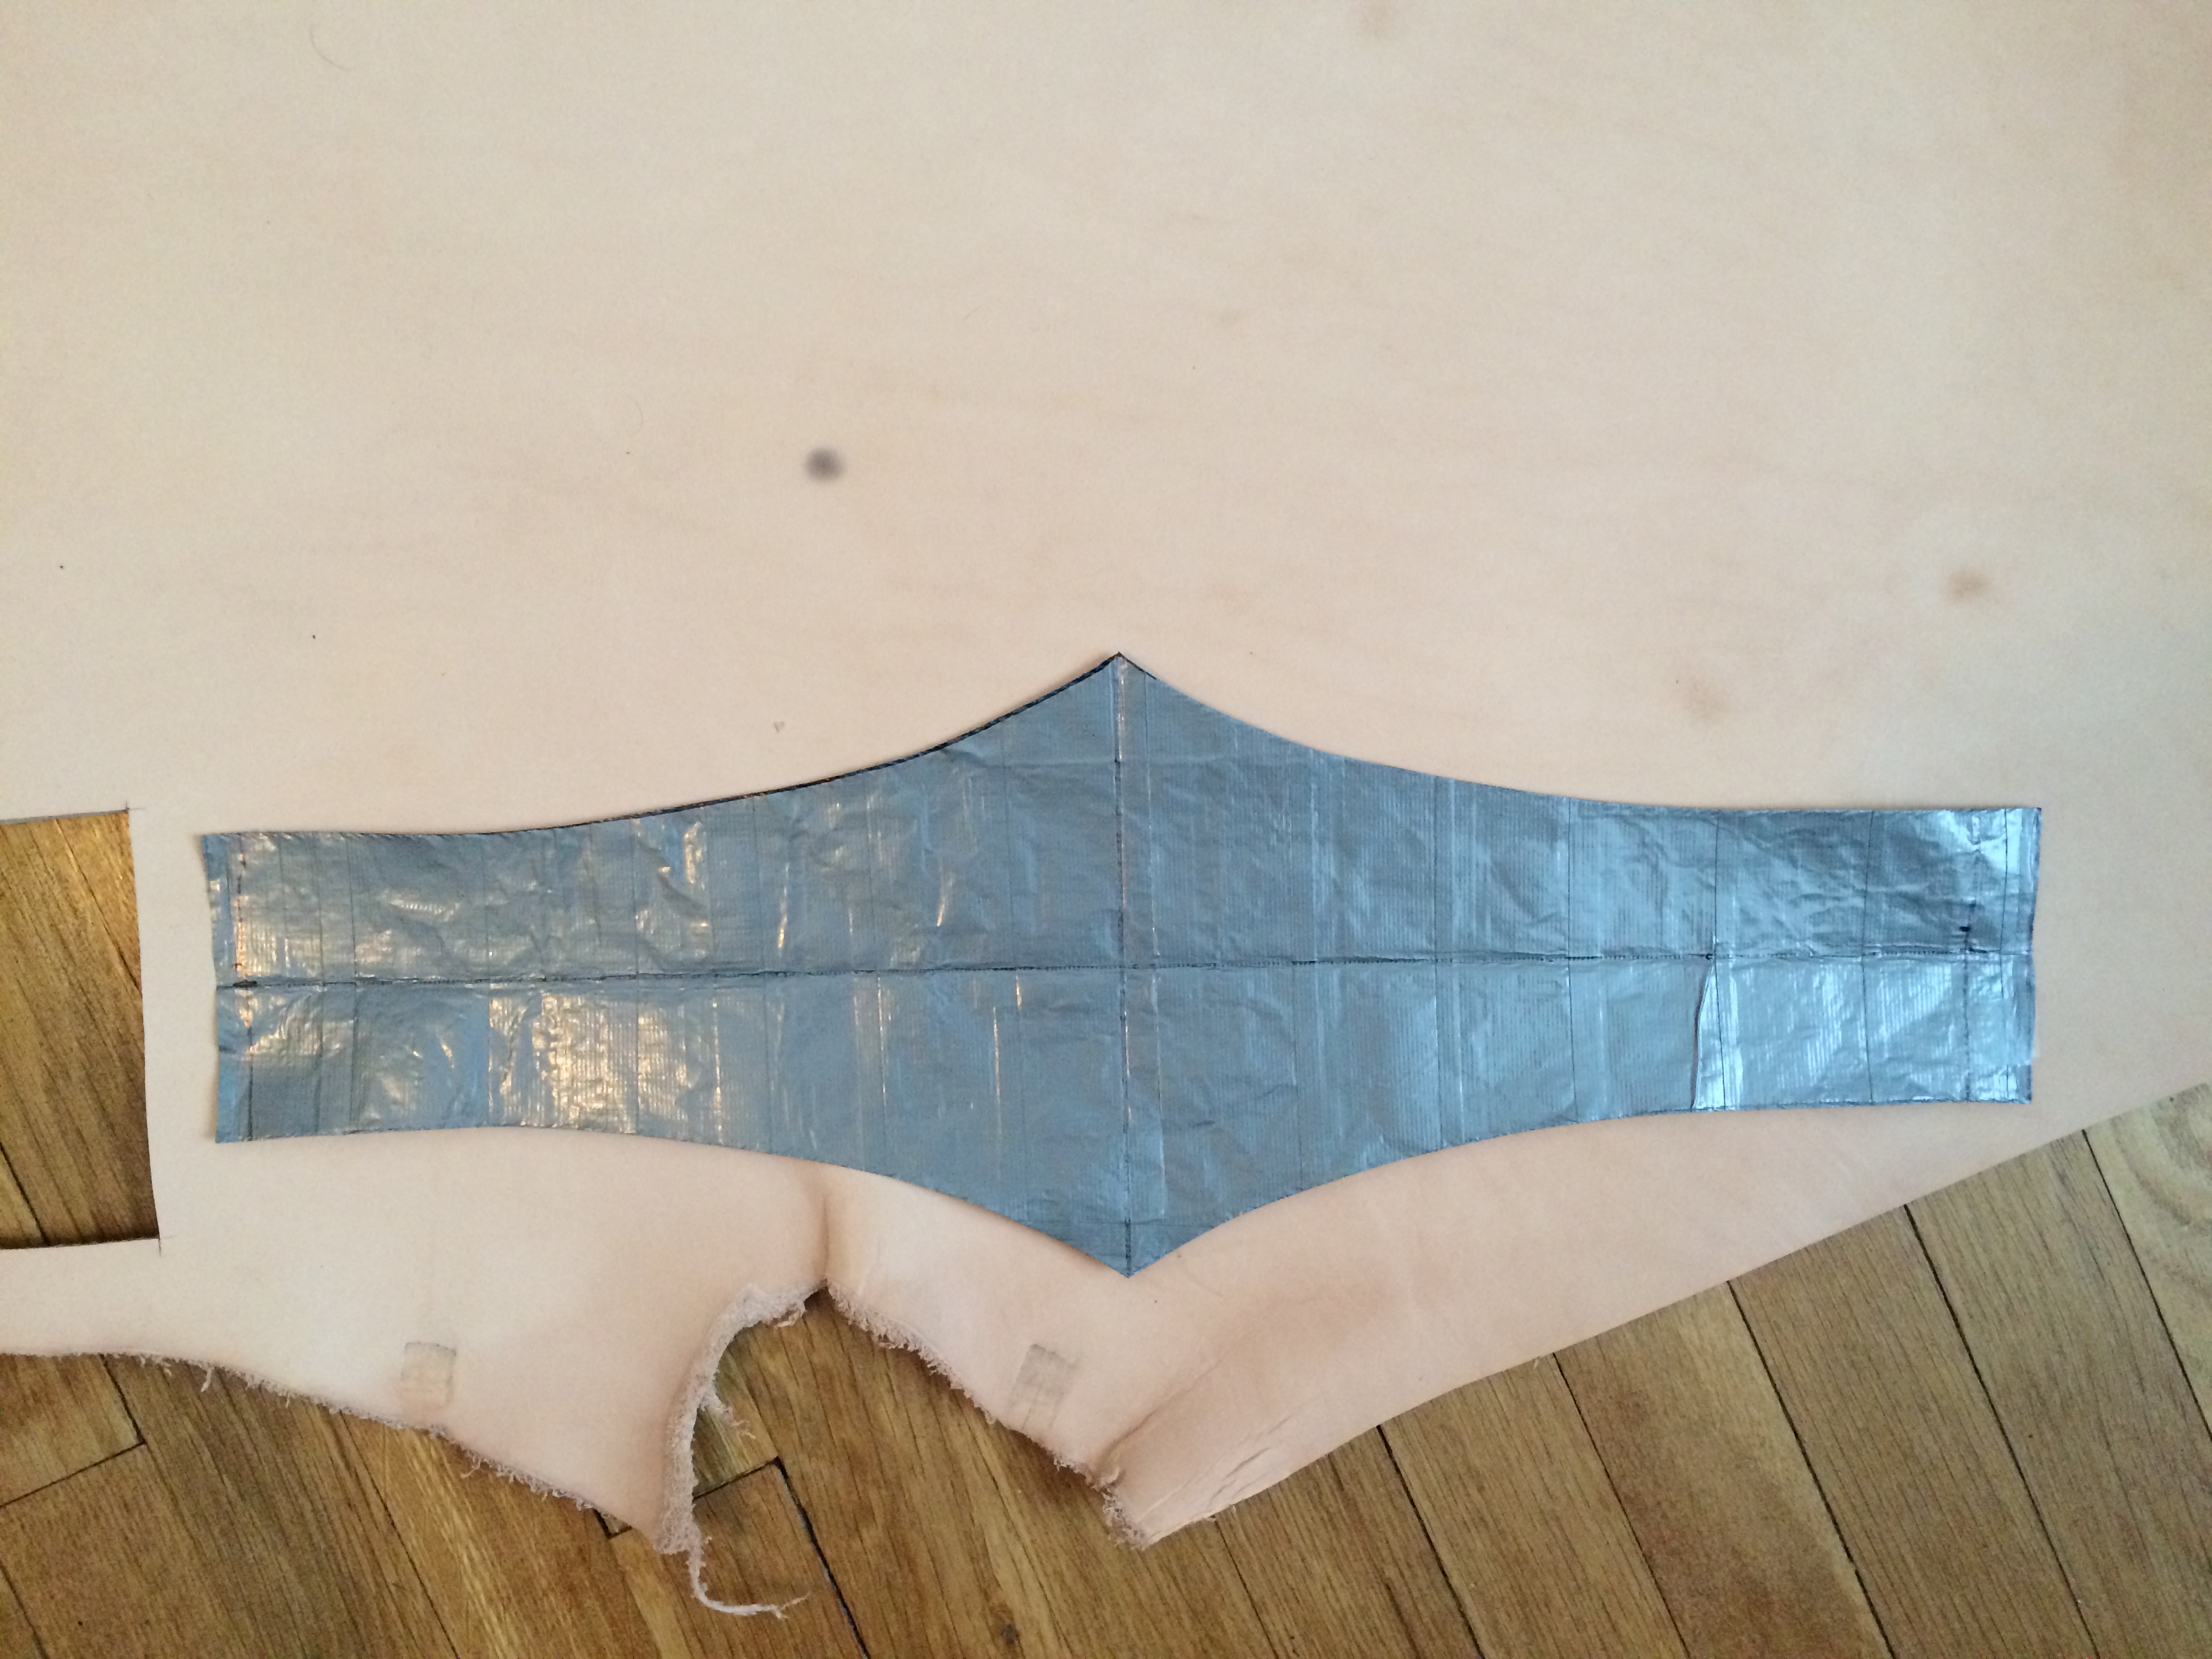
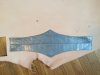
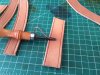
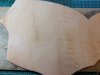
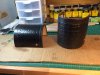
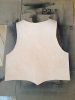
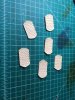
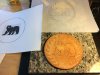
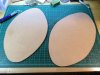
And a template for the front panel.
 

Attachments

  • Photo Aug 28, 3 57 30 PM.jpg
    Photo Aug 28, 3 57 30 PM.jpg
    1.9 MB · Views: 7,508
  • Photo Aug 29, 11 48 09 PM.jpg
    Photo Aug 29, 11 48 09 PM.jpg
    1.1 MB · Views: 9,840
  • Photo Aug 28, 4 00 08 PM.jpg
    Photo Aug 28, 4 00 08 PM.jpg
    1.1 MB · Views: 6,883
  • Photo Aug 28, 4 06 39 PM.jpg
    Photo Aug 28, 4 06 39 PM.jpg
    1.9 MB · Views: 6,931
  • 008.jpg
    008.jpg
    393 KB · Views: 14,012
attachment.php


I cut out the main front and back pieces and also the side pieces. Those were a little thick so I skived them down on my homemade skiving machine.


attachment.php
attachment.php


Each piece got wet down, sides marked with the divider, and upper edge bevelled.


attachment.php
attachment.php


Got all the pieces ready for dying. The chocolate color looks like a pretty good match.


attachment.php


Once the dye dried, I rounded the edges with a burnisher and then went over them again with a wax blend to seal them up. I also oiled up the leather since the dye tends to dry it out and sealed with a finishing wax.
 

Attachments

  • Photo Aug 28, 4 38 25 PM.jpg
    Photo Aug 28, 4 38 25 PM.jpg
    1.7 MB · Views: 6,664
  • Photo Aug 28, 4 47 39 PM.jpg
    Photo Aug 28, 4 47 39 PM.jpg
    1.7 MB · Views: 6,650
  • Photo Aug 28, 4 51 22 PM.jpg
    Photo Aug 28, 4 51 22 PM.jpg
    1.6 MB · Views: 6,528
  • Photo Aug 28, 5 10 14 PM.jpg
    Photo Aug 28, 5 10 14 PM.jpg
    1.3 MB · Views: 6,177
  • Photo Aug 28, 5 03 51 PM.jpg
    Photo Aug 28, 5 03 51 PM.jpg
    989.7 KB · Views: 6,393
  • Photo Aug 28, 4 57 42 PM.jpg
    Photo Aug 28, 4 57 42 PM.jpg
    1.8 MB · Views: 6,367
attachment.php


This is the weird rounded piece from the bottom of the breastplate. On my old version of the armor I could never figure out how to get this right but working with nice leather made it easier. I was able to form it into roughly the right shape after giving the leather a good soak. The top part that isn't dyed with be under the front leather piece. I made need to skive that down a bit once things start coming together but I'm happy with it for now.


attachment.php
attachment.php


This is the medallion on the front. I was able to draw a nice circle with the divider but putting the center point on another piece of leather I taped to the center so it didn't damage the piece. I scribed another circle which I'll use later when I try to tool the details into the piece. I cut it out using a rotary cutter making closer and closer tangential cuts. Still need to sand down the edges with my dremel and bevel the edge. I won't dye and finish this until I tool the design on which will be interesting since I haven't done much of that kind of work before.

That's it for now but I hope to be making a lot of progress on this quickly since I want it ready by the end of the month.
 

Attachments

  • Photo Aug 29, 11 48 34 PM.jpg
    Photo Aug 29, 11 48 34 PM.jpg
    1.9 MB · Views: 6,115
  • Photo Aug 29, 11 58 00 PM.jpg
    Photo Aug 29, 11 58 00 PM.jpg
    1.7 MB · Views: 6,110
  • Photo Aug 30, 12 13 58 AM.jpg
    Photo Aug 30, 12 13 58 AM.jpg
    2.2 MB · Views: 5,919
Wholly cow this looks great, it's looks like you know what you're doing, you've certainly got all the gear. I'm looking forward to seeing how this armour progresses.
 
attachment.php


A couples updates: I though about a couple ways to make a leather stamp to imprint the thatch pattern onto the armor. I discounted grinding it into a steel bolt or carving out of a wood dowel because the pattern seemed too hard to replicate that way. I ended up molding the pattern out of Sculpy and then casting that in resin. It's not as tough as steel or oak but it turned out pretty well and I can cast more if it breaks. You can see the piece glued to the end of a dowel and the imprints it made. I also dyed the leather black and tried some different finishing options as I want this part to be a little glossy. I think it turned out more than passable but it's going to be a lot of work to stamp this over almost the entire project.

As a side note, I forgot to reverse the pattern from the actual armor when I molded it so the longer point is on the right but should be on the left. I guess that's pretty minor but not worth fixing at this point.


attachment.php
attachment.php


Also cut out the pieces for the bicep guards and vambrace. And some top pieces that will be glued on the vambrace. They're cut a little long to account for the curvature of the part and I'll trim them off once glued on.


Until next time...
 

Attachments

  • Photo Sep 01, 11 40 42 AM.jpg
    Photo Sep 01, 11 40 42 AM.jpg
    2.5 MB · Views: 5,883
  • Photo Aug 31, 10 54 39 AM.jpg
    Photo Aug 31, 10 54 39 AM.jpg
    2.2 MB · Views: 5,784
  • Photo Aug 30, 10 13 48 PM.jpg
    Photo Aug 30, 10 13 48 PM.jpg
    1.6 MB · Views: 5,896
attachment.php
attachment.php
attachment.php


Got the arm pieces pretty much finished up. Leather embossed, painted, and finished. Border pieces glued on with special cobblers contact cement. Eyelets installed on the bicep guards - had to countersink the leather a bit so they would fit. And just punched some hole on the vambrace since I don't think the prop used eyelets there.


attachment.php
attachment.php


Cased (soaked in water and let dry slightly) the front and back plates and started to emboss with my stamp. That was lots of work but my stamps and arm held up alright. Getting ready to dye the back plate since it's all dried out.
 

Attachments

  • Photo Sep 02, 10 54 04 AM.jpg
    Photo Sep 02, 10 54 04 AM.jpg
    1.8 MB · Views: 5,450
  • Photo Sep 03, 1 50 55 PM.jpg
    Photo Sep 03, 1 50 55 PM.jpg
    2 MB · Views: 5,532
  • Photo Sep 03, 1 51 18 PM.jpg
    Photo Sep 03, 1 51 18 PM.jpg
    1.6 MB · Views: 5,441
  • Photo Sep 03, 12 51 33 PM.jpg
    Photo Sep 03, 12 51 33 PM.jpg
    847.5 KB · Views: 5,407
  • Photo Sep 03, 11 18 08 AM.jpg
    Photo Sep 03, 11 18 08 AM.jpg
    878.5 KB · Views: 5,479
attachment.php
attachment.php


Got all the pieces finished and glued onto the breastplate and back armor. I ended up redoing the rimming to make it a little more consistent and I like the way it turned out. I dyed and burnished all the edges where the pieces come together and I'll get some pics of that later. Installed some eyelets for strapping the shoulders together and made some preliminary holes for attaching the sides of the armor. I'd like to use small metal O-rings like in the original but haven't quite figured out how to do that yet.

Also made some of the pendants that go across the front. Cut them out of some leather that I thinned down and then stamped them to look like a dragon-scale pattern. I'll paint those gold and then glue and sew them onto the breastplate with leather string. There are lots of other sewed section in the armor which I'll also thread up.

Starting to actually see and end to this project but some of the hardest parts are yet to come - the pauldrons and the tooled medallion.
 

Attachments

  • Photo Sep 09, 2 08 47 PM.jpg
    Photo Sep 09, 2 08 47 PM.jpg
    1.1 MB · Views: 5,277
  • Photo Sep 09, 8 50 23 AM.jpg
    Photo Sep 09, 8 50 23 AM.jpg
    1.3 MB · Views: 5,266
BLIMEY! This is Top-of-the-line GORGEOUS! I just love to see beautifully handled leatherwork, and this sure is being done well. It's so nice to see projects with real quality in mind. This must have cost you a small fortune in primo leather and accoutrements.

Can't wait to see it completed. :thumbsup
 
Last edited by a moderator:
Thanks! I actually have a little hobby business (https://www.etsy.com/shop/DistrictGoods) making leather goods so I had a lot of the tools/hardware/supplies on hand. This project is a nice chance to use some of those skills I've been working on to do something a bit different.


Also check out my completed Jorah scabbard/belt which gave me the impetus do do this.

http://www.therpf.com/showthread.php?t=232235


BLIMEY! This is Top-of-the-line GORGEOUS! I just love to see beautifully handled leatherwork, and this sure is being done well. It's so nice to see projects with real quality in mind. This must have cost you a small fortune in primo leather and accoutrements.

Can't wait to see it completed. :thumbsup
 
Last edited by a moderator:
I love working with leather. So much can be done using the right tools and techniques.

Your armor looks fantastic, and I'm looking forward to seeing the finished product.
 
I love working with leather. So much can be done using the right tools and techniques.

Your armor looks fantastic, and I'm looking forward to seeing the finished product.


Thanks - trying to get it finished up for Ren Faire so working quick.


attachment.php


Here's the medallion on the front of the armor. I found the House Mormont sigil online and was able to trace it onto the leather and do some tooling to give it a little texture. It turned out so nice it's gonna be a shame to cover it up with paint.


attachment.php
attachment.php


But I did paint it up and have it and everything else mounted to the armor. All the dragon-scaled plates are glued and stitched and the the rim pieces are also stitched on as per the original. I couldn't figure out how to attach the O-rings to the side with the wire I had and ended up just using black zip ties. Slightly anachronistic materials-wise but worked like a charm. I had to do a little trimming to the top of the breast-plate to get it to sit just right and lost some length on the top dragon-scale bits but the armor fits much better overall.


attachment.php
attachment.php


Finished up a couple accessories too. I stitched the back of the scabbard because the glue kept letting go and the vinyl was lifting off. The stitching solved that problem and makes it look pretty cool too. Also made up a little bracelet to wear on the right wrist.


To Do List:

- the pauldrons are the big one. I haven't figured out how to mold the leather into the right shape so may just be using my old foam ones for now. I'm gonna try a few more things first though and if anyone has any advice I'd love to hear it.

- righthand and sword grip wrap. There's a patterned fabric that Jorah wears that I think came from his wife. I have some cloth in the right color and need to imprint the pattern on it. Easier said than done though.

- weathering. Gonna weather up the armor a bit more and try to darken all the leather lacing.
 

Attachments

  • Photo Sep 15, 12 46 03 PM.jpg
    Photo Sep 15, 12 46 03 PM.jpg
    773.1 KB · Views: 219
  • Photo Sep 15, 12 46 16 PM.jpg
    Photo Sep 15, 12 46 16 PM.jpg
    820.1 KB · Views: 236
  • Photo Sep 15, 12 46 03 PM.jpg
    Photo Sep 15, 12 46 03 PM.jpg
    1,018.7 KB · Views: 6,779
  • Photo Sep 15, 12 46 16 PM.jpg
    Photo Sep 15, 12 46 16 PM.jpg
    1 MB · Views: 5,090
  • Photo Sep 15, 12 43 57 PM.jpg
    Photo Sep 15, 12 43 57 PM.jpg
    2.3 MB · Views: 5,132
  • Photo Sep 15, 12 46 45 PM.jpg
    Photo Sep 15, 12 46 45 PM.jpg
    1.1 MB · Views: 5,021
  • Photo Sep 11, 11 32 46 AM.jpg
    Photo Sep 11, 11 32 46 AM.jpg
    1.7 MB · Views: 5,119
Last edited:
The detail and craftsmanship in this is amazing. Such an attention to detail.

I've always thought leather must be really hard to work with but you make it look so good.
Great work.
 
Just a couple updates:

attachment.php
attachment.php


I lined the top part of the armor with some sheep leather I found for cheap. The shoulders are a lot more comfortable now. I also updated the rings on the side with solid ones that are a little tougher and attached them with leather lace rather than the plastic zip ties. I like the way this worked out much better and it keeps with the period materials.


attachment.php


I think I've finalized the pattern, shape, and technique for the pauldrons. At least I hope so because I'm out of the leather I allocated for this project. I traced the dragon pattern onto the leather and then will soak it in almost boiling water until it becomes flexible so I can mold it into the right shape. My fingers are crossed but I did a lot of planning to make it to this point.
 

Attachments

  • Photo Sep 25, 2 54 44 PM.jpg
    Photo Sep 25, 2 54 44 PM.jpg
    2 MB · Views: 4,968
  • Photo Sep 25, 12 17 37 PM.jpg
    Photo Sep 25, 12 17 37 PM.jpg
    2.3 MB · Views: 4,764
  • Photo Sep 25, 3 08 16 PM.jpg
    Photo Sep 25, 3 08 16 PM.jpg
    1.5 MB · Views: 4,796
attachment.php
attachment.php


Got the pauldrons shaped and lined with the sheep leather. I don't think I'm going to be able to tool the outside of these so the new plan is to shape a thin piece of leather to the form then tool that to the dragon pattern. Then I can glue that to the top and hopefully retain all the details.

Here's all the armor pieces assembled. Everything fits right so far and the color scheme matches great.

attachment.php


I also made a leather shoulder strap that Jorah and Daenerys and various Dothraki wear at times.

attachment.php
attachment.php


The end is in sight. I have a few random items on order and once I get those and finish up the pauldrons I'll essentially be done. I want to fix up the way the skirt ties and make a few other small changes/add-ons but those will just be icing on the cake.
 

Attachments

  • Photo Sep 29, 2 53 30 PM.jpg
    Photo Sep 29, 2 53 30 PM.jpg
    2 MB · Views: 4,491
  • Photo Sep 29, 10 32 46 PM.jpg
    Photo Sep 29, 10 32 46 PM.jpg
    1.9 MB · Views: 4,481
  • armor compare.png
    armor compare.png
    804.7 KB · Views: 9,475
  • Photo Sep 29, 2 53 10 PM.jpg
    Photo Sep 29, 2 53 10 PM.jpg
    2.3 MB · Views: 4,483
  • tumblr_n23mfnHNEa1ryng38o2_500.jpg
    tumblr_n23mfnHNEa1ryng38o2_500.jpg
    251.5 KB · Views: 4,434
Your pauldrons came out great. I had so much trouble getting my Maximus pauldron into the correct shape, that I gave up and sourced that out.

The only constructive comment I would have from your reference photo is that the inner edge of the pauldron seems to curve in a little between the connection point at the top and the round corner at the front of your chest. It could be a trick of the angle and position of Jorah's arm, but I can see a bit more of the upper breast plate strap.

Overall the armor looks fantastic!
 
Thanks! The problem is it's really hard to test the shapes because you can't really tell what the final product will look like without going through the whole process. I may try to taper the ends a bit when I add the top layer to make them a little pointier at the end. I think that will get close to what you're saying. The positioning of the pauldron on the armor also changes the way it looks pretty dramatically but I think you're right in general.


Your pauldrons came out great. I had so much trouble getting my Maximus pauldron into the correct shape, that I gave up and sourced that out.

The only constructive comment I would have from your reference photo is that the inner edge of the pauldron seems to curve in a little between the connection point at the top and the round corner at the front of your chest. It could be a trick of the angle and position of Jorah's arm, but I can see a bit more of the upper breast plate strap.

Overall the armor looks fantastic!
 
Sorry for the roughly drawn line, but this is what I was trying to describe. You're right about the initial shapes an how that translates to the final product, but you should be able to trim off a 1/4" or so if you want. Not that I'm 100% sure I'm correct, but based on the reference photo, that's what I see.

Either way, the armor is awesome!

Pauldron.png
 
This thread is more than 5 years old.

Your message may be considered spam for the following reasons:

  1. This thread hasn't been active in some time. A new post in this thread might not contribute constructively to this discussion after so long.
If you wish to reply despite these issues, check the box below before replying.
Be aware that malicious compliance may result in more severe penalties.
Back
Top