Mjolnir Thor 2 Hammer

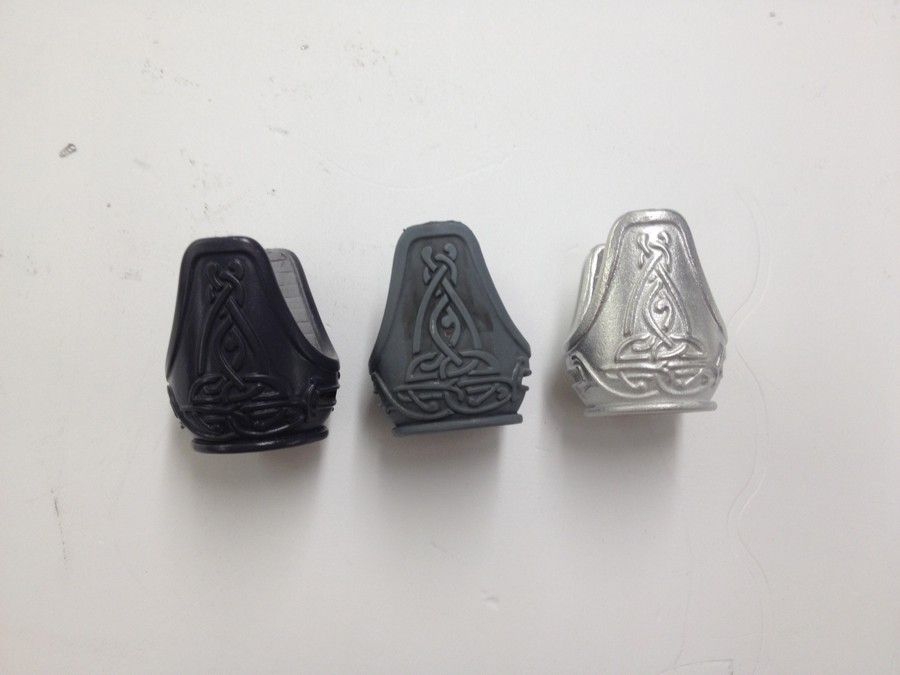
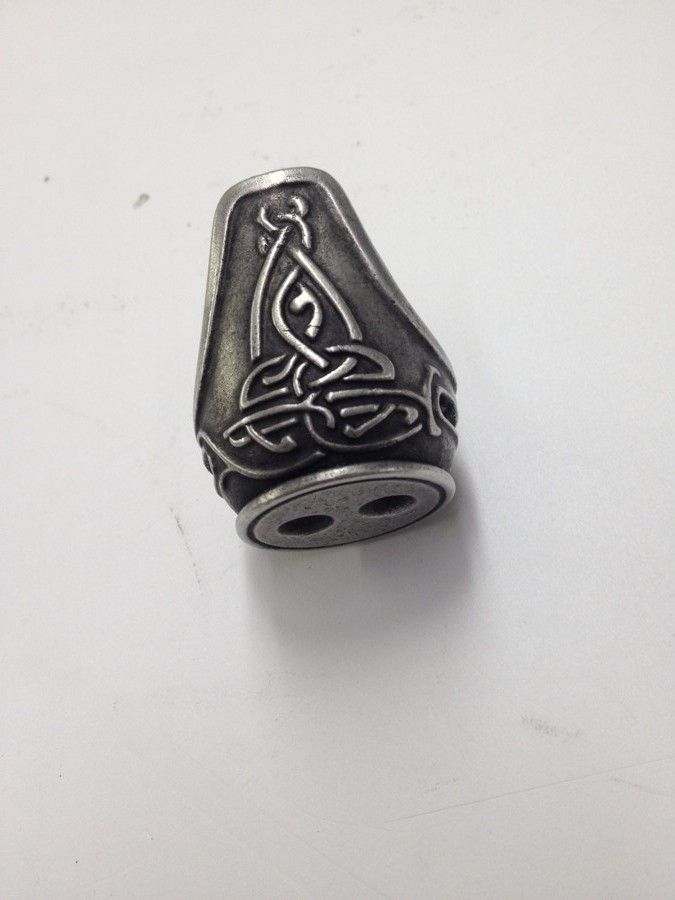
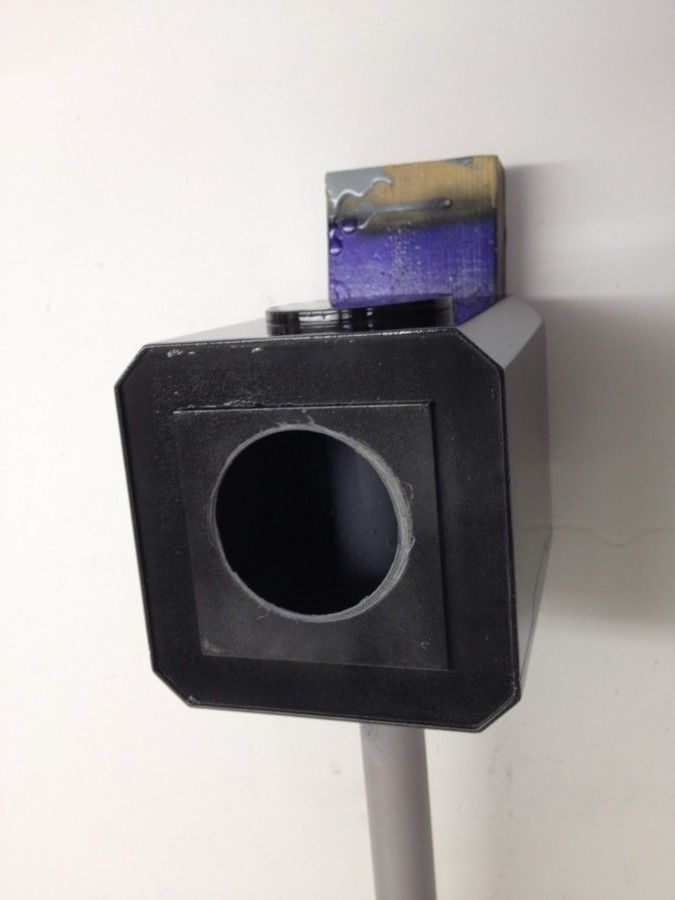
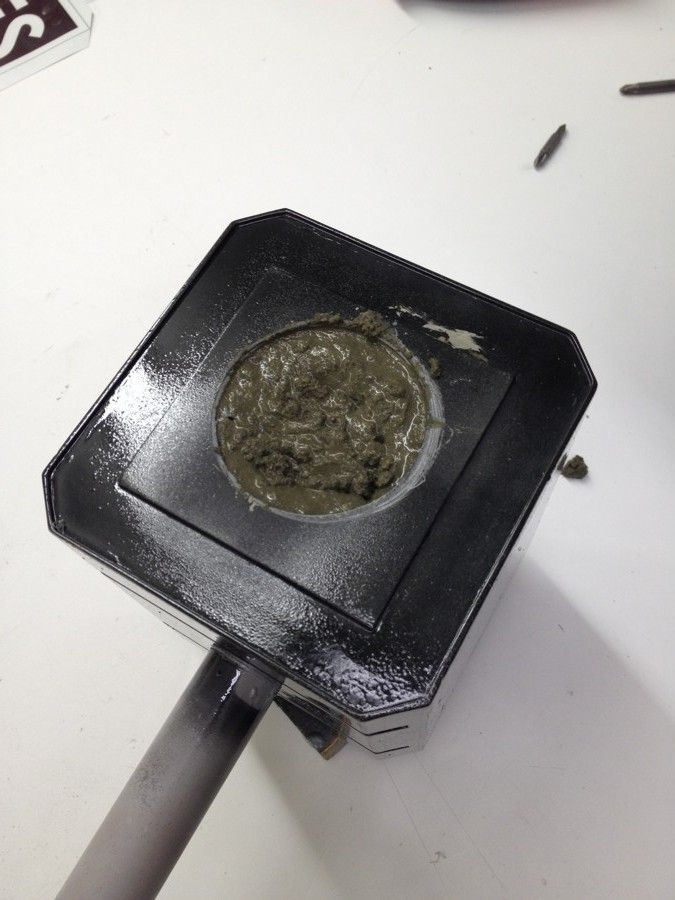
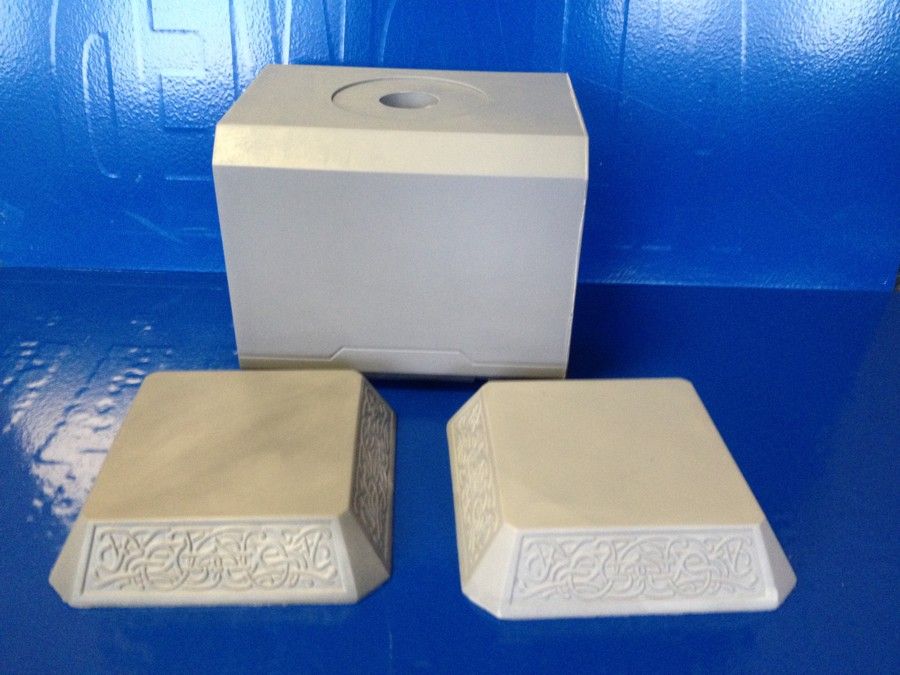
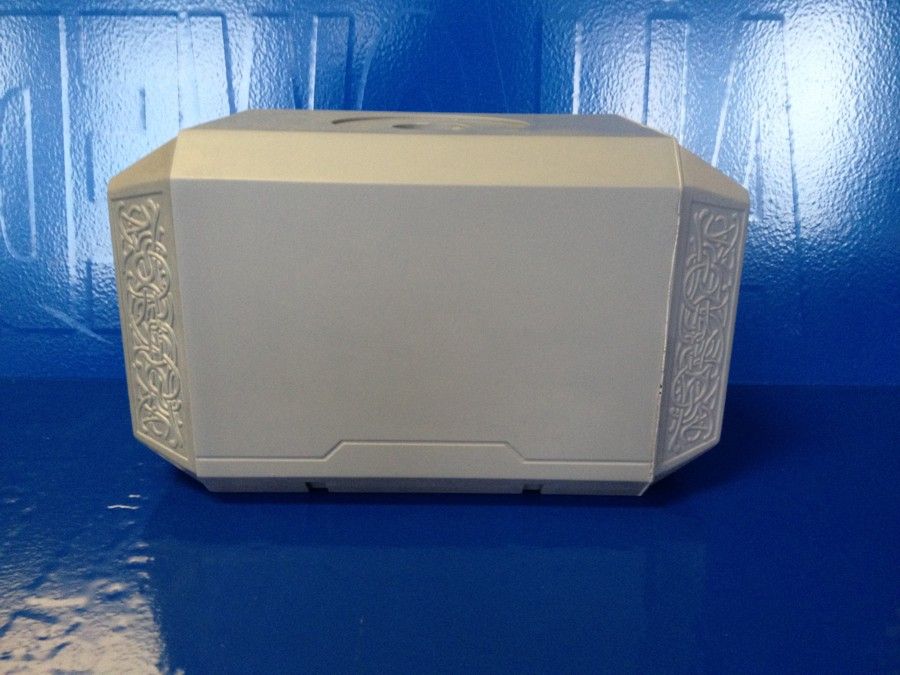
The molds were a success!
IMG_1481_zpsofu4fpdg.jpg


IMG_1482_zpsoshjudwy.jpg


IMG_1483_zps2xg88zie.jpg


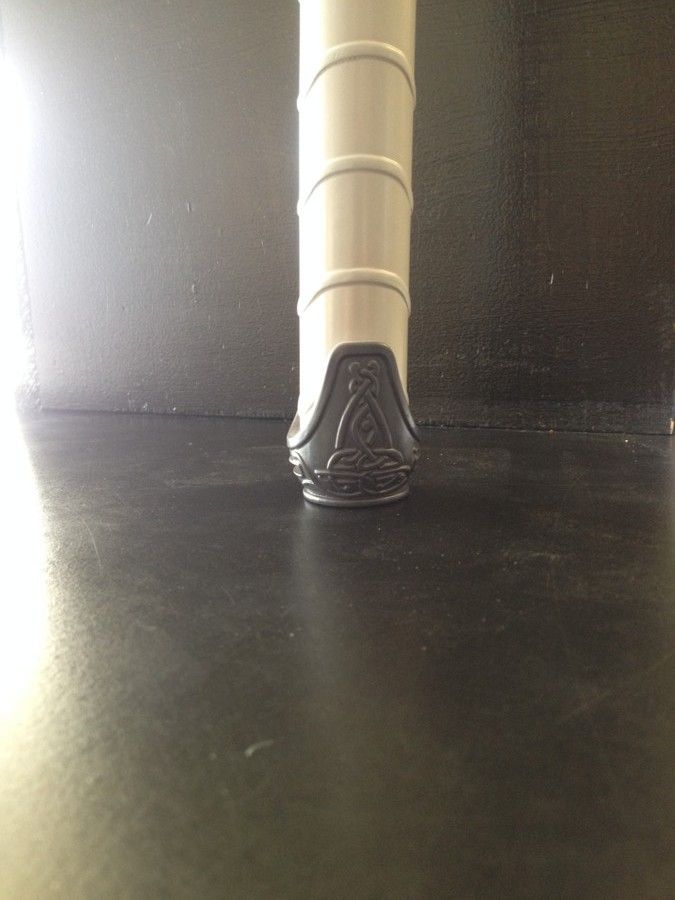
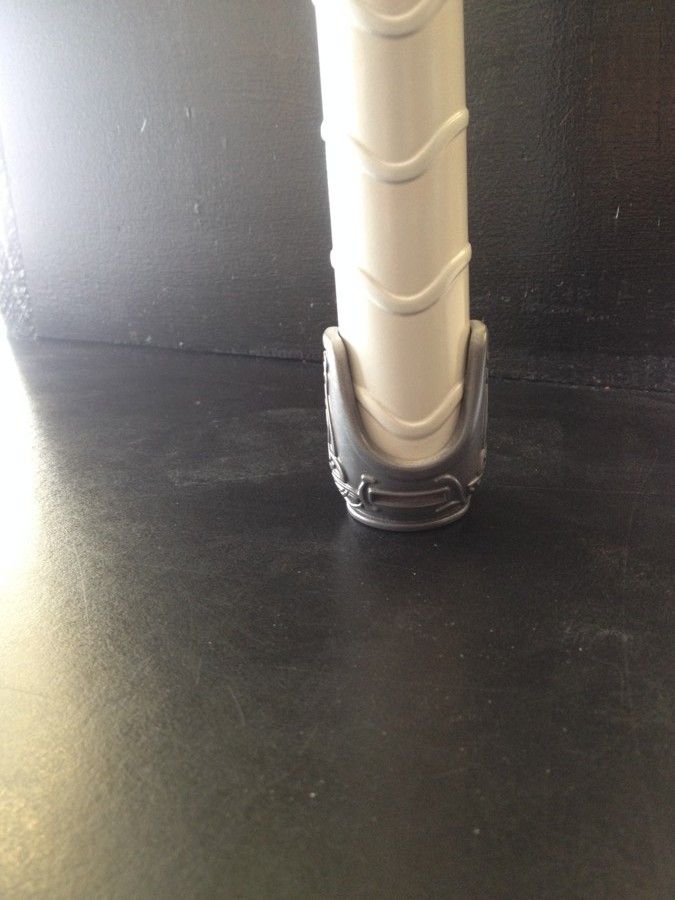
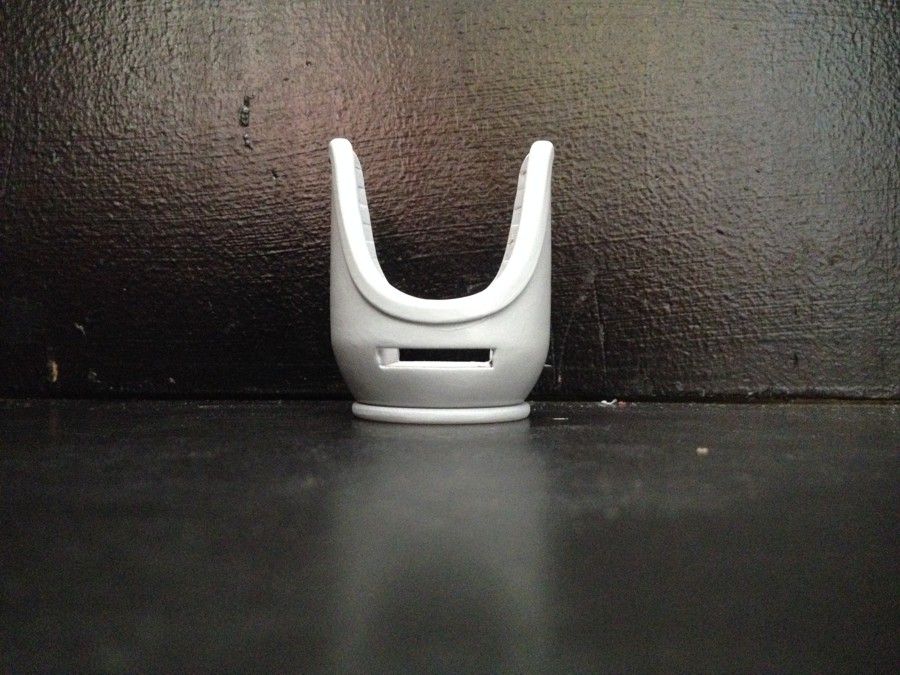
The handle is being molded now, and should be ready to cast tonight.

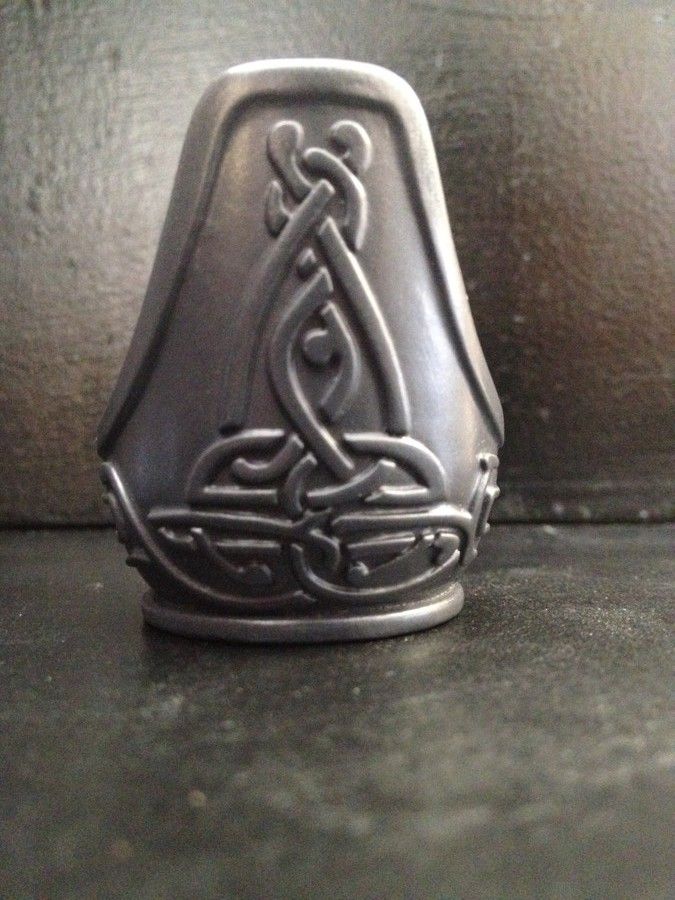
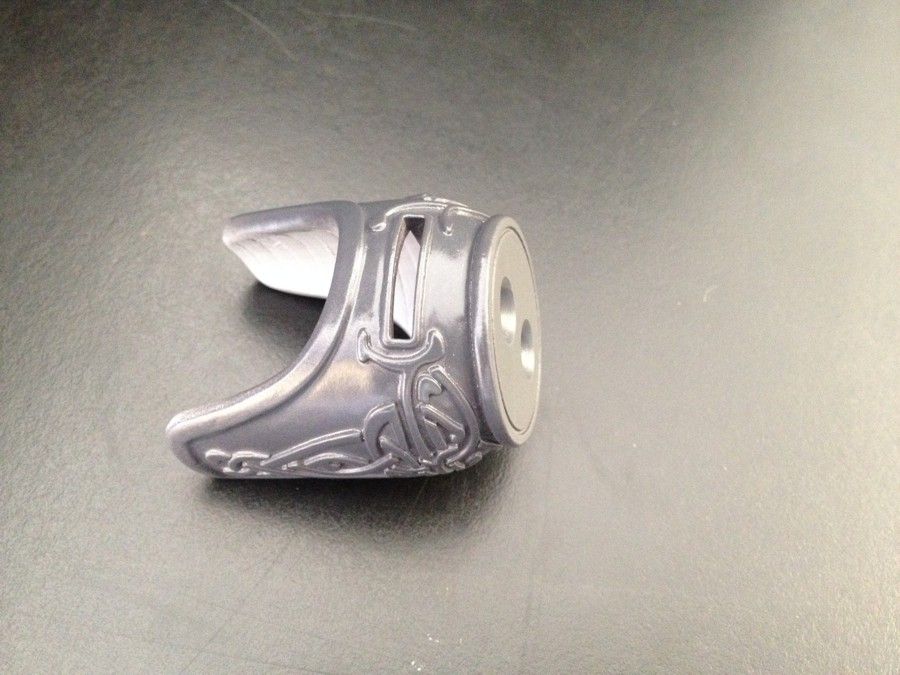
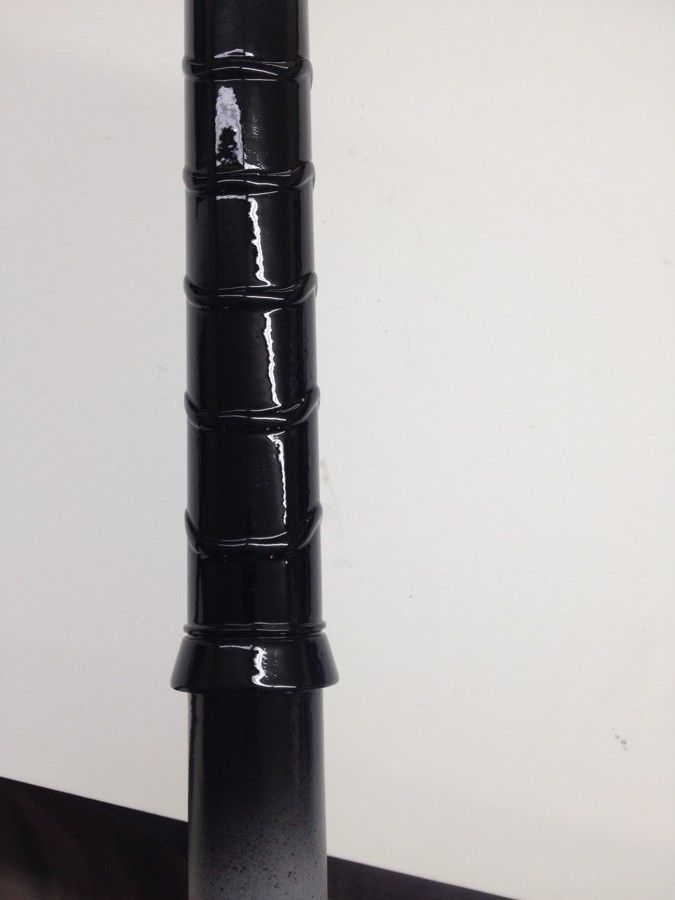
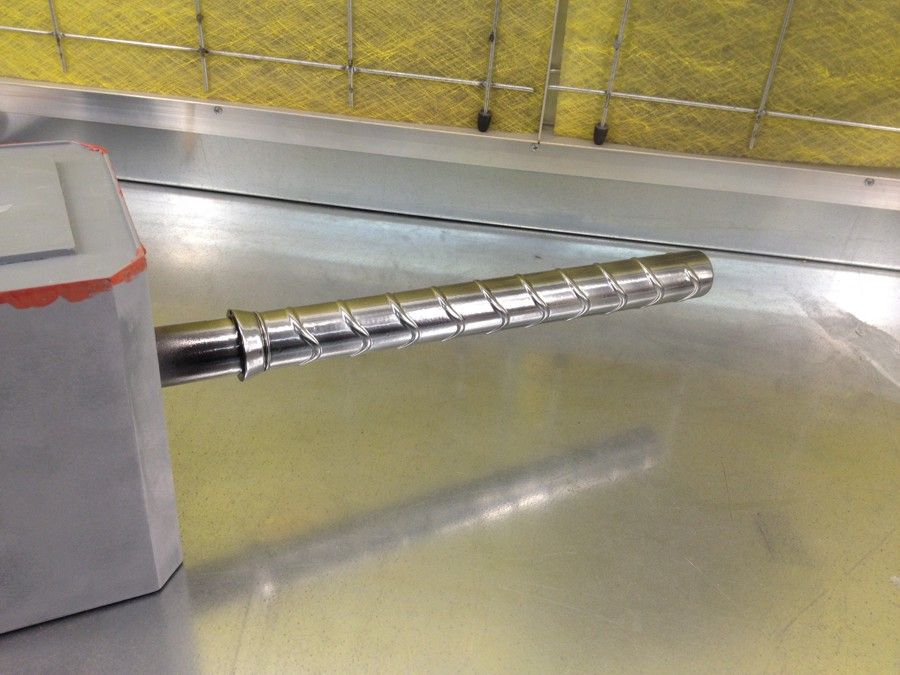
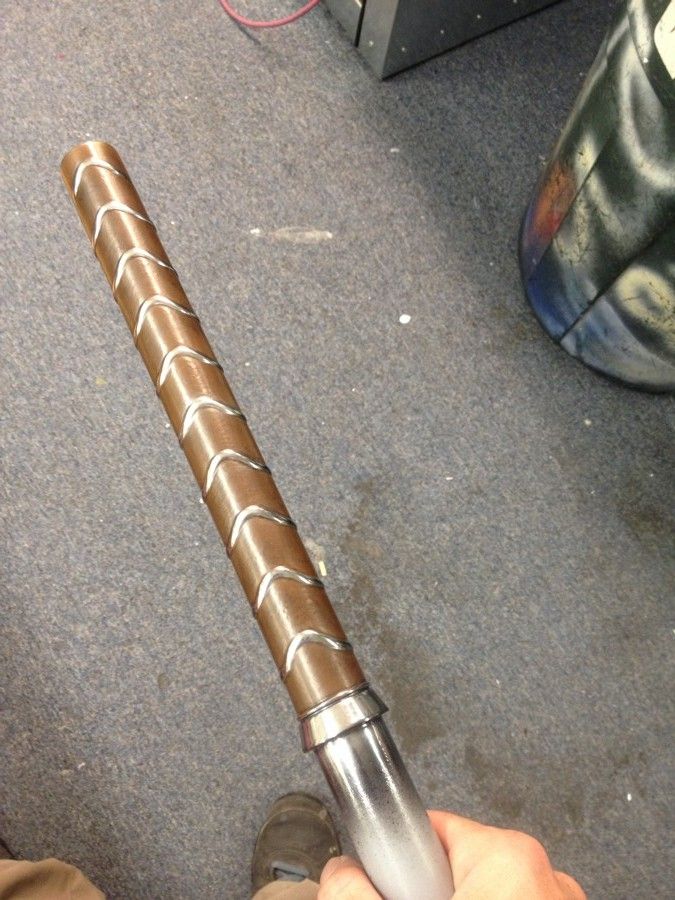
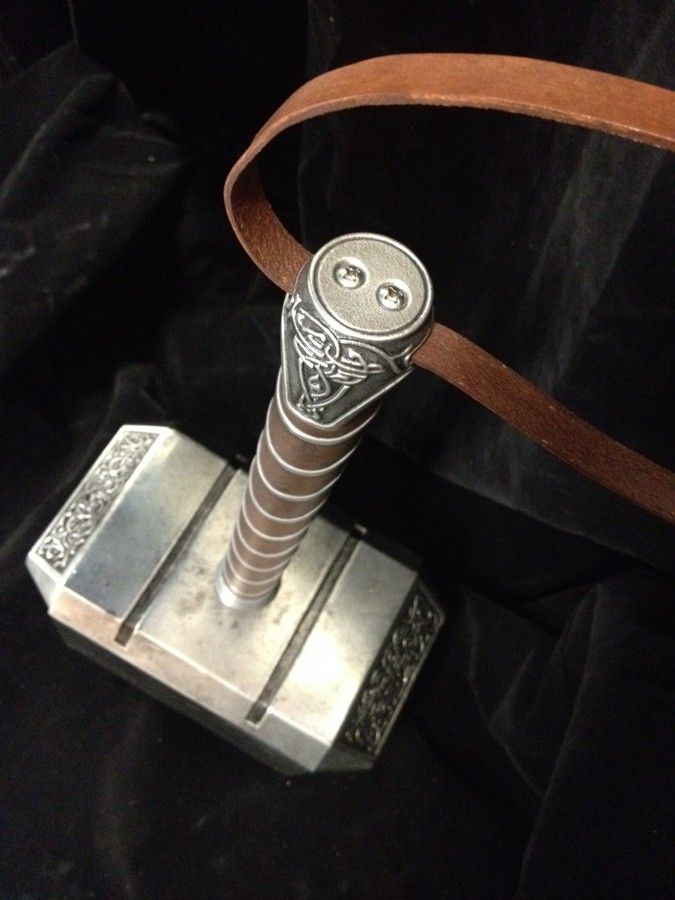
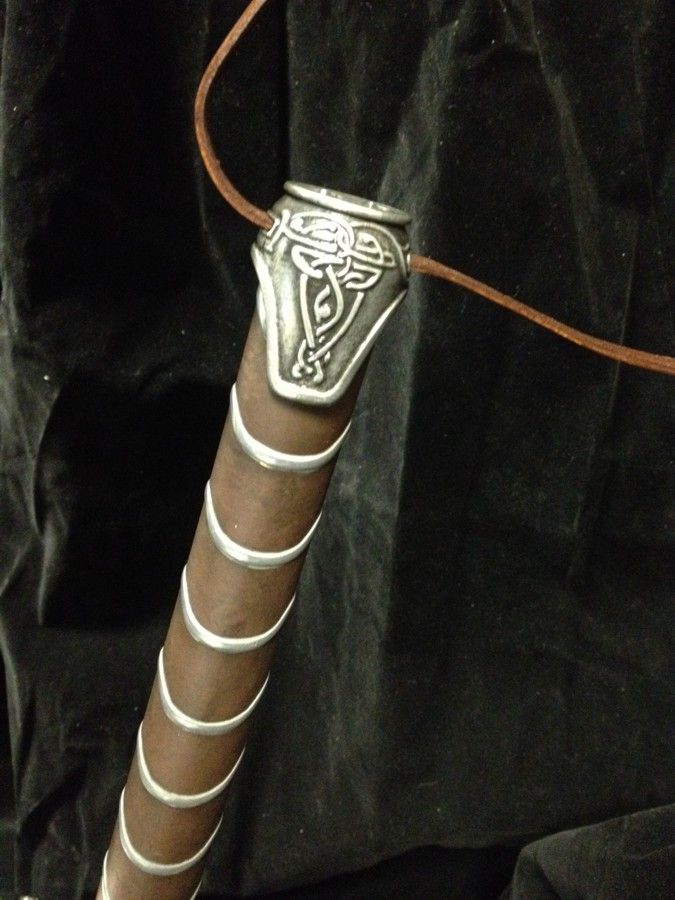
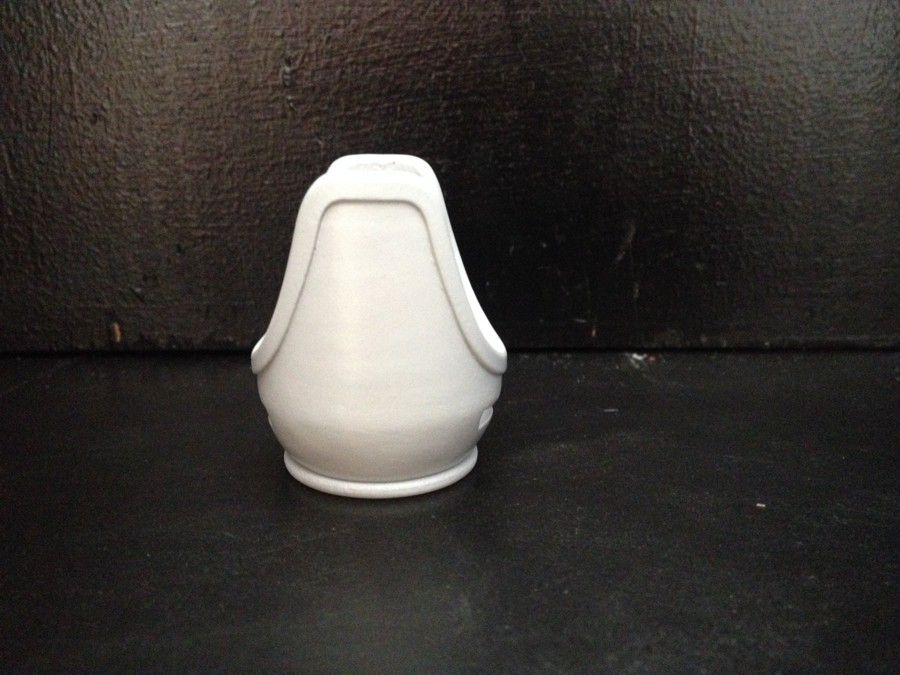
I also started on the pommel. This part has been very time consuming. I turned it on the lathe, and then added the raised ridge the same way that I did for the handle.
IMG_1492_zpscwn6l5rd.jpg


IMG_1493_zpstof8xziu.jpg
 
Got some decent work done this weekend. The pommel is finally finished. The detail work took forever, but I think it came out pretty perfect.

IMG_1502_zpsaxm6mbdb.jpg


IMG_1503_zpspdgnomla.jpg


IMG_1504_zps4xhfgbjw.jpg


IMG_1505_zpsrrzxllpd.jpg


The final molds are setting up tonight, and if all goes well, I can cast some parts in the morning. Then I can finally get one finished.
 
Got some decent work done this weekend. The pommel is finally finished. The detail work took forever, but I think it came out pretty perfect.

http://i1201.photobucket.com/albums/bb351/JustinBranfuhr/Thor/IMG_1502_zpsaxm6mbdb.jpg

http://i1201.photobucket.com/albums/bb351/JustinBranfuhr/Thor/IMG_1503_zpspdgnomla.jpg


http://i1201.photobucket.com/albums/bb351/JustinBranfuhr/Thor/IMG_1504_zps4xhfgbjw.jpg

http://i1201.photobucket.com/albums/bb351/JustinBranfuhr/Thor/IMG_1505_zpsrrzxllpd.jpg

The final molds are setting up tonight, and if all goes well, I can cast some parts in the morning. Then I can finally get one finished.

Not sure if it's an optical illusion with the pics, but honestly, the pommel looks rather small for the handle.
 
The pommel has been molded. The first casting came out perfect, and I decided to try it with pewter as well. Here is the master, resin copy, and pewter copy.
FullSizeRender_zpsoydsulmu.jpg


The pewter ones are very close to perfect. The detail is not quite as crisp, but the look is better, and is much more durable. Here it is after an acid wash, and buffed with steel wool.
IMG_1511_zps1unnllvk.jpg


I also tried to find the right size leather for the strap, but there isn't anything that is pre made. SO I ordered some raw leather and some dye.
IMG_1514_zpsbukywnl4.jpg


I started to paint the handle. After cleaning up the seam, I primed it and sprayed a gloss black for a base coat.
IMG_1507_zpsw8uicpjl.jpg


After letting that dry overnight, I sprayed some Alclad II chrome paint. This gave it a beautiful metal look.
IMG_1508_zpsqb8e9kuw.jpg


Then I took some brown acrylic paint and hand painted the "leather" parts. Then a blackwash, and it was done.
IMG_1509_zpszxkz0mfv.jpg


I am loving how well this is coming together. More updates soon.
 
My son's birthday was this past weekend, and I was able to get his hammer finished. I used the resin handle, the pewter for the hilt, and then I made the head out of a foam rubber.

I dusted the molds with a metallic silver powder, and then brushed in a black rubber. It gave it a nice and durable skin. Then I filled the rest of the mold with Flex Foam-It 10. The final result was a very light and durable prop, that won't cause too much damage. Due to the time crunch I forgot to take progress pictures. Here are some pictures of him with it.

IMG_1521_zpsyzueprgz.jpg


IMG_1524_zpsxqi46mbx.jpg


IMG_1526_zpsnagupks5.jpg


IMG_1529_zpsmdx1rkyn.jpg


IMG_1530_zpsuw08kf5h.jpg


He absolutely loves it, and hasn't stopped hitting things with it. Now I just need to finish one for myself.
 
Thanks!

I decided to have a little fun with mine. I wanted it to have some good weight to it, so I cast the head hollow, and cut a hole in the side.

IMG_1515_zpswkrnwm3q.jpg


Then I mixed up some concrete. It's cheap easy to work with, and heavy.

IMG_1516_zps3ofkwtdg.jpg


Then filled up the head.

IMG_1517_zpsufpdds8d.jpg


It was dry enough the next day, to assemble the side cap, and paint it. I did the black base coat, and then the Alclad II Chrome, and then a blackash and sealed it with an auto clear. I forgot to take pictures again, but here is the finished product.

IMG_1538_zpskwhfgtpa.jpg


IMG_1539_zpsvkwfuw8r.jpg


IMG_1540_zpsrtom3plw.jpg


IMG_1541_zpsjfj5x8do.jpg


IMG_1542_zps2hhs0xt6.jpg


The total weight is about 14 lbs. It's not a lot, but it's enough to take people by surprise.

I still need to make one final light weigh one for myself. But that will probably have to wait until after Dragoncon.
 
I'll hapilly make an investment in the heavy one once you get the lighter one ironed out.... Fine build sir.
The heavy one is super cool, but it is very tiring to hold.


Small update. I made some progress on my high quality normal weight hammer. Here it is with a gloss black base coat.
IMG_1549_zps1vq2mjys.jpg


And again with the chrome paint.
IMG_1552_zpsesz6mumr.jpg


I'll be bringing this one to Dragon Con this weekend. If you see me, say hi.

Once I get back I'll do a photo shoot, and make kits available.
 
Can only recommend his Hammer-Kit!
Very clean Casts, just a few little Things to sand and ready for Assembly / Painting!

 
This is just an amazing build...you can't tell the difference between this and the movie prop...

amazing work...

for the chrome what type of chrome paint did you used? I've tried many times to get that effect on a helmet I have but never comes out right even after using black gloss as a base...

- - - Updated - - -


How much for a kit btw?
 
This thread is more than 5 years old.

Your message may be considered spam for the following reasons:

  1. This thread hasn't been active in some time. A new post in this thread might not contribute constructively to this discussion after so long.
If you wish to reply despite these issues, check the box below before replying.
Be aware that malicious compliance may result in more severe penalties.
Back
Top