Denix Mauser Mods and ESB Blaster Re-Build WIP

matty matt

Sr Member
I've had this Denix for a long time, and it's way overdue for an overhaul. You guys know how bad these are. All the edges are extremely soft, pitting everywhere, etc. I've going to strip it down and sharpen all the edges, clean things up, and add some detail. I've got some old Blast-Tech parts I can reuse and a new knurled disk coming from Boba Debt's run.

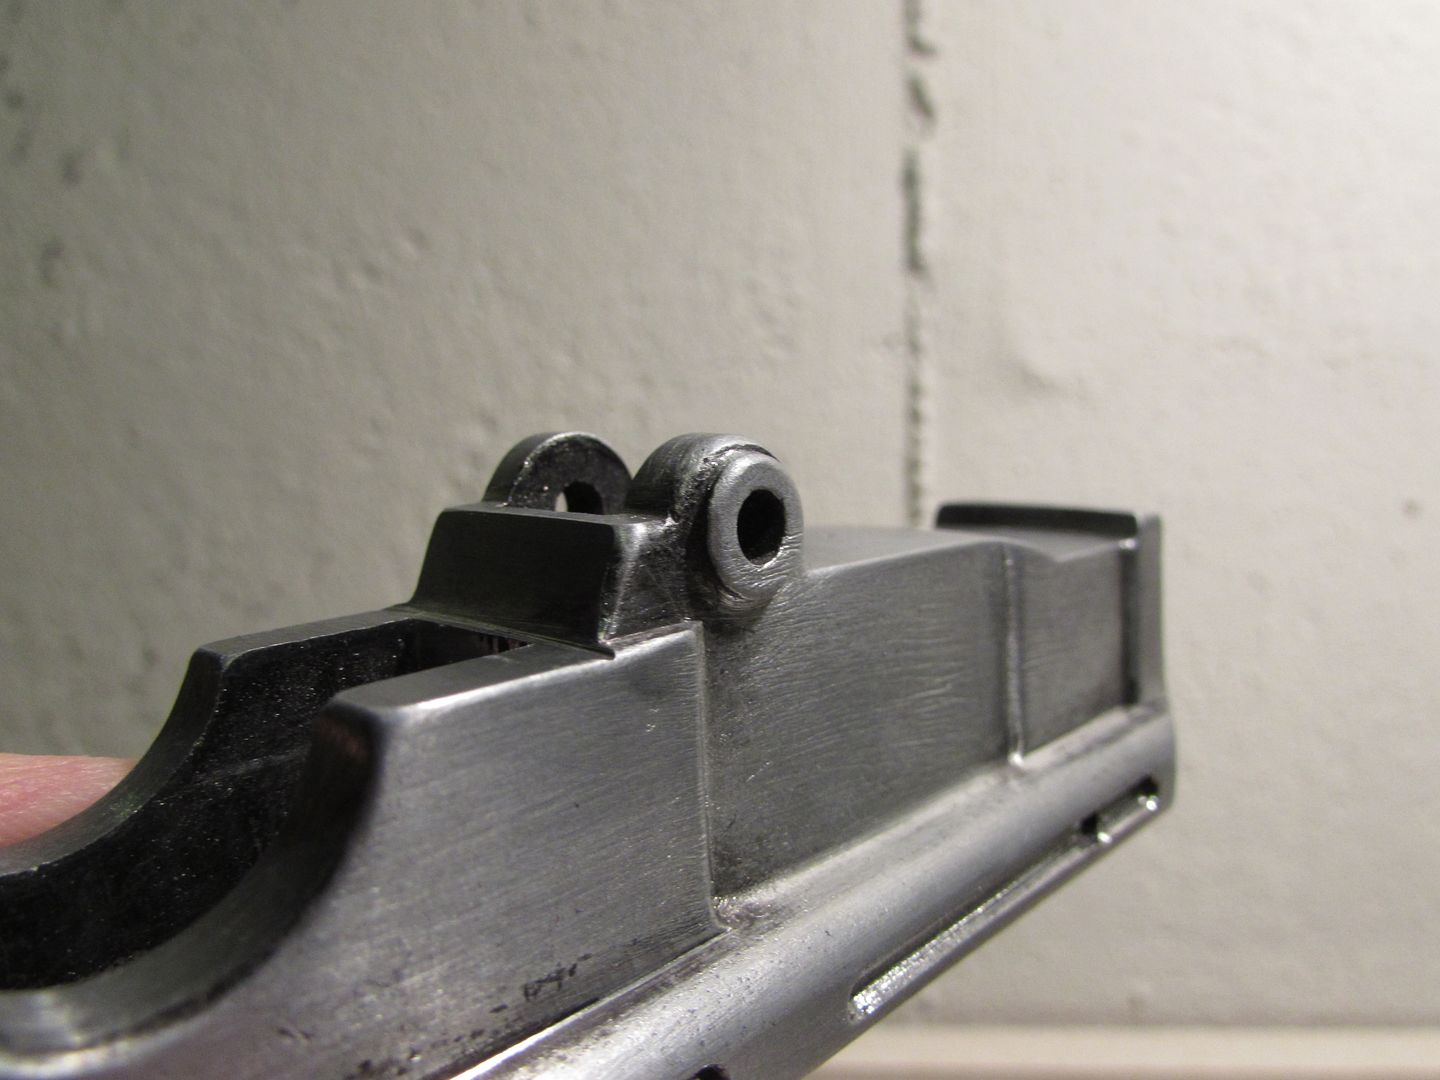
Before pics. Typical Denix. I'm getting rid of the left side greeblies.

IMG_1165_zpswvipnek5.jpg


IMG_1166_zpsxrjrdlsd.jpg


I got a set of the brass grip hardware on ebay for $5. I'll be sticking with the plastic grips for the time being since they fit correctly.

IMG_1164_zpsywmbl3qh.jpg


IMG_1167_zpsianrcdan.jpg


I took everything apart and started to sharpen angles and clean things up. I'm filing everything by hand.

IMG_1169_zpsv2djkg8m.jpg


IMG_1172_zpscnfrkvni.jpg


Things are shaping up.

IMG_1182_zpsvokisuz4.jpg


Lots more work to do, but the results are pretty good so far.
 
How are you doing the recessed panels by hand? I have a denix and am limited to hand files and a dremel.
 
This is becoming quite the learning experience. I've never owned an MGC or anything, so I guess I never truly realized how bad the Denix is. It's kind of discouraging, but I'm staying positive!

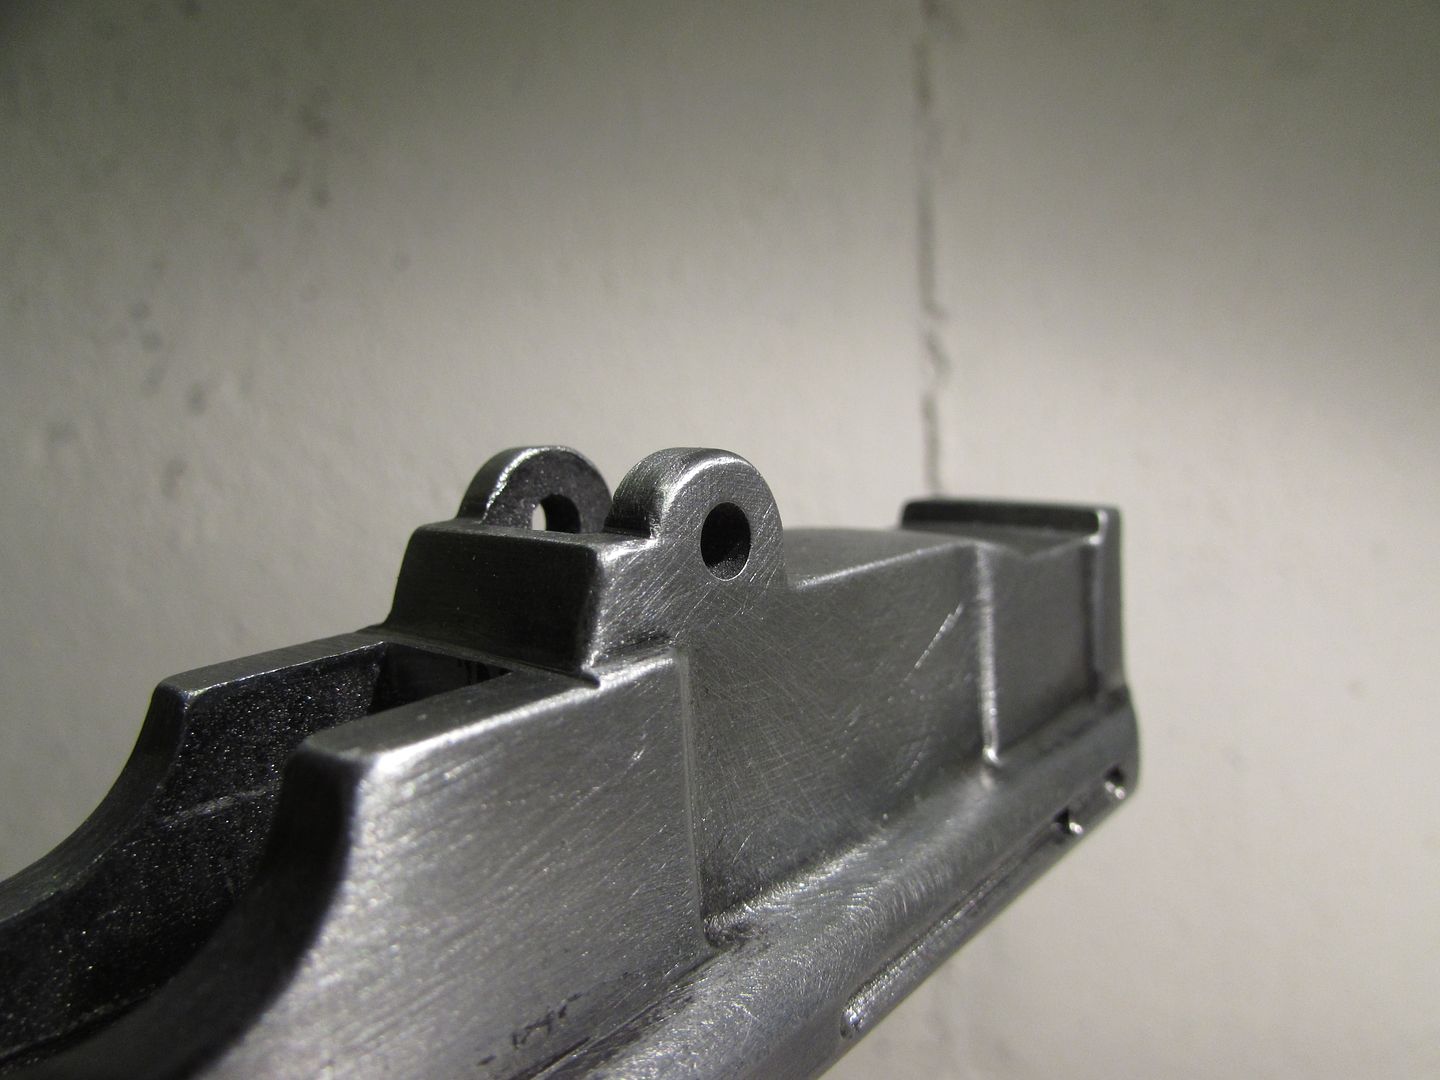
Here's a neat little tidbit. There are what look like two molded washers on the sides by the site. Guess what! They're not supposed to be there.


And gone...

 
There are what look like two molded washers on the sides by the site. Guess what! They're not supposed to be there.

And gone...

That's what I like to see, matty matt! I love the commitment!!! All the filing you are doing to correct this is looking great. It is really paying off, man.
 
This is becoming quite the learning experience. I've never owned an MGC or anything, so I guess I never truly realized how bad the Denix is. It's kind of discouraging, but I'm staying positive!

I agree, only just started to touch my denix and i feel like packing it in and finding an mgc somehow lol
 
I'll try to keep the updates coming! Nothing too interesting to report, just a whole lot of grinding and smoothing. The good news is that the pitting seems to all be pretty close to the surface, so it doesn't take a whole lot to get to nice metal. I worked on the bottom a little and drilled the hole for the button thingy. I did try to engrave the curved line around it, but it looked bad so I may just skip that.

 
This is looking great!

It is inspiring me to do my own. Would you mind posting some photos of the tools you're using, and perhaps detail the technique(s) you're using to get these shapes?

Oh...for the engraved curve, it might work to draw the shape on a piece of thick plastic, then tape it on in the correct position so you can use it as a guide to scratch in a starting line to work from.

If you want, I can do up a shape in Illustrator that you can print and use as your guide for the plastic.
 
I'll try to keep the updates coming! Nothing too interesting to report, just a whole lot of grinding and smoothing. The good news is that the pitting seems to all be pretty close to the surface, so it doesn't take a whole lot to get to nice metal. I worked on the bottom a little and drilled the hole for the button thingy. I did try to engrave the curved line around it, but it looked bad so I may just skip that.

http://i82.photobucket.com/albums/j243/mattycairns/IMG_1191_zpsqtmkhpqs.jpg

matty matt, it's looking great. I am not familiar with the "engraved" part. Is it supposed to be around that hole on the bottom?
Nevermind. You probably mean that line along the edge there. Did you do that?
 
matty matt, it's looking great. I am not familiar with the "engraved" part. Is it supposed to be around that hole on the bottom?
Nevermind. You probably mean that line along the edge there. Did you do that?

He is talking about the magazine bottom plate/ cover.
It is meant to be a separate part, so the seamline between it and the mag well should be visible on real and MGC C96´s
Check BobaDept´s JY thread for accurized Denix mausers and you´ll see what I am referring to

Markus
 
this is great info, thanks for sharing i never knew about the washers that have to be sanded. it sure is "shaping" up! ;)
 
This is looking great!

It is inspiring me to do my own. Would you mind posting some photos of the tools you're using, and perhaps detail the technique(s) you're using to get these shapes?

Oh...for the engraved curve, it might work to draw the shape on a piece of thick plastic, then tape it on in the correct position so you can use it as a guide to scratch in a starting line to work from.

If you want, I can do up a shape in Illustrator that you can print and use as your guide for the plastic.

We must think alike, because that's pretty much exactly what I did! I tried to dremel the line but I didn't have the right bit, so it was all choppy and bad looking. Maybe I'll try again. Honestly, I'd rather it just not be there than than look bad or not right.

matty matt, it's looking great. I am not familiar with the "engraved" part. Is it supposed to be around that hole on the bottom?
Nevermind. You probably mean that line along the edge there. Did you do that?

OdiWan is right on the money. The straight line on the side comes on the Denix from the factory, but there's a curved line on the bottom that they left off (along with the button).

- - - Updated - - -

this is great info, thanks for sharing i never knew about the washers that have to be sanded. it sure is "shaping" up! ;)

Lol, Shaping up indeed.
 
We must think alike, because that's pretty much exactly what I did! I tried to dremel the line but I didn't have the right bit, so it was all choppy and bad looking. Maybe I'll try again. Honestly, I'd rather it just not be there than than look bad or not right.


:)

I'm sure you've explored this, but the problem with the dremel is that, as you said, without the right bit it would be hard to control. If you score the metal deep enough using the template, it might create a groove that is smooth and deep enough to either finish with the dremel, or continue slowly by hand.

You're right. The idea was good, but I blew it on the execution. Scoring by hand would probably be the way to go.
 
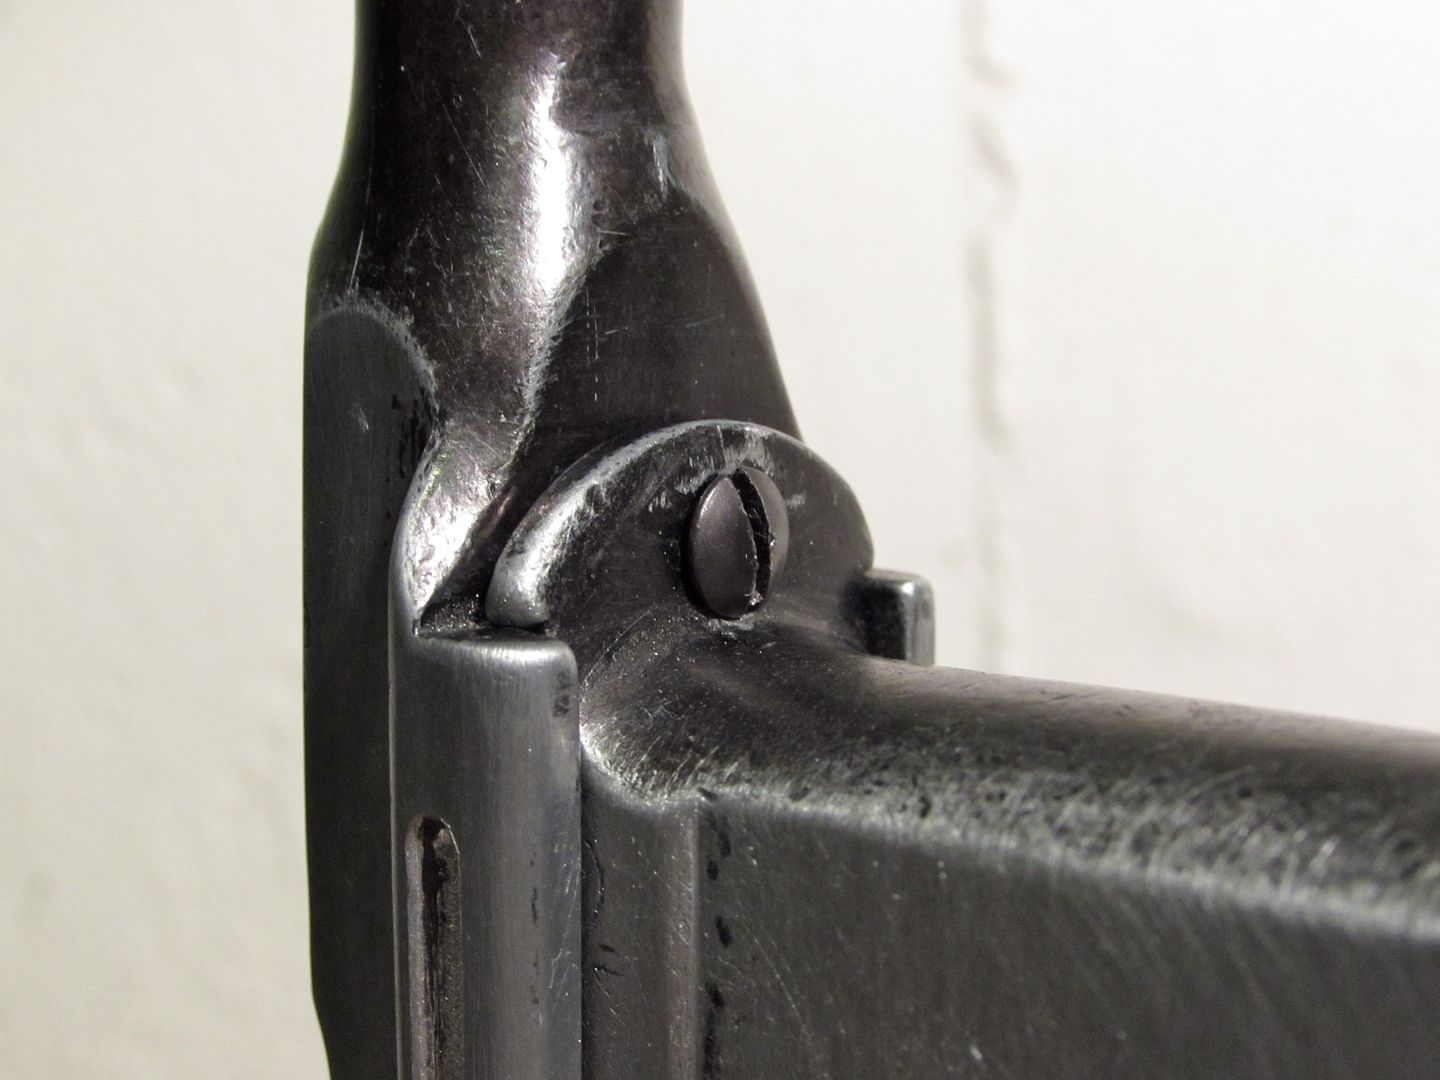
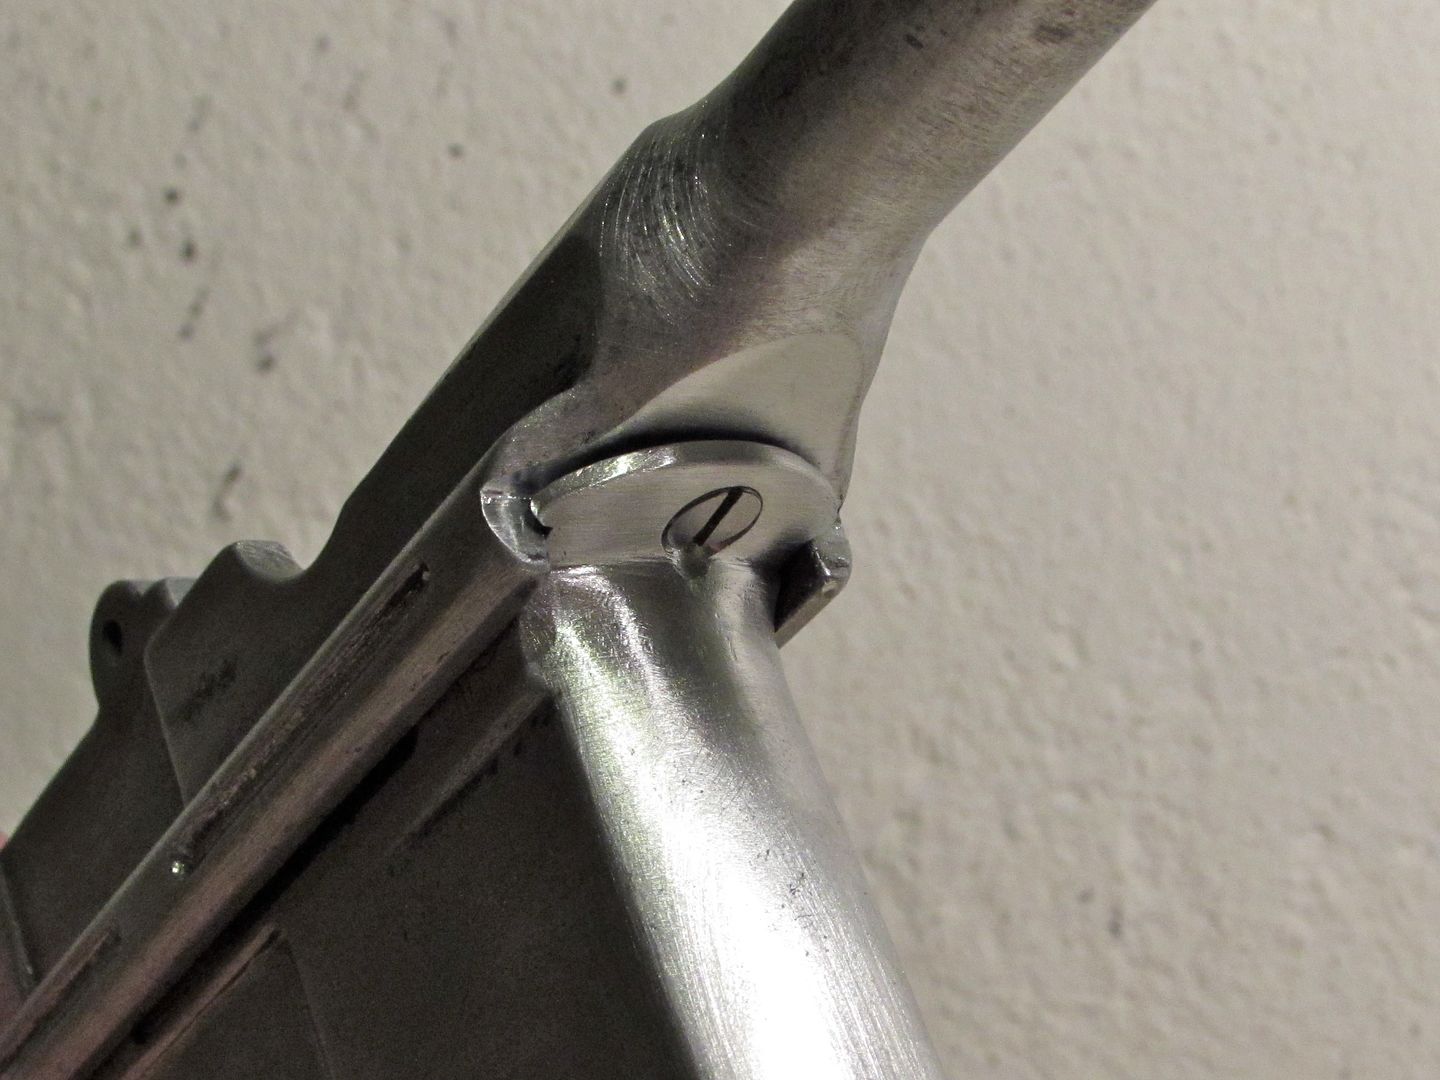
Here's a particularly bad spot on my Denix. Soft detail and a big, ugly screw.


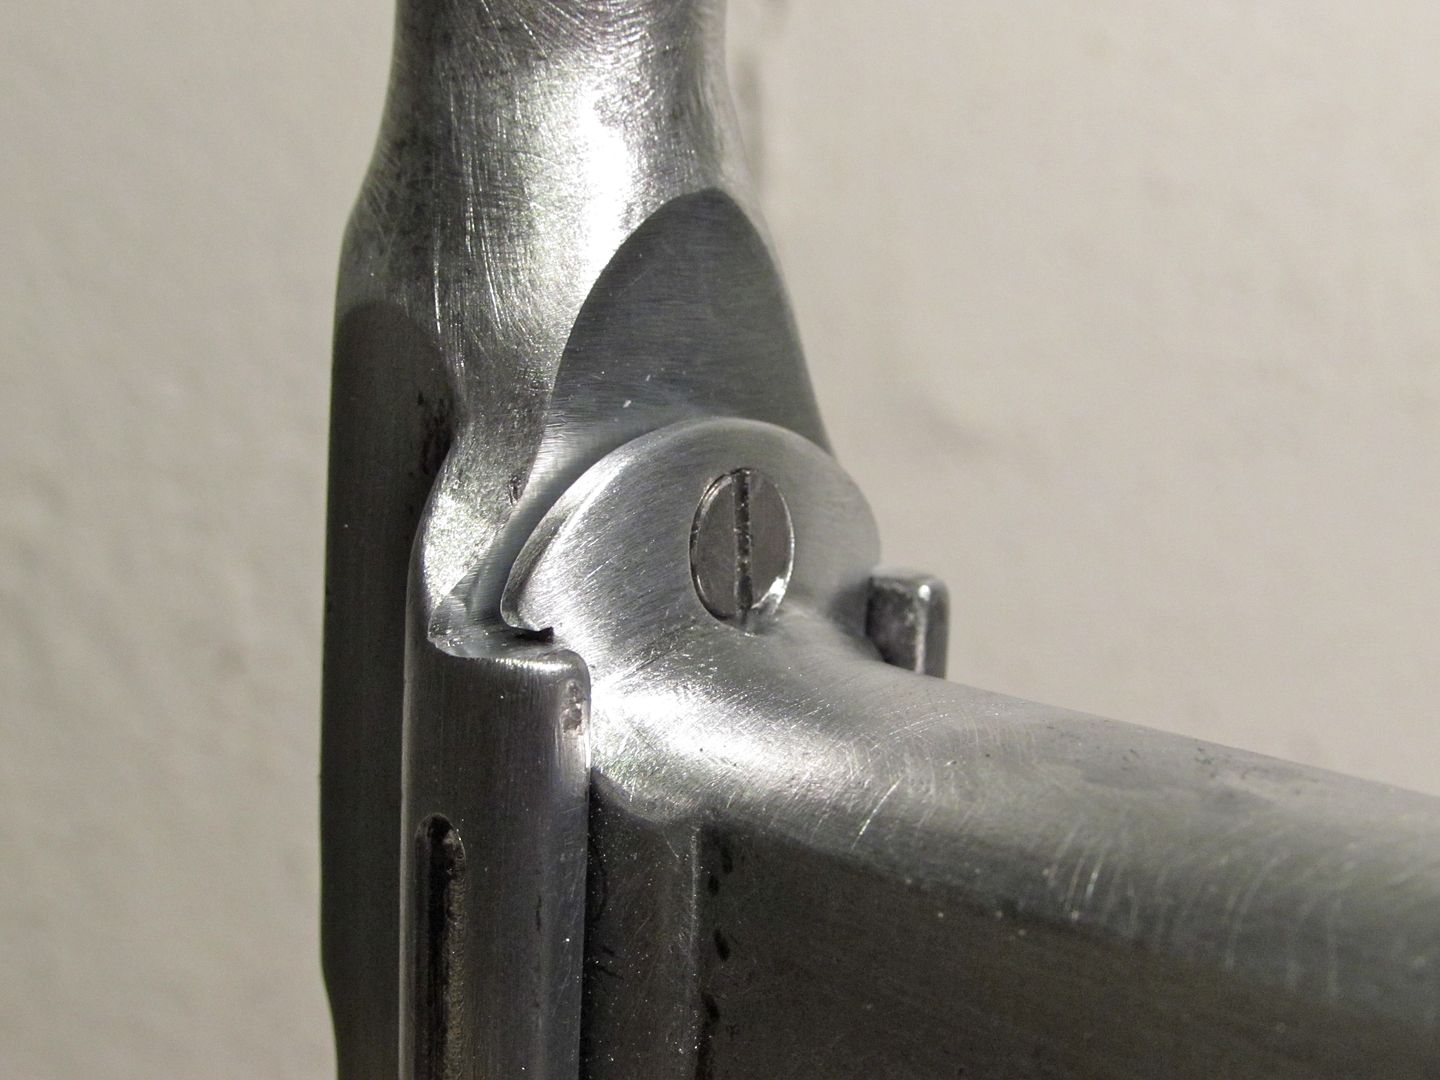
Here's after a little bit of work. This is just filing with flat files and a light sanding. I am using a little grinding wheel on my dremel to smooth out the really bad areas.


You can see I flattened the screw and countersunk it so it sits flush. There's a little bit of a gap between the upper and lower parts still, but it's not really a big deal to me. It's a lot better than it was.

 
Great pics and explanation! You are really whipping this Denix into shape man. LITERALLY!


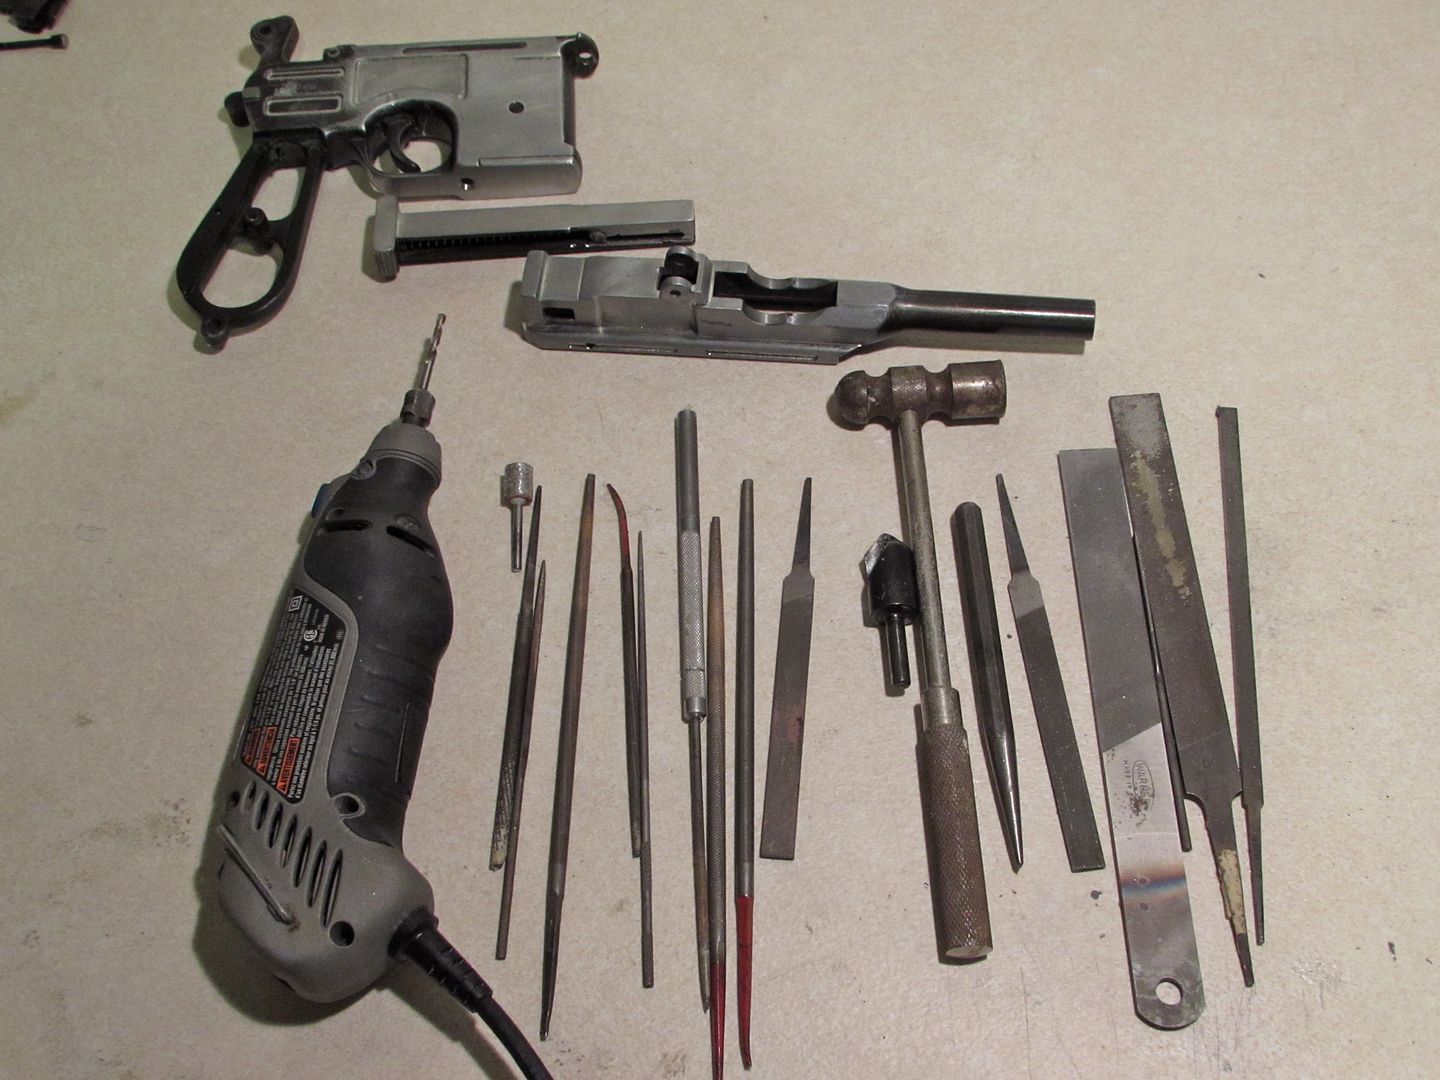
BTW, can I see a pic of the files you are using in relation to the Denix so I know what size they are?
 
Sure! Here's pretty much what I'm using. I've got an assortment of files and I'll just grab whatever one I think will work for the particular area I'm working on. Just like with sandpaper, it helps to use a coarser file first and then a fine one for finishing.

 
This thread is more than 3 years old.

Your message may be considered spam for the following reasons:

  1. This thread hasn't been active in some time. A new post in this thread might not contribute constructively to this discussion after so long.
If you wish to reply despite these issues, check the box below before replying.
Be aware that malicious compliance may result in more severe penalties.
Back
Top